Project bug out!

DOCBRONSON

DRIFTER
Thought I would start a thread on my truck/camper build. In a nut shell, purchased a 1996 Ford F-350 power stroke diesel and shortly after found a 1997 FWC Grandby that fit perfect.

The plan is to travel the United States coast to coast, Mexico and through the west coast of Canada to Alaska. No hotels, no camp sites, just living in the camper and restocking with food and gas. Basic survival.

Although I have posted some of these pictures in another thread, just thought I would start a new one.

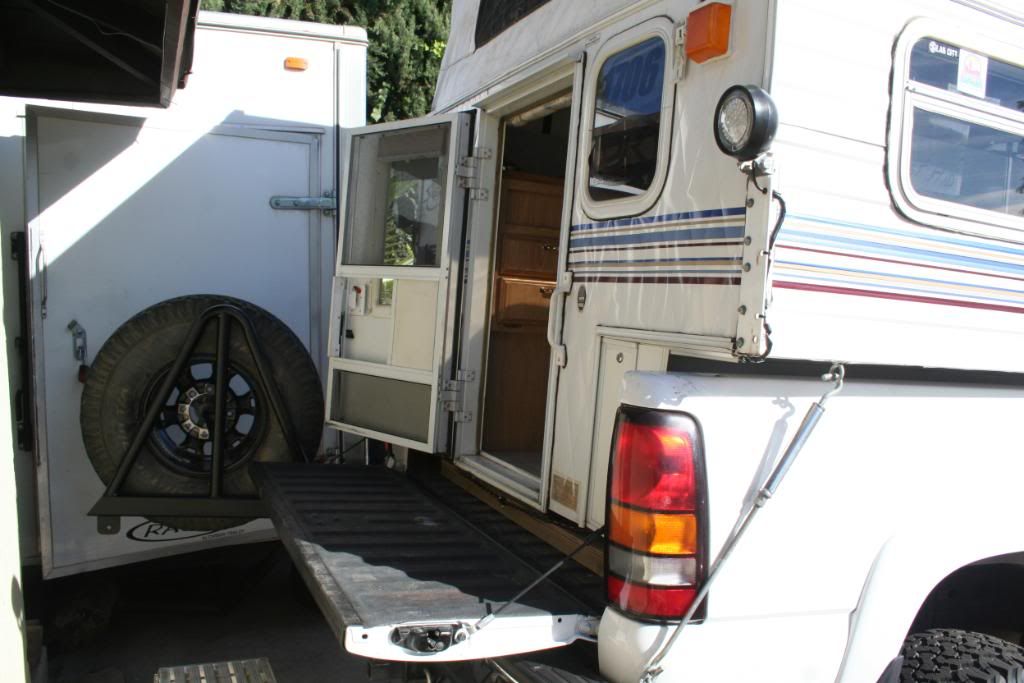
Here are a few pictures of the platform of the truck and camper.

6019972544_5158db6a3e_b.jpg

6019401437_468e2f8f55_b.jpg

6019418991_c97a08cb6b_b.jpg


Here are a few modifications that I have done already.

Front bumper, Highlift jack, lights and 12,000lb Warn winch.

6019963664_6626a6205e_b.jpg

6019955182_a66885a8db_b.jpg


Maxtrax rails and mounting pins. Decided to mount on the side of the truck for ease of access.

6019981210_cc8d66eb6d_b.jpg


Extremeaire air compressor and 4 gallon tank. Air lines plumbed to the front and back bumpers.

6032977717_af13ee8ecf_b.jpg


I specifically wanted the single cab w/long bed but the challenge was to be able to maximize the space.

I mounted a storage shelf above for standard things like binoculars, tire deflators, camera, sunglasses and a few other odds and ends.


And behind the seat storage for extra hoses, serpentine belts, air inflater lines, oil, and a host of other things.

6033531738_b7f10b0492_b.jpg


I also installed floor matts, cb, emergency flash light and mounting hardware for a weather band radio.

6019445551_01cb389a74_b.jpg

6019992814_6eae8b5b88_b.jpg


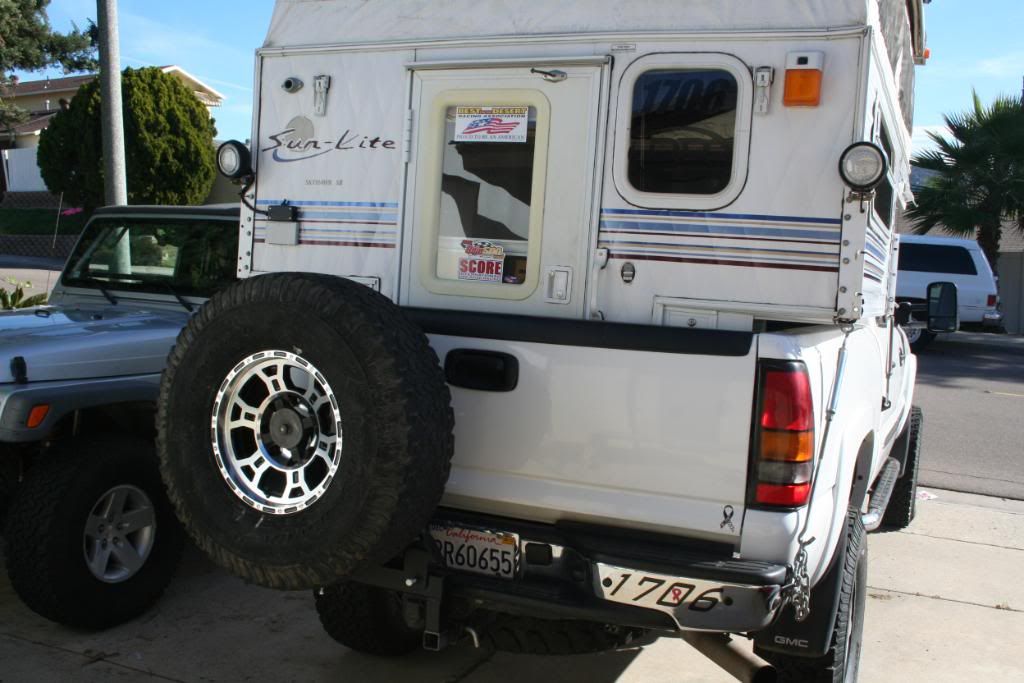
I am almost finished installing a solar panel and will post picks soon. Next will be a double swing out for tire and jerry cans w/
 

TRegasaurus

Adventurer
As cool as it looks, I would get the rope out of the weather. Stow it inside and keep it clean and out of the sun.
Everything else is nicely done, and I like the truck.
 

chris_the_wrench

Fixer & Builder of Things
I'm digging this settup! I'm wondering about your traction mats, and how you mounted them. What kind of reinforcement did you put behind the sheetmetal and what are those posts/pins?

I'm also curious how your tire swingout is going to work. I want to do a swingout like a tiregate, but I remove my camper alot and I'm still working out how to do it.

-Chris
 

bob91yj

Resident **************
I had a custom built swingout tire carrier made for my truck. To make it removable, it uses the normal trailer hitch, then another receiver box was added outboard to increase the stability. The design has worked well for me to date, although I wish I'd had it on the passenger side of the truck. All of the appliances in the camper are on the driver side, as is my 45 gallon (aftermarket) fuel tank.

2010baja1000003-1.jpg


2010baja1000005-1.jpg


The crew chief on my race team built the rack, he can custom build most anything you want. His shop is in Yucaipa, Ca.
 

chris_the_wrench

Fixer & Builder of Things
I've seen quite a few swingaways like that, but now how do you unload a camper without removing the rack and spare?

-Chris
 

ExpoMike

Well-known member
I've seen quite a few swingaways like that, but now how do you unload a camper without removing the rack and spare?

-Chris

You can't. Even if you got the swing out to open far enough with the tire to clear the back of the camper, your camper jacks are not going to pass the swing out when you pull the truck out from under the camper.

You will have to make the mount/tire removable if you want to take your camper out. Not really any way around that, unless you make a drop down swing out (I guess swing down LOL).
 

chris_the_wrench

Fixer & Builder of Things
You can't. Even if you got the swing out to open far enough with the tire to clear the back of the camper, your camper jacks are not going to pass the swing out when you pull the truck out from under the camper.

You will have to make the mount/tire removable if you want to take your camper out. Not really any way around that, unless you make a drop down swing out (I guess swing down LOL).

That's exactly what I'm thinking about. Similar to a tailgate it would drop down for loading the camper, but then I would like it to be able to swing away also for when the camper is on. But that's alot of pivots. I've got to build my new bumper and rail/steps first!

<Thread hijack over>
ylsmoke.gif


-Chris
 

DOCBRONSON

DRIFTER
Just to answer a few earlier questions. The rope on the side of the truck will be getting a sling bag, I don't have any room inside to store it.

To answer Bike_Mech, Maxtrax has a mounting pin set up for there traction Mats, although they are used for a roof rack I modified them to the side of the truck with steel backing plates. Also with the tire swing out design the only way to remove my camper would be to remove the entire rear bumper. The camper was intended to be on this truck for good. I will post pictures of the progress of the swing out soon.

Here are a few pictures of the solar panel install. It is a simple plug and play system.
6094296133_a802b9d3a9_b.jpg


These are the stock brackets that came with the kit, unfortunately they are useless to me. I needed longer brackets to reach the roof ribs.
6094298371_d564c33b33_b.jpg


So after looking at the local hardware store the closest I could find was a 2" aluminum angel. I would cut this into same size pieces and drill my mounting holes.
6094300713_64f6e67c55_b.jpg


I kept the panel covered during installation on the roof so no charge would build up.
6094852348_86cbc8e845_b.jpg


Control/ regulator panel and then location.
6094308369_2df55fe8a0_b.jpg

6094841992_ce8ee02e57_b.jpg


Mounted panel.
6094849874_5538106d1f_b.jpg


A few shots of the panel on the roof.
6141137341_dbdc47e529_b.jpg

6141145789_53d498762d_b.jpg

6141705570_a7a596b5f0_b.jpg


I will be posting pictures of the progress on the swing out soon.

Thanks all.
 

wannabridin

New member
Awesome build and road trip planned! I'm super jealous! I have a nice long road trip in my head, but not the time or money...

Where'd you get that solar panel? Nice looking unit, looks like you have plenty of room for more up on the roof! :)
 

ExpoMike

Well-known member
Nice solar. Currious too, where you got it.

Any pictures of how you ran the wires through the roof?
 

DOCBRONSON

DRIFTER
I purchased the complete kit from Amazon. I chose this kit for the ease of installation and at 125 watts I didn't want more panels taking up the room on the roof. I'm hoping to mount a roof rack and add a kayak.

To xj_mike, I have watched your thread from the point of you purchasing the Military ambulance and then deciding to go another route. I also was thinking of doing the same thing with a older ambulance and from reading your thread you talked me out of it, and I'm glade you did (and for that I thank you). I think the direction we have gone with the truck and camper was the right choice. As for the routing of the wires, there wasn't much of a choice and I probably did it gorilla style. I ran it to the back corner closest to were the battery bank is located and drilled a hole through the thin metal roof and then through the top of my corner cabinet. The wires fold with the lowering of the roof but are showing in the corner of the interior. I will take some pictures and post them. If you can think of a better way let me know and I can always modify.

Thanks again, Doc
 

ExpoMike

Well-known member
That too funny Doc. Glad my inspiration was a good one and I do think the choice of going with a truck/camper is the right one. I basically came down to, I wanted to camp, not build for the next year or more. Still wish I had the money, time and space to have built up the M1010 as I think it would have rocked!

Pics would be cool, whenever you get a chance.
 

DOCBRONSON

DRIFTER
Sorry it has taken so long to post last pictures of the solar panel installation.

This is where the lines enter the roof. Notice the roof anchors for the wires? I wanted something low profile that I didn't have to put more holes in the roof. Although they have sticky backs, I used adhesive sealant and zip tied the wires.
6153220309_51ba912390_b.jpg


Ran it through the ceiling material and then through the top of my corner cabinet.
6153227269_bc798996fd_b.jpg


Ceiling.
6153225153_4172f75ed3_b.jpg


Top of corner cabinet.
6153222767_2dd443c42a_b.jpg


Wires under the cabinet and tied into my battery charger lines and then into the control panel.
6153327237_76431bdf4c_b.jpg

6153871298_e699e18043_b.jpg


The only thing I would like to clean up is where the wires come through the interior ceiling material. Other than that I am fine with the way it came out, and so far works great.
 

Forum statistics

Threads
186,170
Messages
2,882,837
Members
225,984
Latest member
taunger
Top