You are using an out of date browser. It may not display this or other websites correctly.
You should upgrade or use an alternative browser.
You should upgrade or use an alternative browser.
Ski Bum Truck V2.0, F450 Rough Road RV
- Thread starter java
- Start date
java
Expedition Leader
Most definitely. I've got one more to go in. Insulation is scheduled for Monday so I have a lot of stuff to get done before then!Awesome! Windows do make a world of difference. Less bunker vibe, more "go-explore-the-world" mood.
east_tn_81
Adventurer
Are you worried about the strength of the cab? I would think the removal of the window and cutting the bottom of the cab would weaken the cabs strength. By the way nice work I really like this project.
java
Expedition Leader
Are you worried about the strength of the cab? I would think the removal of the window and cutting the bottom of the cab would weaken the cabs strength. By the way nice work I really like this project.
No not really, its pretty common for the backs to be cut out in box truck applications. The Structure at the top, the factory pinch weld for the window, and the structure along the floor is still there. I just removed the bit between them. I definitely would not use the center seat however. The reinforcement it was attached to in the center of the cab wall is gone. The aluminum I used for the window panels has a large rib in it, that helped stiffen he back wall back up considerably.
east_tn_81
Adventurer
Ok that makes sense.
hobietony
Explorer
Just for clarity, here is the wall section. I am taking about filling the hollow area.
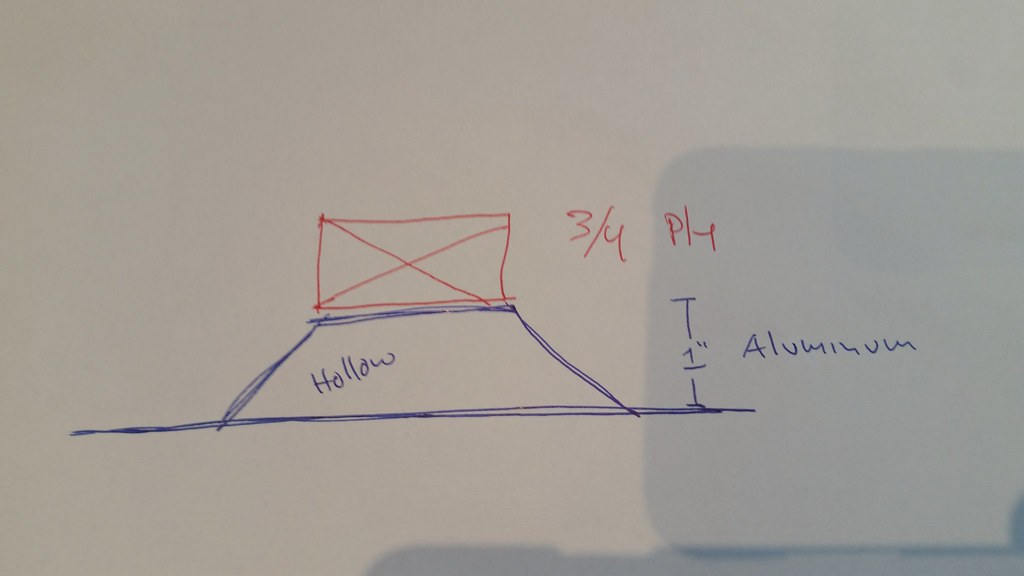
my $.02, filling the cavity will do nothing, the conduction path is through the metal itself. If you fill with anyting, use the Skittles option. In my ambo, I didn't use the 3/4 furring you did, and in really cold weather I get frost buildup on the screw heads/path of the aluminum, as well as on the exposed aluminum framing at the doors. I'd say furr with the 3/4 ply, and try to make sure the screws you use for the finish dont penetrate into the aluminum
java
Expedition Leader
Thanks, that was my kinda uneducated conclusion as well. The interior will just be glued and pin nailed to the furring strips.my $.02, filling the cavity will do nothing, the conduction path is through the metal itself. If you fill with anyting, use the Skittles option. In my ambo, I didn't use the 3/4 furring you did, and in really cold weather I get frost buildup on the screw heads/path of the aluminum, as well as on the exposed aluminum framing at the doors. I'd say furr with the 3/4 ply, and try to make sure the screws you use for the finish dont penetrate into the aluminum
Sent from my SM-G900T using Tapatalk
java
Expedition Leader
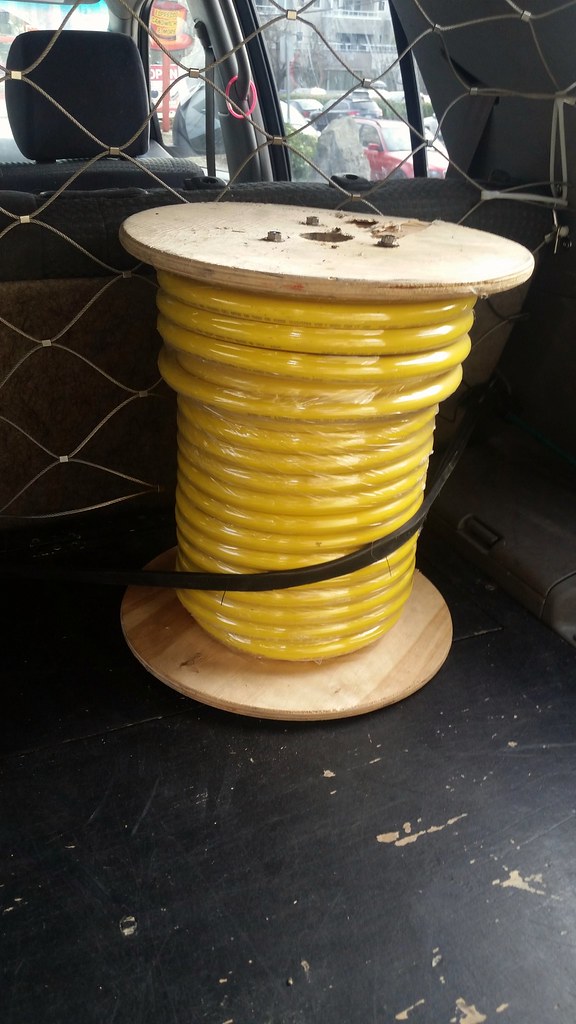
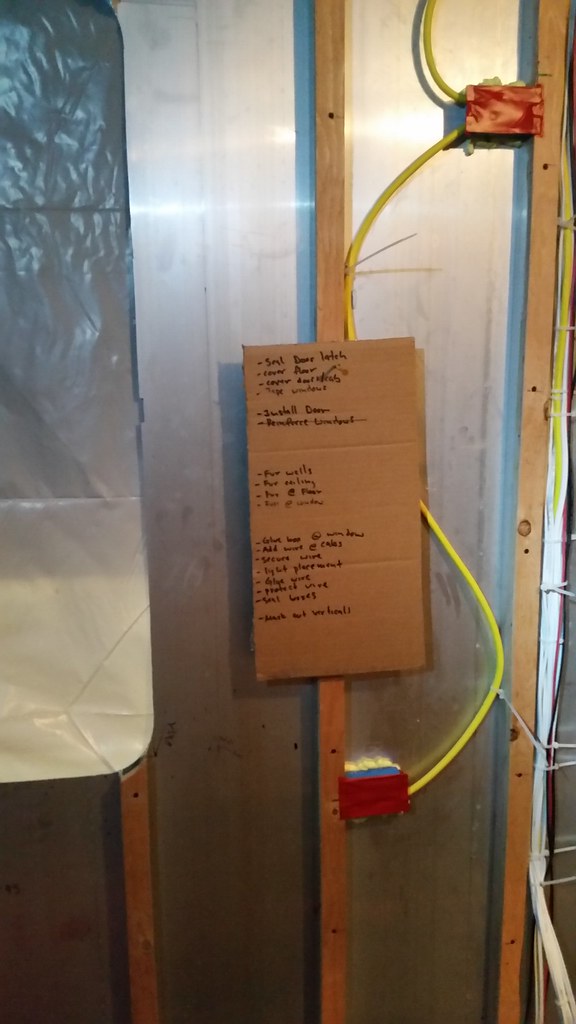
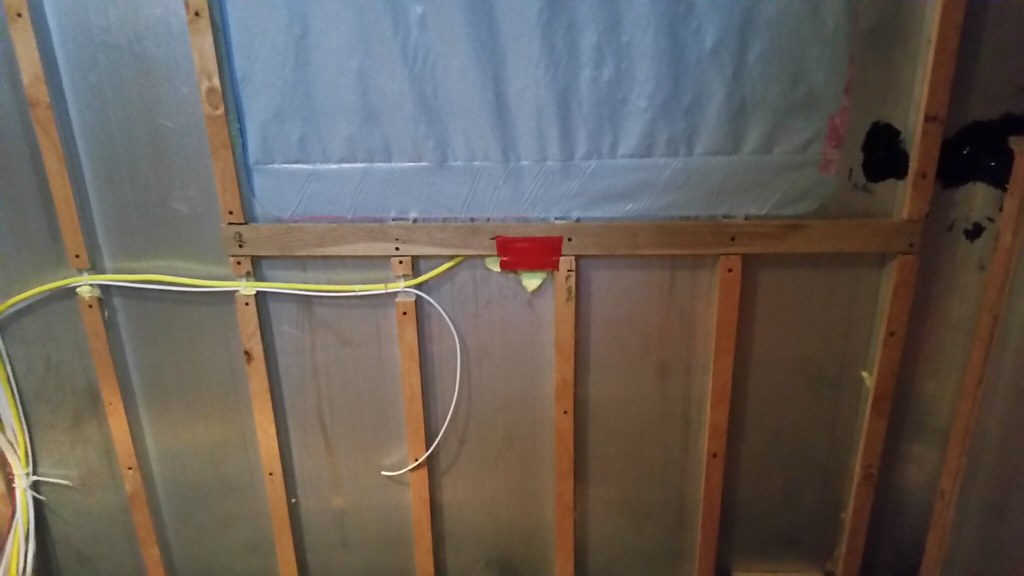
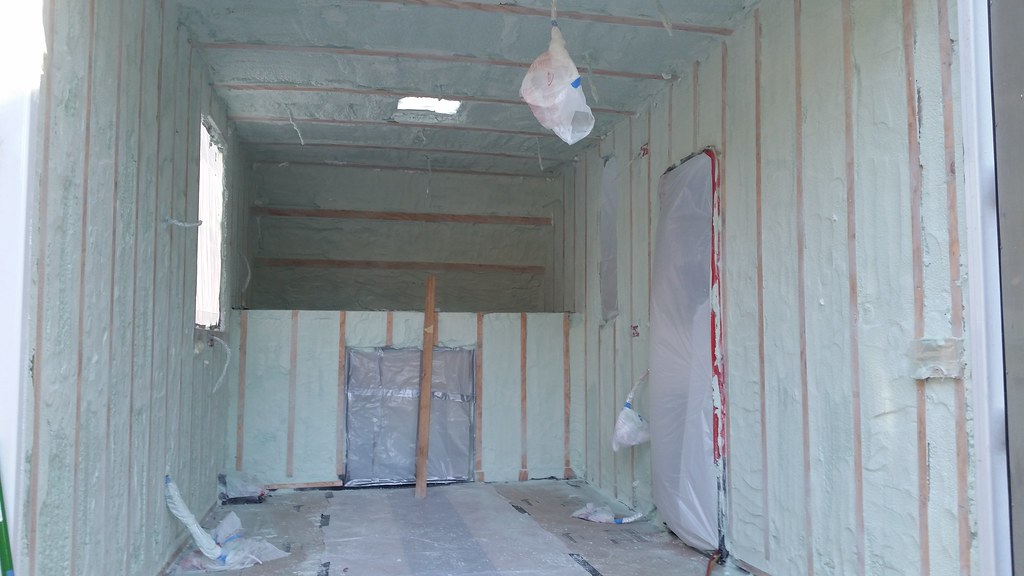
List, done. Way more of a thrash than I was expecting. All the little stuff adds up...
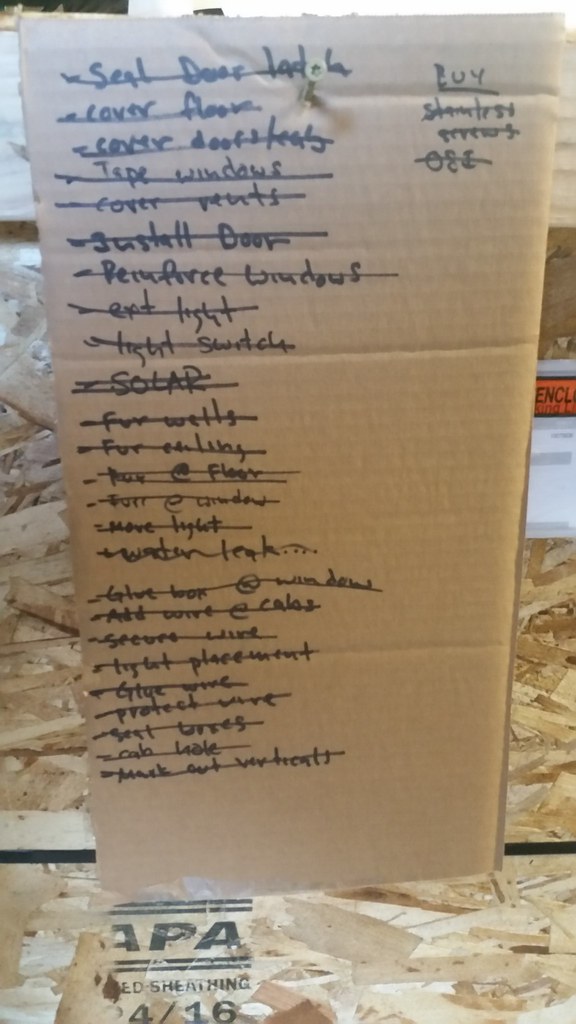
All the furring s done, all the wires wrapped, taped, glued in place.


All the tools that were in the truck are now in a pile.... in the garage.... I need to do some cleaning!! A 4800W heater heats this truck quite nice with no windows or insulation!") D)
D)
All the furring s done, all the wires wrapped, taped, glued in place.
All the tools that were in the truck are now in a pile.... in the garage.... I need to do some cleaning!! A 4800W heater heats this truck quite nice with no windows or insulation!
D)
screwball48
Explorer
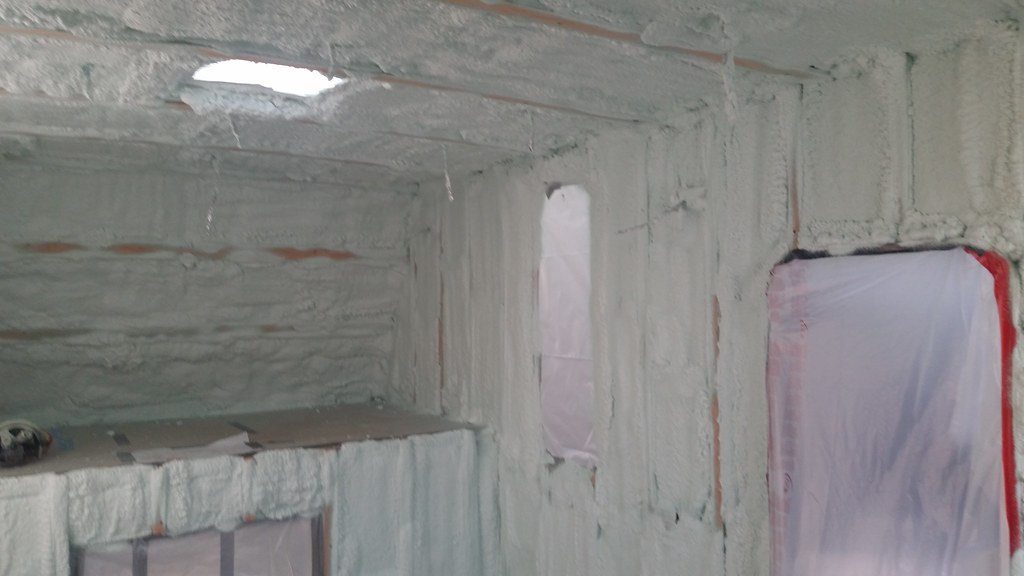
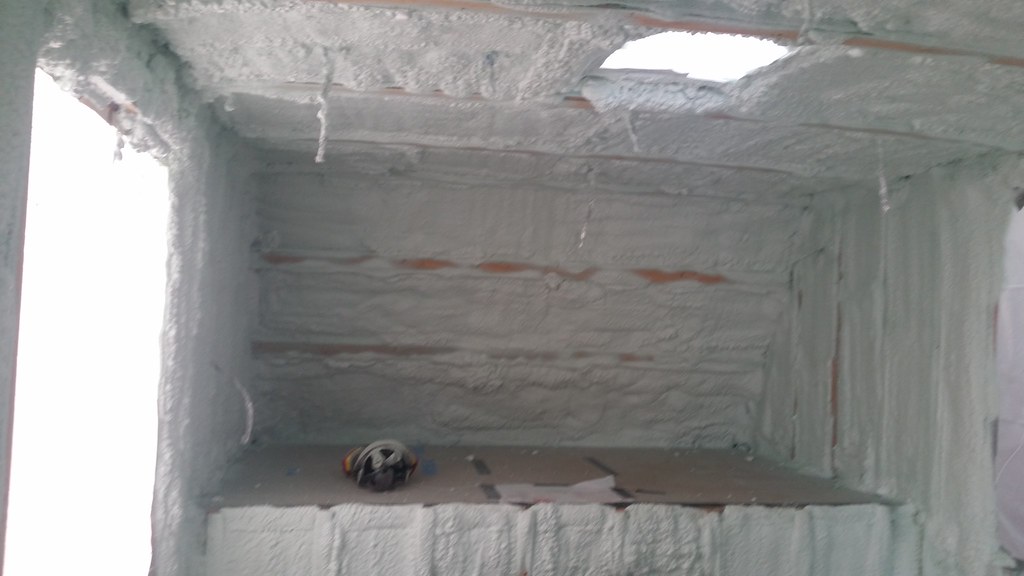
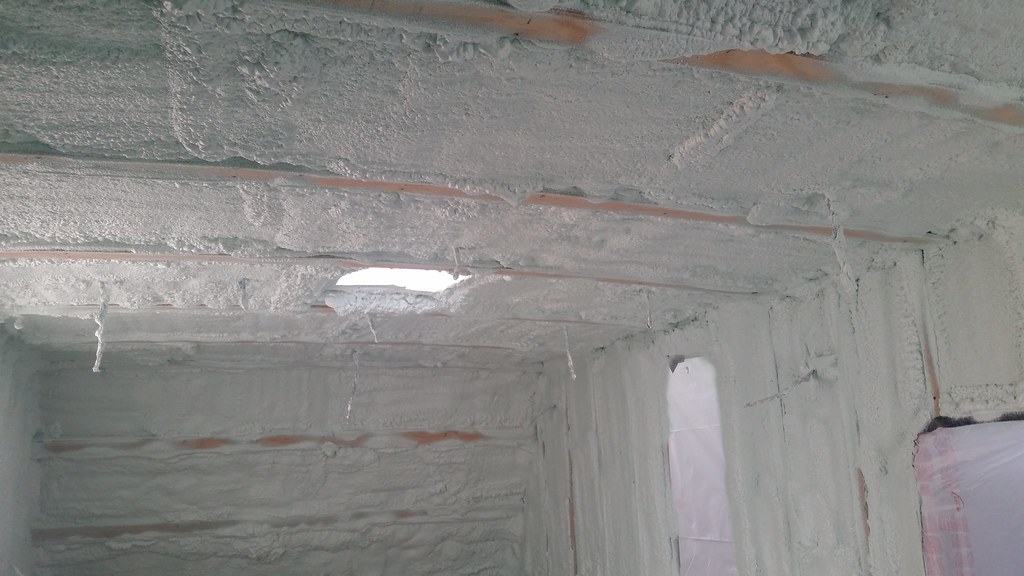
Wow! Looks like the inside of a giant frosted cake.
Sent from my iPhone using Tapatalk
Sent from my iPhone using Tapatalk
java
Expedition Leader
Wow! Looks like the inside of a giant frosted cake.
Sent from my iPhone using Tapatalk
Yep! and now its getting turned to snow.... The only way to flatten it out is wire cup grinders.....Glad I decided to sub it out right now!!
java
Expedition Leader
Annnnd Done!!!
Now a Question: Has anyone seen or extended themselves the exhaust/intake for a furnace? They all are designed for 2" wall thickness. Ideally I would install it in a spot that I need ~12" from exterior to heater.
I realize this is far longer than the OE designed, and exhaust temps need to stay up for proper flow, but it would be great to be able to do this..... Welding a stainless extension on is no issue.
pappawheely
Autonomous4X4
Do you care to share how much the work cost to complete?
Forum statistics
Members online
- ITTOG
- RJWB
- TheBestCow
- KelliT
- mark5280
- Drewdaman
- Flashbangg
- COrider
- Boulder Cruiser
- Ozarker
- 1979ford
- ErWinB
- 1RagingApe
- Mtaco3
- sancap
- Korey H
- asafk
- Profsmallpine
- Walker Evans
- Thestraycat
- Kingsize24
- Zeep
- Rockymountainhunter
- Velobrew
- jeepers29
- Mojavejohn
- jgaz
- Burley
- Avihay
- cpancho
- frank84
- apinajus
- tractor_to_trail
- jarekben
- Spencer for Hire
- Doslocos
- en480c4
- DarioCarrera
- Mickey Bitsko
- Gravity
- Starfire
- bigsam
- zip
- Danchi007
- jmt82331
- Robbus
- CoryQuackenbush
- bstock1
- Savagenut
Total: 908 (members: 53, guests: 855)