Sprinter 4WD Conversion Idea, GMT-800 IFS.

shade

Well-known member
I definitely have a bucket for my work clothes by the door. That raw steel smell is pervasive.

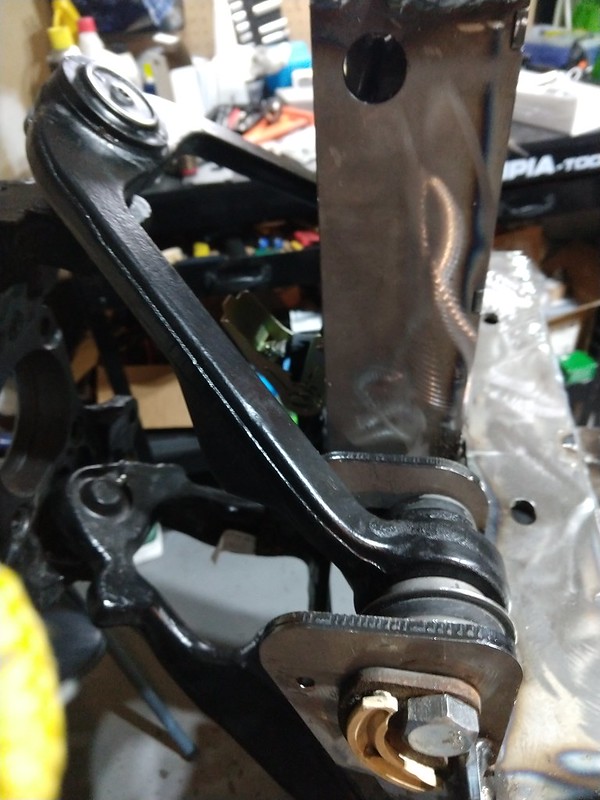
The only major annoyance is all the nooks and crannies, I need to get some 1" grinding disks and a compact right angle tool. I also need to scrub and wash the weld grime off, and of course this thing weighs 140lbs, ha! Maybe I should just find someone to hot dip galvanize it for me...

I got this amazing deal on 40 grit thin flap disks on amazon, 25 of them for 26$, I am going to need them all! Those laser cut edges are rough on the disks.
If you can anchor it to the ceiling, one of these would make positioning that easy.


If you have the compressor to drive it, HF's cheapo die grinders work well for that kind of work. When the bearings fail, in the bin it goes.

Your tolerances are probably too tight to galvanize it. :)
 

luthj

Engineer In Residence
Ran into a little roadblock while adjust camber and caster. The full extension of the shock is just a bit too far for the upper ball joint. So I can't get the camber set to zero at ride height. I am needing almost all of the camber adjustment I built in to get to zero, good thing I included the whole range. I will adjust the design to raise the shock up slightly to prevent bind at full droop. For my build I think I am stuck with a limit strap or a UCA droop stop, probably on the rear UCA bushing area. Preload is about 700lbs, with the lever are thats going to be about 1800lbs, so it needs to be fairly beefy. I am thinking a plate spanning the crossover members, with a 3/8 bolt for adjustment.

Caster is about 1.5 degrees now, though may be 2-2.5 once I get the UCA bushings shimmed tight.
 

luthj

Engineer In Residence
Its definitely an option. I have had mixed luck with powdercoating, especially with the square edges. Once its compromised/chipped the rust spreads underneath unless its been plated with a sacrificial coating. The labor savings would be significant, so its worth considering.

Touching it up once it chips is possible with the right prep, not quite as easy as a decent urethane in my experience.

The other issue of course is the fitment prototype process. I am likely to need to make minor adjustments when I go to bolt it all up. Which means I can't powerdercoat until I am 100% complete. So I would need to leave the van on jack stands for however long it takes to coat. With paint I can recoat any modified areas and bolt the final assembly up after it cures.
 

shade

Well-known member
I can't remember if you already thought this through, but have you reinforced the shock towers?
 

Len.Barron

Observer
yeah I've had good and bad on the powdercoating as well...I would at least go with a good blast on it, do your rough prep with the flappers then have it sand blasted (probably $30) that'll smooth it out a bit and get all those inside corners that are a major PITA. You can just give it a quick/light coat of primer to keep it from surface flashing until your happy with the fit up... then scuff, clean and do your finish coating.
 

luthj

Engineer In Residence
I can't remember if you already thought this through, but have you reinforced the shock towers?

They are going to get a tie-in bracket which will be welded or bolted to the remnants of the strut tower brace. On the inside and outside of the wheel well there is a formed sheetmetal gusset which support the strut upper mount. About half of the inside is getting notched to clear the shock tower, which will leave a good bit of surface to attach the shock tower to. The tower also gets a bolt which will go through the backing plate and the vans frame rail. I expect that these two features should handle all the bending loads placed on the tower.


yeah I've had good and bad on the powdercoating as well...I would at least go with a good blast on it, do your rough prep with the flappers then have it sand blasted (probably $30) that'll smooth it out a bit and get all those inside corners that are a major PITA. You can just give it a quick/light coat of primer to keep it from surface flashing until your happy with the fit up... then scuff, clean and do your finish coating.

It's a good idea, I will see if a local shop can media blast it for me. If its anything like the other work, it may be a challenge.
 
Last edited:

luthj

Engineer In Residence
I am thinking GM steel 5 spoke wheels may be the option I go with. 16x6.5 in flat black, with either black or chrome lug nuts. No center caps. I just need to find out what offset they are before I pull the trigger. At 55$ each with shipping, its a good deal.

1576680116336.png

I have rack adapter/spacers on order, should have them after christmas. Once I figure out the wheel offset I will draw up and order some rear wheel adapters as well.
 
I am thinking GM steel 5 spoke wheels may be the option I go with. 16x6.5 in flat black, with either black or chrome lug nuts. No center caps. I just need to find out what offset they are before I pull the trigger. At 55$ each with shipping, its a good deal.

View attachment 556788

I have rack adapter/spacers on order, should have them after christmas. Once I figure out the wheel offset I will draw up and order some rear wheel adapters as well.


If these are the same as OEM, they are the same as what I emailed you about from the junkyard back in August when I got my set. Measured backspacing is 5".
 

luthj

Engineer In Residence
If these are the same as OEM, they are the same as what I emailed you about from the junkyard back in August when I got my set. Measured backspacing is 5".

Thanks for the confirmation. Some searching on the web indicates the offset is 30mm. So the backspacing should be between 4.45 and 5" (depending on the wheel edge profile).
 

luthj

Engineer In Residence
Playing around with my el-cheapo flare kit. I need to polish the vise, but it does a passable bubble flare.


Running the BJs through their paces. Assuming high angle CVs are used, there is about 9.5" of travel before the BJs bind.


Bit of a hack to add a droop stop. Once I get the other side done, its time to prep for paint.


luthj

Engineer In Residence
And that's a wrap folks.


I needed to do a bit of grinding to open up the front LCA bushing holes. I guess the front bushing is not quite parallel with the rear. Now to get this thing prepped for paint, and make a few spacers to get everything nice and tight.
 

luthj

Engineer In Residence
I'll bet the neighbors loved that racket.

If they can tolerate 90dB of mariachi music (excessive bass of course), I don't think its an issue. Its been cold enough that I did most of it in the garage anyways.
 

Forum statistics

Threads
186,364
Messages
2,884,960
Members
226,303
Latest member
guapstyle
Top