Blackdawg
Dr. Frankenstein
With that, i set about fixing legless Frank.
This is what i started with..
 Frank.jpg by Monte Nickles Photos, on Flickr
finally got the LBJ out. Was a *****, but with the right tool, was pretty easy. Need a pitman puller, the bigger one at the parts store is great. thank you timmy. wear ear protection, pops out loud.
 Frank-2.jpg by Monte Nickles Photos, on Flickr
 Frank-3.jpg by Monte Nickles Photos, on Flickr
Was going to use some pretty new OEM LBJs from Jons truck. But they had sat too long and had splits in the boots. So i went and got a 555 one. Ill order OEM ones from Camelback Toyota tonight.
 Frank-4.jpg by Monte Nickles Photos, on Flickr
Then i preped the spindle for transfer of the brakes.
here is the UBJ that died and lower
 Frank-5.jpg by Monte Nickles Photos, on Flickr
 Frank-6.jpg by Monte Nickles Photos, on Flickr
Swapping stuff over. New one is on the left with the UCA attached.
 Frank-7.jpg by Monte Nickles Photos, on Flickr
Once i was done putting the rotor and caliper on i went to get get the brake line setup on the truck...this was a project all its own.
 Frank-8.jpg by Monte Nickles Photos, on Flickr
that tab is supposed to be perfectly flat. That way the retainer clip behind it can slide in and out so your line can come off. Well...needless to say it needed straightening out and was a major pita to get it flat enough to work right. but i got it.
Like it never even happened..
 Frank.jpg by Monte Nickles Photos, on Flickr
Tools required for this mod...
 Frank-2.jpg by Monte Nickles Photos, on Flickr
you figure it out..haha
Now i had the truck on 4 tires i could finally take the skid off and get the blocks that had been holding it up for the last week or so out from under it. On to the steering rack..
here is the main booboo..split in half..
 Frank-3.jpg by Monte Nickles Photos, on Flickr
took a LOT of banging swearing and sweating to get the ***** out. But i did. here is the damage..
center mount is..well..gone..
 Frank-4.jpg by Monte Nickles Photos, on Flickr
 Frank-7.jpg by Monte Nickles Photos, on Flickr
cracked purty gooood
 Frank-5.jpg by Monte Nickles Photos, on Flickr
 Frank-6.jpg by Monte Nickles Photos, on Flickr
this was the major issue with getting it out. The main bolt was a tad..bent. i ended up having to cut it to get it out even.
 Frank-8.jpg by Monte Nickles Photos, on Flickr
hello center mount
 Frank-9.jpg by Monte Nickles Photos, on Flickr
cut bolt.
gotta swap over my OTRE to the new rack as the new racks ones boots are shot. Good thing mine are in good shape. hopefully the ITRE are good on it. If not i have new ones in a box.
This is what i started with..
Frank.jpg by Monte Nickles Photos, on Flickrfinally got the LBJ out. Was a *****, but with the right tool, was pretty easy. Need a pitman puller, the bigger one at the parts store is great. thank you timmy. wear ear protection, pops out loud.
Frank-2.jpg by Monte Nickles Photos, on Flickr
Frank-3.jpg by Monte Nickles Photos, on FlickrWas going to use some pretty new OEM LBJs from Jons truck. But they had sat too long and had splits in the boots. So i went and got a 555 one. Ill order OEM ones from Camelback Toyota tonight.
Frank-4.jpg by Monte Nickles Photos, on FlickrThen i preped the spindle for transfer of the brakes.
here is the UBJ that died and lower
Frank-5.jpg by Monte Nickles Photos, on Flickr
Frank-6.jpg by Monte Nickles Photos, on FlickrSwapping stuff over. New one is on the left with the UCA attached.
Frank-7.jpg by Monte Nickles Photos, on FlickrOnce i was done putting the rotor and caliper on i went to get get the brake line setup on the truck...this was a project all its own.
Frank-8.jpg by Monte Nickles Photos, on Flickrthat tab is supposed to be perfectly flat. That way the retainer clip behind it can slide in and out so your line can come off. Well...needless to say it needed straightening out and was a major pita to get it flat enough to work right. but i got it.
Like it never even happened..
Frank.jpg by Monte Nickles Photos, on FlickrTools required for this mod...
Frank-2.jpg by Monte Nickles Photos, on Flickryou figure it out..haha
Now i had the truck on 4 tires i could finally take the skid off and get the blocks that had been holding it up for the last week or so out from under it. On to the steering rack..
here is the main booboo..split in half..
Frank-3.jpg by Monte Nickles Photos, on Flickrtook a LOT of banging swearing and sweating to get the ***** out. But i did. here is the damage..
center mount is..well..gone..
Frank-4.jpg by Monte Nickles Photos, on Flickr
Frank-7.jpg by Monte Nickles Photos, on Flickrcracked purty gooood
Frank-5.jpg by Monte Nickles Photos, on Flickr
Frank-6.jpg by Monte Nickles Photos, on Flickrthis was the major issue with getting it out. The main bolt was a tad..bent. i ended up having to cut it to get it out even.
Frank-8.jpg by Monte Nickles Photos, on Flickrhello center mount
Frank-9.jpg by Monte Nickles Photos, on Flickrcut bolt.
gotta swap over my OTRE to the new rack as the new racks ones boots are shot. Good thing mine are in good shape. hopefully the ITRE are good on it. If not i have new ones in a box.
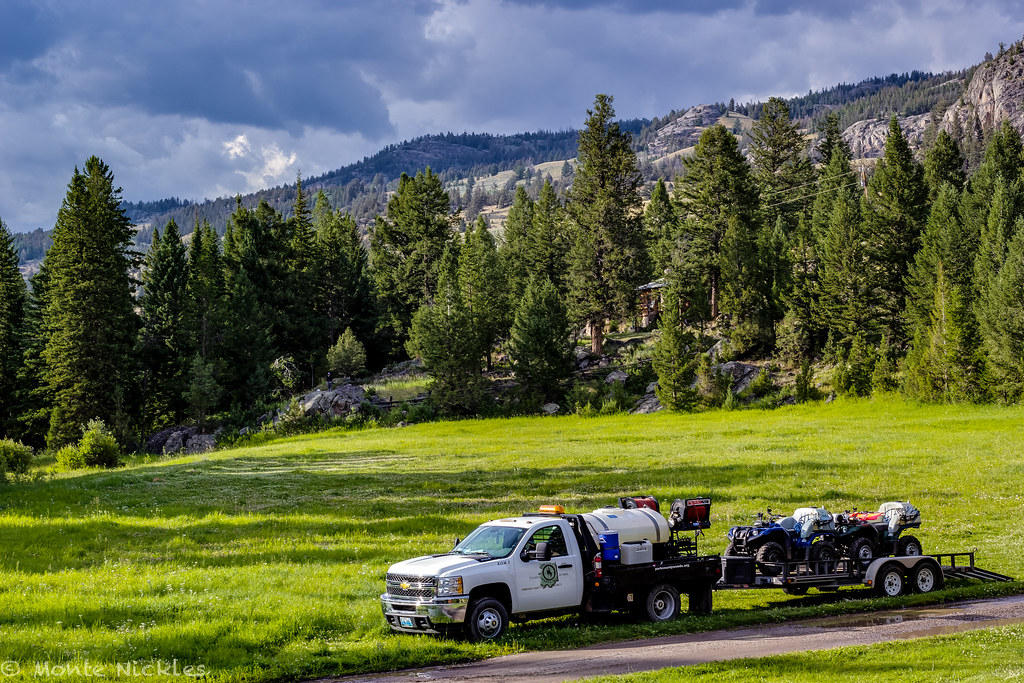 Work Truck
 Rails
Rails Main Cabin
 River cliff
 River
River Frank-6.jpg


")
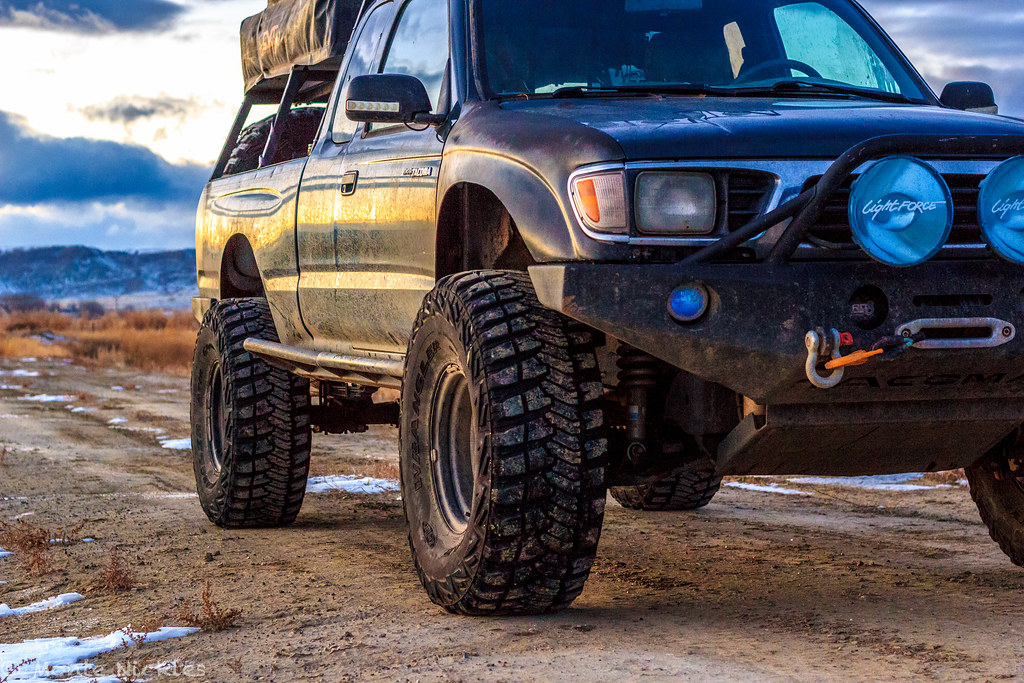 Frankenstein 3
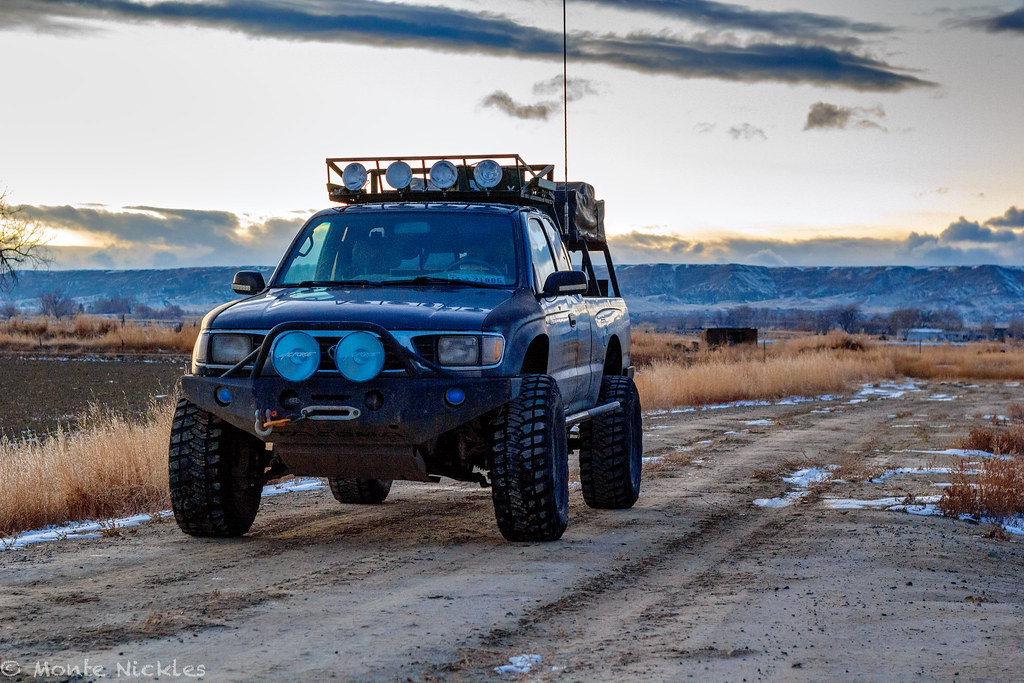 Frankenstein 4
 Frankenstein 5
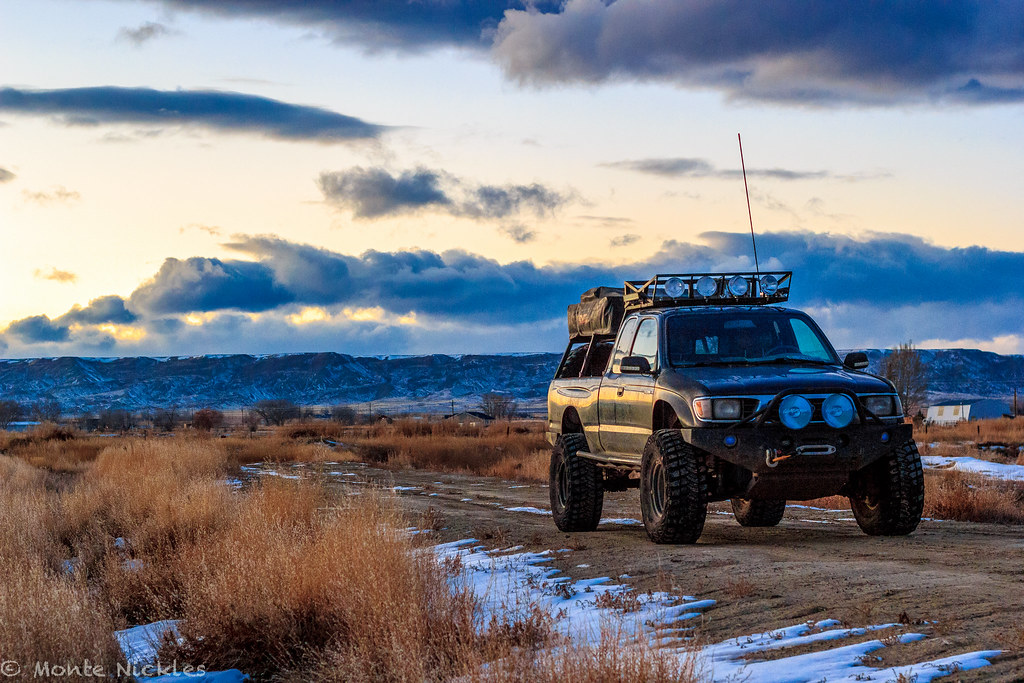 Frankenstein 7
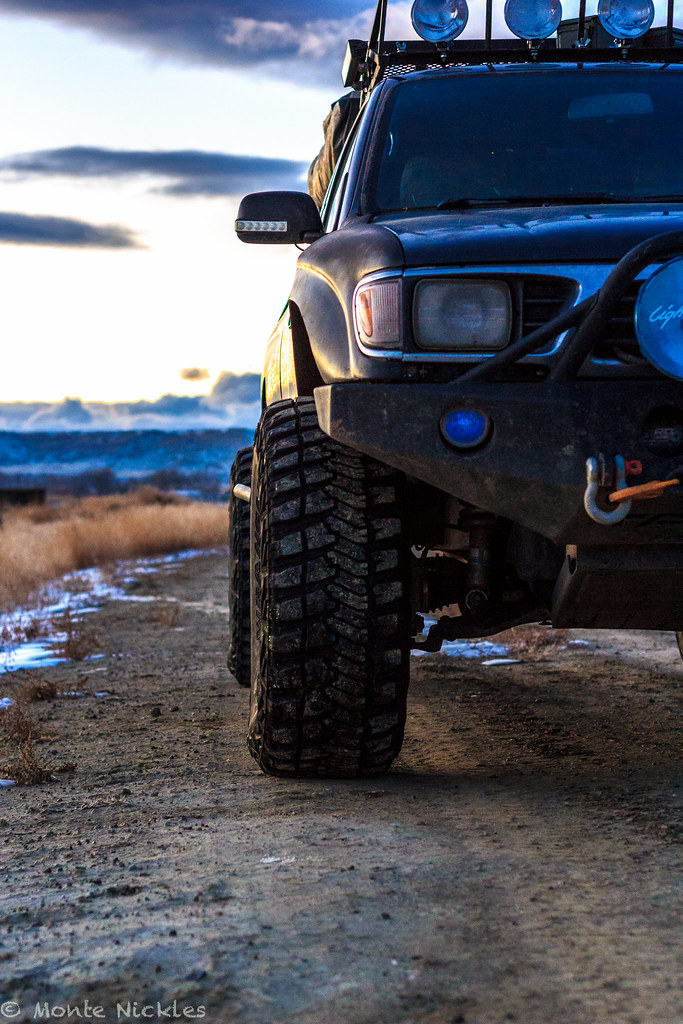 Frankenstein
 LongTravel Install.jpg
 LongTravel Install-2.jpg
 LongTravel Install-3.jpg
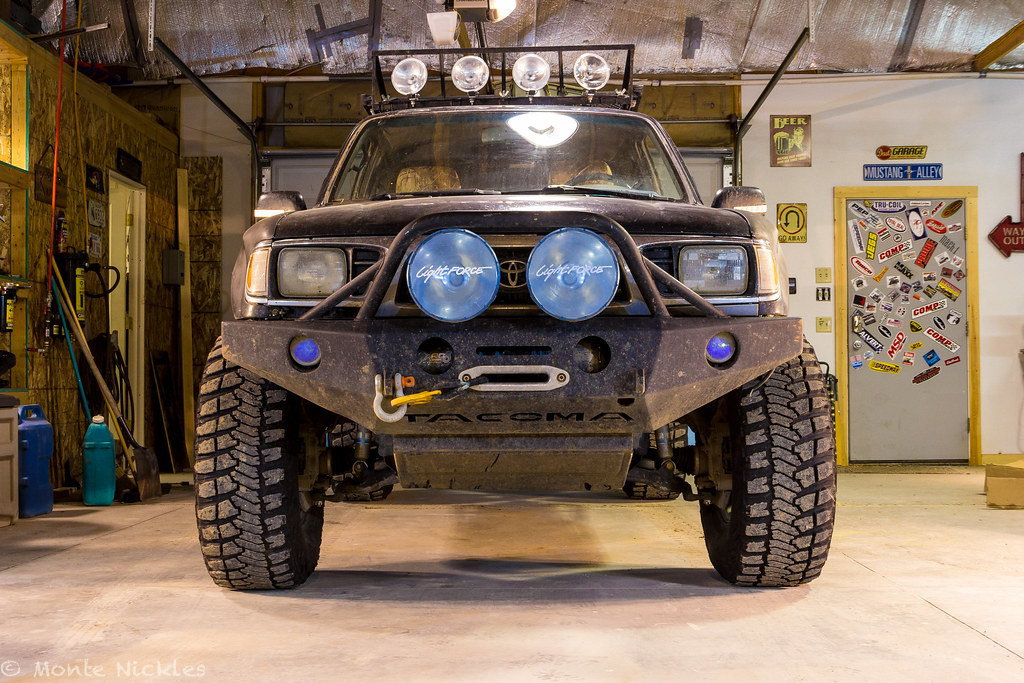 LongTravel Install-4.jpg
 LongTravel Install-5.jpg
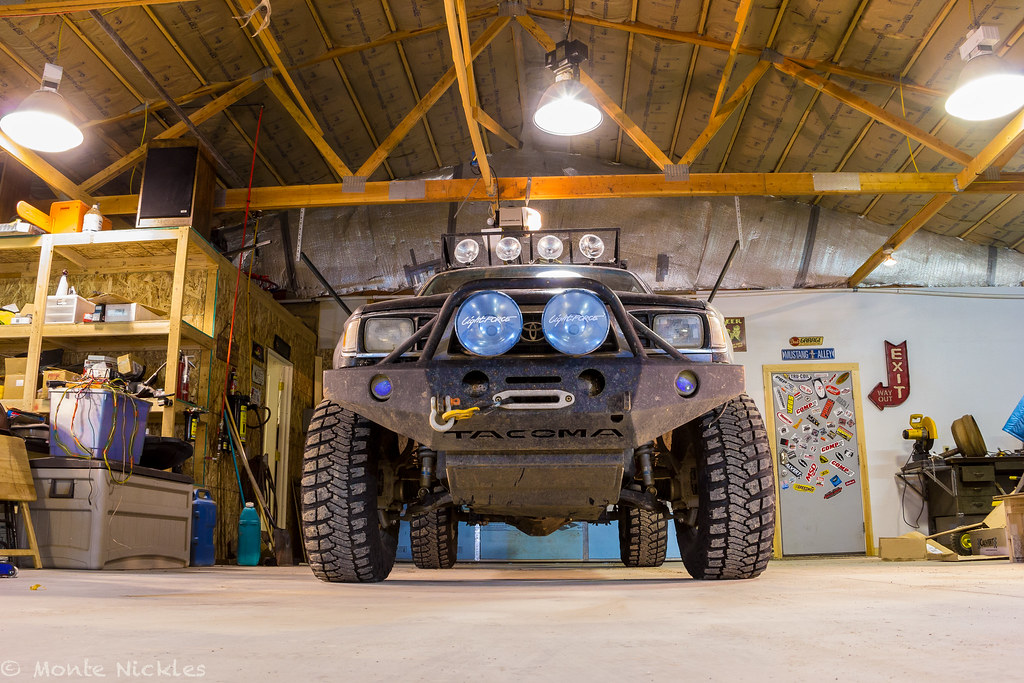 LongTravel Install-6.jpg
 LongTravel Install-7.jpg
 LongTravel Install-8.jpg
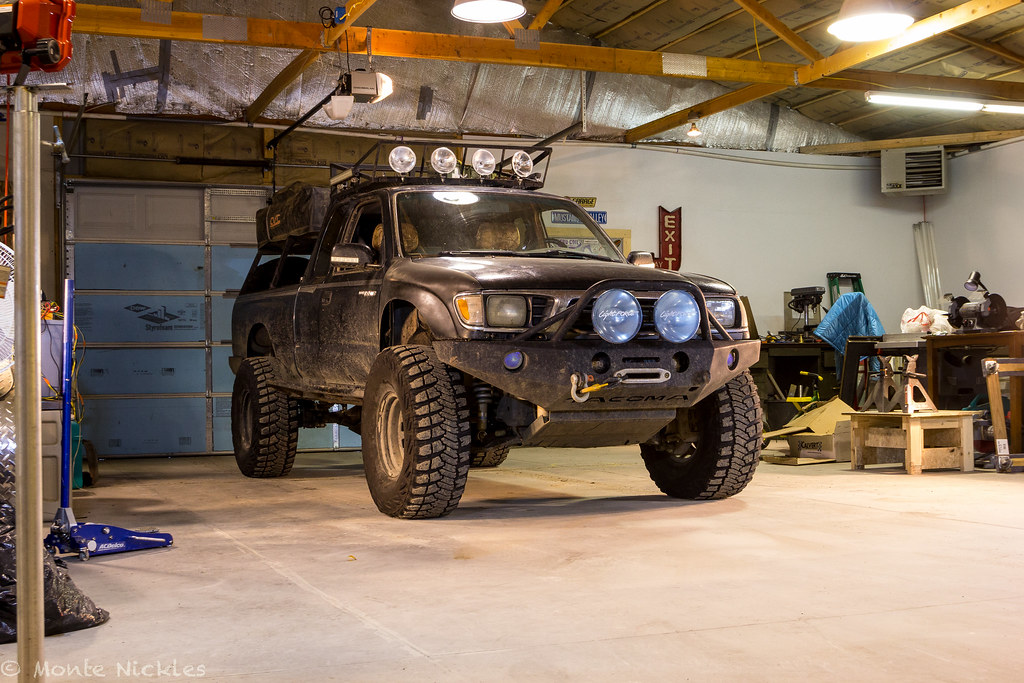 LongTravel Install-9.jpg
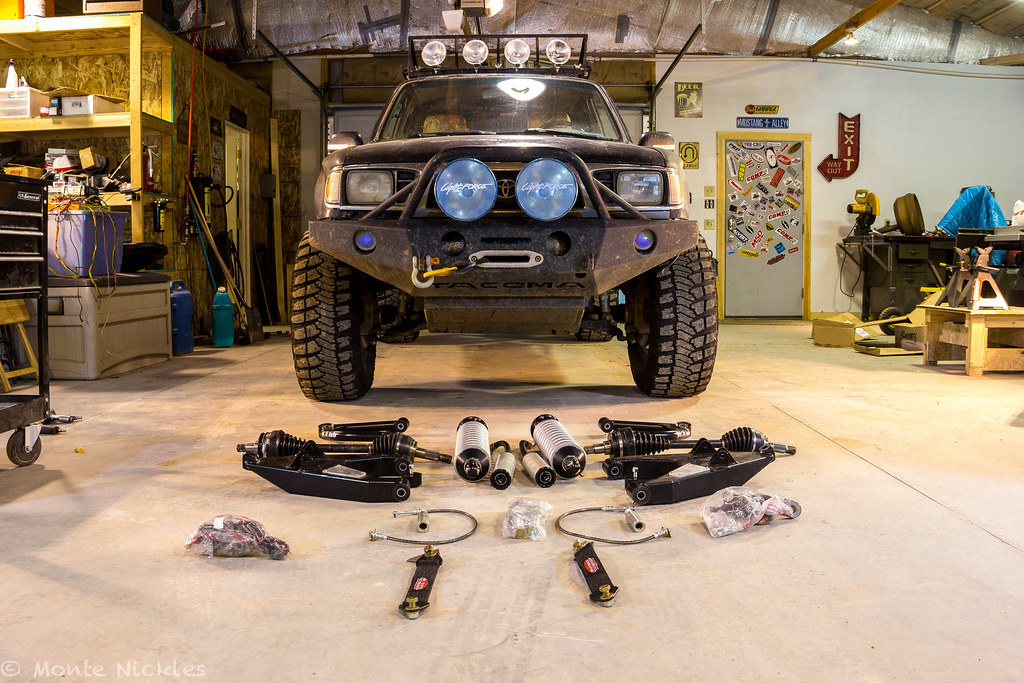 LongTravel Install-10.jpg
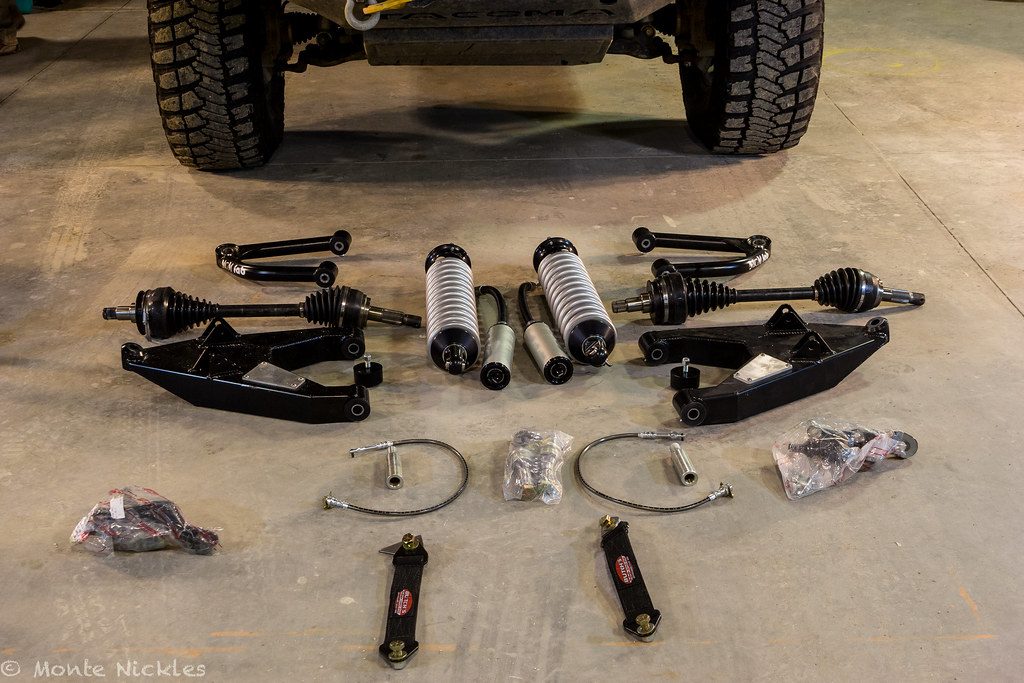 LongTravel Install-11.jpg
 LongTravel Install-12.jpg
 LongTravel Install-13.jpg
 LongTravel Install-3.jpg
 LongTravel Install-4.jpg
 LongTravel Install.jpg
 LongTravel Install-14.jpg
 LongTravel Install-2.jpg
 LongTravel Install-5.jpg
 LongTravel Install-6.jpg
 LongTravel Install.jpg
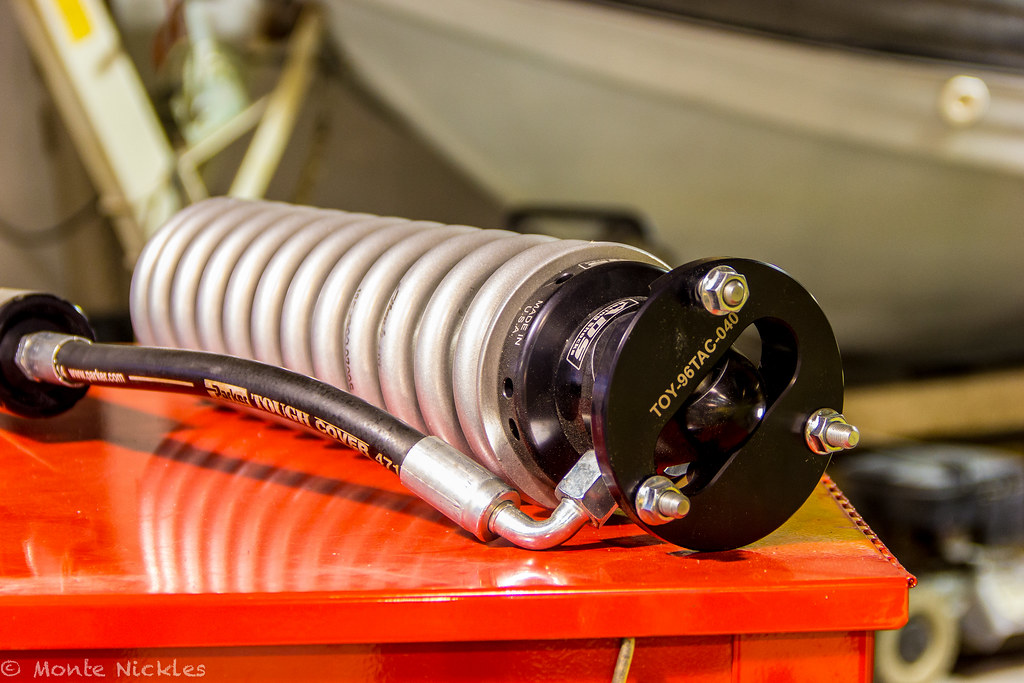 LongTravel Install-8.jpg
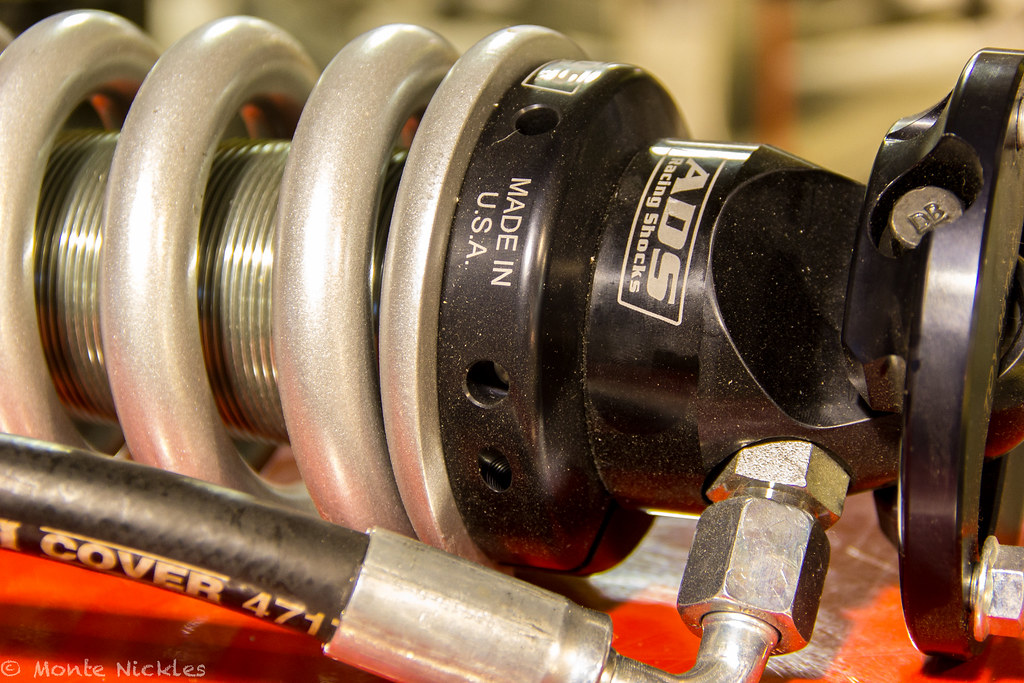 LongTravel Install-9.jpg
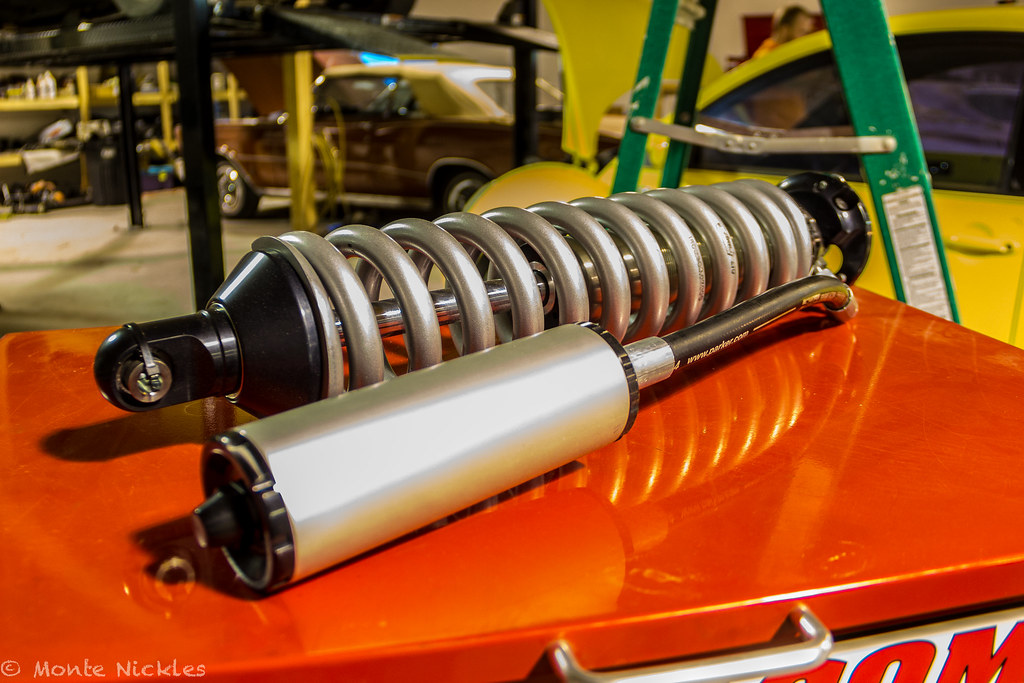 LongTravel Install-10.jpg
 LongTravel Install-11.jpg
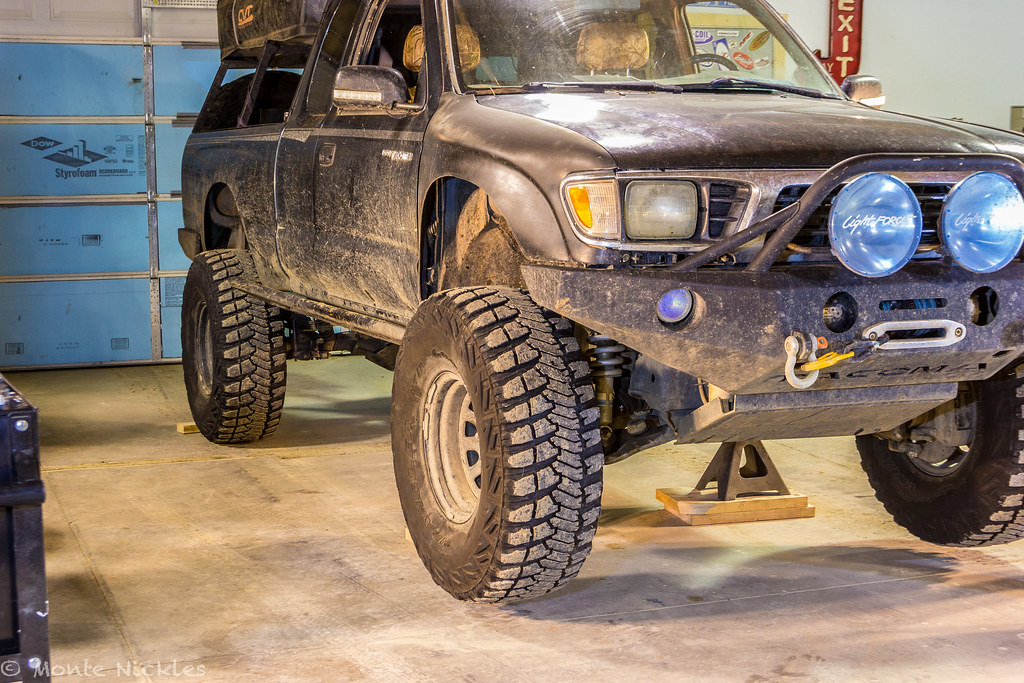 LongTravel Install-12.jpg
 LongTravel Install-13.jpg
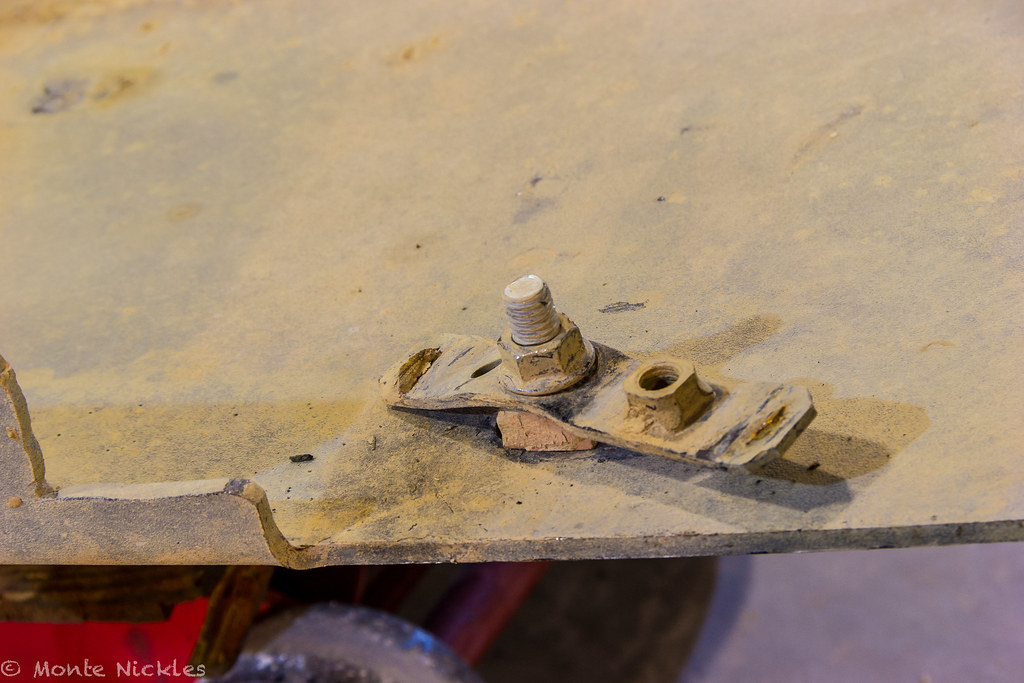 LongTravel Install-14.jpg
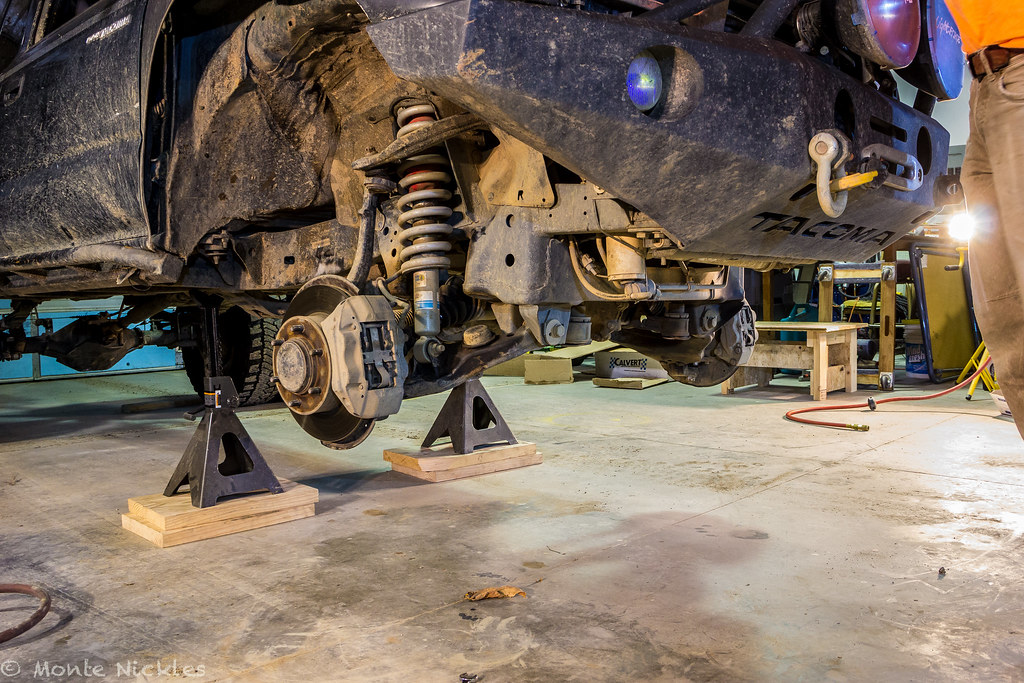 LongTravel Install-15.jpg
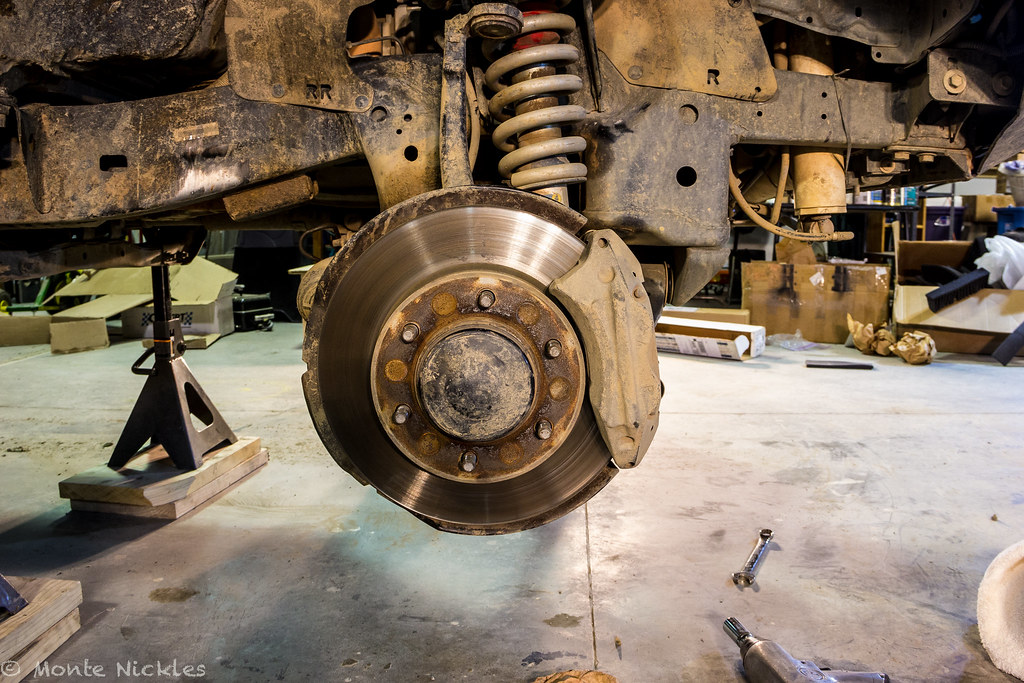 LongTravel Install-17.jpg
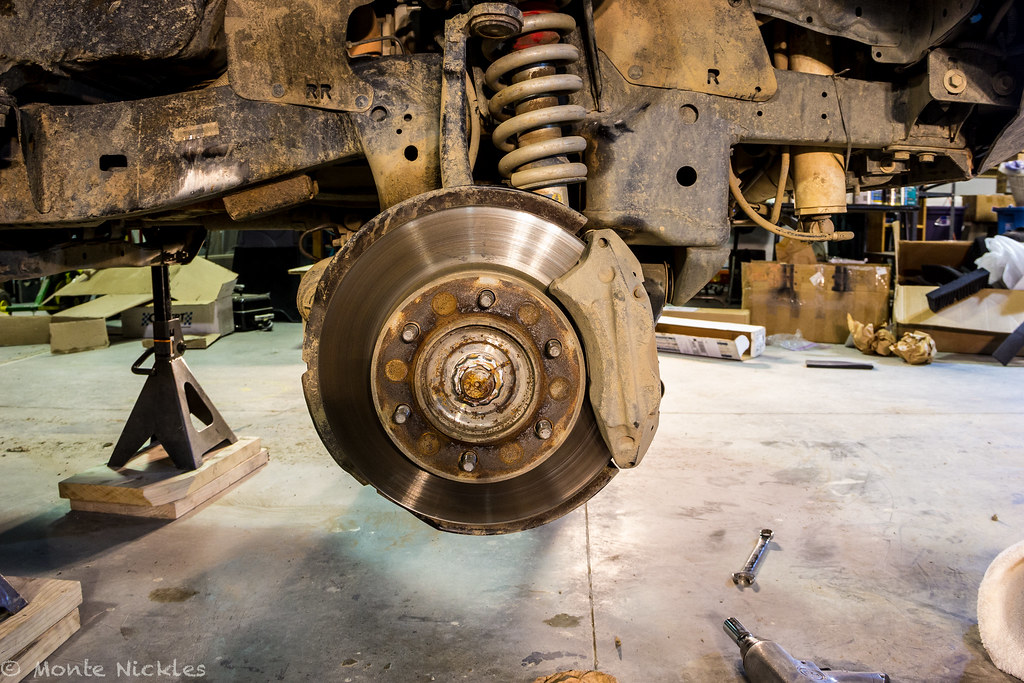 LongTravel Install-18.jpg
 LongTravel Install-19.jpg
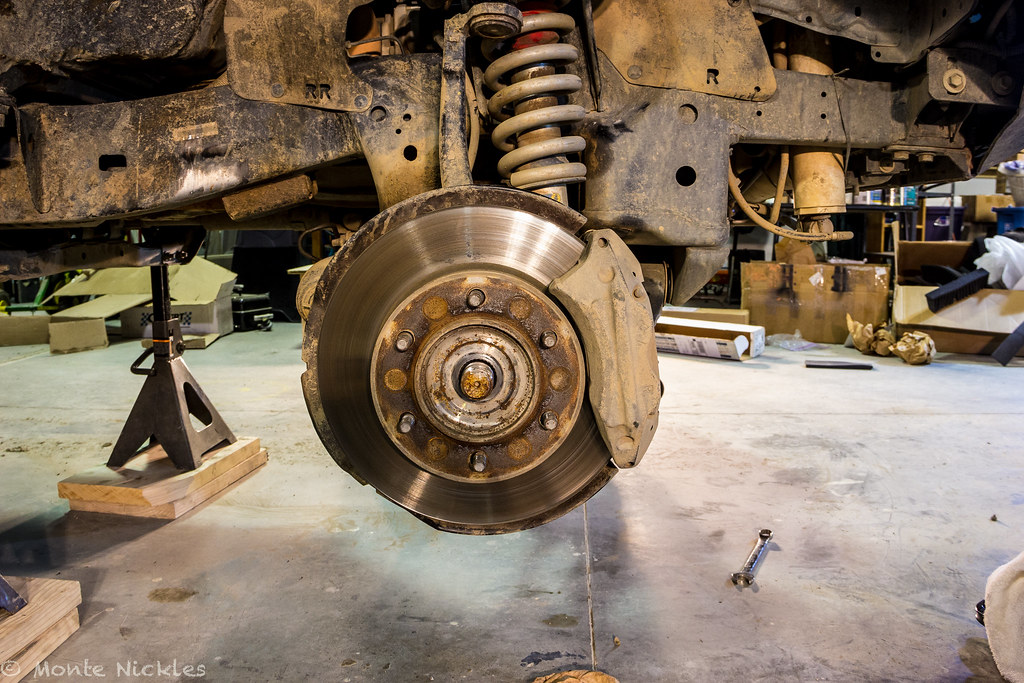 LongTravel Install-20.jpg
 LongTravel Install-16.jpg
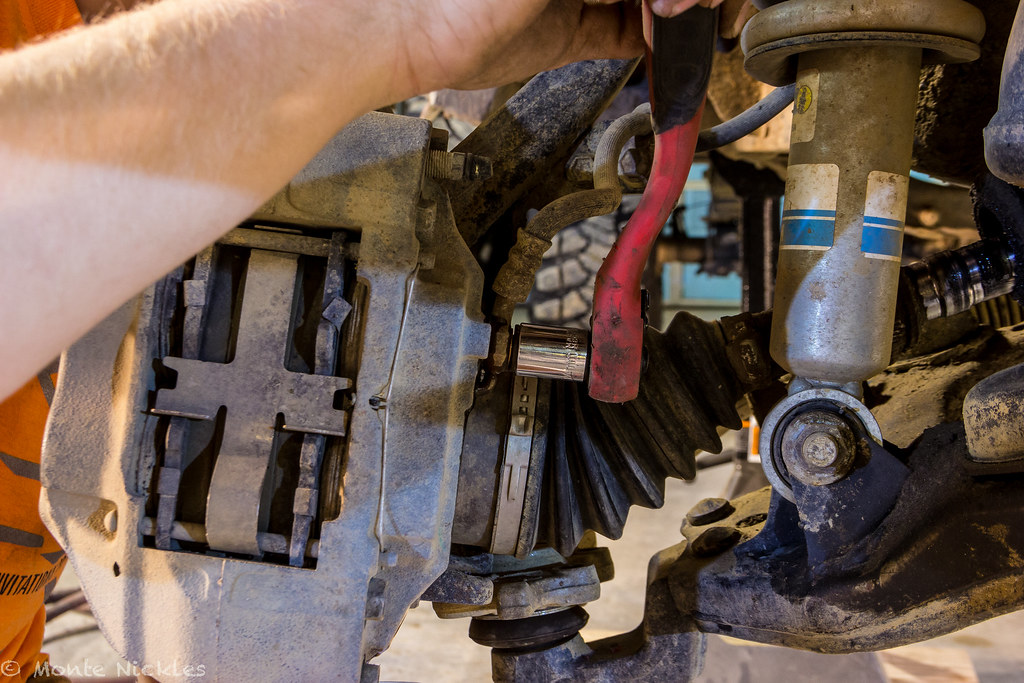 LongTravel Install-21.jpg
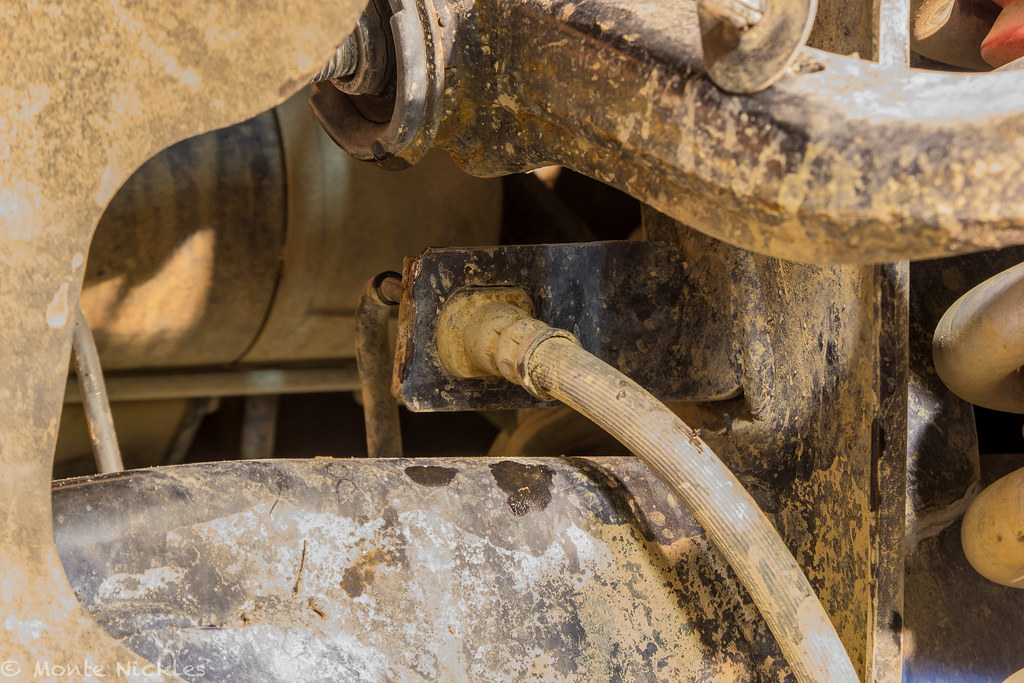 LongTravel Install-22.jpg
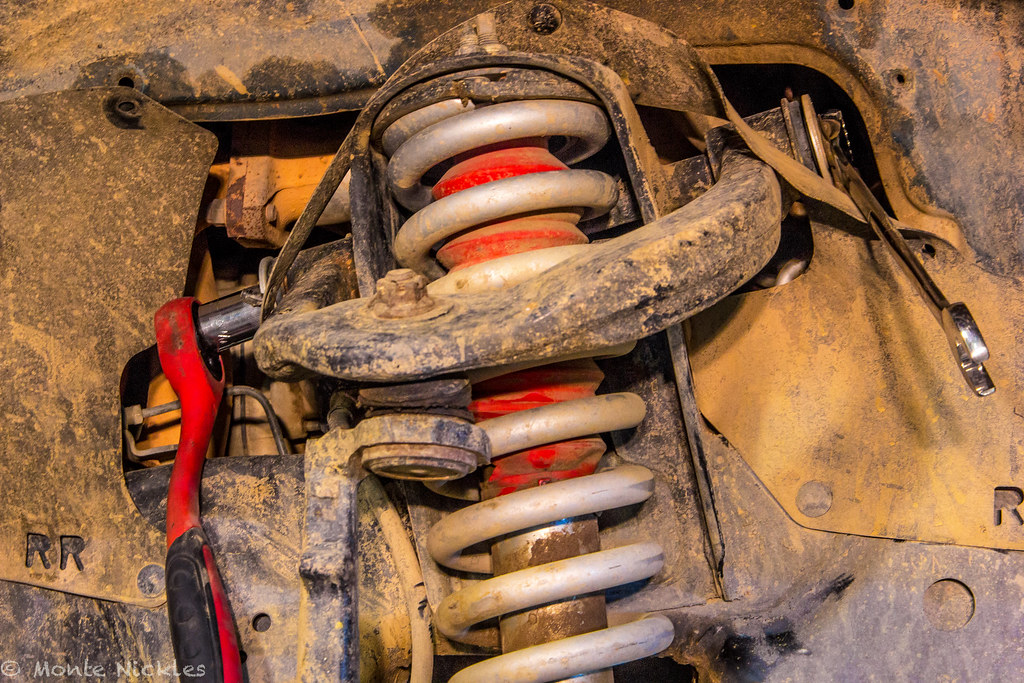 LongTravel Install.jpg
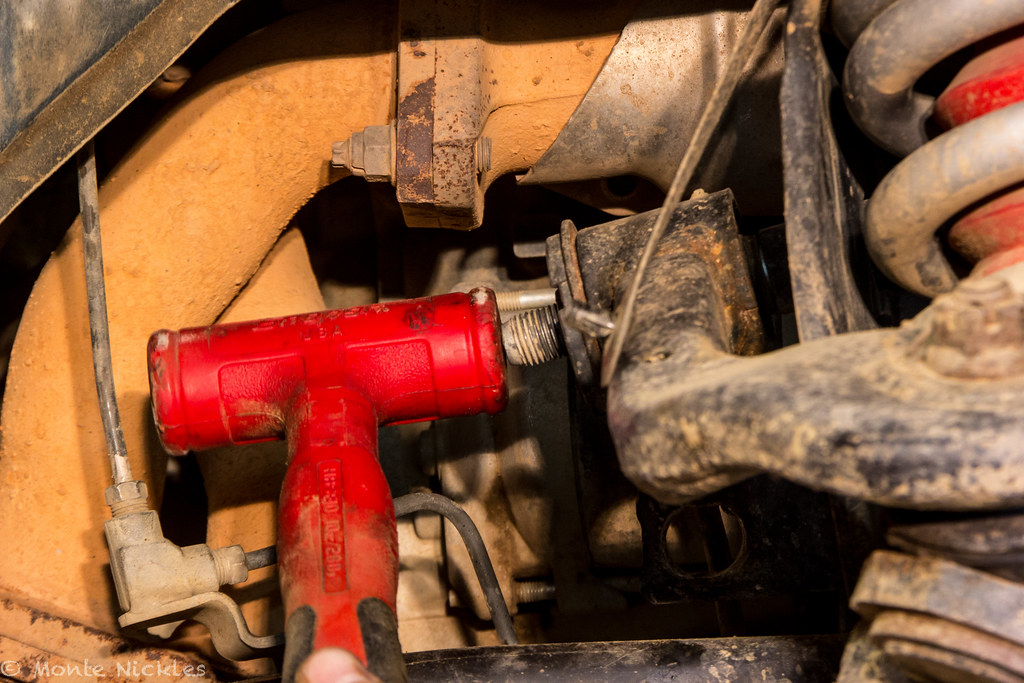 LongTravel Install-2.jpg
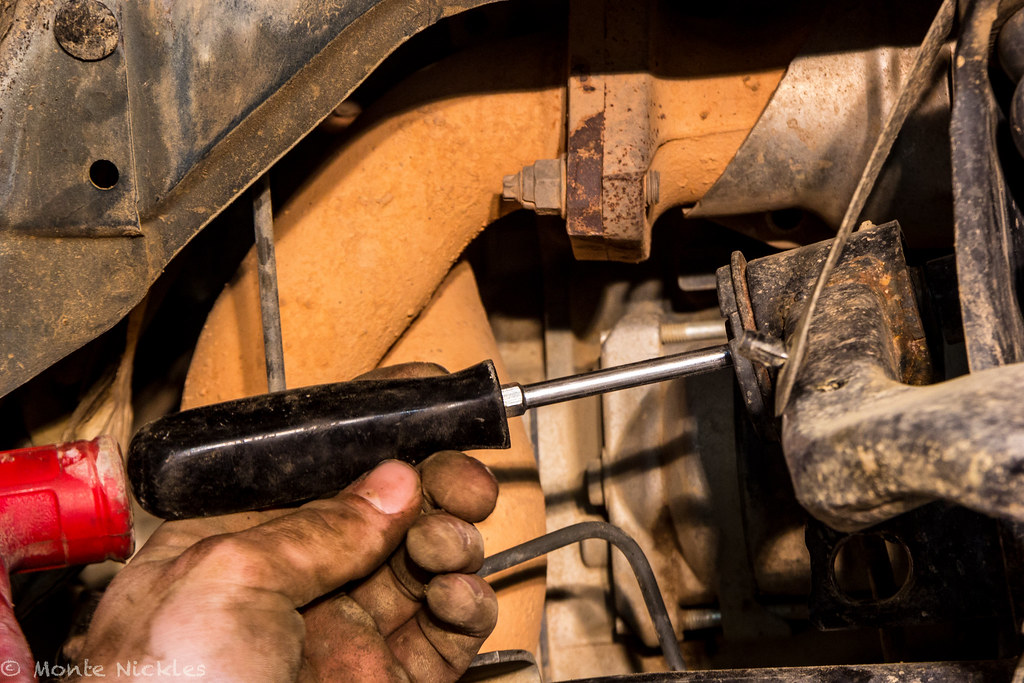 LongTravel Install-25.jpg
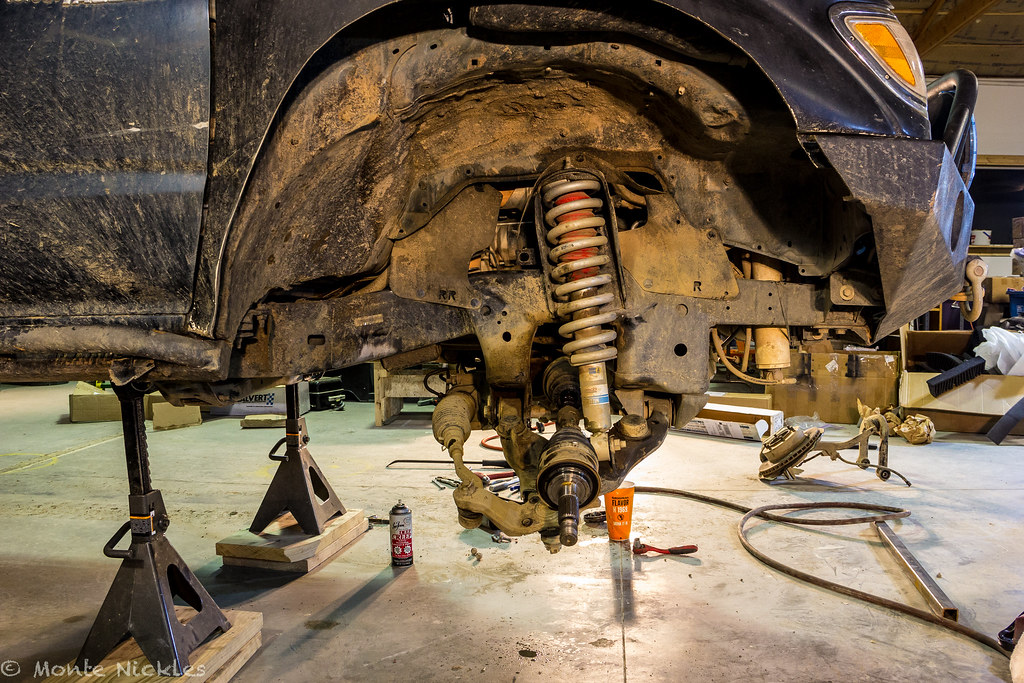 LongTravel Install-26.jpg
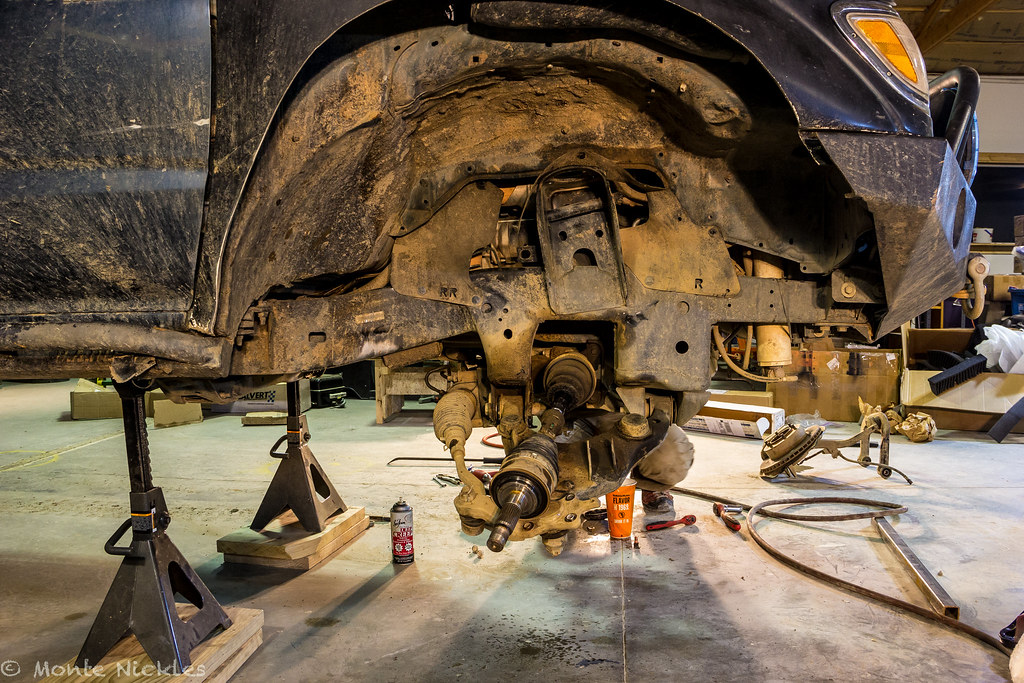 LongTravel Install-27.jpg
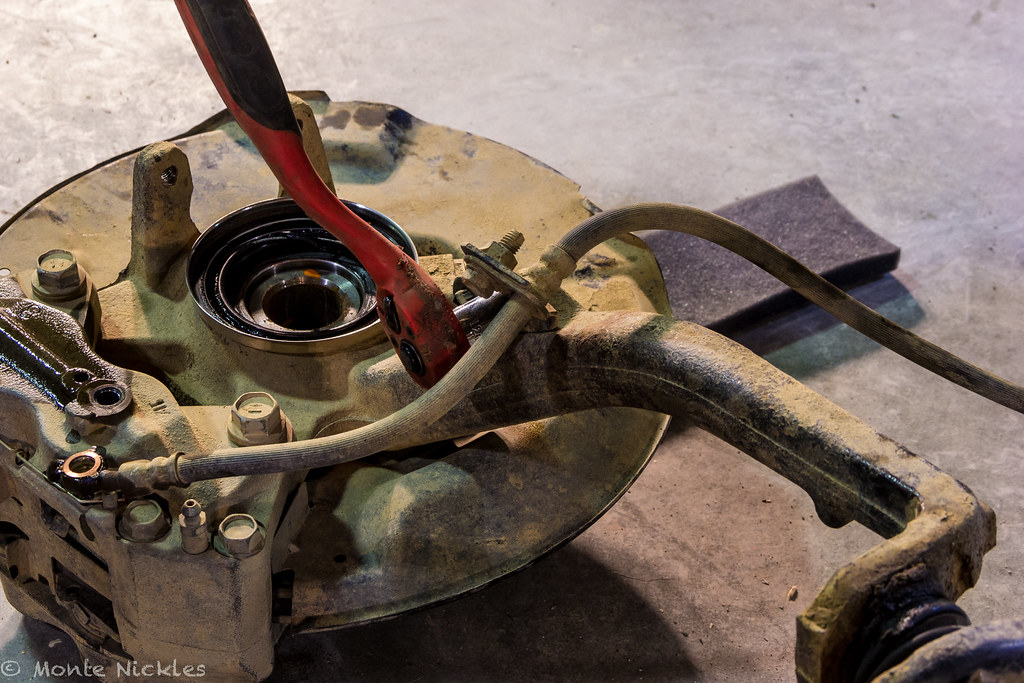 LongTravel Install-28.jpg
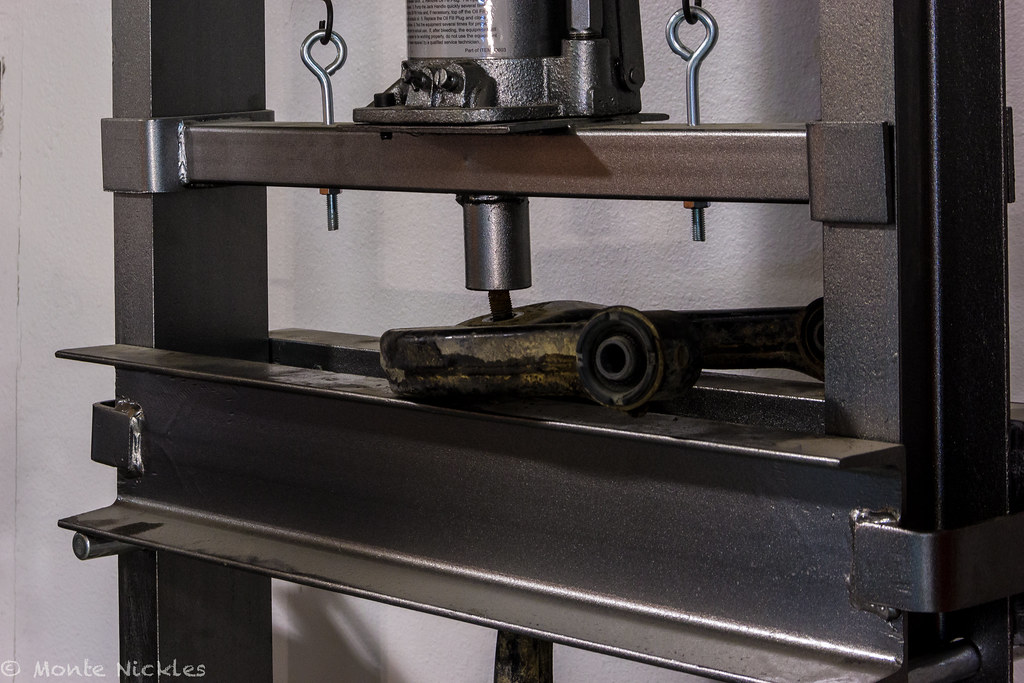 LongTravel Install-29.jpg
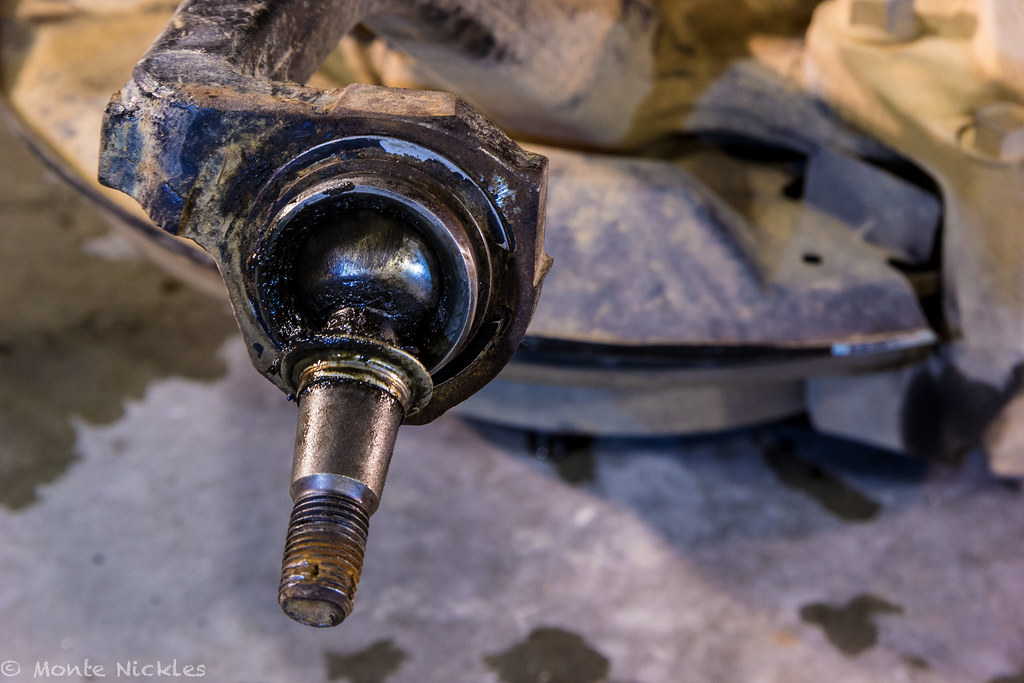 LongTravel Install-30.jpg
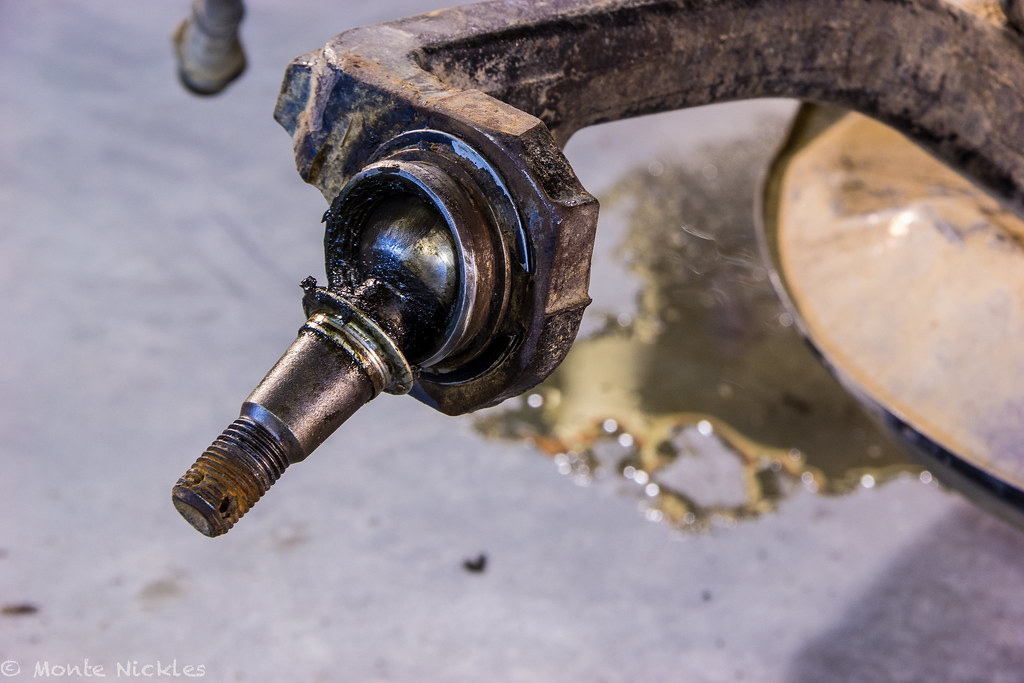 LongTravel Install-31.jpg
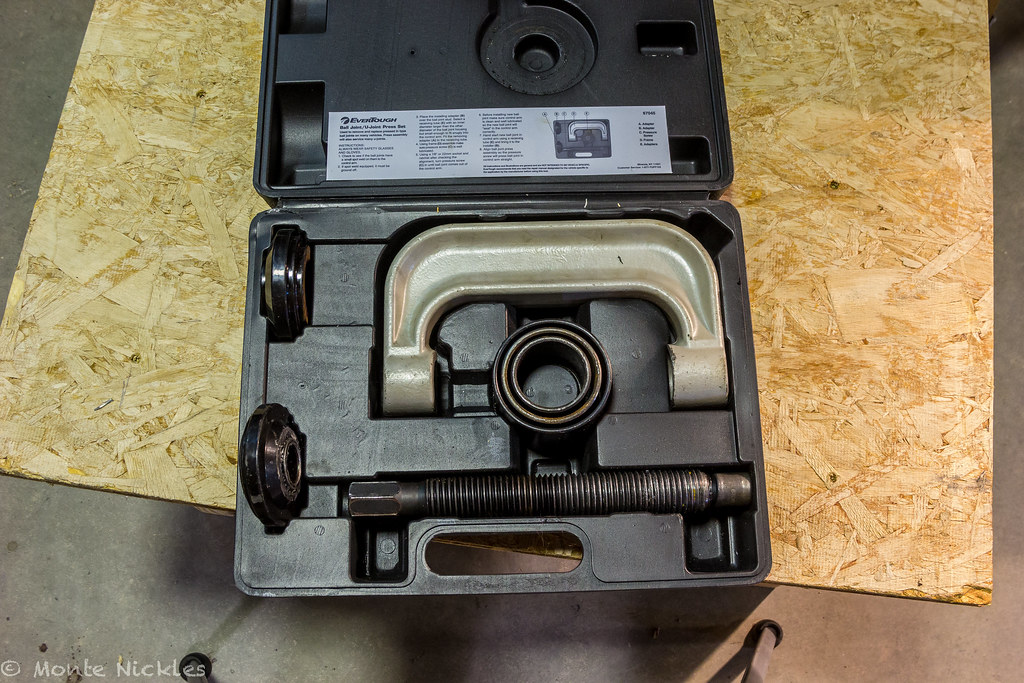 LongTravel Install-32.jpg
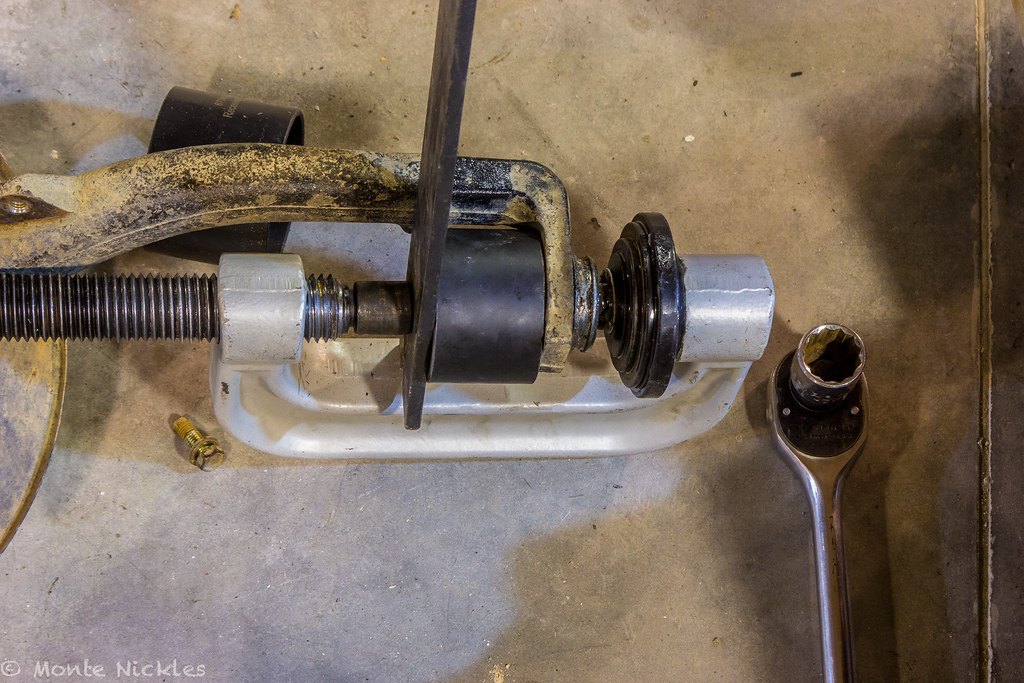 LongTravel Install-33.jpg
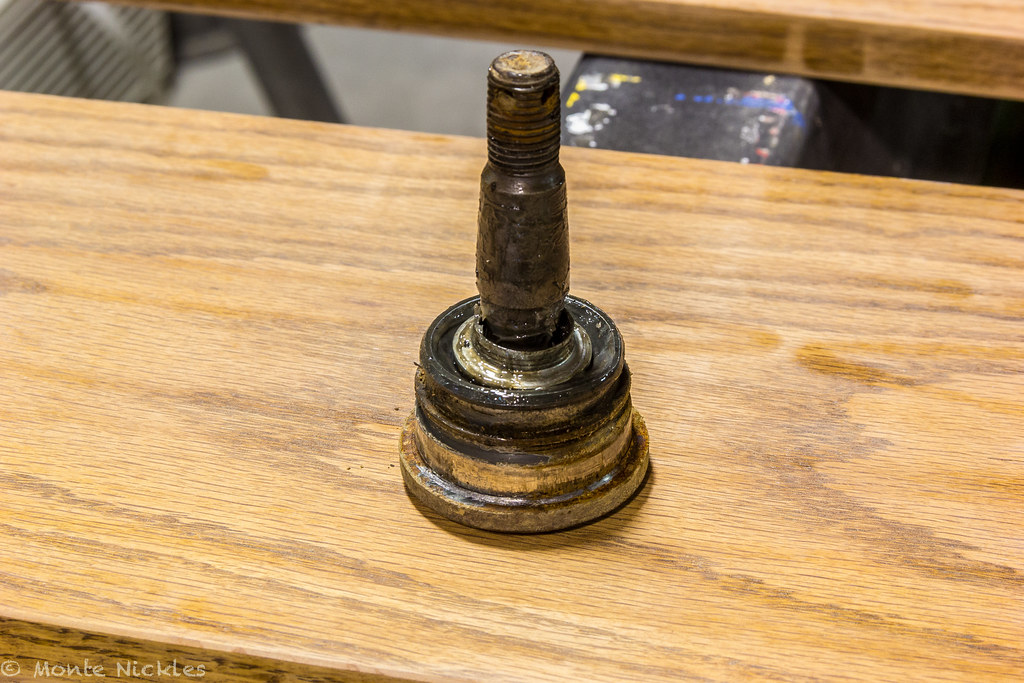 LongTravel Install-34.jpg
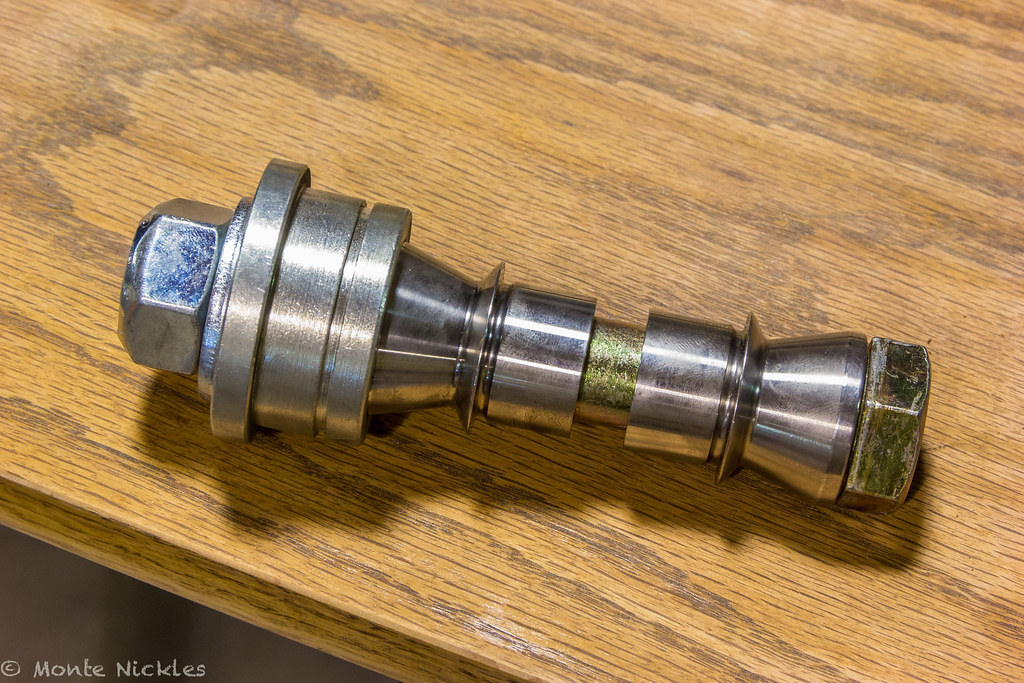 LongTravel Install-36.jpg
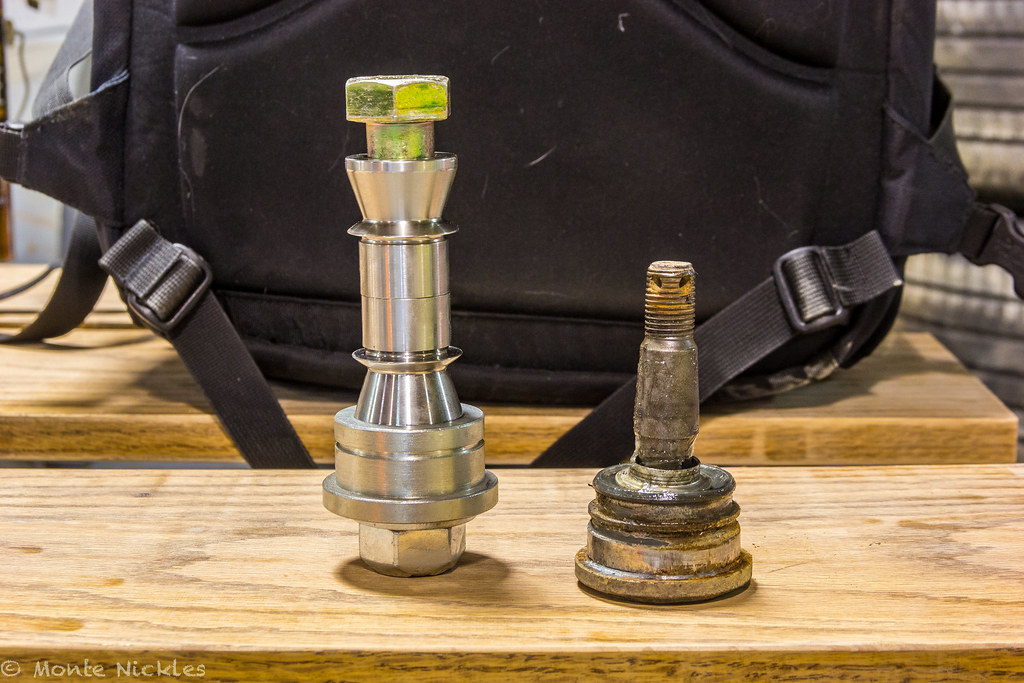 LongTravel Install-37.jpg
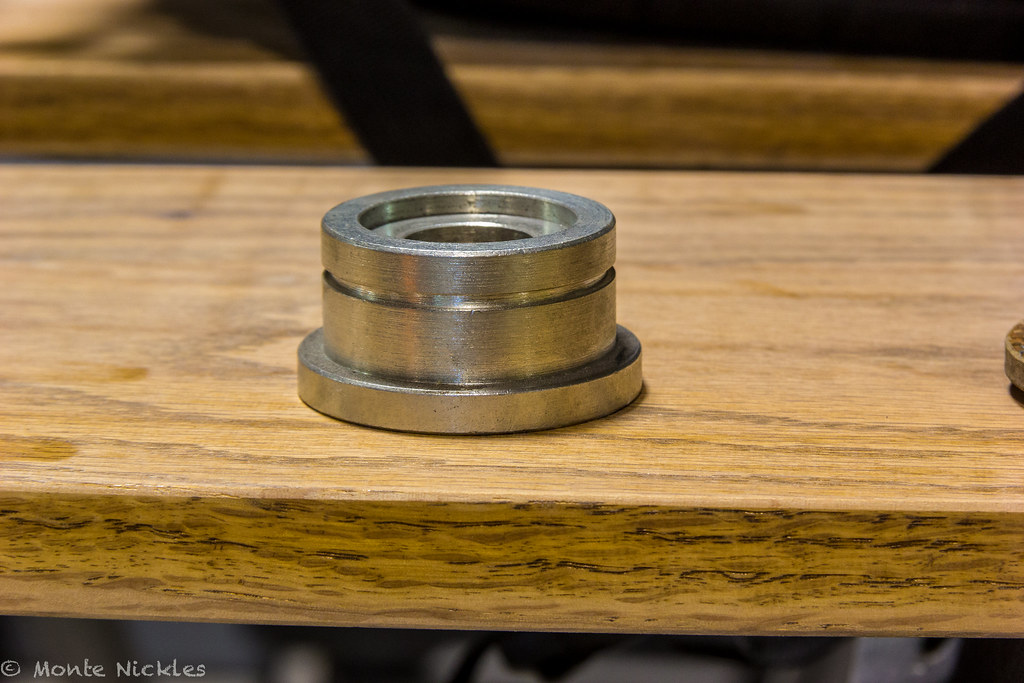 LongTravel Install-38.jpg
 LongTravel Install-35.jpg
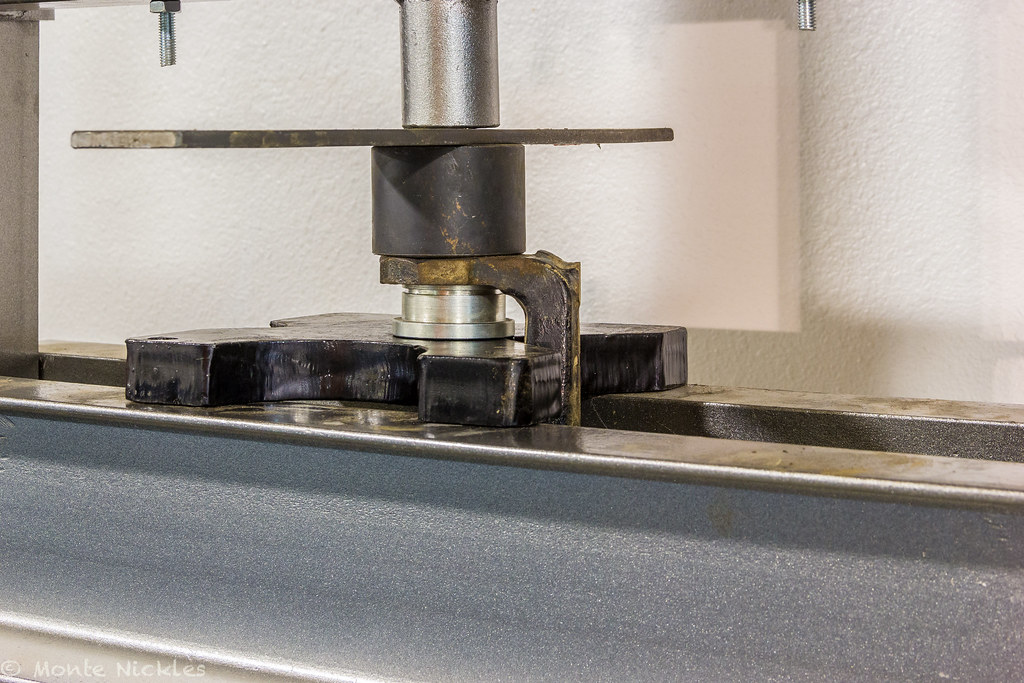 LongTravel Install-39.jpg
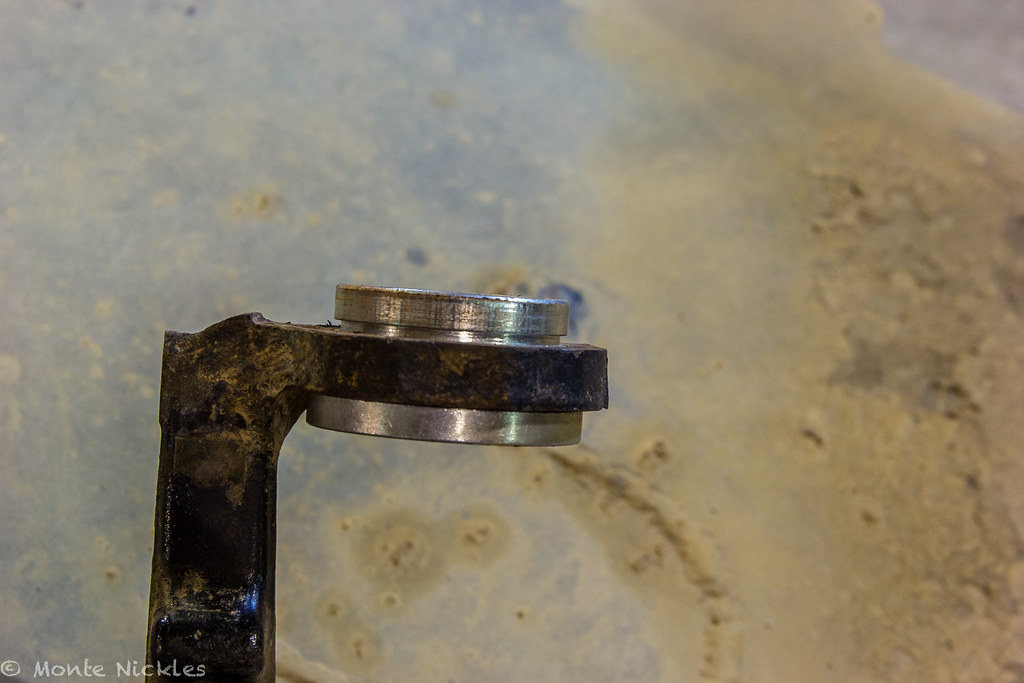 LongTravel Install-40.jpg
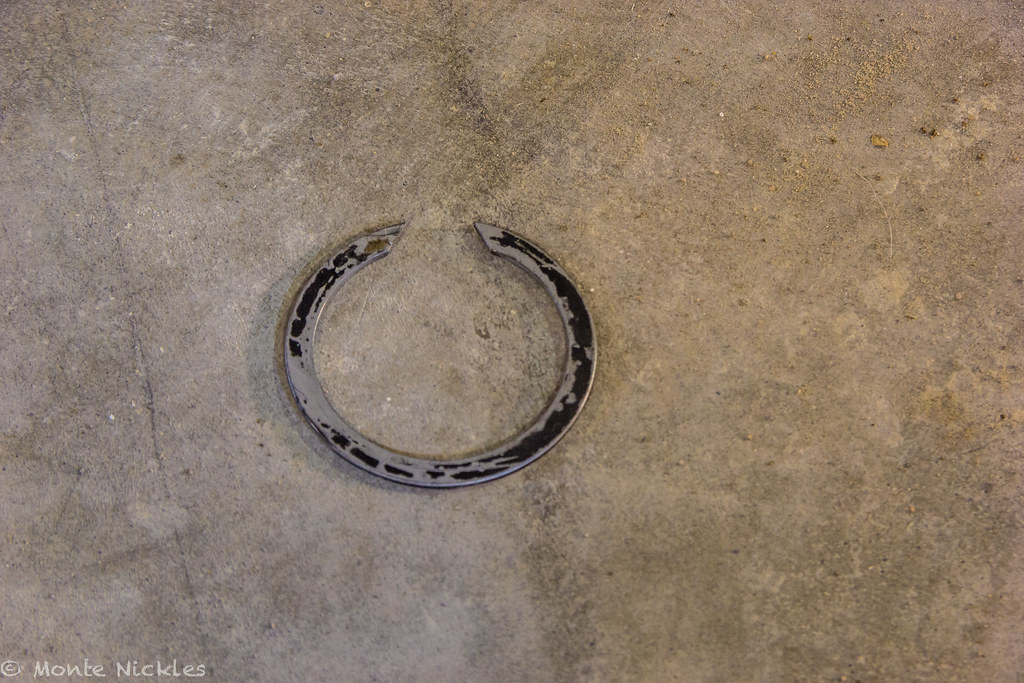 LongTravel Install-41.jpg
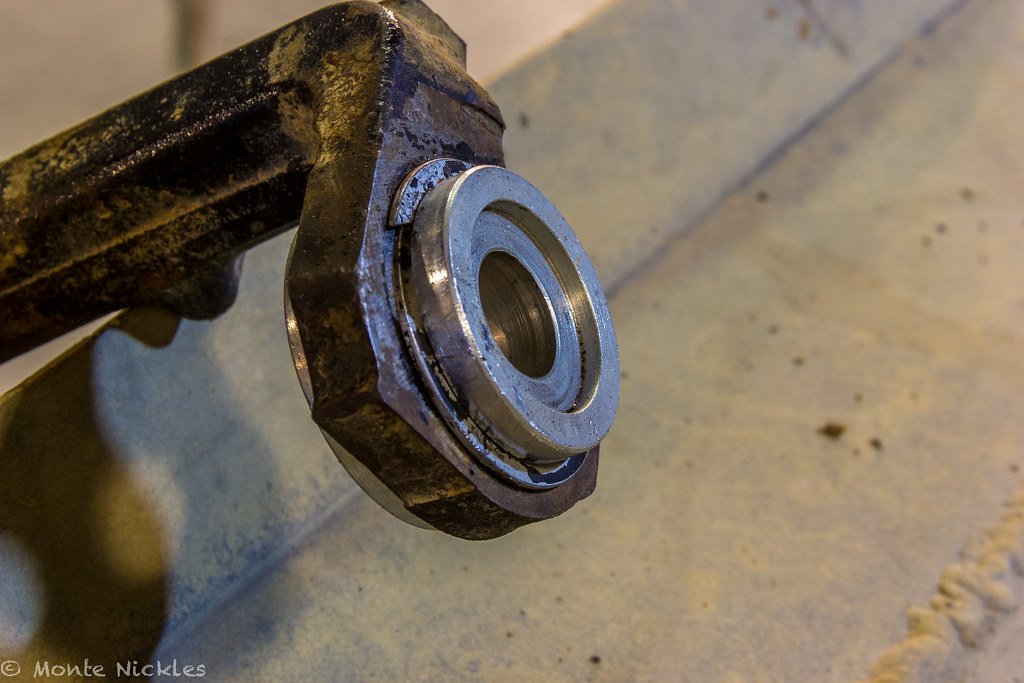 LongTravel Install-42.jpg
 LongTravel Install.jpg
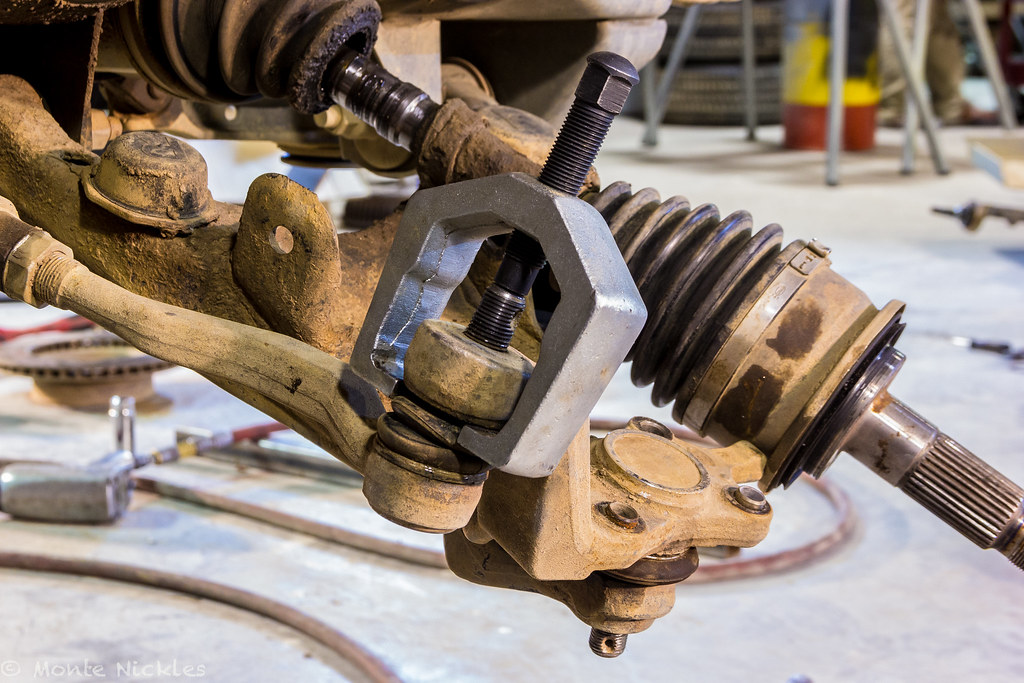 LongTravel Install-44.jpg
 LongTravel Install-45.jpg
 LongTravel Install-46.jpg
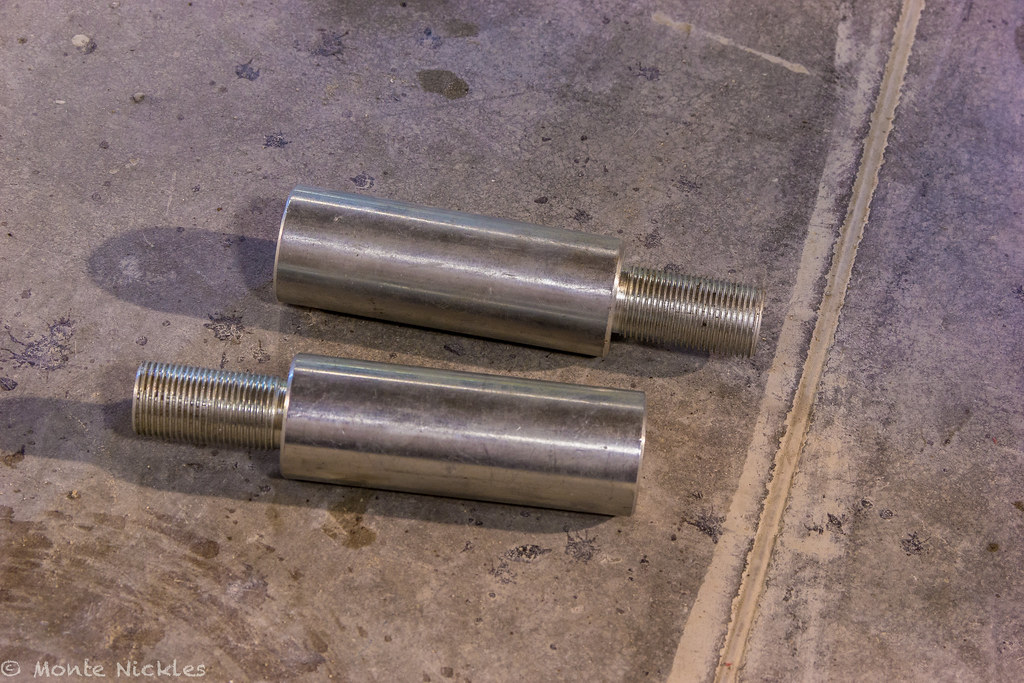 LongTravel Install-47.jpg
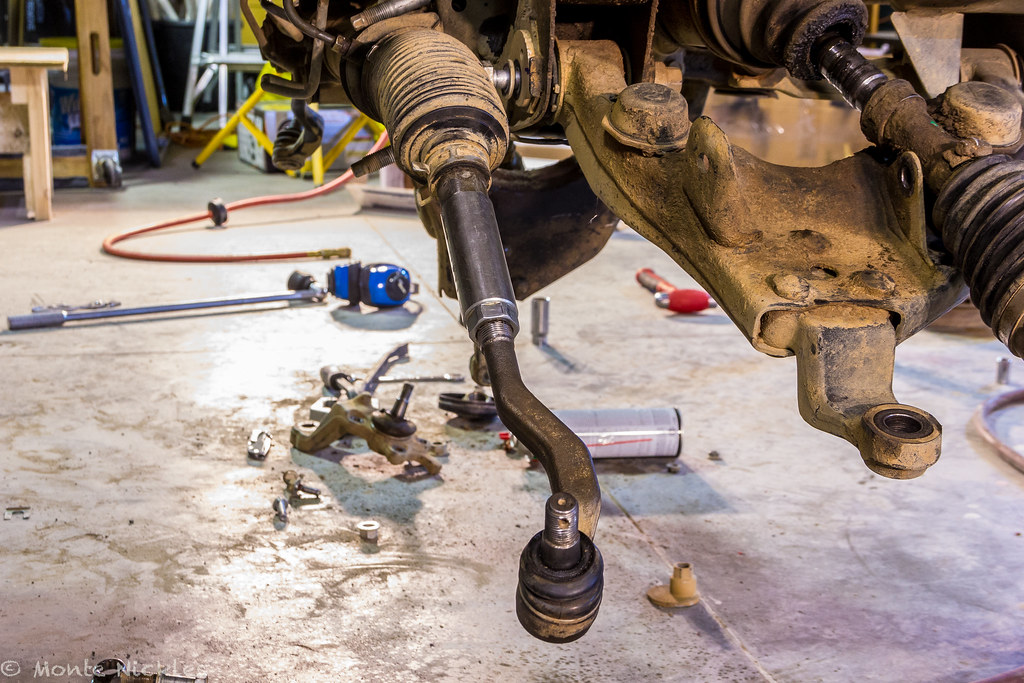 LongTravel Install-48.jpg
 LongTravel Install-49.jpg
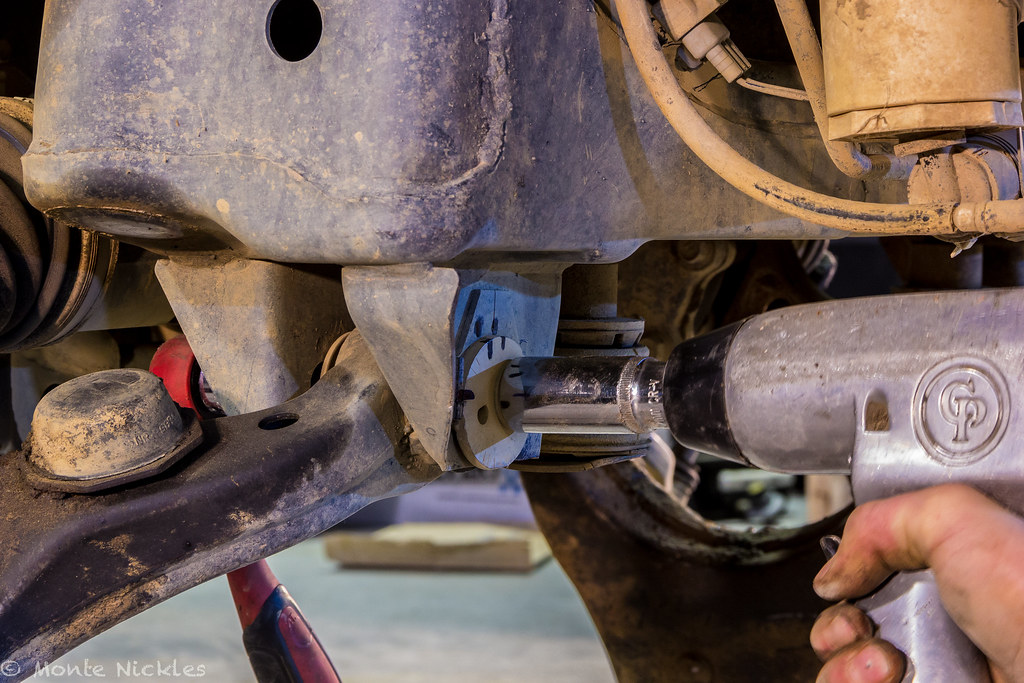 LongTravel Install-50.jpg
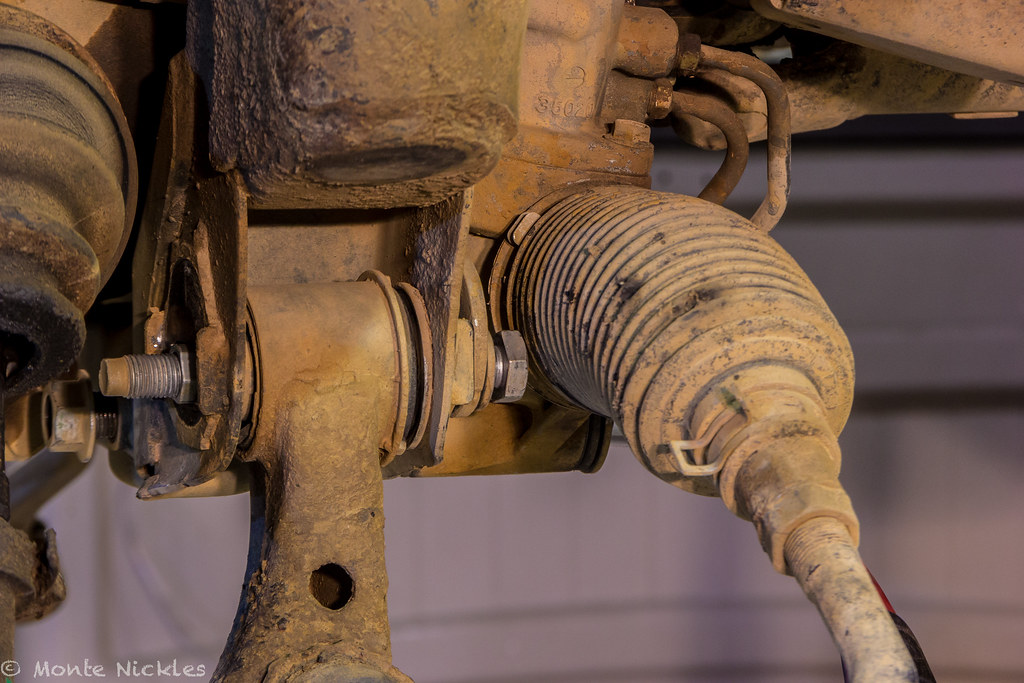 LongTravel Install-51.jpg
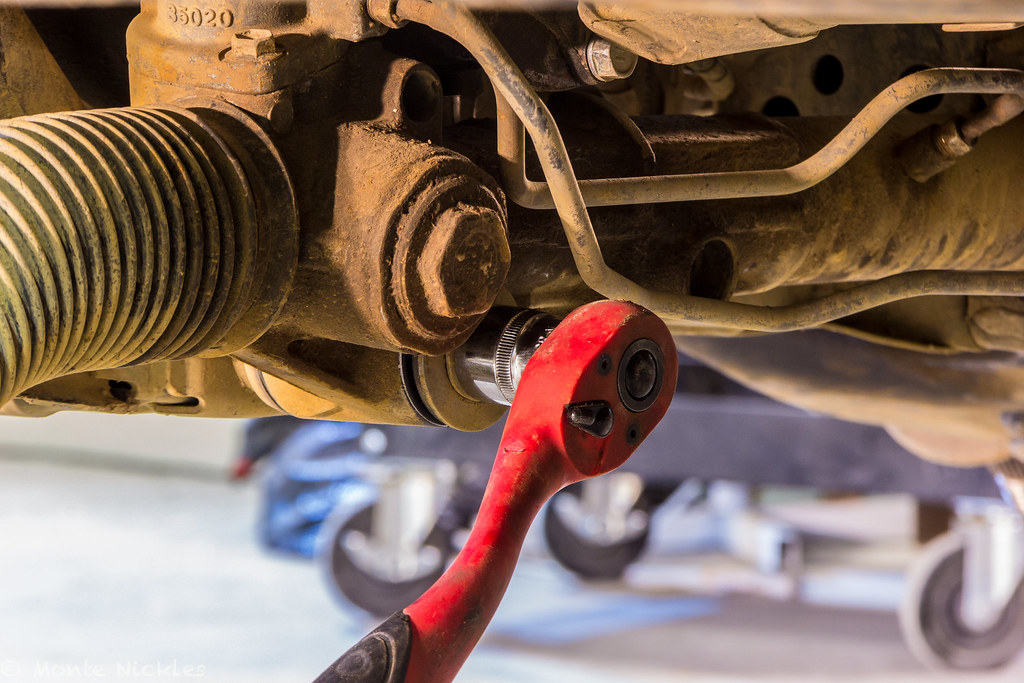 LongTravel Install-52.jpg
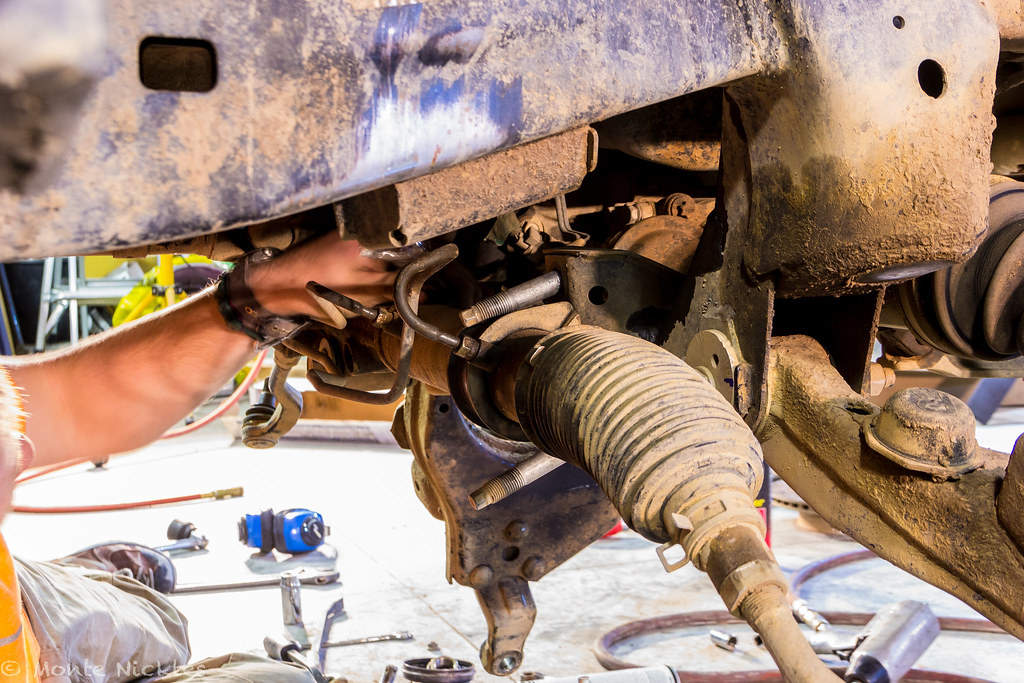 LongTravel Install-54.jpg
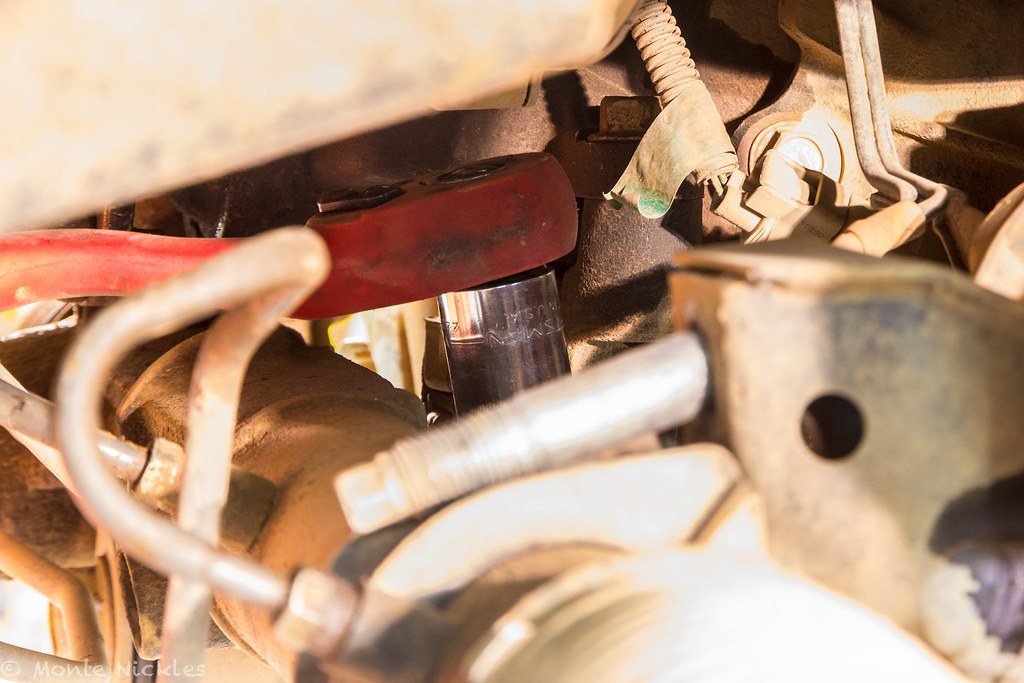 LongTravel Install-53.jpg
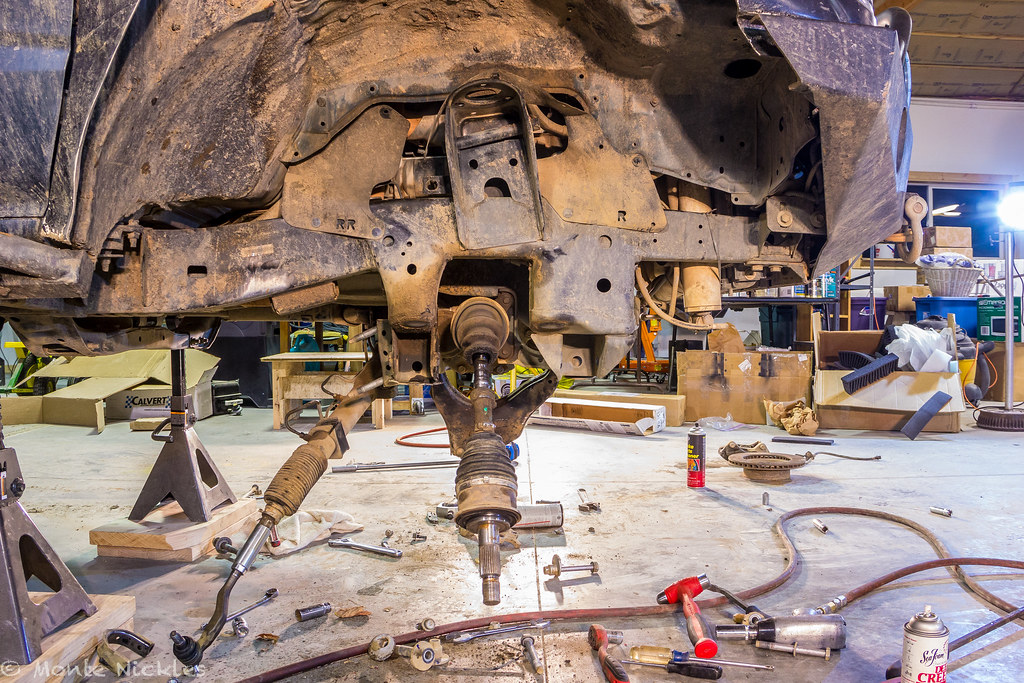 LongTravel Install-55.jpg
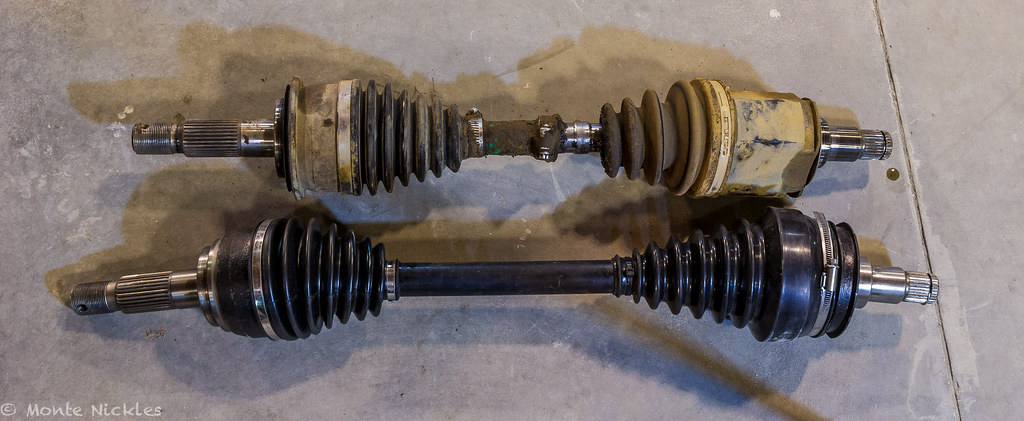 LongTravel Install-57.jpg
 LongTravel Install-58.jpg
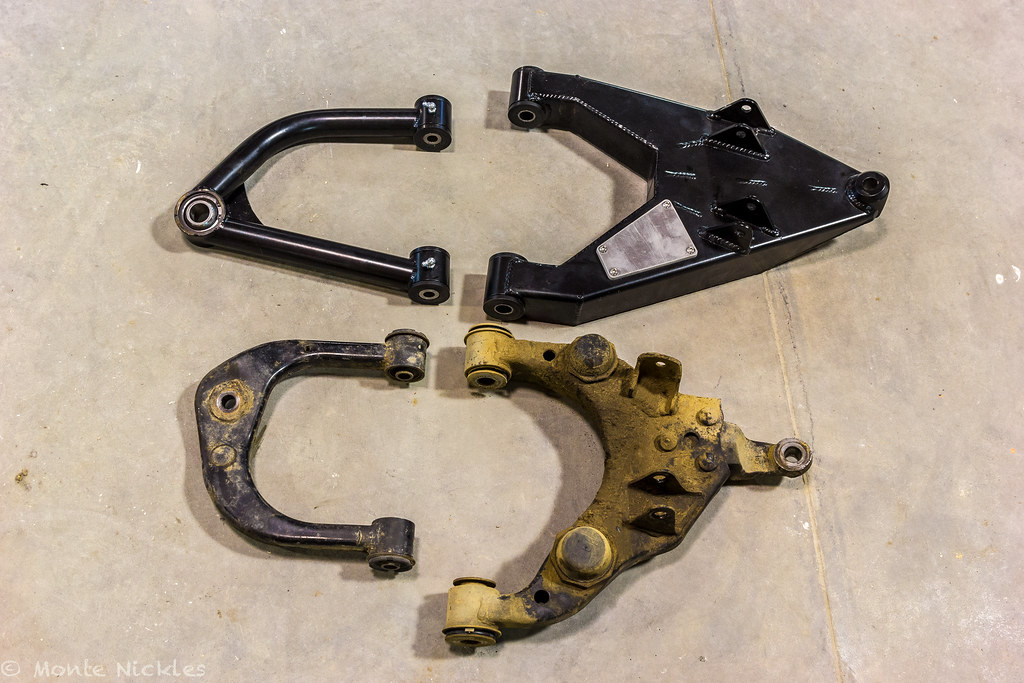 LongTravel Install.jpg
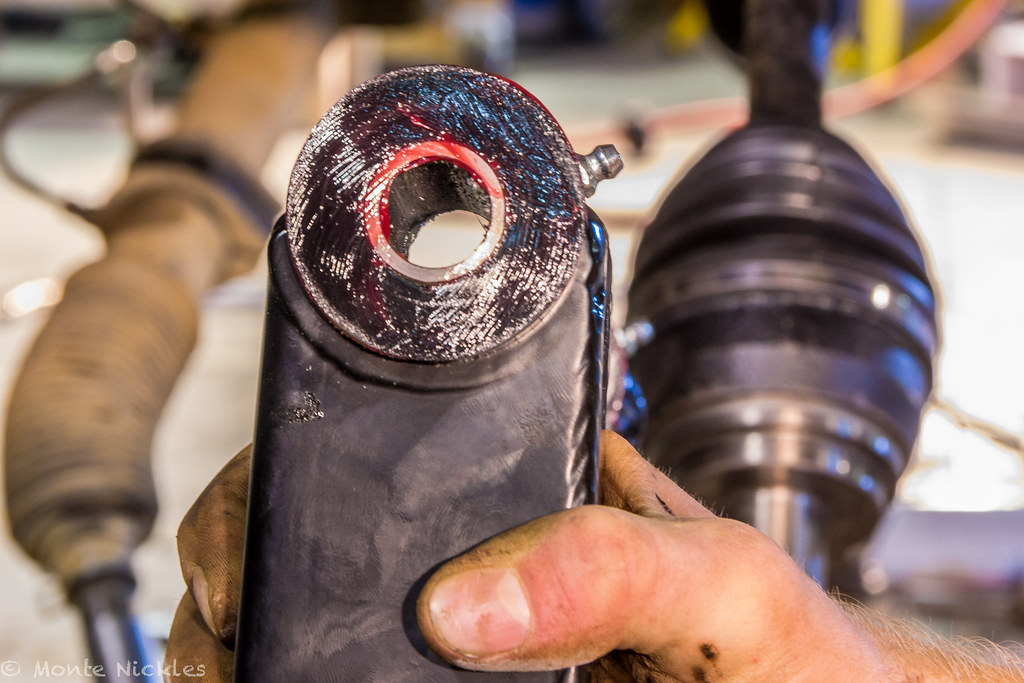 LongTravel Install-59.jpg
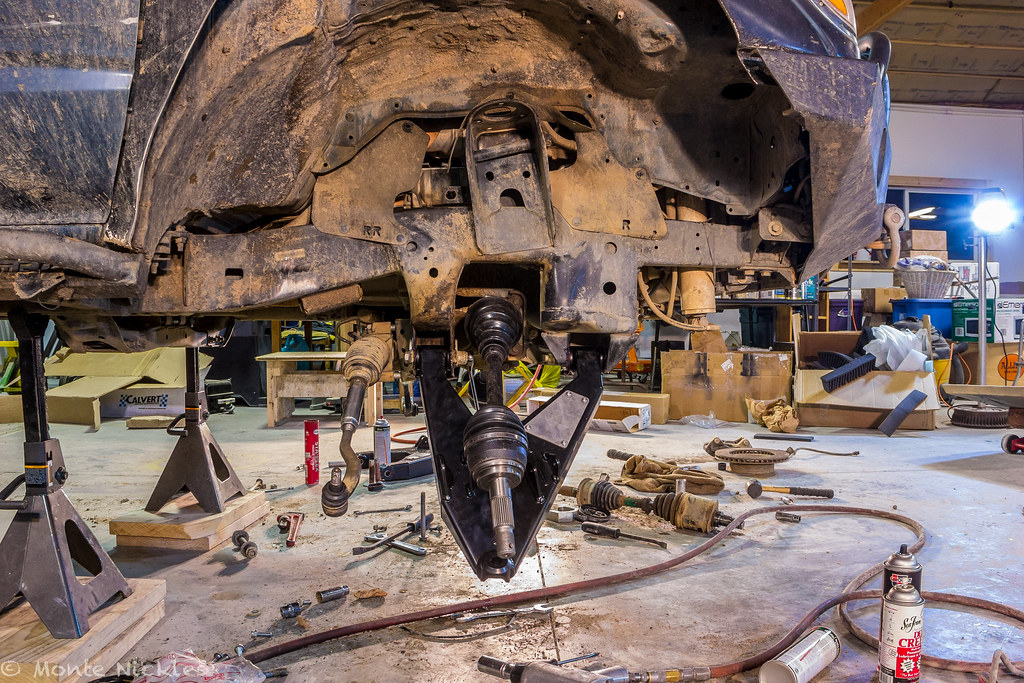 LongTravel Install-60.jpg
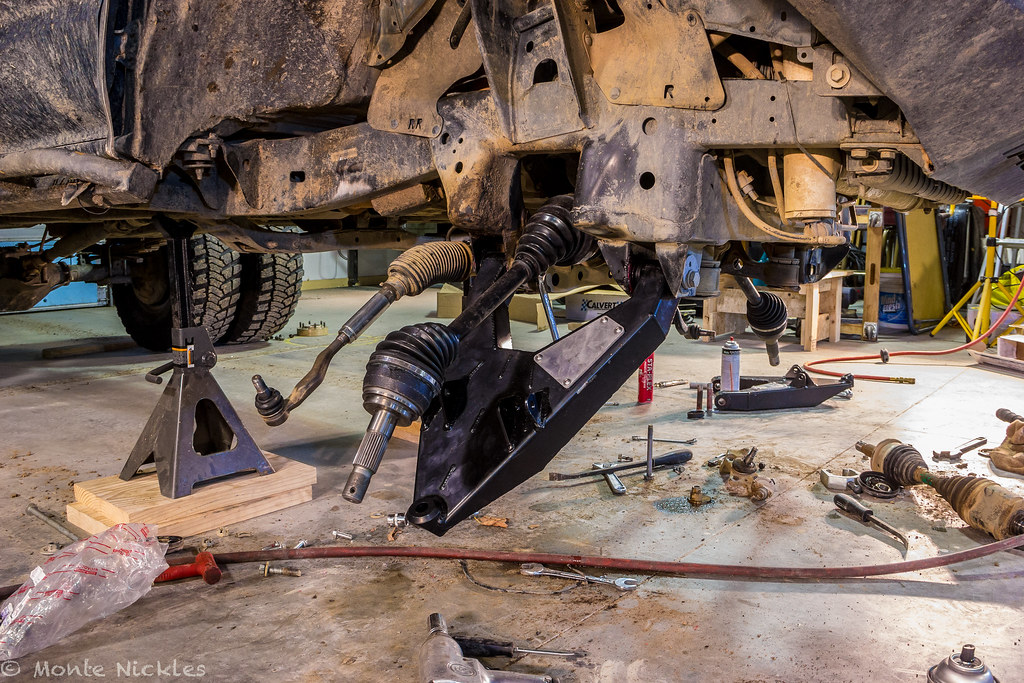 LongTravel Install-61.jpg
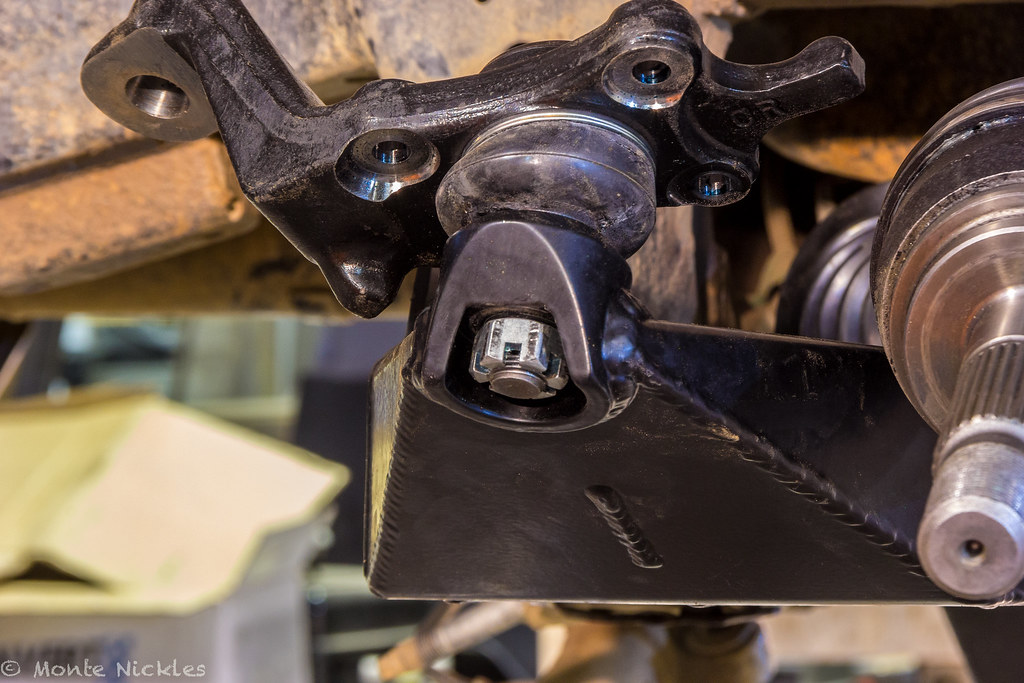 LongTravel Install-62.jpg
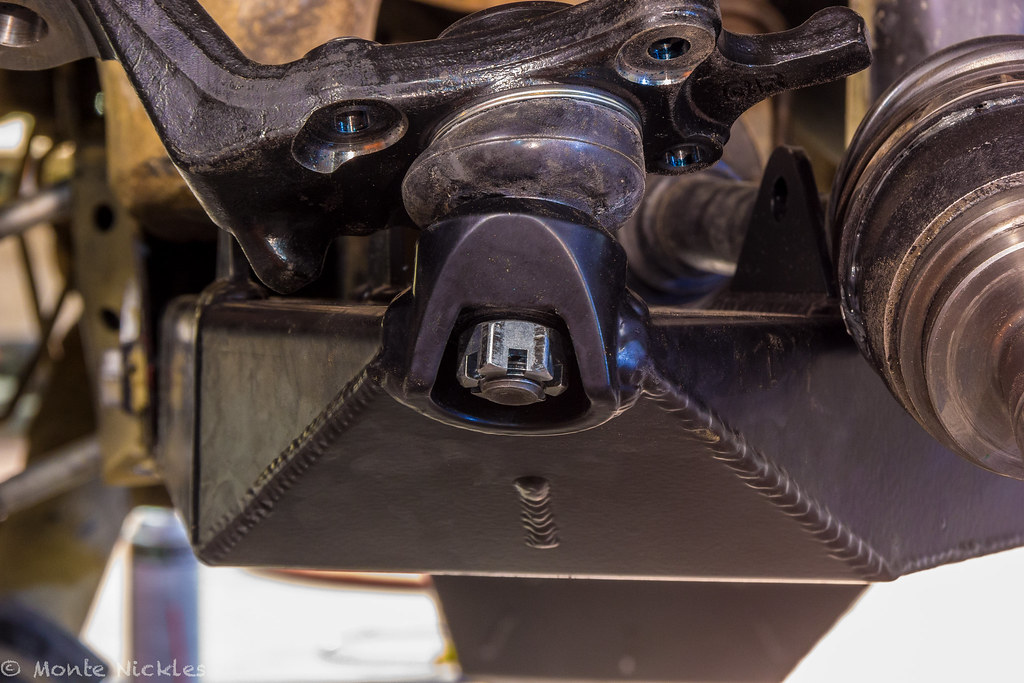 LongTravel Install-63.jpg
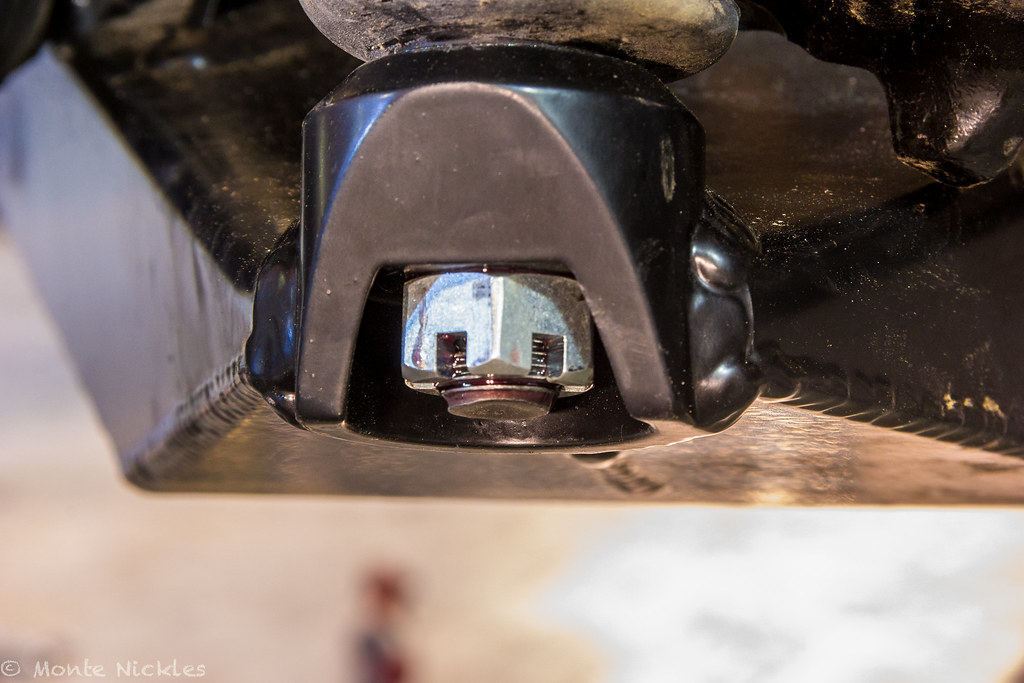 LongTravel Install-64.jpg
 LongTravel Install-65.jpg
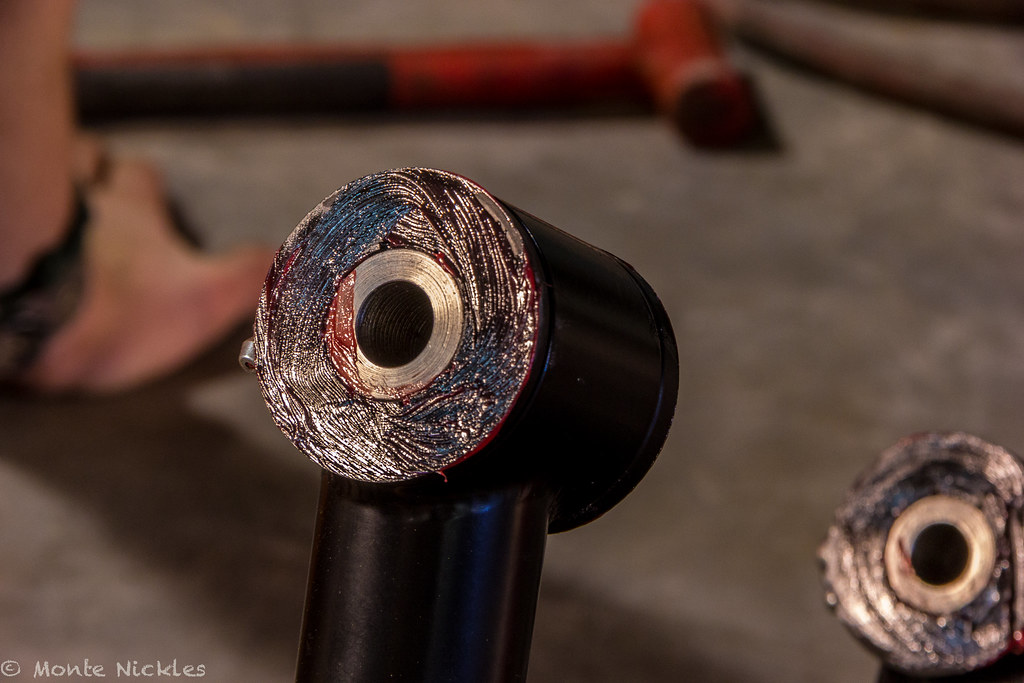 LongTravel Install-66.jpg
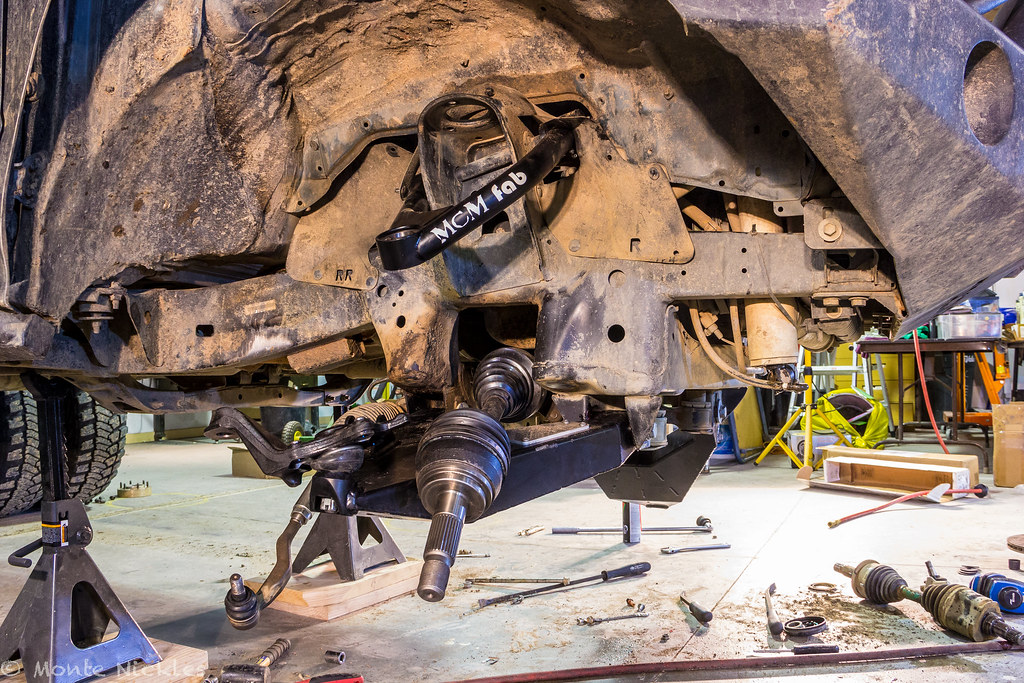 LongTravel Install-67.jpg
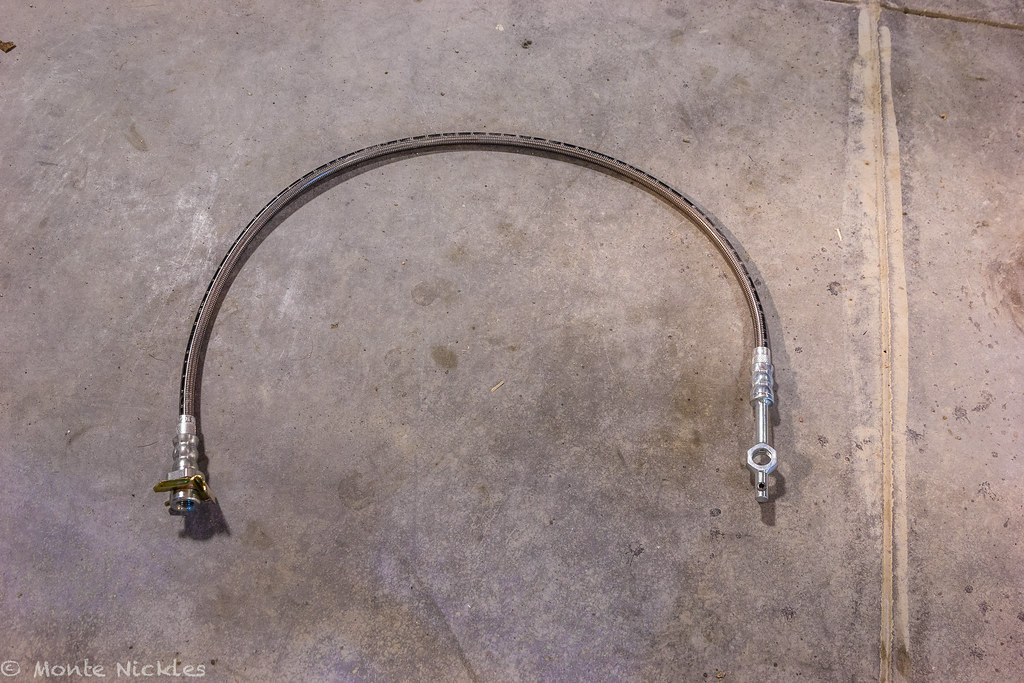 LongTravel Install-68.jpg
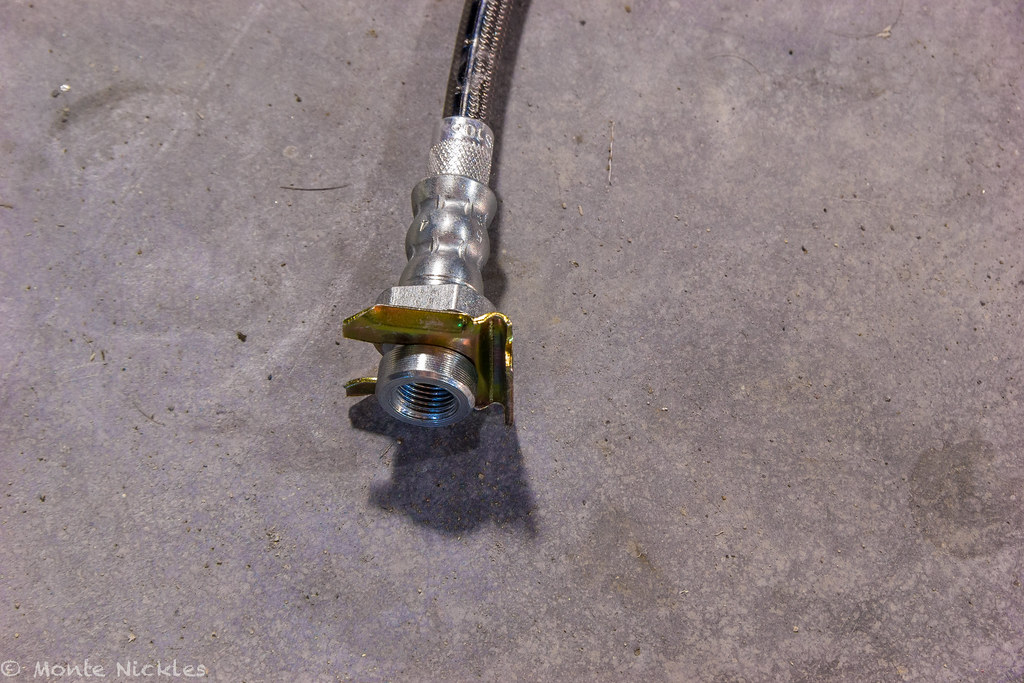 LongTravel Install-69.jpg
 LongTravel Install-70.jpg
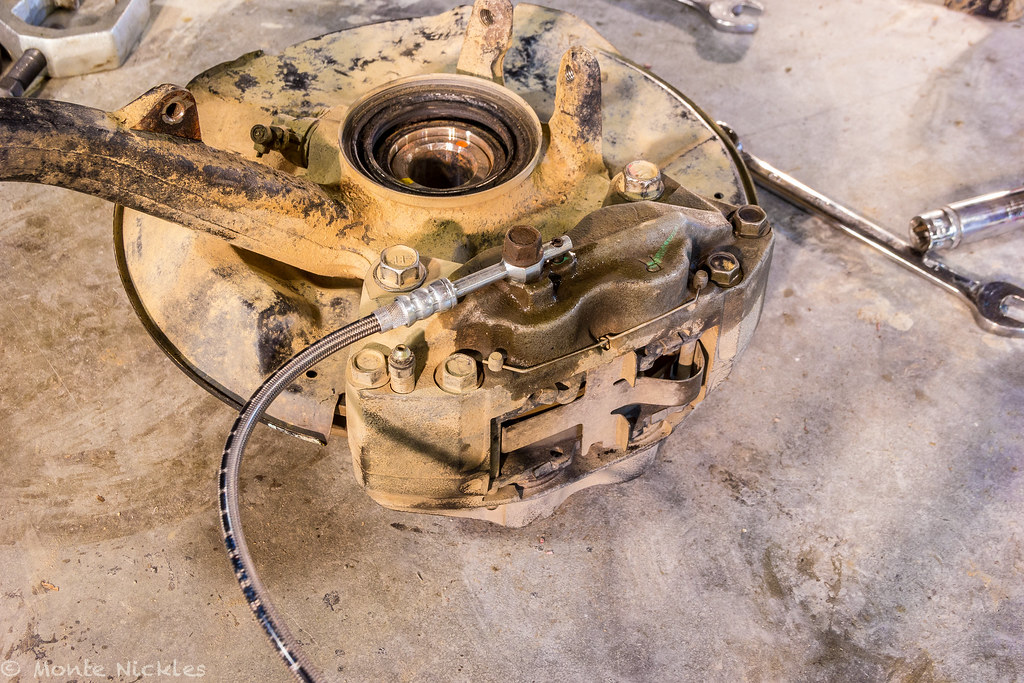 LongTravel Install-71.jpg
 LongTravel Install-72.jpg
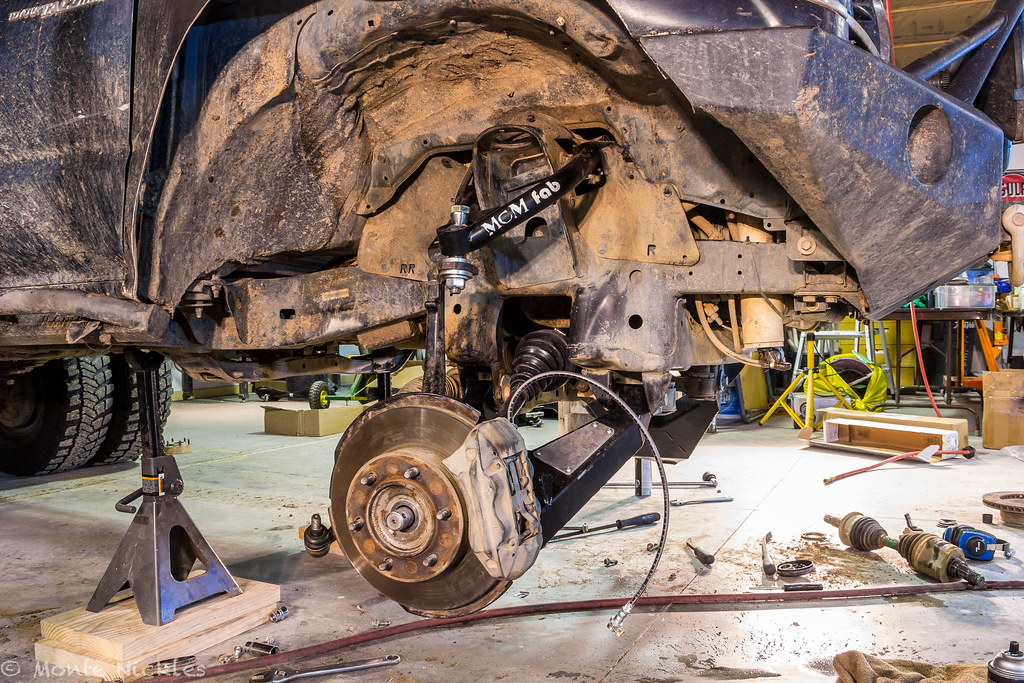 LongTravel Install-73.jpg
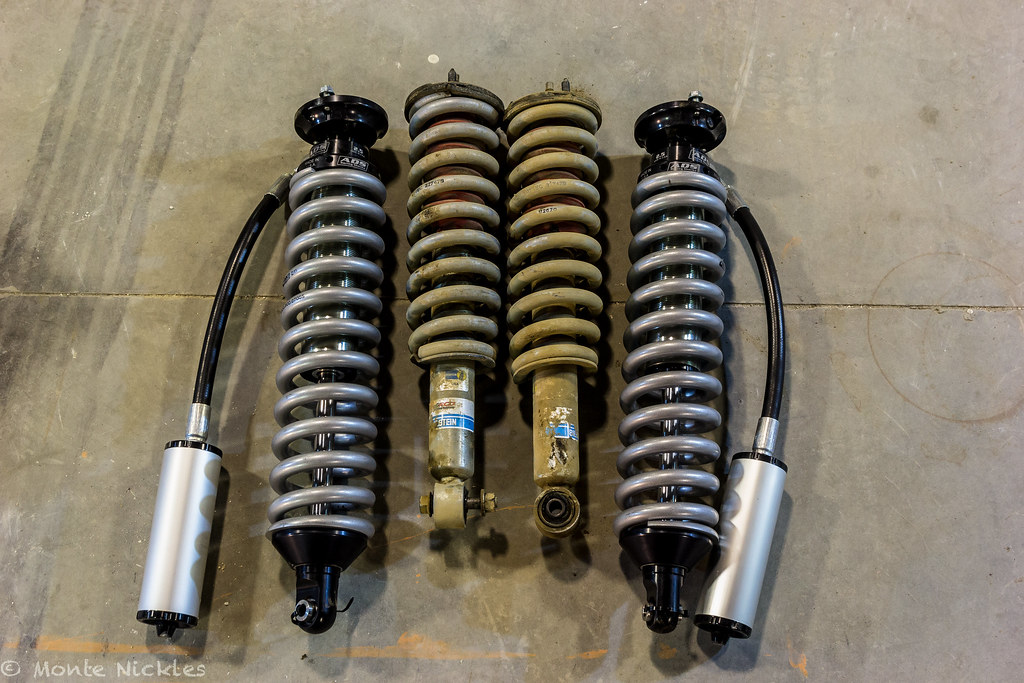 LongTravel Install-74.jpg
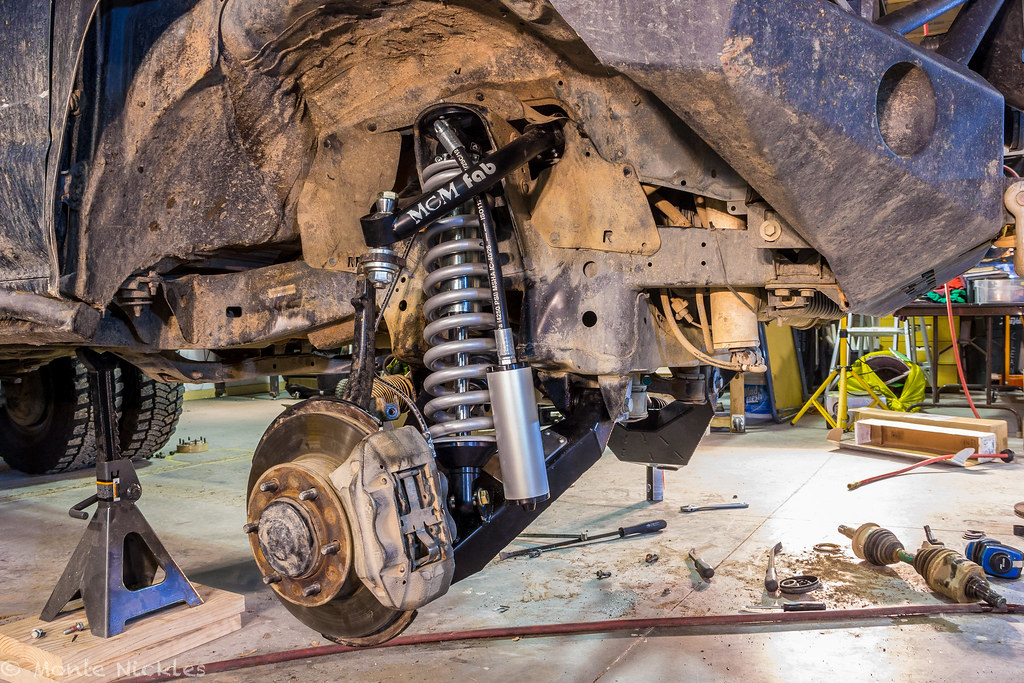 LongTravel Install-75.jpg
 LongTravel Install-76.jpg
 LongTravel Install-77.jpg
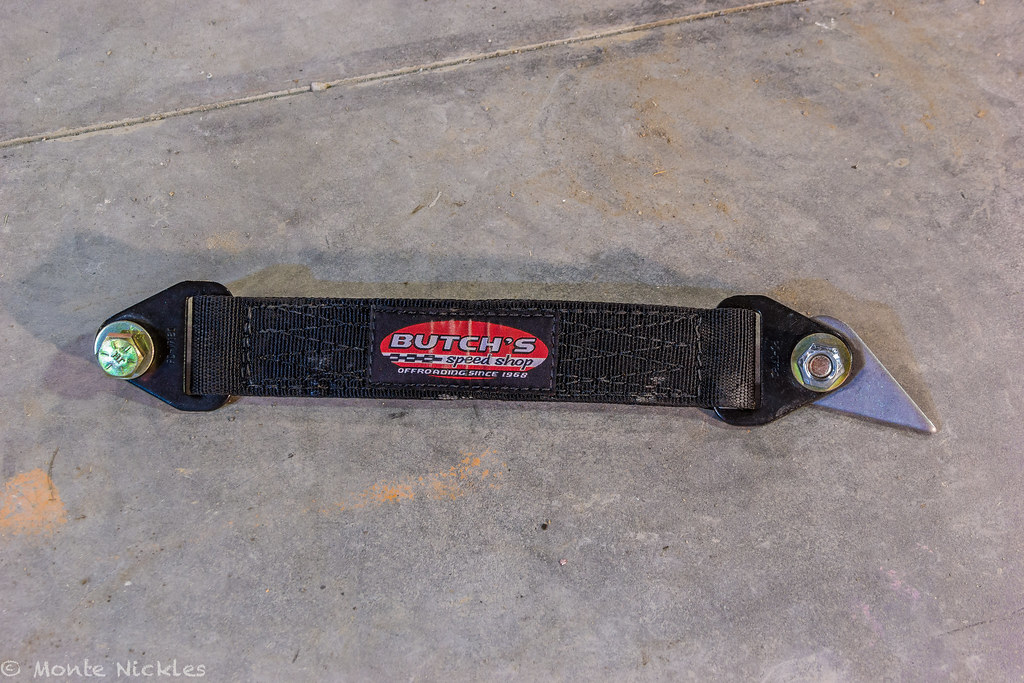 LongTravel Install-78.jpg
 LongTravel Install-79.jpg
 LongTravel Install-80.jpg
 LongTravel Install-81.jpg
 LongTravel Install-82.jpg
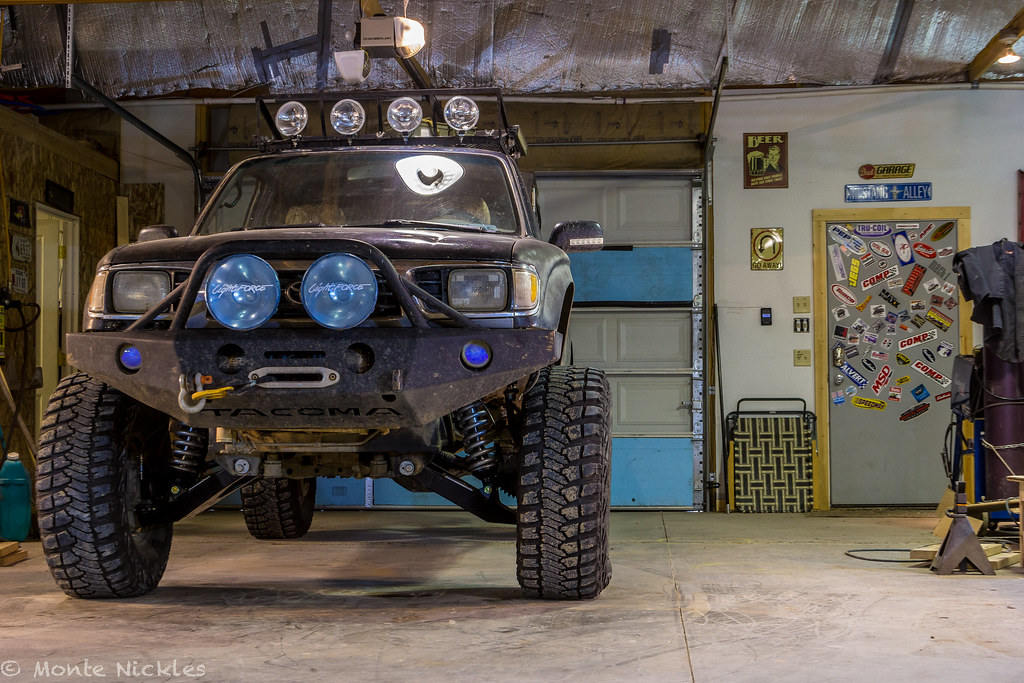 LongTravel Install-83.jpg
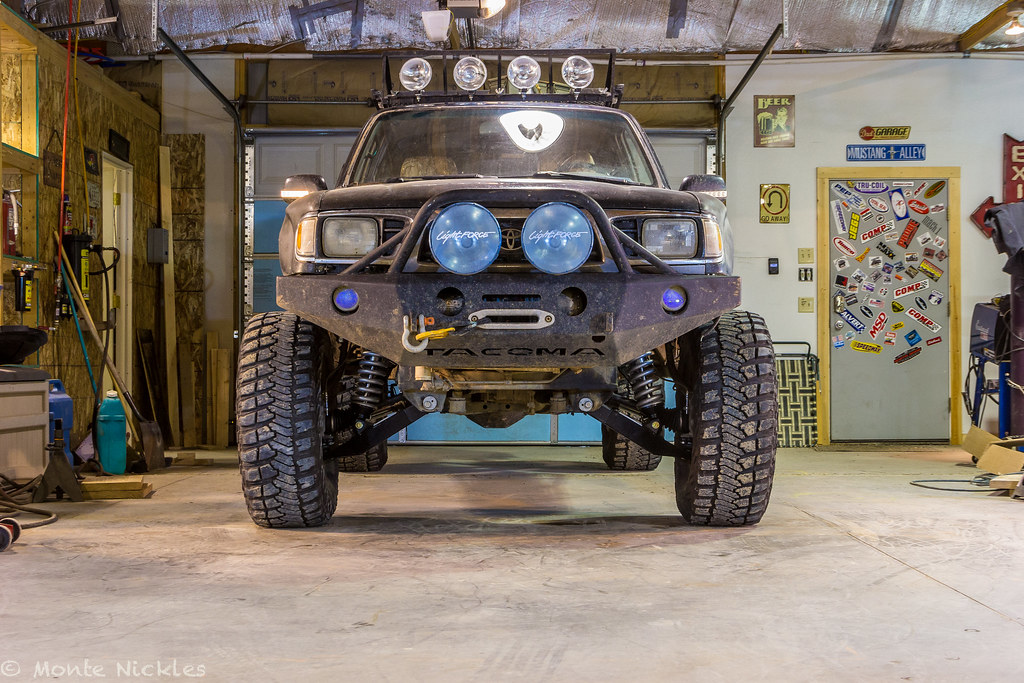 LongTravel Install-84.jpg
 LongTravel Install-85.jpg
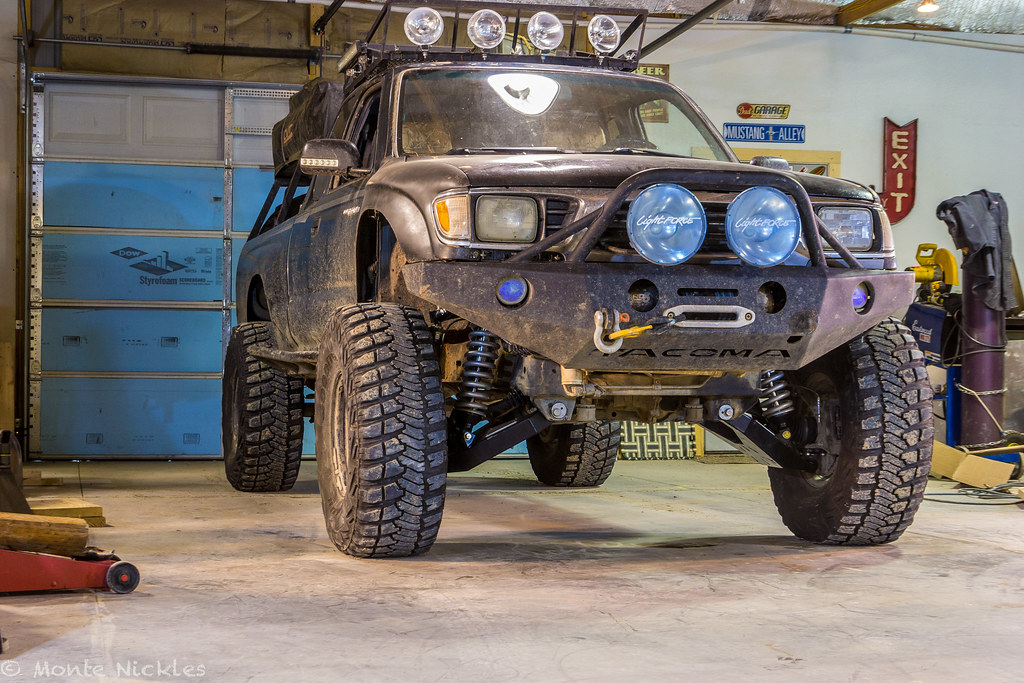 LongTravel Install-86.jpg
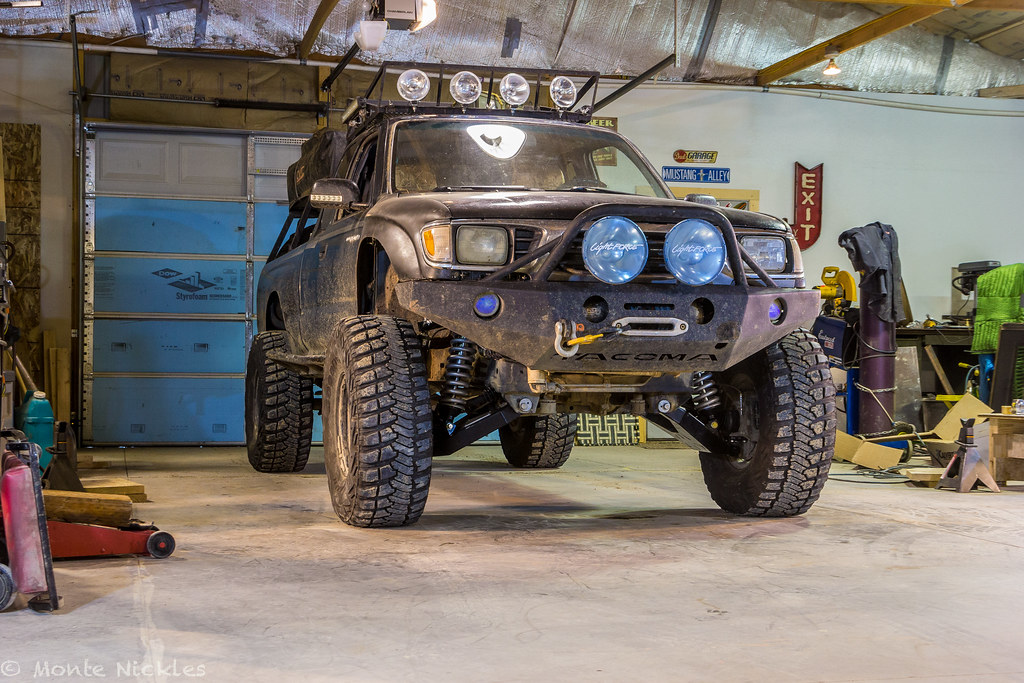 LongTravel Install-87.jpg
 LongTravel Install-88.jpg
 LongTravel Install-89.jpg
 LongTravel Install.jpg
 LongTravel Install-2.jpg
 LongTravel Install-92.jpg
 LongTravel Install-93.jpg
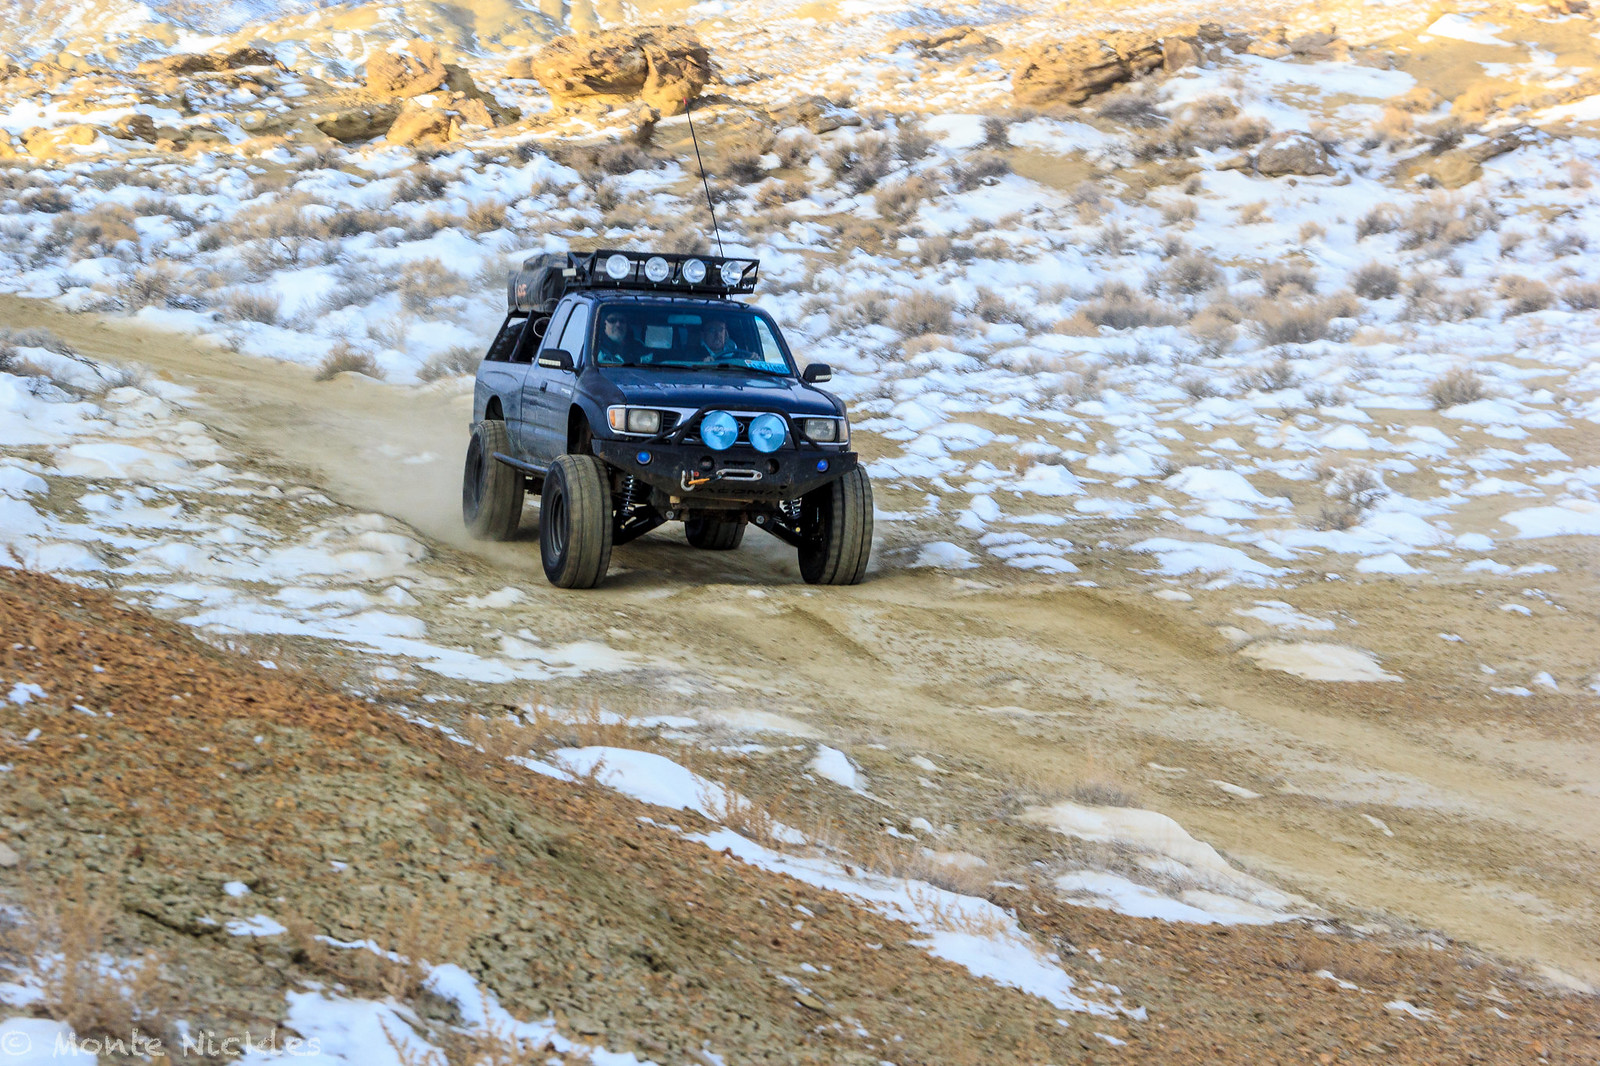 LongTravel Install-94.jpg
 LongTravel Install-95.jpg
 LongTravel Install-96.jpg
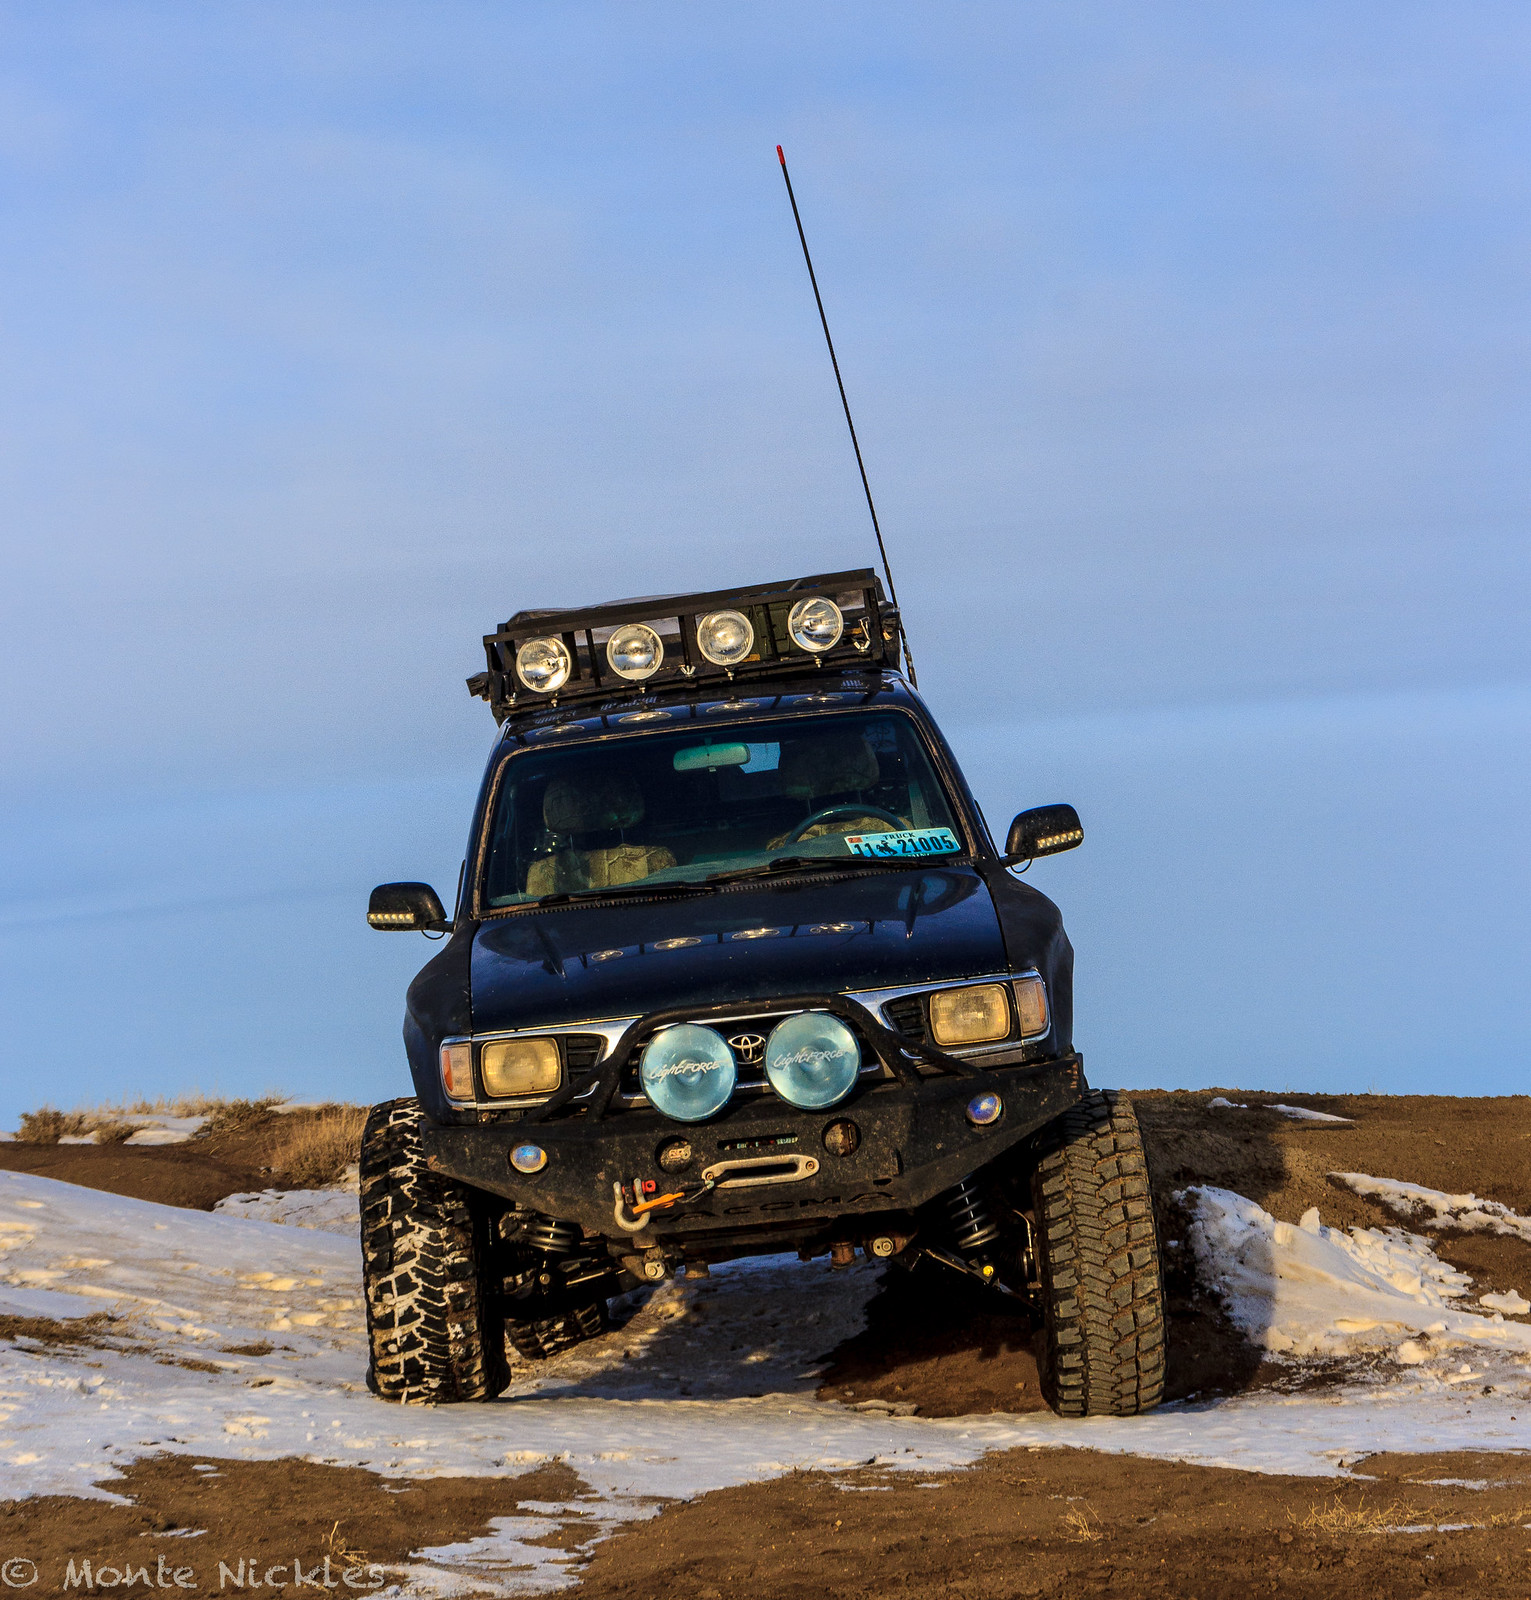 LongTravel Install-97.jpg
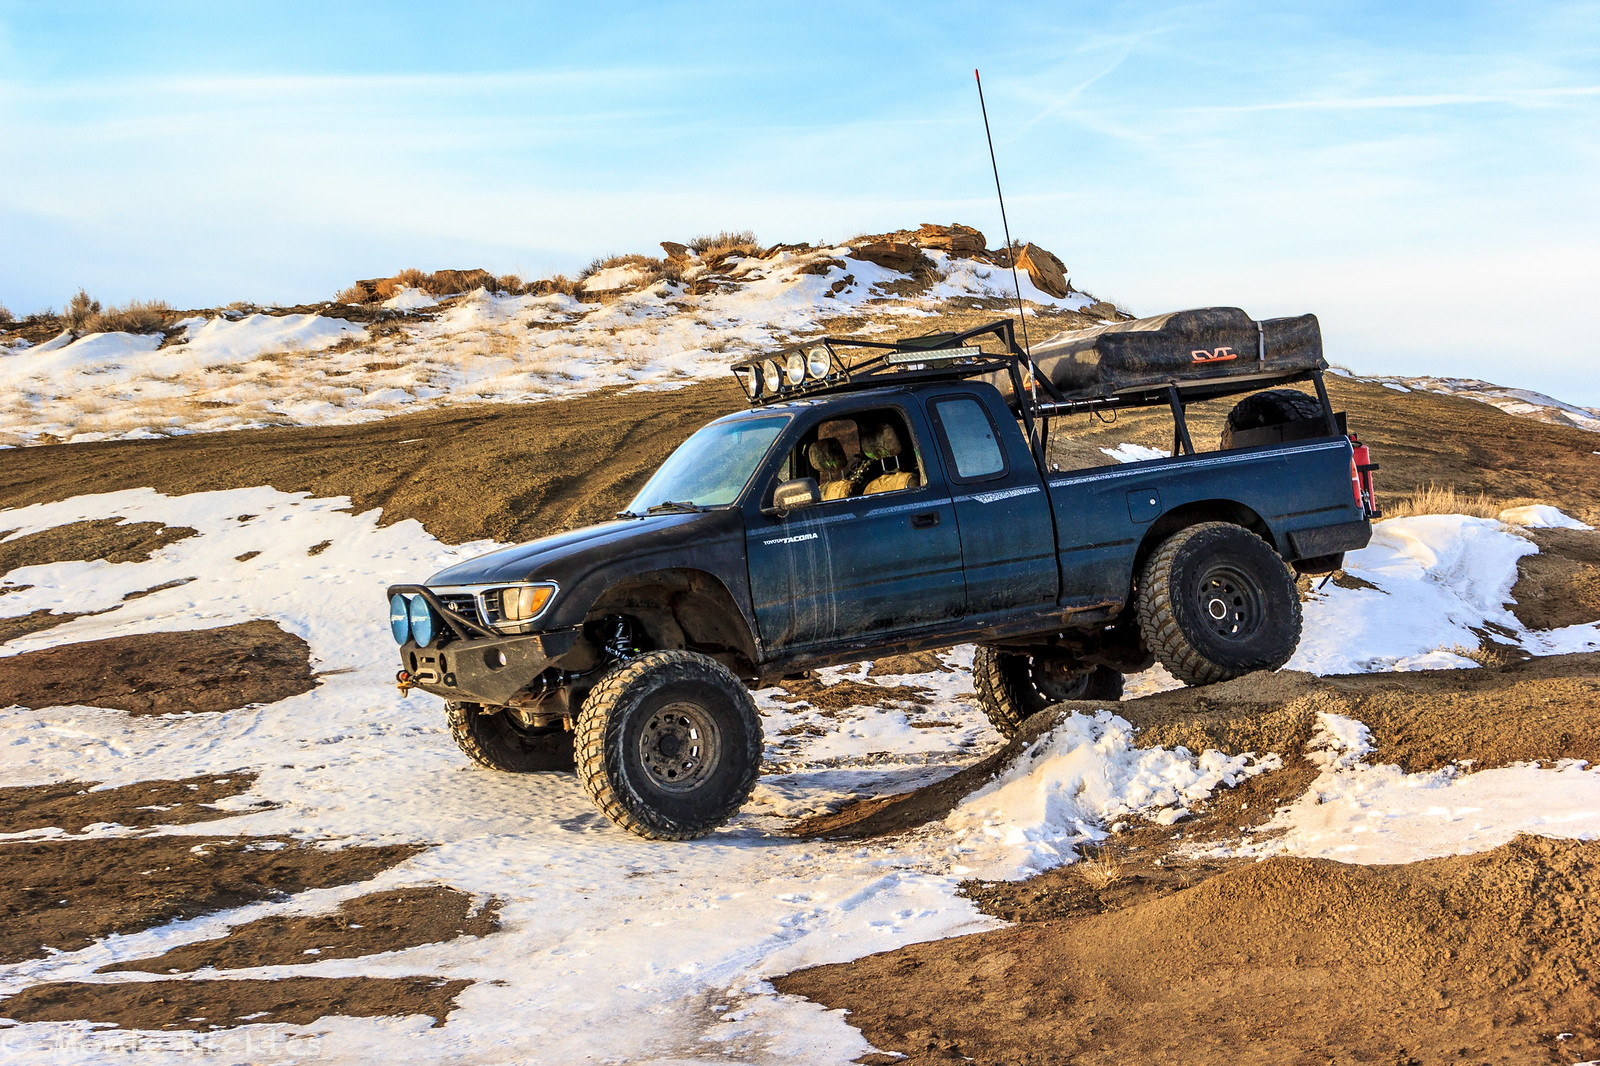 LongTravel Install-98.jpg
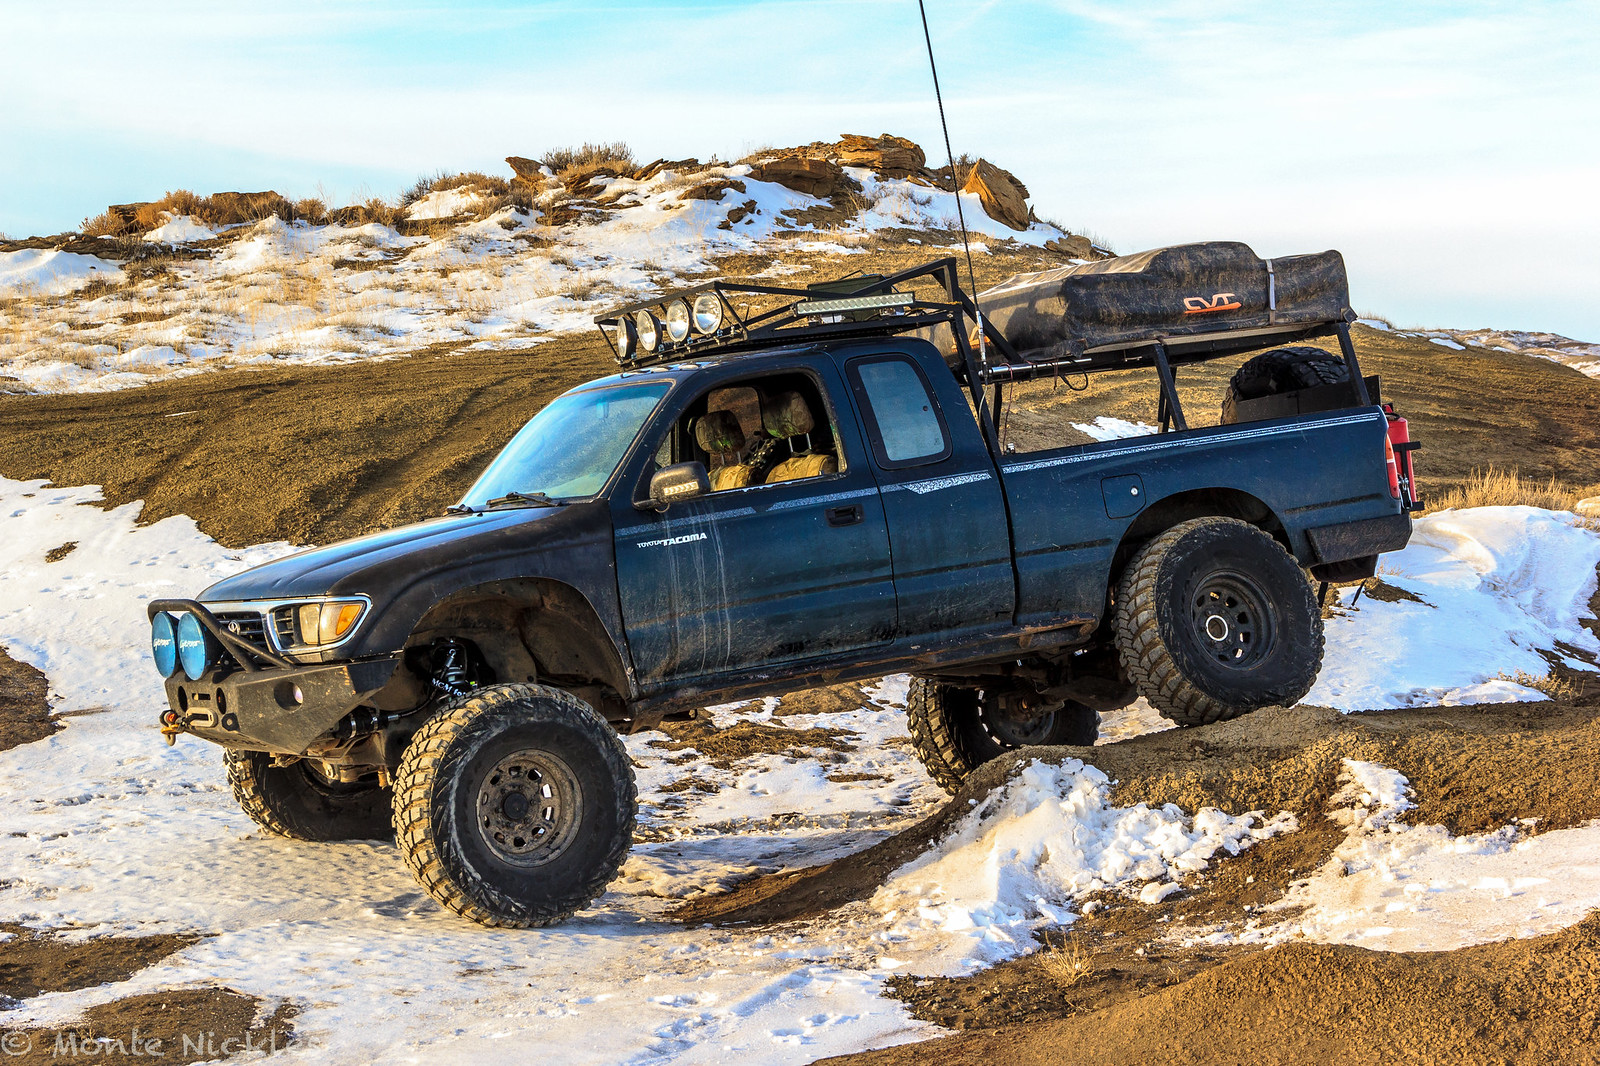 LongTravel Install-99.jpg
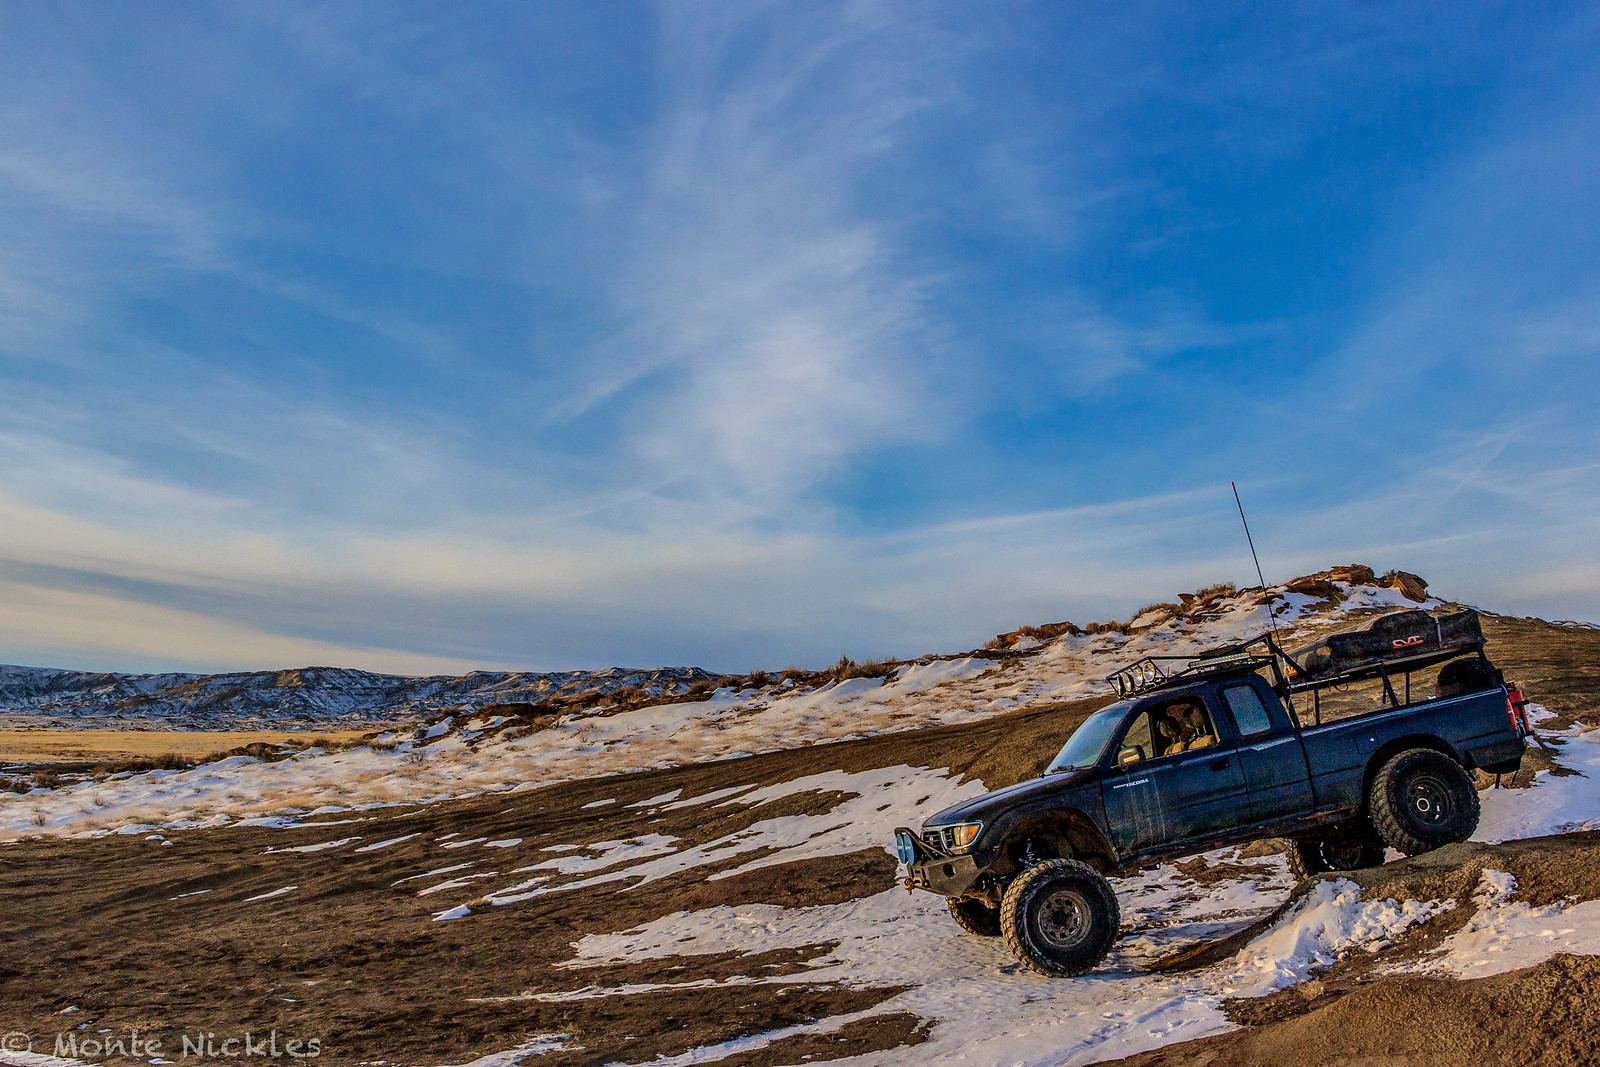 LongTravel Install-100.jpg
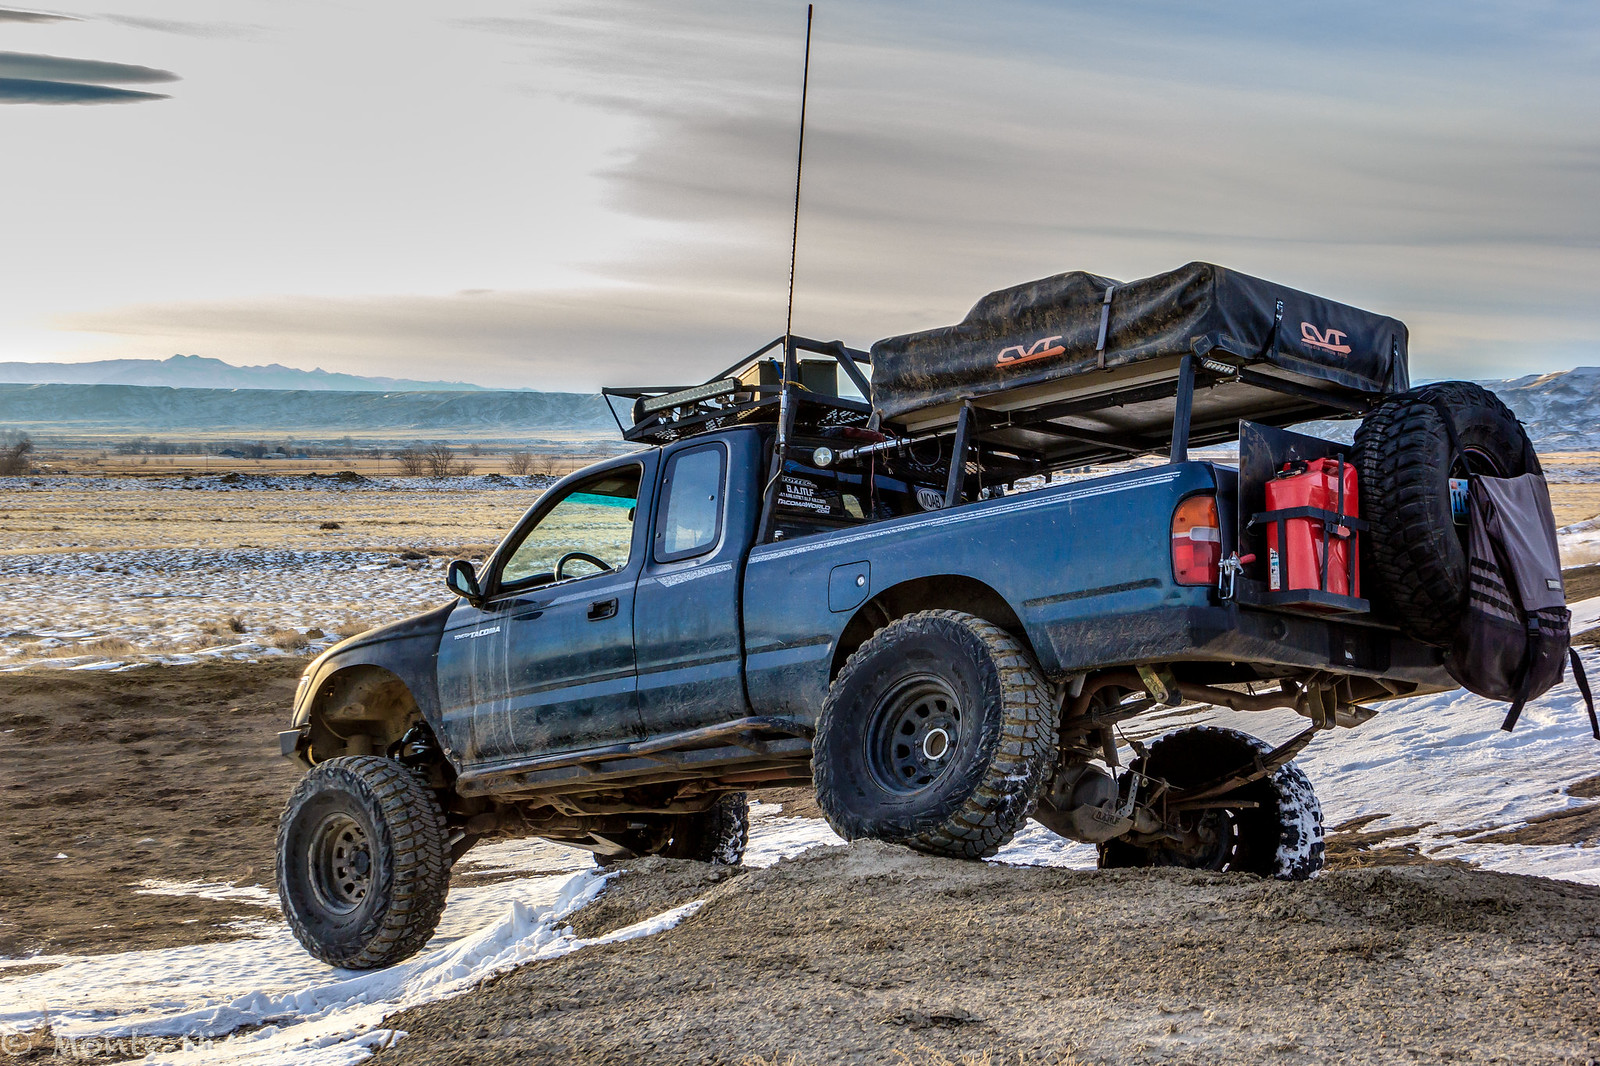 LongTravel Install-101.jpg
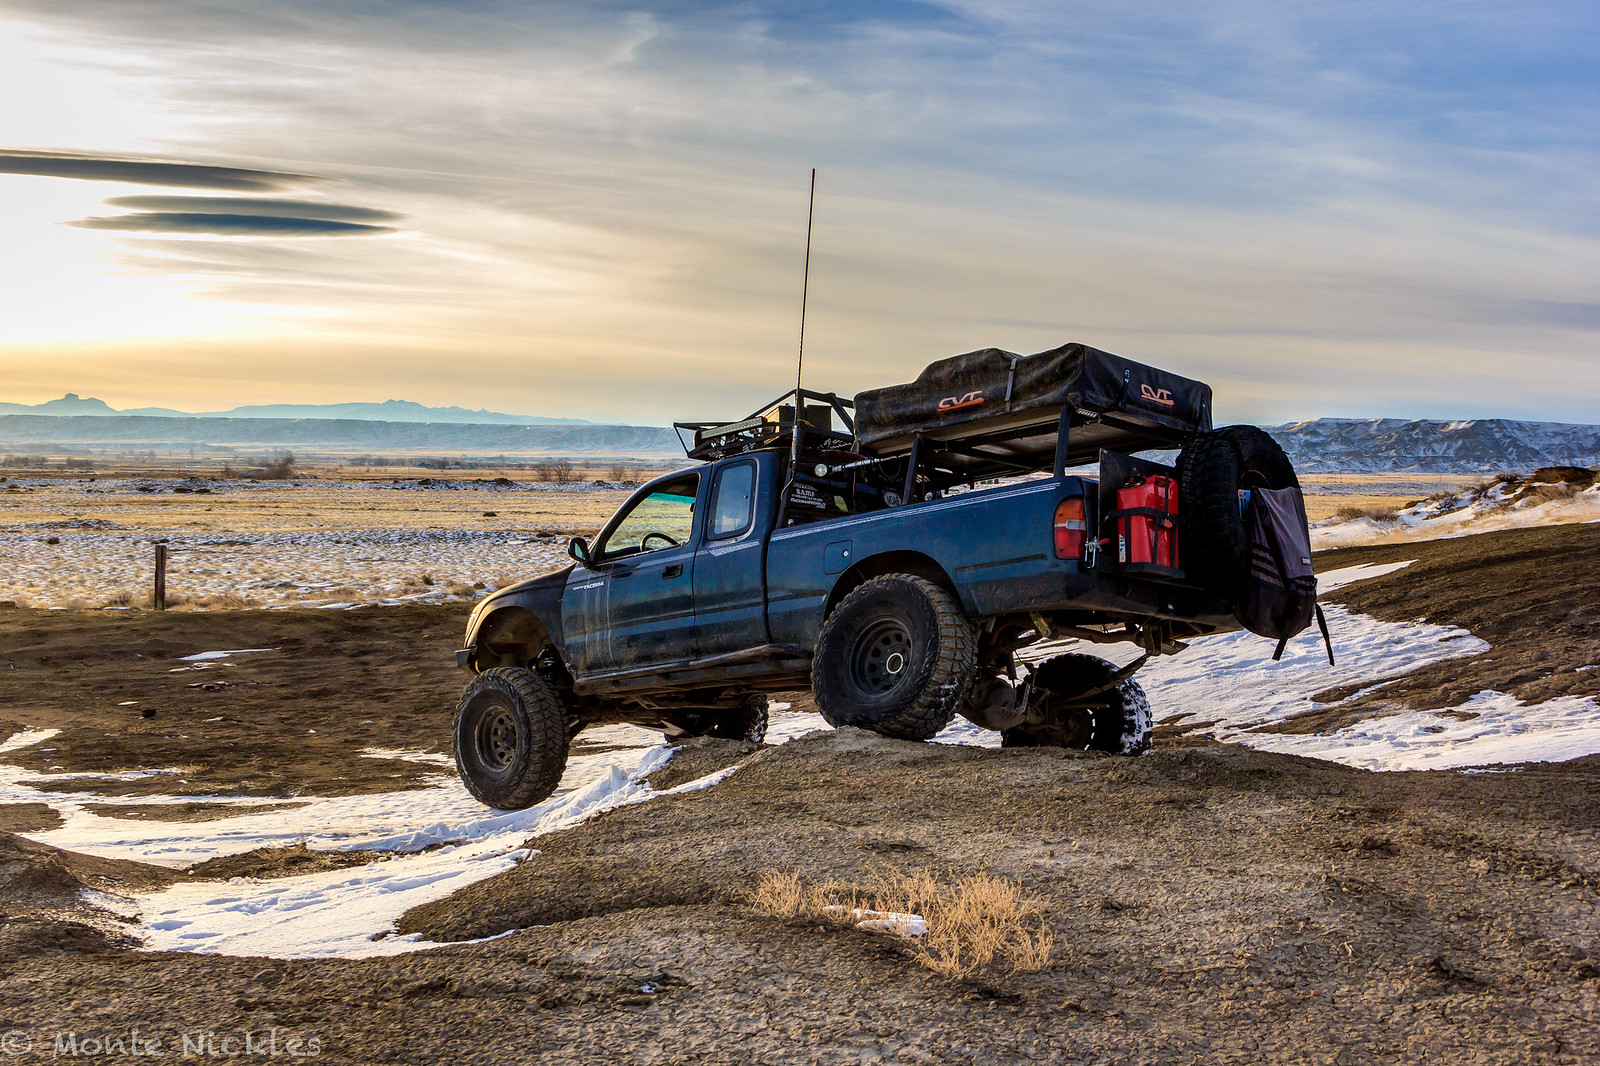 LongTravel Install-102.jpg
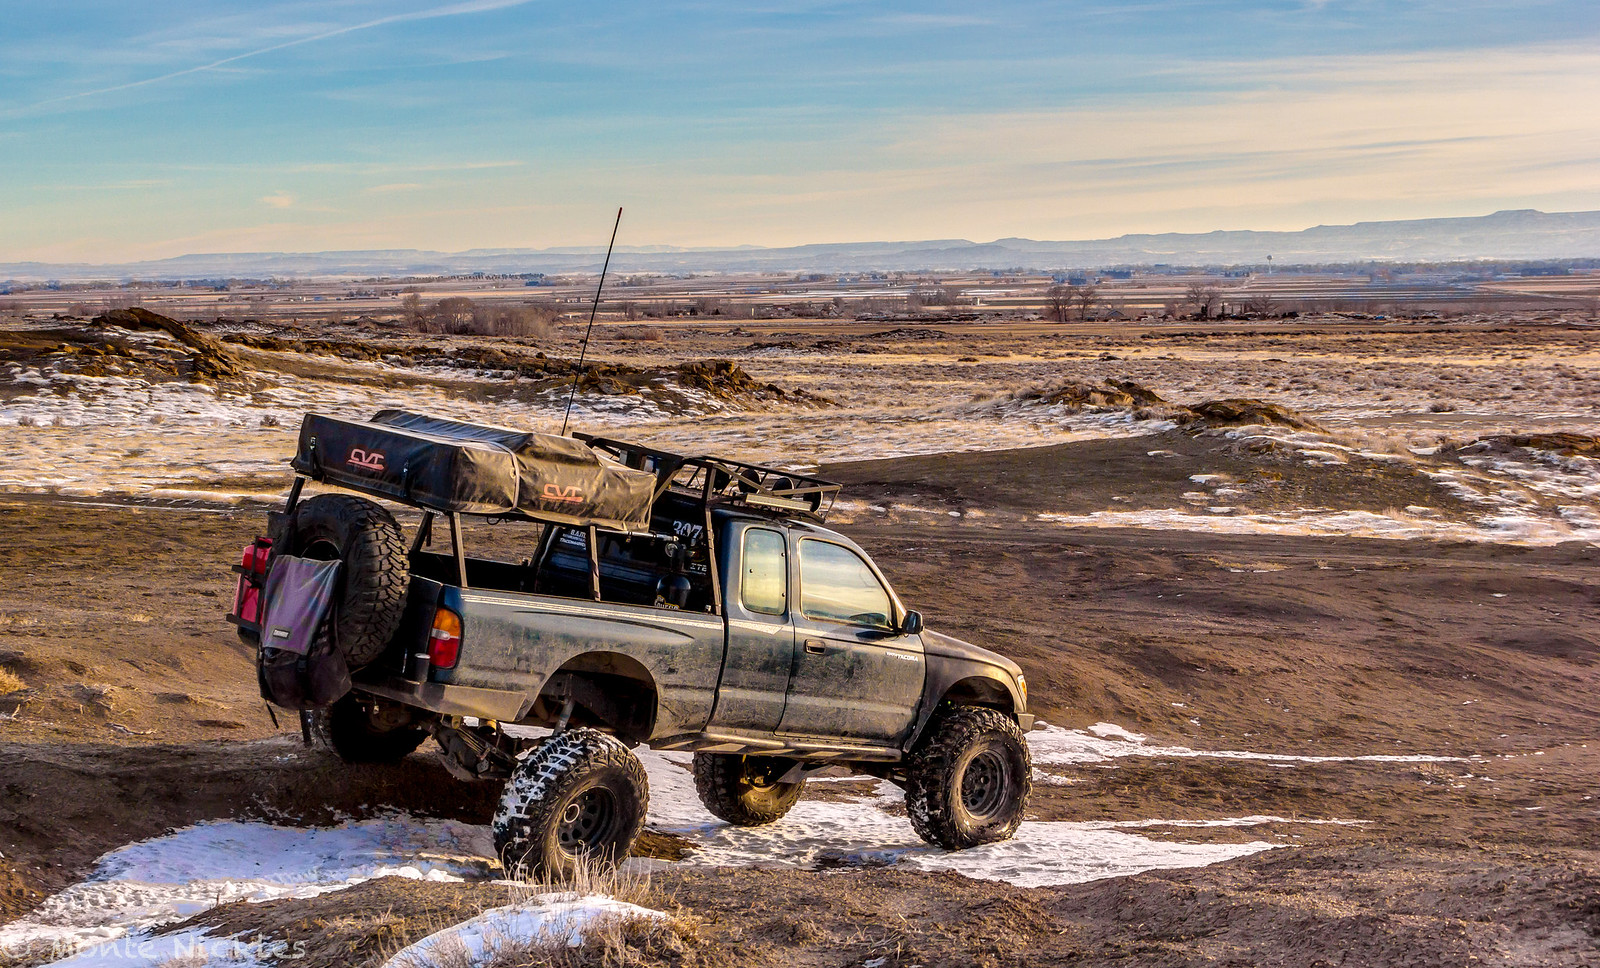 LongTravel Install-103.jpg
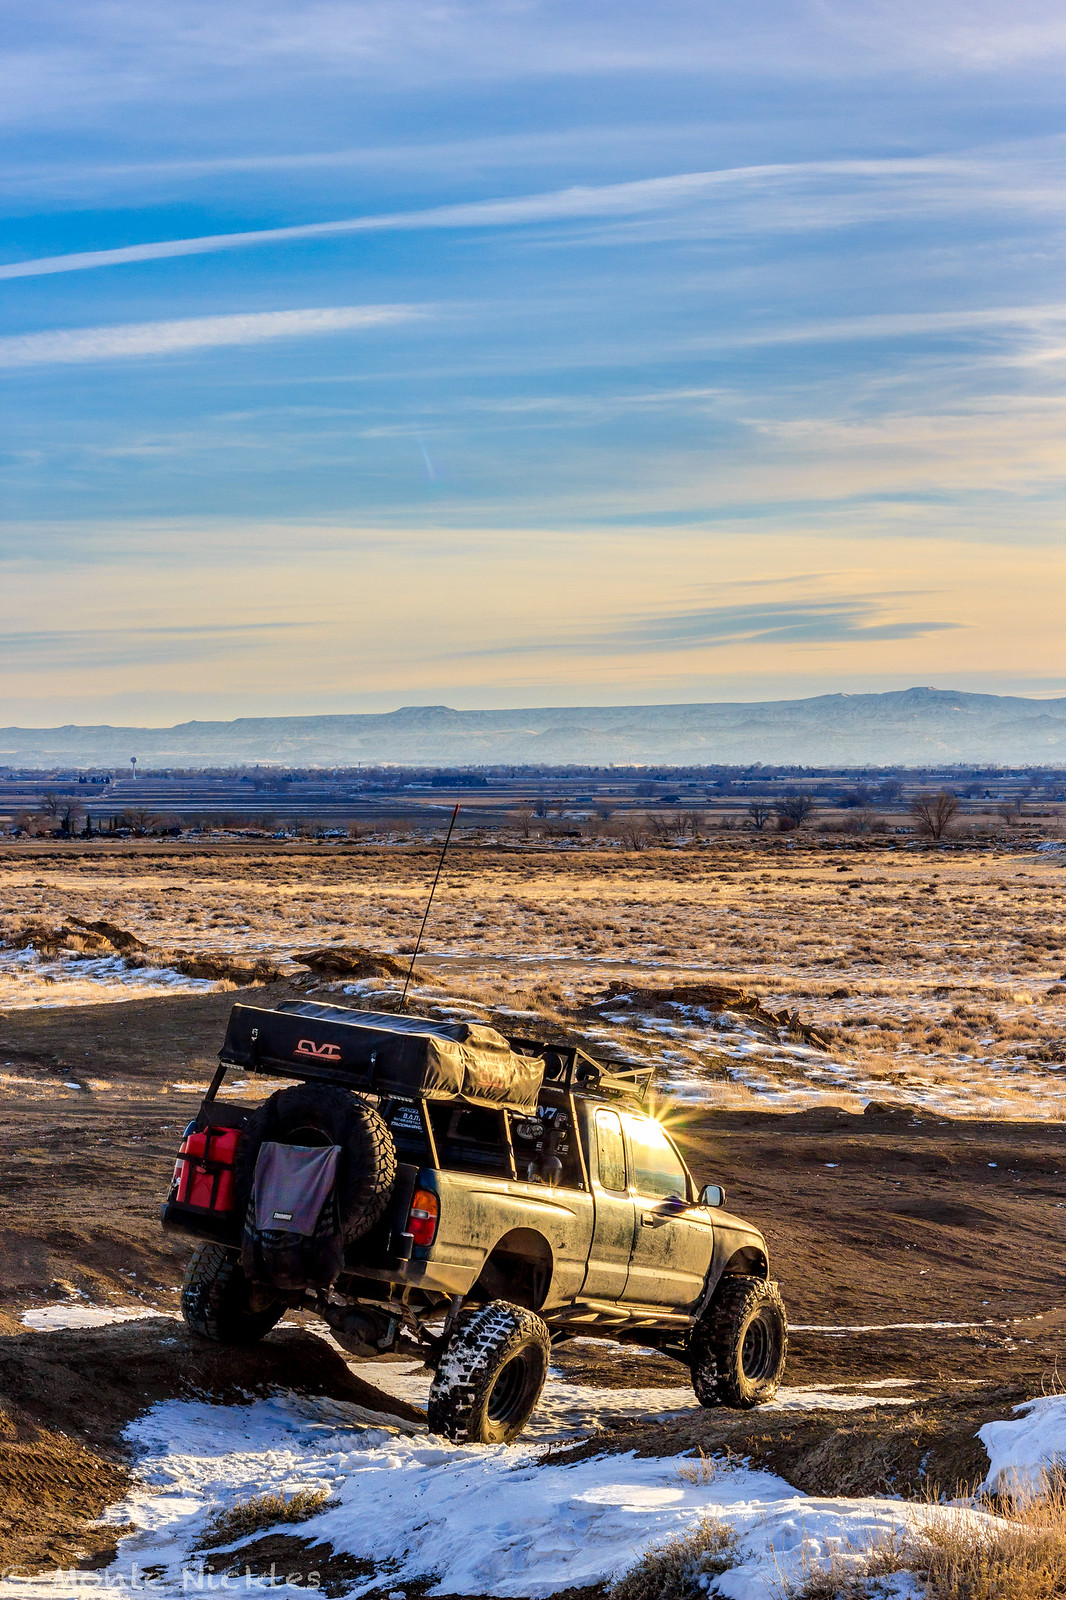 LongTravel Install-104.jpg
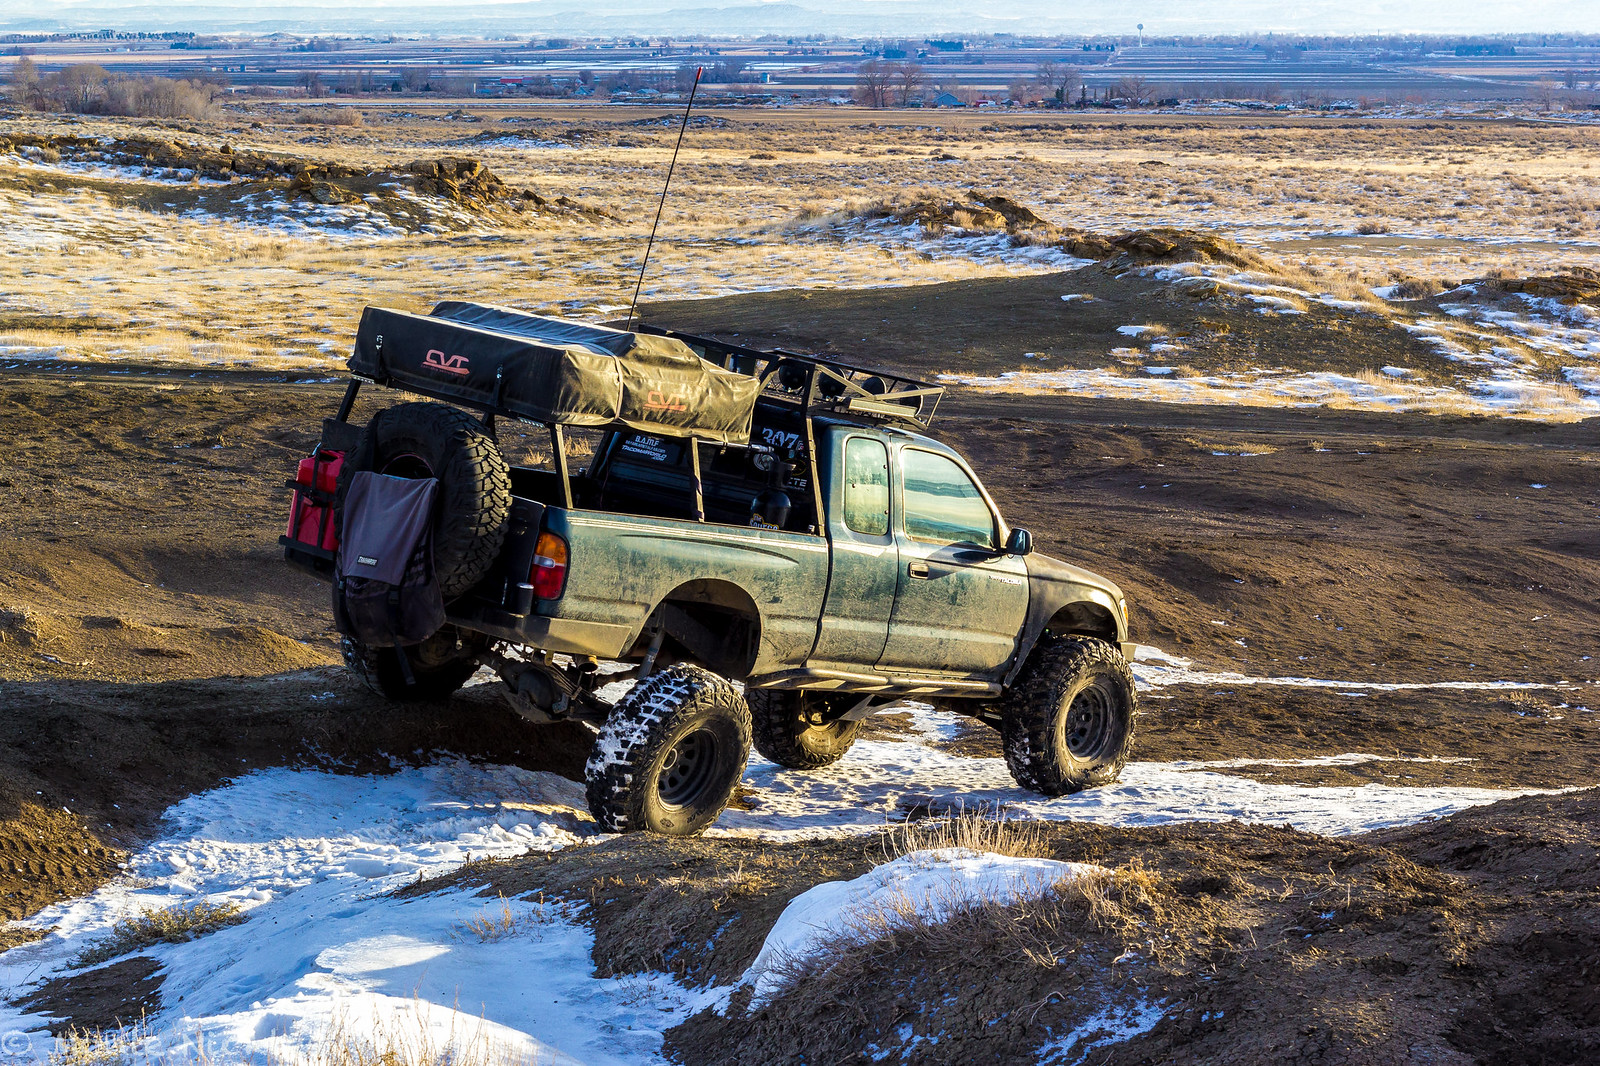 LongTravel Install-105.jpg
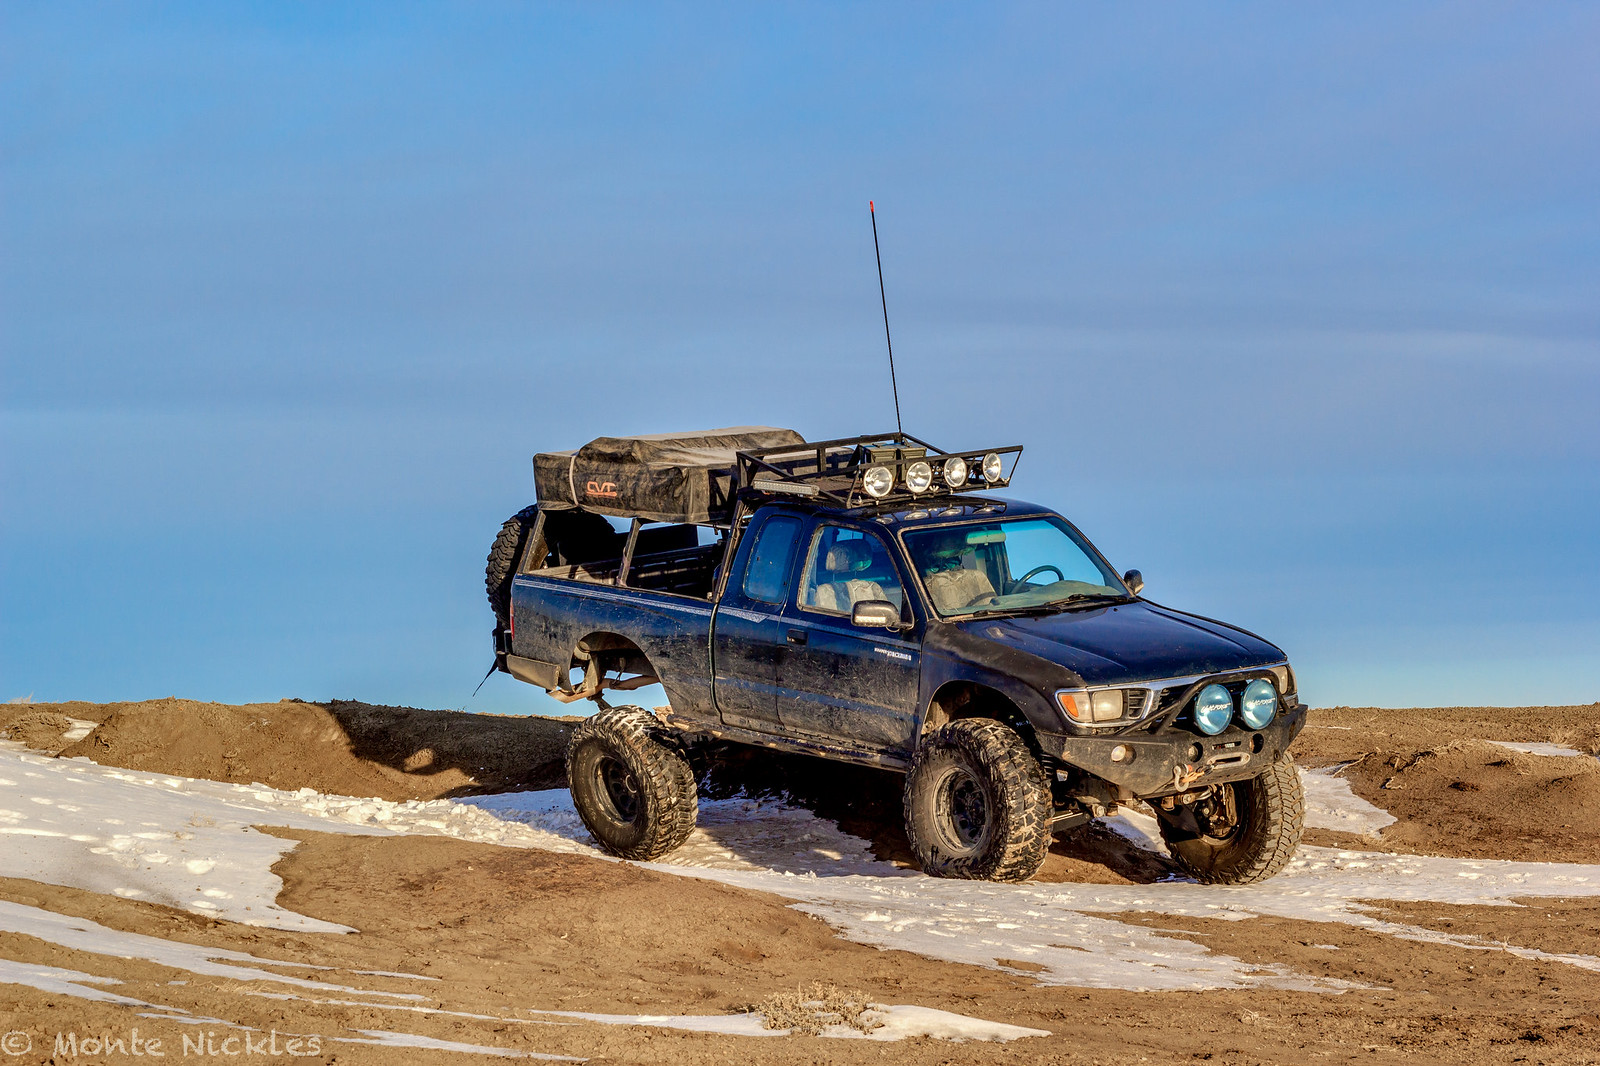 LongTravel Install-106.jpg
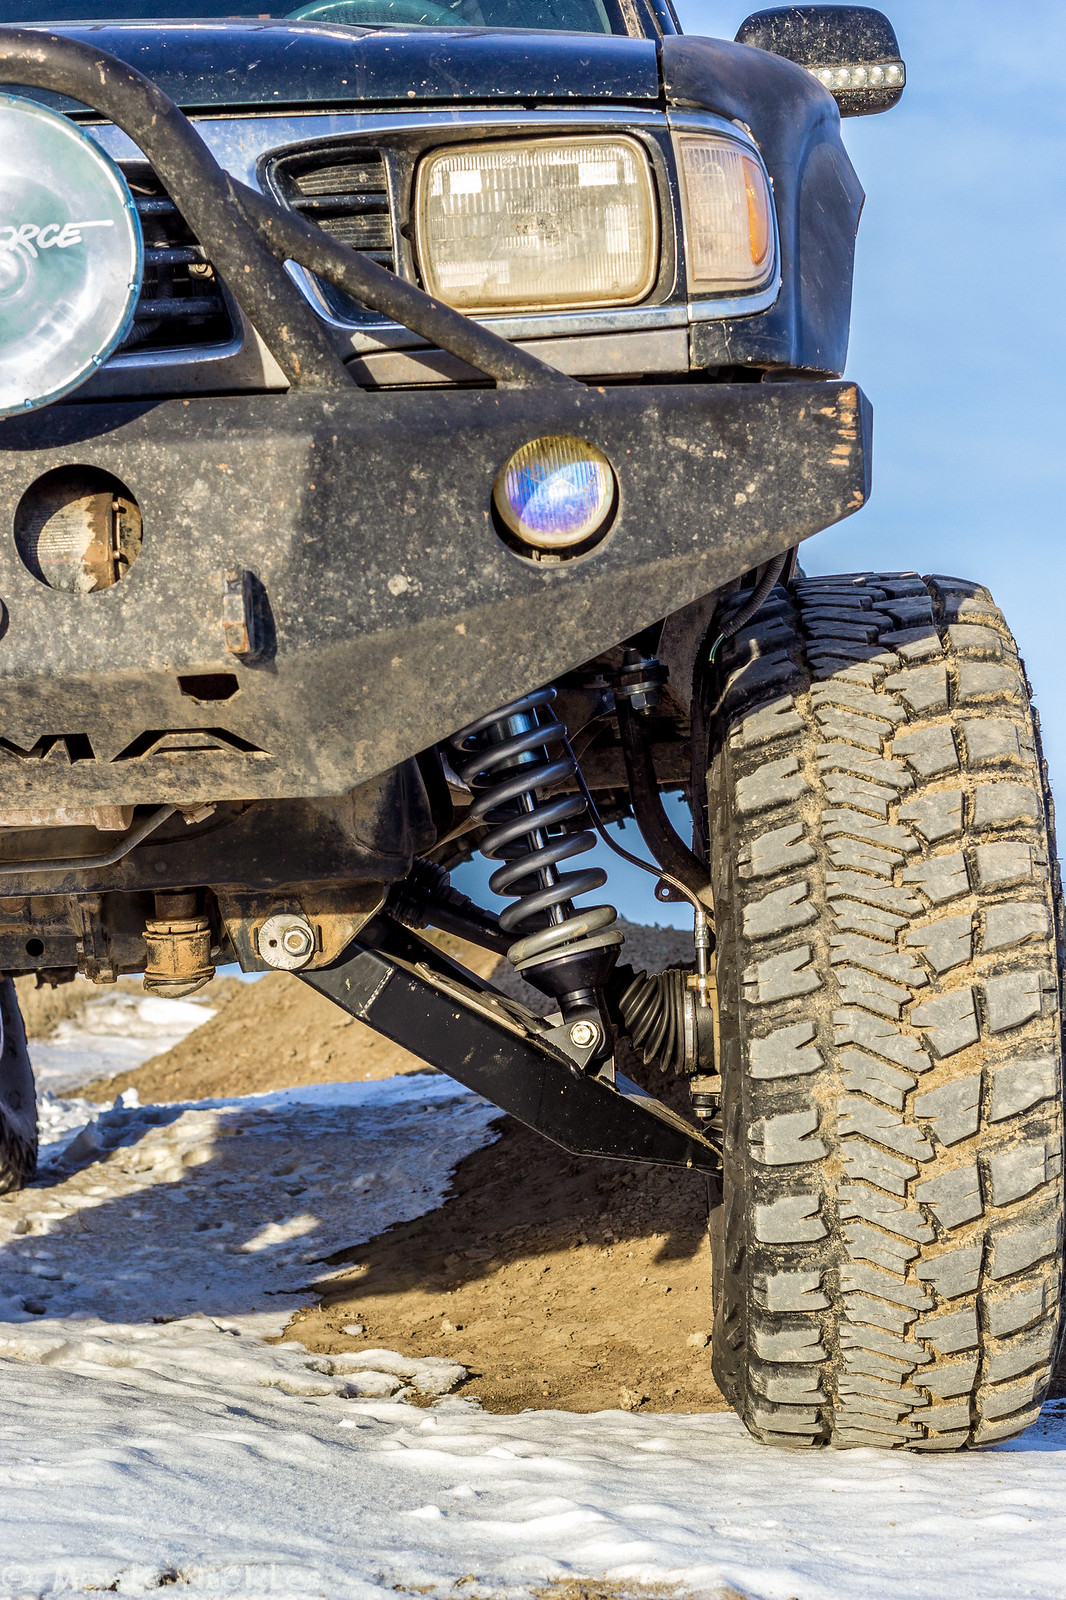 LongTravel Install-107.jpg
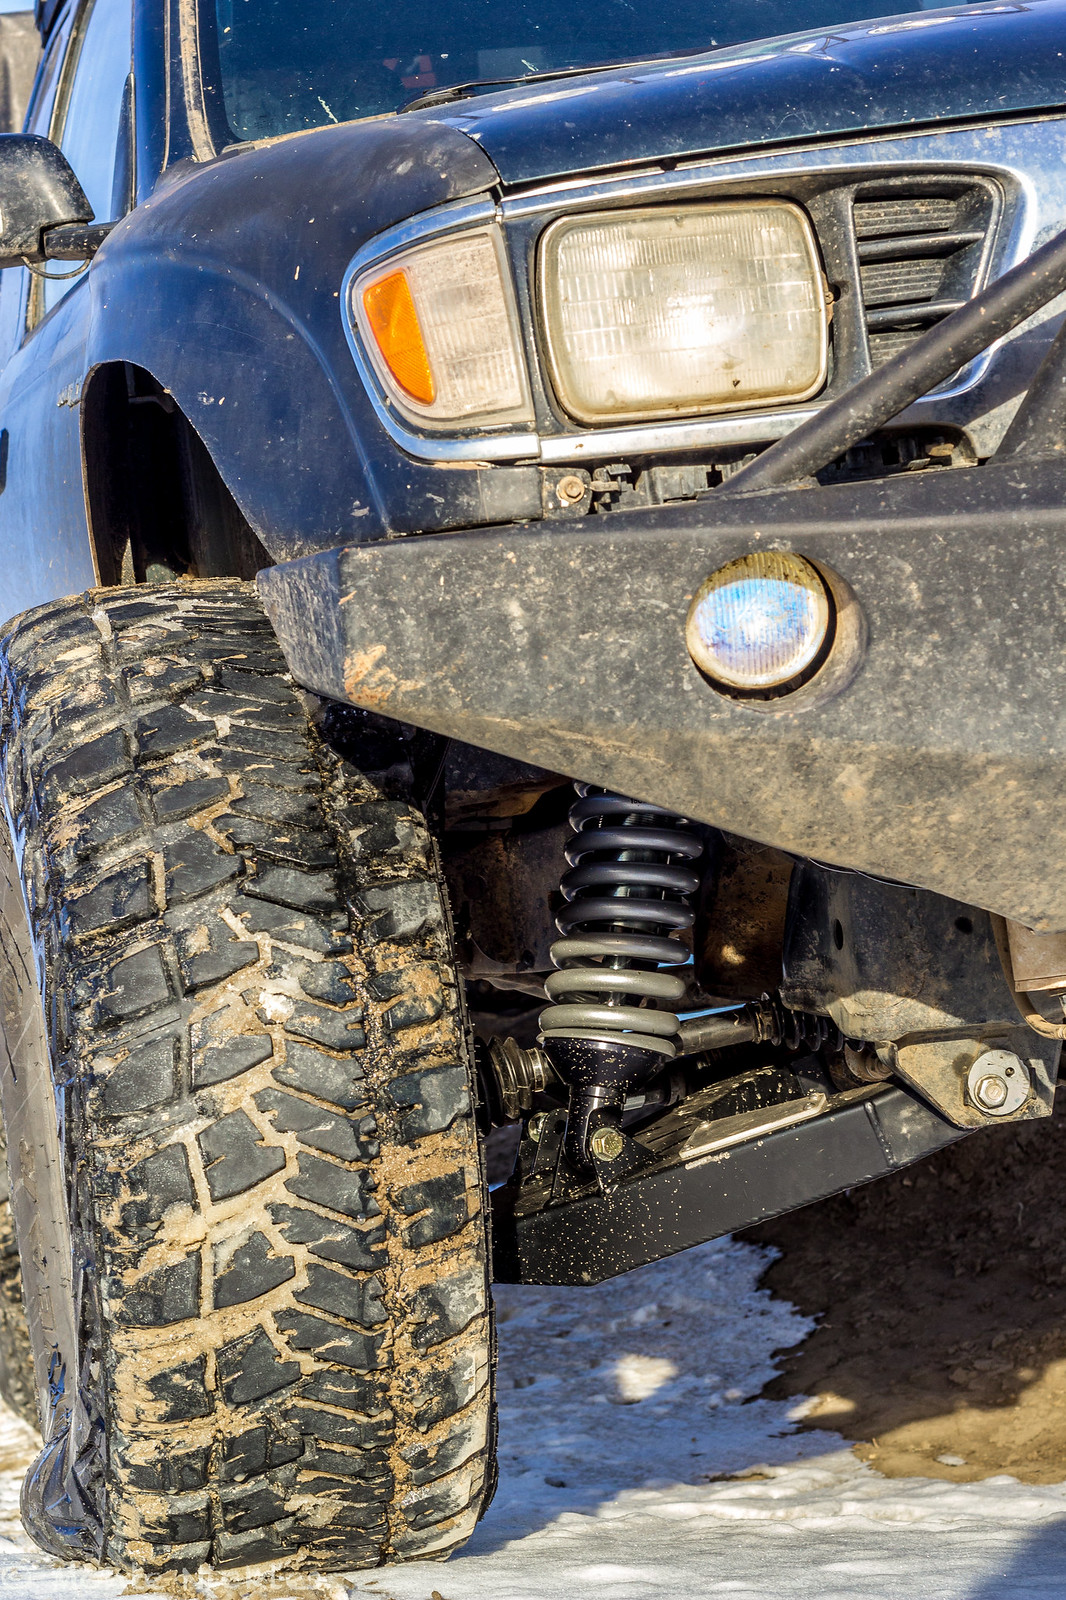 LongTravel Install-108.jpg
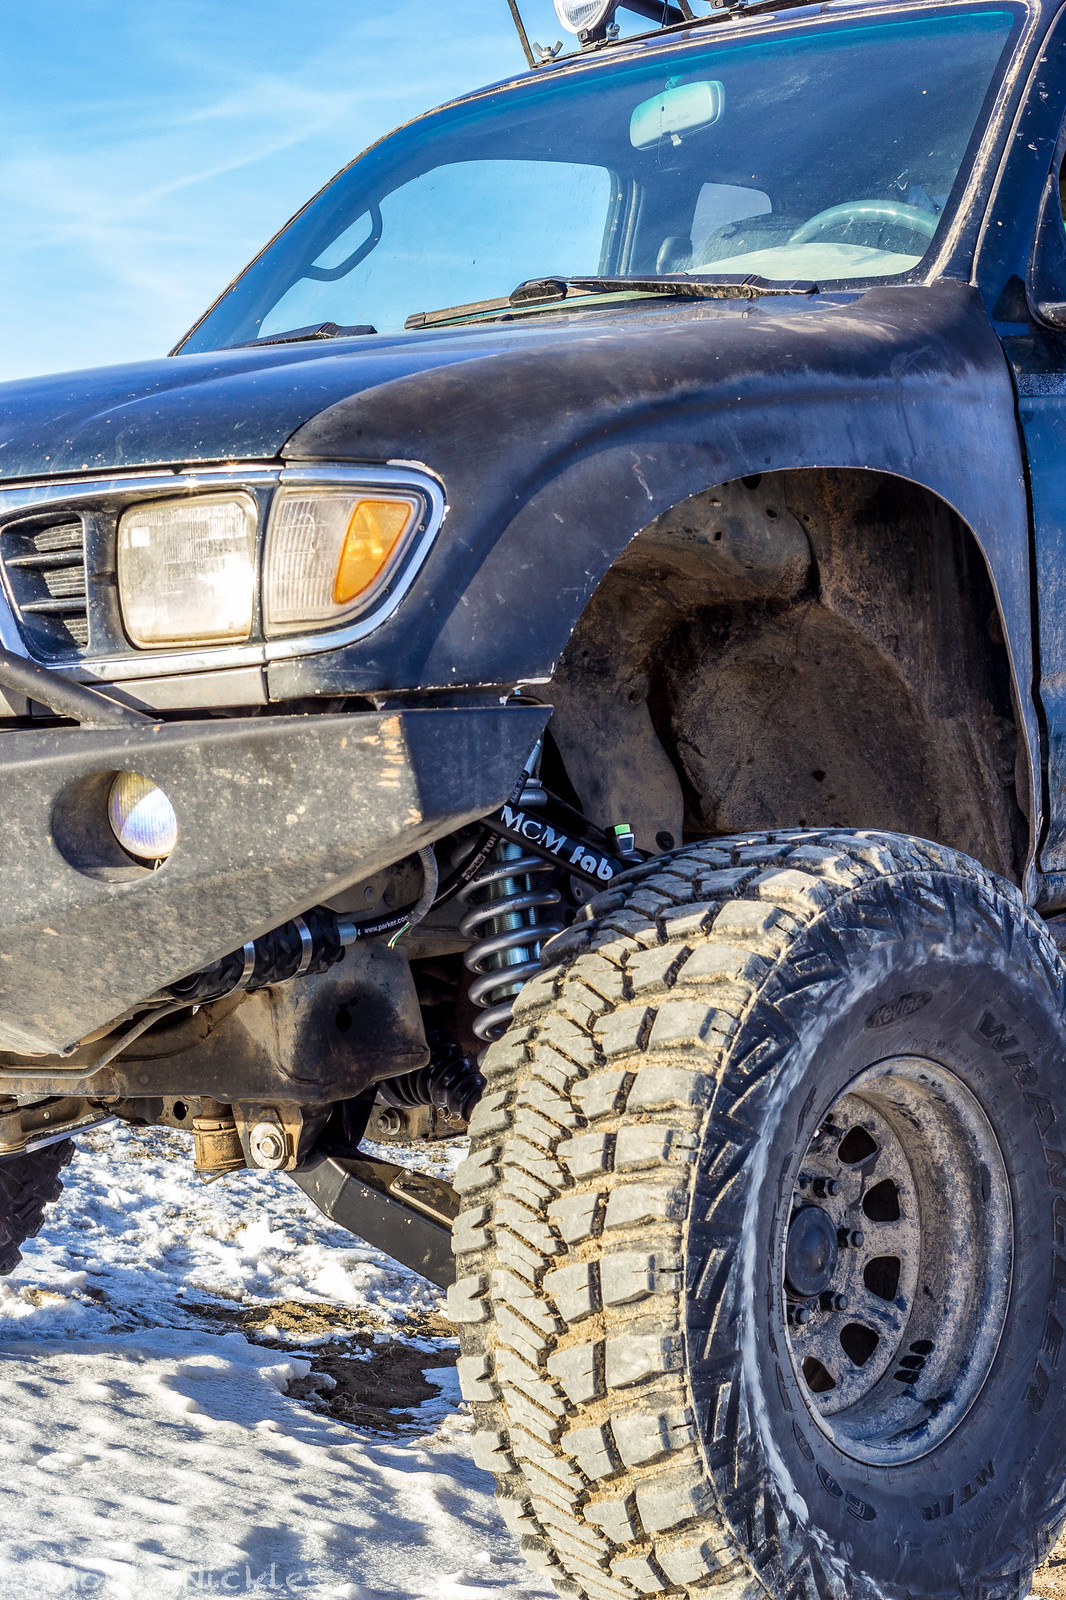 LongTravel Install-109.jpg
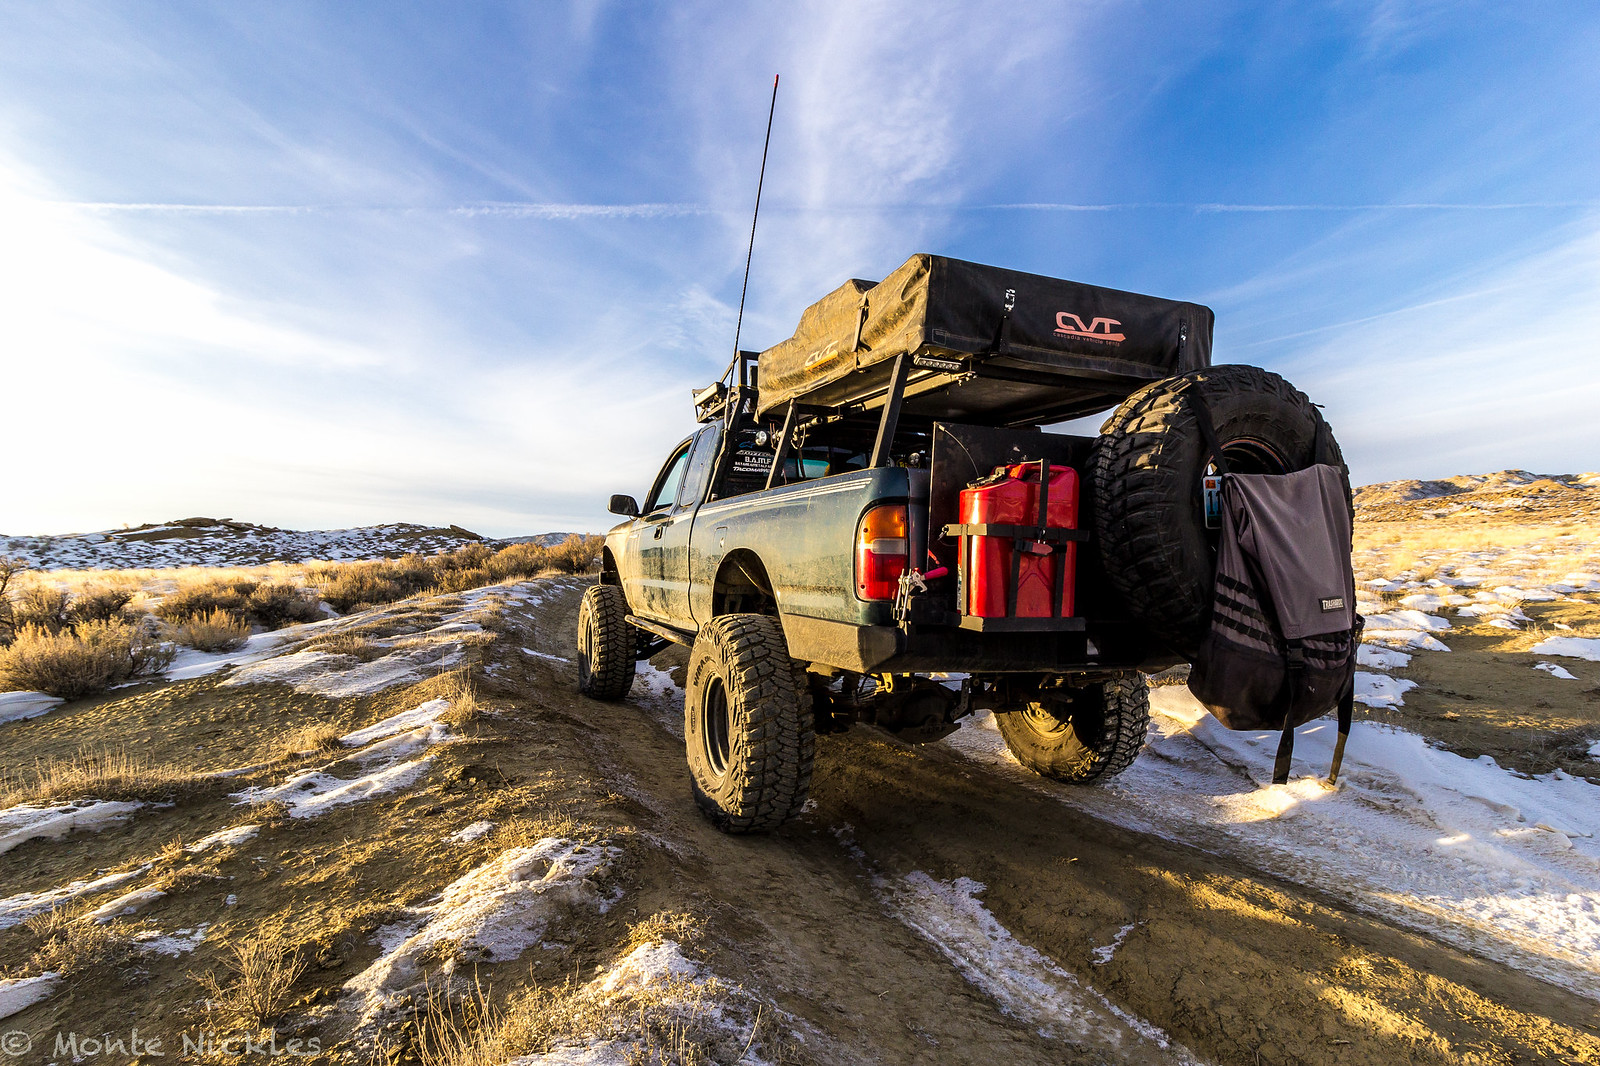 LongTravel Install-110.jpg
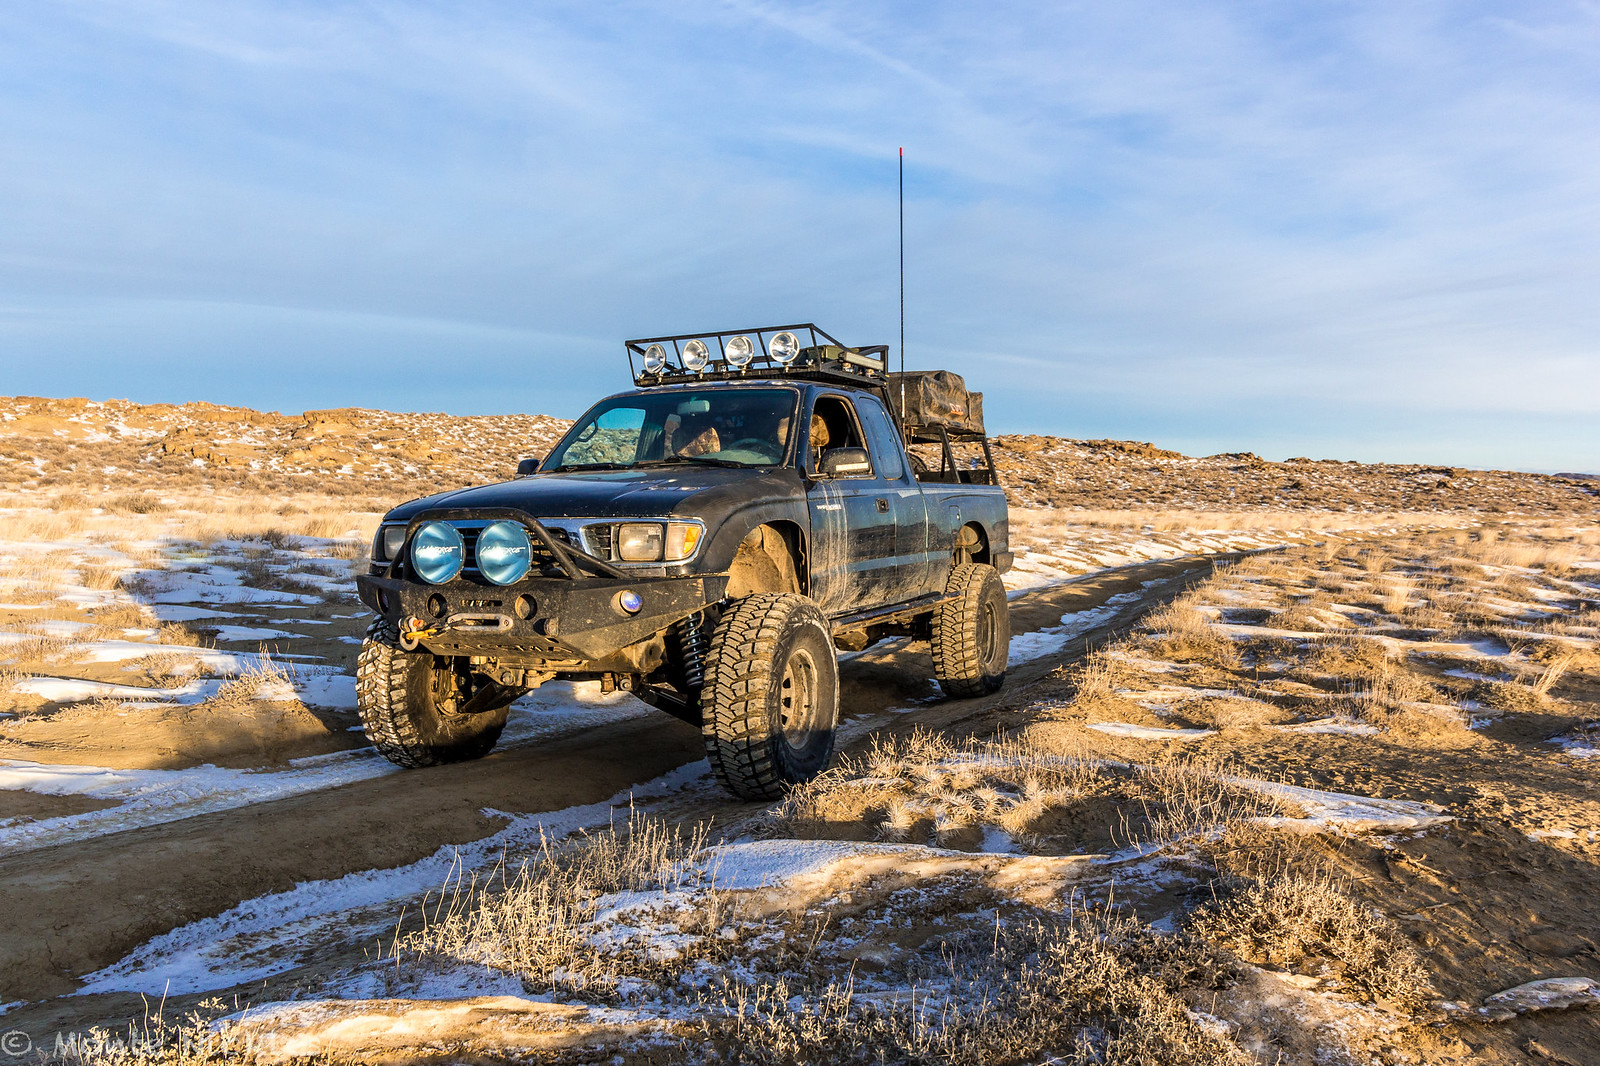 LongTravel Install-111.jpg
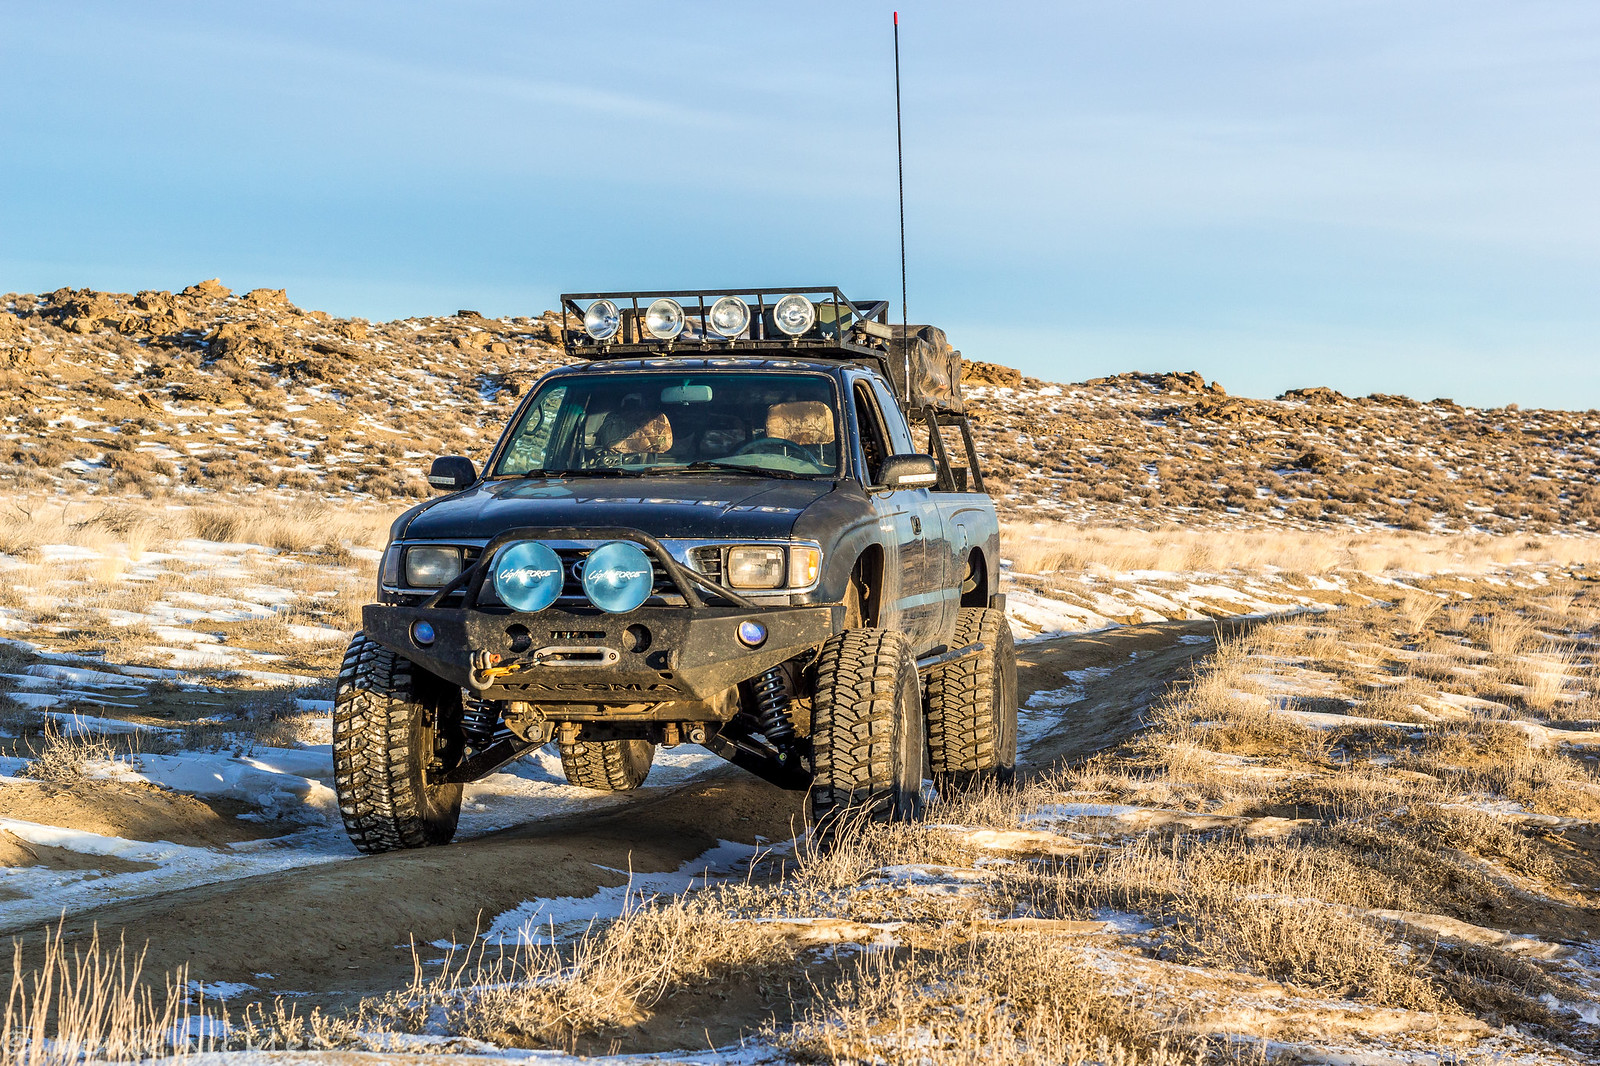 LongTravel Install-112.jpg
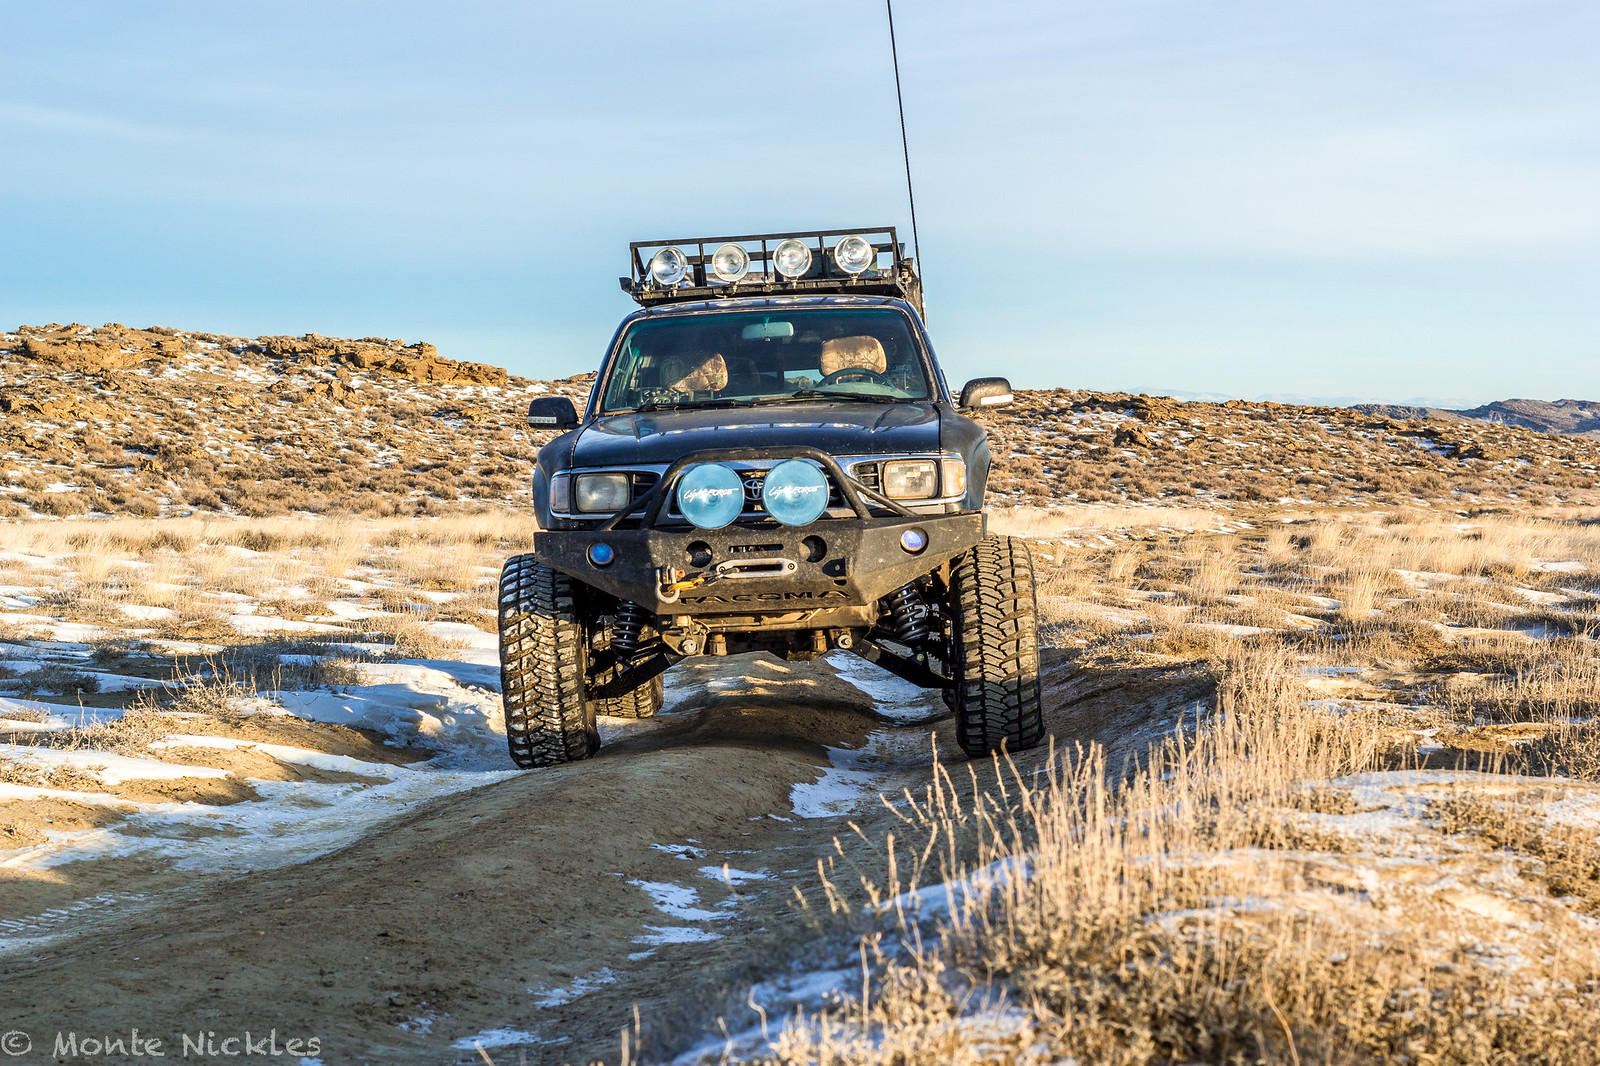 LongTravel Install-113.jpg
 LongTravel Install-114.jpg
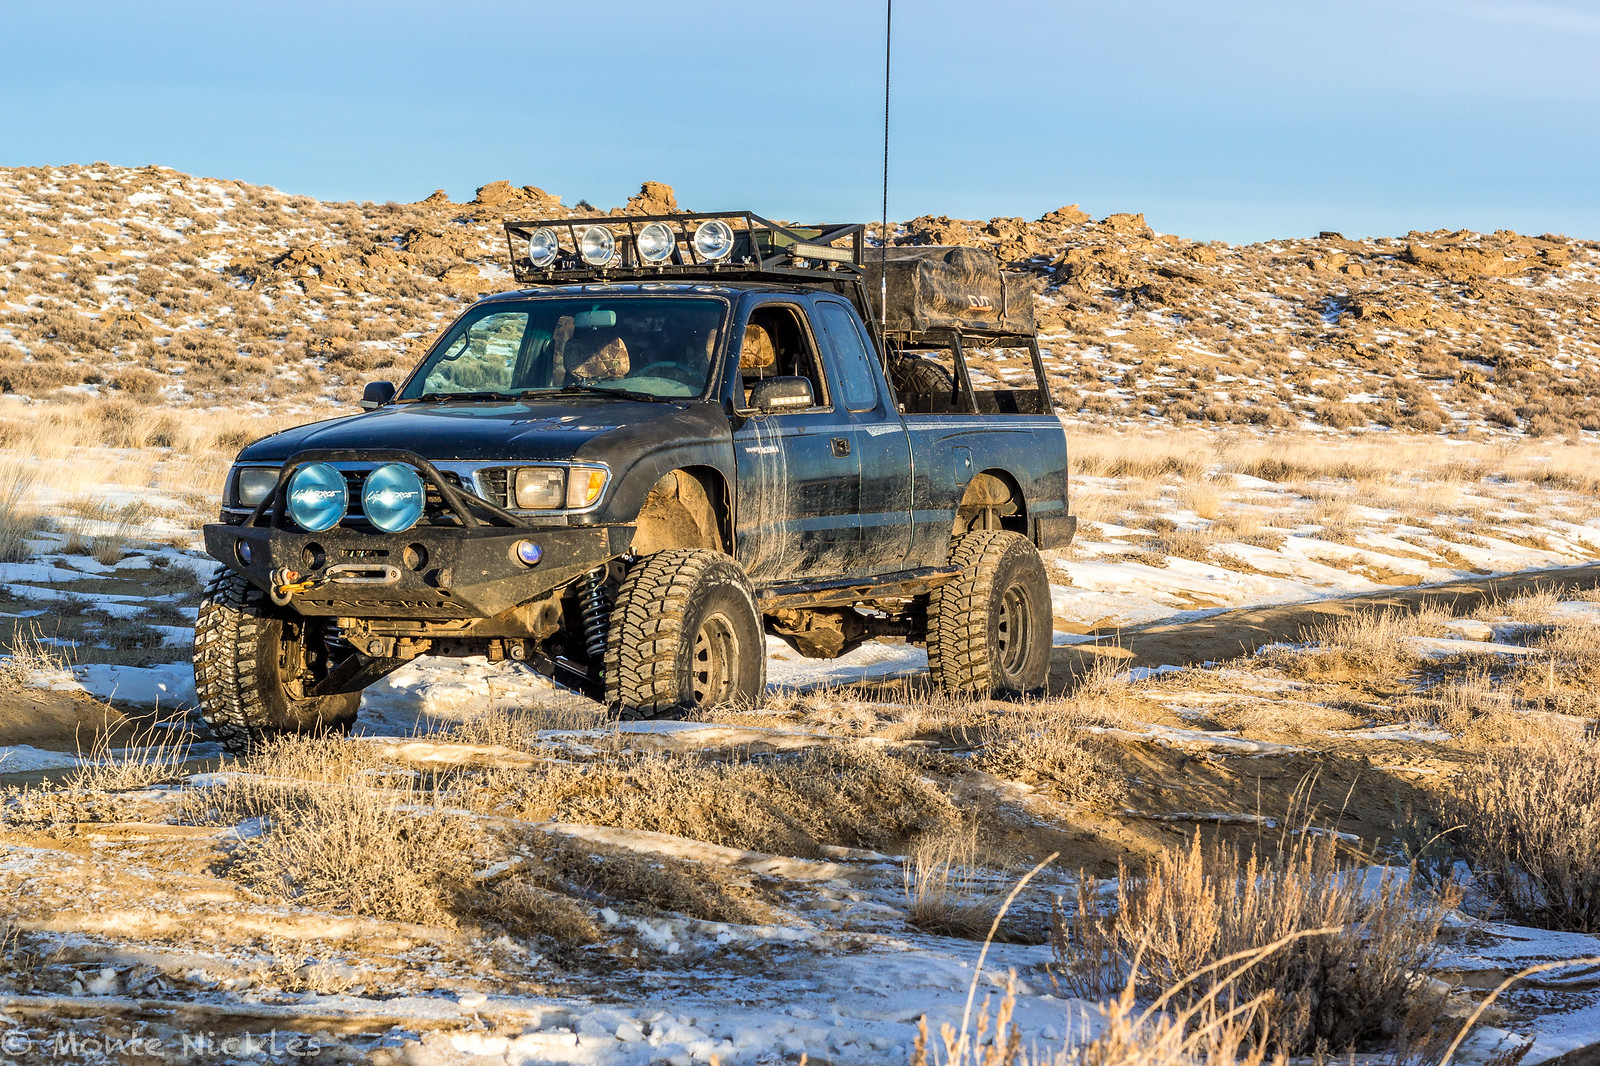 LongTravel Install-115.jpg
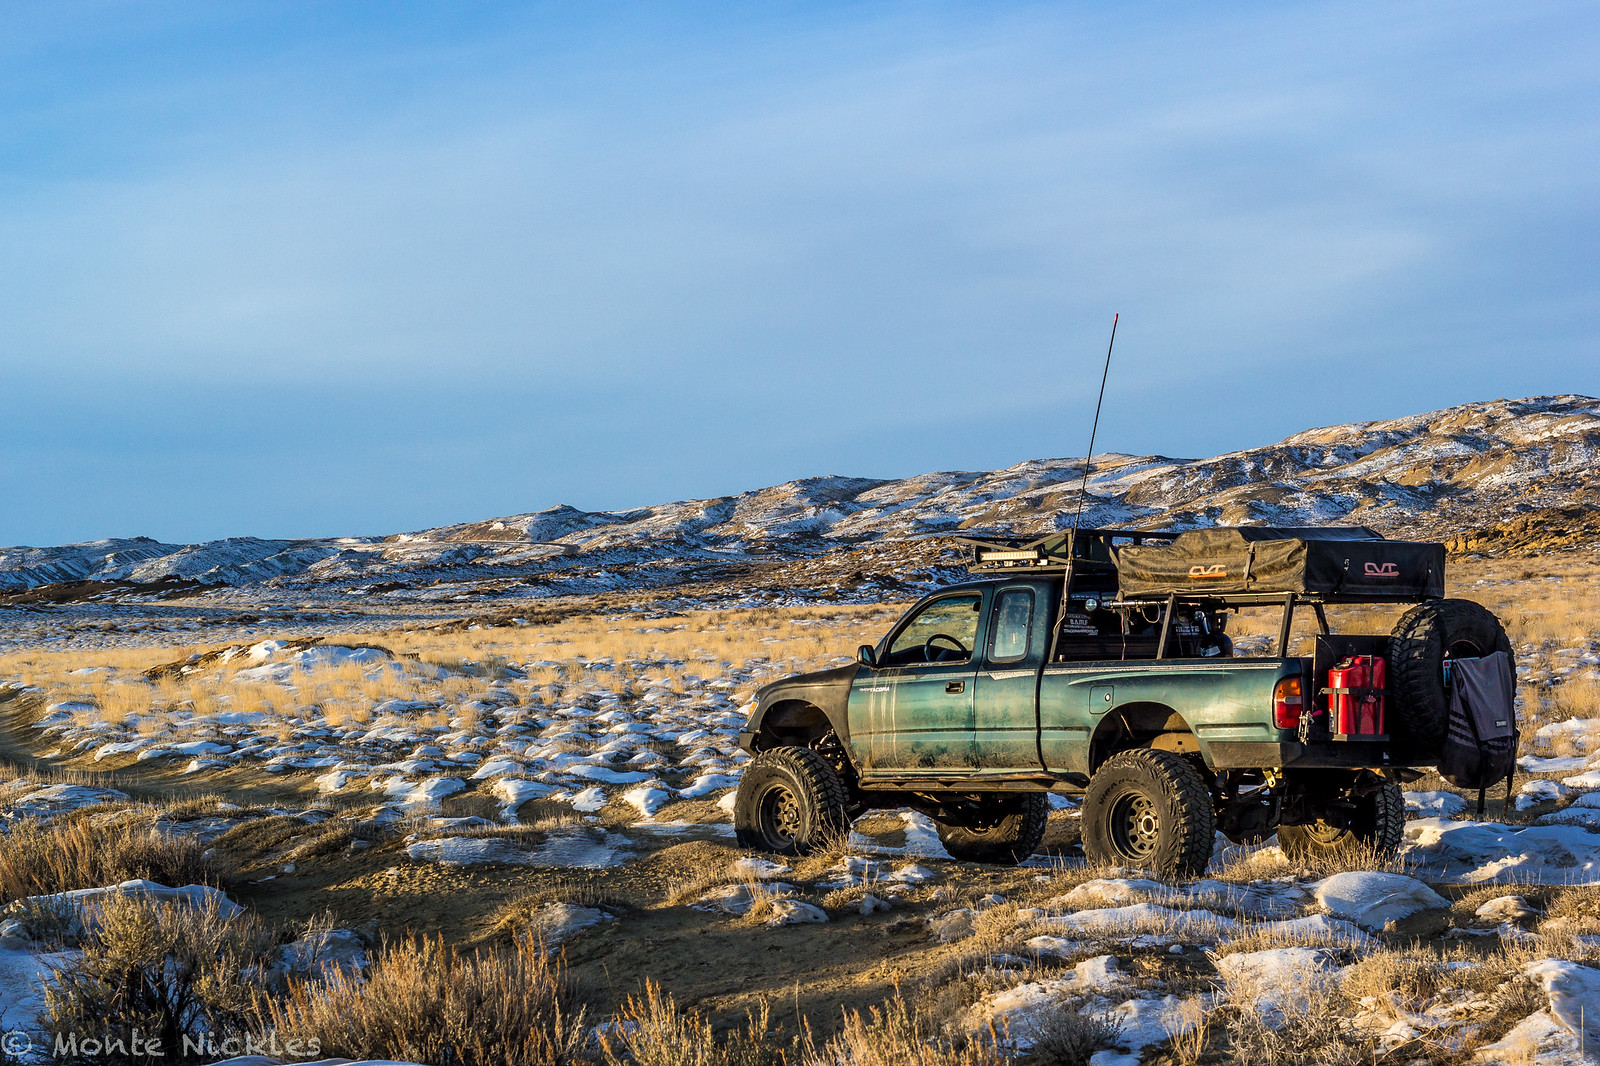 LongTravel Install-116.jpg
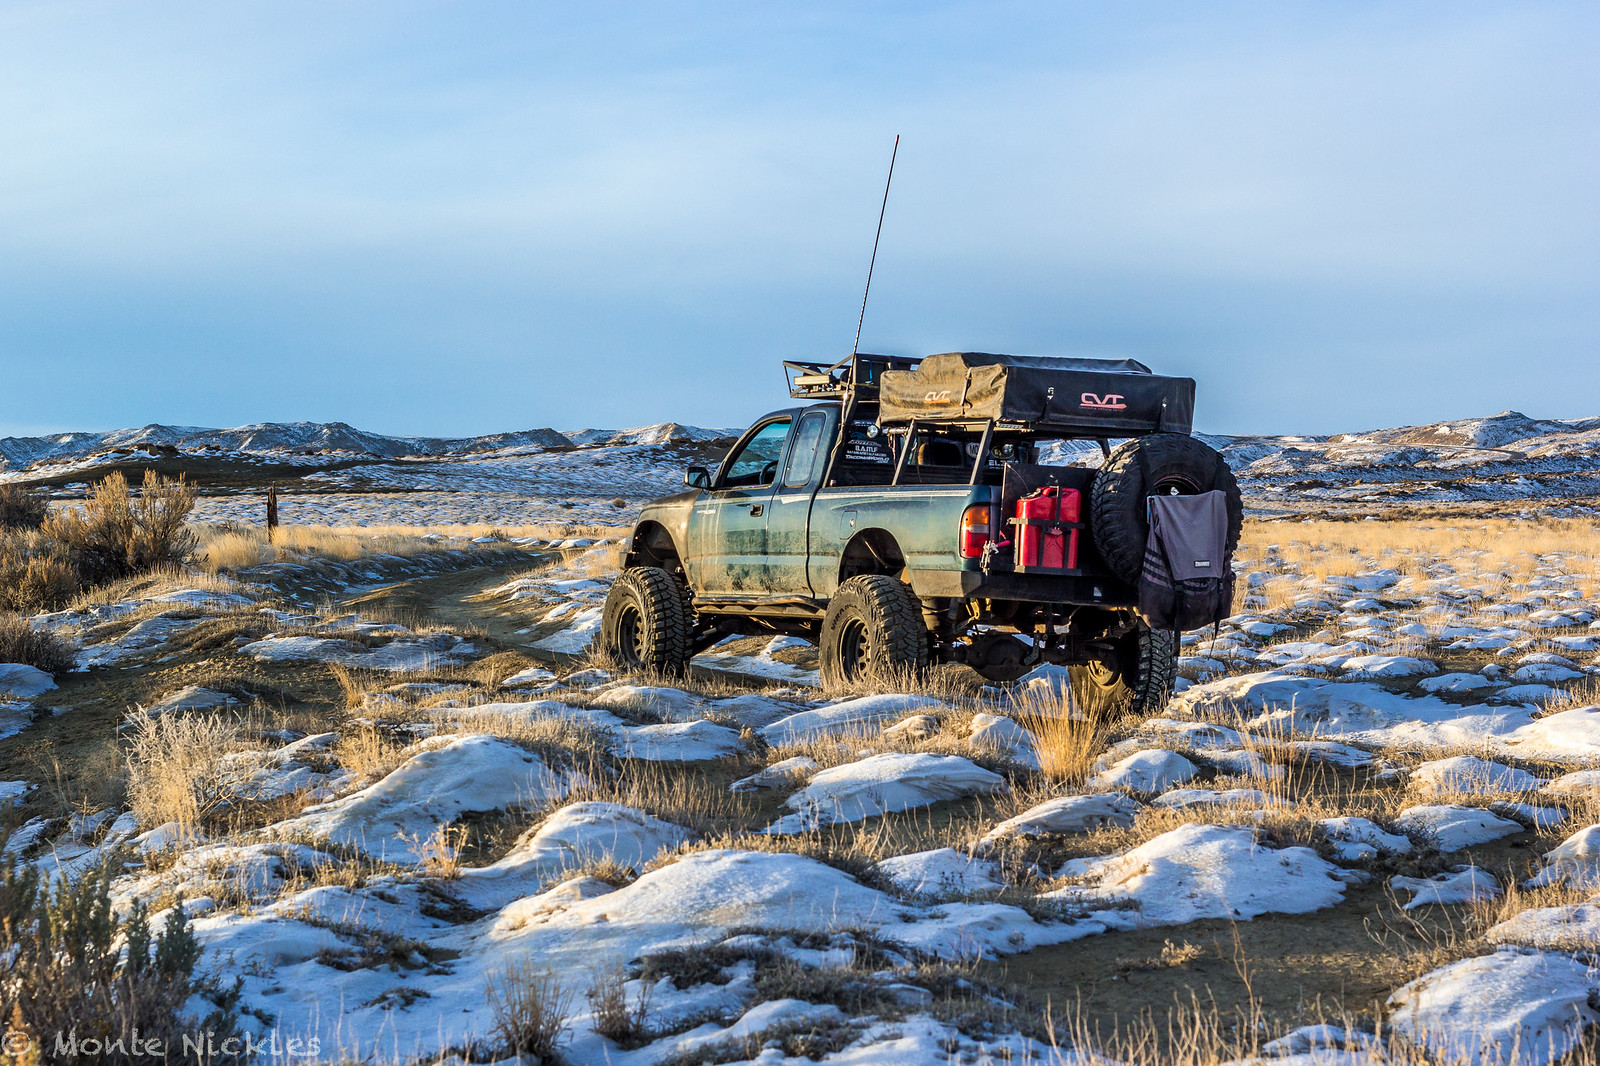 LongTravel Install-117.jpg
 LongTravel Install-118.jpg
 LongTravel Install-119.jpg
 LongTravel Install-120.jpg
 LongTravel Install-121.jpg
 LongTravel Install-122.jpg
 LongTravel Install-123.jpg
 LongTravel Install-124.jpg
 LongTravel Install-125.jpg
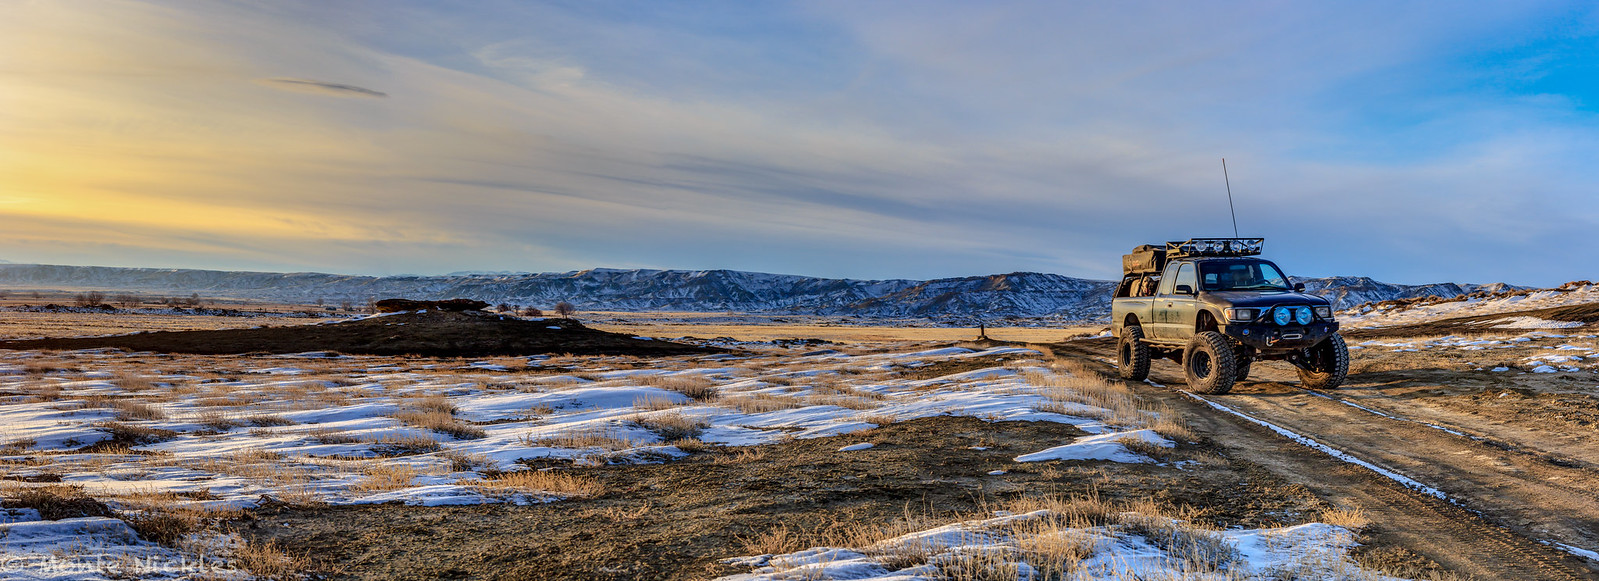 LongTravel Install.jpg
 LongTravel Install-129.jpg
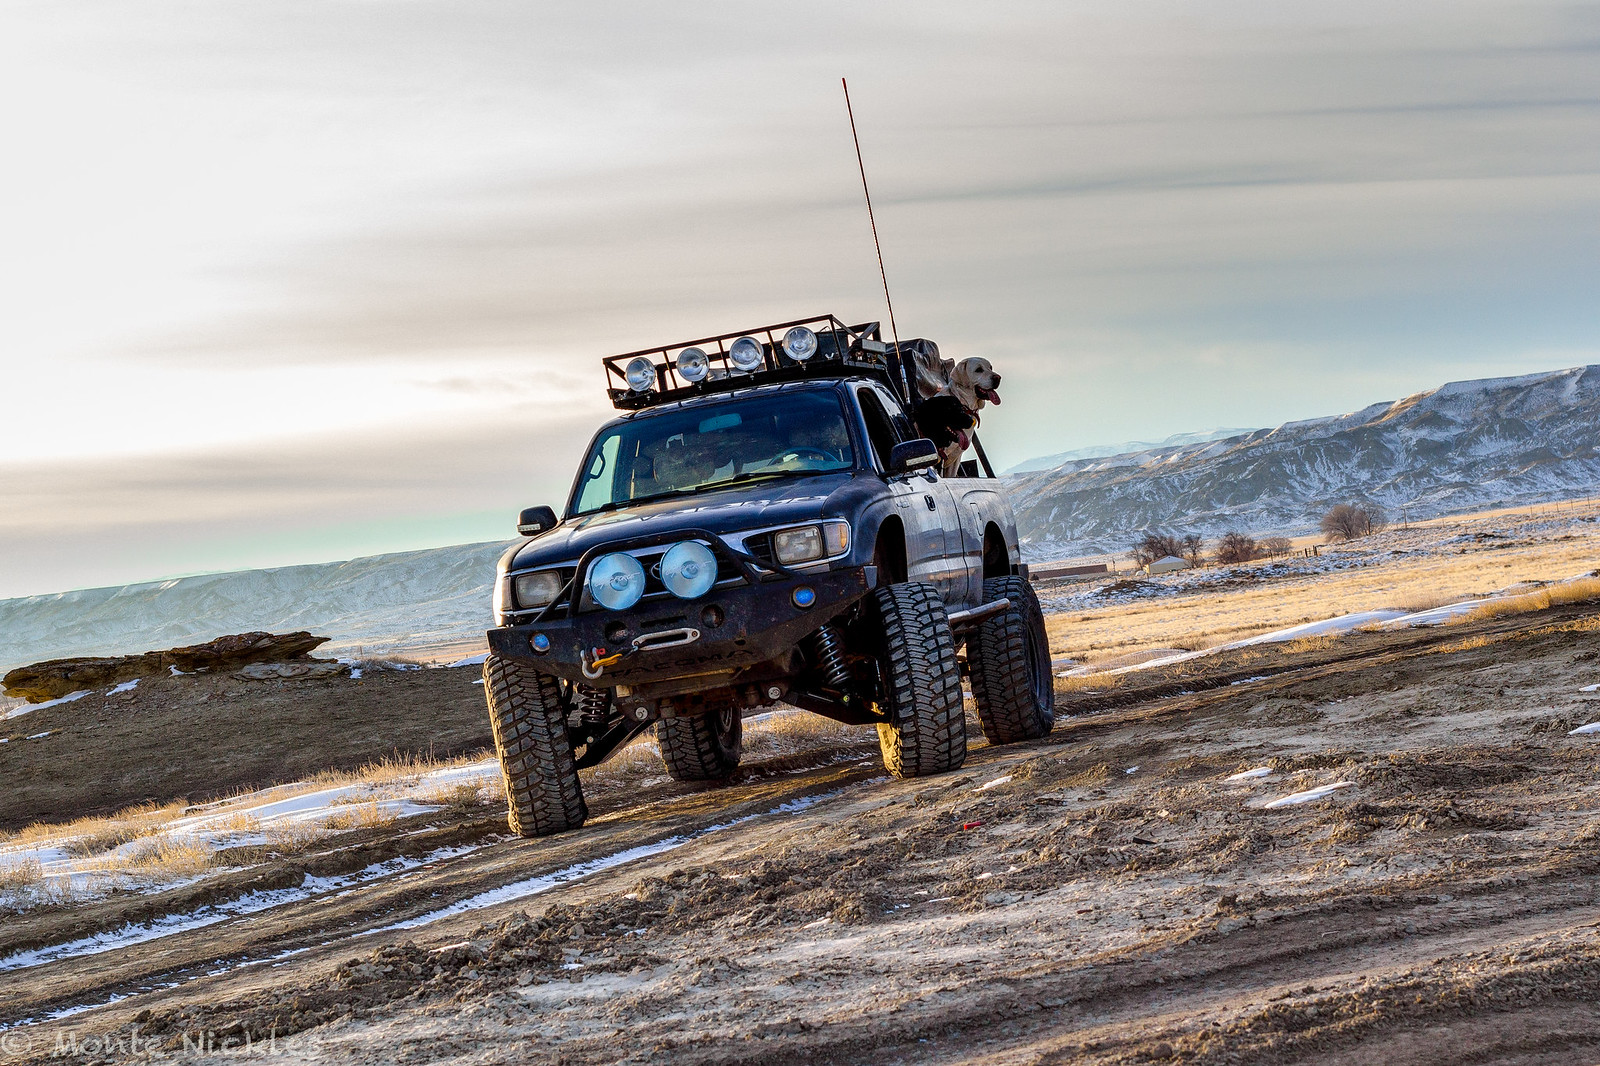 LongTravel Install-130.jpg
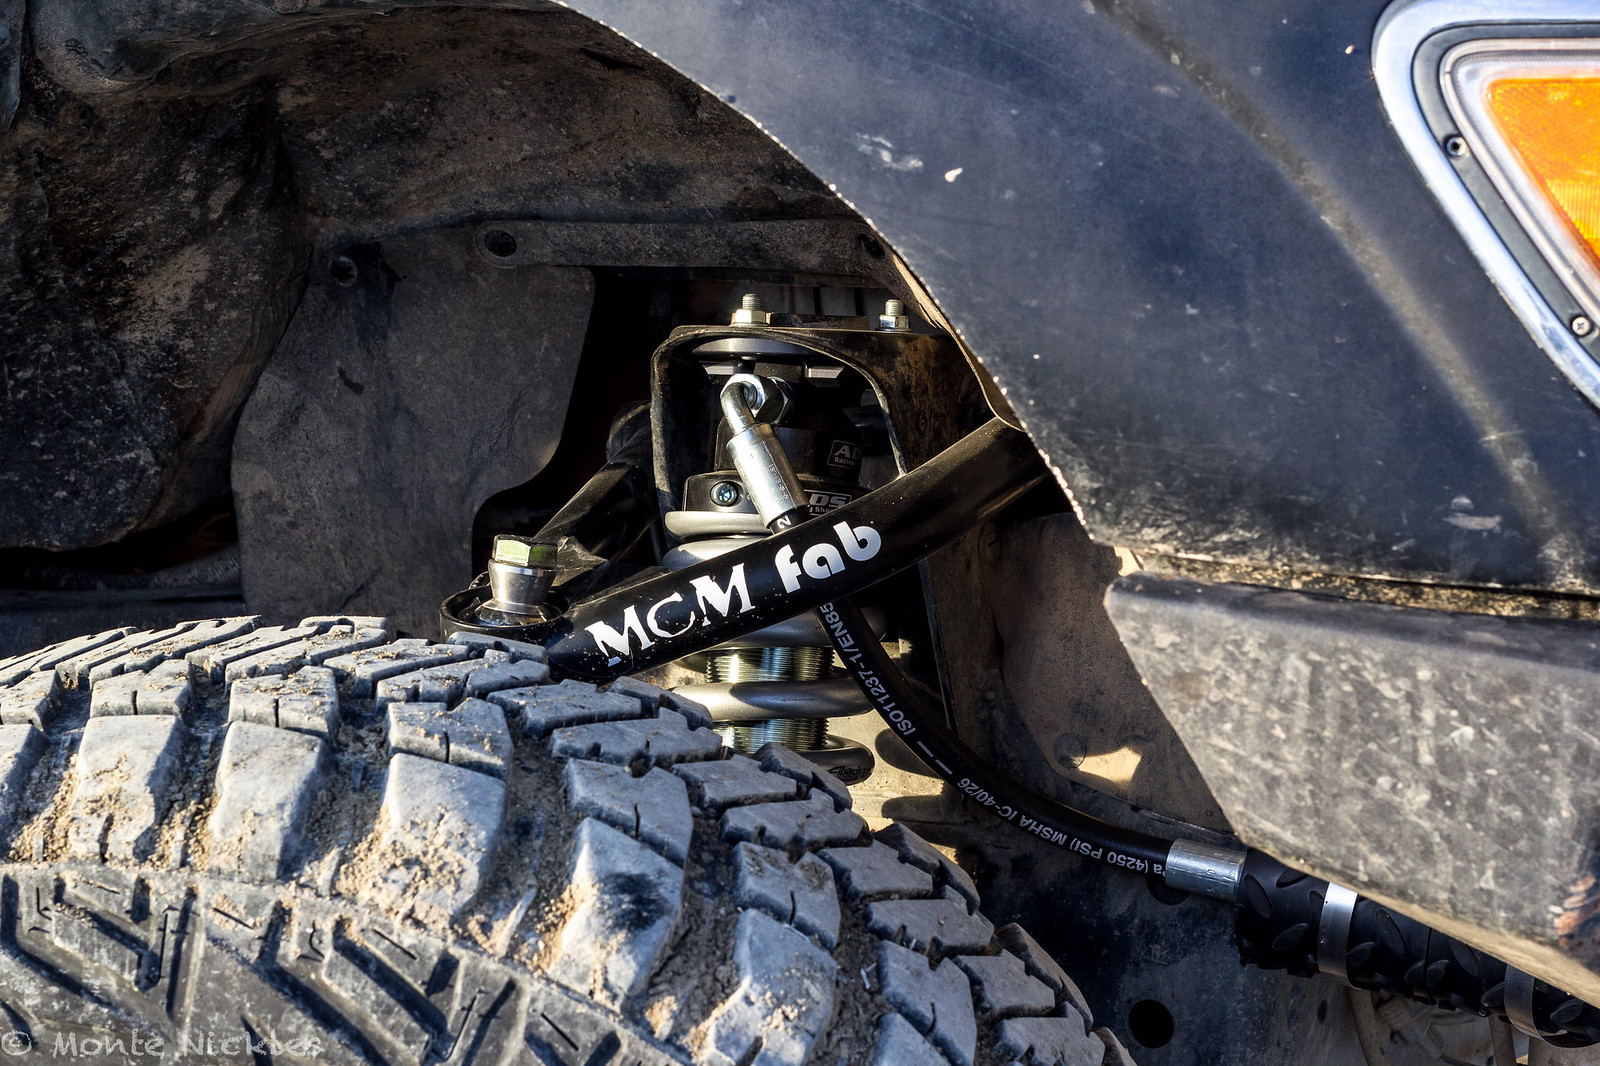 LongTravel Install-131.jpg
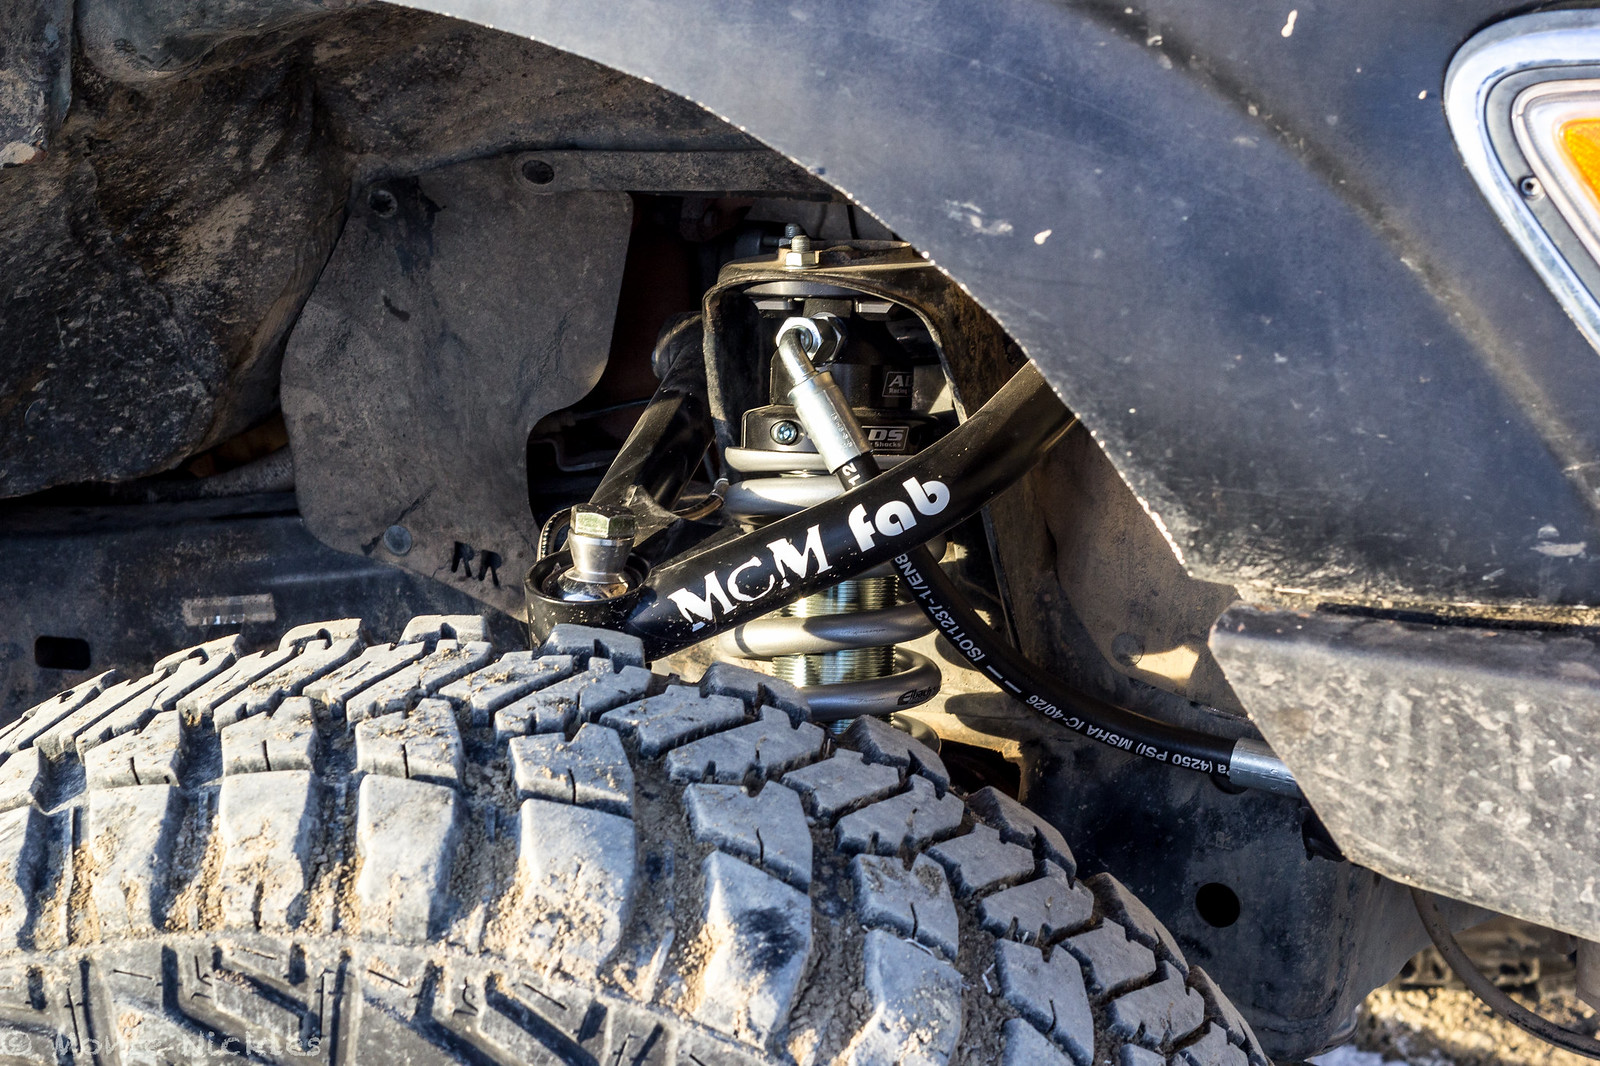 LongTravel Install-132.jpg
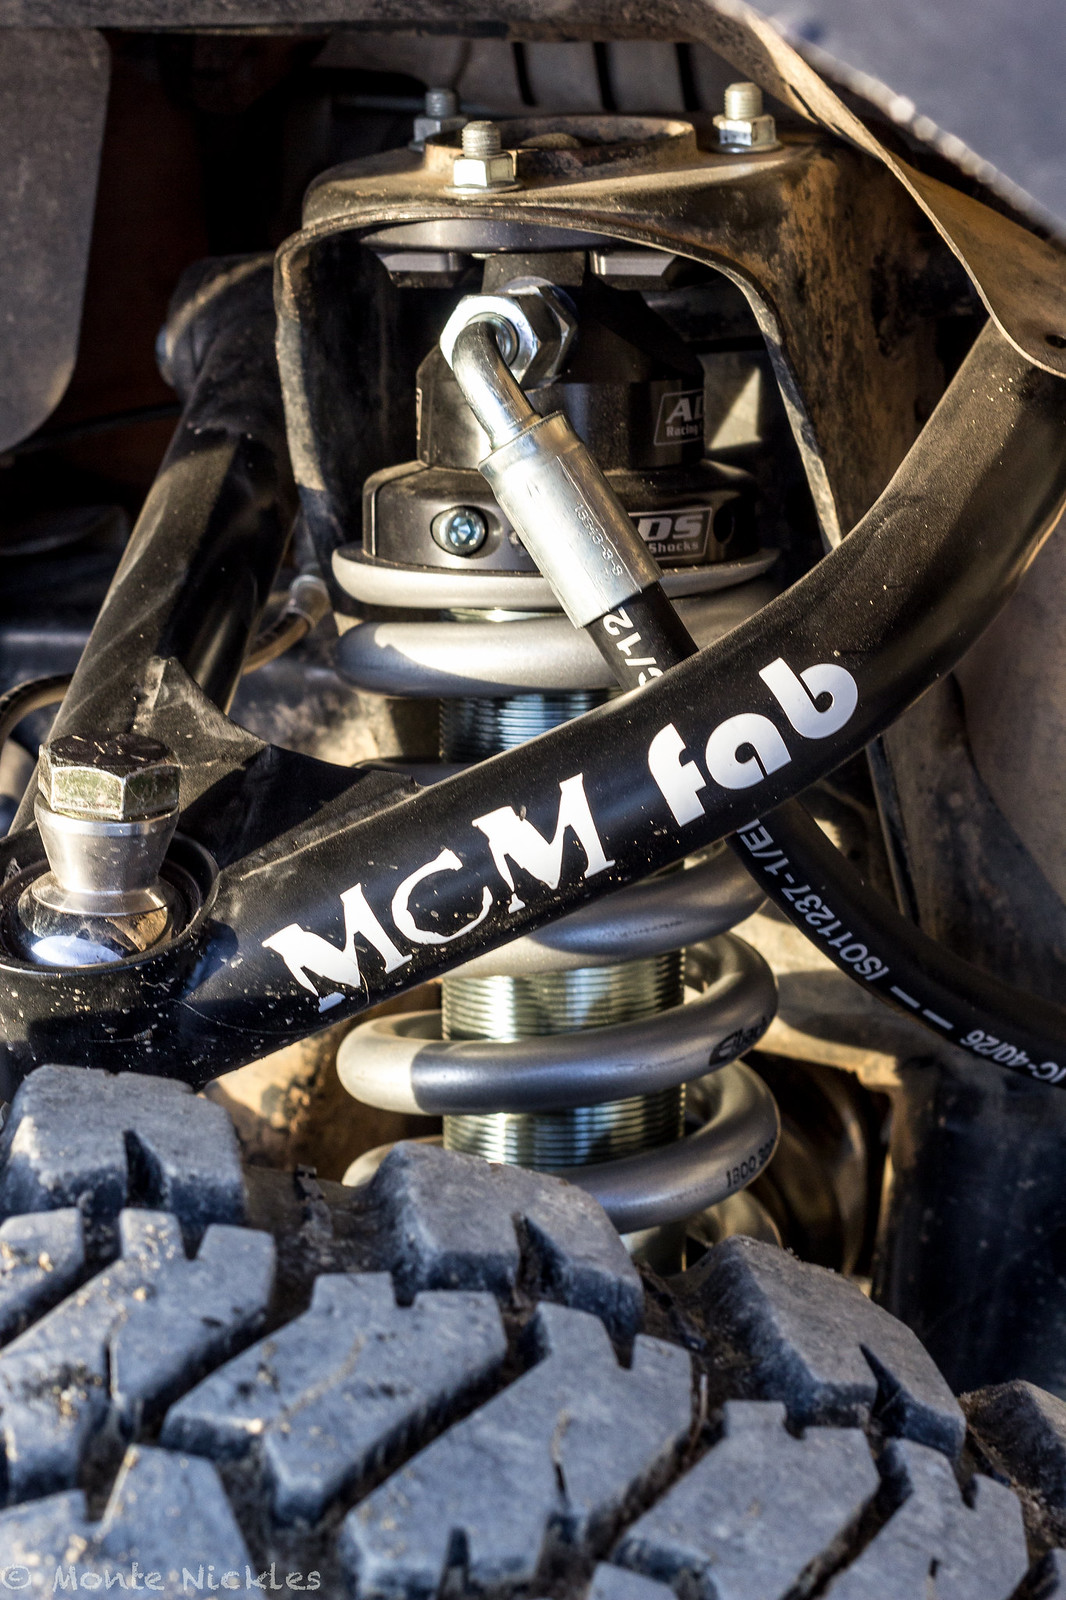 LongTravel Install-133.jpg
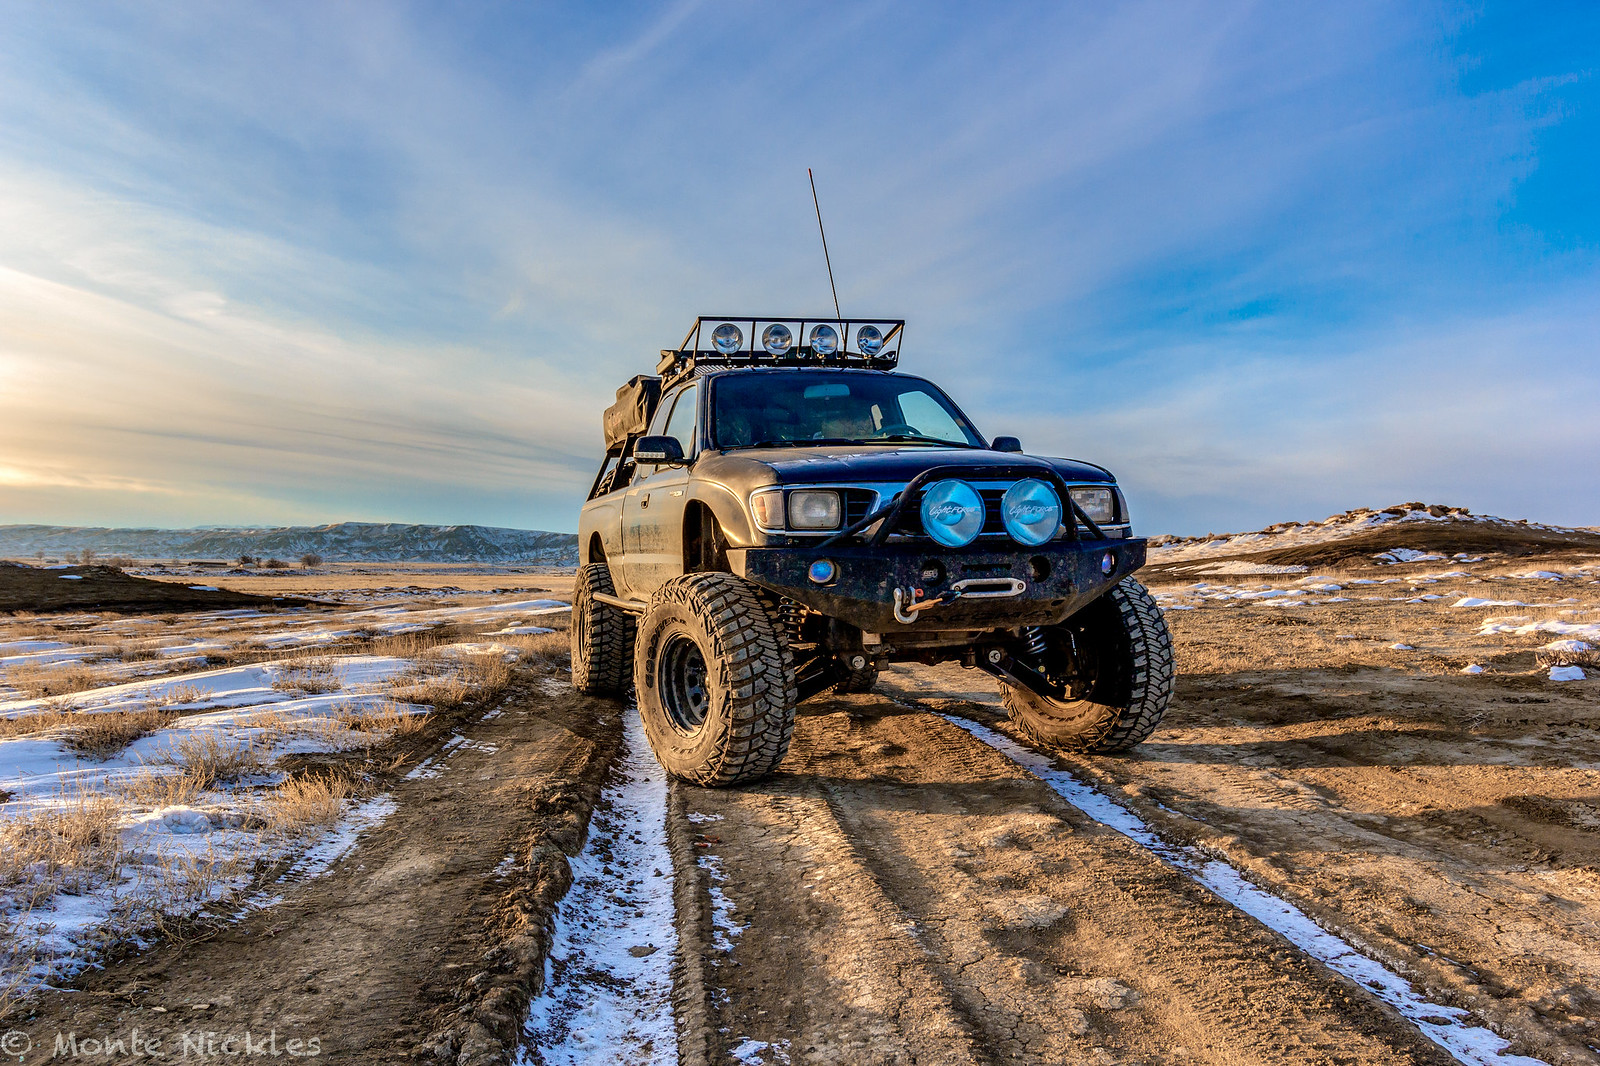 LongTravel Install-134.jpg
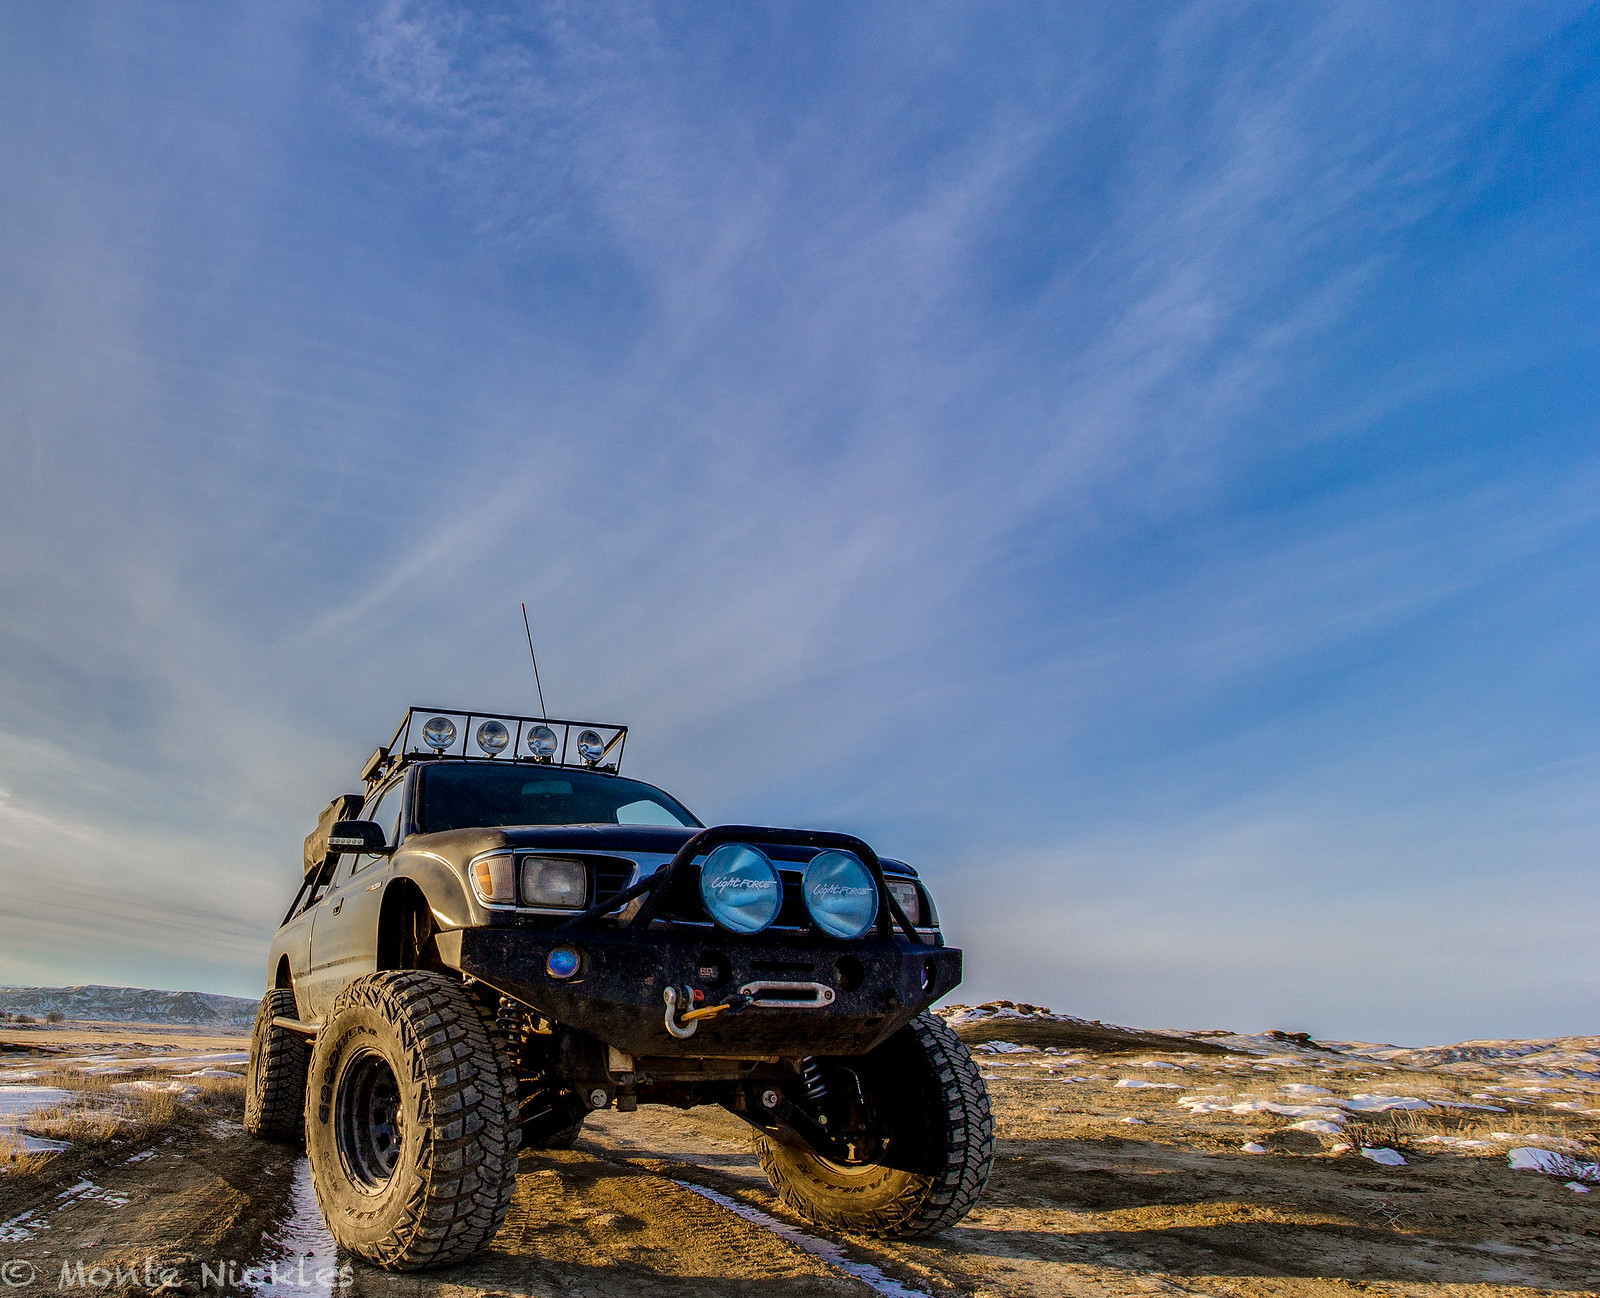 LongTravel Install-135.jpg
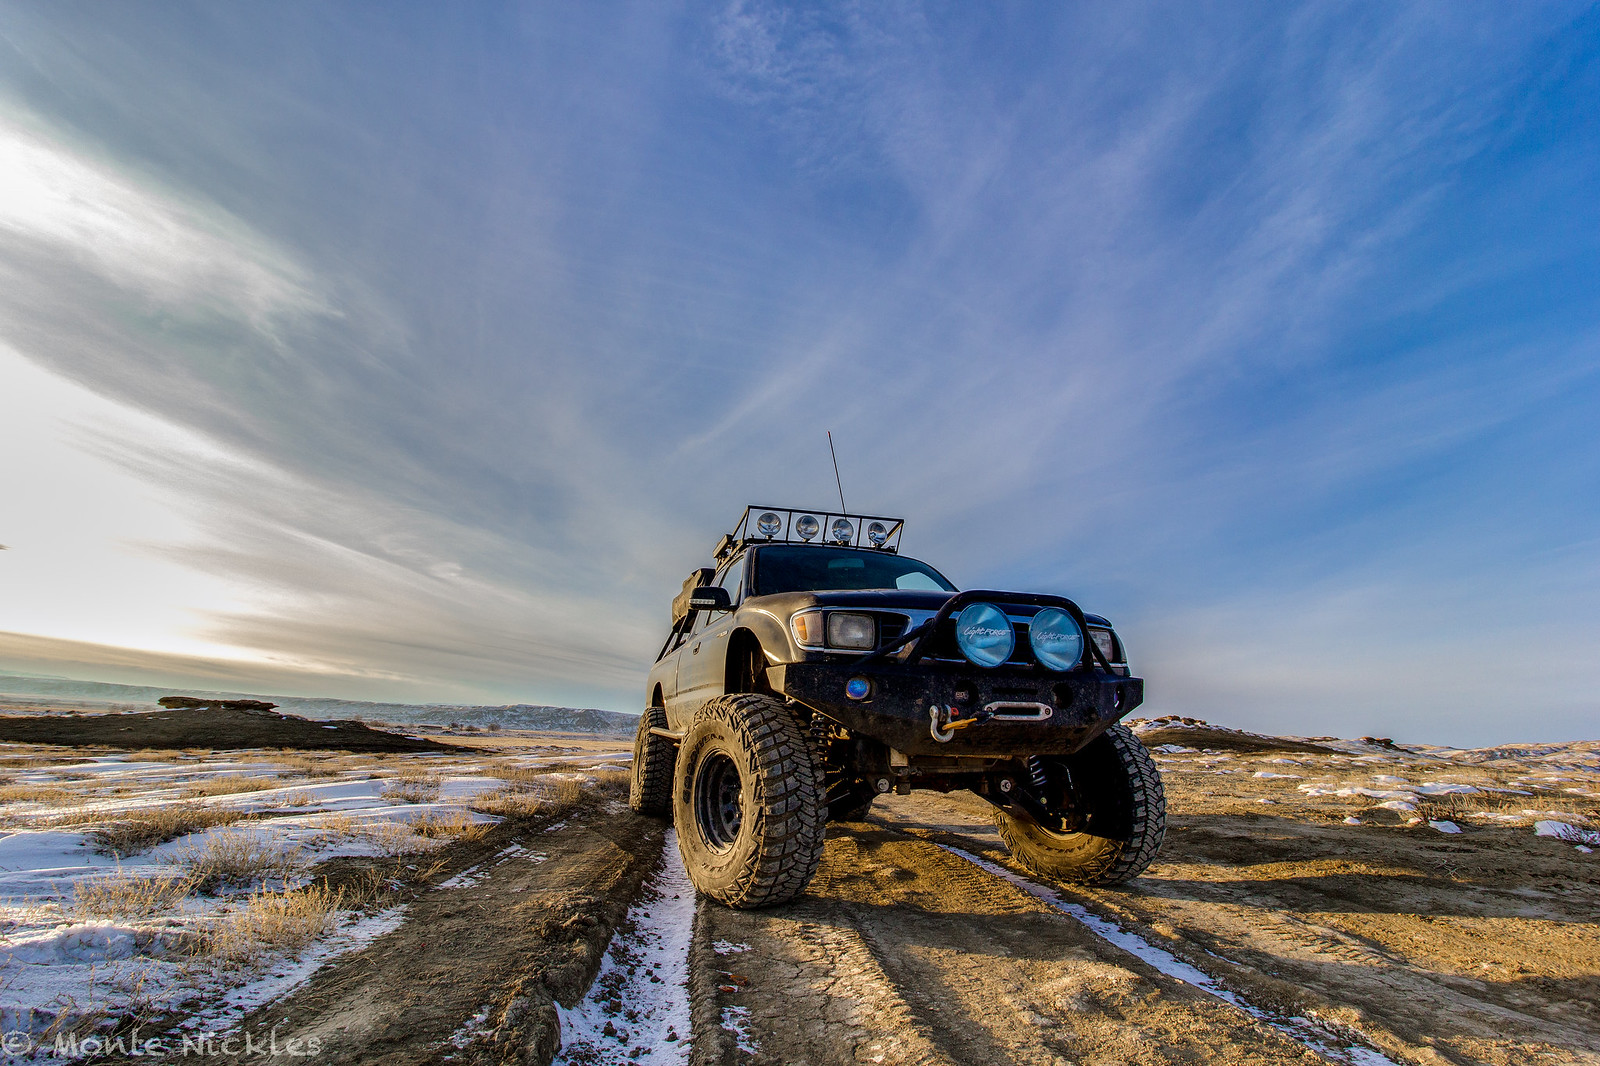 LongTravel Install-136.jpg
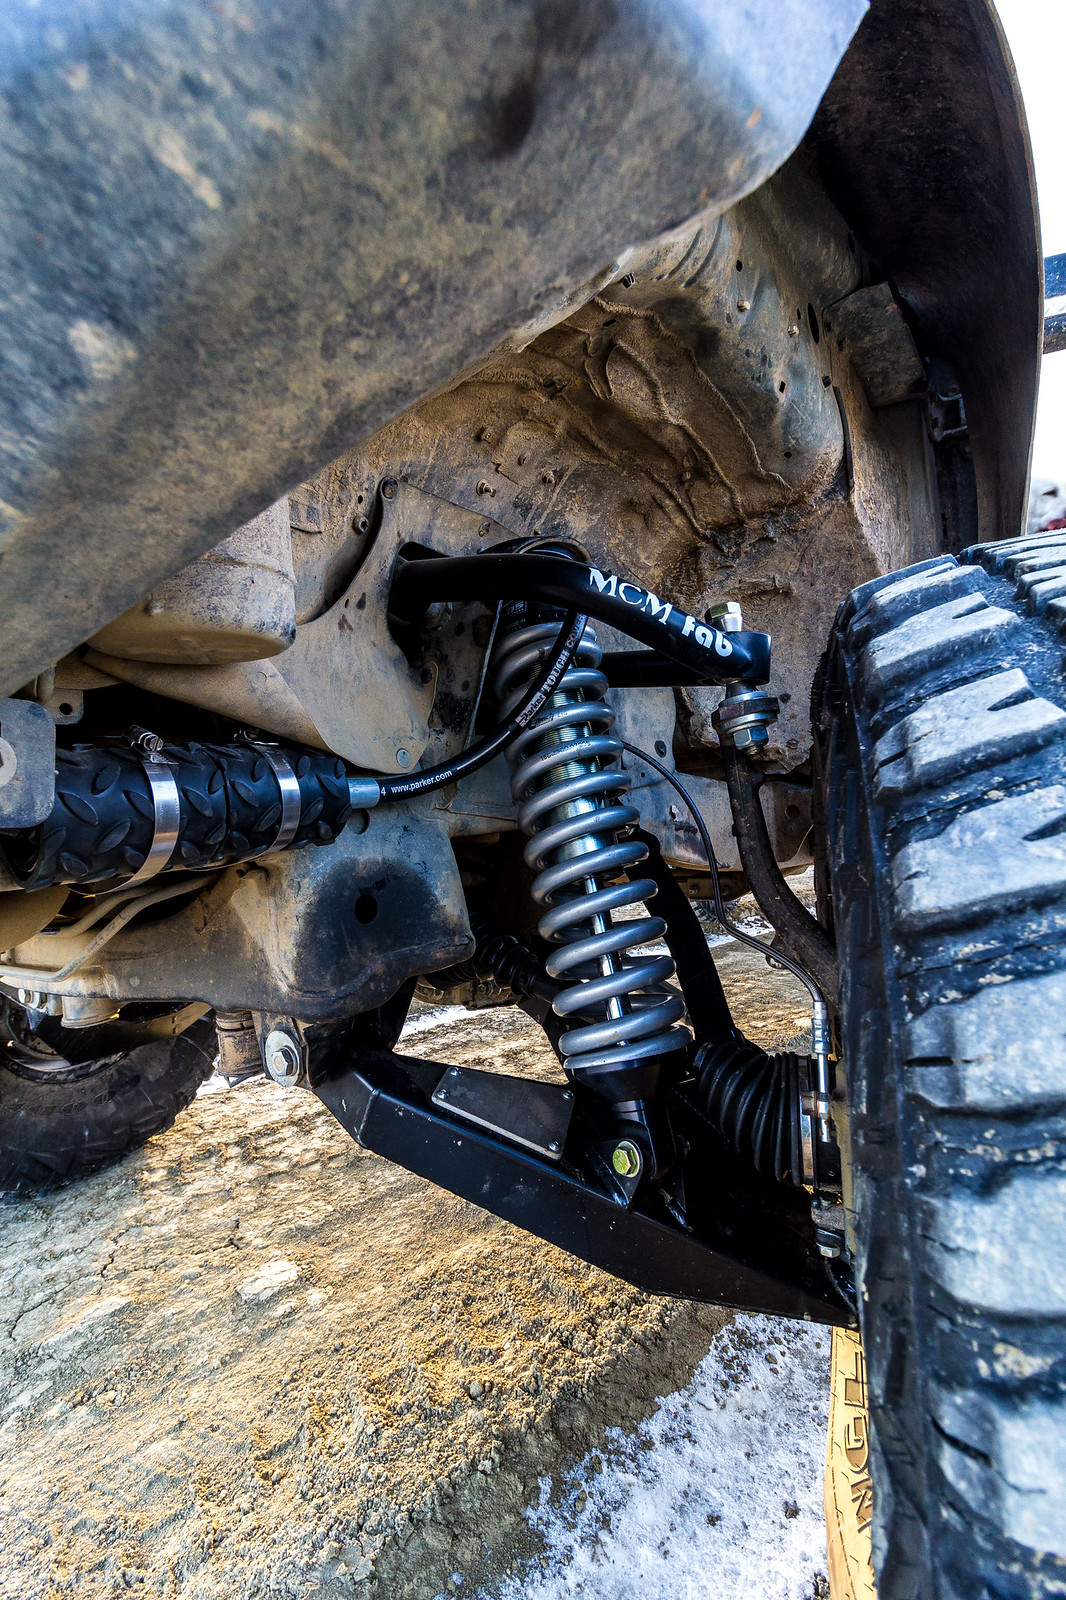 LongTravel Install-137.jpg
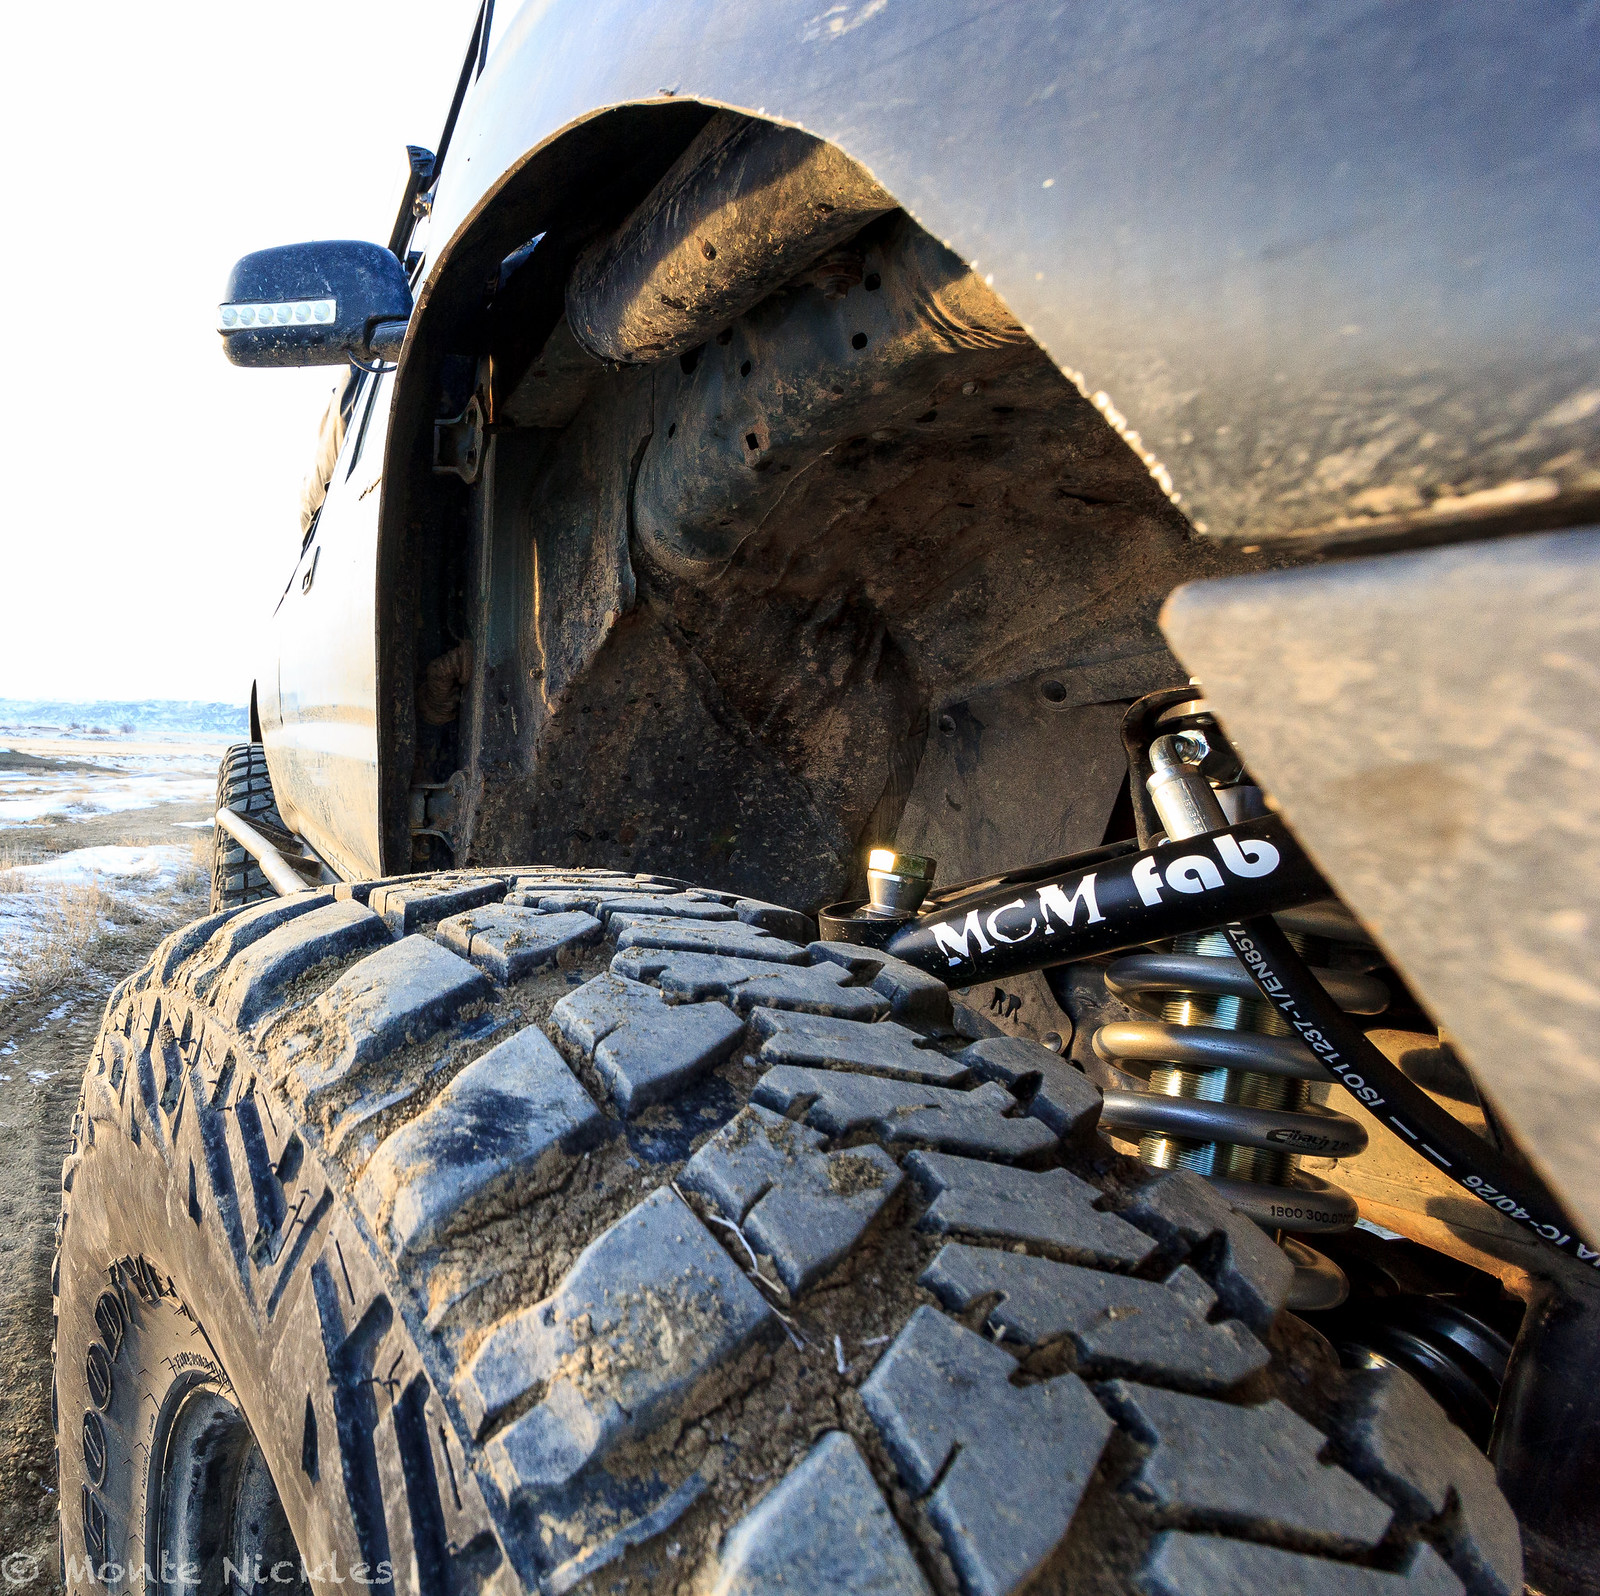 LongTravel Install-138.jpg
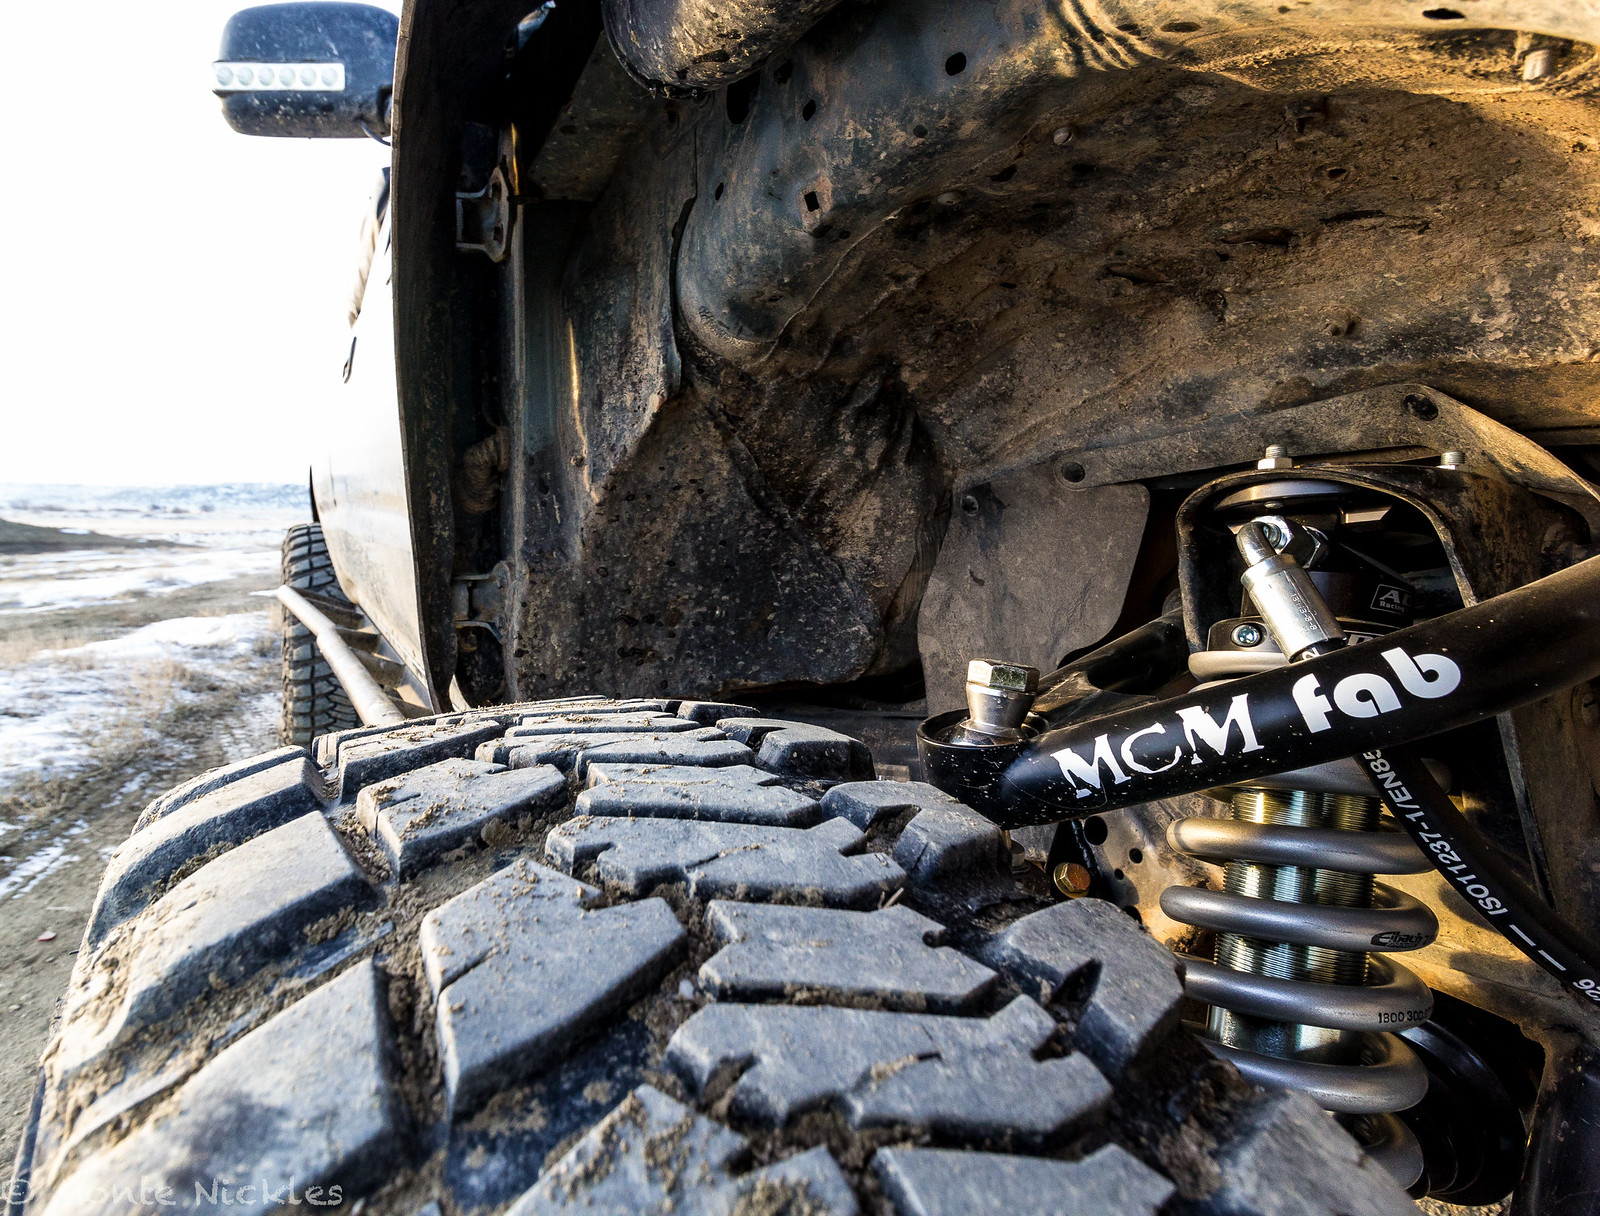 LongTravel Install-139.jpg
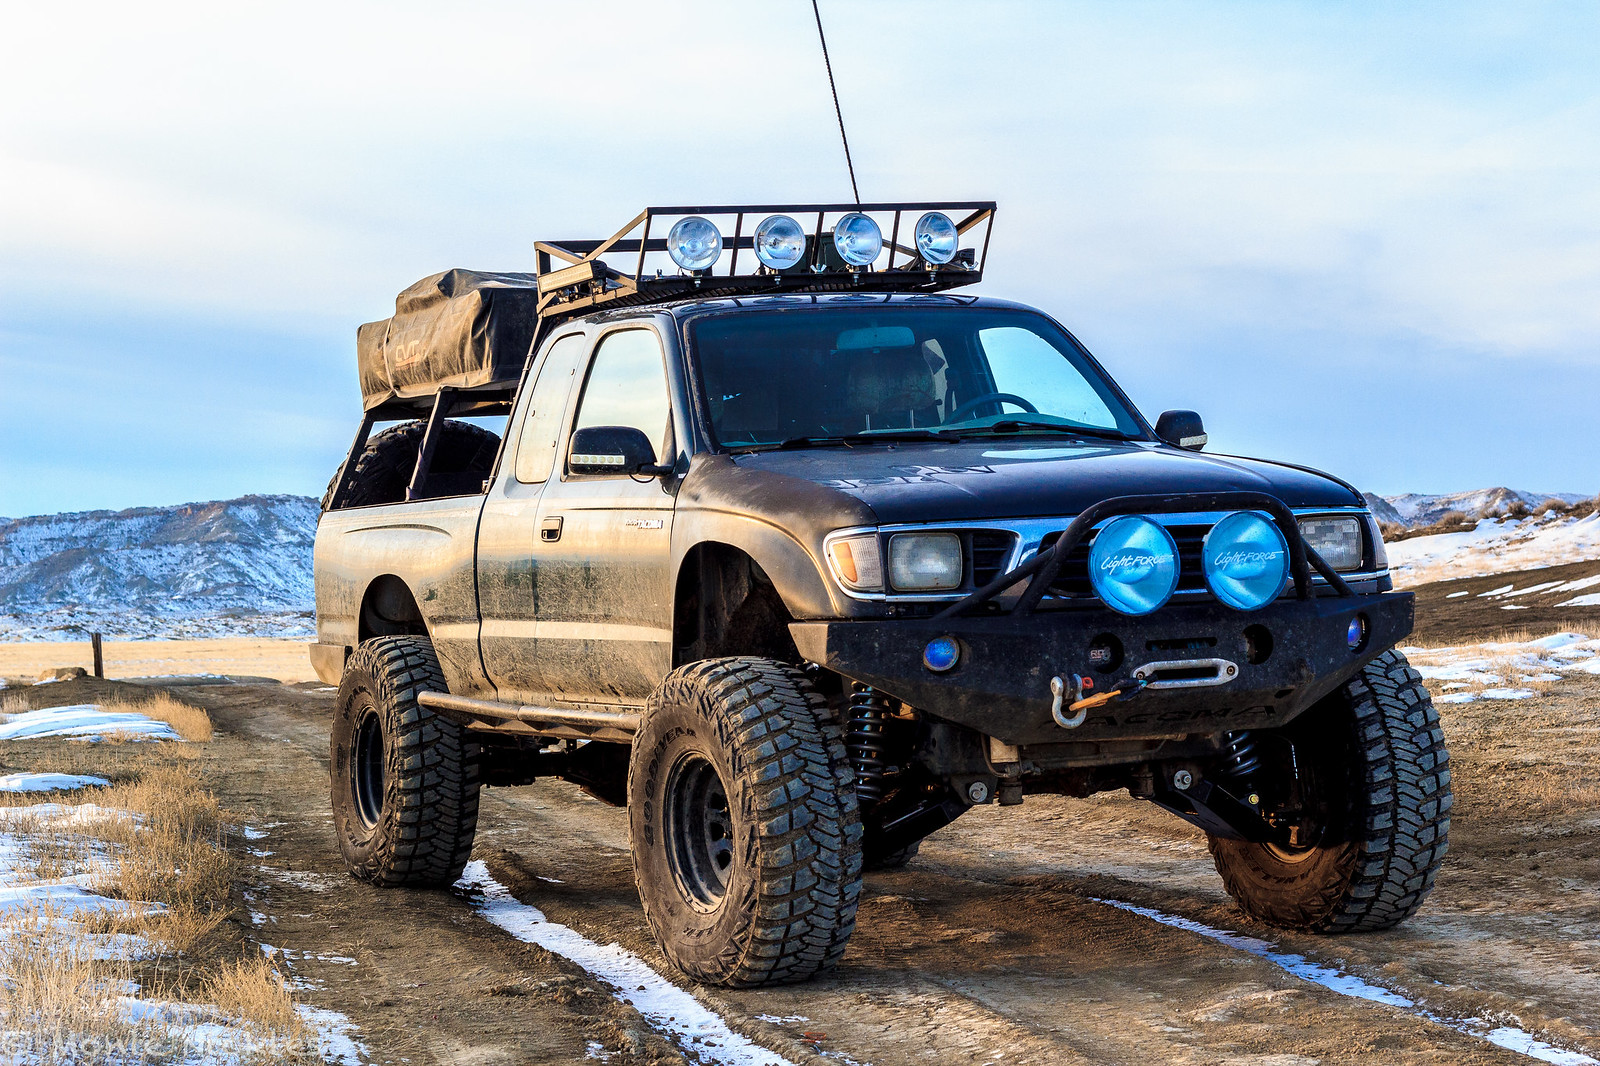 LongTravel Install-140.jpg
 LongTravel Install-141.jpg
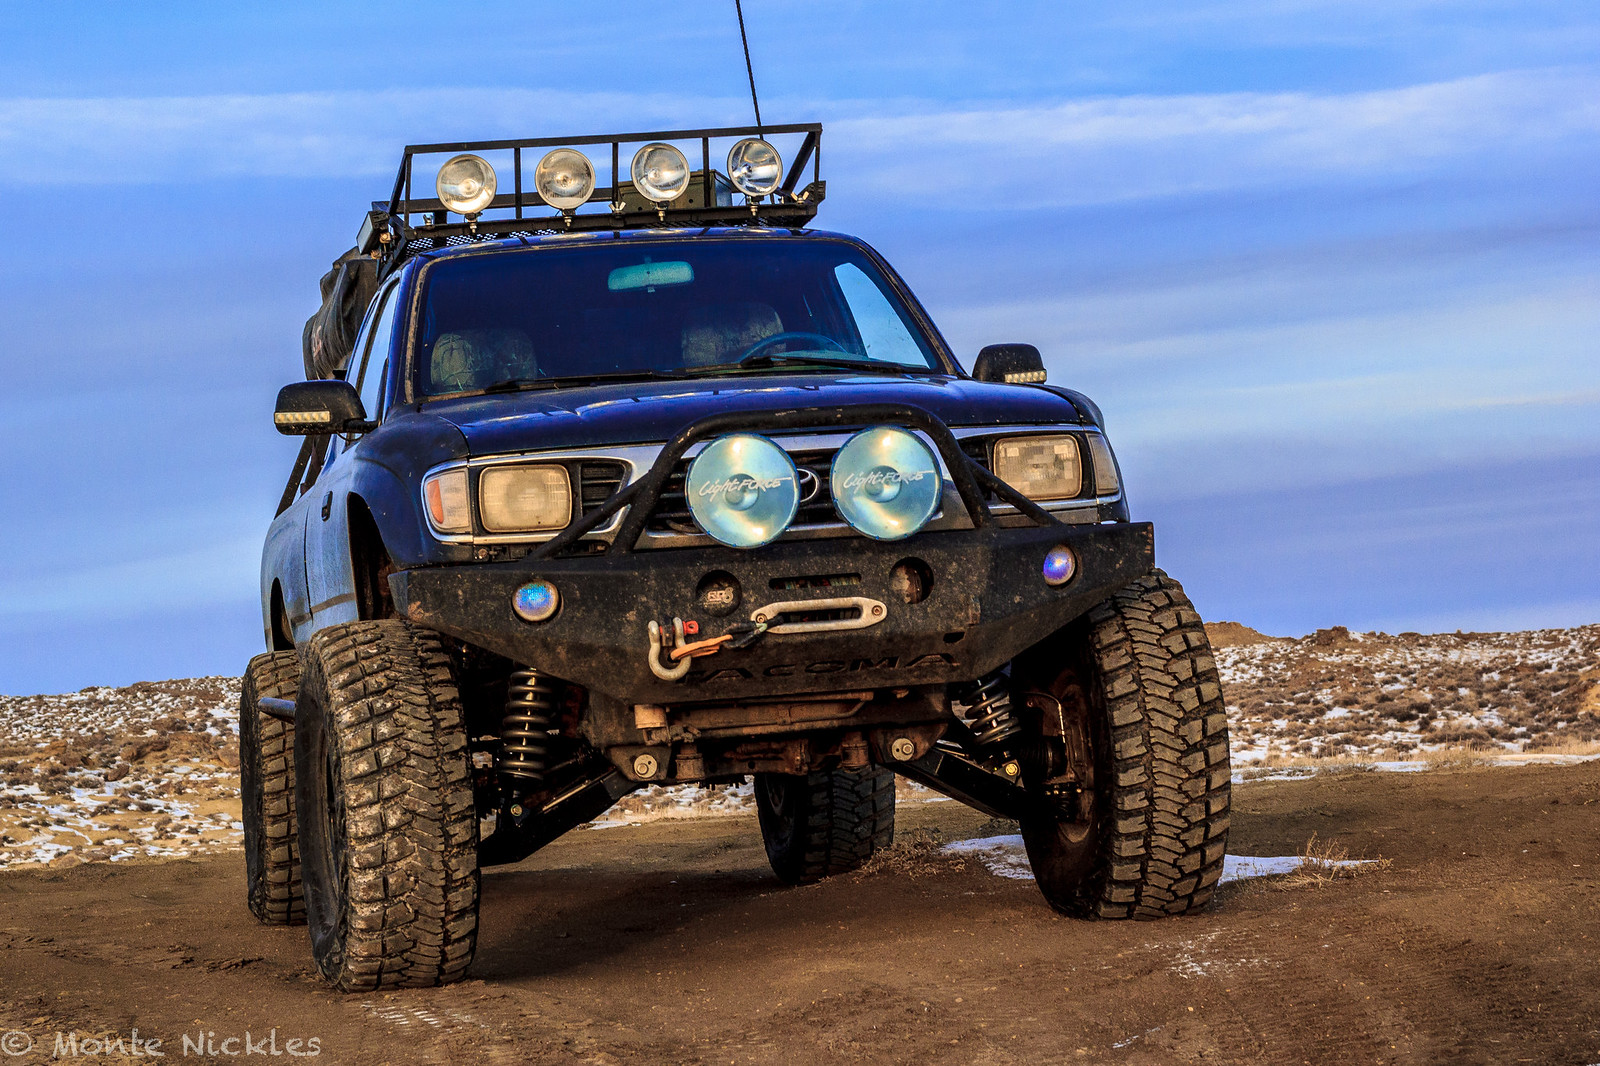 LongTravel Install-142.jpg
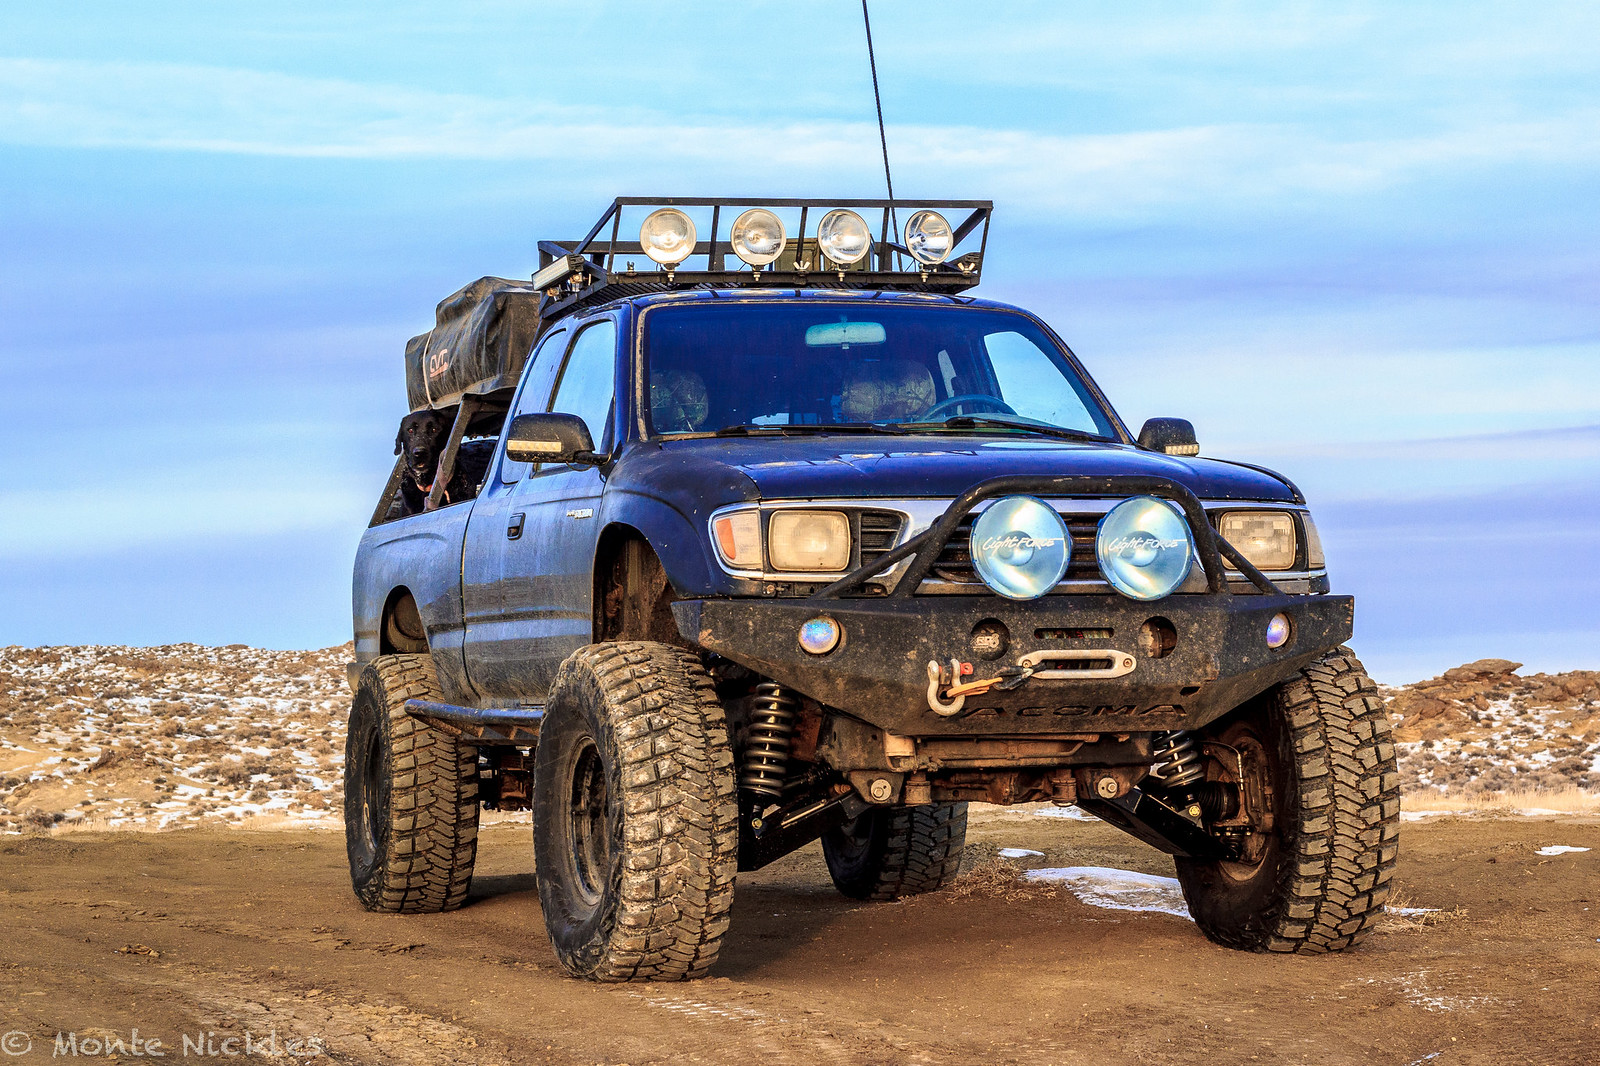 LongTravel Install-143.jpg
 LongTravel Install-144.jpg