Tonto - Off Road Trailer Build

RocknLJ

New member
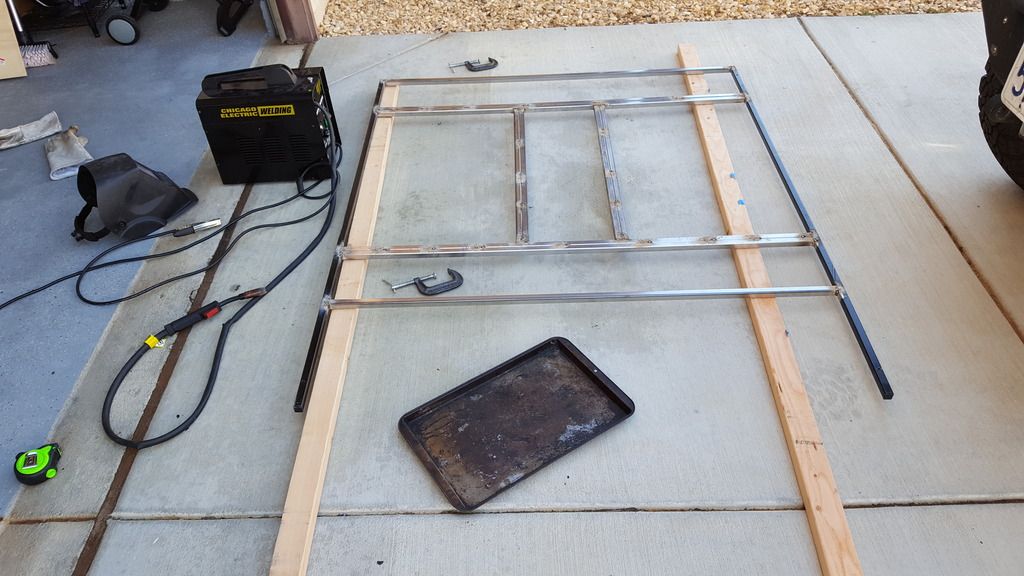
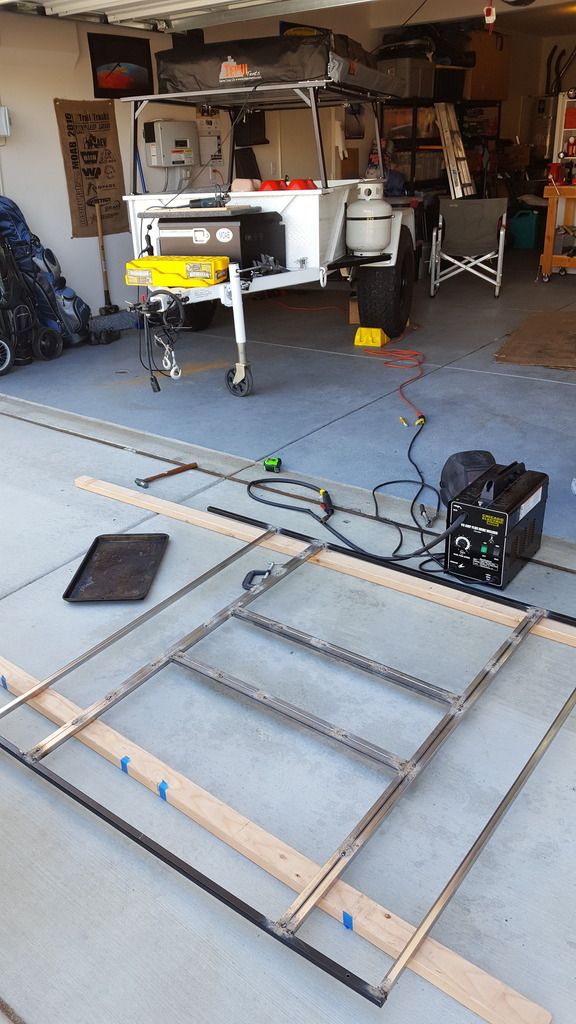
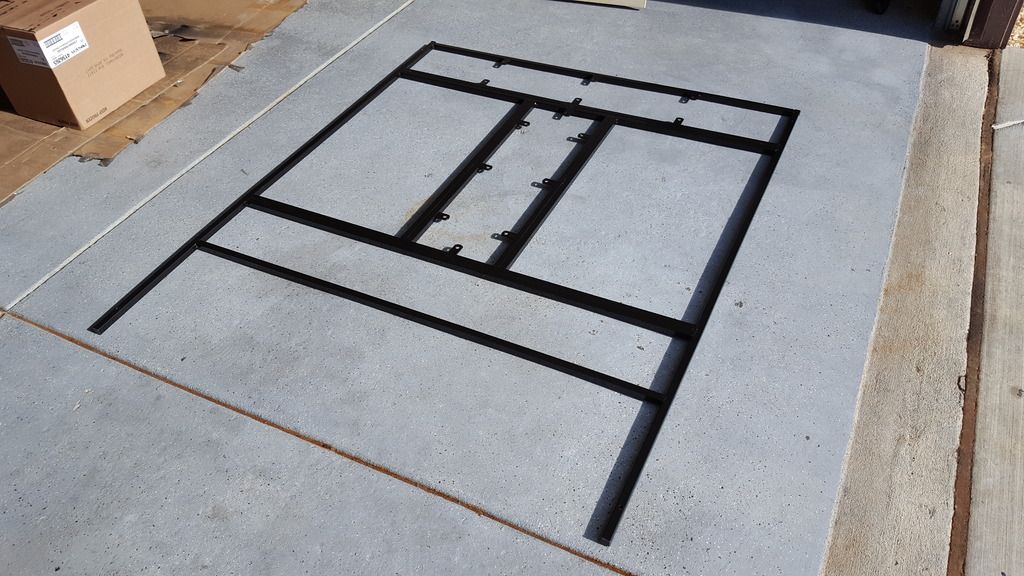
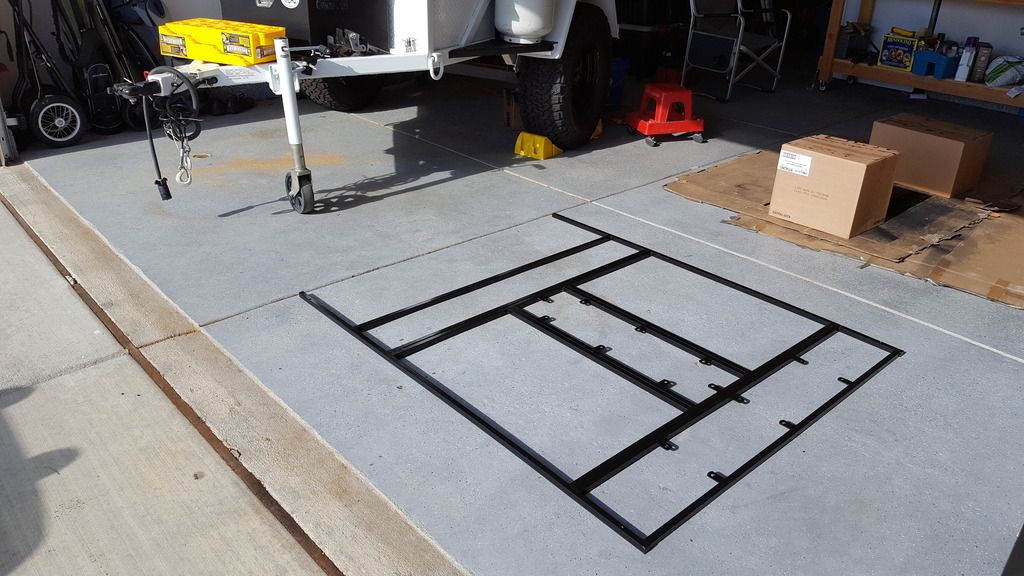
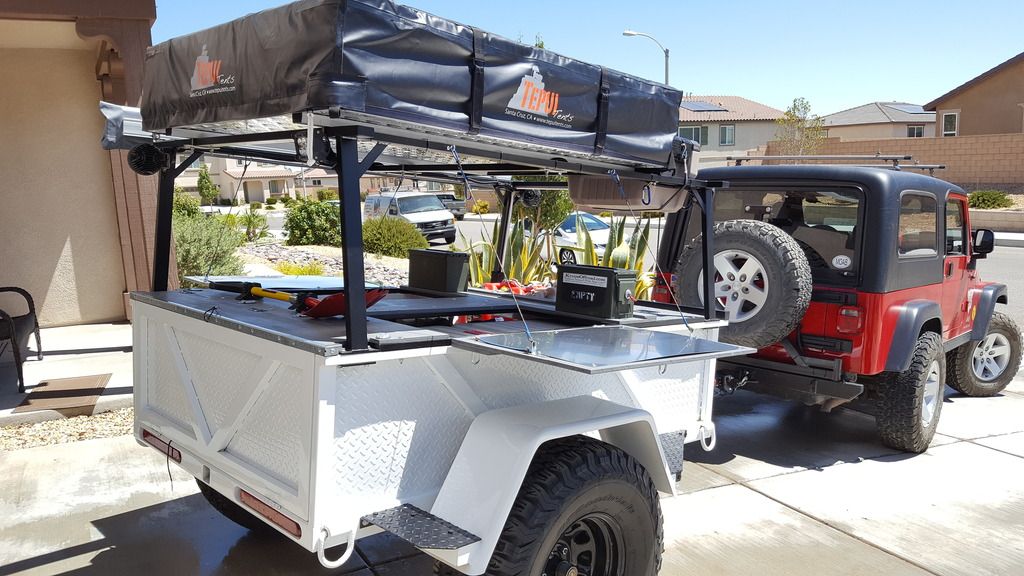
After years of building Jeeps, aggressive wheeling, and continuous parts upgrades (see also breakage), I decided to change my latitude a bit and try the overlanding route. As an avid camper and off road enthusiast, expedition style adventures seem to be a perfect fit. The following pages document my expedition trailer build and off road adventures.

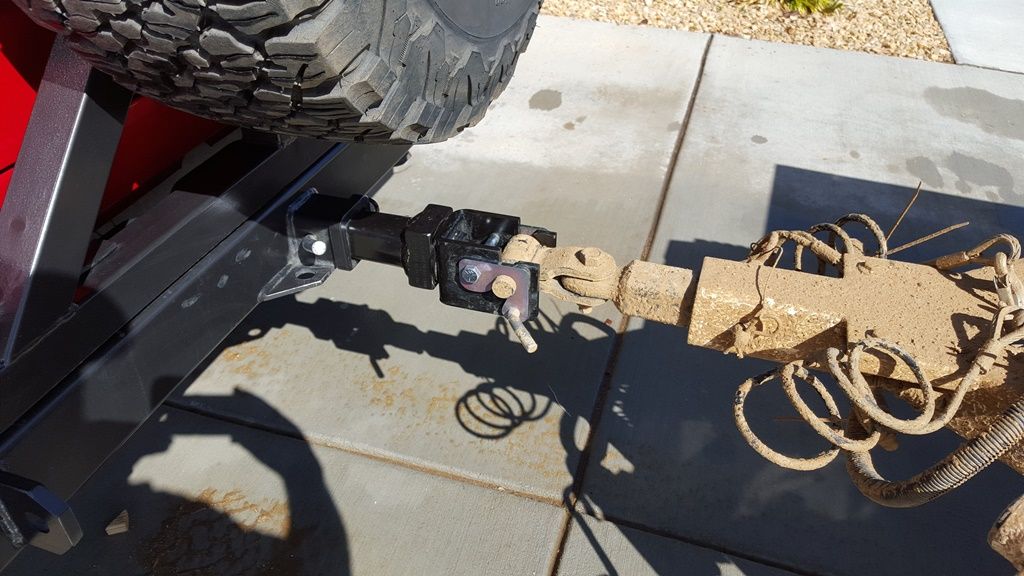
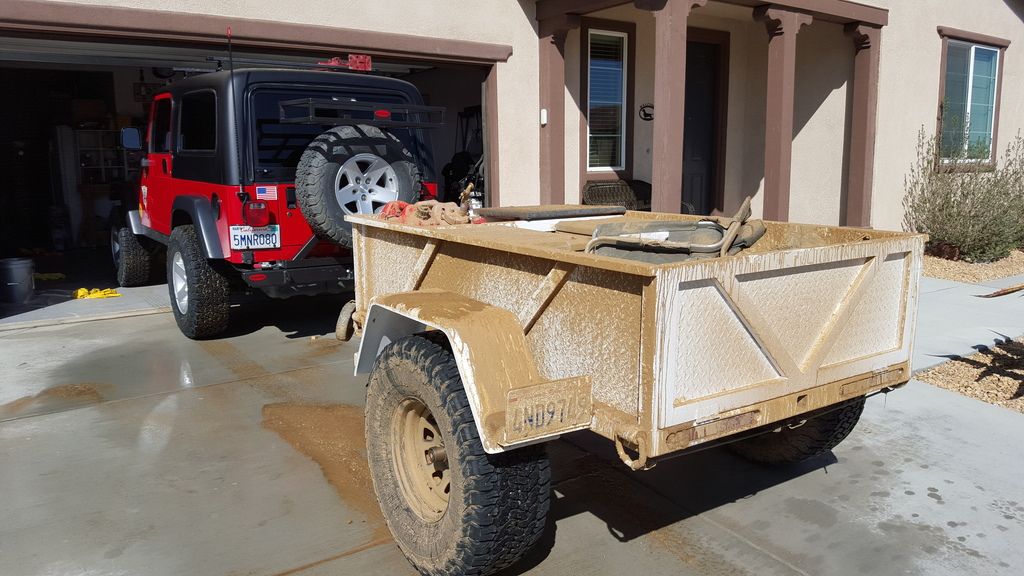
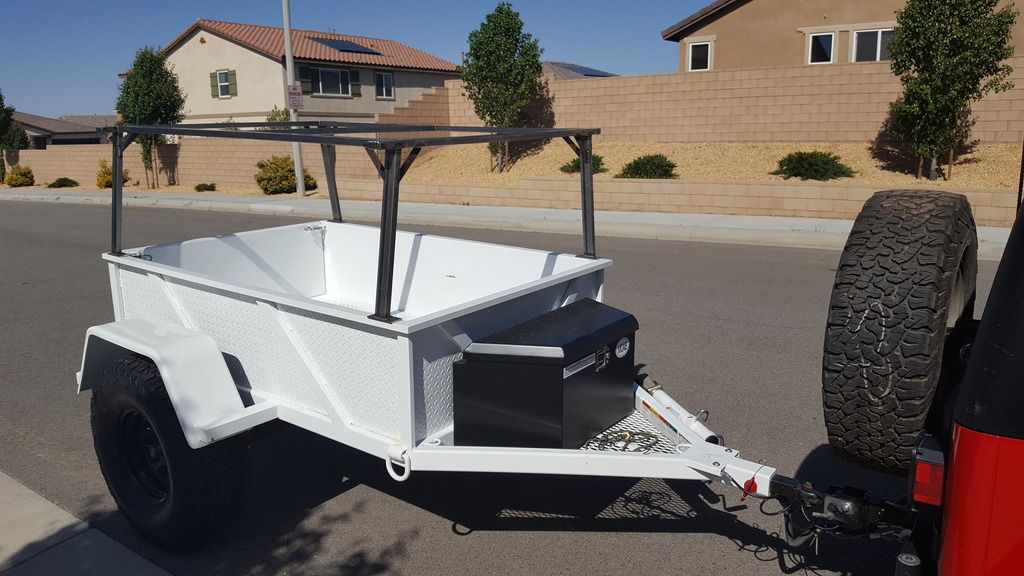
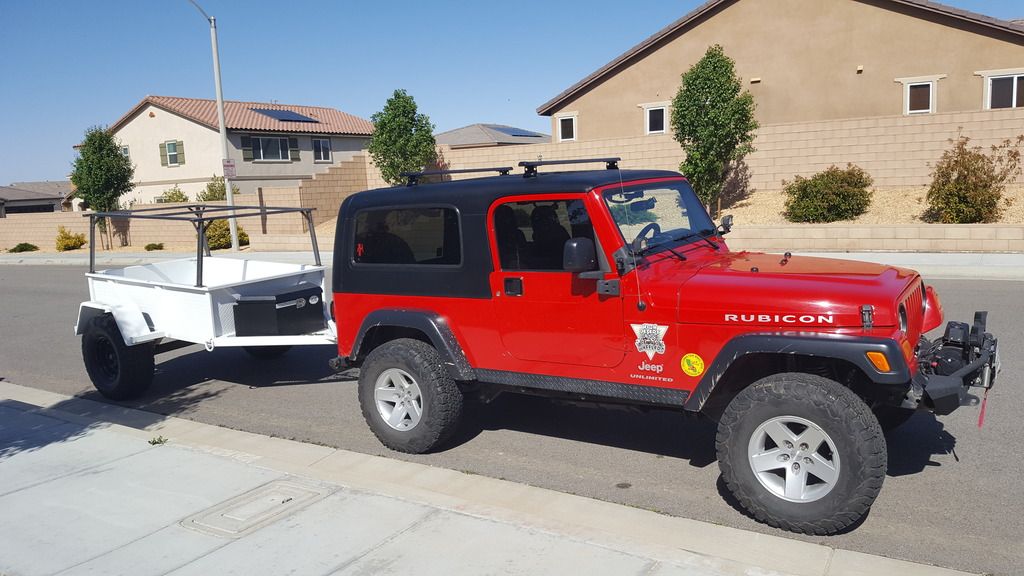
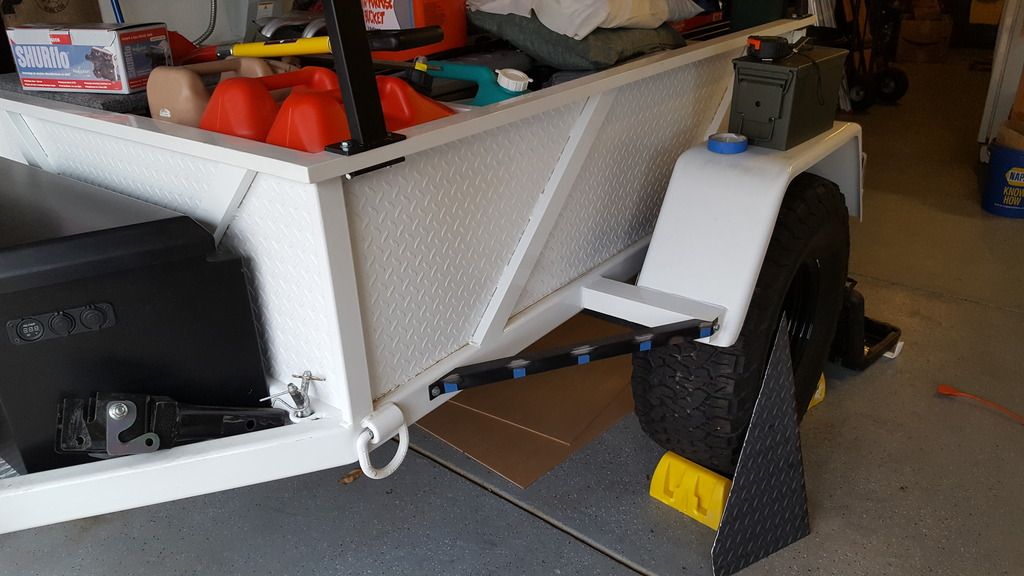
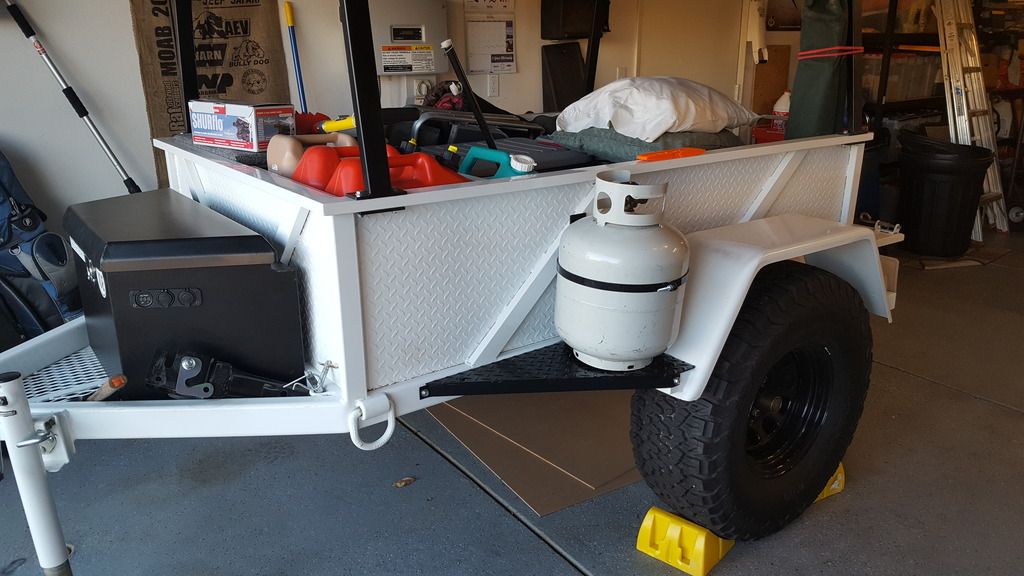
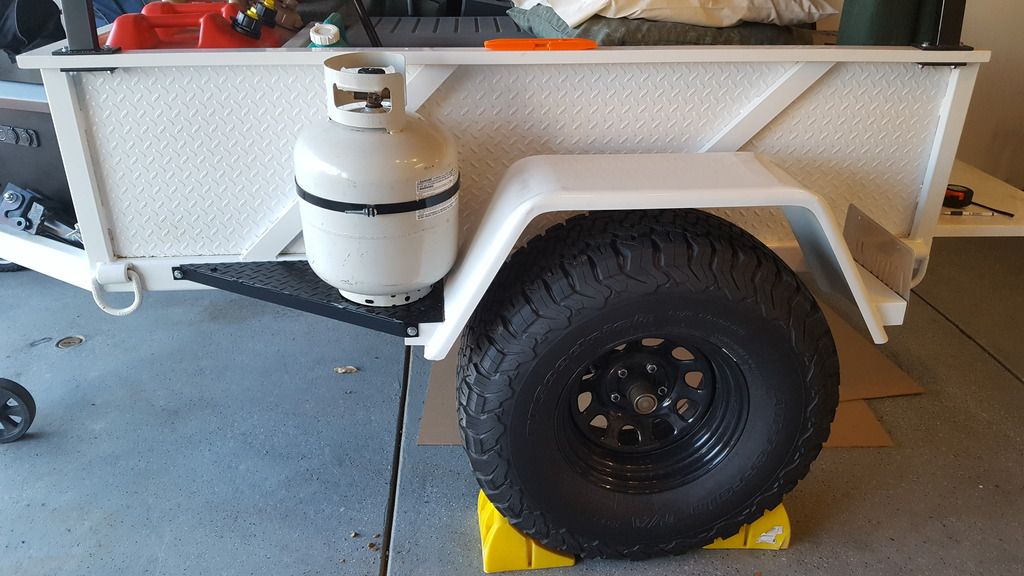
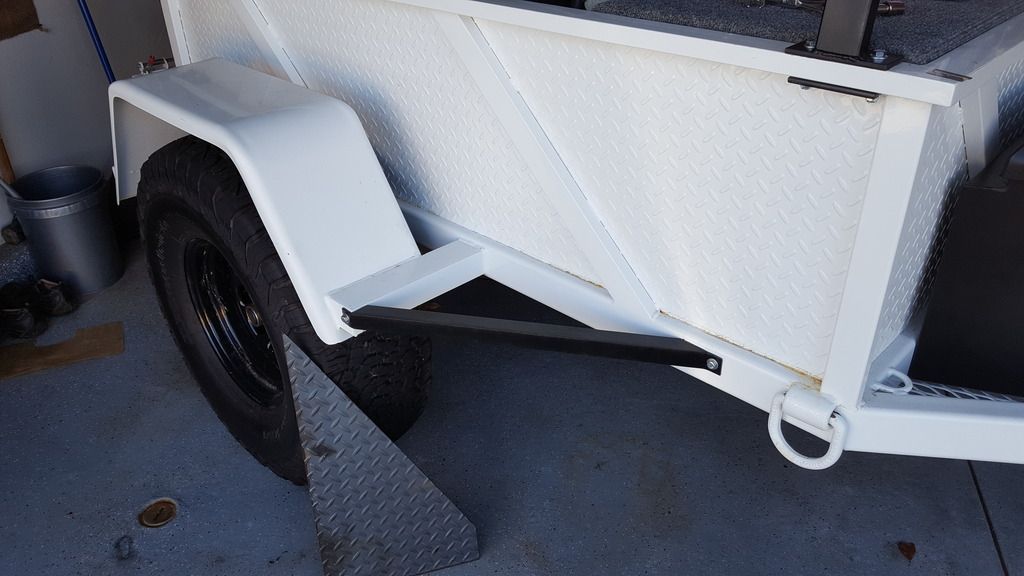
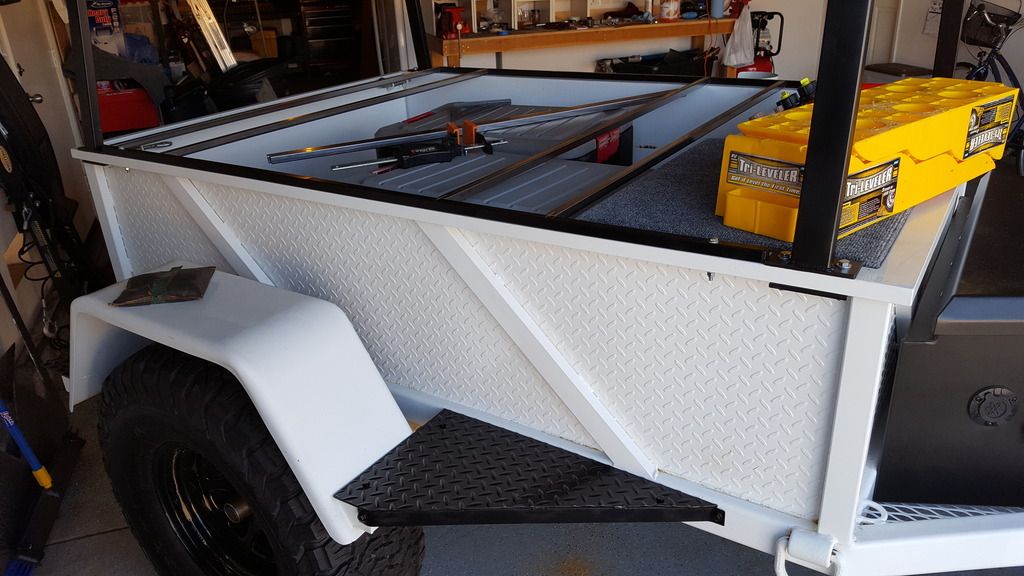
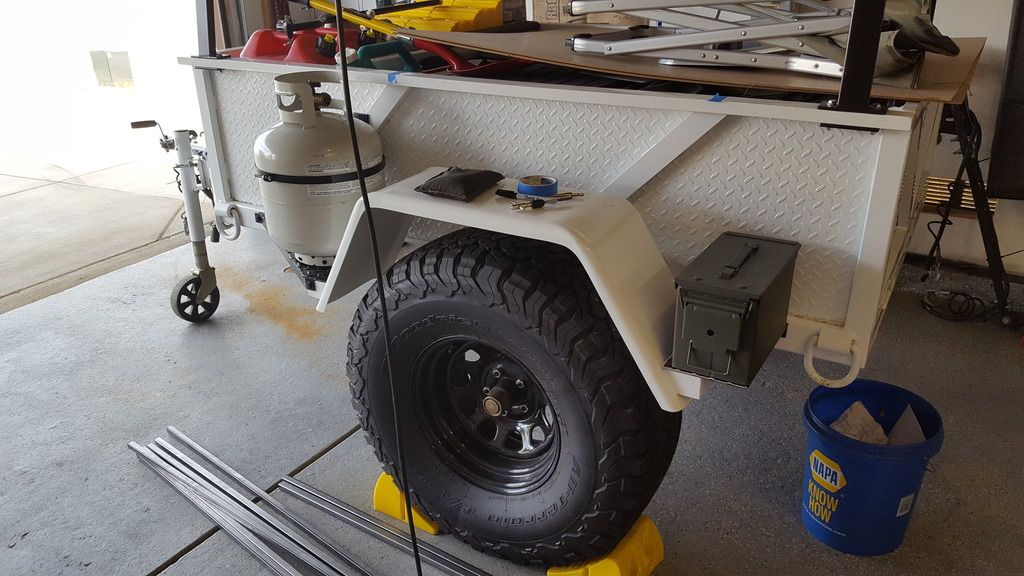
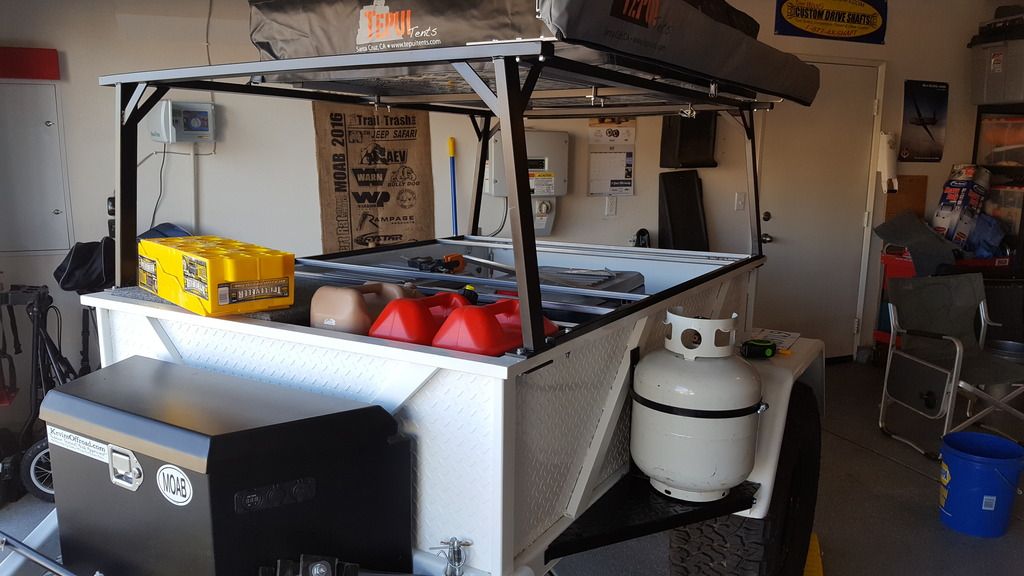
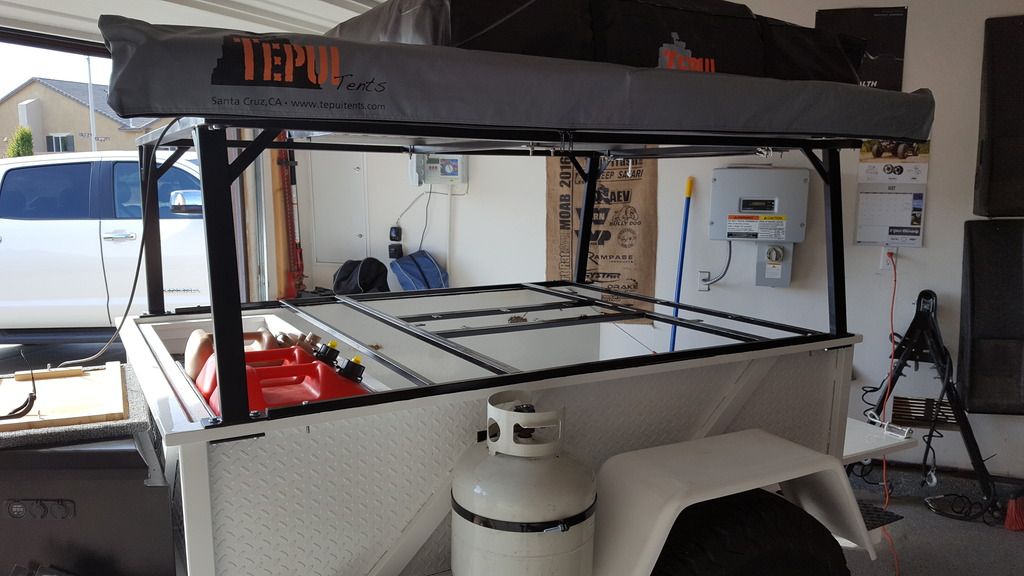
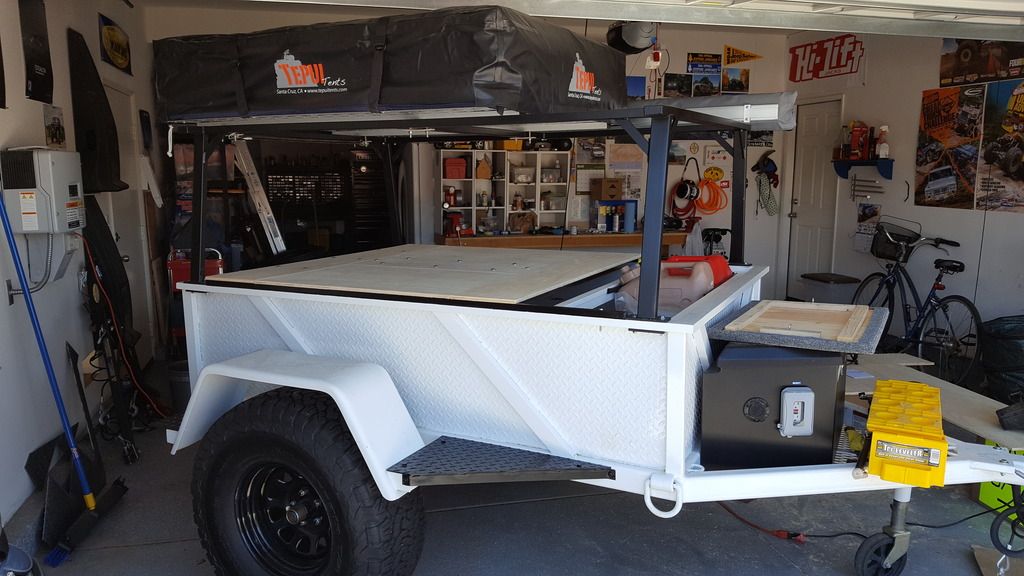
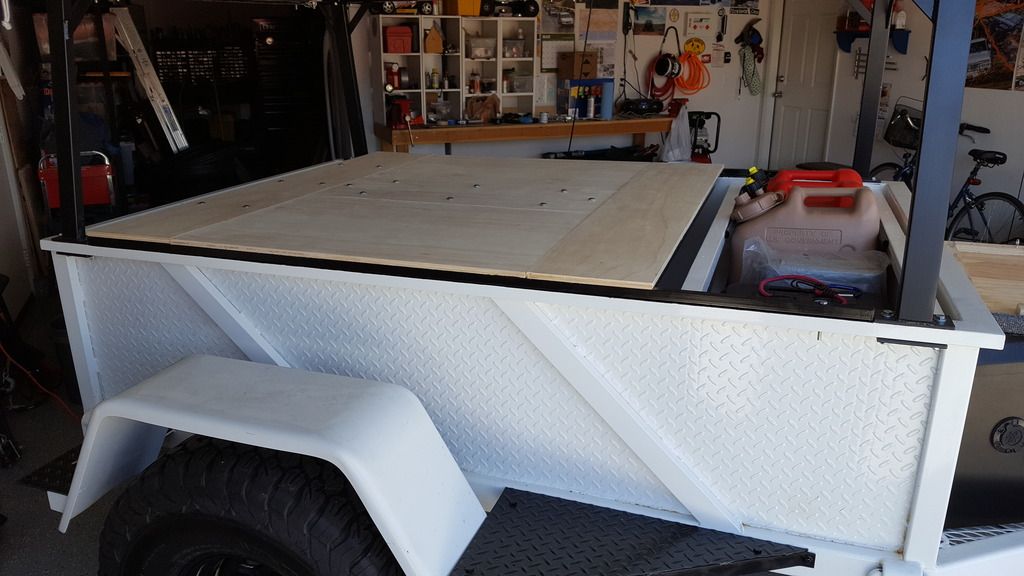
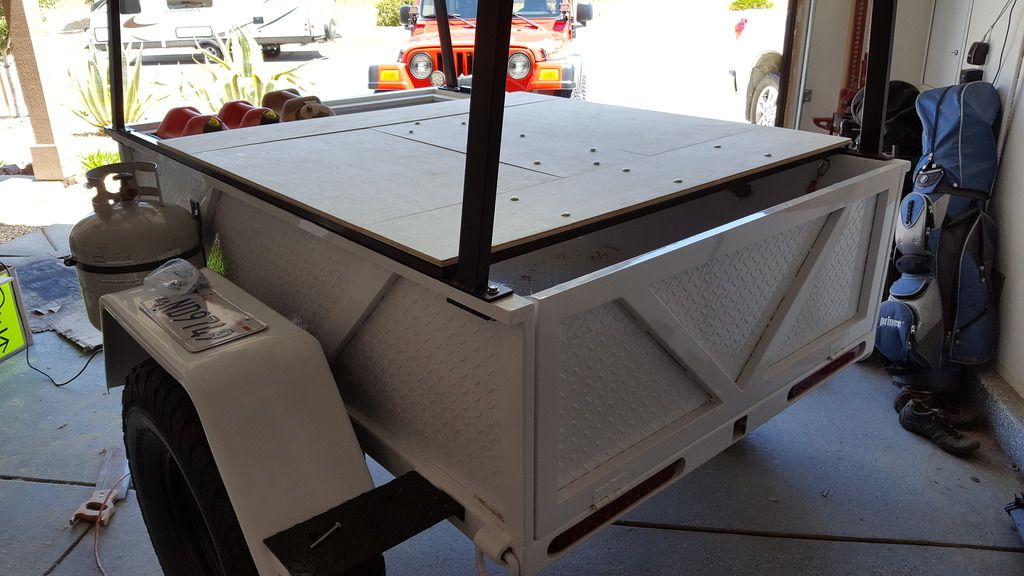
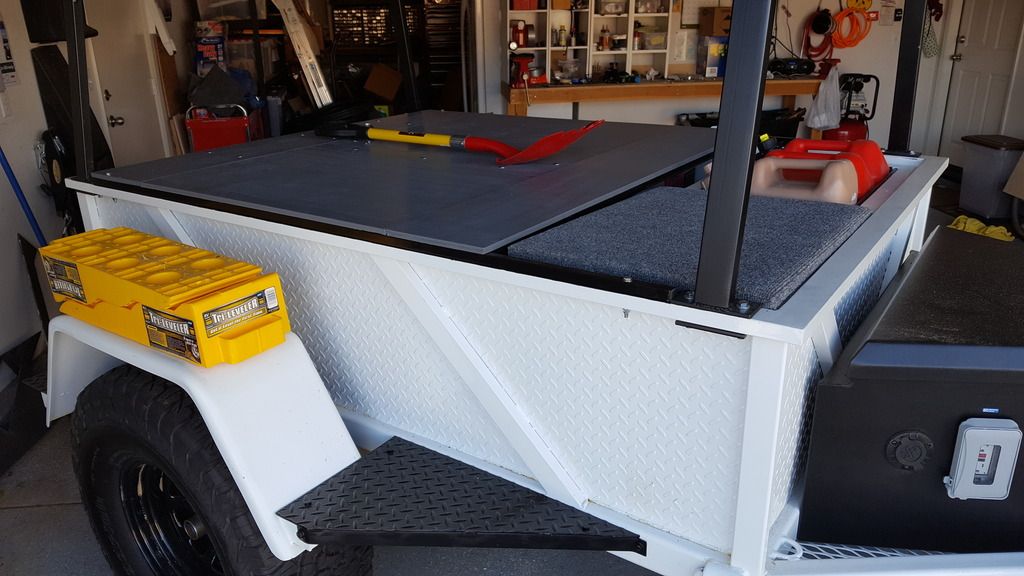
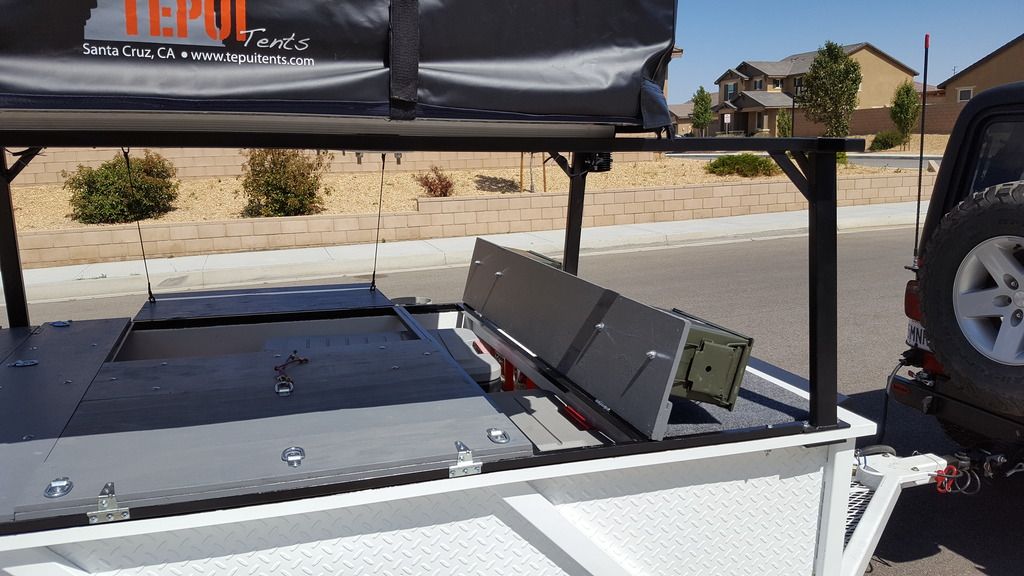
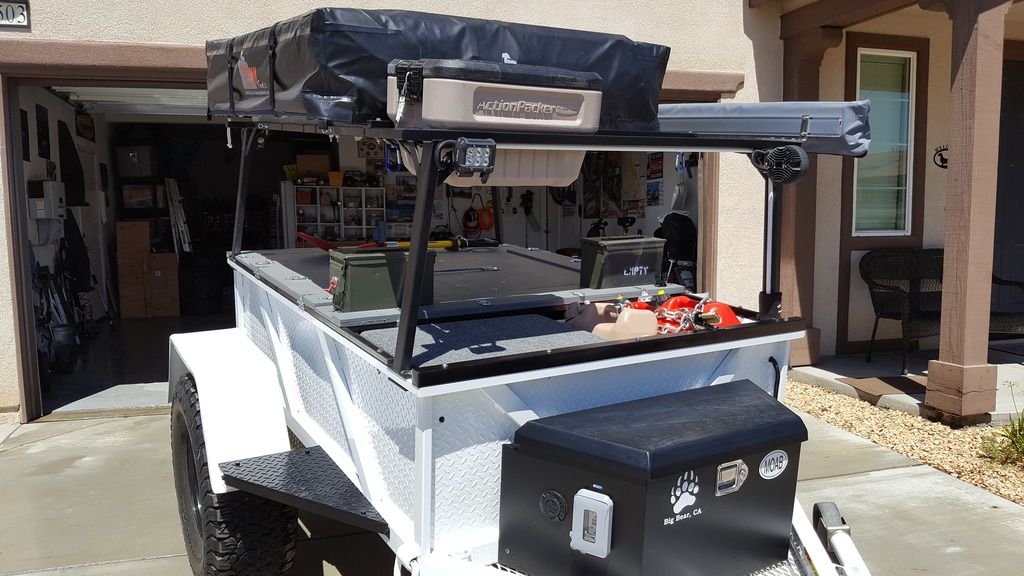
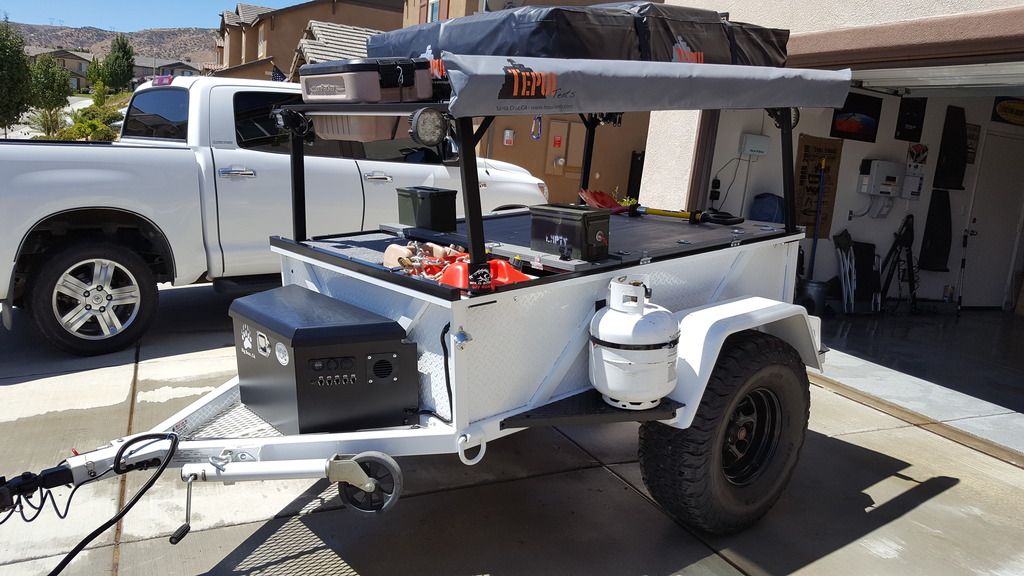
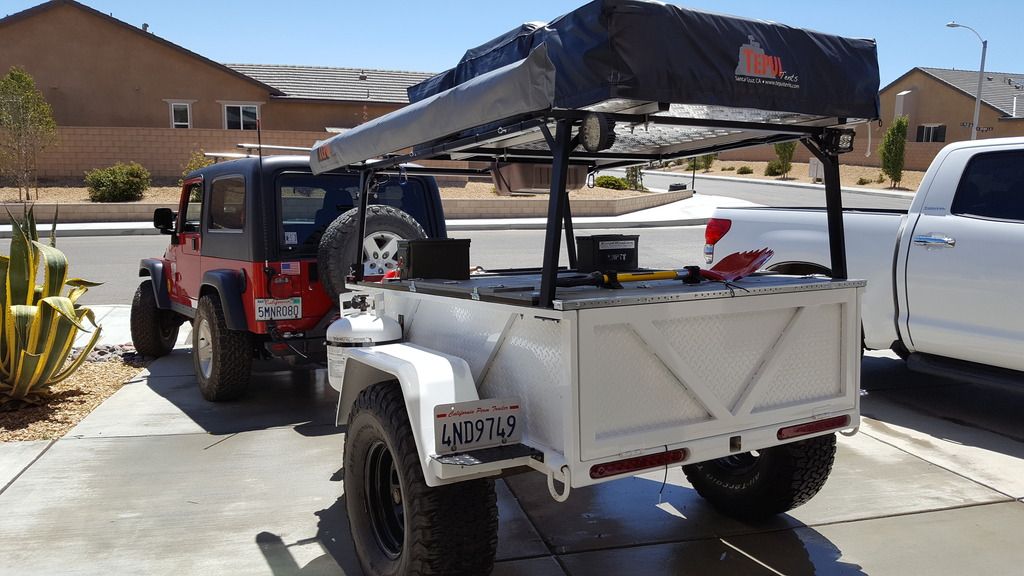
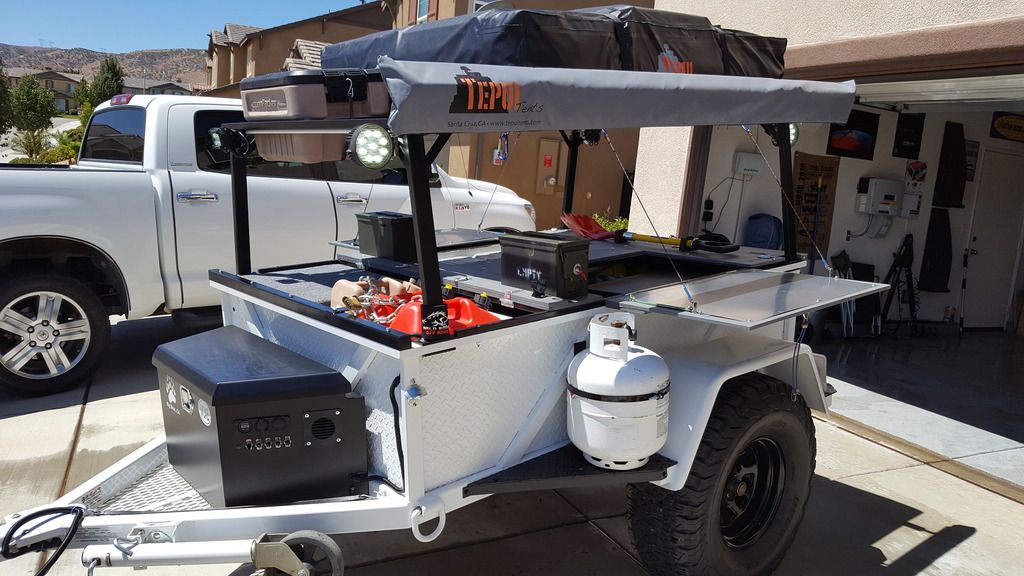
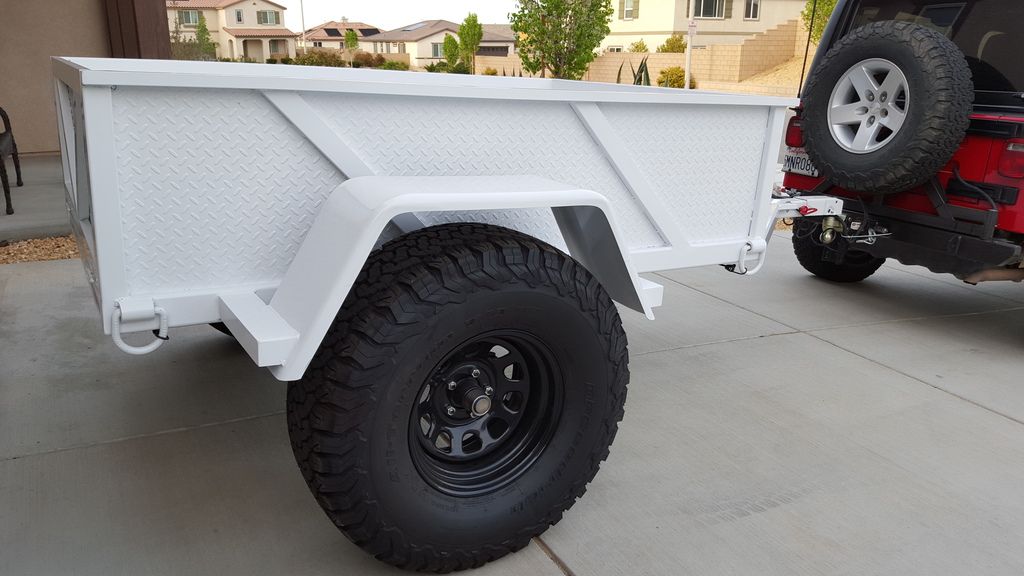
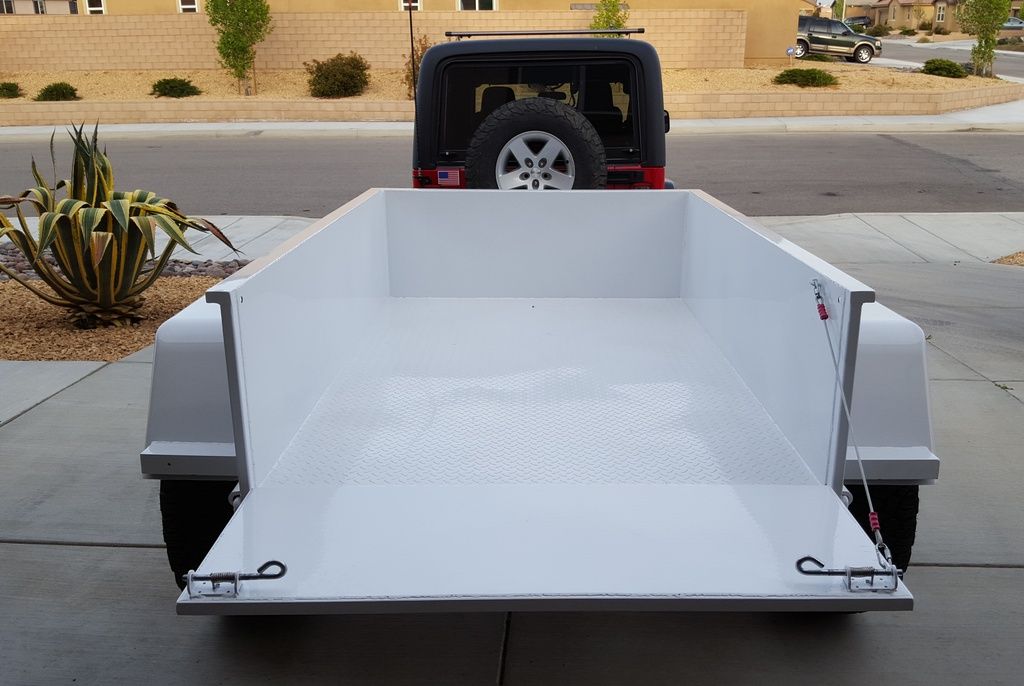
Once I decided on the type of trailer that worked best for my needs, I searched online and found this 2016 Trailgater off road trailer from Bear Trailersports out of Chatsworth, Ca. It is equipped with a 2500 lb torsion axle, recessed LED tail lights, tail gate, 33" BFG KO2s, and is fully welded and powder coated. This thing tows like a dream behind my '05 Wrangler Rubicon and is designed for forestry and fire department service, so it is built tough. I figure it will make a great base for an expedition trailer.

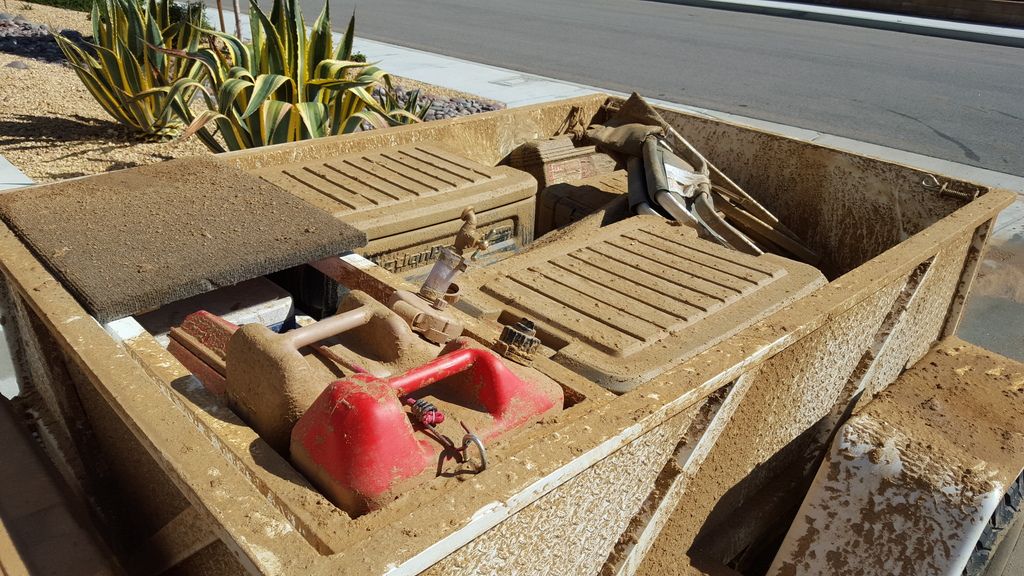
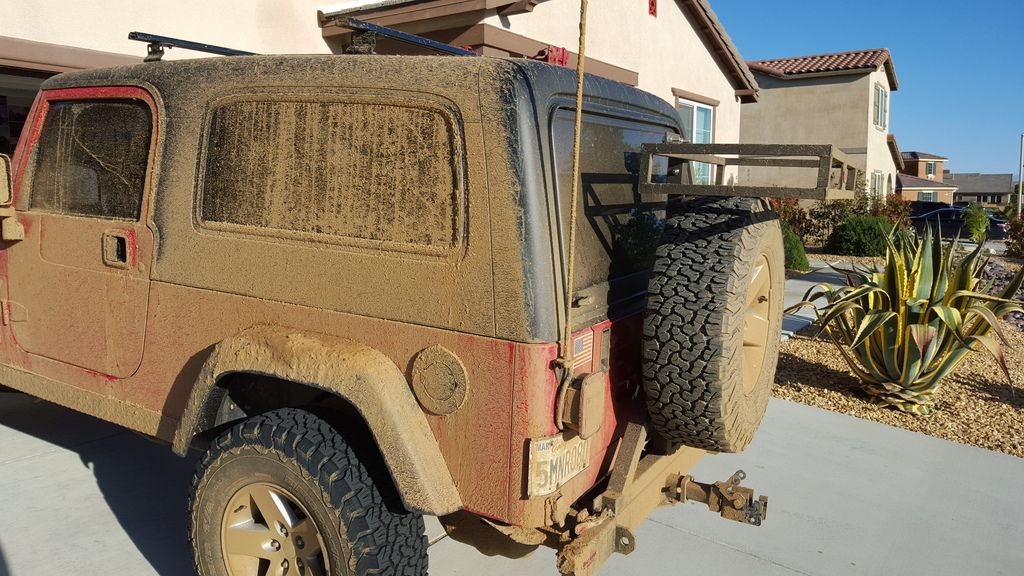
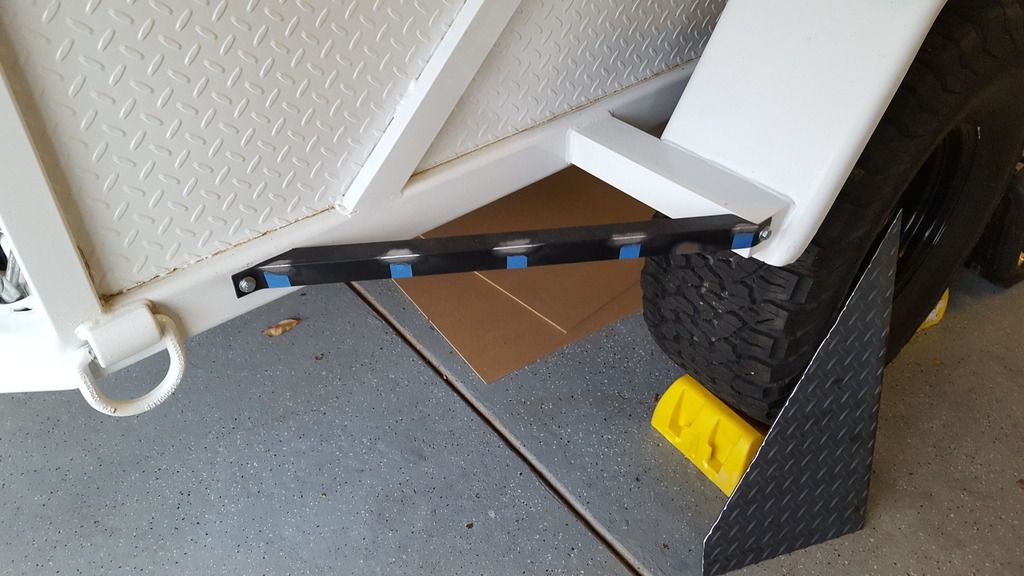
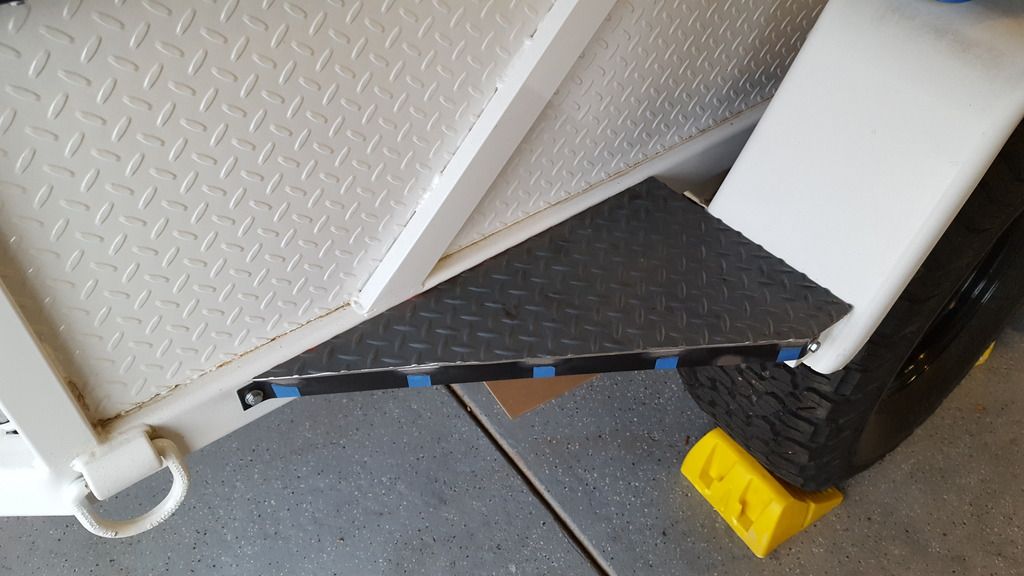
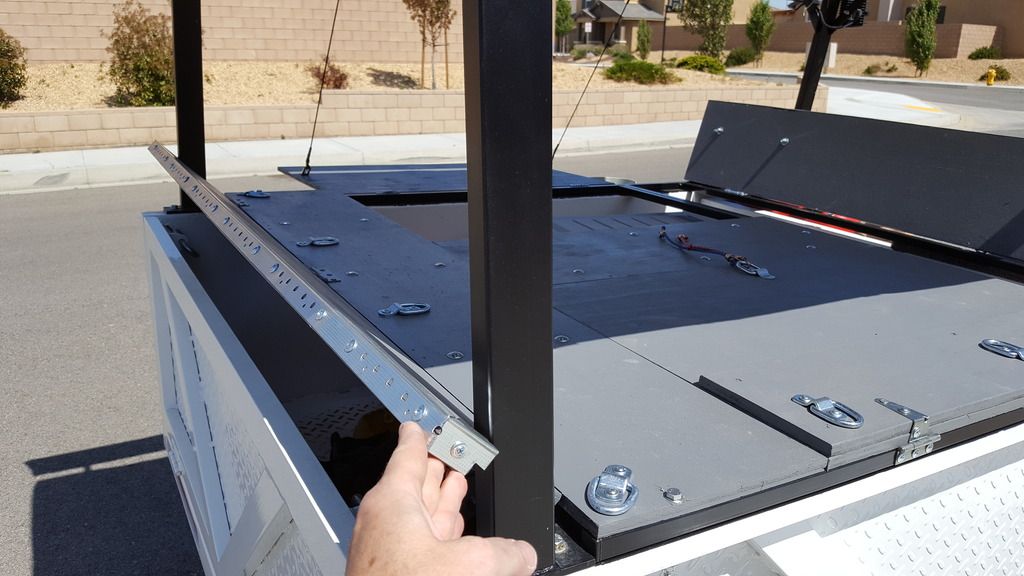
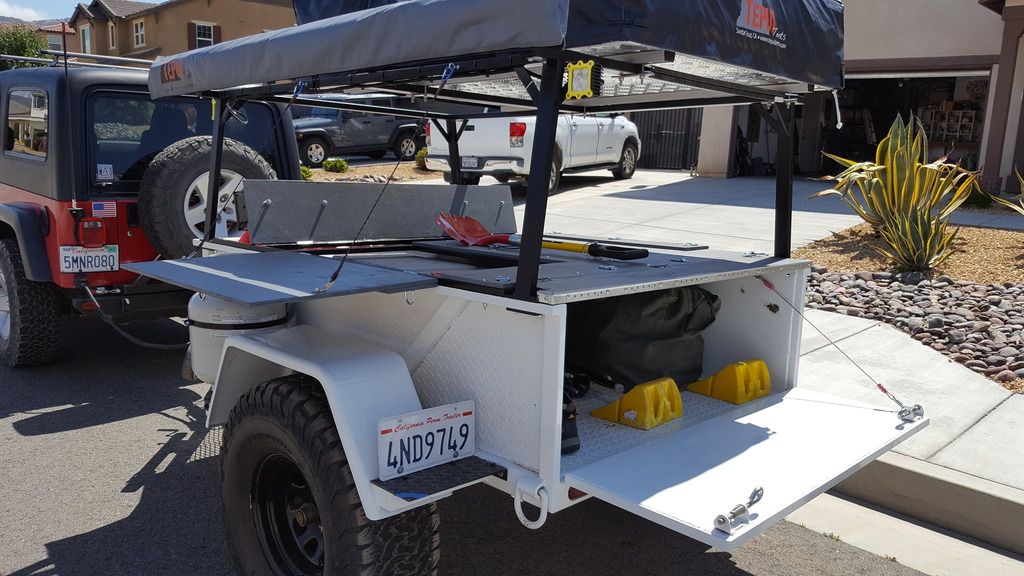
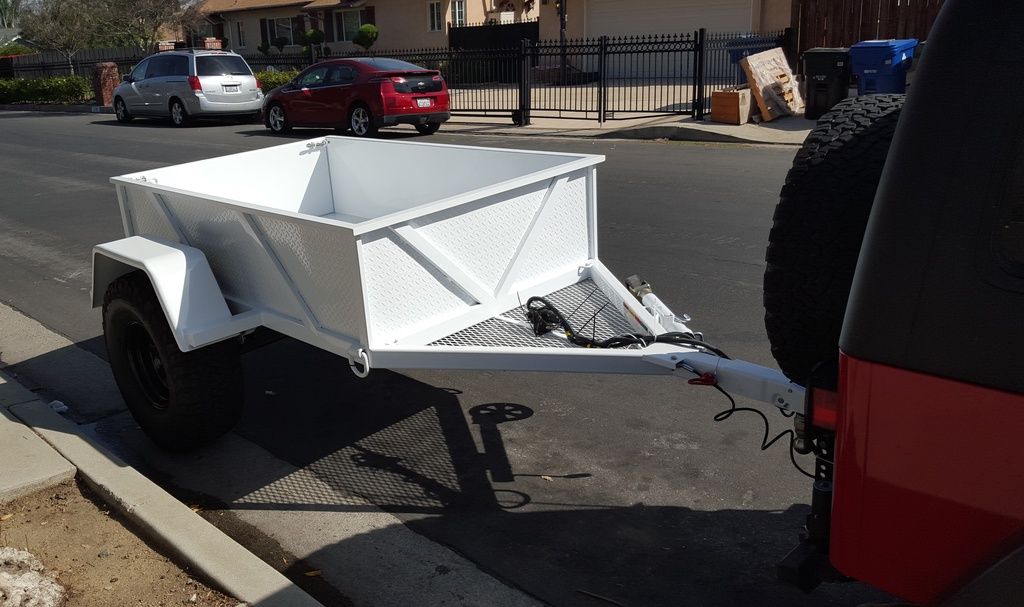
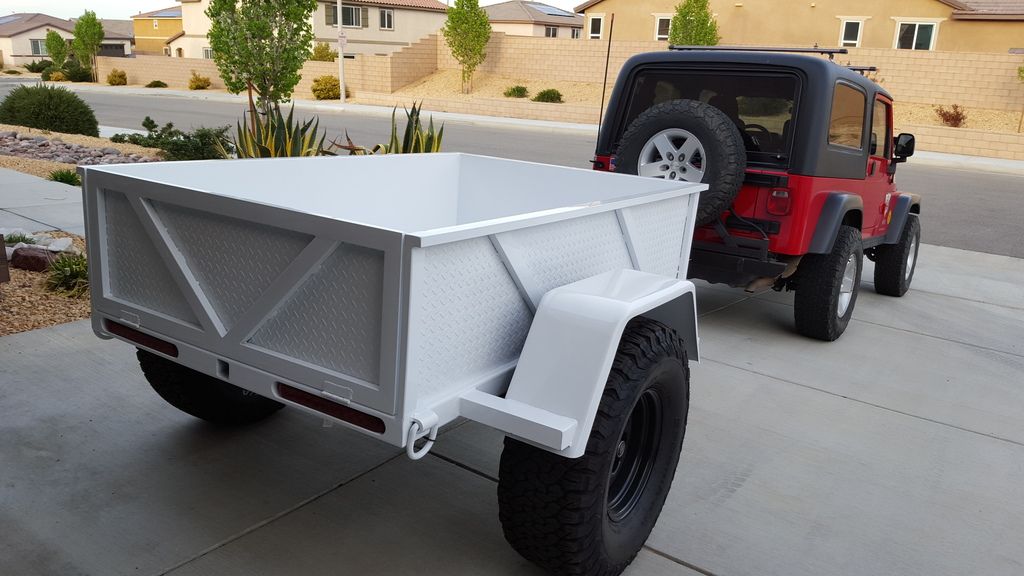
Here are a few pics from the day of purchase.
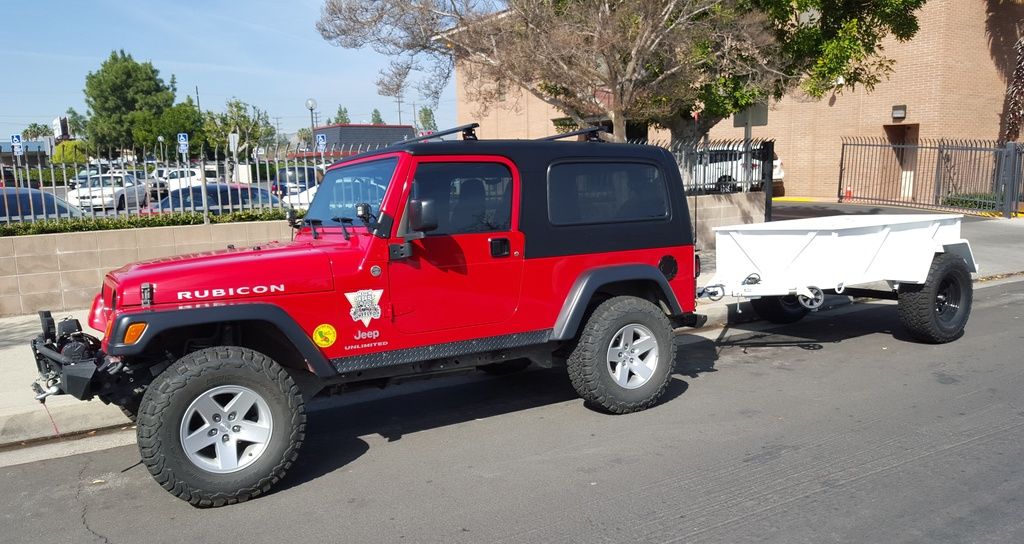
20160302_102806_zpshxbwe5ag.jpg


20160302_102815_zpsgxiiktxf.jpg


20160302_102831_zpsw9n8o2eb.jpg


20160302_170120_zpsv3dobk4i.jpg


20160302_170135_zpstecjkmue.jpg


20160302_170151_zpsm3kwcnmh.jpg


20160302_170507_zps6imvrat3.jpg
 

RocknLJ

New member
My first upgrade was to replace the 2" receiver with a Lock N Roll off road hitch, and to name the trailer. I have a bad habit of naming my vehicles, so I figured Tonto seemed appropriate since my Wrangler is Kemo (Kemosabe).

20160312_094013_zpsz19lw8lm.jpg


I also added a tool box to the front to store gear, but that was short lived. The trailer box is over 4.5 x 6.5 feet, and holds a ton of gear. Here is a shot of its first outing on a Boy Scout trip last March. Those rain clouds in the background will play an important part in Tonto's early modifications.

20160311_165721_zpswidwprby.jpg


The scout trip took us up Mt Piute in the rain, which quickly turned to snow. Every ounce of mud and dirt kicked up by my tires ended up in the trailer, and I had a fun 10 hour cleanup after the trip.

20160312_093923_zpsl0ptjvv7.jpg


20160312_093928_zpscchyntvp.jpg


20160312_073404_zpsgvryhnd3.jpg


20160312_093946_zpseacadmyv.jpg
 
Last edited:

RocknLJ

New member
After reworking the 7-pin wiring for my Jeep and trailer, my next mod was a cheap battery box from Harbor Freight and a custom RTT rack that I designed with a welder from a local shop. I wasn't sure which RTT I wanted, as there were a few choices and a wide range of prices. I was torn between the Tepui and ARB tents, but I had the rack built before purchasing the RTT anyway. Here's a shot of the rack clamped to the trailer the day I picked it up.

20160415_155230_zps5vtkoi5z.jpg


20160415_155251_zpszsag8vgs.jpg
 

RocknLJ

New member
While at the 2016 Easter Jeep Safari at Moab, I ran into Adam Toleman and his Tepui display. Adam offered a decent discount and the tents seemed to be perfect for my needs. I ordered it as soon as I got home from that trip and the Ruggedized Tepui Autanna arrived on my doorstep a few weeks later. It mounted perfectly to the rack and the RTT mounting system offers a few good options in case I want to change it up, or put the RTT on m Jeep.

20160420_183746_zpsyvhpvum0.jpg


20160424_110315_zpsejgxr7yf.jpg


I sized the rack to ensure the trailer and RTT fits in the garage, but offers me as much head room as possible. I have about 4" to spare before it hits the garage door, so I'm good with the height. I figure I can always park the trailer on leveling blocks to raise it up another two inches once I get to the camp site, so the annex will fit perfectly.

20160424_103814_zpszzeibp9u.jpg
 

RocknLJ

New member
One of the other mods I did was to add mounts for propane, fuel, or whatever on the sides of the trailer. I bought some plate steel and modified some other steel I had for the mounts. I cut, welded, and mounted the brackets with about every tool I own. They turned out pretty good but I am still searching for an affordable fuel or water can mount for the passenger side.

20160427_185615_zpslqdg9pvx.jpg


20160427_185619_zpslod76kye.jpg


20160427_185701_zpsntwqbw6s.jpg


20160428_184543_zpsm46zfsor.jpg


20160428_184557_zpsaeuhrskh.jpg


20160429_163335_zpstzwelztb.jpg


20160504_162430_zpsxnqnnvjy.jpg


This is an early shot of the rear brackets that I built. I ended up cutting the deadly corners off at 45 degrees and plan to keep them open for use as steps. It's useful to stand on when setting up or tearing down the tent.

20160502_165143_zpsomrfsp3z.jpg


One option was to mount ammo cans, but I decided against that.

20160502_165218_zps1rg2r3hr.jpg
 

RocknLJ

New member
Thinking back to the mud issue, I decided to design a top cover that would double as a work space/kitchen, as well as providing the ability to lock down my gear. I bought some 3/4" square tubes and fired up the crappy Harbor Freight welder.

20160504_162445_zpsvbnrr9ik.jpg


Here's a shot of the basic framework that mounts to the top of the trailer. I designed it for easy removal if needed.

20160506_150951_zpshdzqxtaq.jpg


20160506_151003_zps7nbregf2.jpg


Tabs welded on the frame allow me to bolt plywood to the top. I plan on swapping out the plywood for poly or other durable material.

20160507_082544_zpsuaft4xg1.jpg


20160507_082556_zpsfdc21zxk.jpg


20160507_083134_zpsdf2jliks.jpg


20160507_130301_zpswiaqwzp6.jpg


I like options, so I wanted the middle section securely bolted to the frame, and each side and end able to extend outward.

20160507_130307_zpspcfatdx3.jpg


20160507_130334_zps8zb5mm9n.jpg


Here's a shot with a few coats of paint and my Beaver shovel resting on the top. I'll get to that later.

20160507_152132_zpshjxxgvll.jpg


20160507_152145_zpsdhbfxbpe.jpg
 

RocknLJ

New member
A few weeks later, and I added tie downs and a few ammo cans for gear. Although I didn't describe it, I build a removable box for the front section that holds fuel and water cans, a cooler, and a removable work table.

20160515_150712_zpsu4wqaw6a.jpg


Sides fold out and are held in place by para cord. One day I'll build a more secure support system.

20160515_150813_zpshsbiu5bj.jpg


I made the front hatch hinged to allow access to gear. I plan on adding a 21 gallon water tank and figure it would be handy to gain access to the water pump. This is locked down when not needed.

20160515_150838_zpsbiqcwcfq.jpg


The rear also can be locked down to secure the tail gate.

20160515_150901_zpsiyuqwet2.jpg


20160515_150947_zpsxdfaxdkt.jpg


20160515_151248_zps3qvxmjju.jpg


20160515_151318_zpspc2ffg8v.jpg


20160515_153558_zps6svtz4ko.jpg
 

RocknLJ

New member
While building the top, I started ordering and receiving parts for the battery box. I got the idea from a post on this forum, and pretty much copied what worked. I pulled my Optima Yellow Top from my Wrangler for the main power source, and added a charging line from the 7-pin connector, as well as shore power input, 12 VDC power adapters, battery charger, LEDs, and other items. Here's a list so far:

Optima Yellow Top battery and Ruff Stuff battery box
Astra Depot Triple Function USB/12V charger
NOCO 13A 125V AC port plug
120 VAC plug and weather proof cover
Blue Sea 5025 6-blade fuse block
Marinco 701 battery disco switch
Cobra 800 Watt power inverter
Power strip
Optima battery charger
Hopkins towed vehicle batter tender
SPST Toggle switches (for LEDs)
Battery vent

20160525_174508_zps5buxitw8.jpg


20160612_102121_zpsf4fj0igy.jpg


20160703_110716_zpsaw2tqthk.jpg


Since I changed out my front bumper and winch on my Wrangler to a JCR Offroad bumper and Warn Zeon S10 Premium winch setup, I relocated the existing round LEDs to the trailer. These are mounted on brackets and can swivel left/right and are located front and rear of the passenger side. I'm using Cree rectangular LEDs on the kitchen side.

20160703_110740_zpsyvycv3at.jpg


I mounted the Beaver shovel to the top deck with a set of Quick Fist clamps I got from Amazon. These are good, but the shovel will likely walk if I left it unattended.

20160703_110754_zpsc7n9t2tk.jpg


I also added stainless steel tops to each of the fold out tables for easy cleanup when cooking or prepping meals. These are screwed down at the corners, but I'll use a glue to secure them fully. I also built a front rack for my smaller action packer that is very useful to hold snacks or gear when inside the tent. Also, I welded up a tab to a front bar that serves as a lock for the fuel and water cans. I had some unused tow chains and a combo lock that works perfectly.

20160703_111001_zpswxbaxryv.jpg


20160703_110908_zps0rzebas9.jpg
 

RocknLJ

New member
I bought the trailer February 2016 and have built it for the past 5 months in preparation for my trip to Moab in September. I have a few shakedown trips planned and will likely continue adding parts and features until, and after, that trip. I would appreciate your input and suggestions.
 

Forum statistics

Threads
186,227
Messages
2,883,619
Members
226,050
Latest member
Breezy78
Top