rustED's Expedition/Utility- Double Duty trailer build

rustED

Adventurer

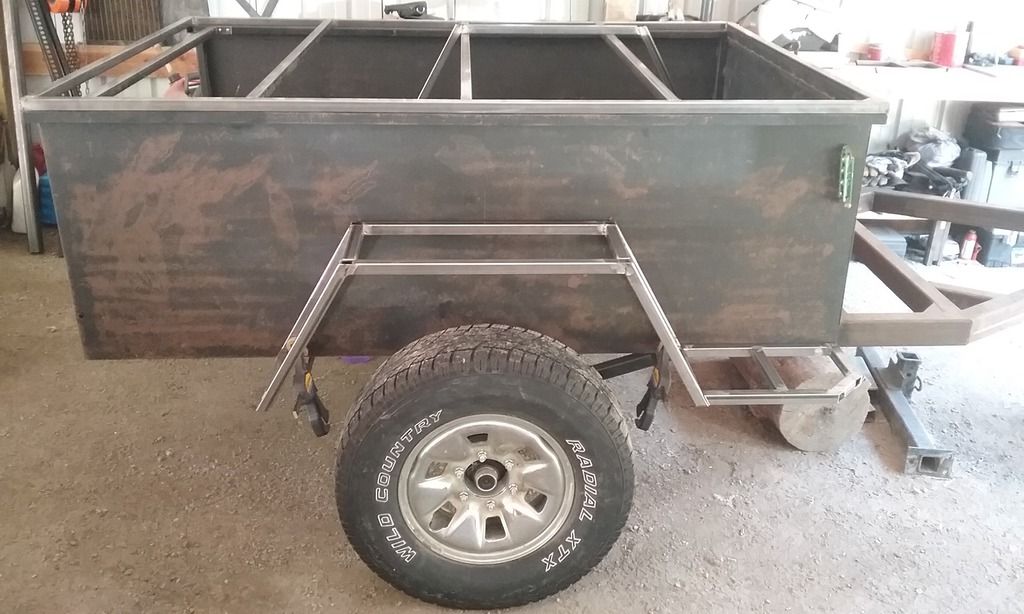
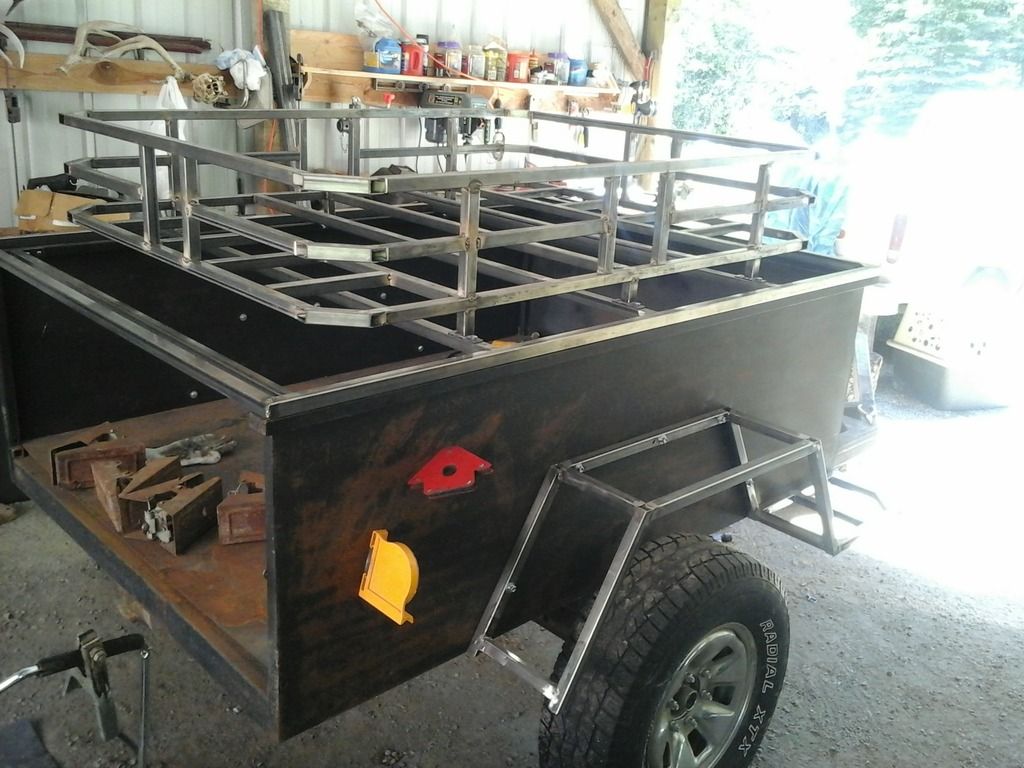
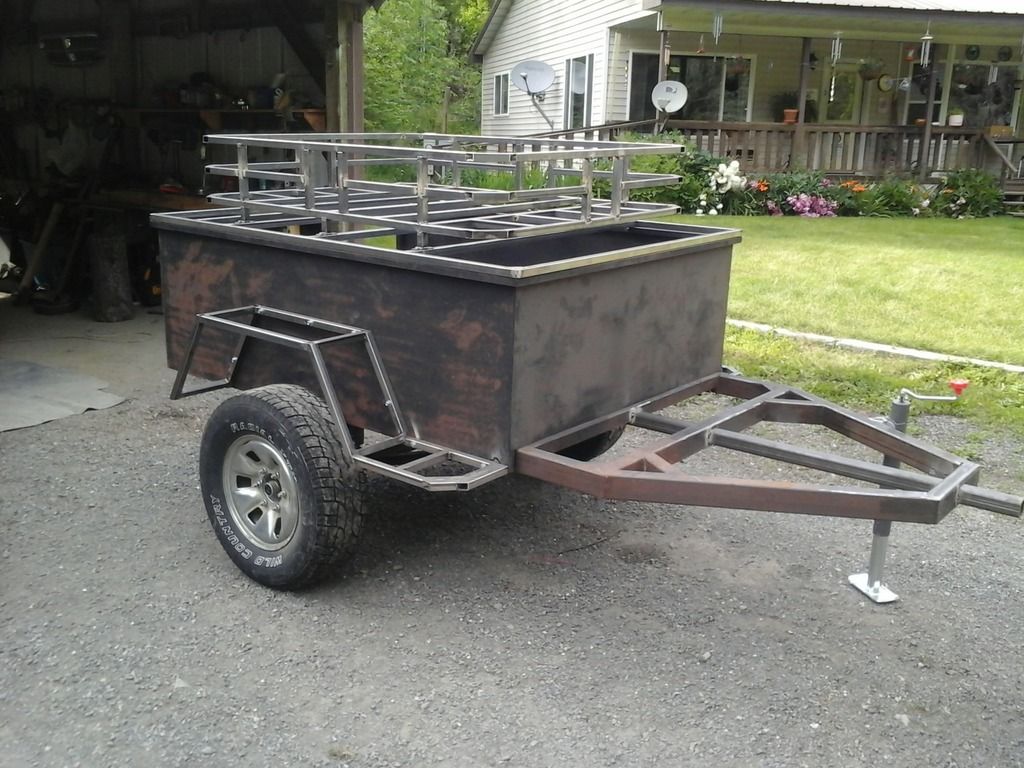
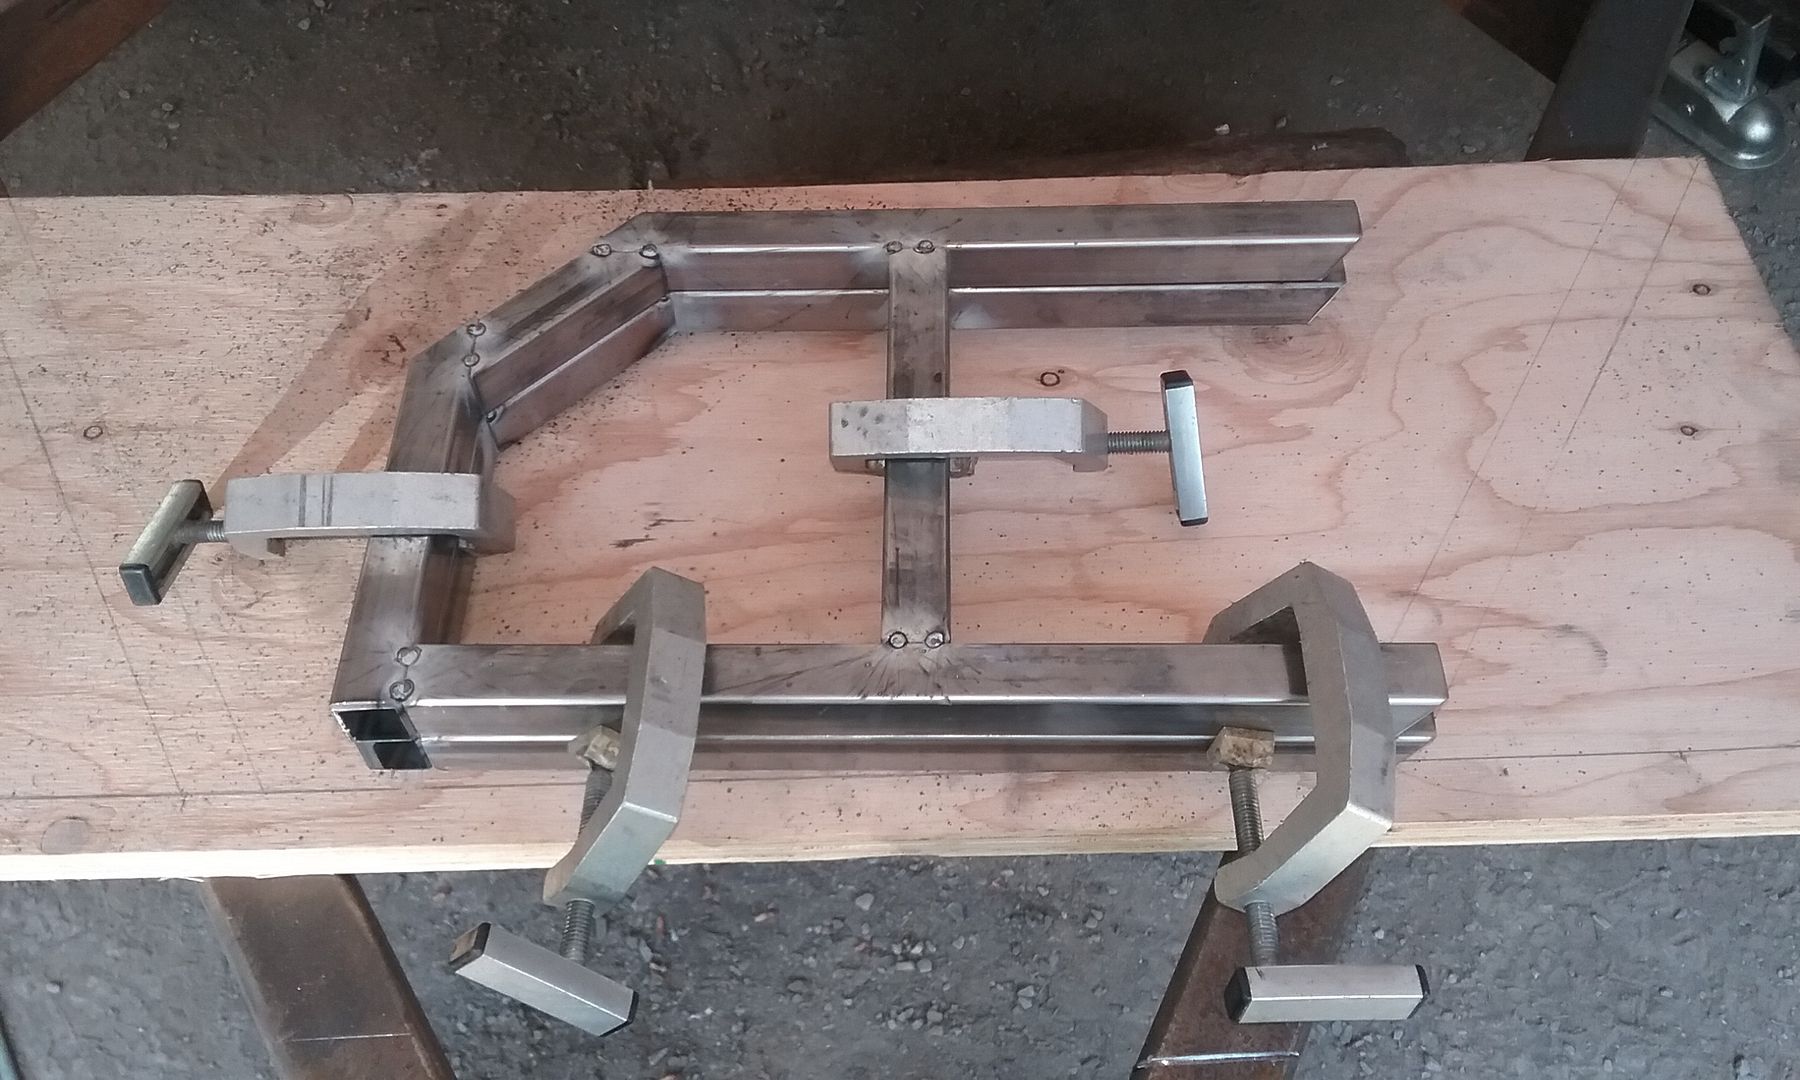
^^^I finished one side step, and got the second tacked welded together, I was pretty happy with my clamping method, the second step turned out a near perfect match...that's when I realized I needed to make it a mirror image for the opposite side so my 30° cuts where the steps meet the fenders are on the wrongs side..DOH! Luckily it's only tacked together, one of the peices I can flip over then re-weld, the other had a 45° angle cut on one end and a 30° on the other, so I'look have to recut that peice...always seems like one step forward and two steps back.

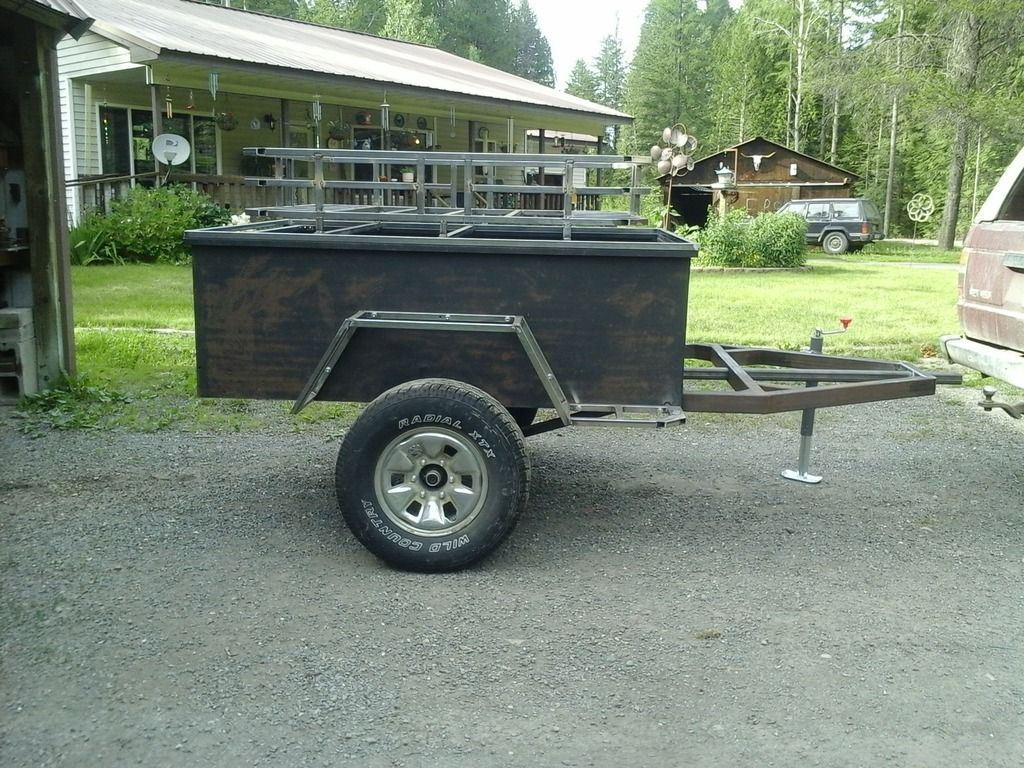
Here's a pic of the passenger step in place.
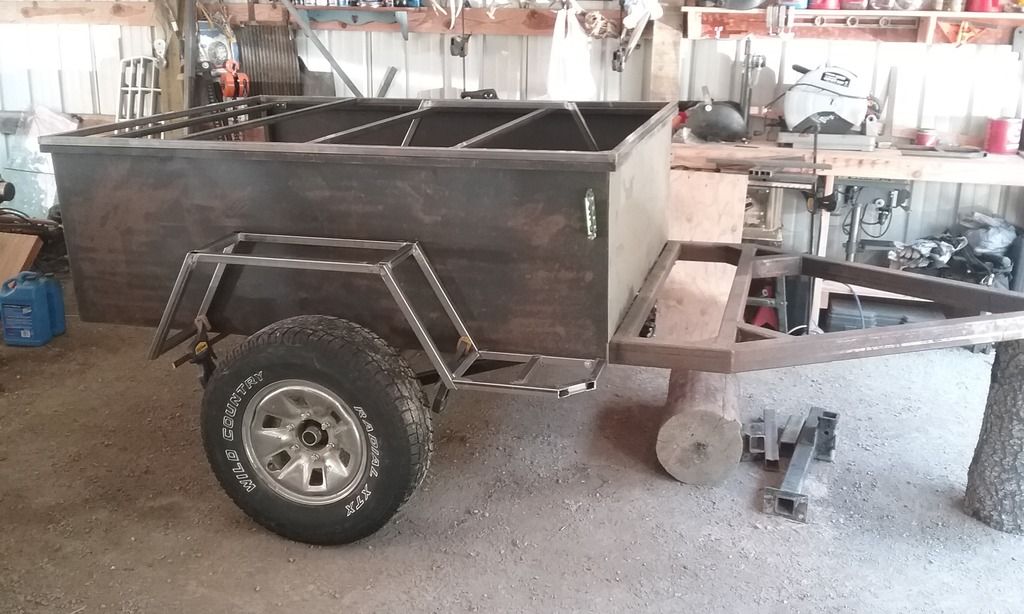


It didn't take long to burn through 80 feet of 1" square tubing, I have just enough to fix the driverside step and add some braces between the stringers on the lid to tie it all together and make it all little stronger.
 
Last edited:

rustED

Adventurer
Anyone have some tips or advice for skinning the lid? I was thinking of starting by welding short beads starting in the middle of the lid on the stringers and working my way from the center out, I'm hoping that would prevent the lid from warping further, what do you guys think?

^^^The other idea I had was to drill a series of holes through the 16 gauge sheetmetal spaced every couple inches around the whole lid parameter and across all the stringers and then plug weld the holes welding the sheet to the frame. When its done it would kind of have that rivited look to it....

I got a question for you guys. I have a peice of 2-1/2" by .250 wall tubing that's 10" long. I was wanting to slide it over the 2" by .250 wall tube I have and use it as a receiver. I was going to lap it by 3" leaving me 7" for the receiver to slide in, do you guys think that's long enough?


...
...
...anyone...


on a side note I ordered some parts to keep this project moving, mostly for the wiring, I bought a junction box and a 9 ft 7 pin cord to run out of it, I also bought a trailer wiring kit to run the lights that comes with a 4 pin, so I will be running both the 4 pin and 7 pin out of the junction box to the tongue just to have options. This is my first time doing any kind of trailer wiring, so any advice is welcome!

I also ordered some LED flush mount oval taillgihts, some 3/4" amber and red side marker lights (2 of each) and a led licence plate light. I could have bought kits that had all these lights and wiring together, but couldn't find a combo with the particular style lights that I wanted, buying them off ebay the price difference purchasing everything seperately wasn't much more. I also ordered 23 ft of Super Cap weather striping for the lid. Tomorrow I pickup another 100 ft of 1" square tube to build a 4'x5' safari style cargo r a k for the lid.
 

rustED

Adventurer
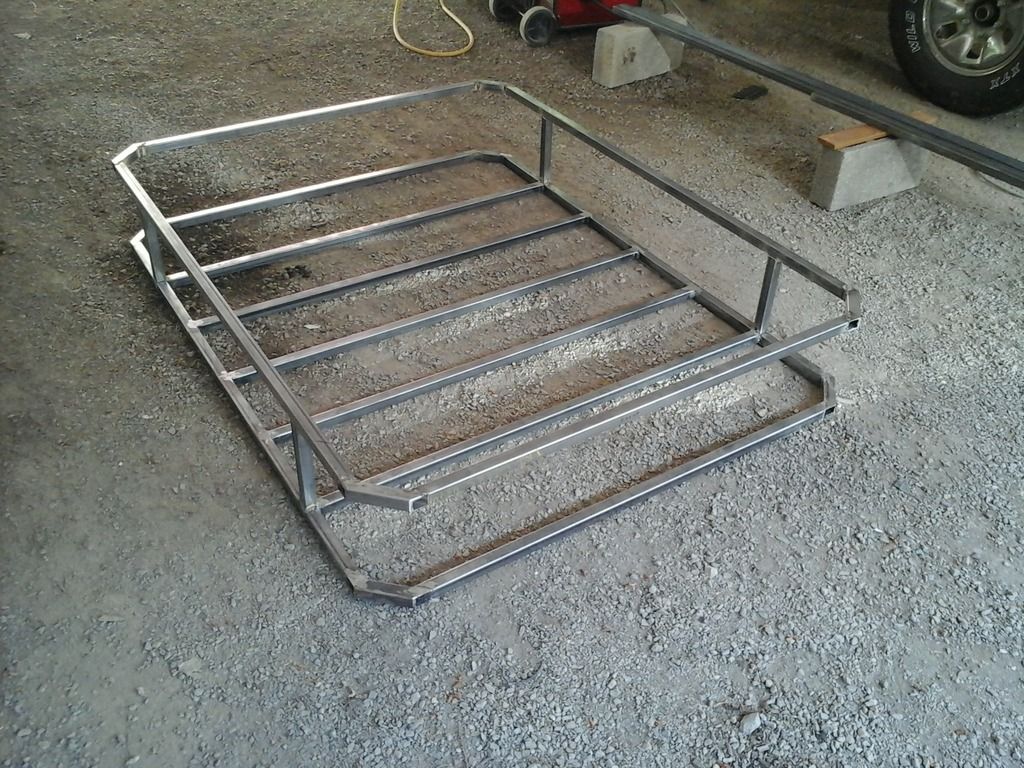
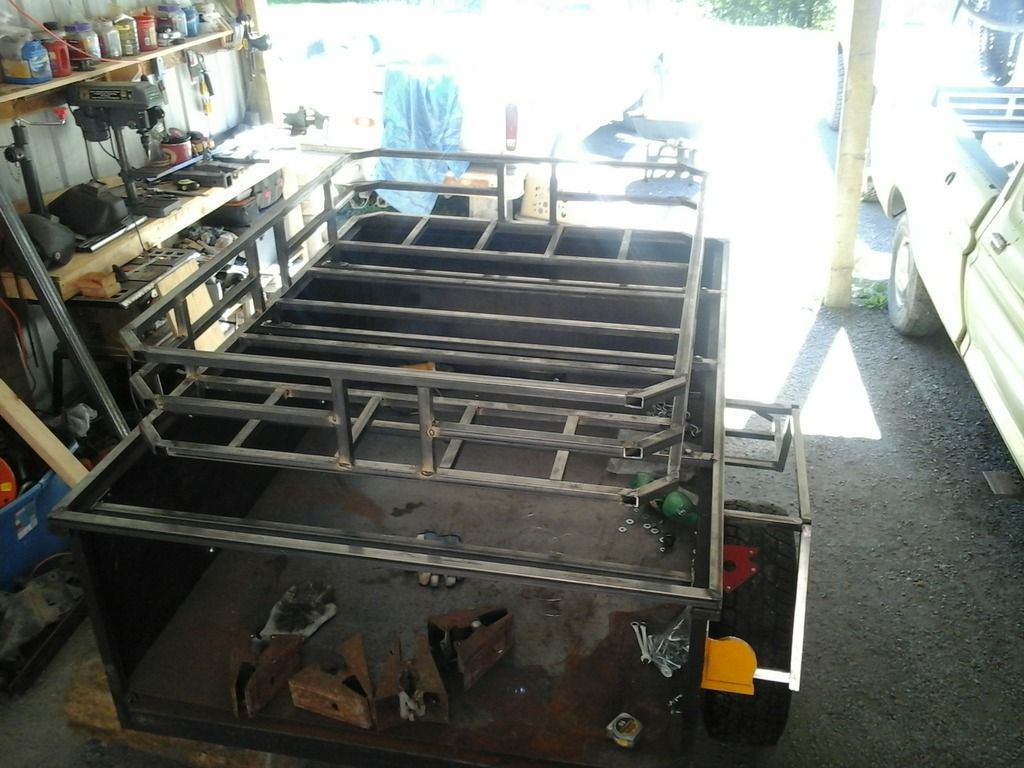
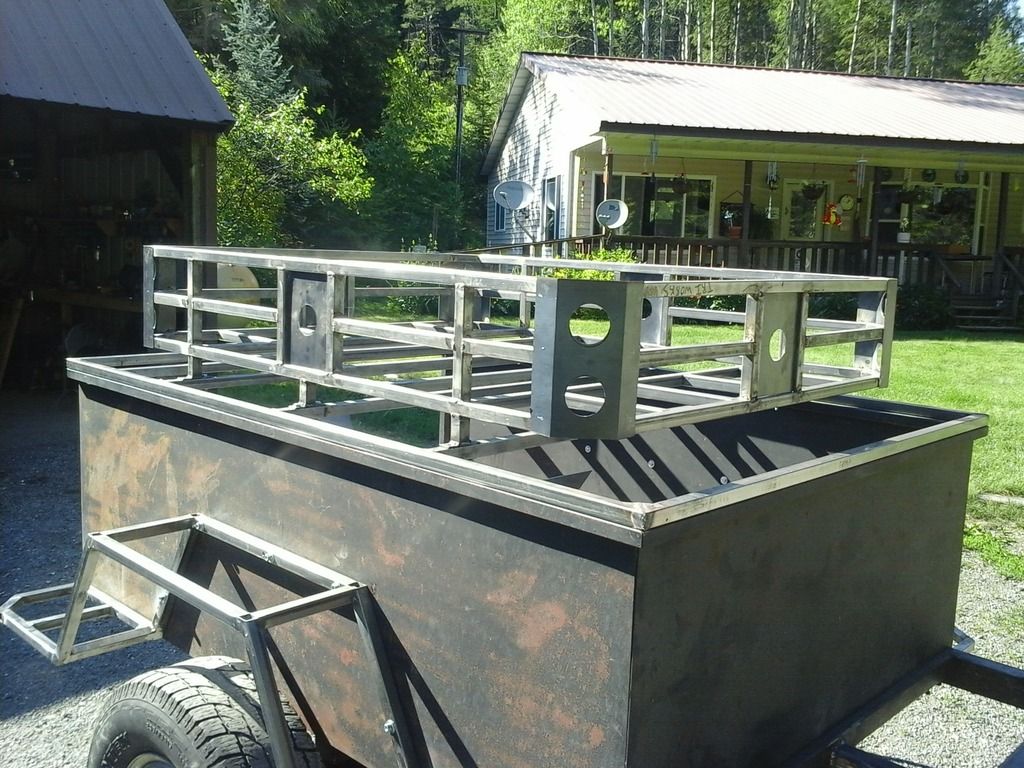
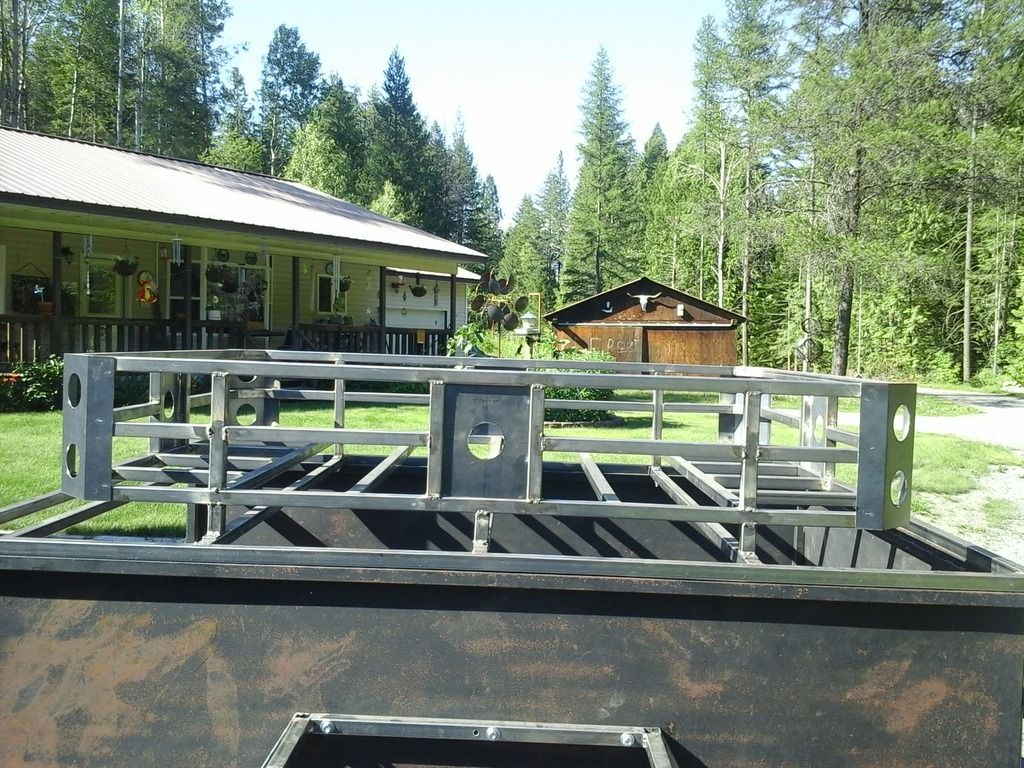
I received all the electrical parts listed above, also picked up 100' ft of 1" square tubing. Started building the cargo rack for the hinged lid. My brother wanted it 4' wide by 5' long and 10" depth... here is where I'm at so far. Still need to add some braces, and finish welding it up. I'm also going to add some sheet metal to wrap around the 45° corners to close off the square tubing and give it a more finished look.


Last edited:
tgreening

Expedition Leader
RE the lid skin. Why not glue it? 3M makes some products that are seriously uninterested in ever letting go once bonded. No welding no warping.
 

rustED

Adventurer
RE the lid skin. Why not glue it? 3M makes some products that are seriously uninterested in ever letting go once bonded. No welding no warping.

Thanks tgreening for the reply! Ive been looking at some of 3M's products and reading their customer reviews, sounds like some seriously good stuff, my only concern is the cost. At around $40-ish per tube, each one does a 1/4" bead 6' long, I would need one tube of product for each side and another for all the stringers, I could be looking at upwards of $160 not including the special application gun I need to buy, that's more money than I have into the metal building the lid, lol.

https://www.amazon.com/gp/aw/cr/B000PEW4MI/ref=mw_dp_cr

tgreening (or any other members) do you have any personal experience with any of these products, I'd be interested to hear your experience good or bad. I was also looking at this no weld panel adhesive from Eastwood. It was less expensive, uses a regular caulking gun, but it has more mixed reviews than the 3M. Thanks in advance for any incite, comments or experience with these or other products.

http://www.eastwood.com/no-weld-pan...AxiLO3zCz9bc5bWvNZGQGzgwdfeJzt3ldARoC7Gjw_wcB
 

tgreening

Expedition Leader
Look for the Boomer build thread in the 4x4 camper van section. He used something gooey to bond the mount for his roof rack to his roof, and by the looks of things he used quite a bit in excess of 1/4"x6' bead. Times 2, and I can't imagine he went that expensive. I'm sure the product he used is in his thread and if not I would imagine he'd pony up the info if asked.
 

rustED

Adventurer
Look for the Boomer build thread in the 4x4 camper van section. He used something gooey to bond the mount for his roof rack to his roof, and by the looks of things he used quite a bit in excess of 1/4"x6' bead. Times 2, and I can't imagine he went that expensive. I'm sure the product he used is in his thread and if not I would imagine he'd pony up the info if asked.

Thanks for the info tgreening. I got sucked in and ended up reading all 47 pages of Boomer the Quadravan build thread, it's a pretty inspiring build! Sounds like he used 3M 5200 fast curing adhesive/sealer.
 

rustED

Adventurer
I got a little more work done on the trailer today.


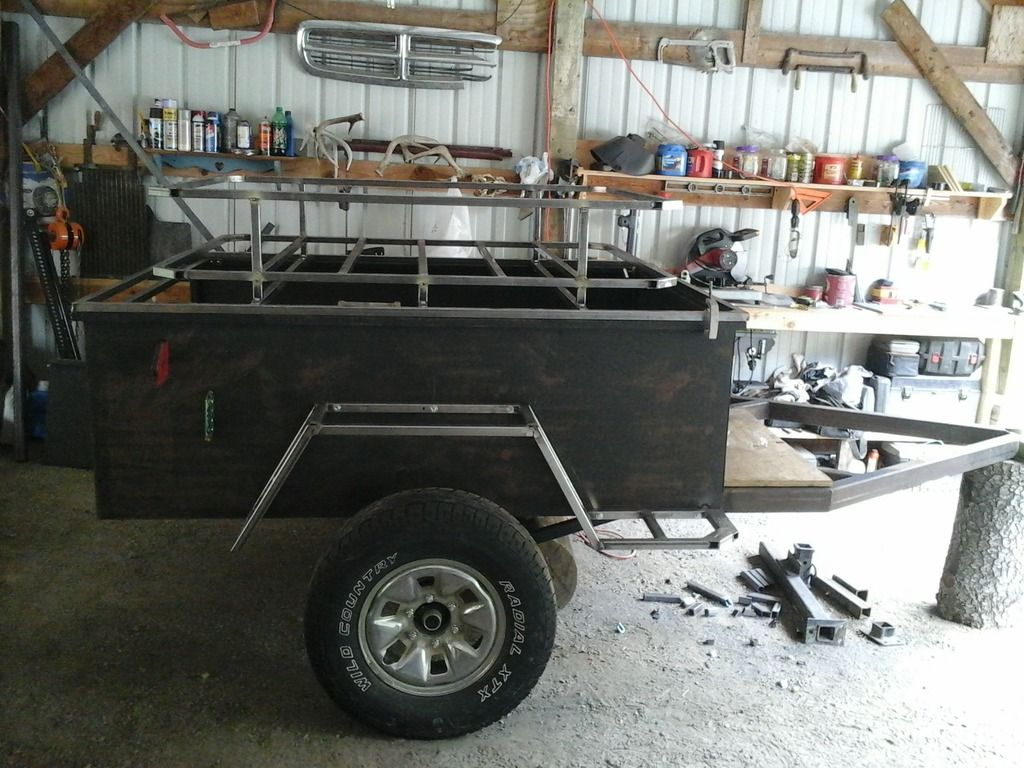
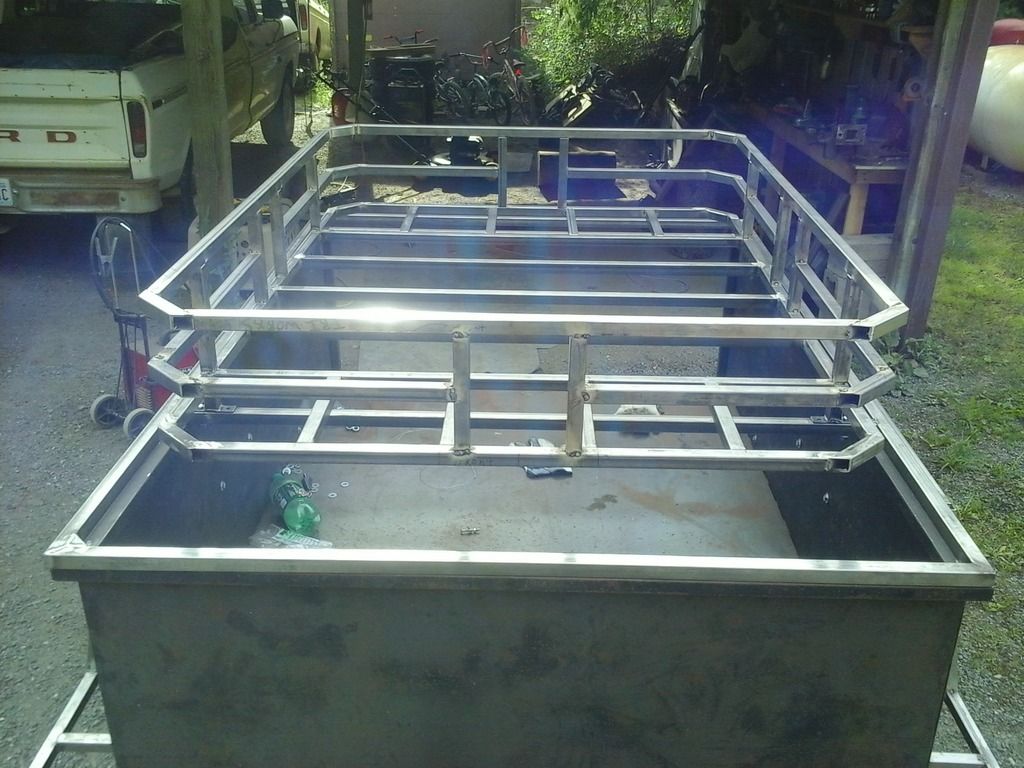
^^^I got the safari rack mostly done, added more cross bars for support, just need to wrap the 45° corners with sheetmetal to give the exposed cut 1" tubing a more finished look, and weld up the rest of the seams. Switched gears for awhile and worked on the the trailer tongue.


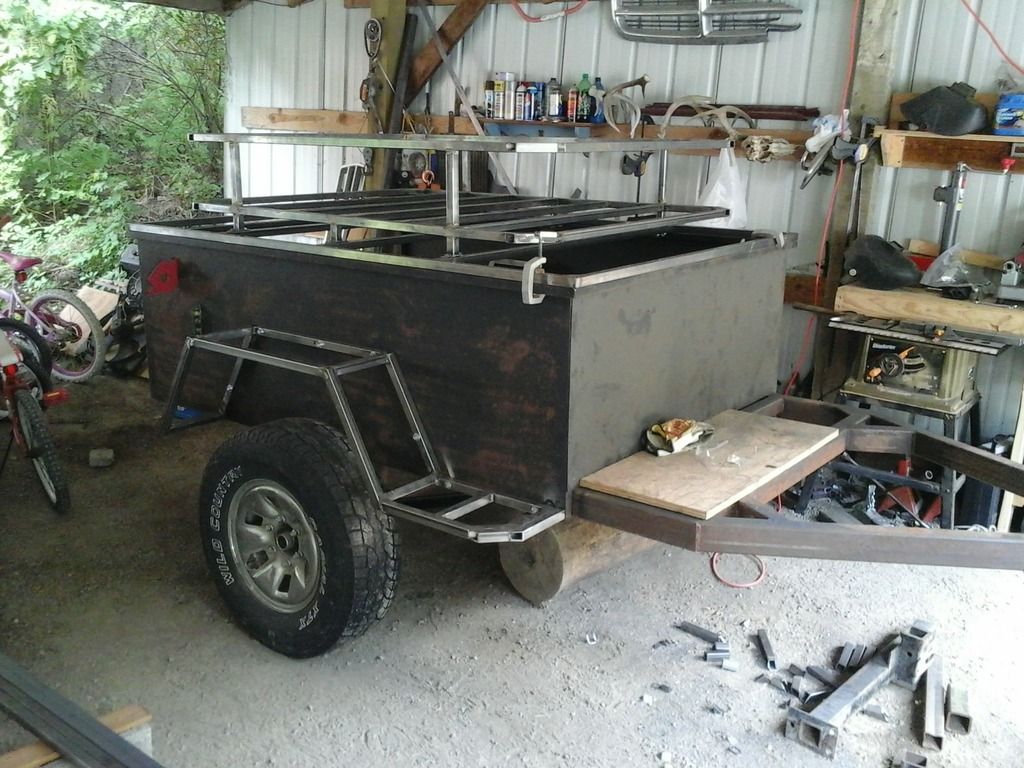
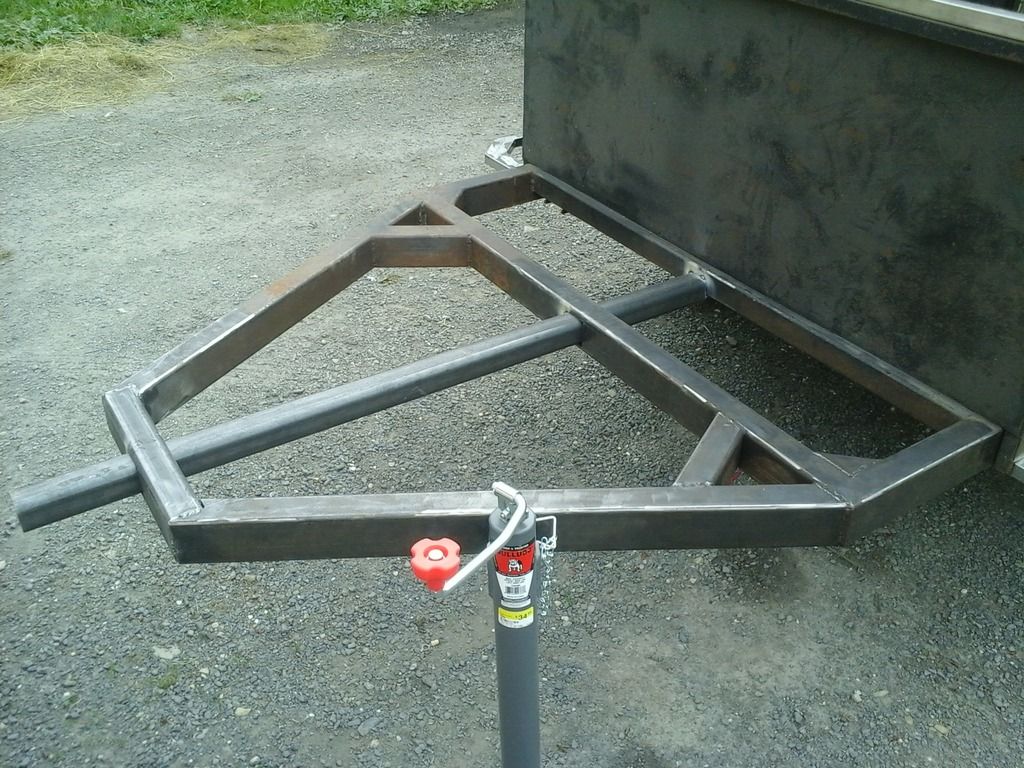
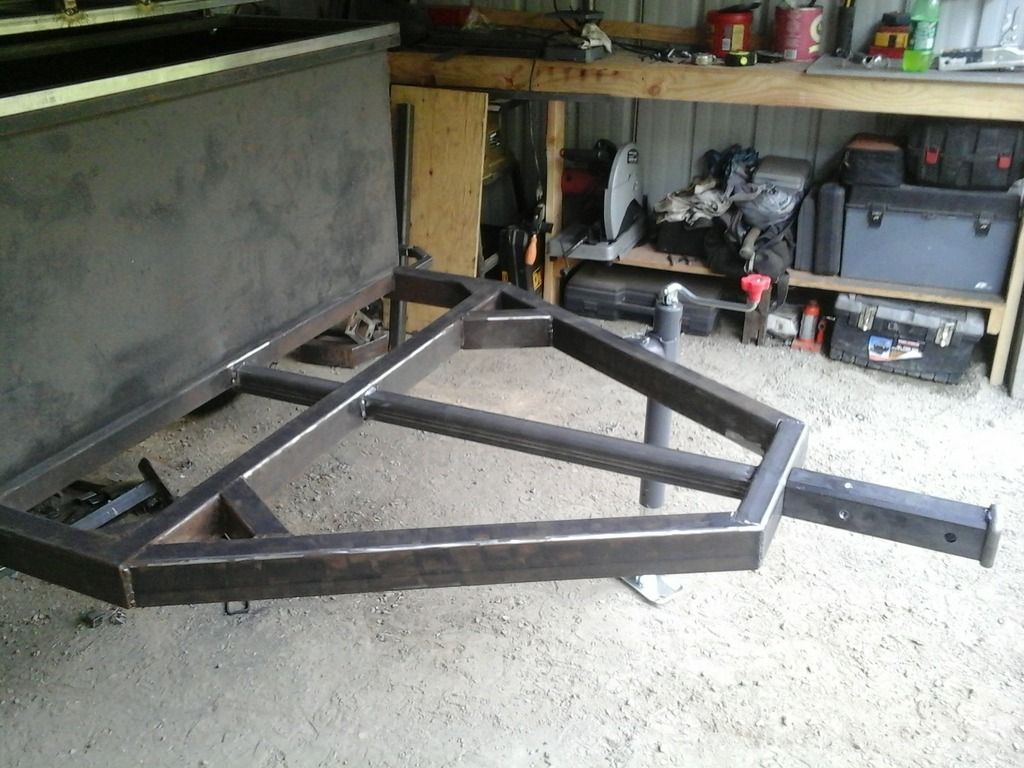
^^^I didn't like the way I originally built the front portion of the trailer frame for the tongue. I built the frame a few years back, and before having discovered this forum. Since joining I have gotten alot of good ideas from other people's threads (there are alot of things I would have done differently on this build...maybe on the next one!) I welded in a temporary brace (not shown) to keep the frame rails true, and cut off the end of the tongue A frame. Then I notched out the frame rails for the new peice to fit in, by doing it this way the ends are boxed in, and should be stronger. Then I cut out the square hole for my 2" by 1/4" wall tube to slide through. I'm alot happier with it now. pics below of the revised tongue. Still need to finish up welding the tongue and the receiver.


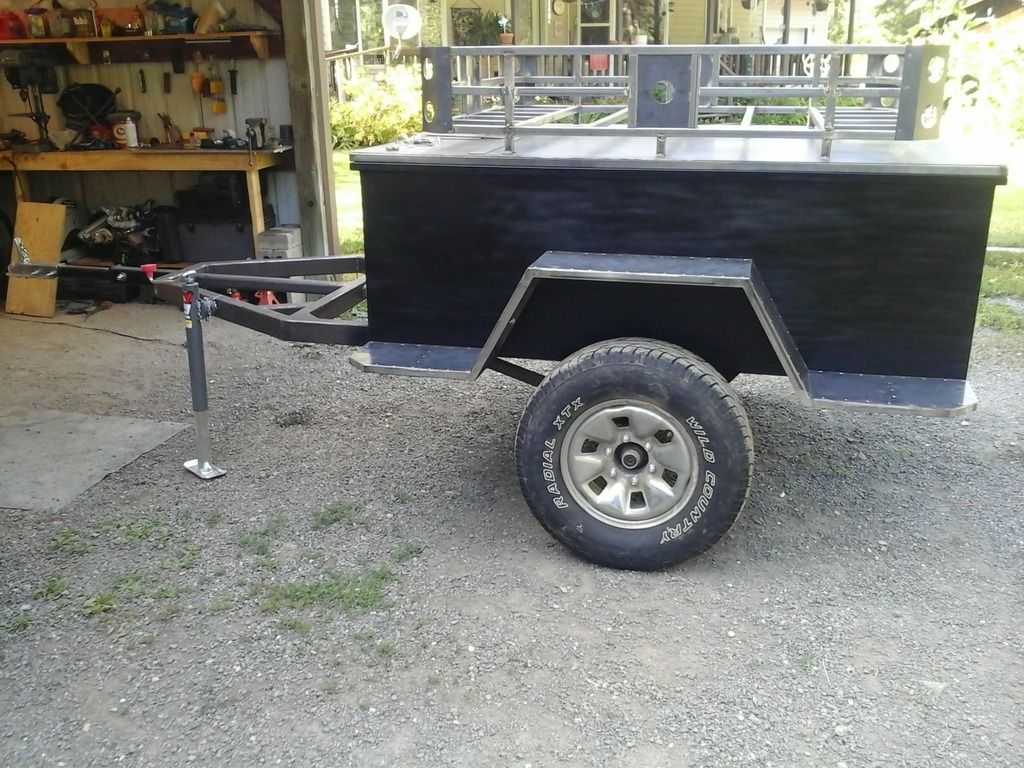
^^^Reworked the trailer tongue, got it nearly finished, also got the tongue jack mounted.
 
Last edited:
rustED

Adventurer
Great trailer build restED! If its alright with you I may borrow some of your ideas :)

Thanks man! Yeah that's fine, I know I "borrowed" more than my share of ideas from others, lol! ;)


I should have an update with some pics tomorrow, I finished the cargo rack, hopefully I will get the fenders skinned, maybe the lid too!
 

rustED

Adventurer
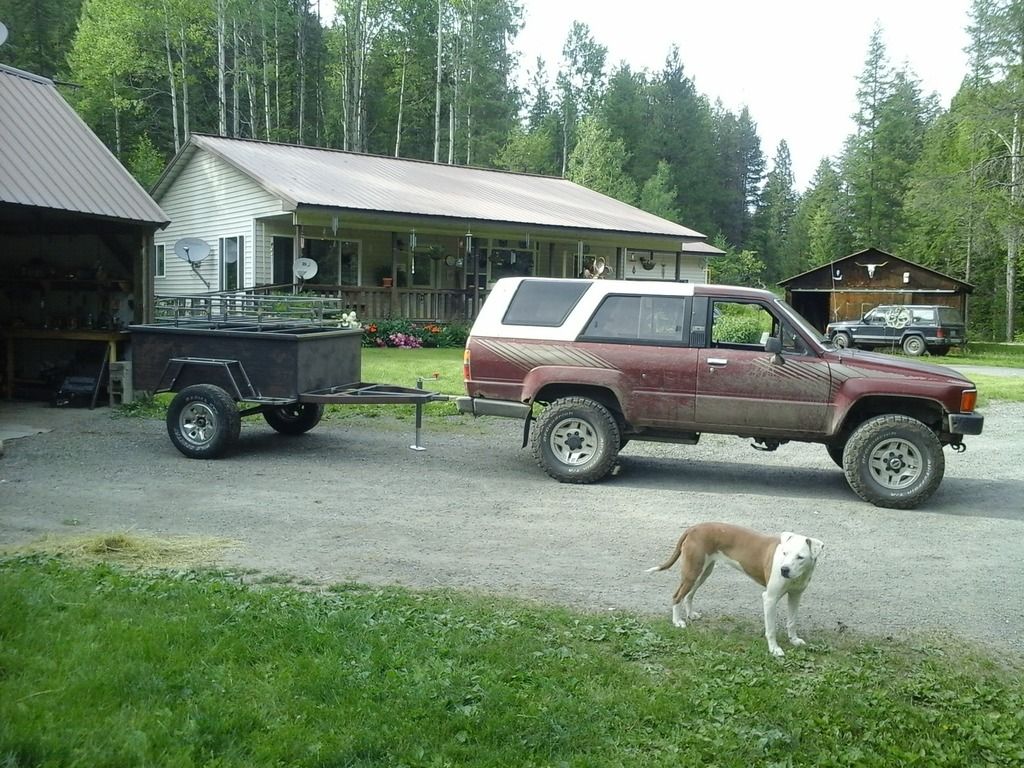
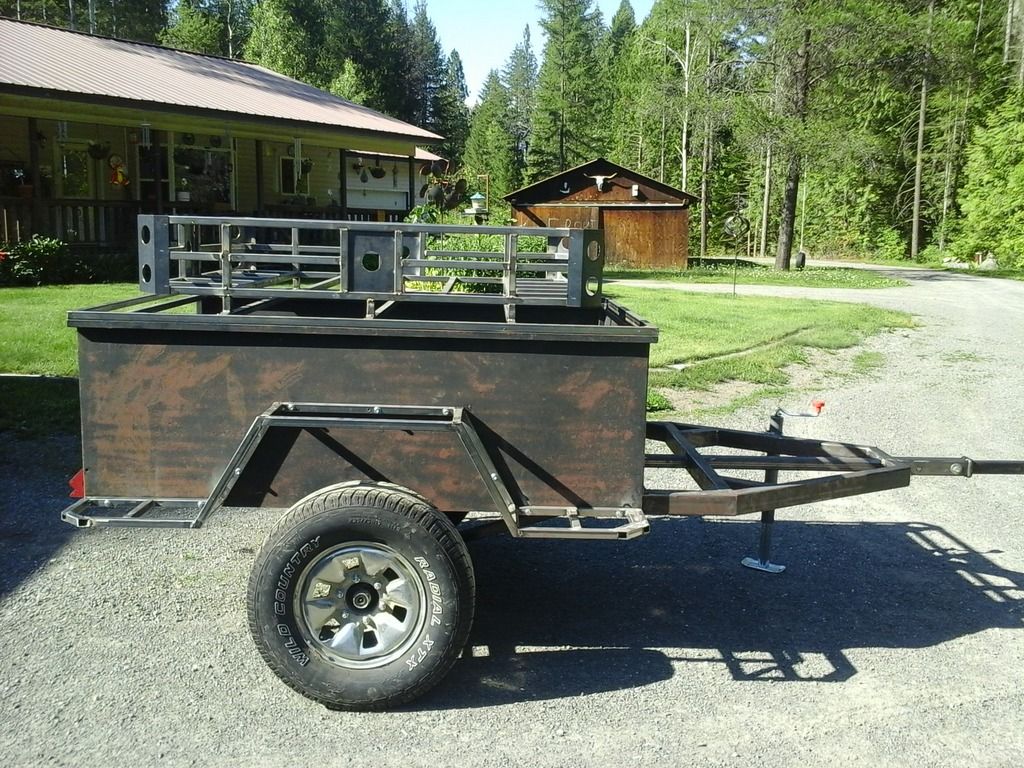
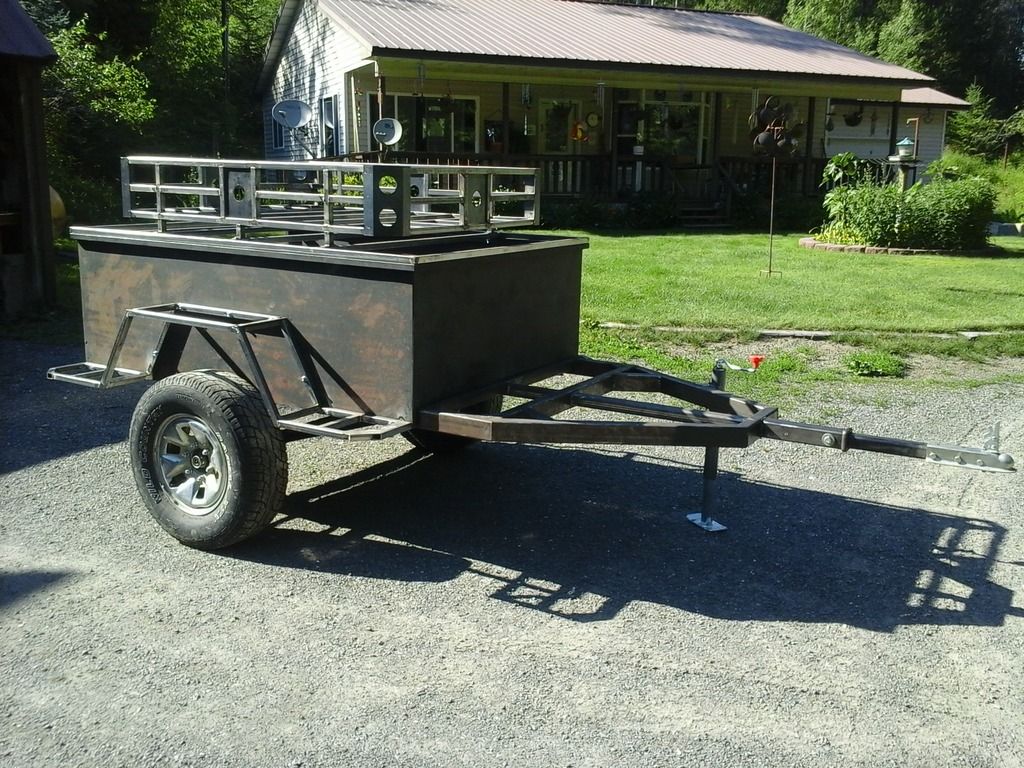
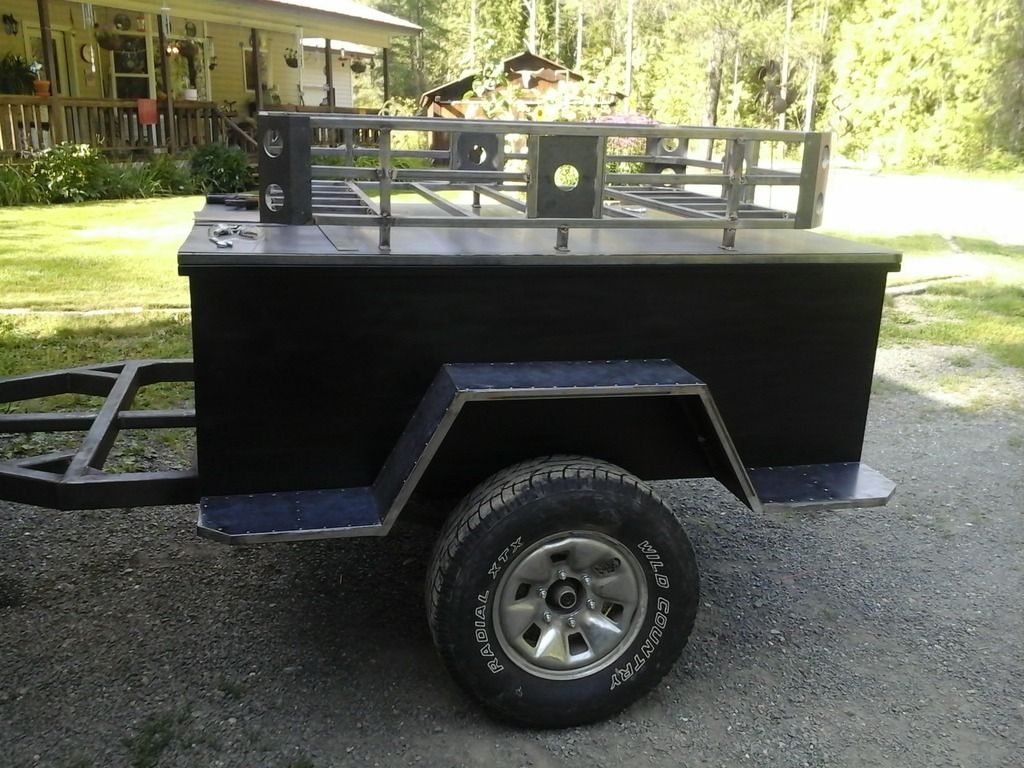
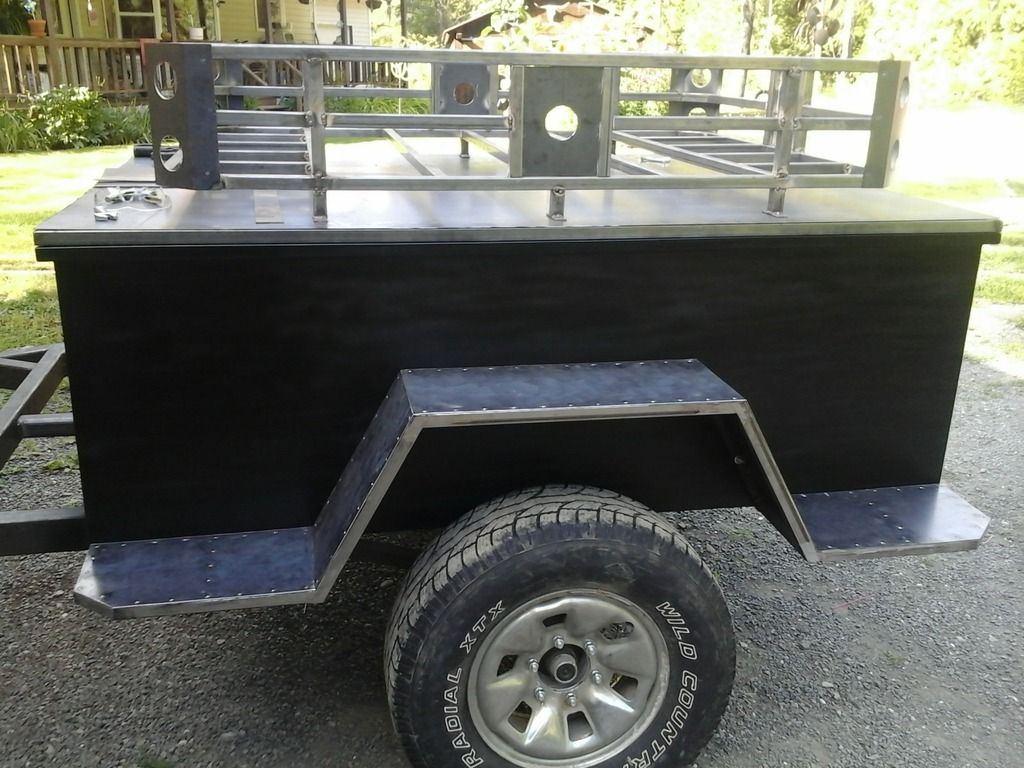
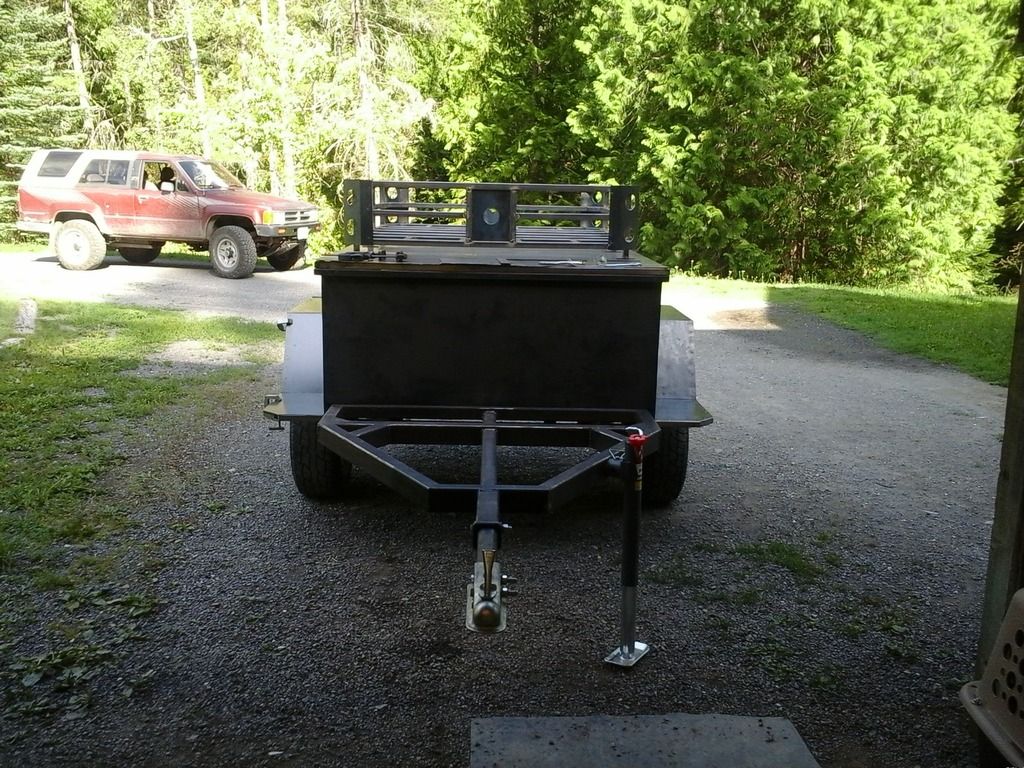
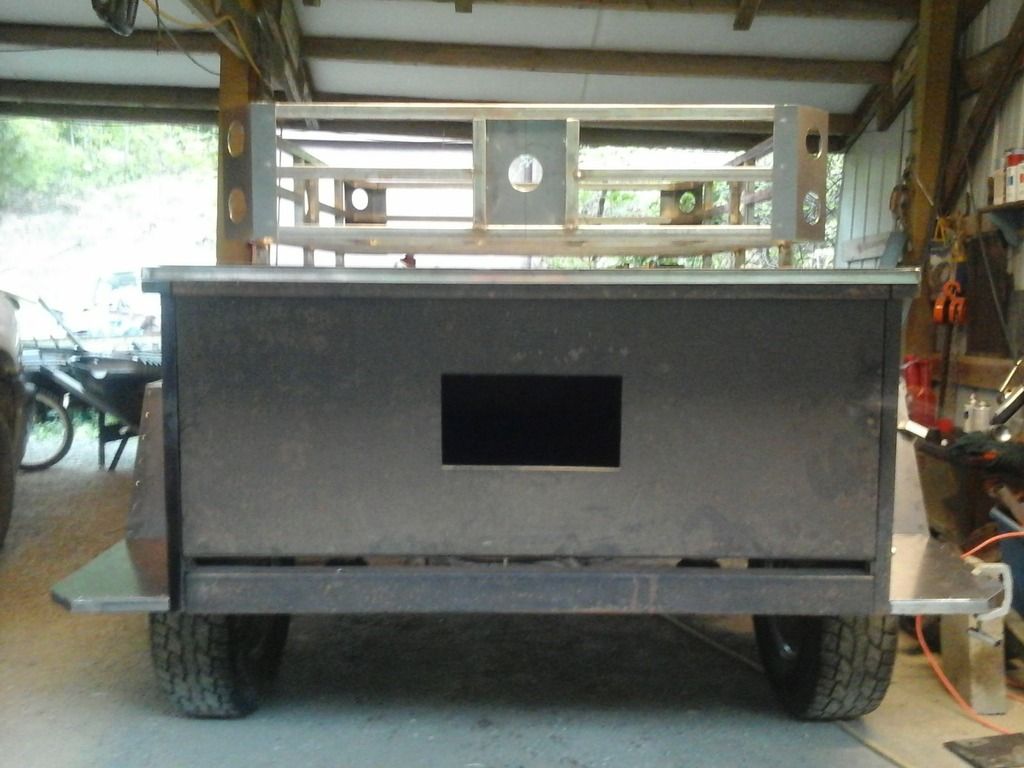
I got a little work done on the trailer today, not nearly as much as I hoped. I got the cargo rack finished, wrapped the 45° corners with 16 gauge sheet metal. I thought it looked kinda plain, so I got out the hole saw and cut out some 2-1/2" holes. I really wish I had a press and dimple dies, that would have really given it a nice look, but I'm pretty satisfied with how it turned out.

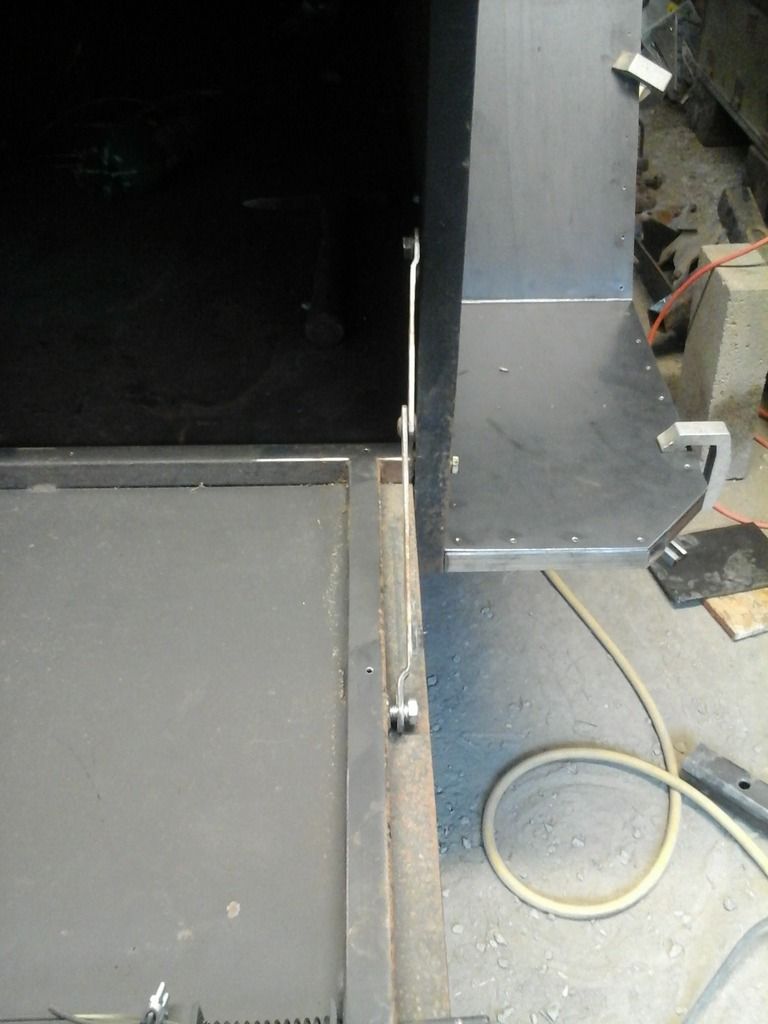
I also finished the tongue, got the receiver tube welded on and the ball/hitch bolted on, still need to add the safety chains. Added the rear steps behind the fenders, got both sides finished.


Here's a quick list off the top of my head, of things that still need to be done.

□ Add safety chains to the tongue
◆◆DONE◆◆Finish adding braces to the lid, skin the lid, weld on hinges, add weatherstripping.
◆◆DONE◆◆Skin the fenders and steps
□ Build a Jerry can rack across the front of the tub body (aprox. 13-1/2" by 52" wide
□ Weld on the suspension tabs for the last link (already built) mount the airbags, run the airlines, mount the shocks, limit straps and bumpstops
□ Add weather stripping to the tailgate
□ Run the wiring, mount the tail lights, side marker lights license plate light, mount the junction box.
□ Build a rear bumper out of 2x3" rectangular tube, add a receiver
□ Fab up some mounts for the high-lift jack
□ Paint/DIY roll on bedliner (thinking Monstaliner)
□ Get some matching 35"x12.50 mud Terrians on black "D" window steel wheels

....that's all I can think of right now, I'm sure I forgot some stuff...
 
Last edited:
Martyinco

Adventurer
rustED, what thickness did you end up going with for your skins? I am currently torn between even using metal to skin mine or go with a HDPE sheet.
 

rustED

Adventurer
rustED, what thickness did you end up going with for your skins? I am currently torn between even using metal to skin mine or go with a HDPE sheet.

I used 14 gauge for the tub body and tailgate and I'm using 16 gauge to skin the fenders and lid.

I was also curious about using HDPE sheeting. I'm surprised that I haven't really seen anybody use it more, like on some of the teardrop trailer builds for skinning the exterior. Have you checked the pricing on it yet? Is it easy for you to obtain locally, or do you have to order it from an online retailer? If it is comparable to the cost of sheetmetal I think it would be a really good alternative.

Here's is a list of the prices I paid for the sheetmetal, so you have something to compare to just in case you get some prices estimates on the HDPE.

I paid: $126 for a 5x10' sheet of 14 gauge; $85 for a 4x8' sheet of 14 gauge and $116 for a 5x10' sheet of 16 gauge. I'm interested to see what you come up with, and end up using for your build!
 
Last edited:

rustED

Adventurer
I started skinning the roof. I'm already quite a bit over budget on thus build, so rather than use the 3M adhesive that I was contemplating earlier I just went ahead on welded it. I'm not to happy with it, I started in the middle and worked my way out to the sides. I was just doing short 1/4" long tack welds spaced out every 4" or so. But it still warped pretty bad. I don't have any pics. It's not that noticeable with the cargo rack mounted, unless you squat down to eye level and look at it. I might see if I can borrow a torch and heat it up and try straightening it some. I think my brother is going to use bedliner on it anyway, so some texture might help camouflage it.

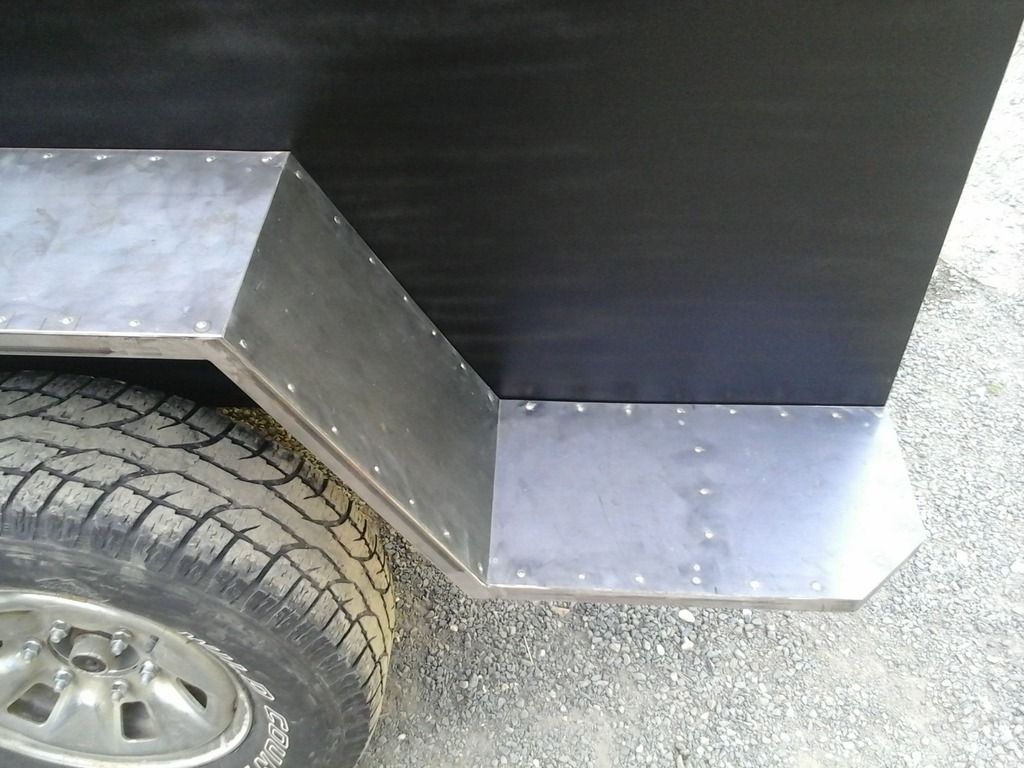
I didn't want to risk warping the fender skins, so I tried a different approach. I drilled holes spaced out every 2-1/4" then tack welded the sheetmetal to the fender frame filling the hole. I was going to grind down the welds, but I kind of like the look, gives it a riveted look. I might go back and do the outside parameter of the lid so it matches.

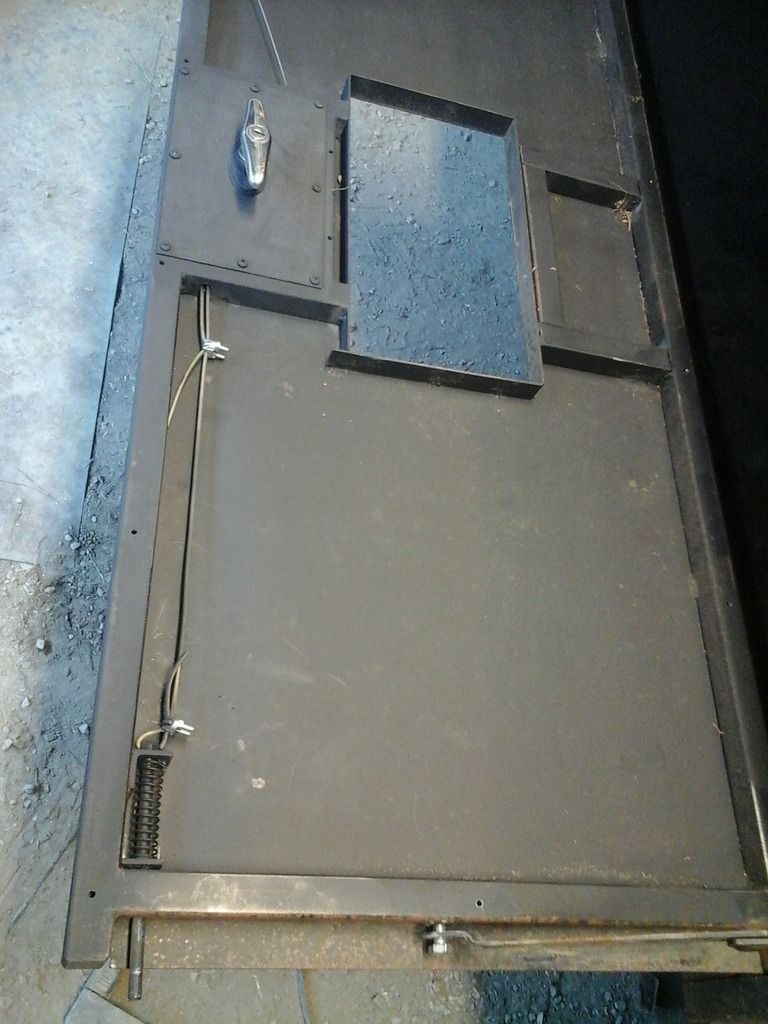
I also got the tailgate working again, I had robbed the cables off it for some other project, lol. Still need to modify the driverside tailgate stop (thing-ama-jig) they were originally off a first gen yota.


Last edited:

Forum statistics

Threads
189,406
Messages
2,916,461
Members
232,261
Latest member
ilciclista
Top