You are using an out of date browser. It may not display this or other websites correctly.
You should upgrade or use an alternative browser.
You should upgrade or use an alternative browser.
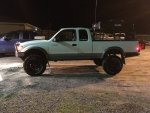
96 Tacoma Overlanding DIY budget build
- Thread starter Tacoverlander
- Start date
Tacoverlander
Observer
Where did you find your Wheels Jason? been trying to find some 17" steel wheels for my Fj . So far all I have found are online for like $70 each..
I pulled these out of truck salvage yard here near where I live. $30 a piece! Took em home and sanded them down and gave em a few coats of black wheel paint. They are 16" spare tire wheel from a 2001-ish tundra. Hope this helps!
Tacoverlander
Observer
Tacoverlander
Observer
4.88 Regear
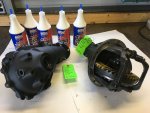
Finally was able to get the truck re-geared to 4.88. I chose these over 4.56 because of the 2.7L. I wanted to make sure that I had enough gear to pull the added weight because my truck was never happy when driving up the mountain roads...2nd and 3rd gears were my friend. I wasn't able to capture the entire process on camera. Luckily a friend was the one taking pictures to get most of it but was an extra set of hands too.
I got the gears from ECGS (East Coast Gear Supply)
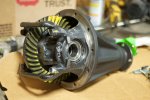
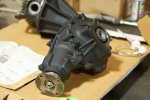
They sure do look purdy...
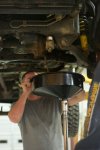
First things first, drain the oil.
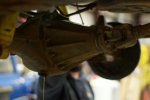
Removing the manual hubs and axles.
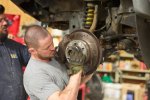
Removing the front driveshaft.
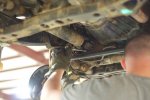
Next, Remove the two front diff bolts...where the diff drop is installed. There is also a third nut that is removed. Its a hex head on the bottom of the cross member.
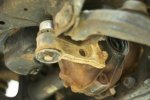
Front diff removed... on mine, all I had to remove from the top before pulling it off the truck was just one breather tube held on by a 12mm bolt about mid ways on the top of the diff.
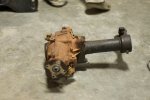
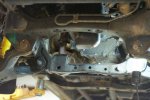
Finally was able to get the truck re-geared to 4.88. I chose these over 4.56 because of the 2.7L. I wanted to make sure that I had enough gear to pull the added weight because my truck was never happy when driving up the mountain roads...2nd and 3rd gears were my friend. I wasn't able to capture the entire process on camera. Luckily a friend was the one taking pictures to get most of it but was an extra set of hands too.
I got the gears from ECGS (East Coast Gear Supply)


They sure do look purdy...
First things first, drain the oil.


Removing the manual hubs and axles.

Removing the front driveshaft.

Next, Remove the two front diff bolts...where the diff drop is installed. There is also a third nut that is removed. Its a hex head on the bottom of the cross member.

Front diff removed... on mine, all I had to remove from the top before pulling it off the truck was just one breather tube held on by a 12mm bolt about mid ways on the top of the diff.


Tacoverlander
Observer
Once it was removed we had to transfer a few things to the new diff.
-Breather tube. (which I replace some of the rubber tube while it was easy to get to)
-All 3 mounts, including the axle tube that bolts onto the passenger side of the diff. Had to use the trusty Toyota FIPG when transferring the axle tube.
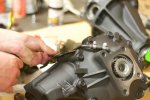
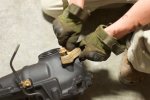
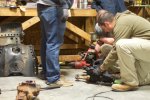
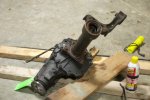
Before the axle tube would fit, we had to remove the ADD stub shaft from the new diff.
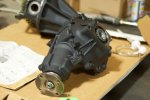
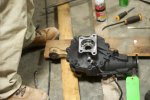
ADD stub shaft:
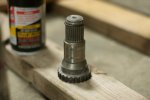
Cleaned both surfaces really well before adding the FIPG and then bolted the axle tube to the new diff
Now do it all in reverse order to put it back together.
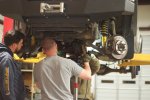
Torquing the spacers.
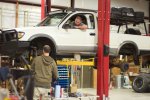
-Breather tube. (which I replace some of the rubber tube while it was easy to get to)
-All 3 mounts, including the axle tube that bolts onto the passenger side of the diff. Had to use the trusty Toyota FIPG when transferring the axle tube.


Before the axle tube would fit, we had to remove the ADD stub shaft from the new diff.


ADD stub shaft:

Cleaned both surfaces really well before adding the FIPG and then bolted the axle tube to the new diff

Now do it all in reverse order to put it back together.

Torquing the spacers.

Tacoverlander
Observer
Now for the rear
This was pretty quick and my "photographer" wasn't able to make it back the next morning.
New Third
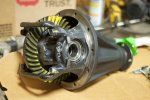
Removed the brake lines, e brake cable, and four bolts holding the axle and drum to the axle housing.
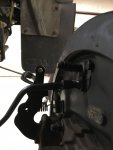
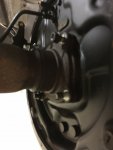
While draining the rear diff oil earlier, I noticed that it was a little milky. So I took this time to replace the rear axle seals.
Old Seal
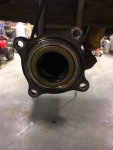
Cleaned where the new seal will go
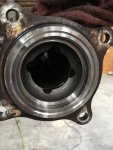
New seal installed with a little gear oil on the O ring.
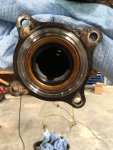
Next, remove the 4 bolts holding the rear driveshaft to the pinion flange
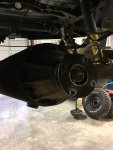
Remove the diff bolts and slide the diff out. I went ahead and cleaned the surfaces of both the new diff and the diff housing. I purchased the rear diff gasket from Toyota but wasn't too confident in the paper thing application so after searching on the web I went with this method. Apply FIPG on the housing, circling the bolts and connecting the dots. Then place the gasket over the FIPG, then add a second layer of FIPG the same as the first...This may suck when/if I ever have to remove the diff but hopefully it wont leak.
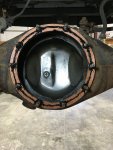
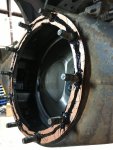
Then put it all back in reverse order. Simple enough.
All wrapped up and ready to start the loooong break in procedure.
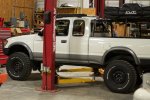
I wish I was able to do this a long time ago. I can tell a difference. Its like a have a new truck. Now I can use 5th gear as well as accelerate uphill. Huge shout out to ECGS! Everything went together extremely well with only a few minor hiccups. Great communication from these guys too. Thanks Steven!
This was pretty quick and my "photographer" wasn't able to make it back the next morning.
New Third

Removed the brake lines, e brake cable, and four bolts holding the axle and drum to the axle housing.


While draining the rear diff oil earlier, I noticed that it was a little milky. So I took this time to replace the rear axle seals.
Old Seal

Cleaned where the new seal will go

New seal installed with a little gear oil on the O ring.

Next, remove the 4 bolts holding the rear driveshaft to the pinion flange

Remove the diff bolts and slide the diff out. I went ahead and cleaned the surfaces of both the new diff and the diff housing. I purchased the rear diff gasket from Toyota but wasn't too confident in the paper thing application so after searching on the web I went with this method. Apply FIPG on the housing, circling the bolts and connecting the dots. Then place the gasket over the FIPG, then add a second layer of FIPG the same as the first...This may suck when/if I ever have to remove the diff but hopefully it wont leak.


Then put it all back in reverse order. Simple enough.
All wrapped up and ready to start the loooong break in procedure.

I wish I was able to do this a long time ago. I can tell a difference. Its like a have a new truck. Now I can use 5th gear as well as accelerate uphill. Huge shout out to ECGS! Everything went together extremely well with only a few minor hiccups. Great communication from these guys too. Thanks Steven!
TheCascadeKid
Observer
Love the first gen Taco and keep the great photos coming!
TachedOutOffRoad
Observer
Love all of it

