Trail100
Observer
So after deciding that a RTT would be too small for us (I'm 6'5", my girl is 5'11" and my kid is 5'8" so far) I've decided to build a beefier frame for the tent trailer I've had for about 10 years.
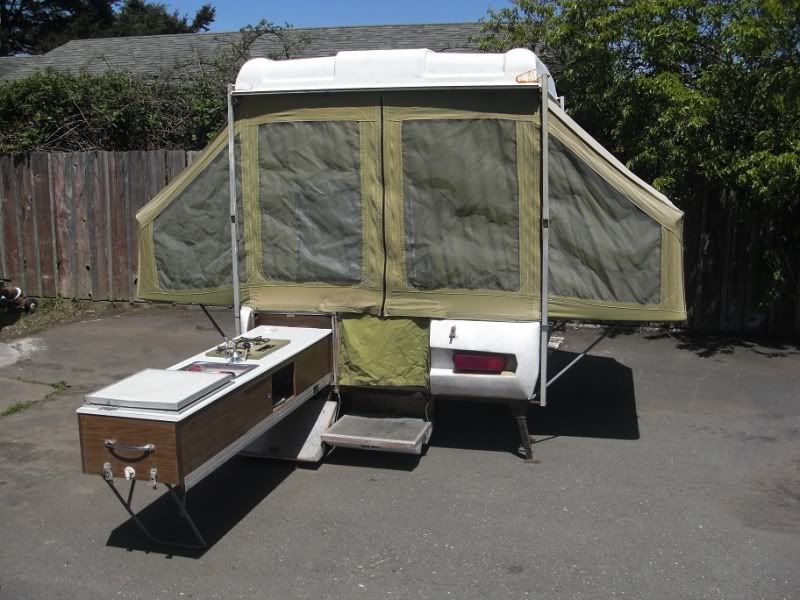
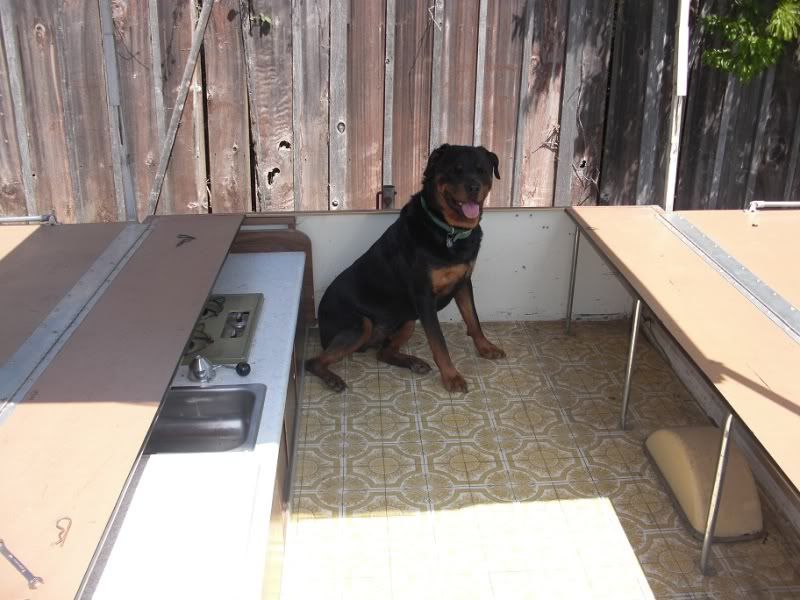
It started out life as a 1973 Western Field (Monkey Wards) with dinky tires, and served me well on a few camp trips to non-remote areas. The price was right ($300) and my son loves it so I figured it would be way cheaper to just build it up rather than fork out the cash for a new one. It will be a little big for tight trails but once popped up it's large and comfortable for the three of us and should make a nice base camp. It has a slide out kitchen on the drivers side that includes a cooler, sink, stove, and small water tank. Ultimately these will be redesigned around the new wider/longer fenders that will take up some of the interior space.
The basic plan is to build the new frame to fit a 33/12.50/15 and gain some space on the tongue for batteries, fuel, and added storage. At some point it will end up with a water tank behind the rear tires, and get much more equipped for planned longer trips, but for now I'm just trying to hustle it out for our trip to Yellowstone at the end of May.
A few pics:
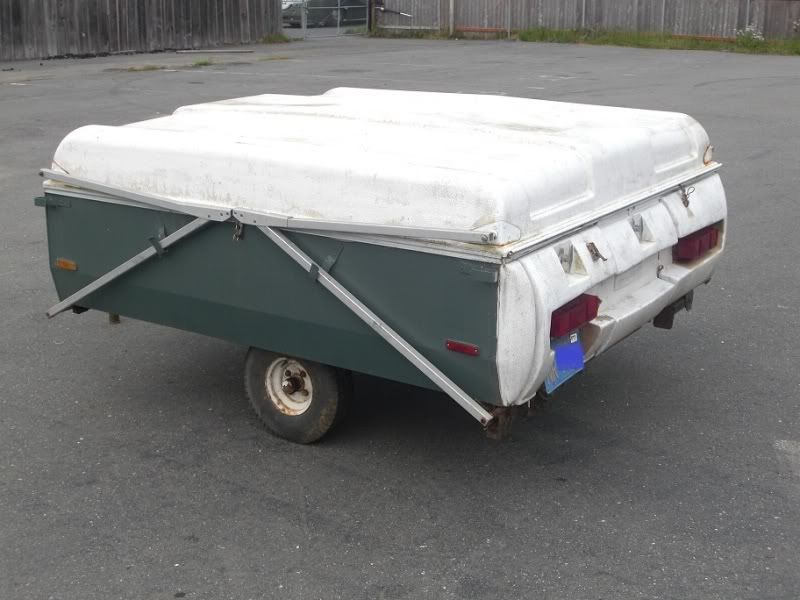
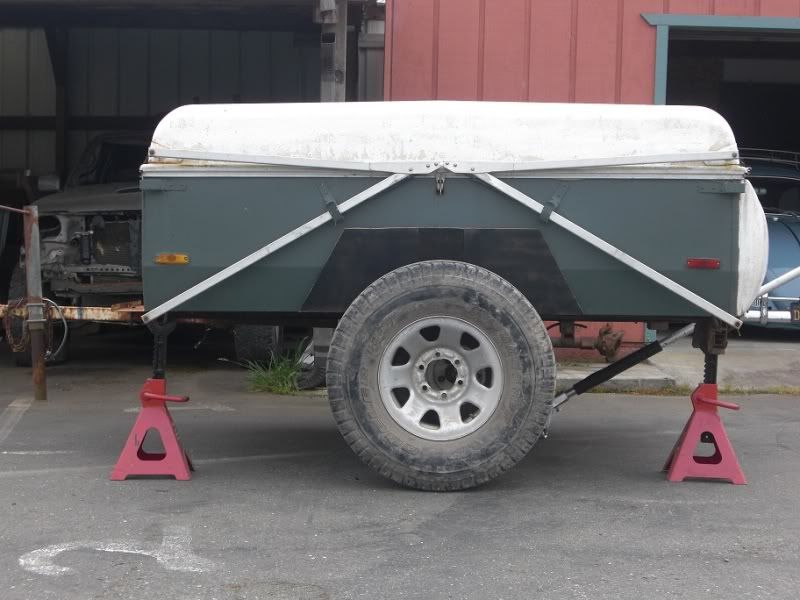
As it sits right now. The rear plastic/lighting will all go away and have three flat panels/doors in its place.
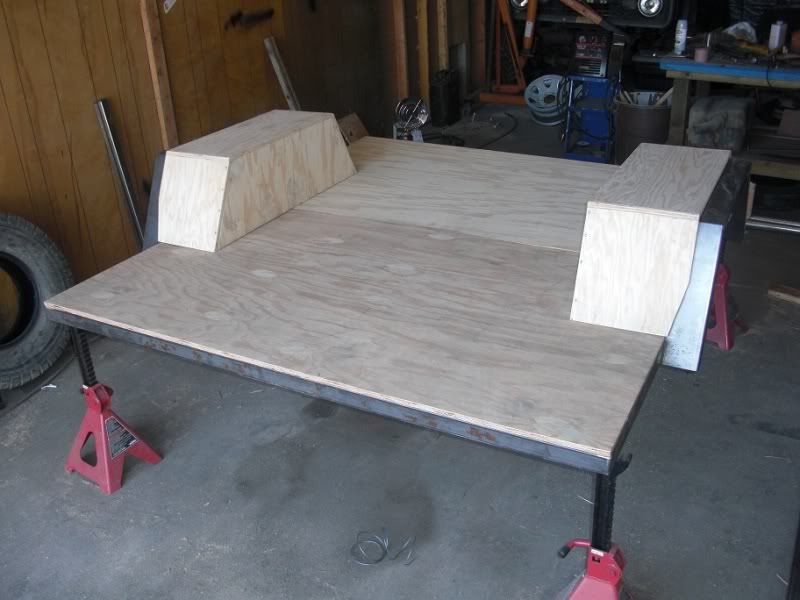
The general idea, cardboard cutout represents wheel well tire will be tucked into (just a 31" on the rim right now).
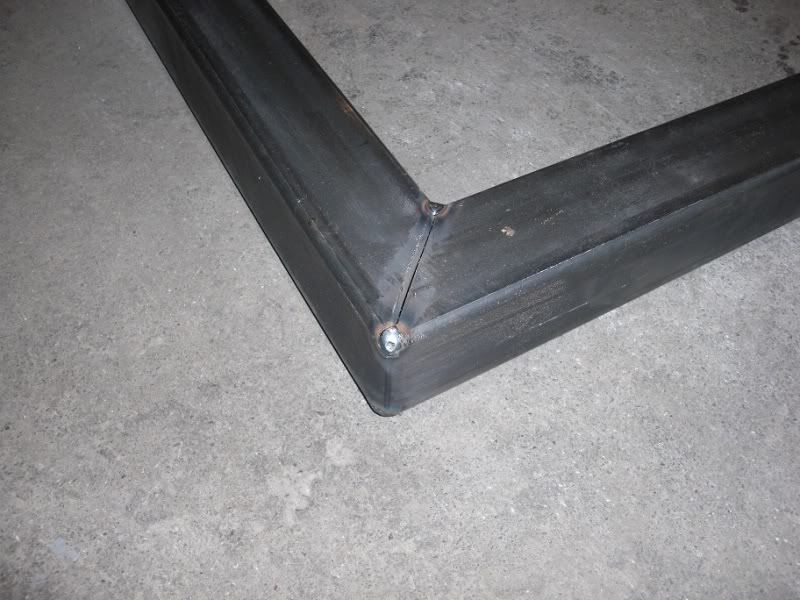
90* corners bent.
Mock up with some gear.

Making fenders: I had the metal shop cut out some 12 gauge steel and put a 1" kick along one edge.
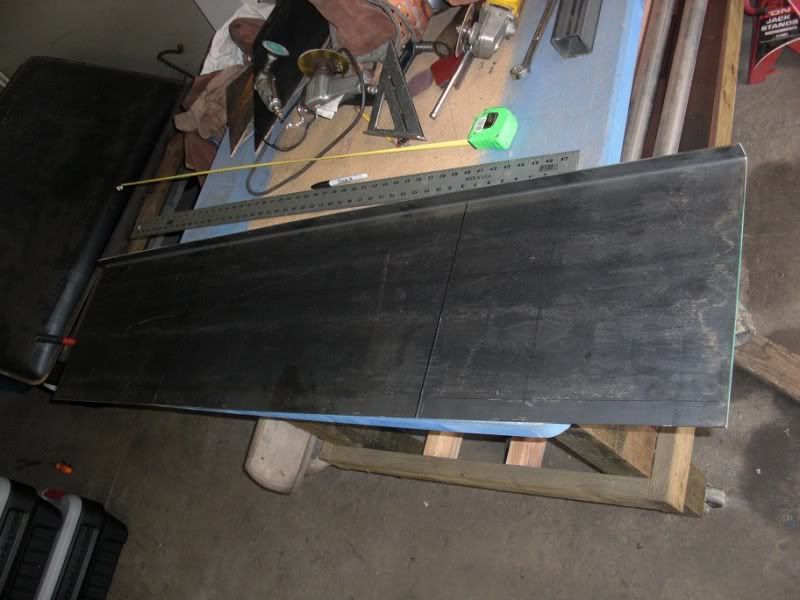
Then I used a cutoff wheel to score along a piece of scrap 1/4" where I wanted the bends to be, cut a notch in the kick and then bent it up to the angle I wanted.

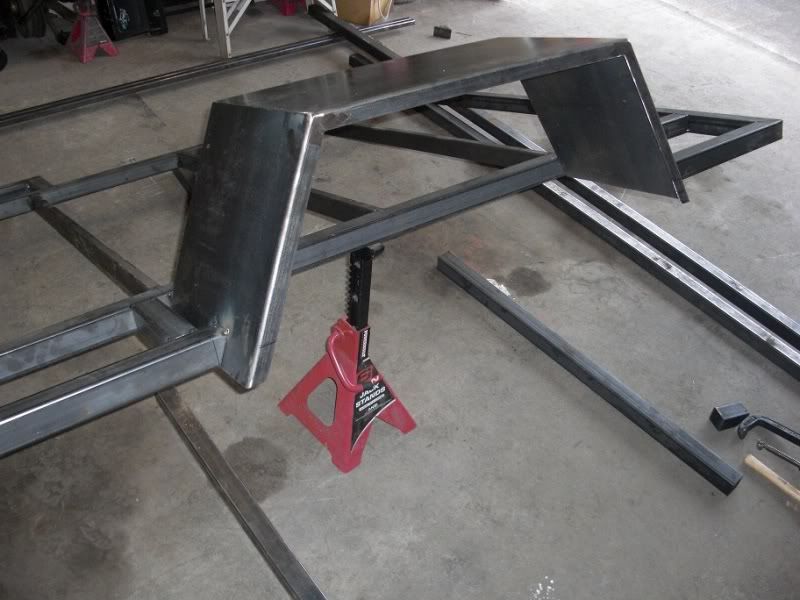
Tack welded to frame.
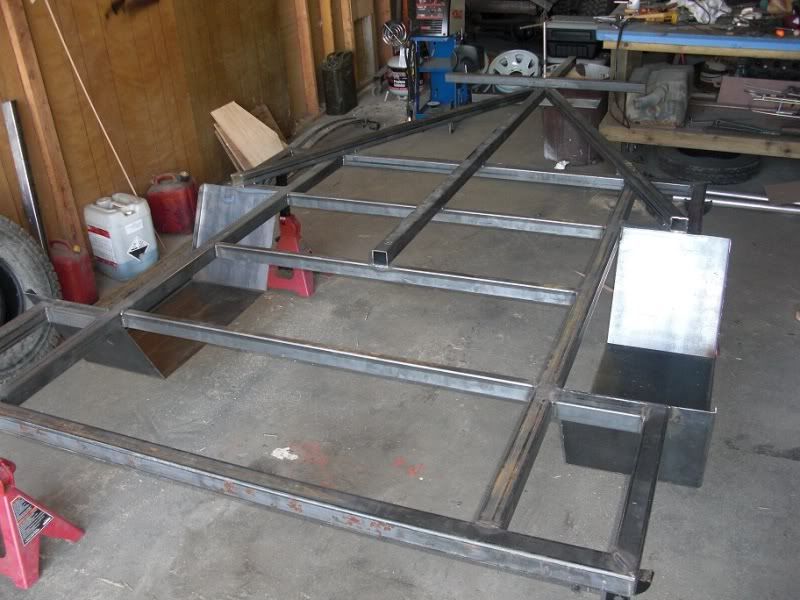
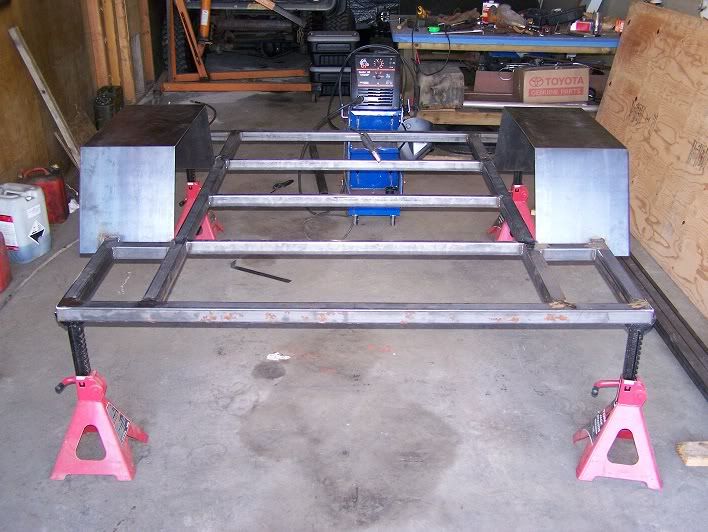
Basic frame welded with top welds ground smooth for decking to sit flat.
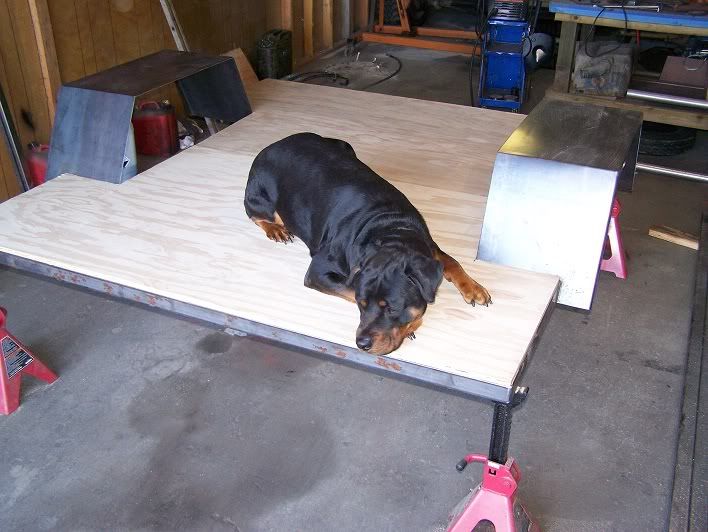
Decking cut and set into place. Tucker inspecting work.

Approved!
That's all I got done this weekend. The axle is on it's way from ABC trailers, hopefully next week, I had them make it a custom width/spring perch spacing to match my design. More pics when the work gets done...
It started out life as a 1973 Western Field (Monkey Wards) with dinky tires, and served me well on a few camp trips to non-remote areas. The price was right ($300) and my son loves it so I figured it would be way cheaper to just build it up rather than fork out the cash for a new one. It will be a little big for tight trails but once popped up it's large and comfortable for the three of us and should make a nice base camp. It has a slide out kitchen on the drivers side that includes a cooler, sink, stove, and small water tank. Ultimately these will be redesigned around the new wider/longer fenders that will take up some of the interior space.
The basic plan is to build the new frame to fit a 33/12.50/15 and gain some space on the tongue for batteries, fuel, and added storage. At some point it will end up with a water tank behind the rear tires, and get much more equipped for planned longer trips, but for now I'm just trying to hustle it out for our trip to Yellowstone at the end of May.
A few pics:
As it sits right now. The rear plastic/lighting will all go away and have three flat panels/doors in its place.
The general idea, cardboard cutout represents wheel well tire will be tucked into (just a 31" on the rim right now).
90* corners bent.
Mock up with some gear.
Making fenders: I had the metal shop cut out some 12 gauge steel and put a 1" kick along one edge.
Then I used a cutoff wheel to score along a piece of scrap 1/4" where I wanted the bends to be, cut a notch in the kick and then bent it up to the angle I wanted.
Tack welded to frame.
Basic frame welded with top welds ground smooth for decking to sit flat.
Decking cut and set into place. Tucker inspecting work.
Approved!
That's all I got done this weekend. The axle is on it's way from ABC trailers, hopefully next week, I had them make it a custom width/spring perch spacing to match my design. More pics when the work gets done...