1993 Mitsubishi Delica - Desk To Glory

Sabre

Overlanding Nurse
Yeah, just so the driver can see what's happening below the window. I guess it's kinda like the poor man's backup cam. :smiley_drive:

Yup, and centimeters matter when driving and parking in crowded Japanese cities. These are almost universally seen there because they're so practical.
 

DeskToGlory

Adventurer
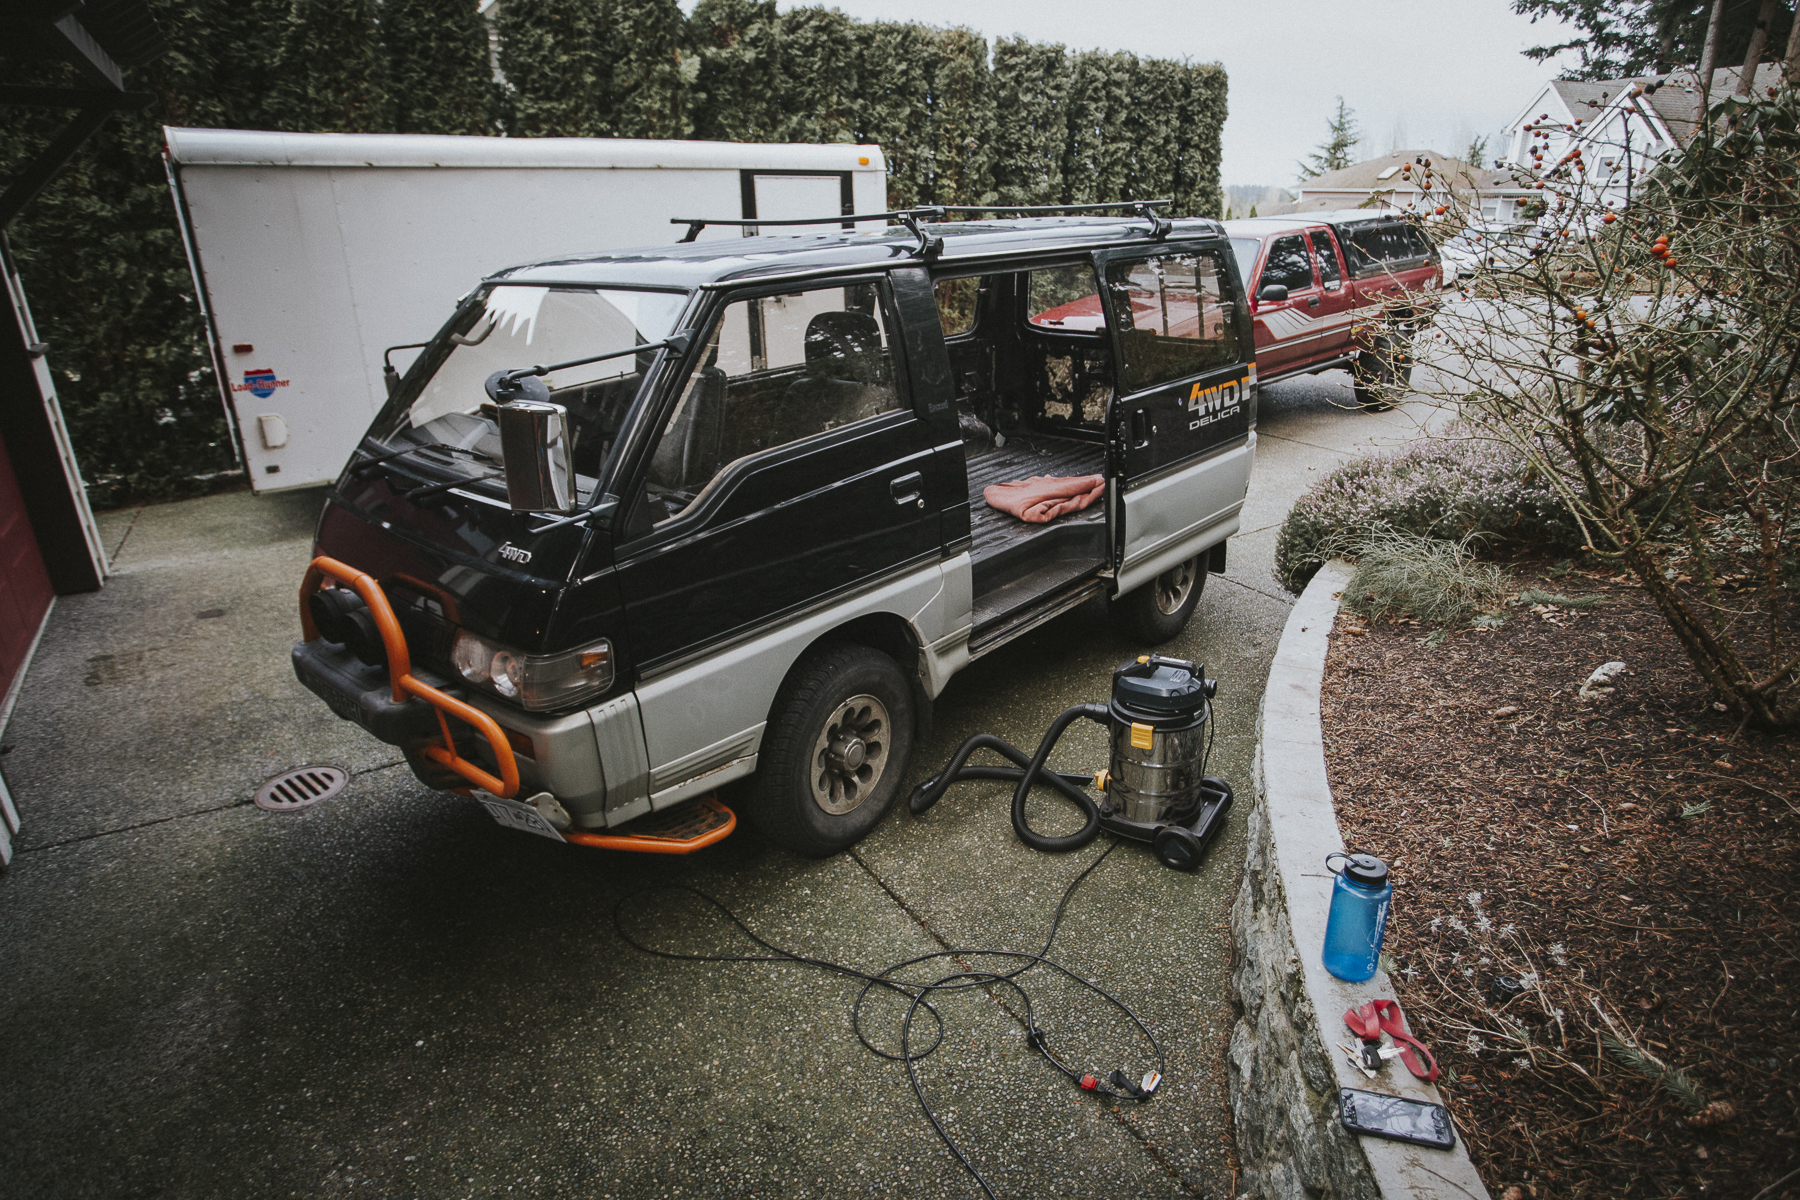
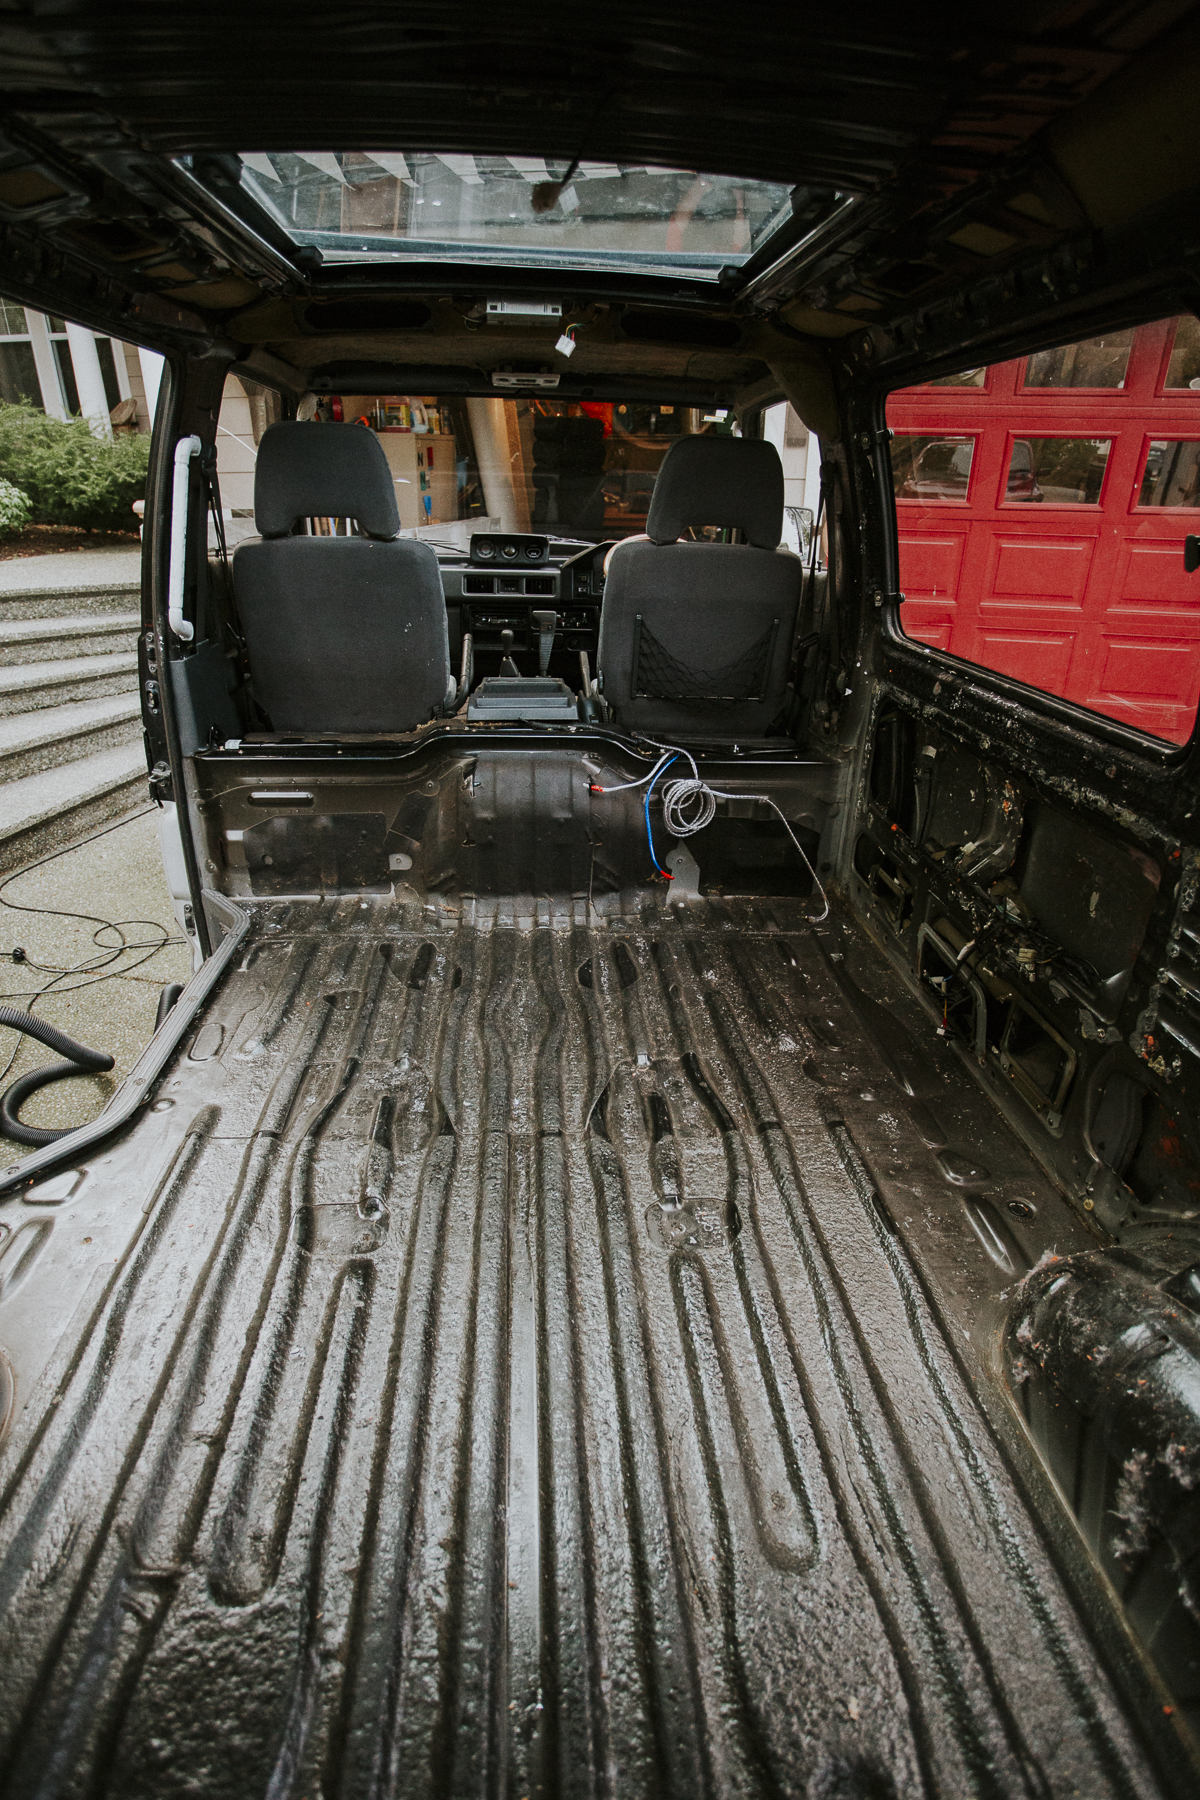
Apparently the previous owners had a love for spray foam and pink fiberglass insulation. They tucked the pink fiberglass insulation everywhere they could easily access and then tucked the nozzle of the spray foam can everywhere else. I really wanted to avoid any sort of insulation that could retain water (and therefore promote mould/mildew/rust etc) so it all had to come out. It took a little effort, but at least now we have a blank slate to work with. :snorkel:

delica_build-10.jpg


delica_build-11.jpg


delica_build-12.jpg


delica_build-13.jpg
 
Last edited:

DeskToGlory

Adventurer
Parts are starting to show up for the Delica build!

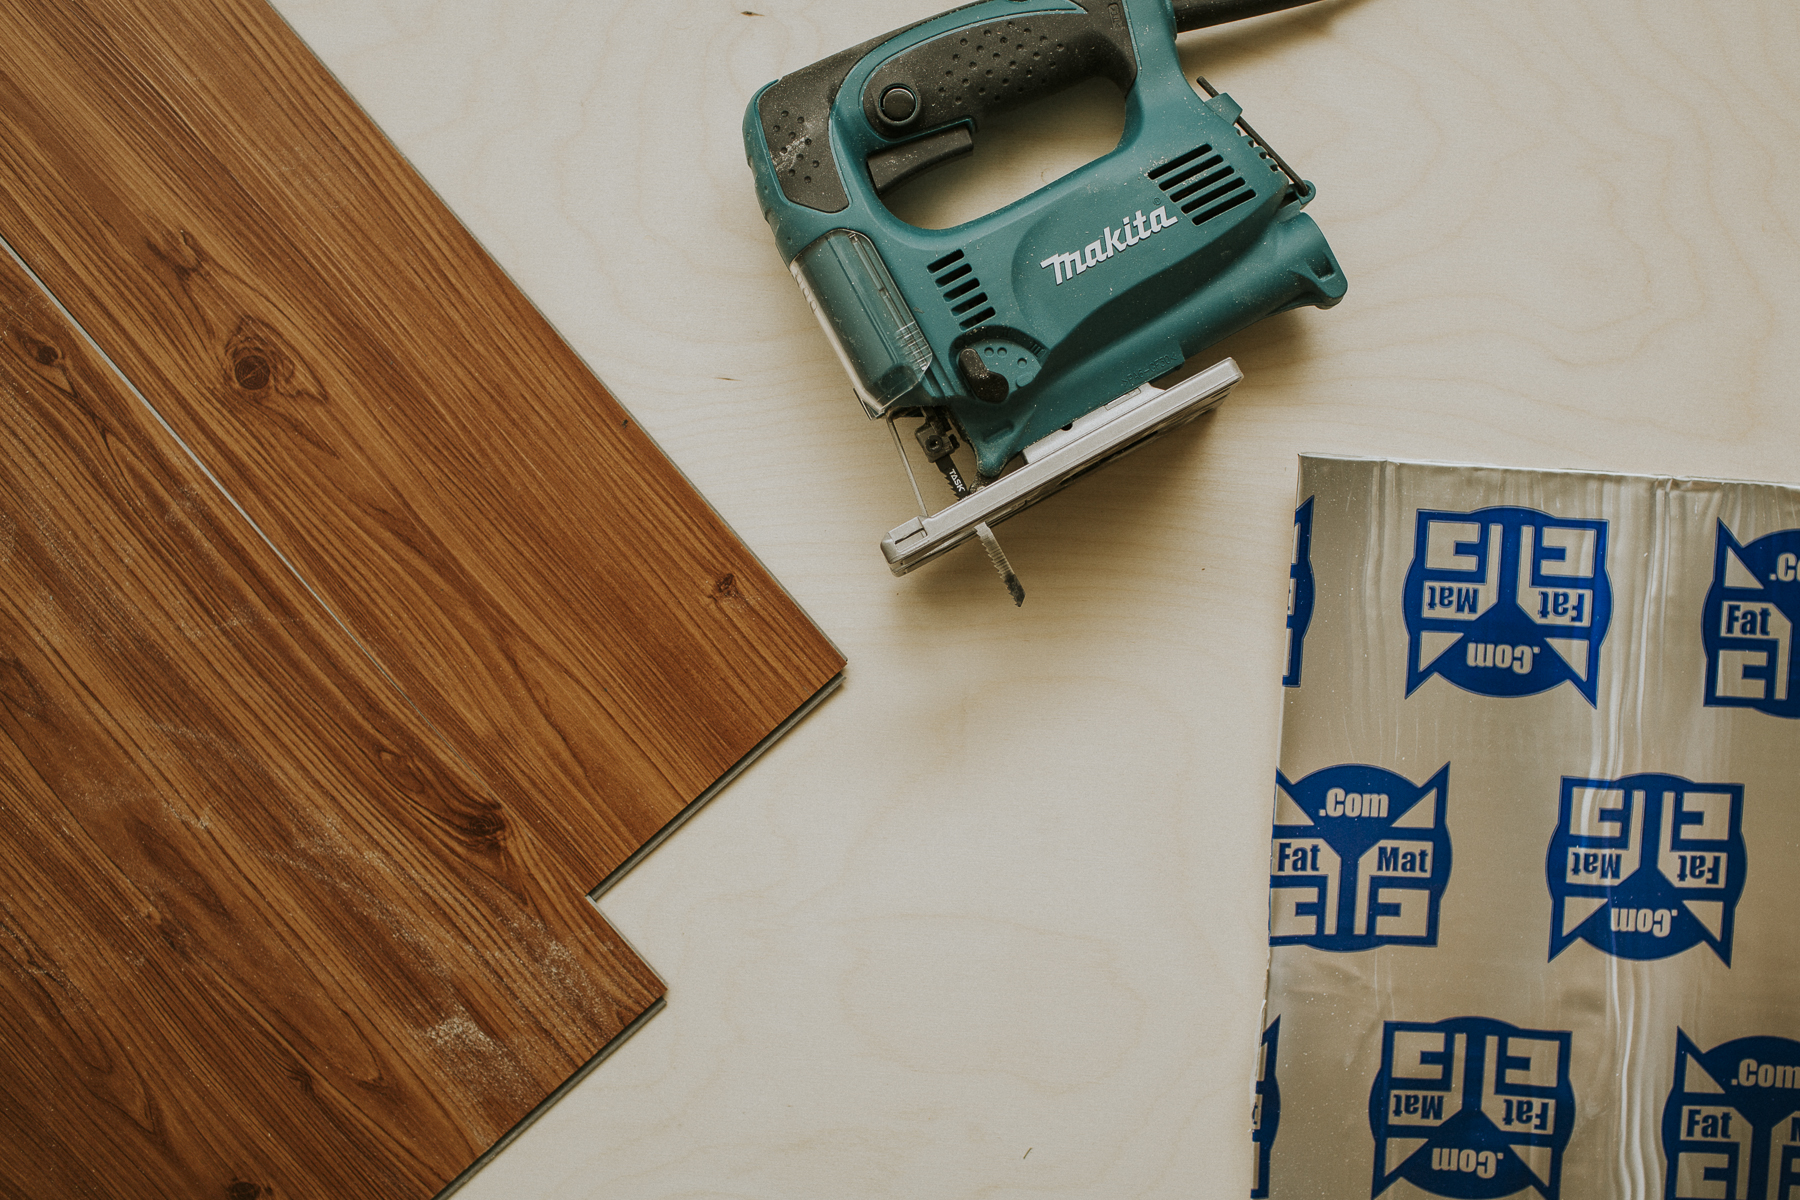
100 sq ft of Fat Mat sound deadening insulation arrived while I was at work today and I picked up a couple 5'x5' sheets of 1/2" birch plywood that will get trimmed (with a jigsaw I also had to buy) into a subfloor. Once the subfloor gets bolted in (using the factory holes that originally held down the back seats) I'll lay down the sweet vinyl plank "hardwood" I bought for half price from my favourite big box home improvement store. Now all that's left is the actual work part of the program... well at least the floor of the interior living space program.

delica-1-2.jpg
 

paj54

Observer
Another islander here. I had a Delica for many years and now I have a Pajero shorty. I would advise you to have the cooling system checked out top to bottom as these 2.8 diesels are prone to overheat and crack the head. A pyrometer install gave me piece of mind. Other than that these things are built like tanks. By the way, Coombs Country Auto is definitely the go to guys on the Island.
 

DeskToGlory

Adventurer
Another islander here. I had a Delica for many years and now I have a Pajero shorty. I would advise you to have the cooling system checked out top to bottom as these 2.8 diesels are prone to overheat and crack the head. A pyrometer install gave me piece of mind. Other than that these things are built like tanks. By the way, Coombs Country Auto is definitely the go to guys on the Island.

Yeah, I was happy the rad/water pump/hoses/timing belt were just done by CCA just before I bought it. Some gauges definitely are high on the to-do list before we take it too far. Nice to have plenty of resources on the Island!
 

DeskToGlory

Adventurer
Sleeping Platform

I didn't really have a clue what I was doing or what I wanted (story of my life, ha!). I did have a couple of requirements though, so I started working around that and searched #vanlife on Instagram for some inspiration.

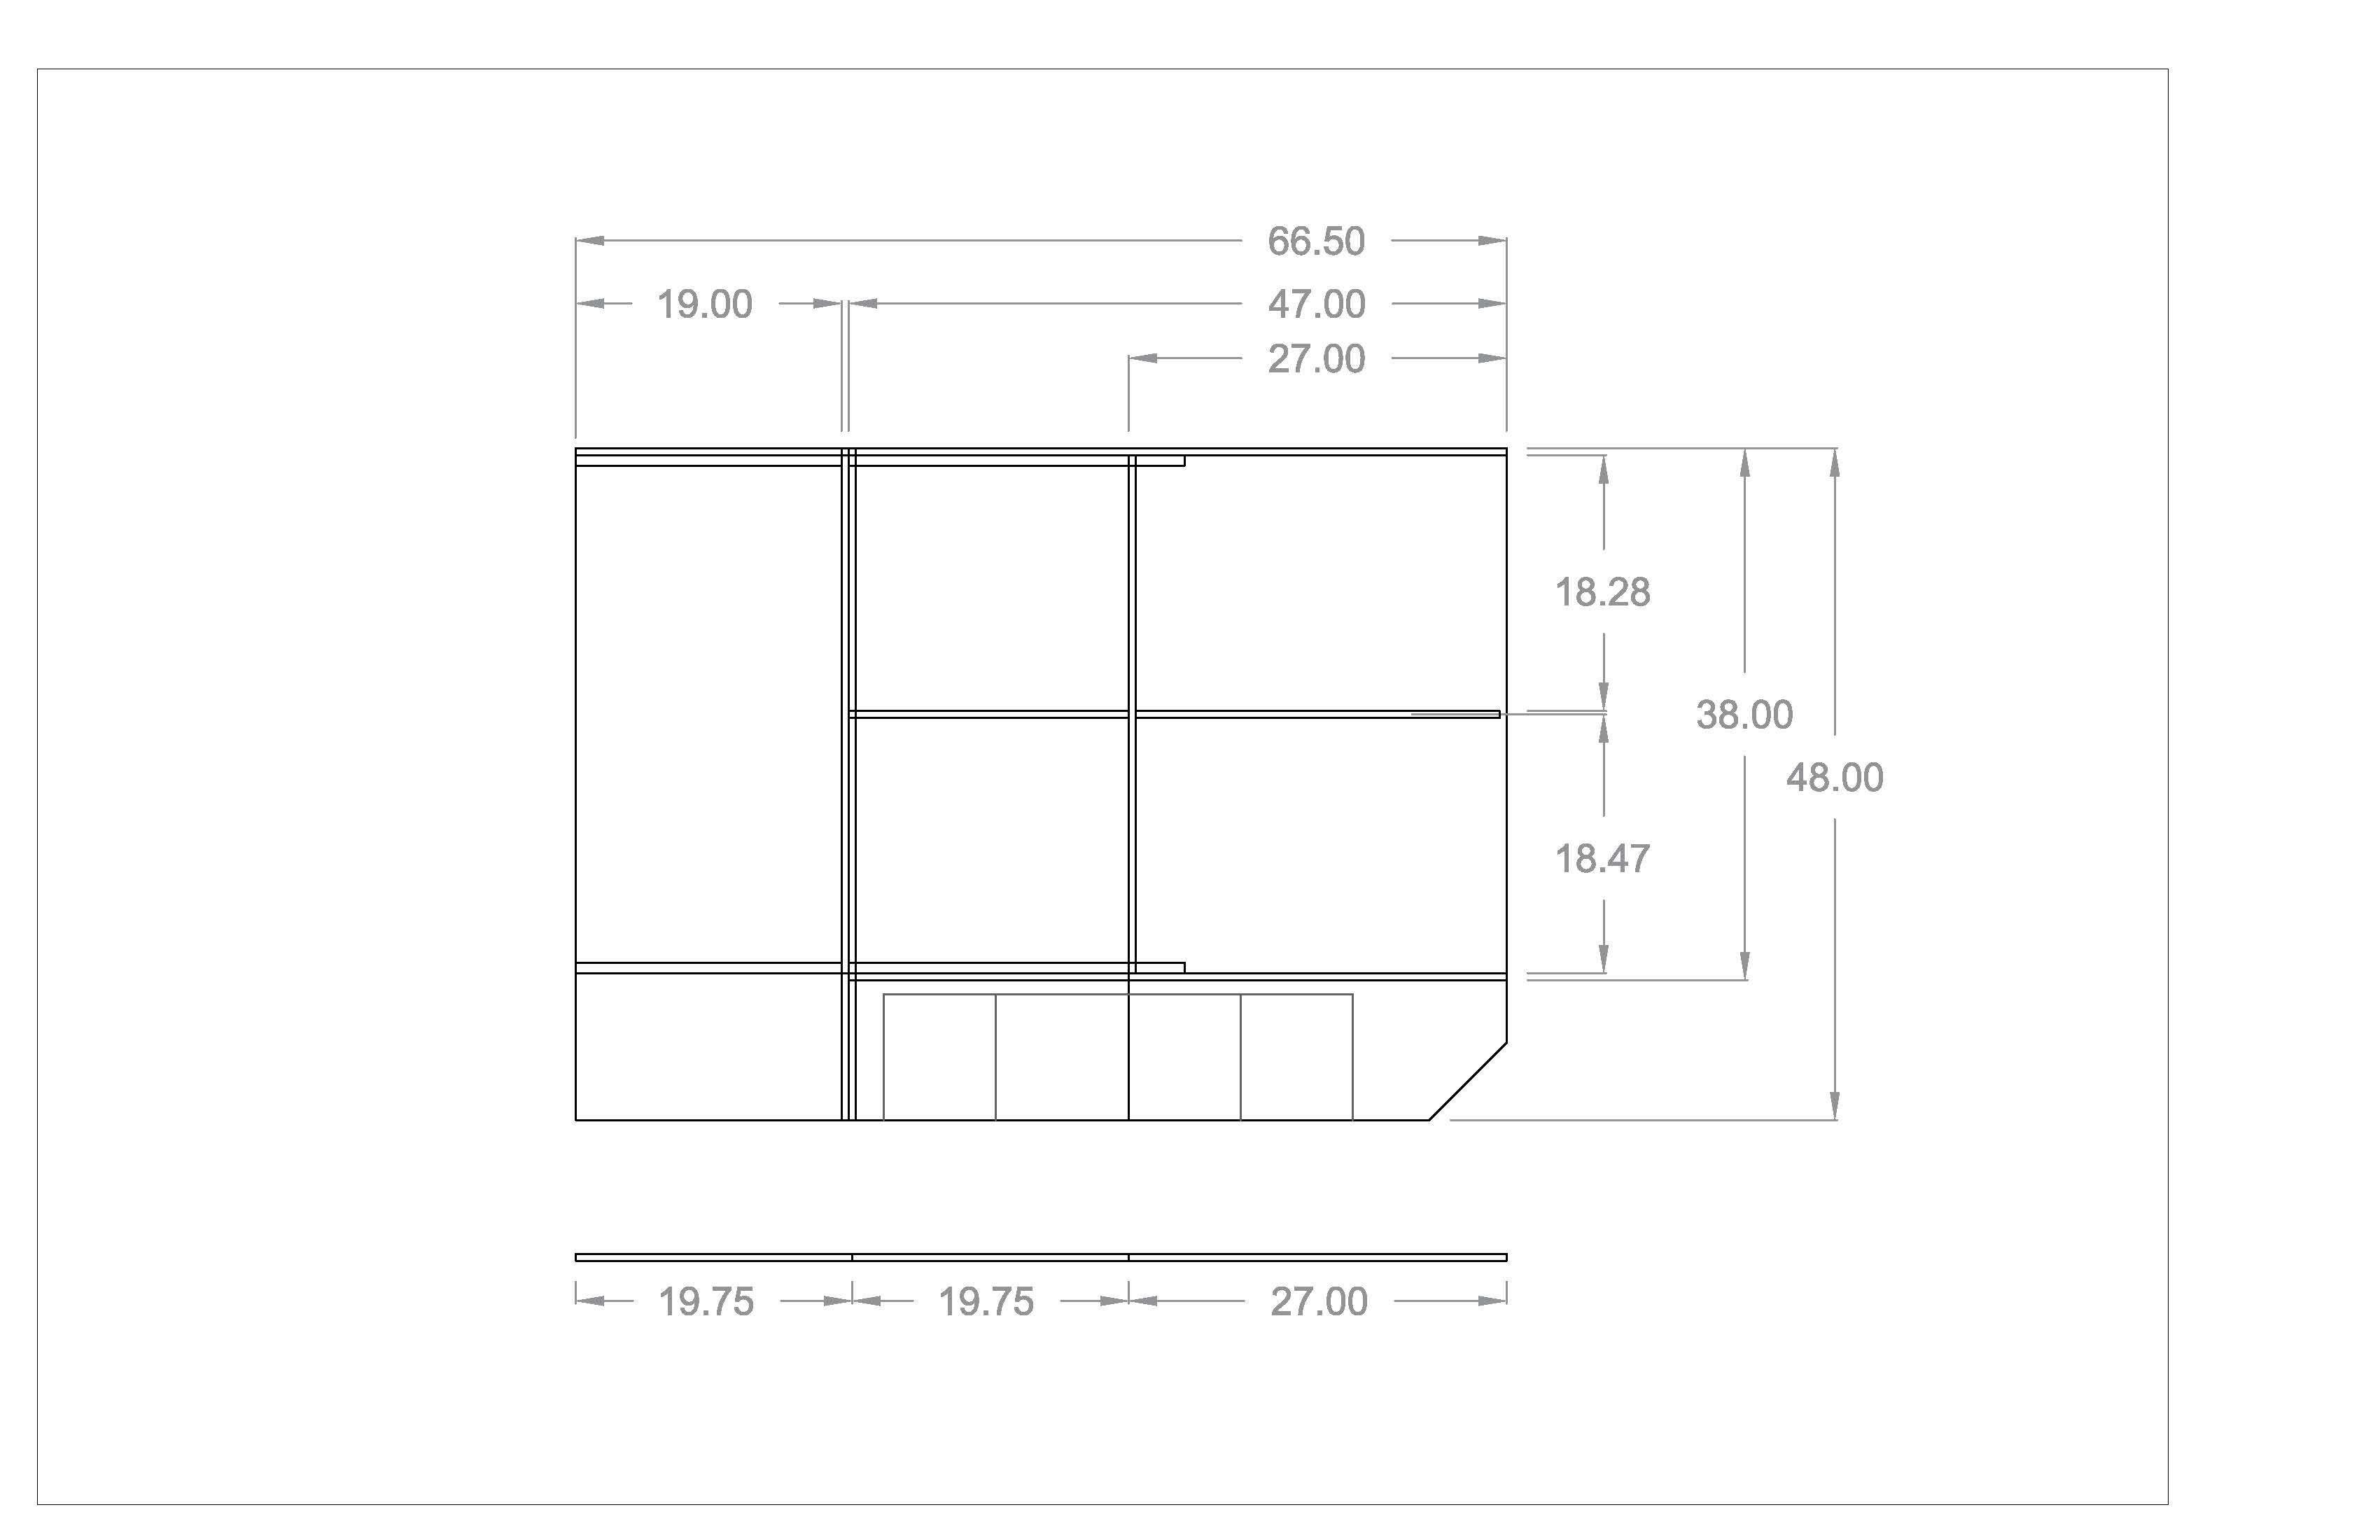
Next thing was to figure out the minimum length of bed I would be comfortable in. I’d prefer if it was at least 6ft long, but it ended up around 5’8” (x 4’ wide). I’m 5’7” and Ash is 5’2” so we can deal with a small bed. I started by laying out the van with green painters tape to get the required dimension for the bed while working around everything else that will be a necessity, namely our old (i.e. well used) 37 qt ARB fridge which will get mounted towards the front of the living area.

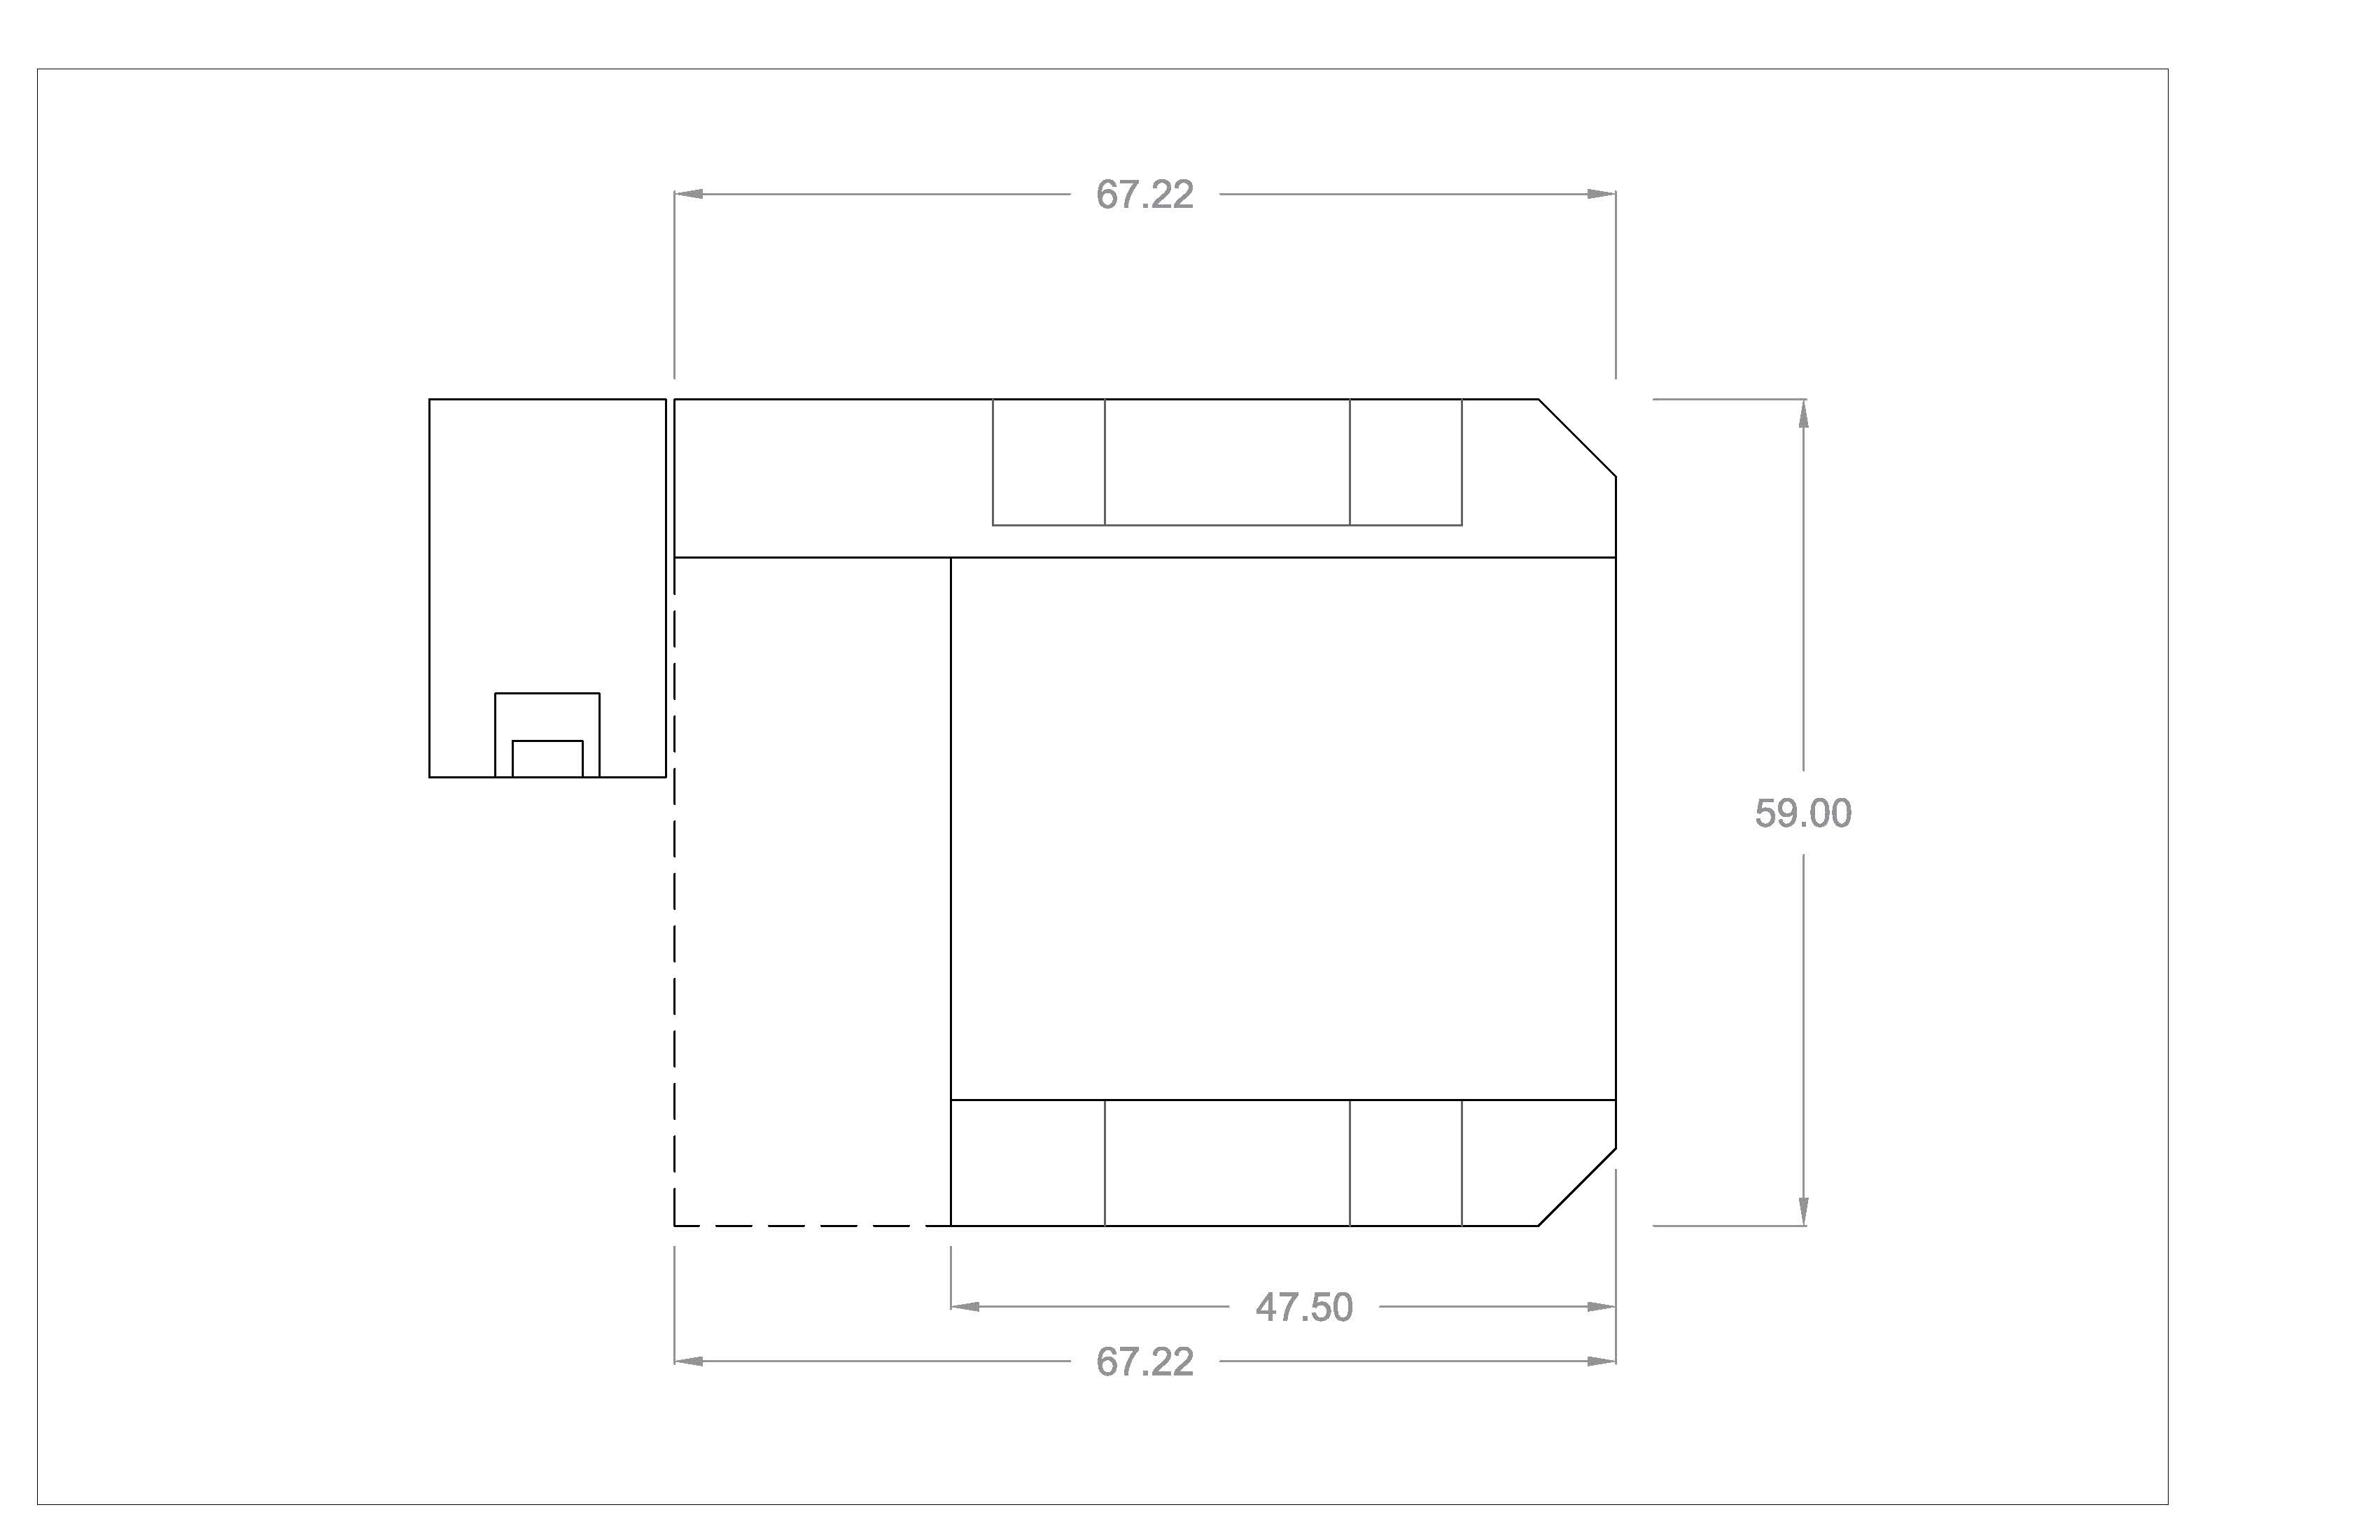
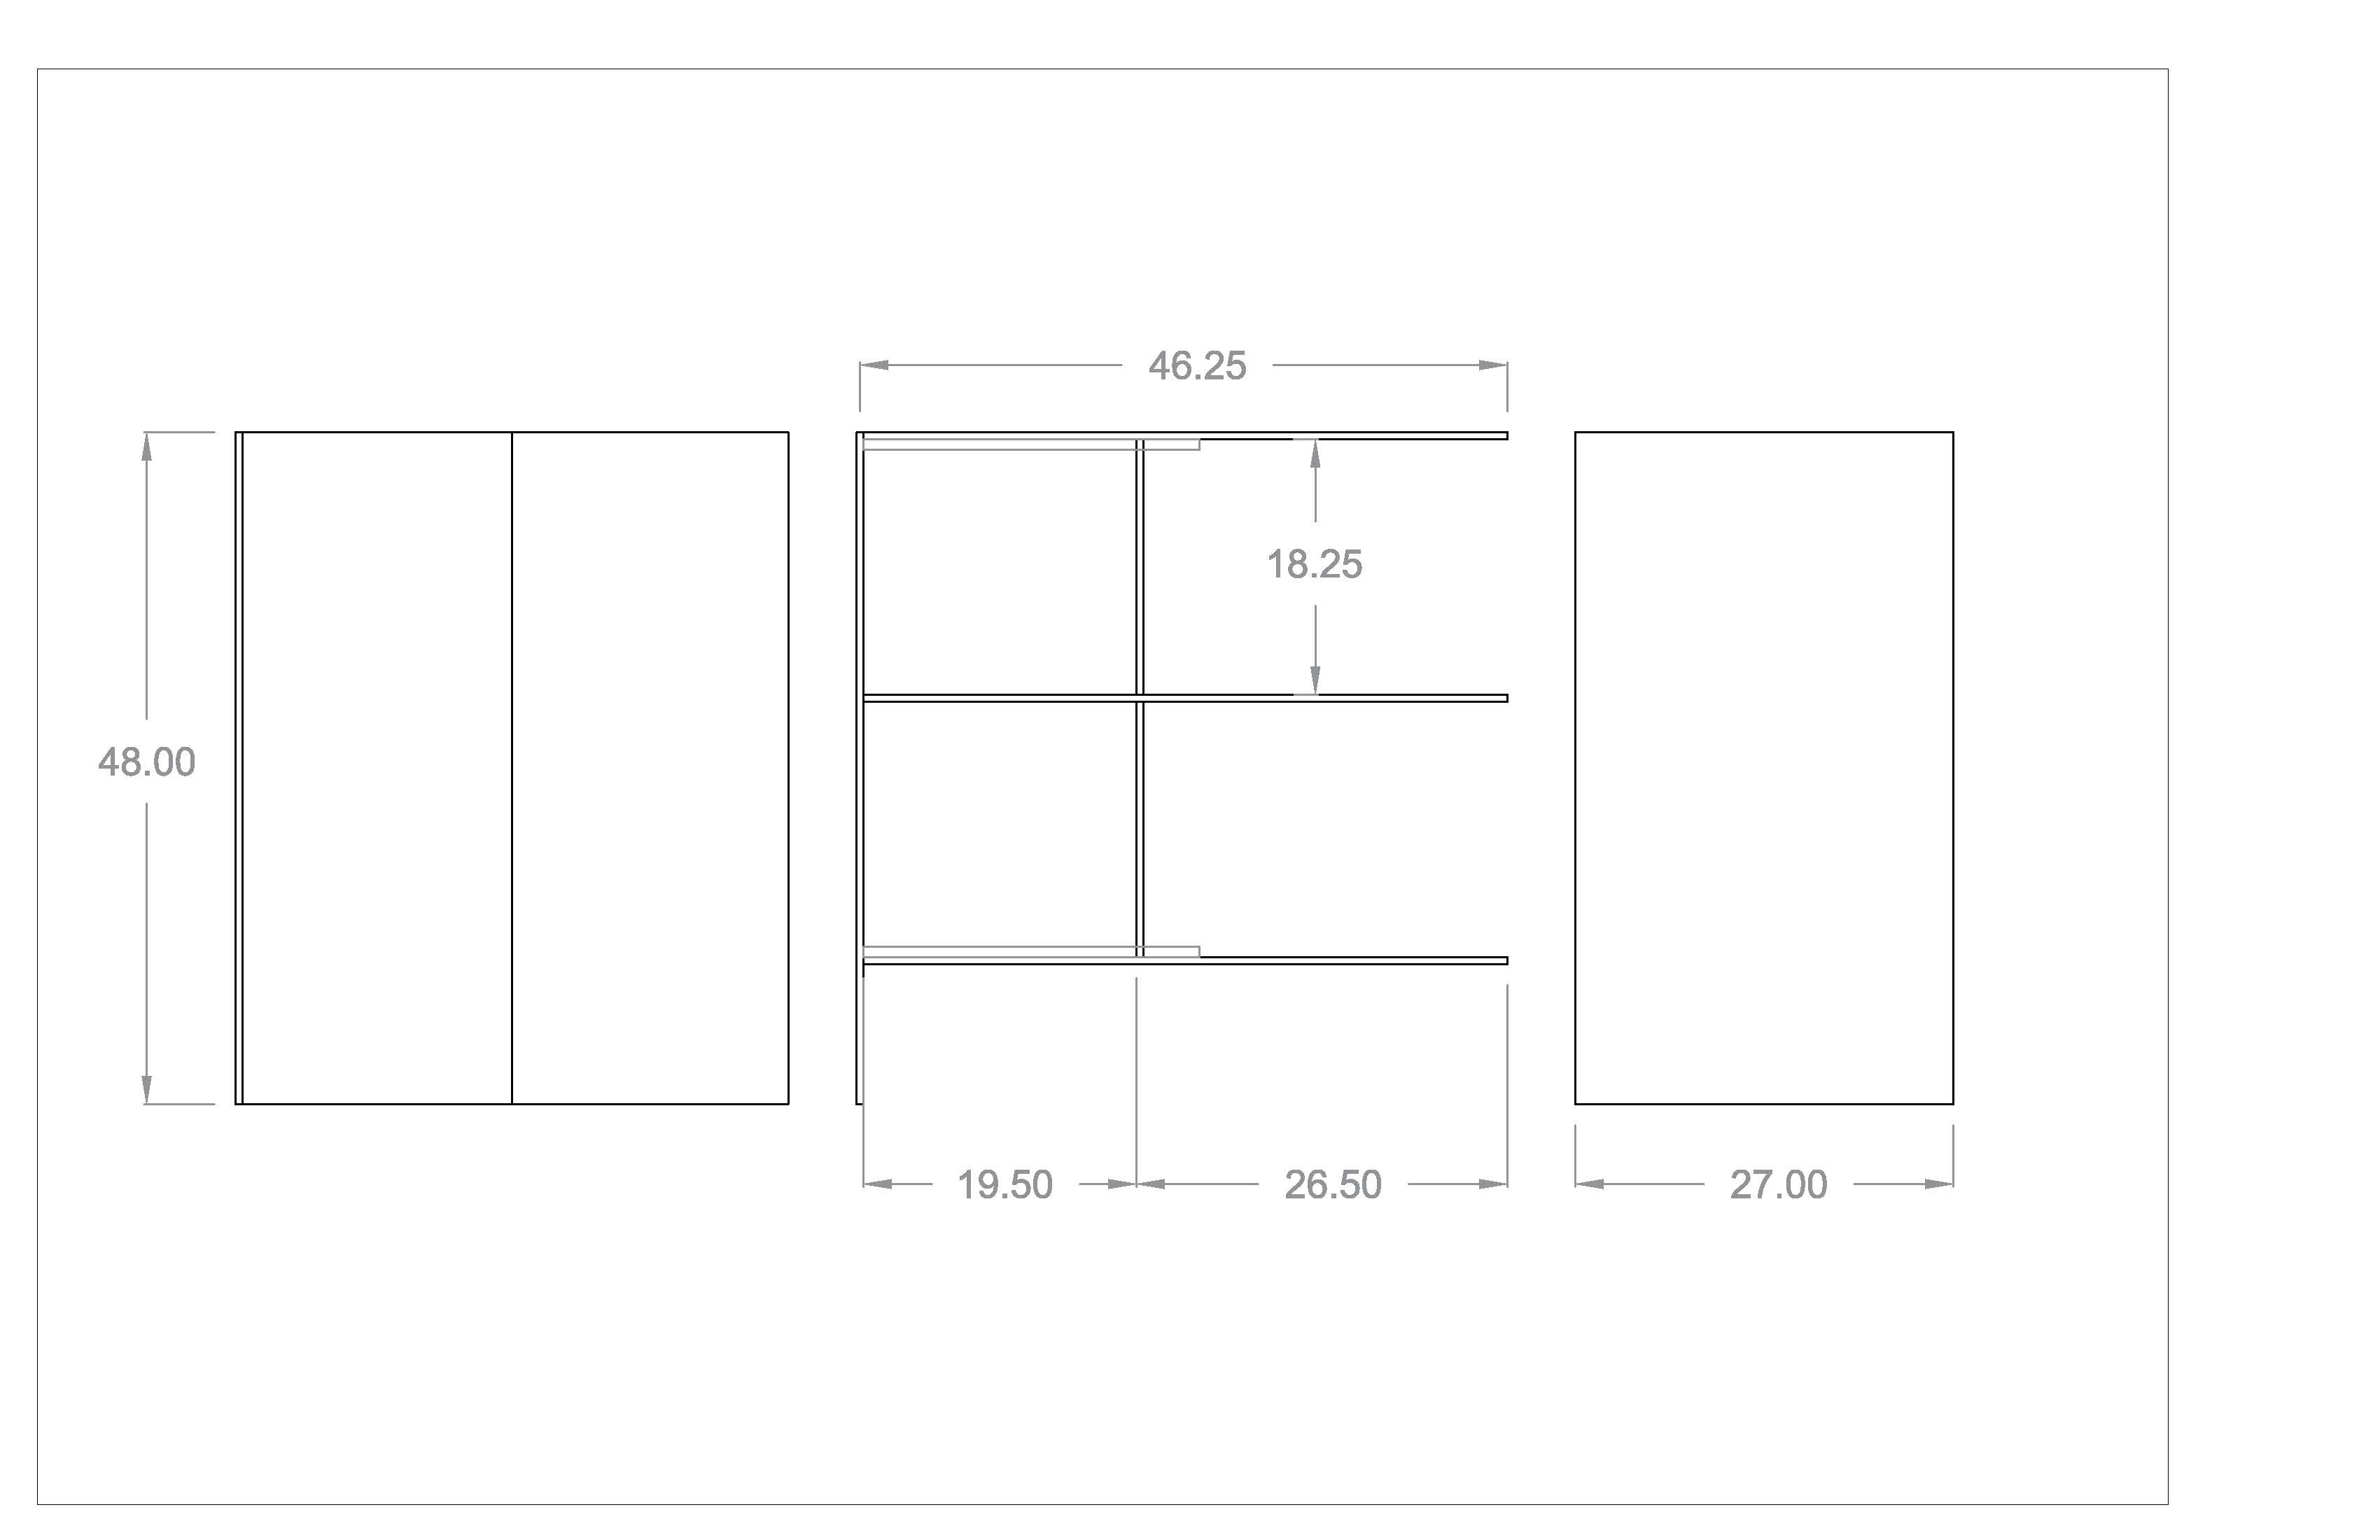
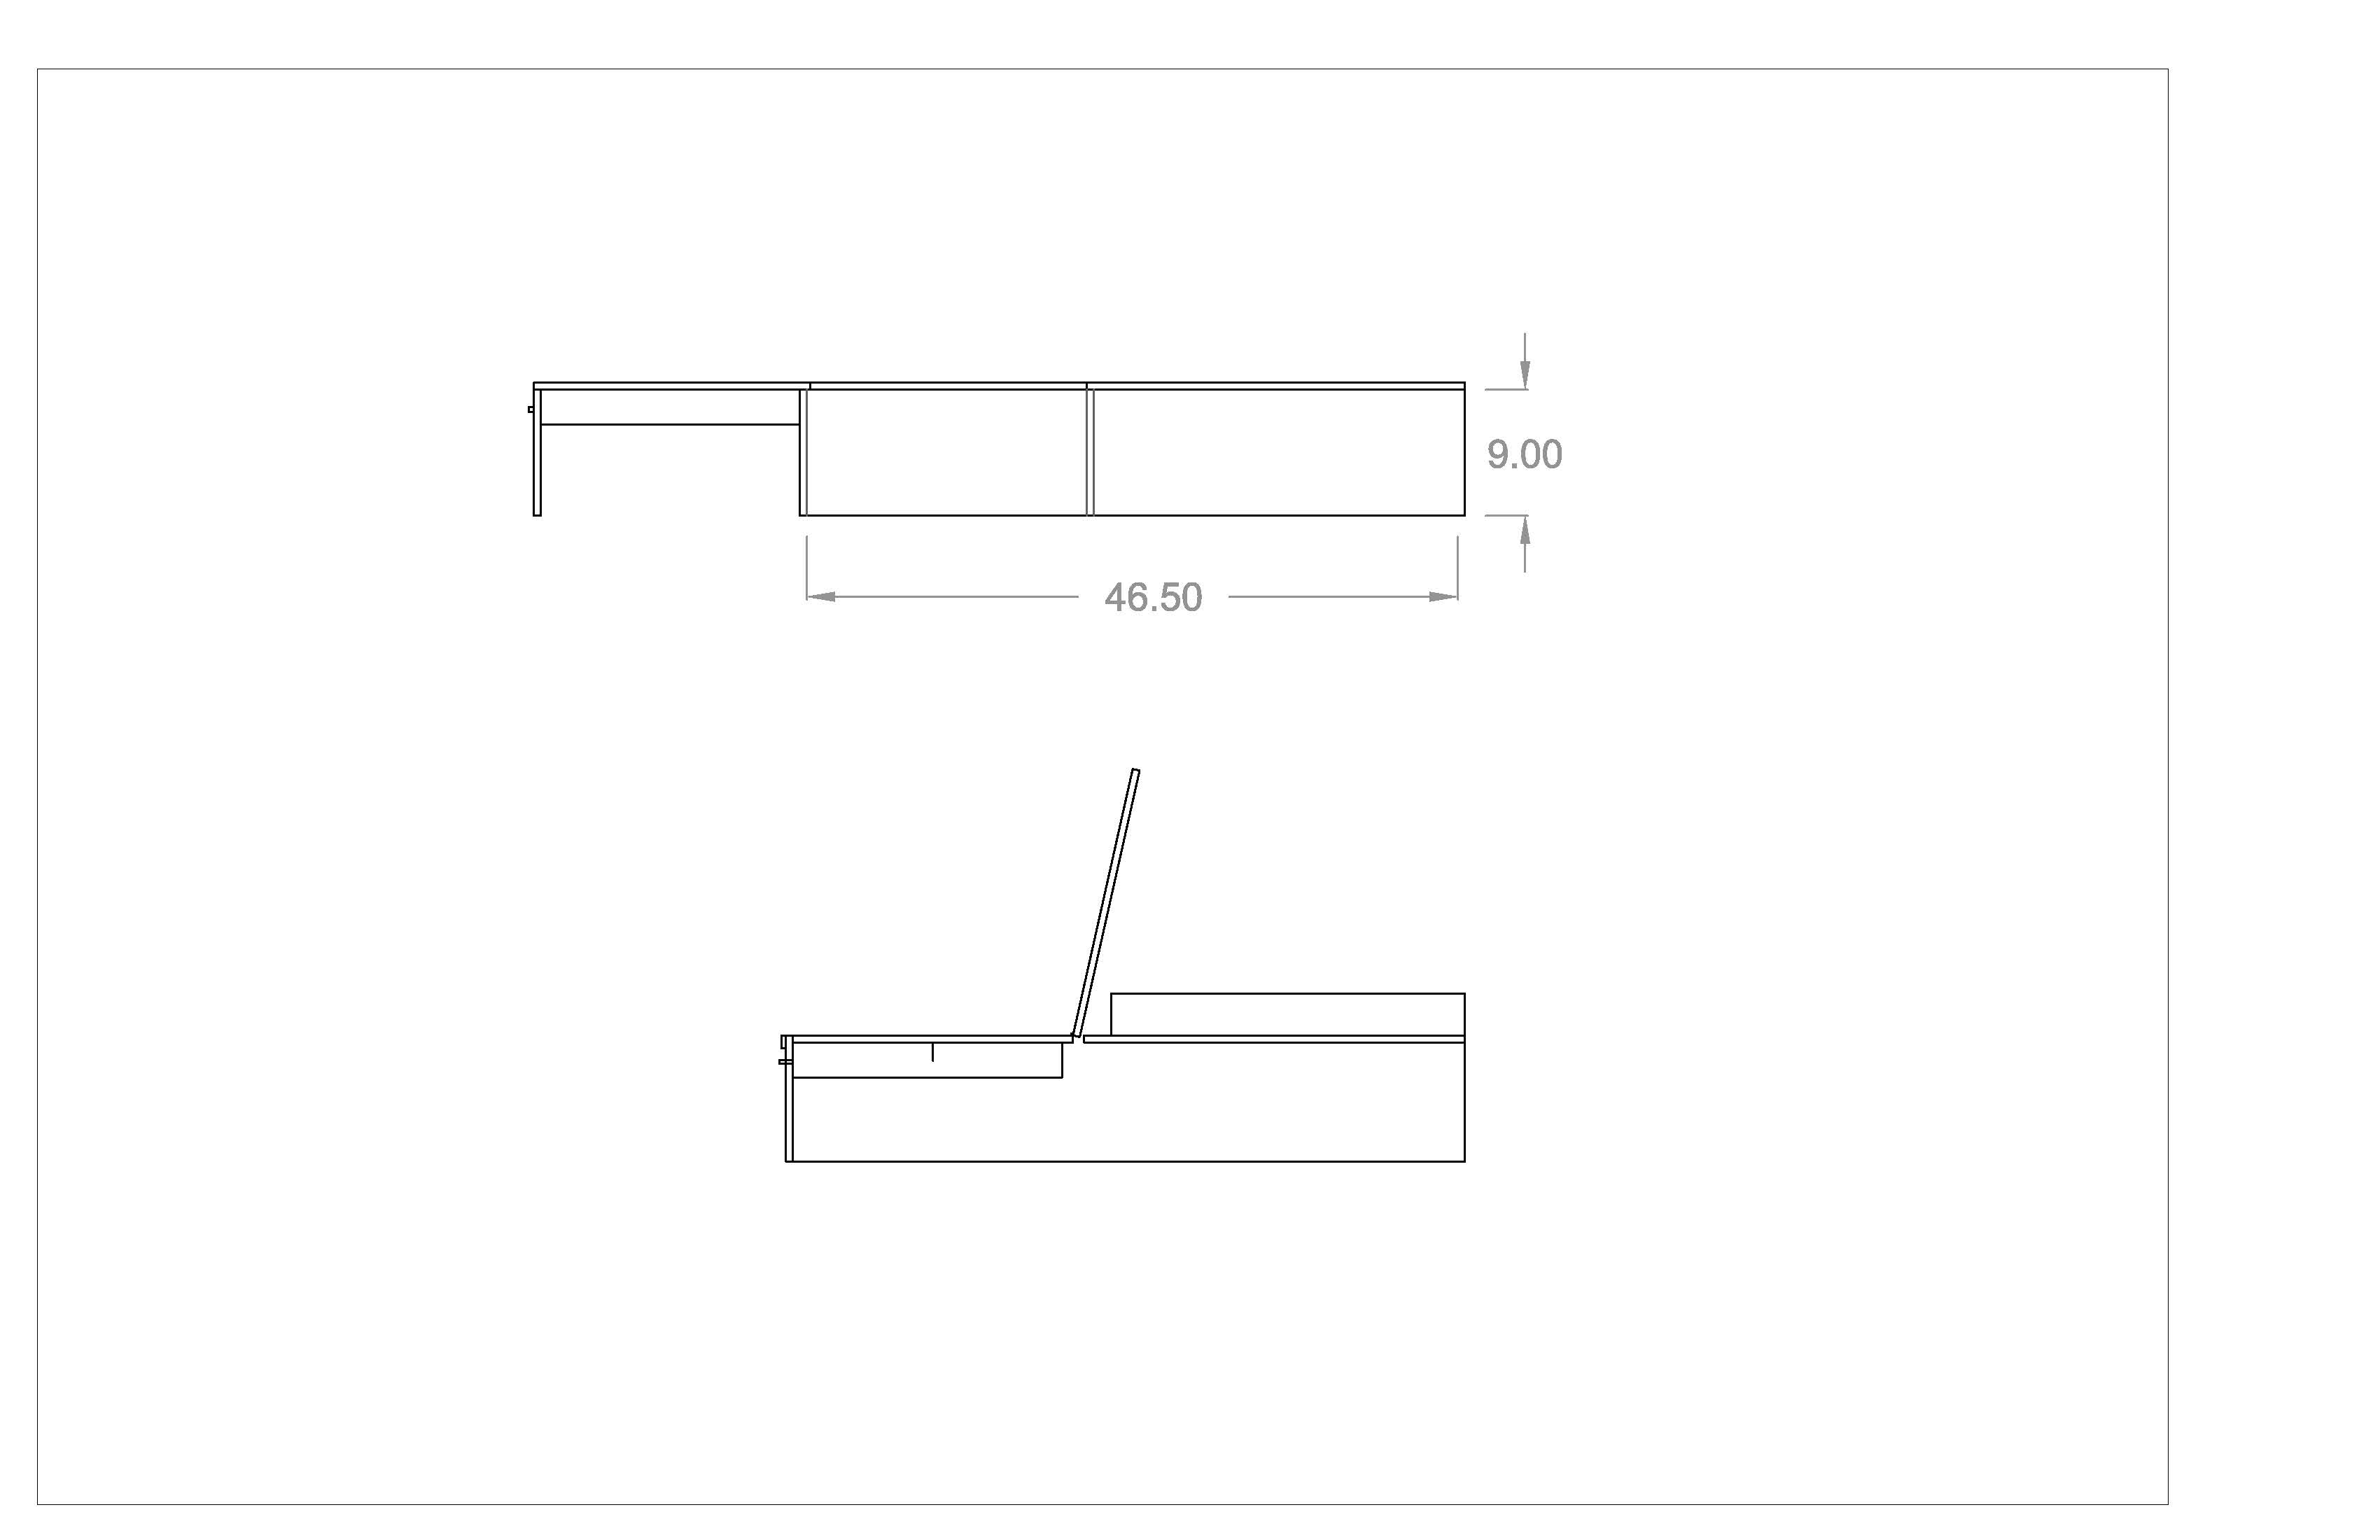
Tape on the van floor worked great for visualizing layout so after figuring out (more or less) what sort of inside living space layout we wanted (it’s pretty close to a VW Vanagon with a fold out bed on one side and cabinet on the other) I drew a pile more layouts (now with exact measured dimensions from the van) in AutoCAD. The original idea was to build an aluminum frame, using 80/20 Quick Frame or similar, and attaching thin ¼” sheets of birch for lateral support. It became apparent very quickly that the price of this was going to be much more that I wanted to spend. I ended up using ½” unfinished birch plywood for most of the platform which was way lighter than expected. The heavy parts are the HD drawer slides and they would have been used either way.

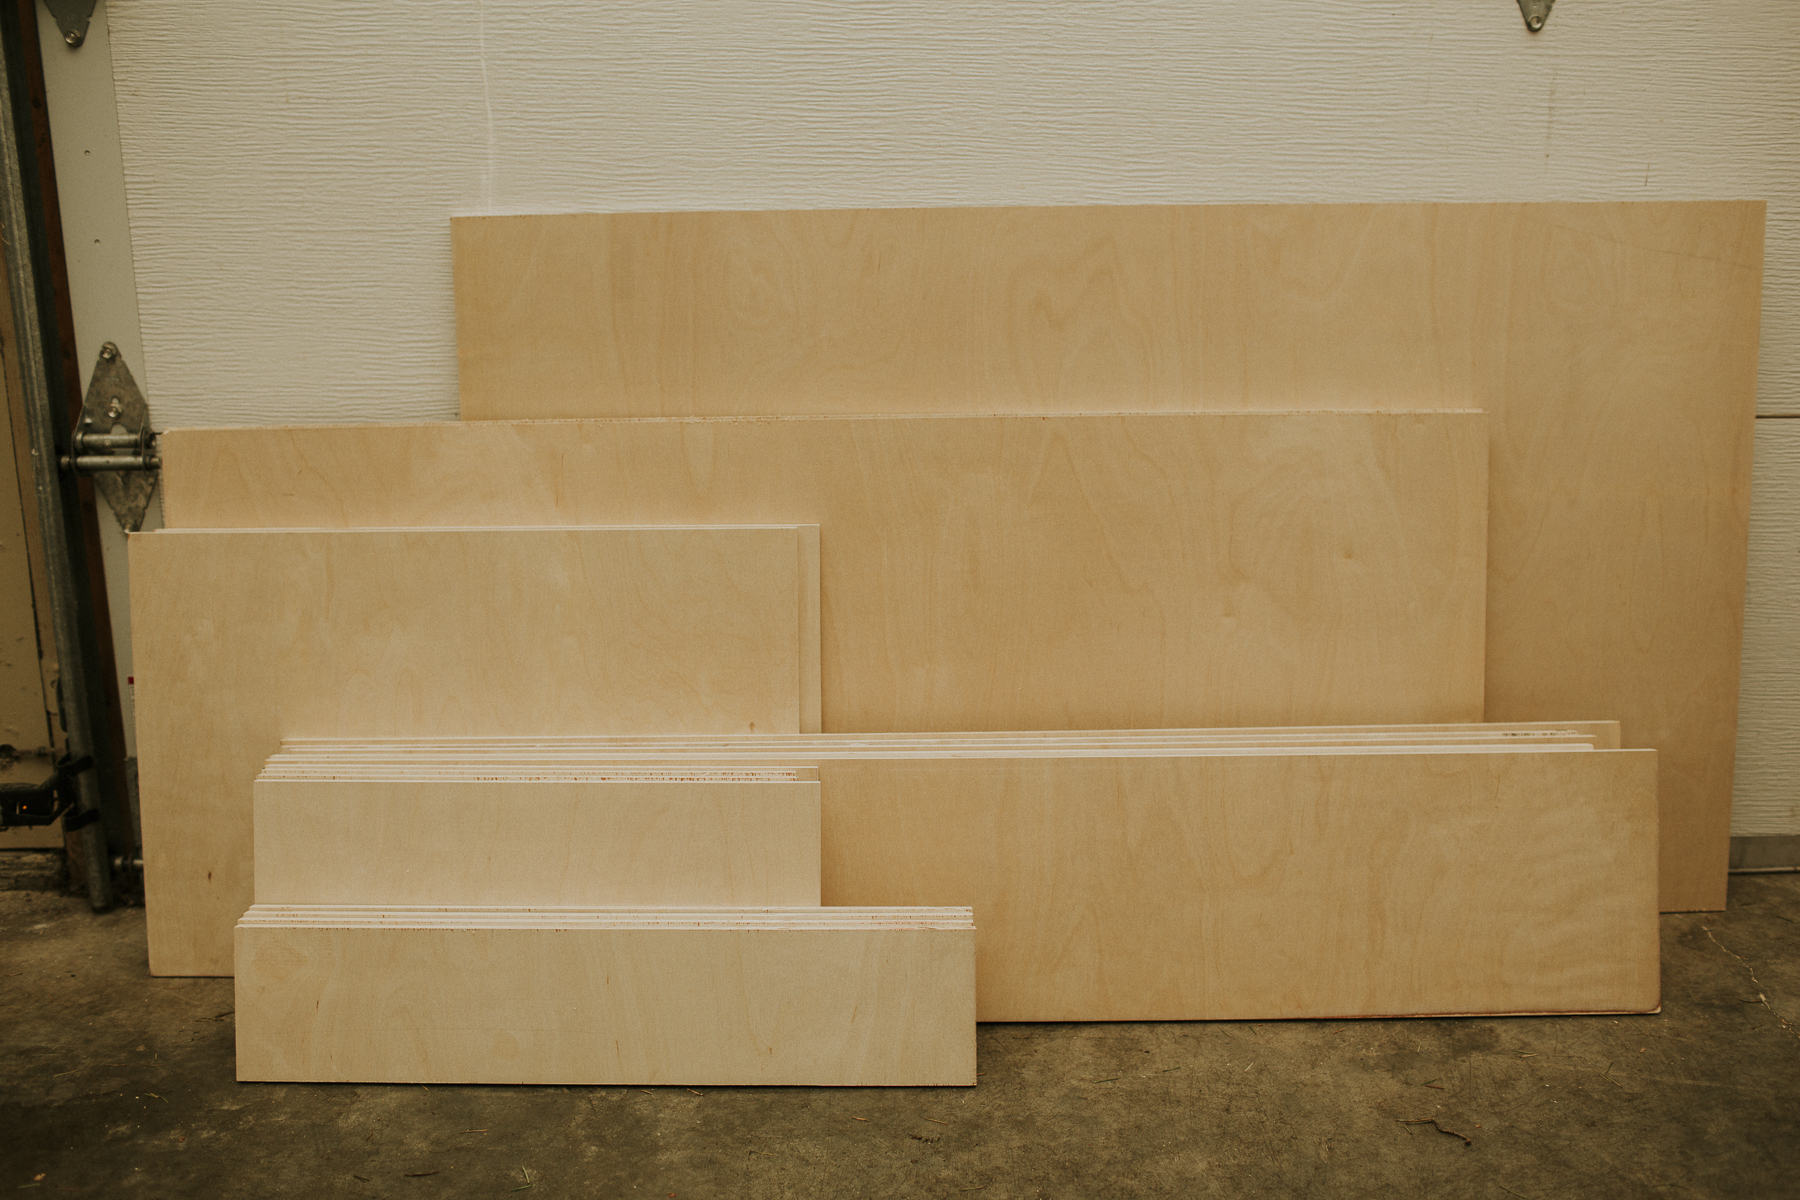
From my AutoCAD sketch I was able to determine the sizes of the plywood I would need. I didn’t have a table saw (or my circ saw for that matter) so I gave the plywood store (Windsor Plywood) a cut sheet and picked up my 1/2" birch ply "bed" an hour later.

Plan view of living area:
ACAD-1.jpg


Plan view of sleeping platform only:
ACAD-2.jpg


Plan view of sleeping platform, semi-exploded:
ACAD-3.jpg


Elevation view:
ACAD-4.jpg


Cut list:
48"x27"
48"x19.75"
48"x19.75"
46"x9
46"x9"
46"x9"
48"x9"
48"x9"
18.25"x9"
18.25"x9"

delicabuild_bedplatform-3.jpg


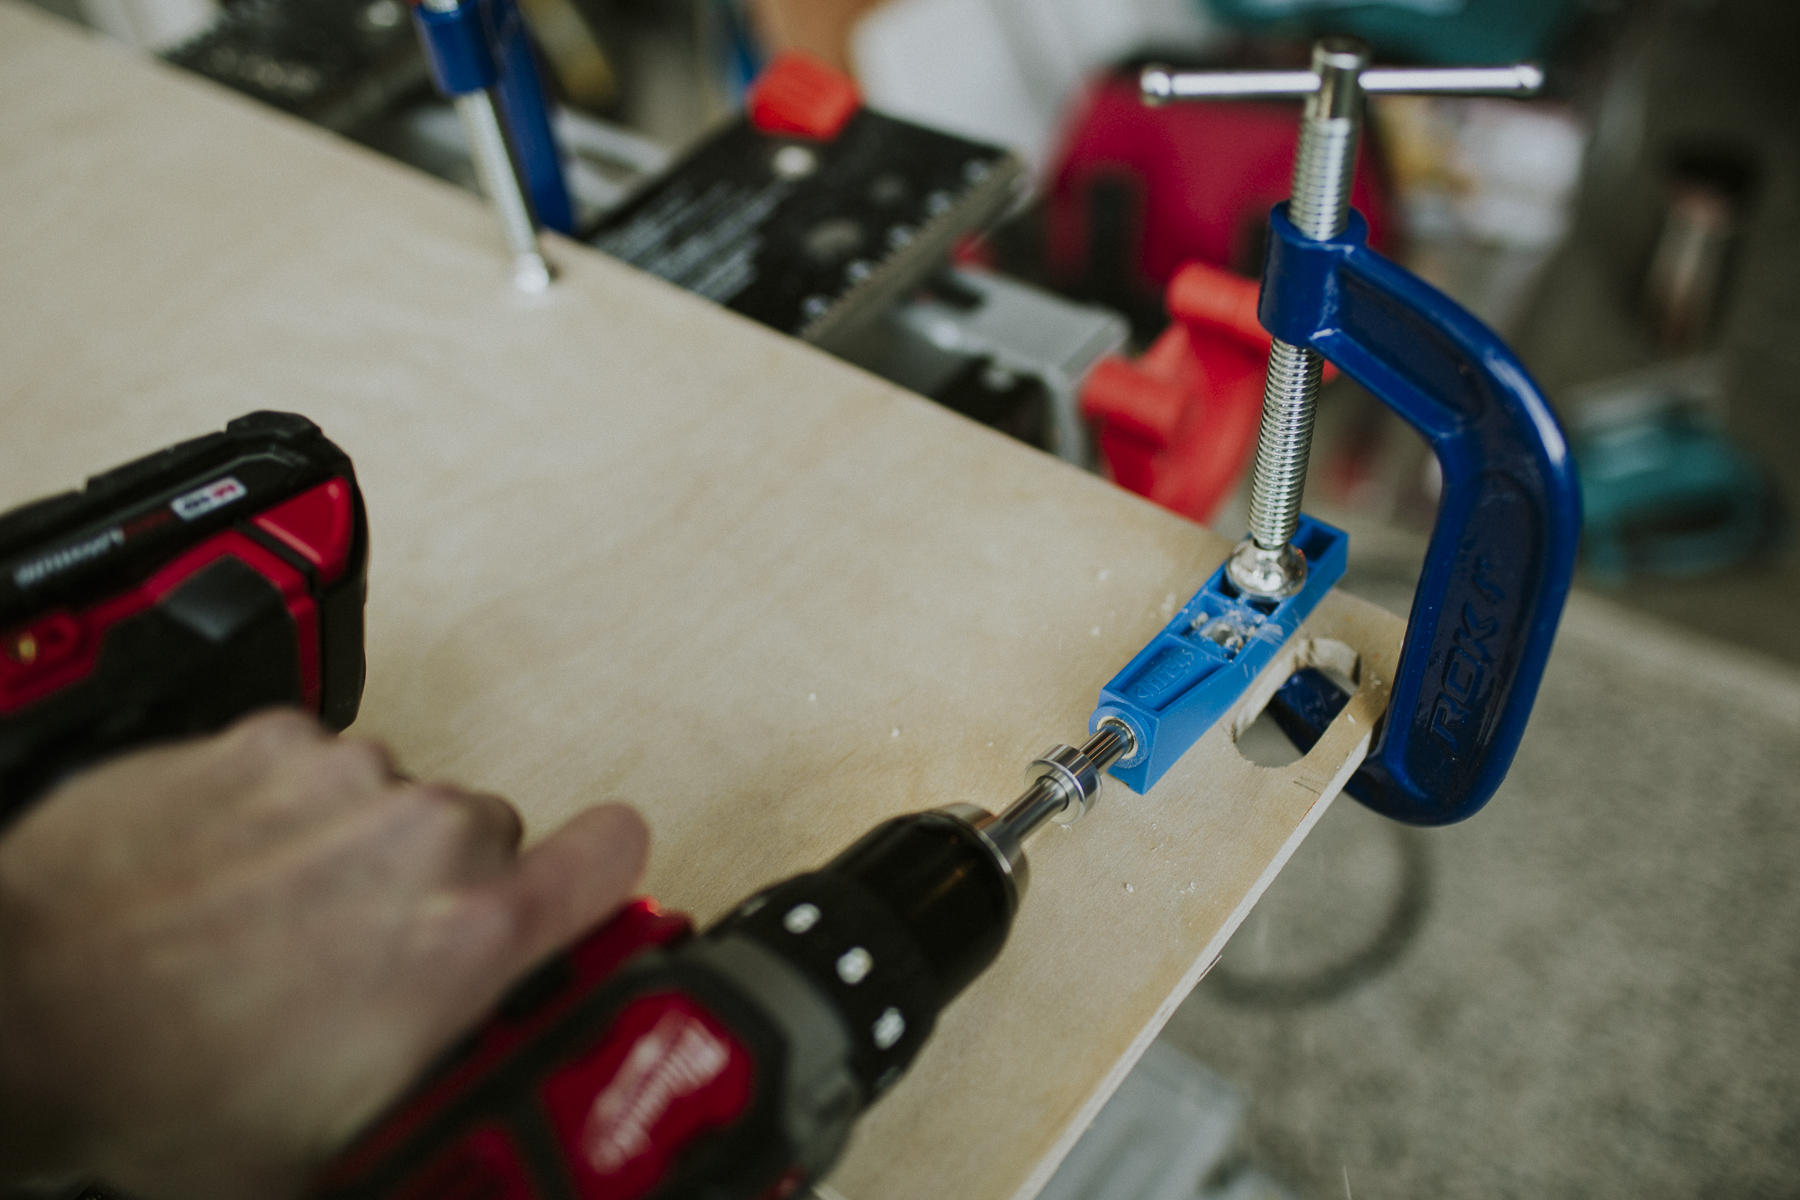
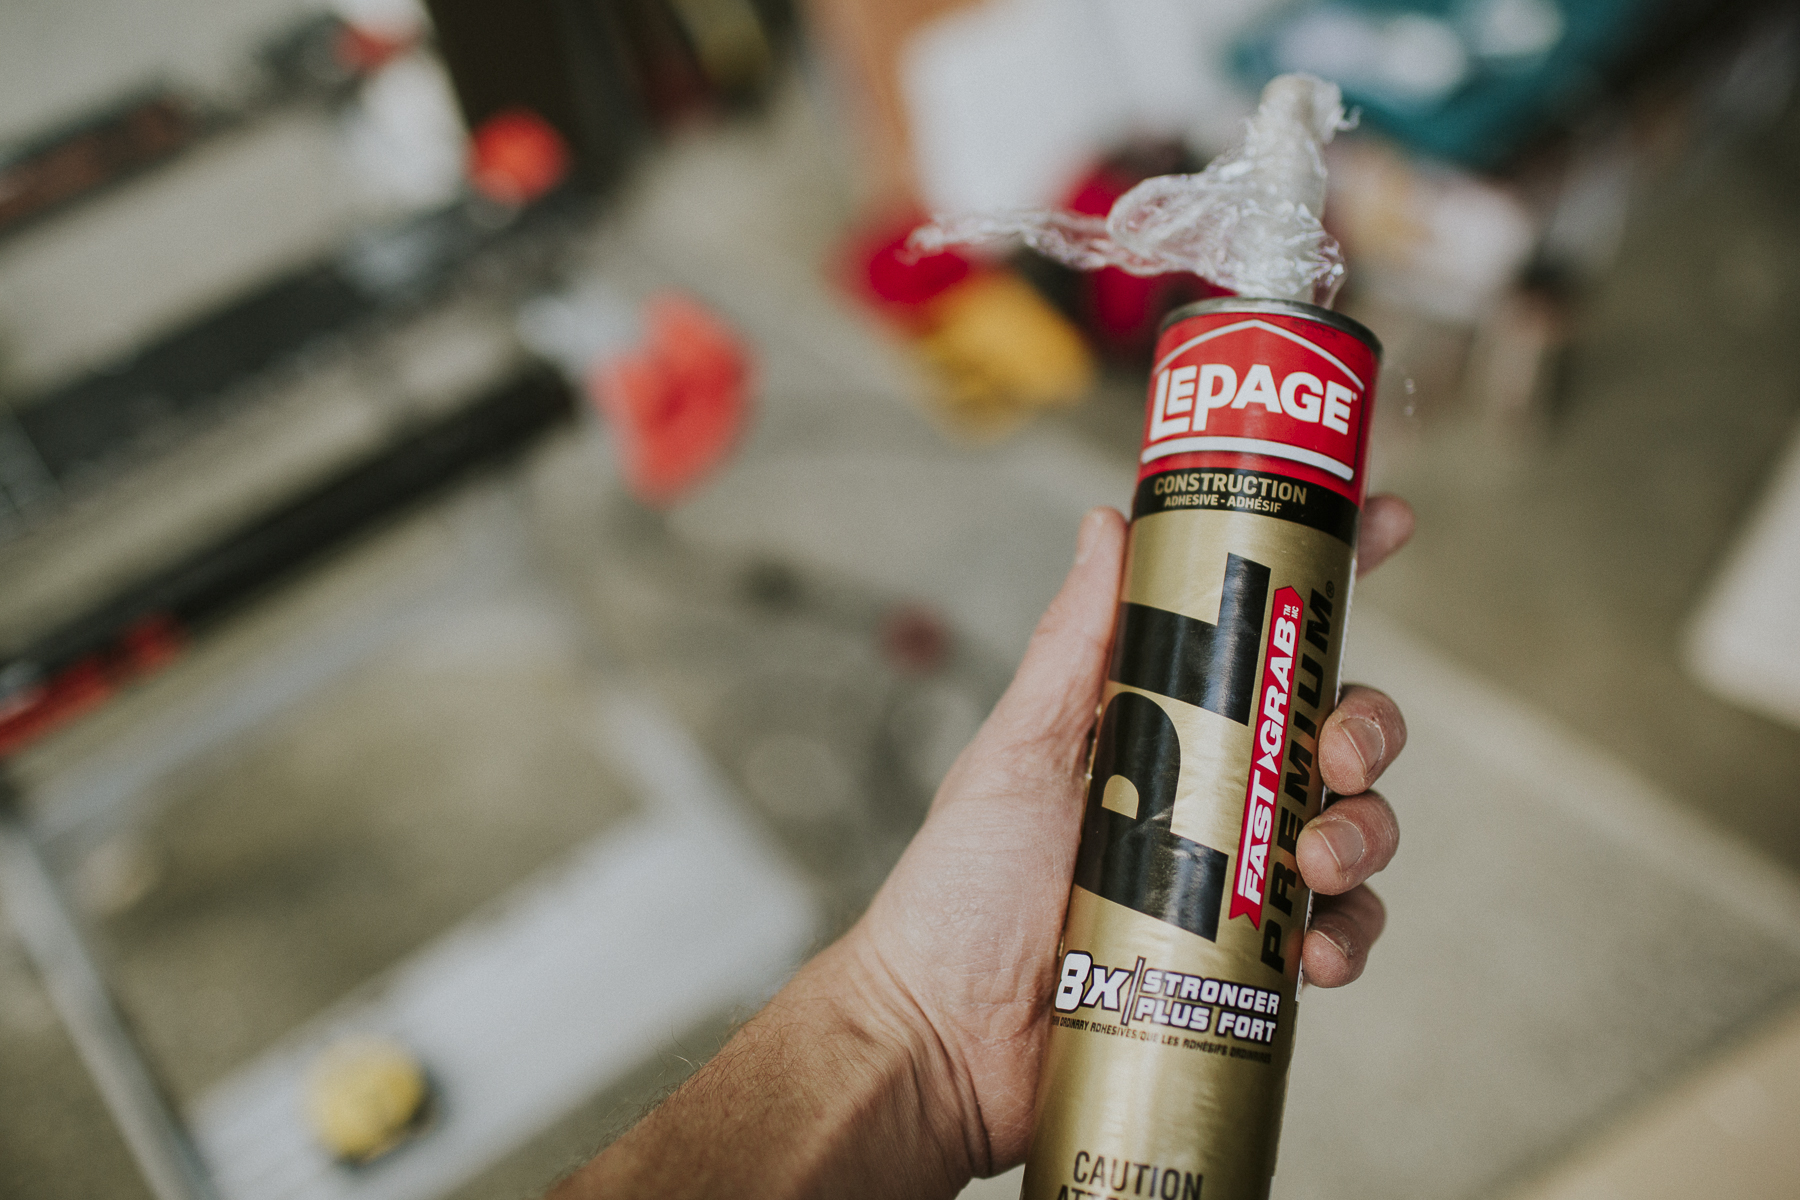
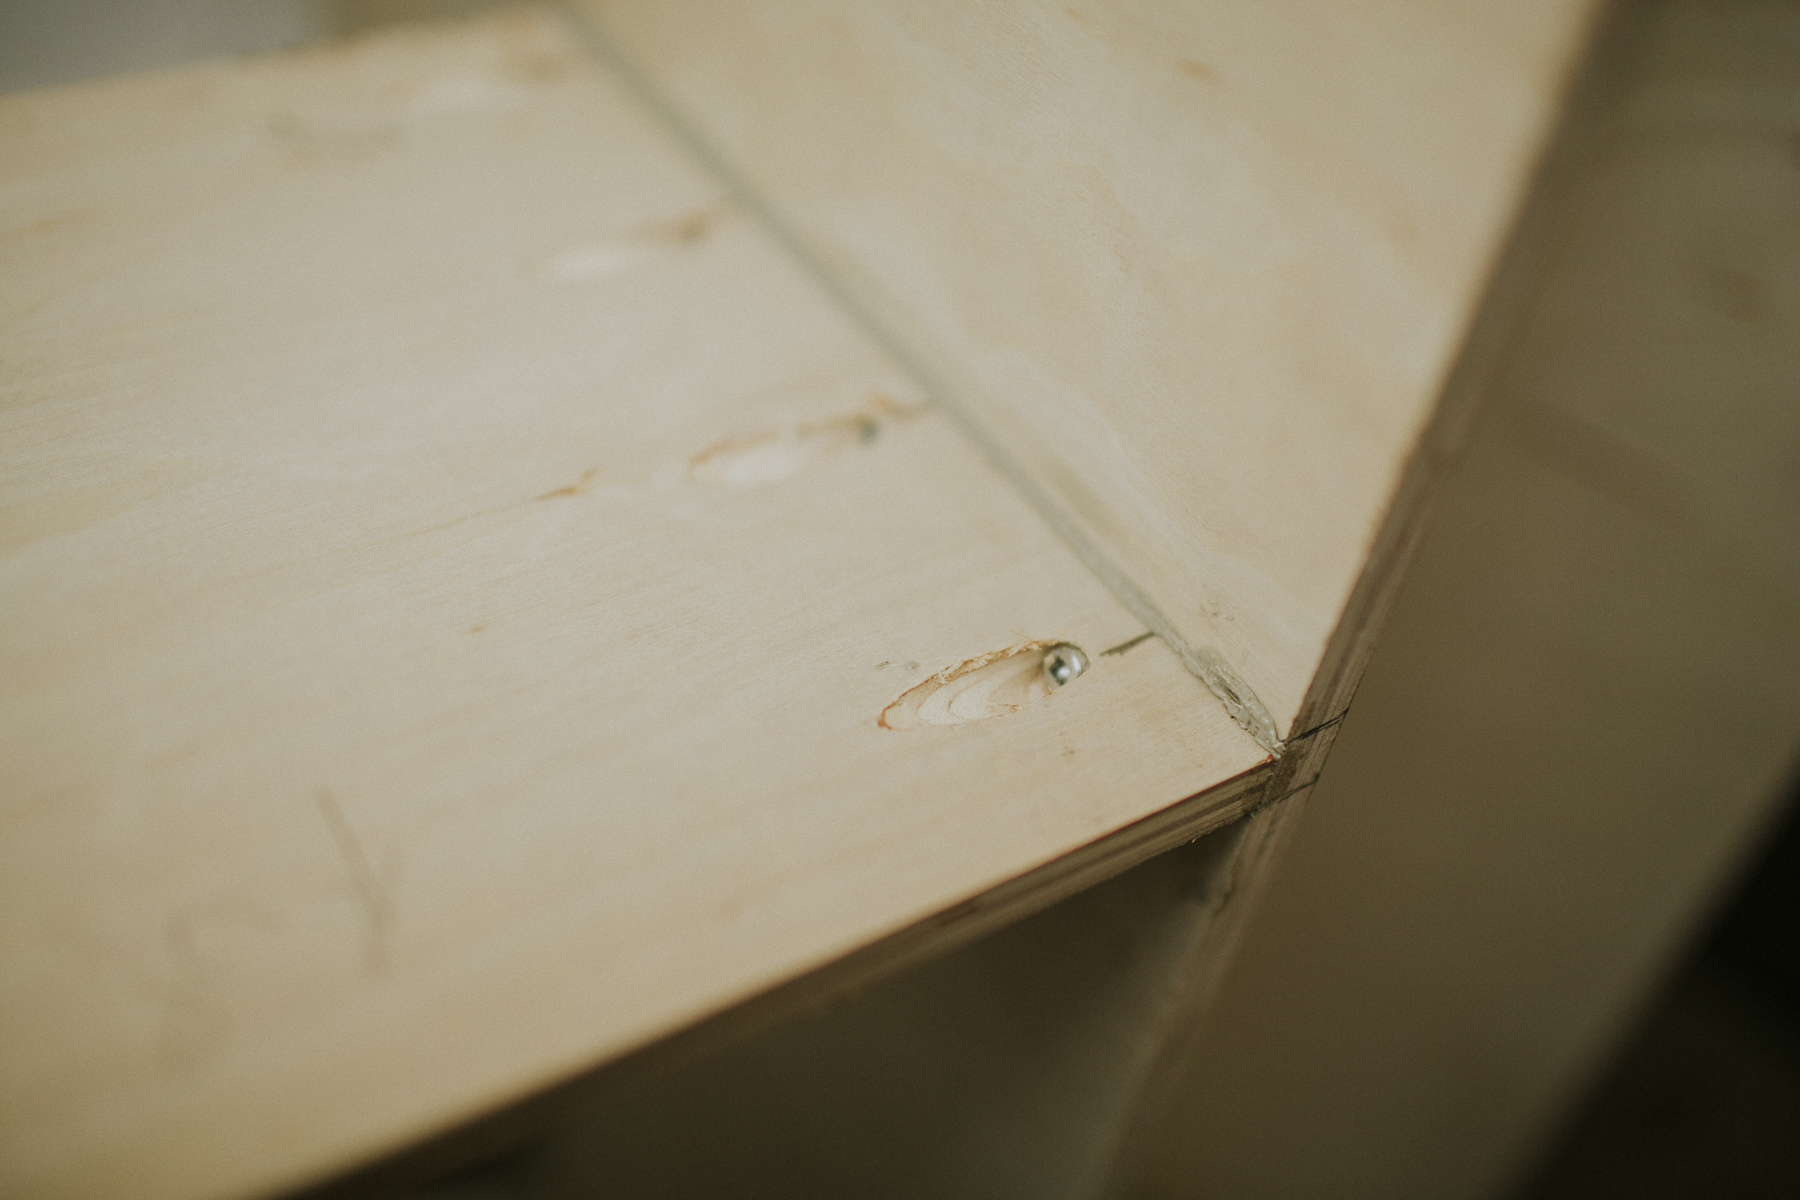
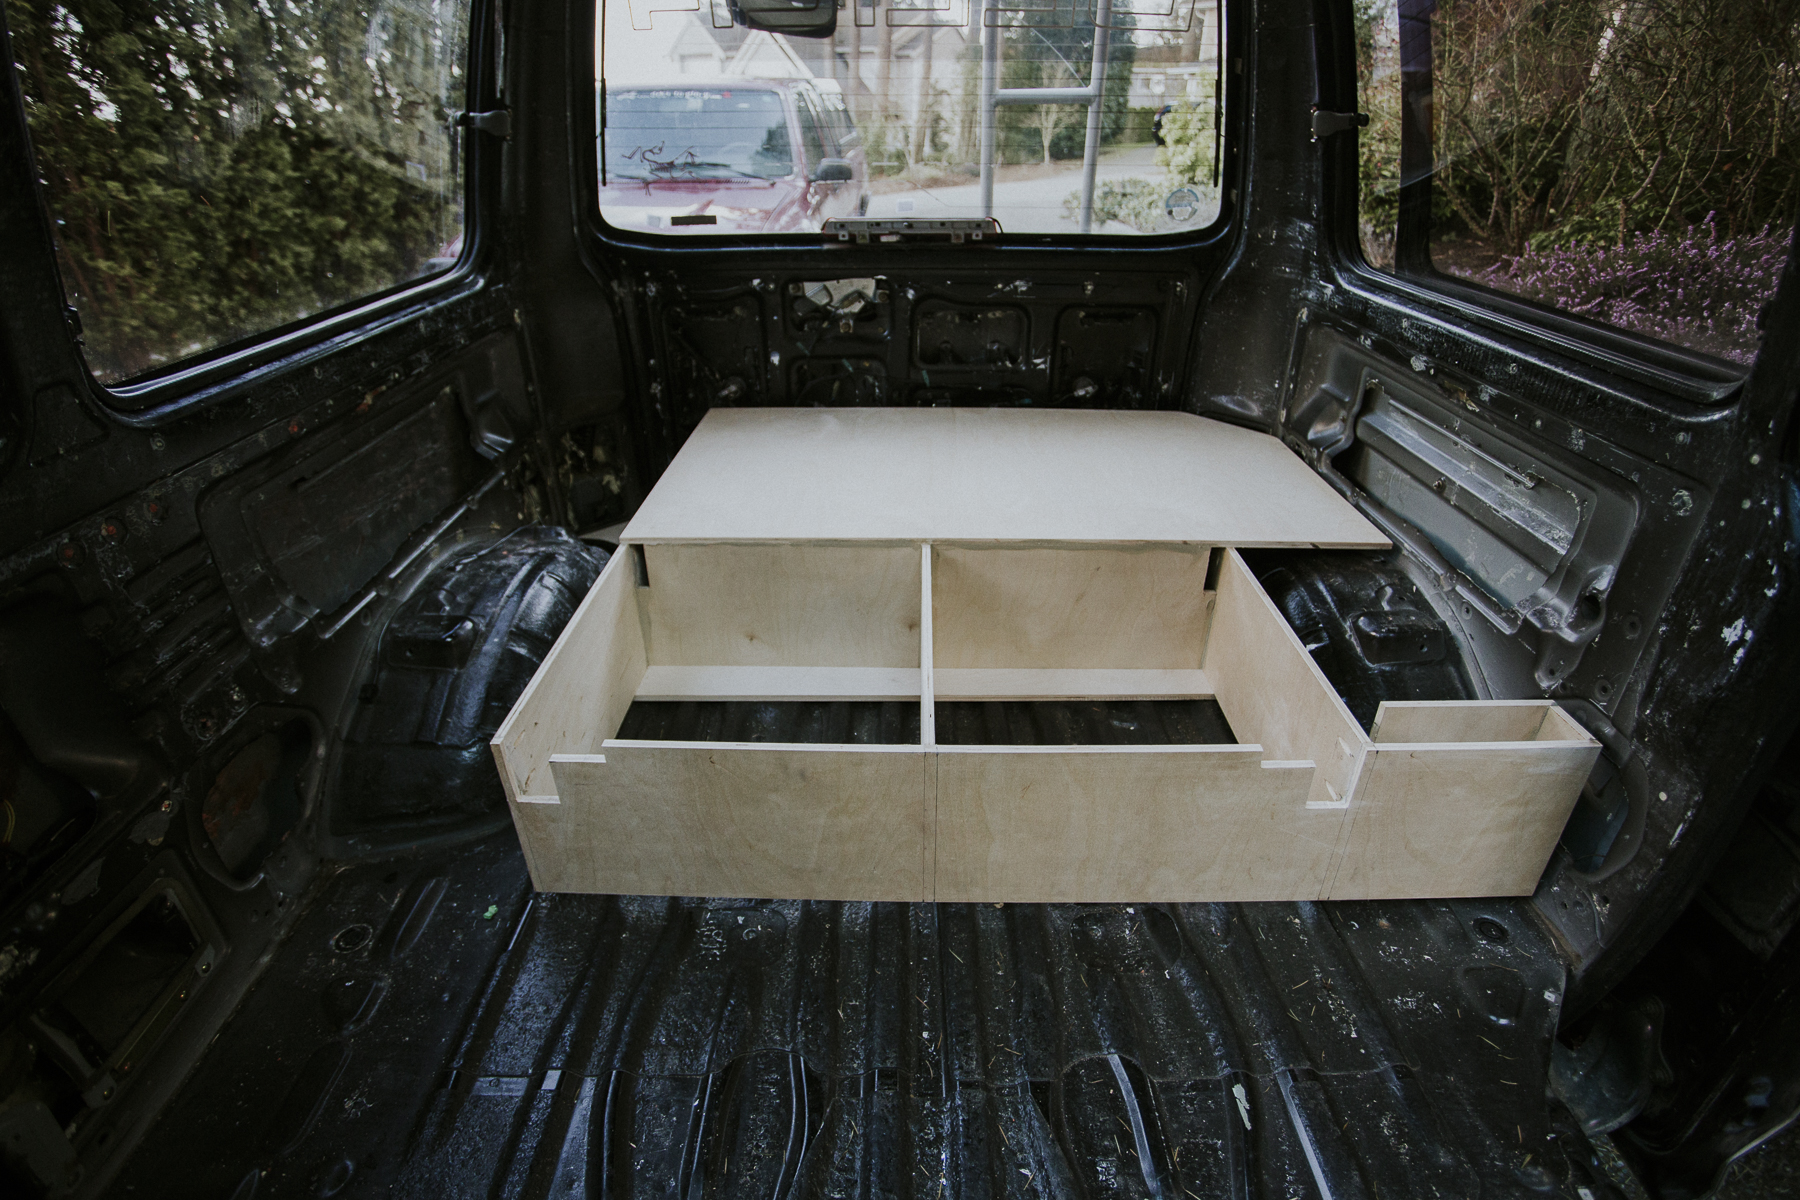
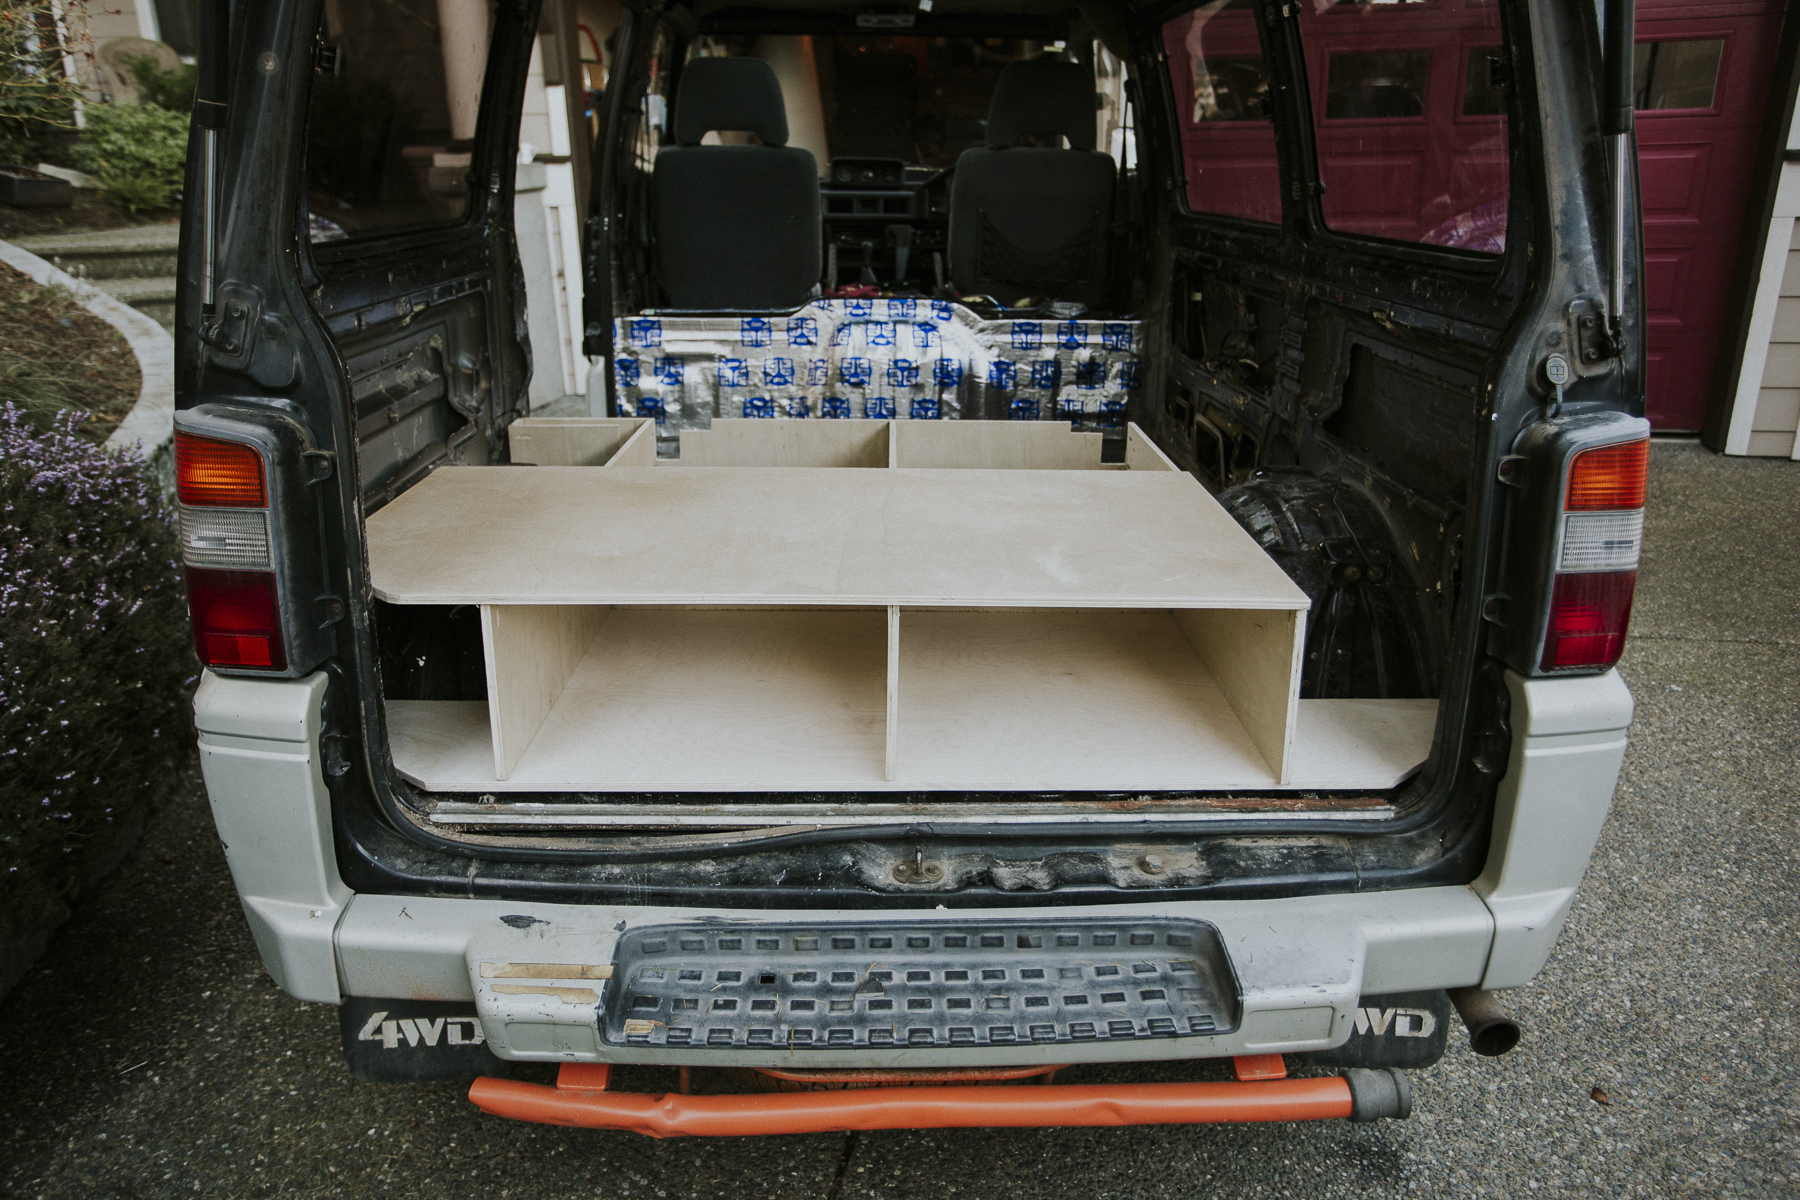
To stick my pile of plywood together I tried out a Mini Kreg Pocket Hole Jig for the first time and used some of the Kreg 1” course screws along with PL Premium construction adhesive.

delicabuild_bedplatform-7.jpg


delicabuild_bedplatform-8.jpg


delicabuild_bedplatform-6.jpg


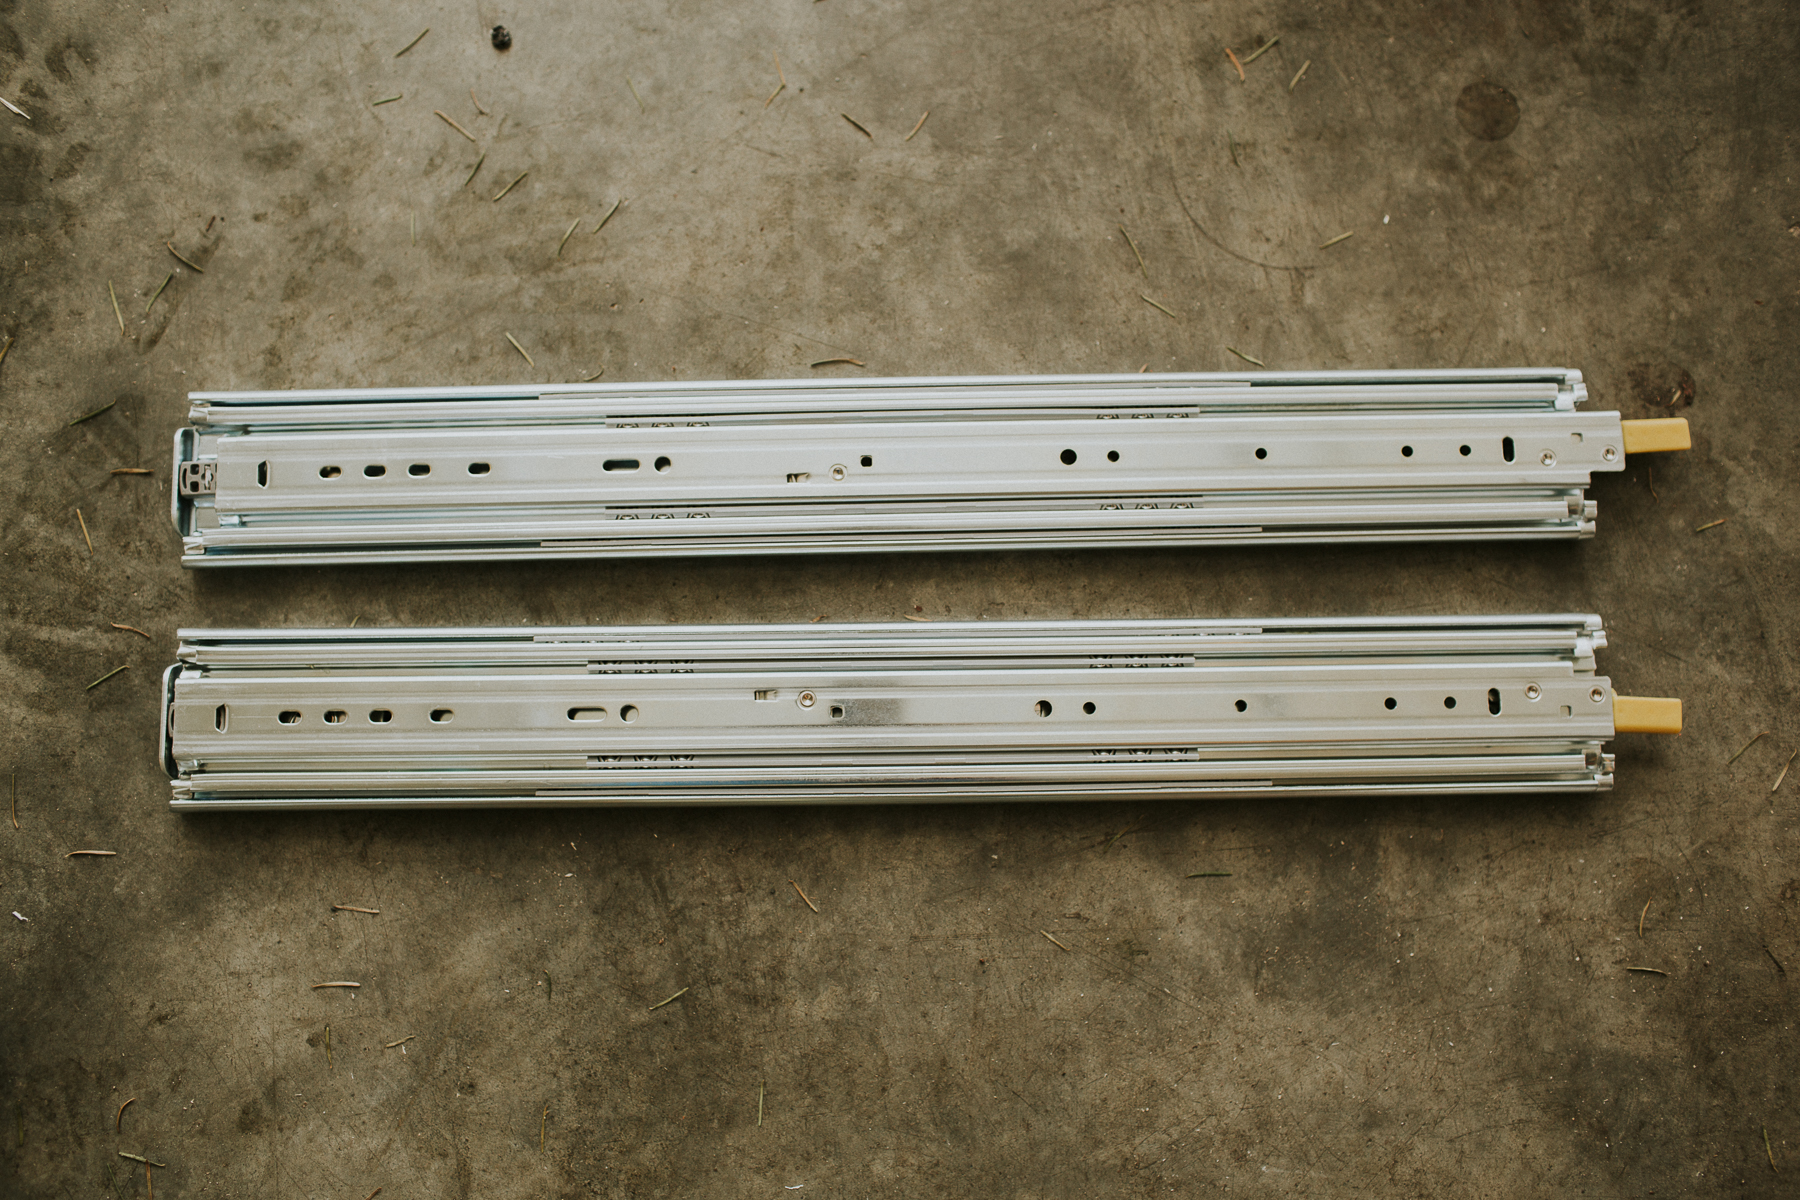
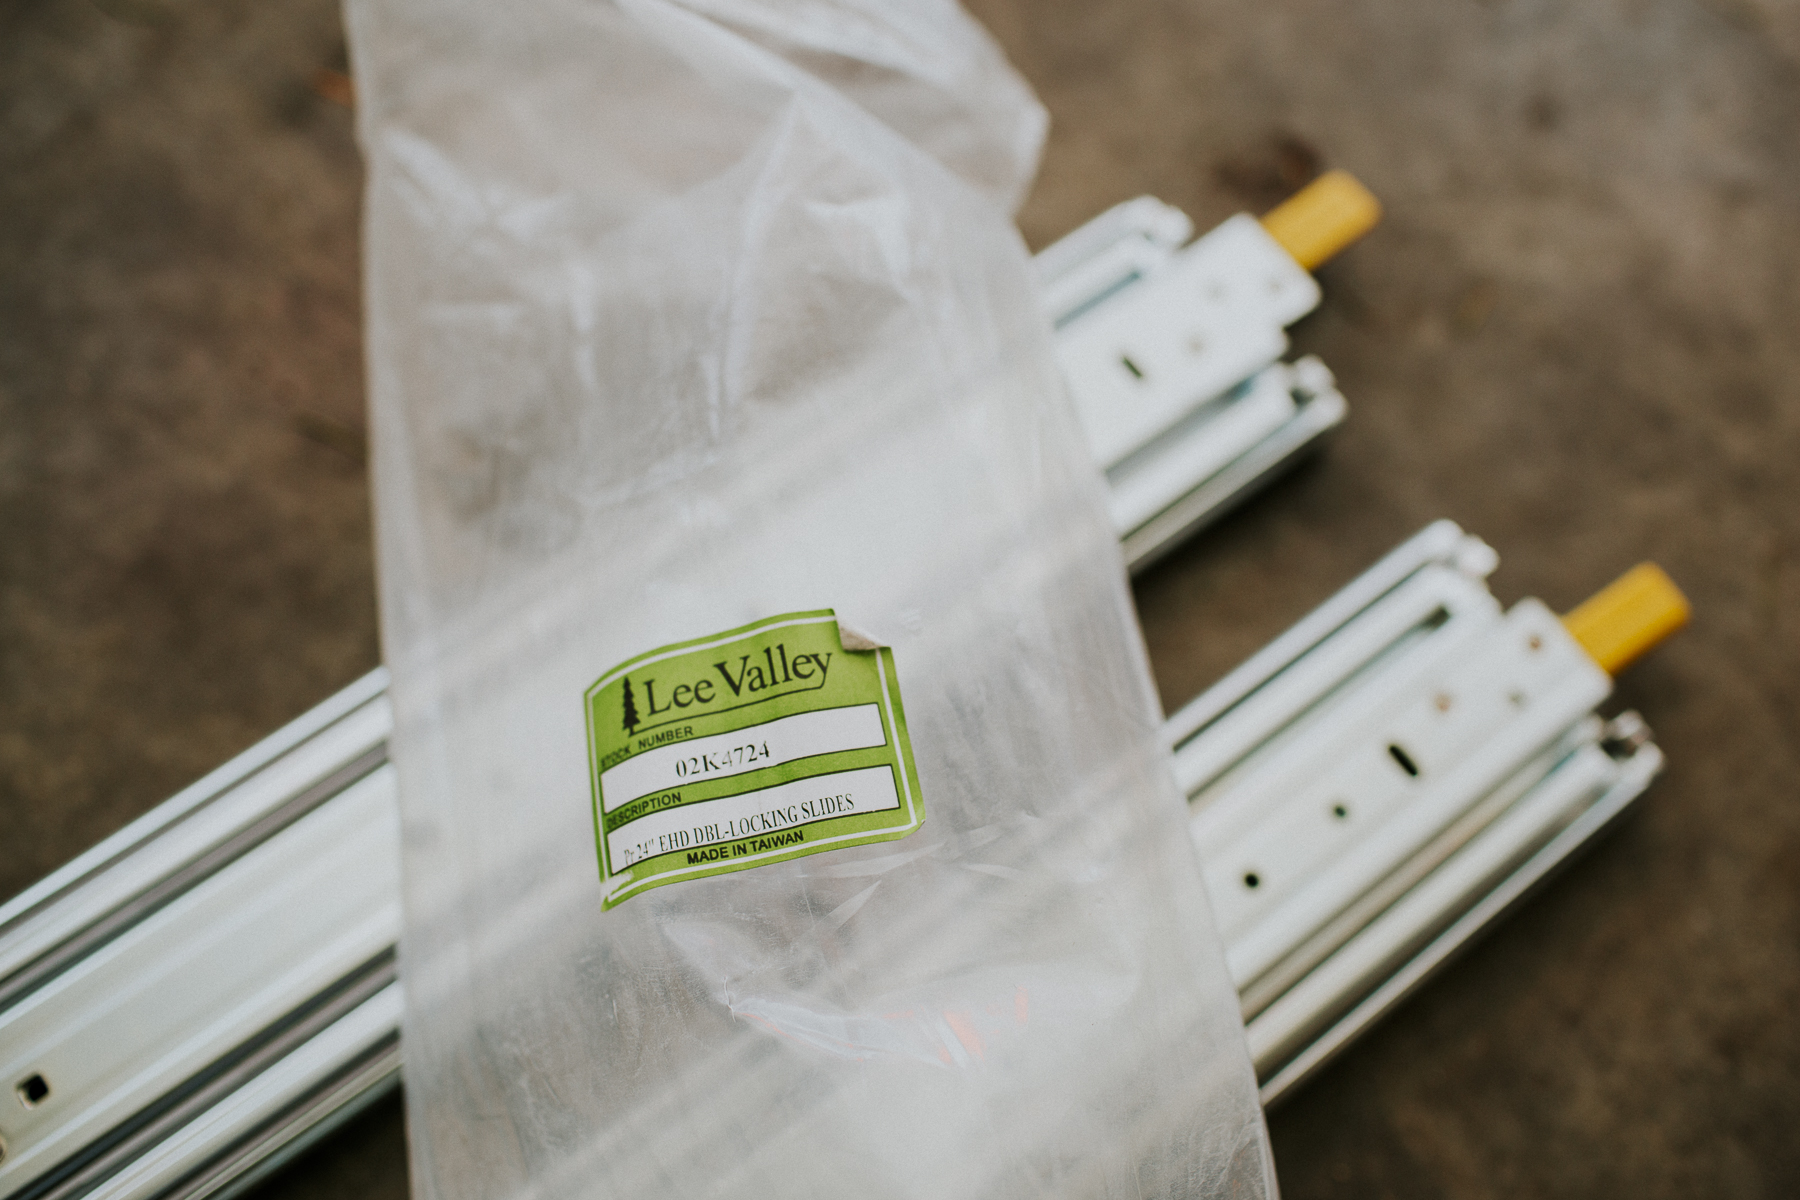
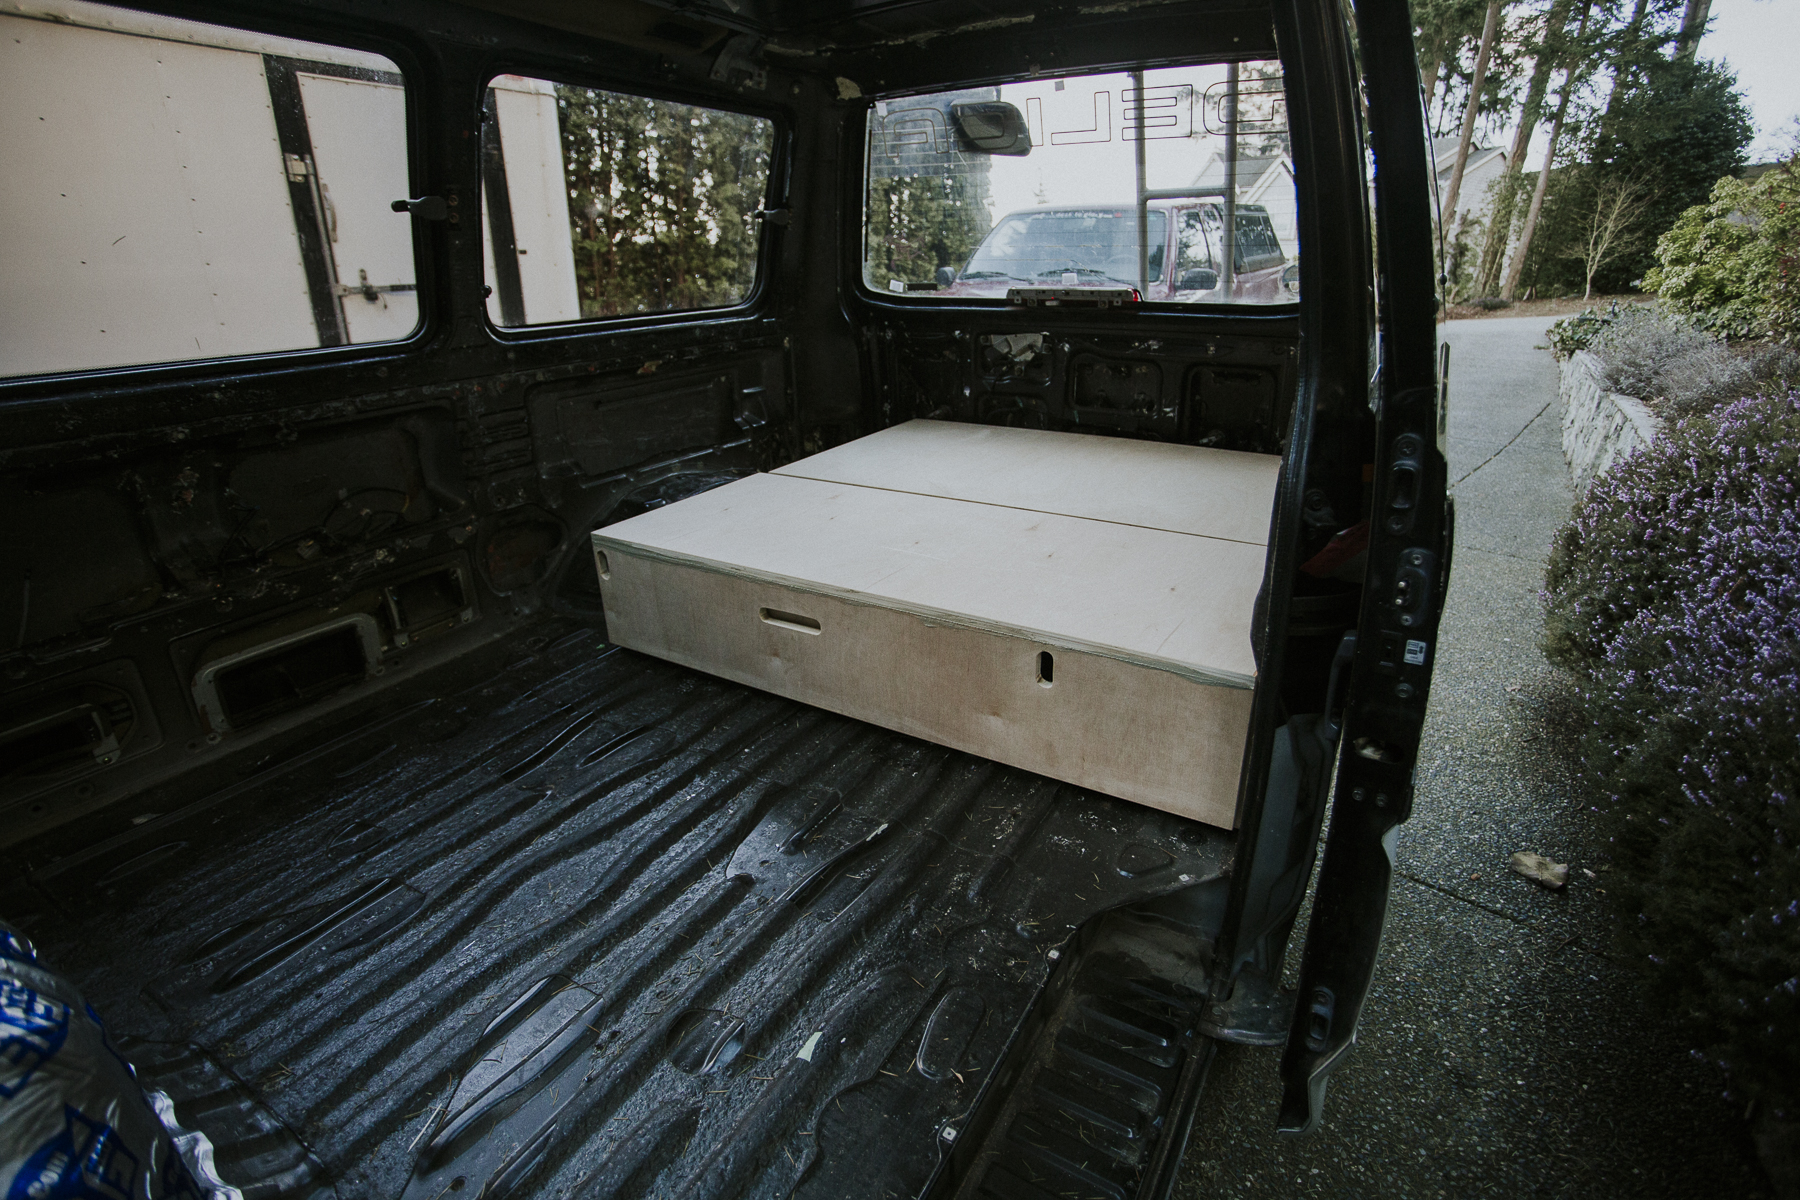
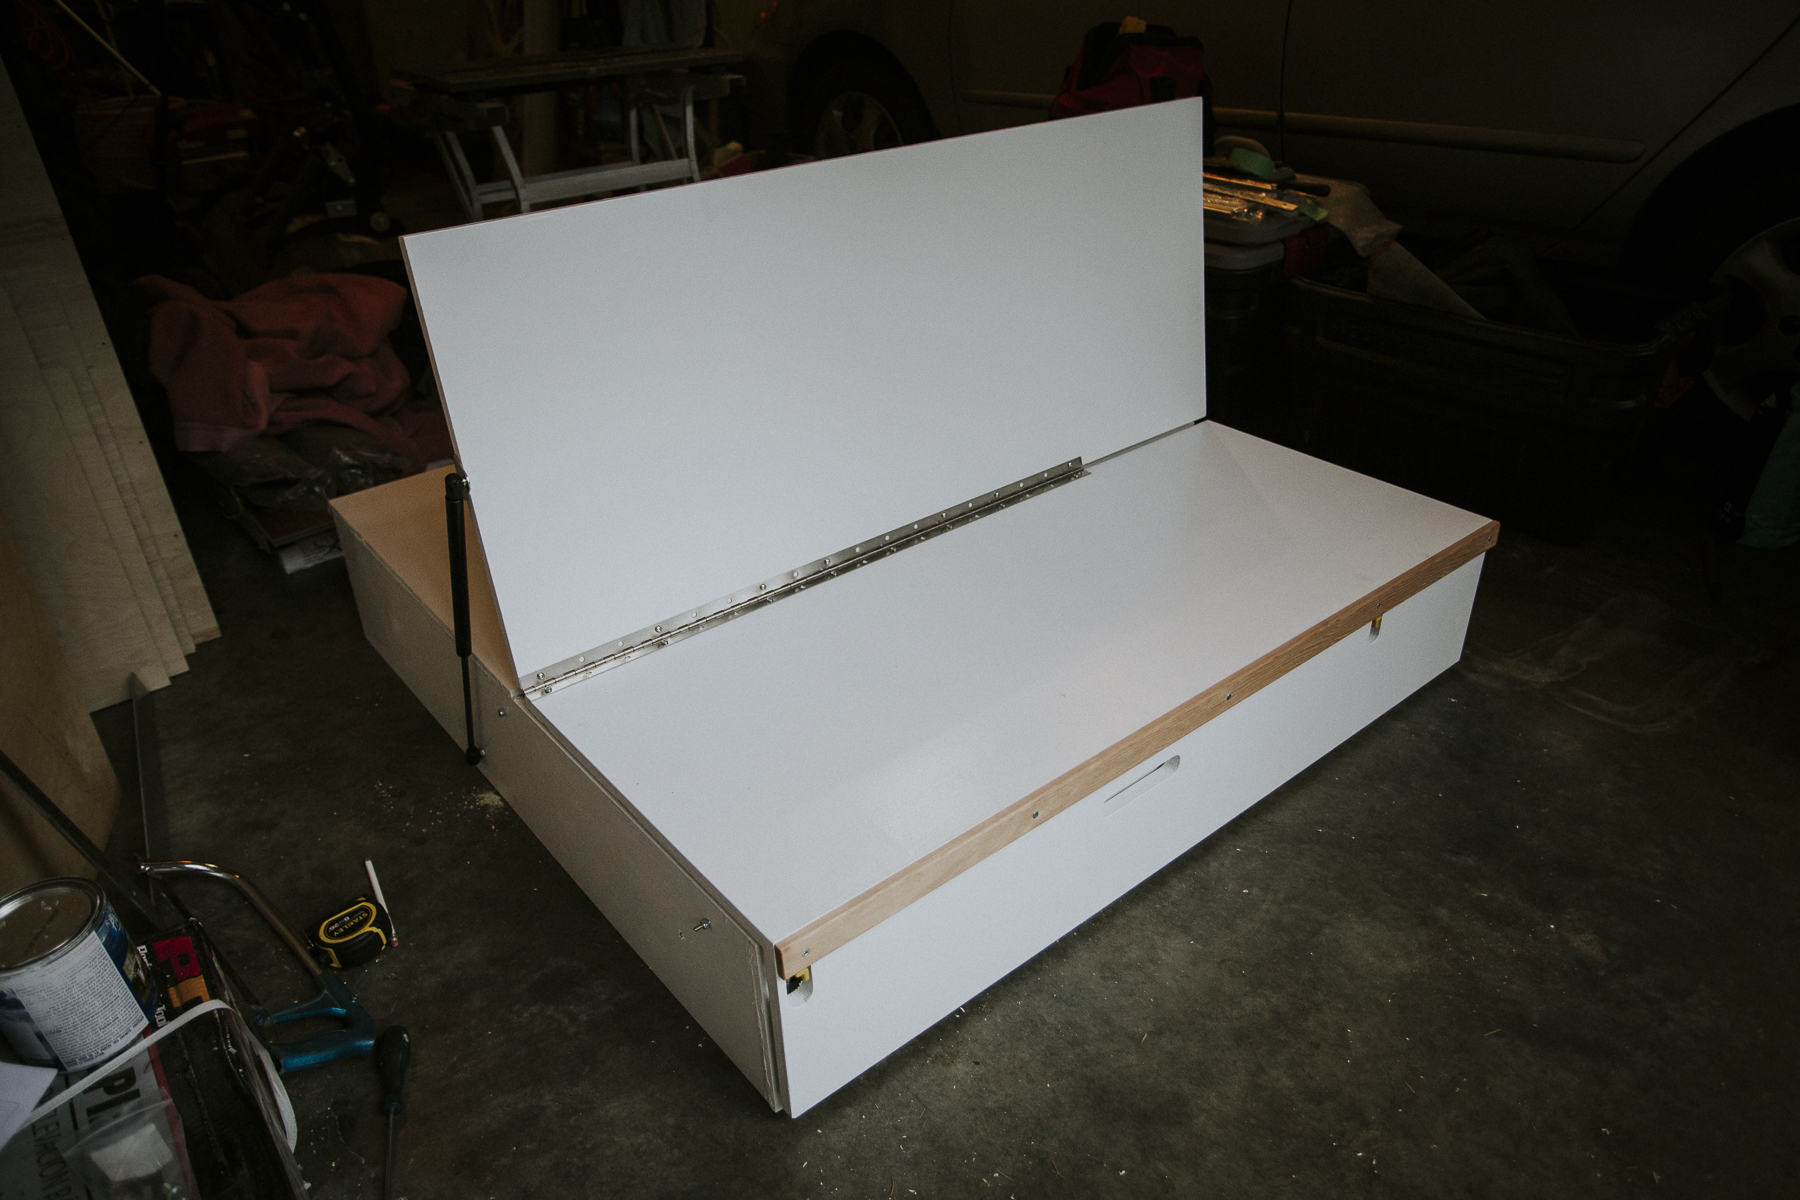
Once the main part of the platform was together I build the seat, attached a piano hinge, and then bolted the bottom part of the seat to the drawer slides with some 2”x2”x1/8” aluminum angle. The 400lb drawer slides are from Lee Valley (PN 02K47.24) and have latches to secure them in the open and closed positions. http://www.leevalley.com/en/wood/page.aspx?p=58870&cat=3,43614,43620&ap=1

delicabuild_bedplatform-1.jpg


delicabuild_bedplatform-2.jpg


delicabuild_bedplatform-11.jpg


delicabuild_bedplatform-12.jpg


delicabuild_bedplatform-10.jpg


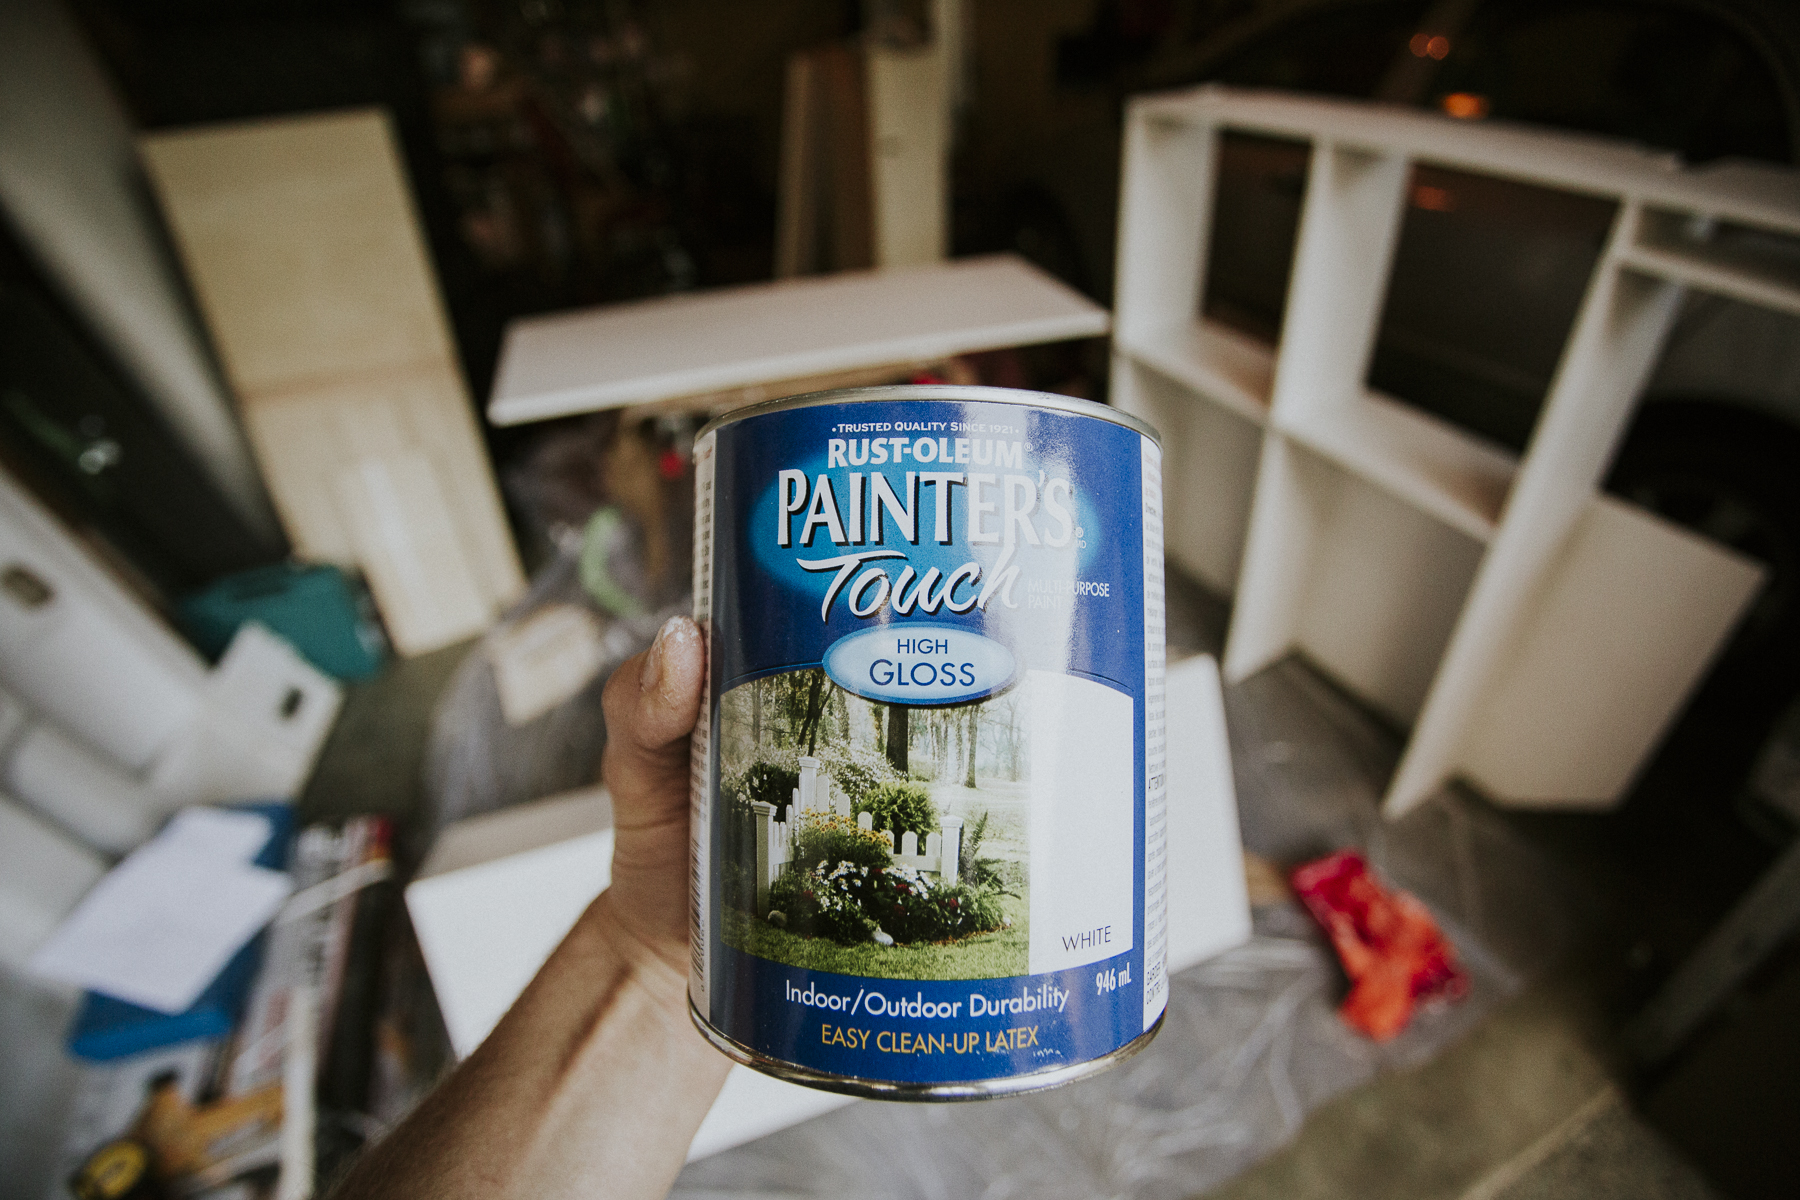
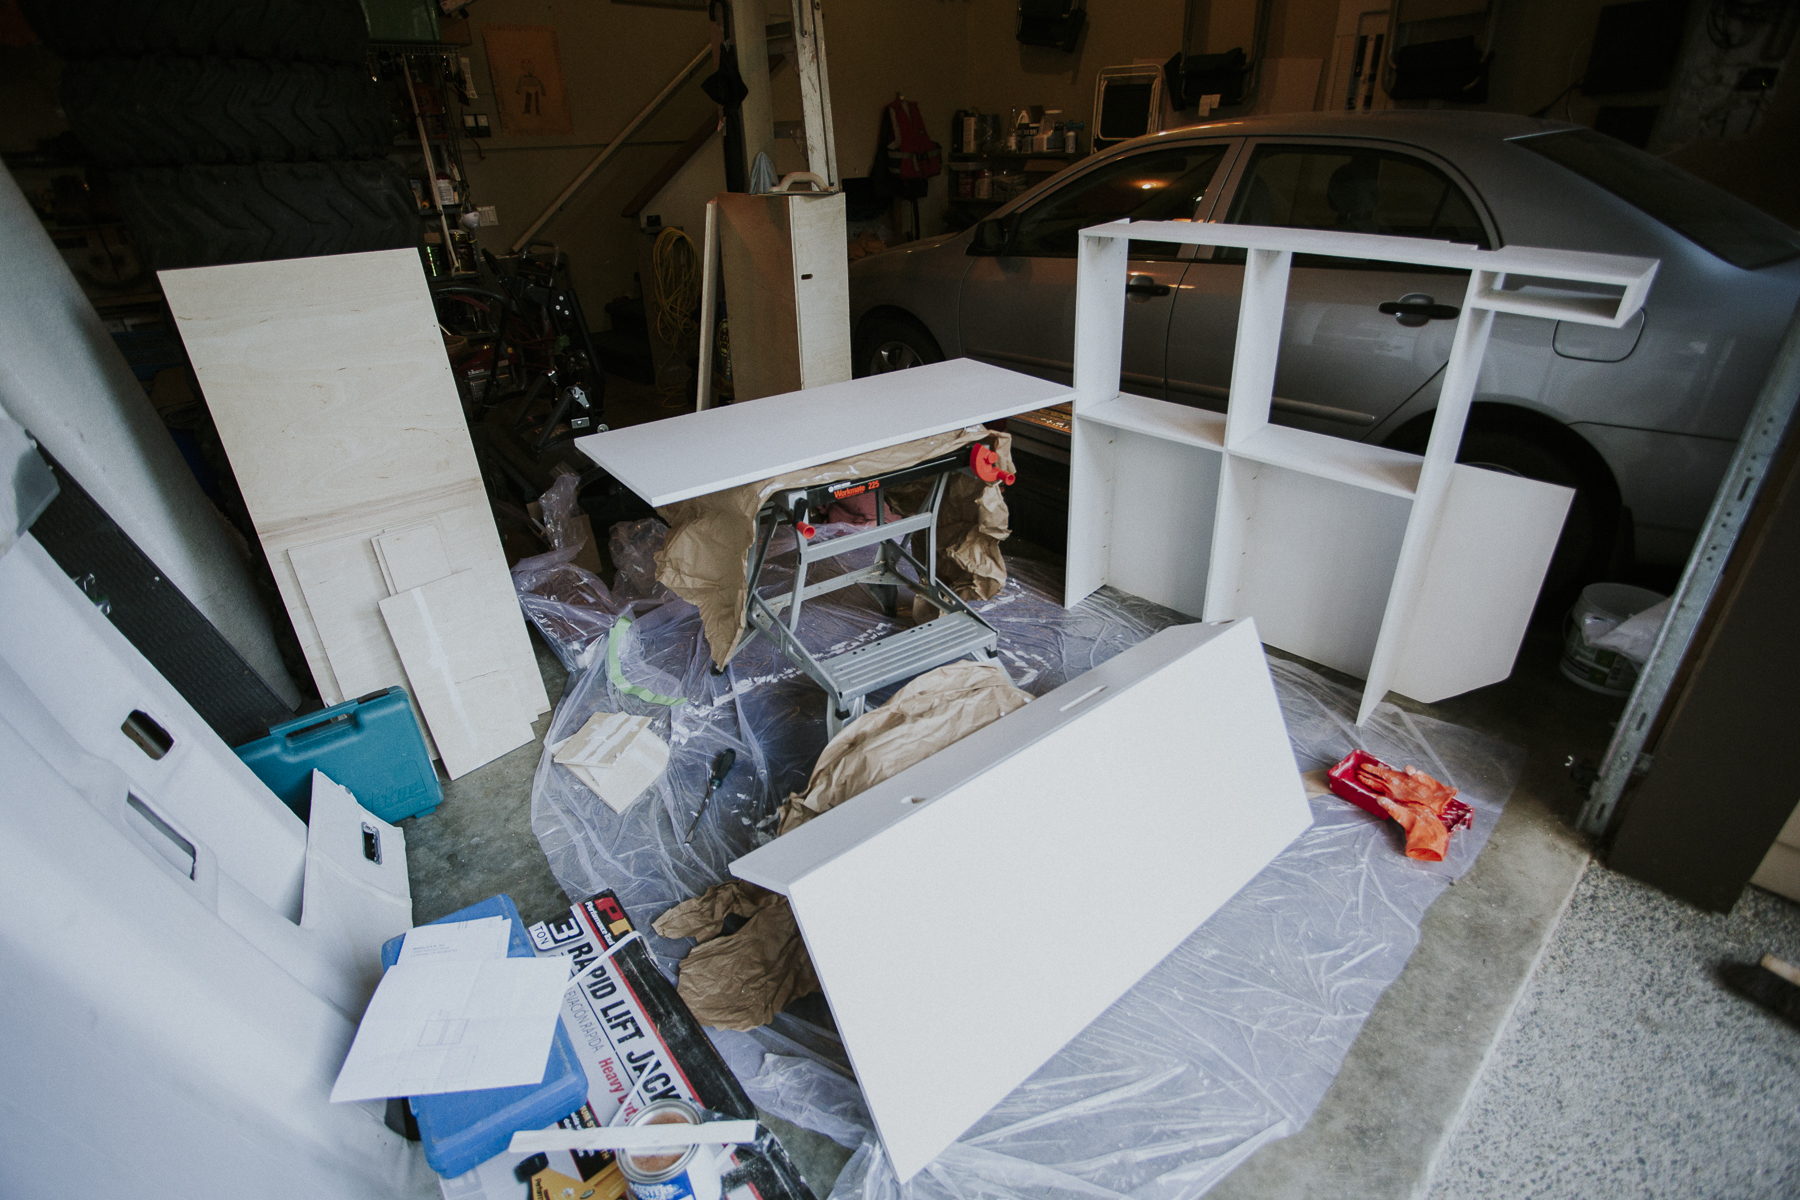
Once it was all together I primed it with and gave it a couple coats of Rustoleum High Gloss white paint. This stuff is supposed to inhibit mildew and mould... perfect for #vanlife in the moisture laden Pacific Northwest.

delicabuild_bedplatform-14.jpg


delicabuild_bedplatform-13.jpg


The last piece of the puzzle was to add a bracket to raise and lower the back of the seat as the bed gets extended. To check that my plan would work I used a 20” long gas shock and connected half way up the bench seat. I drew a line that bisects the seat back and seat bottom angle and then figured out where to drill my hole based on where the end of the gas strut ended up. Once it was all finalized and connected, the seat back comes up and down without issue. Boom! I’ll use a rod with rod ends or basic flat bar to make this a little stronger in final assembly.

delicabuild_bedplatform-15.jpg


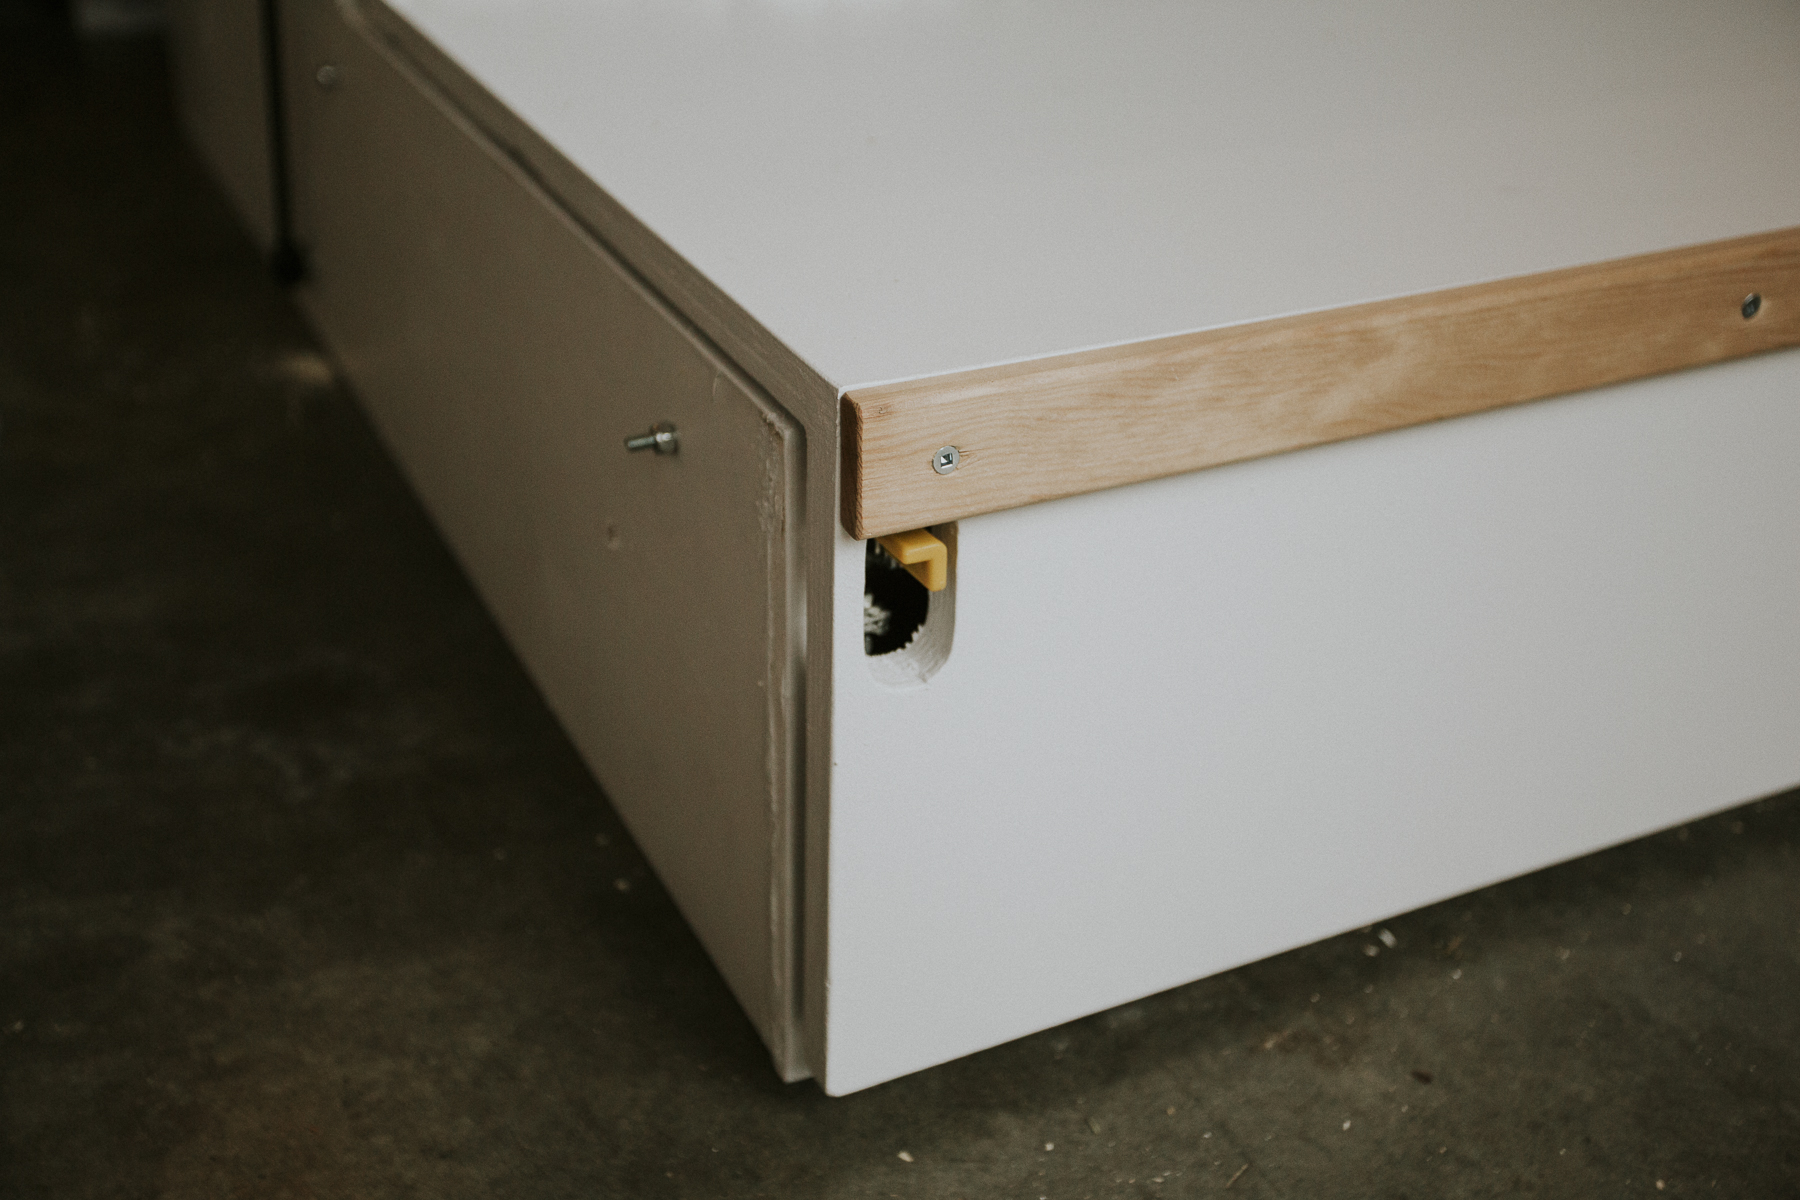
After all that I added a bit of nosing to cover up some areas that didn’t look so hot. It’s kinda like when Bob Ross turns a mistake into birds.

delicabuild_bedplatform-16.jpg


So far it seems nice and sturdy. It was just like putting together IKEA except more of a pain in the *** and a lot more rewarding.
At this point it’s about 95% done and ready for some refinement when it gets placed in the van.

Video of the sleeping platform in action:
[video]https://www.youtube.com/embed/KavIyA5pABw[/video]

I plan on having a pair of drawers that open out from the back of the van to contain our camping table, propane stove, and cooking accessories. I’ll install a small sink in the cabinet (which I’ll have to build next) for water bottle filling, teeth brushing, and basic washing, but all cooking duties will done outside under the awning.

On another note, I thought it was pretty cool to find some Japanese Yen when cleaning out the van.


delicabuild_bedplatform-9.jpg
 

frojoe

Adventurer
Very cool build! A co-worker had a Deli and it was so strange to drive.. not just on the right hand side but also being right over the steering wheels.. such a trip. My girlfriend contacted you guys over Instagram I think (I'm not much for social media).. we're the West Coast Wanderin' folks.. hi!

Where did you source the FatMat from? Shipped in from elsewhere in Canada, or from south of the border? I'm looking to do some insulation myself. Have you looked into more OEM-level sound deadening jute material?

Cheers!
Joe
 

DeskToGlory

Adventurer
Very cool build! A co-worker had a Deli and it was so strange to drive.. not just on the right hand side but also being right over the steering wheels.. such a trip. My girlfriend contacted you guys over Instagram I think (I'm not much for social media).. we're the West Coast Wanderin' folks.. hi!

Where did you source the FatMat from? Shipped in from elsewhere in Canada, or from south of the border? I'm looking to do some insulation myself. Have you looked into more OEM-level sound deadening jute material?

Cheers!
Joe

Hey Joe! I just picked up 100 sq ft direct from http://www.fatmat.com/. I figure that this in combination with the subfloor/flooring will be more than enough insulation for the floor of the van. For the sides I might just use the Fat Mat and call it a day since the cabinets will be on one side, and panel/carpet on the other. Should tone down the road noise enough while keeping the heat/cool in the van. In reality this thing has giant windows and sunroof so most of the heat will transfer through the glass anyways.

Yeah, the forward control driving style takes some getting used to for sure! Nice to see you on here as well as IG!

Richard
 

DeskToGlory

Adventurer
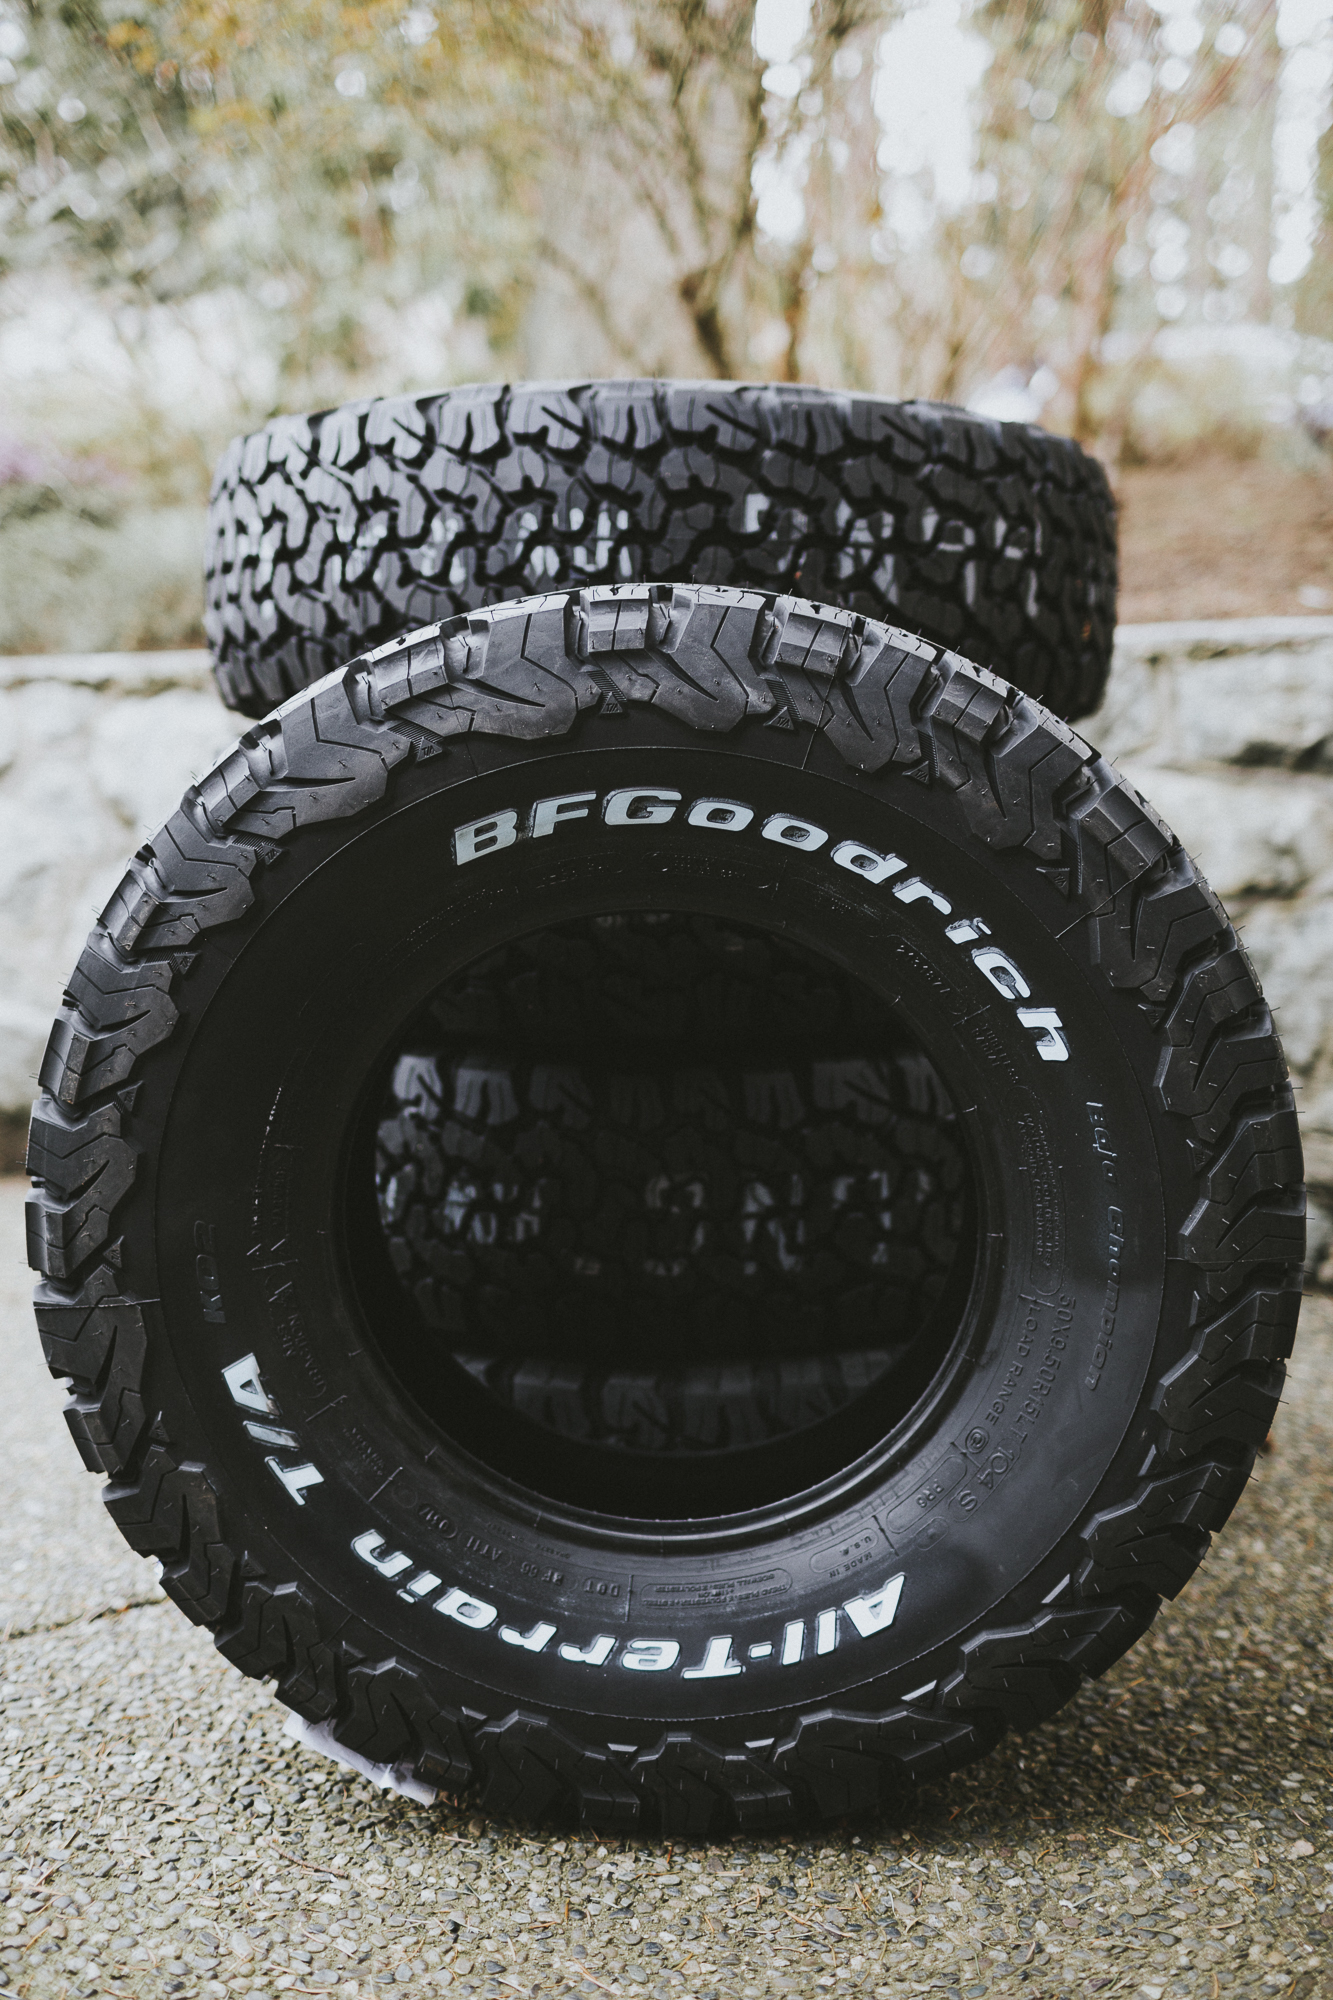
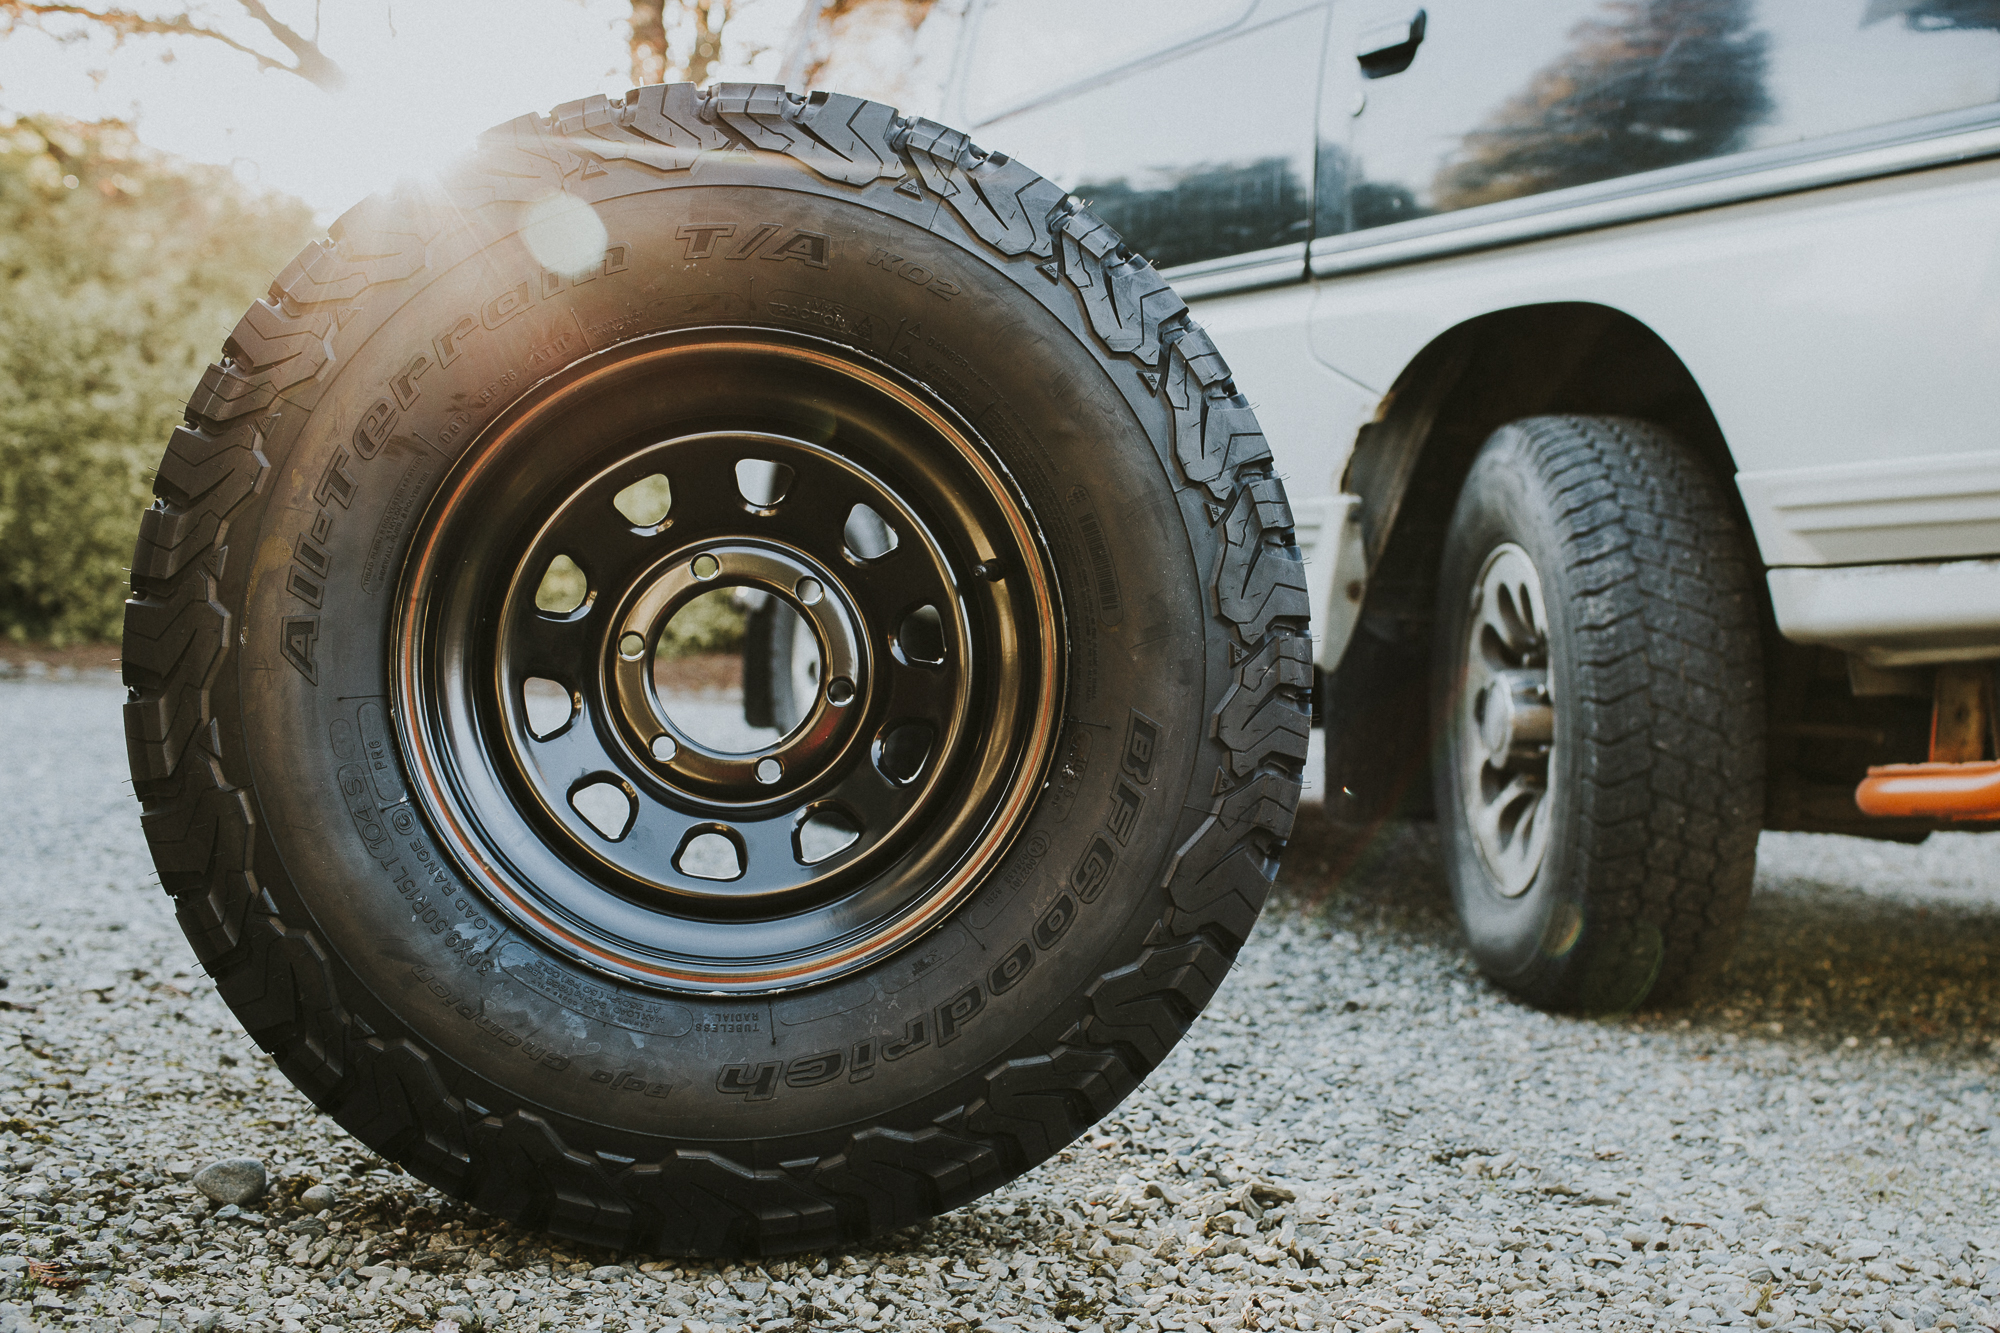
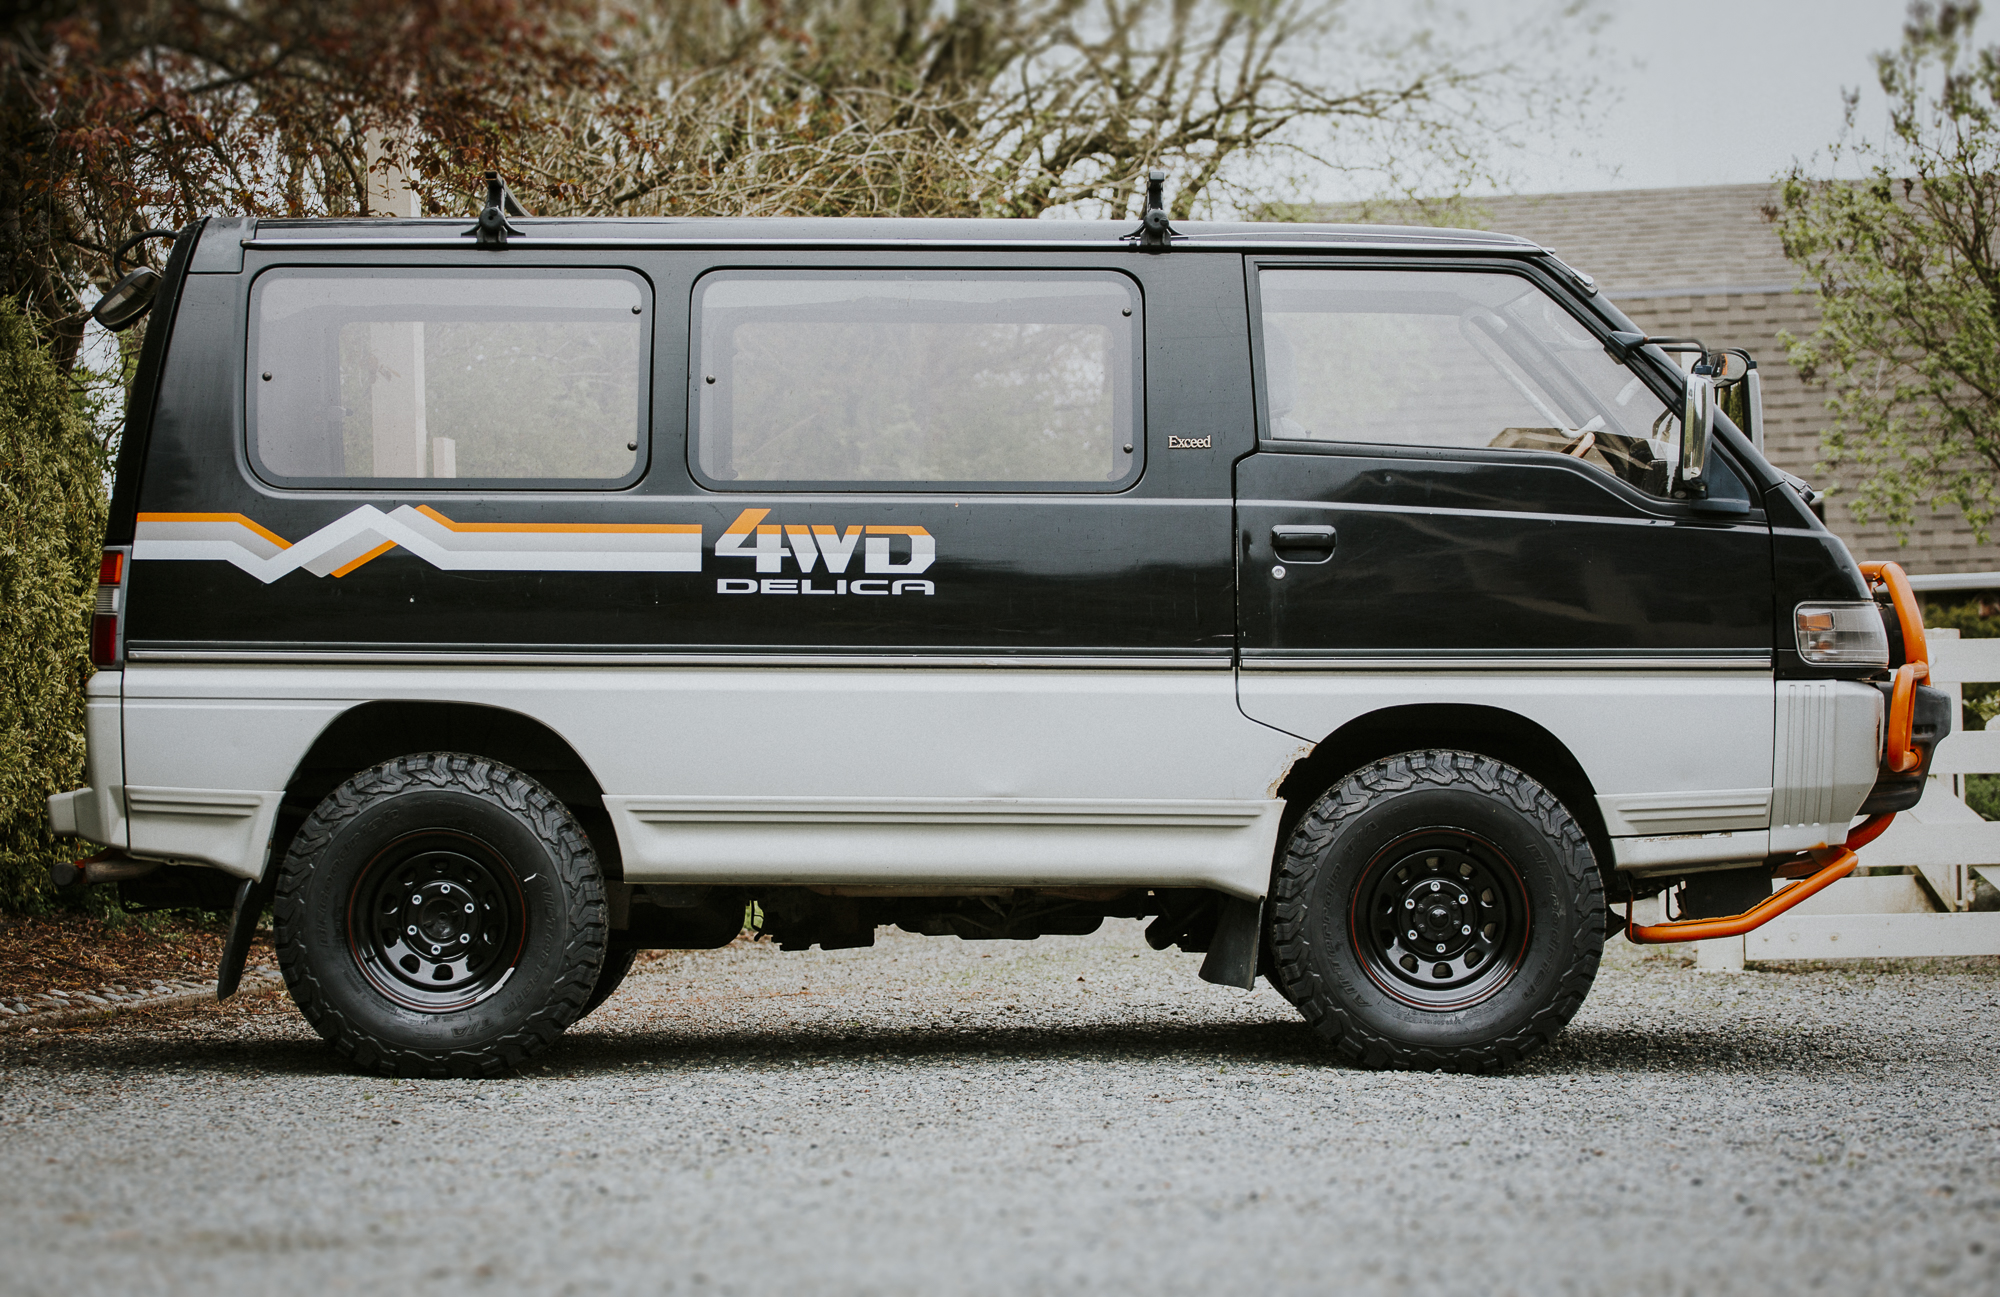
30x9.50R15 BFG AT K02s

For once in my life I'm putting small all terrain tires on a 4x4. My usual go-to is to install beefy mud terrains, but this van will mostly see the highway and logging roads. I didn't want the snowball effect of large tires (suspension life, excessive body trimming, re-gearing diffs, etc) so I stuck with these tires that are about 1" taller than the stockers. The mud flaps needed to be trimmed, but other than that they seem to clear the rest of the body and chassis just fine. I found some 15x7 steel wheels at a local tires shop (Big O Tires) with 3.75" backspacing, 6 on 5.5" bolt pattern, and a 108mm centre bore. They're made by CECO, but I believe they're a rebranded US Wheel 84 Series Daytona. Moving up in the world!

expo_portal_wheels_tires-1.jpg

expo_portal_wheels_tires-2.jpg

expo_portal_wheels_tires-3.jpg

expo_portal_wheels_tires-4.jpg
 

Forum statistics

Threads
188,395
Messages
2,904,131
Members
230,274
Latest member
mbauerus1
Top