Progress
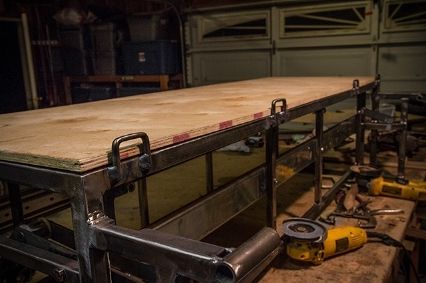
One last thing I did before I sent the pieces in for upholstery was I fabricated up some car seat anchor points out of 1/4" solid rod. I also setup spots for three sets of seat belts to bolt into, not pictured.
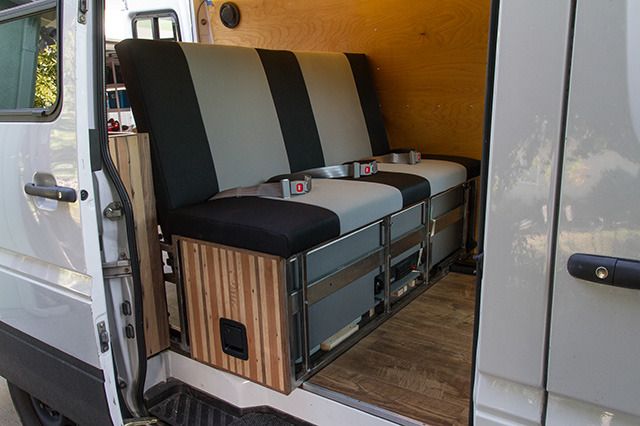
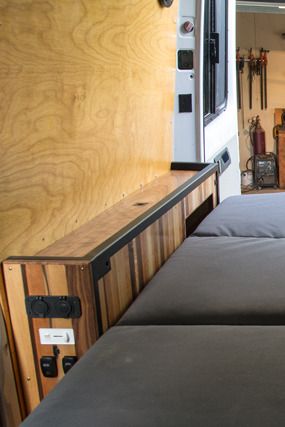
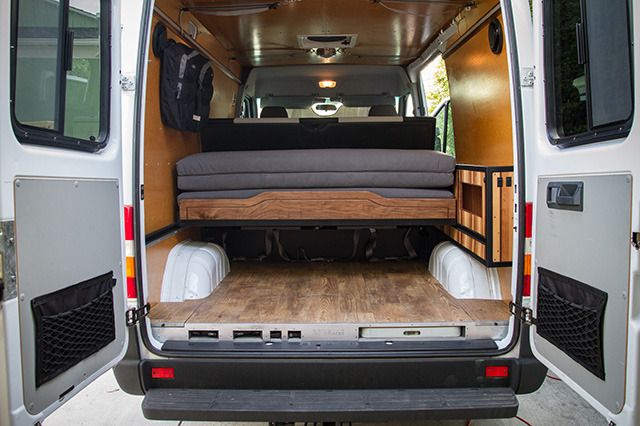
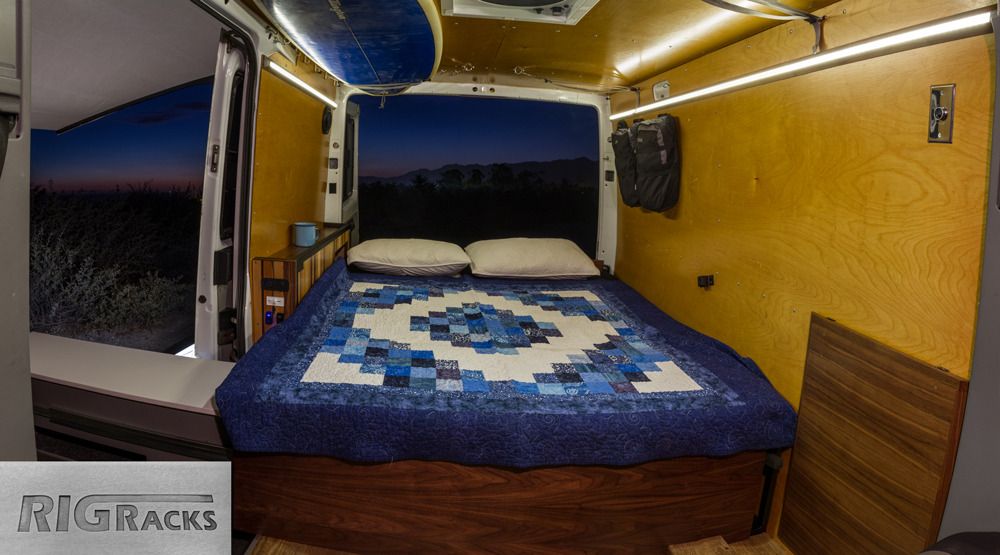
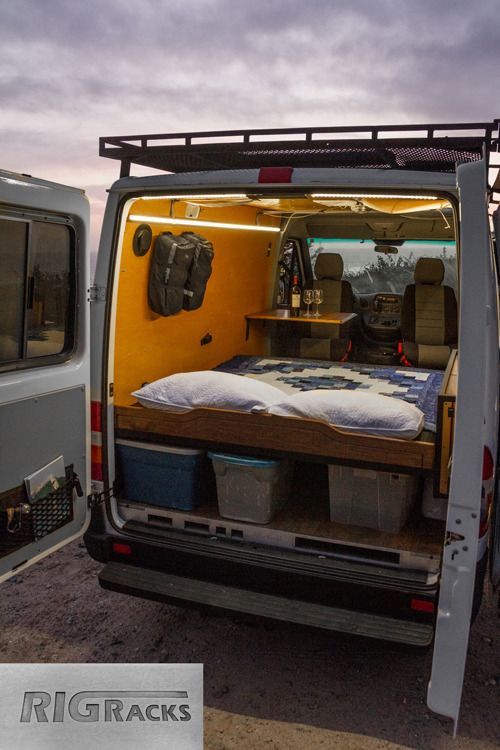
An this is what I got back from the upholsterer. Pretty happy with it, I told the upholsterer to try and match and the front seats as much as possible but don't go crazy with it. We went with 3" High density foam with a "firm" rating.
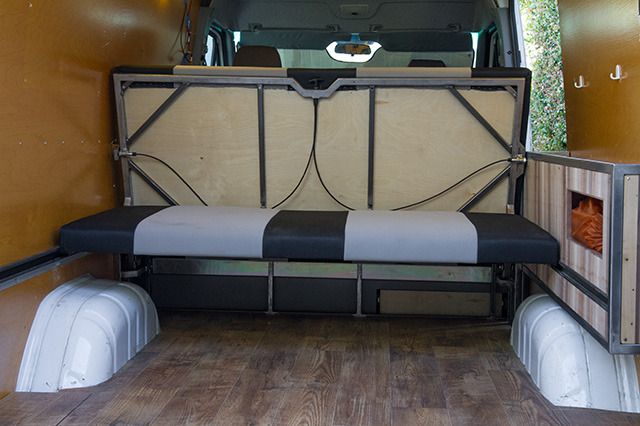
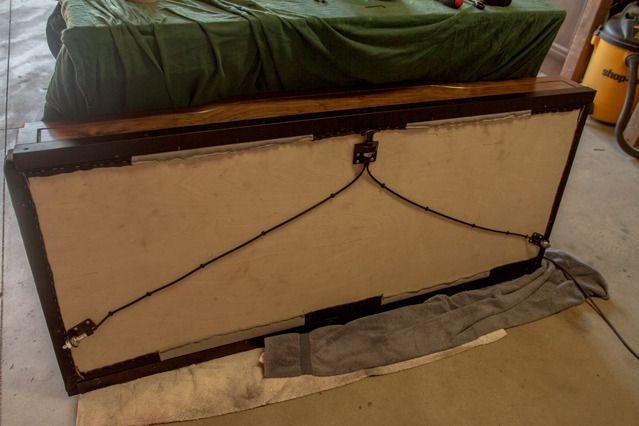
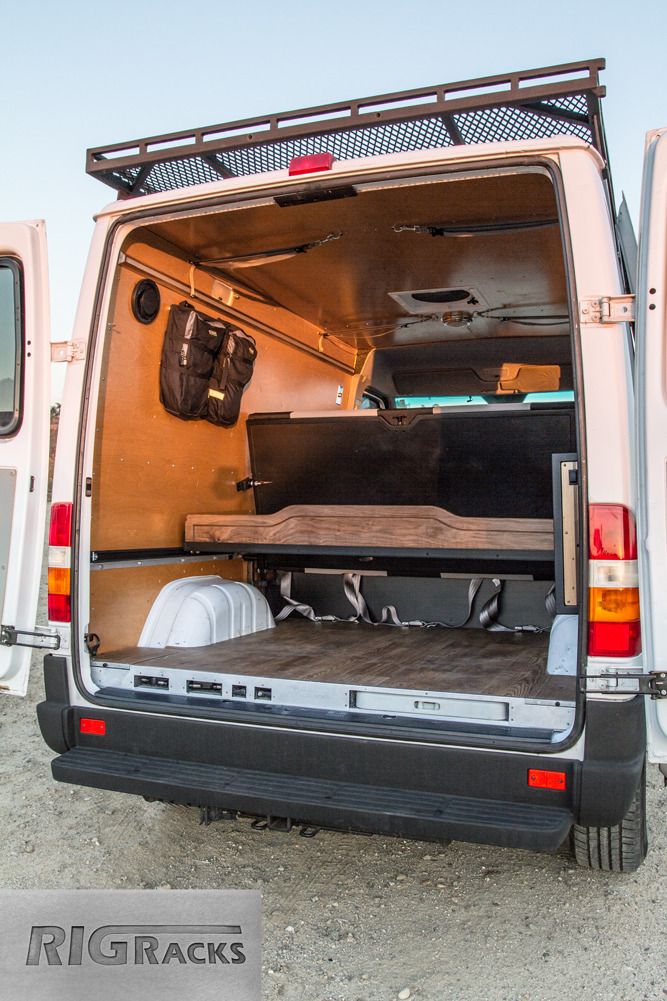
The back sliding platform will eventually have a 6" or 7" high headboard to strenghten the piece up so it doesn't bow with weight on it, even though as it is right now its pretty strong. It does have a piece of angle on the far edge that helps, it is also for the seat back to kinda rest on when folded down as a bed.
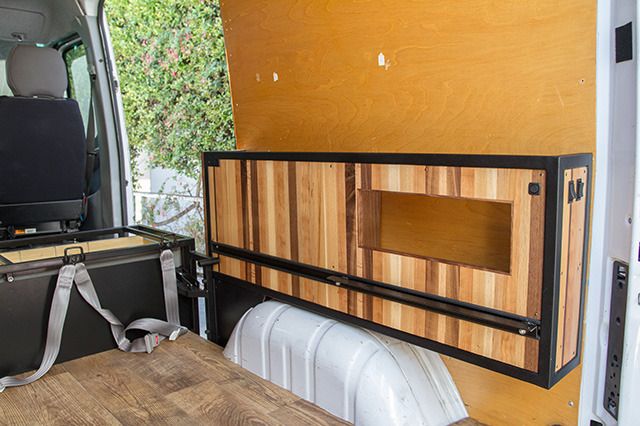
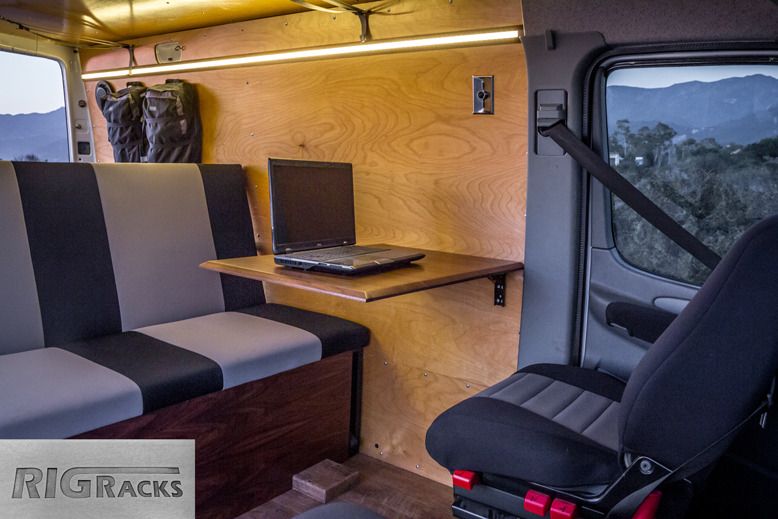
Fold up wall table:
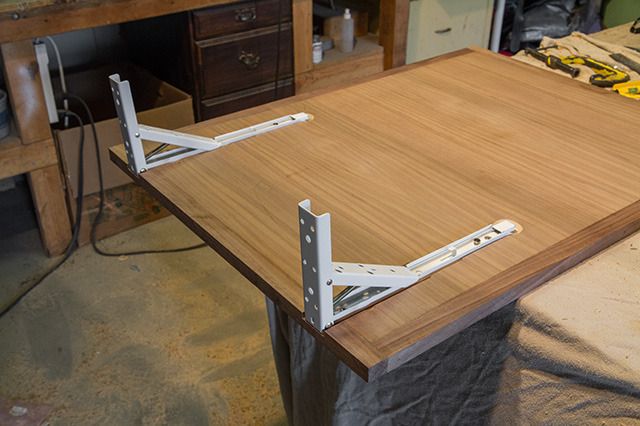
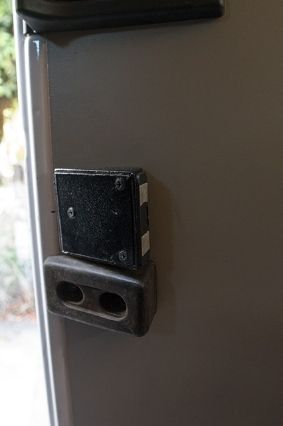
I also worked on the fold up table between the bench seat and the drivers seat. I thought this was going to be a simple install of a couple hours at most . . . Nope!, It turned much larger project. I got these flip up brackets they are pretty nice I have used them before and they are surprisingly strong very easy to install and I like that I don't have to have legs or an angled support to get in the way.
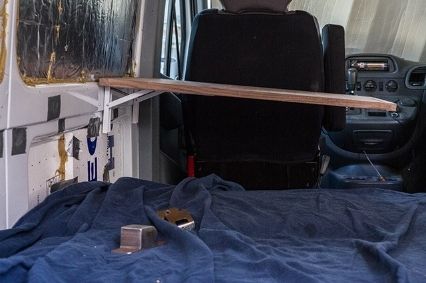
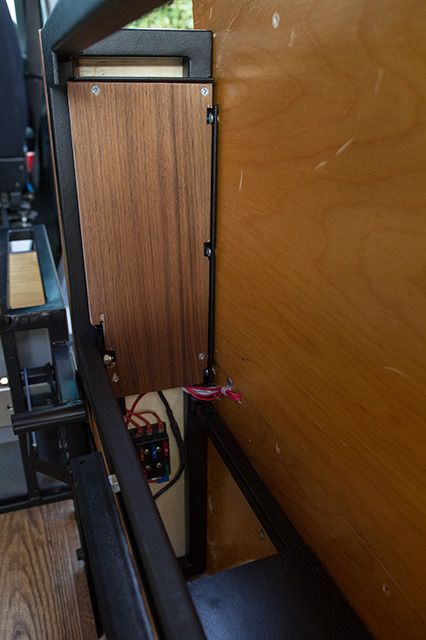
Well when I went to fasten them to the wall, this is what it looked like.
not only was it at an angle but it also had a unacceptable amount of flex. I was worried it was the brackets and I was going to have to rebuild the whole thing over again, but upon more observation I noticed it was the wall that was flexing. I also realized that when it was in the folded down position it was perfectly flat against the wall (the way I want it), if I shimmed up the brackets so that the table would lock in at level, then when it was folded down it wouldn't be flat against the wall. So I needed to modify the brackets so that the table locks in at an angle much greater then 90 degress and I needed to reinforce the wall so that it doesn't flex when weight is put on the table.
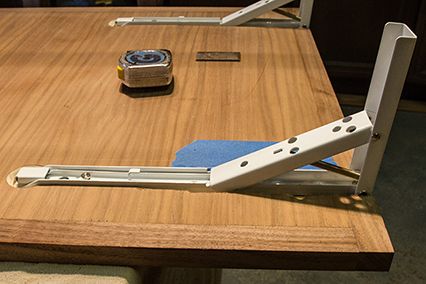
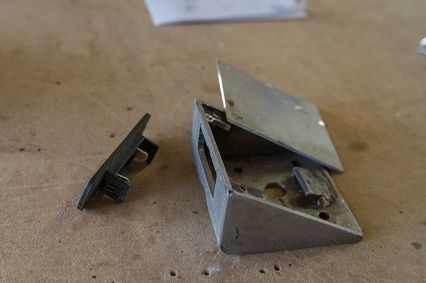
how it came:
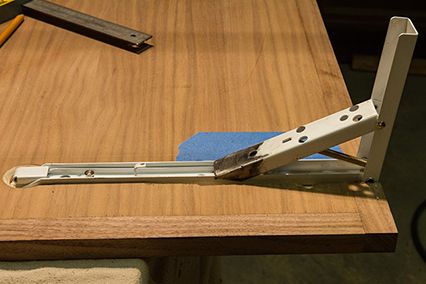
Modified for increased angle:
I just added about 3/8" of metal to the angled piece that locks in to the grove.
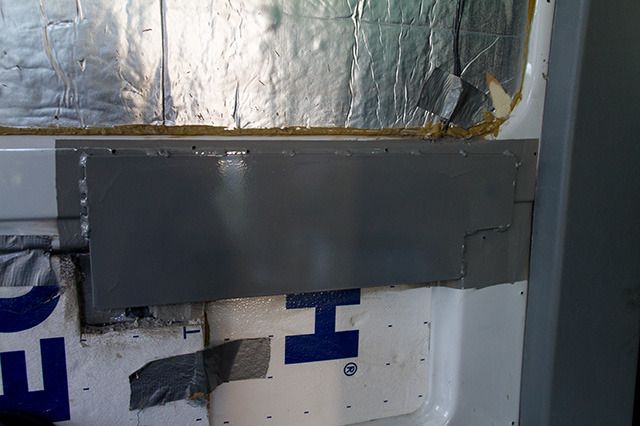
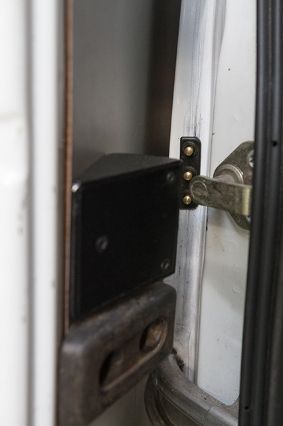
For the increased strenght on the wall of the van I welded a piece of 1/8" x 6" plate to the wall.
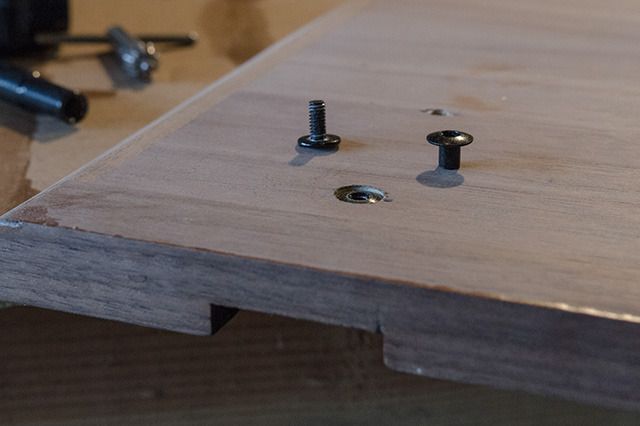
So then I put it all together, bolted it to the wall and it was perfectly level, sweet! so then I pushed down on it to see how the flex was. Well the wall didn't flex, which was nice . . . but the screws going into the table top pulled out. I had to use super small 1/2" screws because I inset the bracket into the table top so that it didn't stick out from the wall as much. This left very little meat for any screw to hold on to. So I had to switch to sex bolts and inset the threaded side and then I will put plugs over those when I am ready to finish it.
So no it didn't take 2 hours, its still not really done.
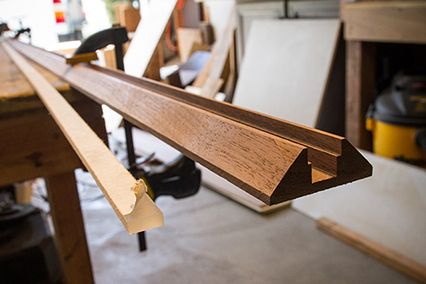
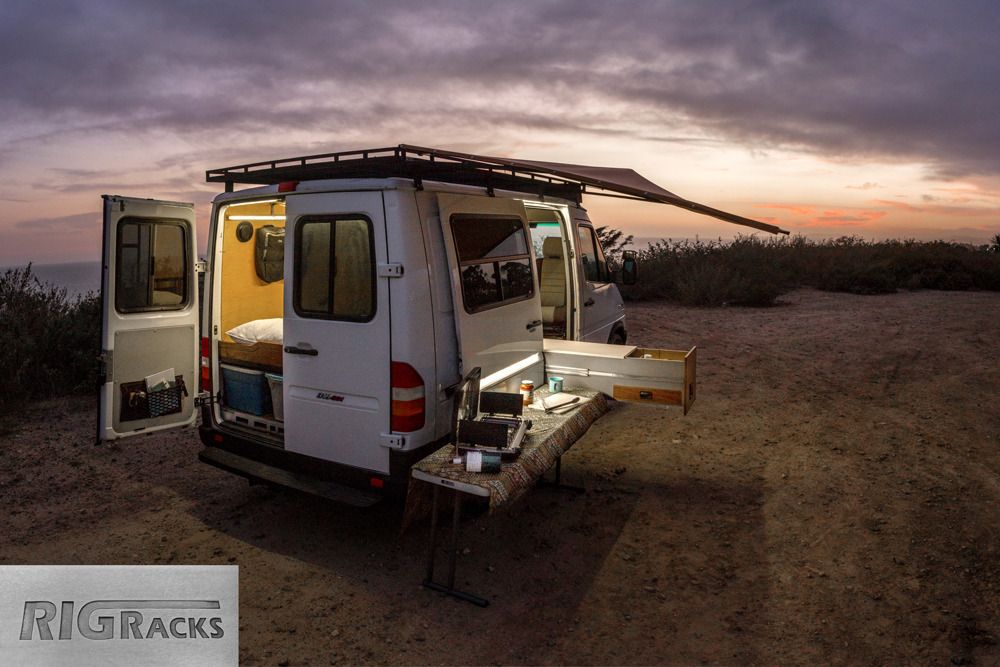
I also got around to working on some electrical and lighting. I made a LED light strip fixture out of some solid walnut and some plexi-glass. Pretty simple, the light strip has peel and stick tape on the back and the plexi is just fitted in the grove. I will screw the fixture on first then put the light strip in then cover with the plexi.
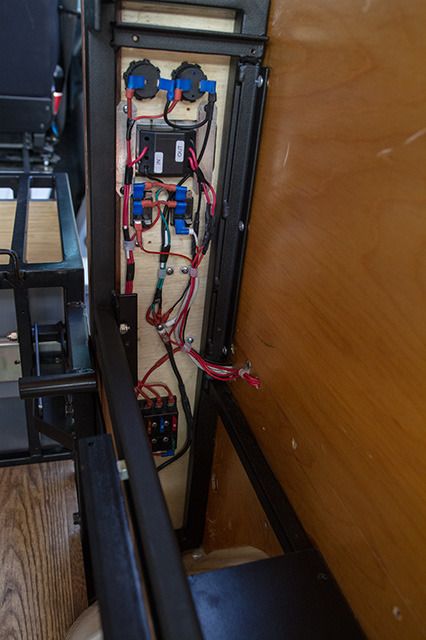
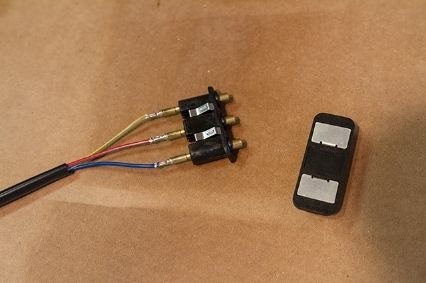
This is going to be the main switch box located on the side of the "side table" by the slider. It has 2 USB ports, 12v port, dimmer switch for the interior lights and then two switches for some outside LED strips that I am going to install.
More to come, more to be done.