PaulJensen
Custom Builder
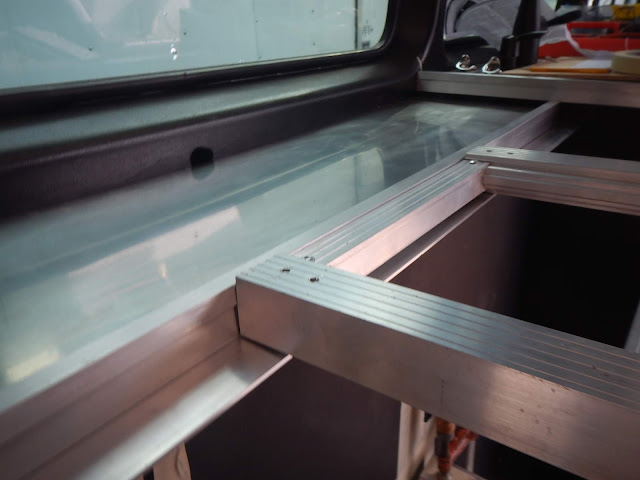
(above) The stainless steel countertops will have aluminum edging...
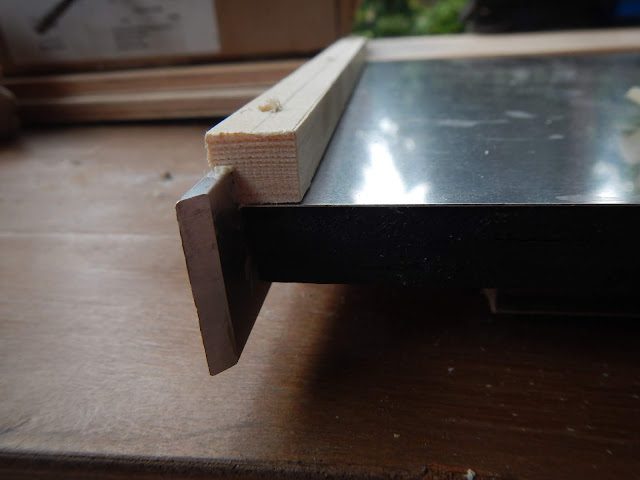
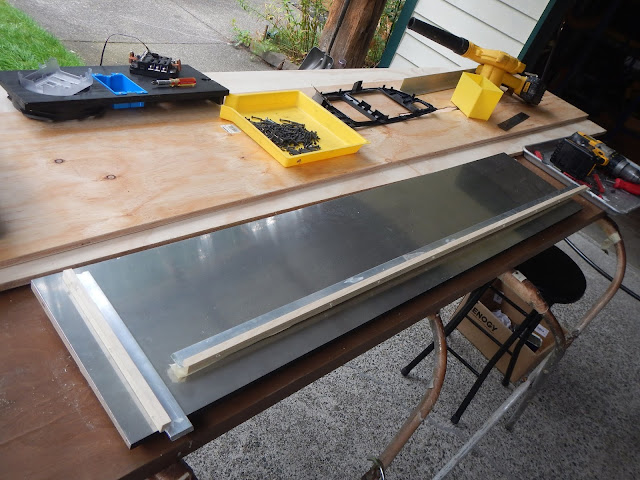
(above) Starting with 1/8" x 1.25" flat aluminum bar stock, it was laminated to a piece of pine 1/2" x 1/2" with a rabbet to have the aluminum flush with the wood... After that dried overnight, it was positioned on the countertop and pilot holes were drilled through the wood and into the underlying stainless...
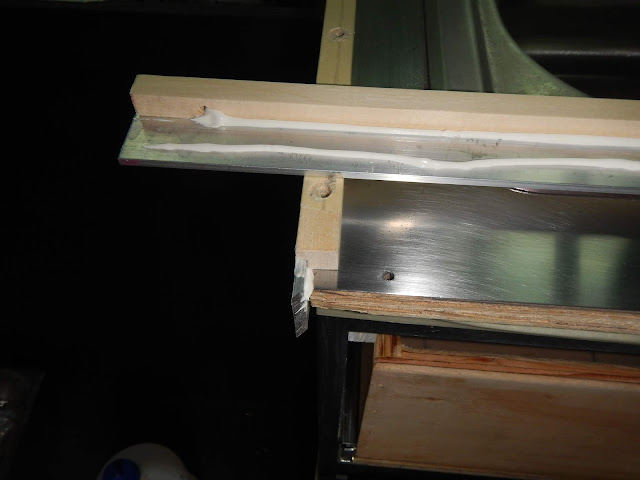
(above) With the pilot holes all drilled, adhesive was applied to the the trim pieces......
(above) Trim head screws were used to fasten the edges to the countertop...
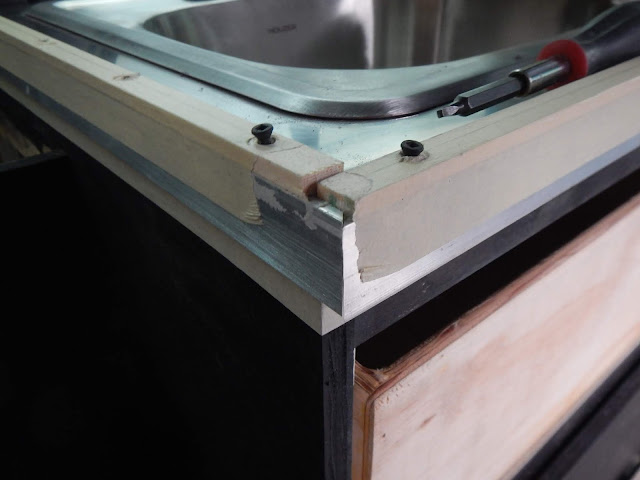
(above) Next, U - channel aluminum was cut to fit over the wood/flat aluminum... Silicone caulking bonds the wood to the aluminum and provides the necessary waterproofness between the aluminum and stainless steel...
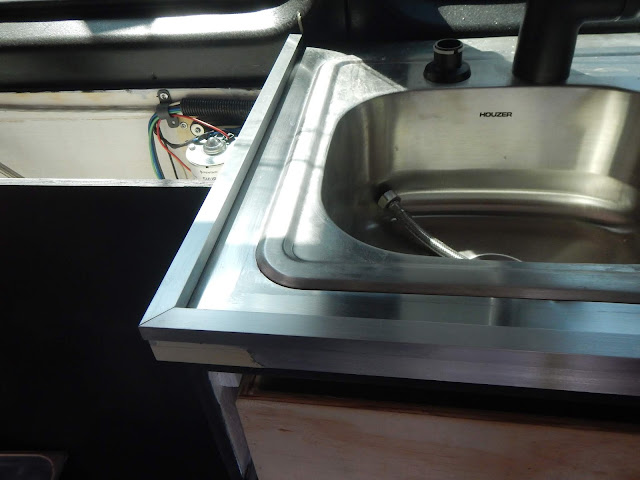
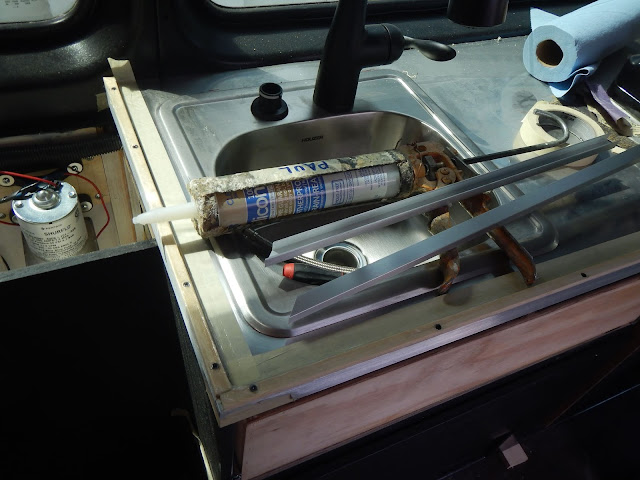
(above) Tapped snugly into place with a soft faced hammer, the caulking line cleaned up next, then the masking tape is pulled... Tomorrow the corners will be sanded with 220 grit to be flush and the sharp corners eased slightly...
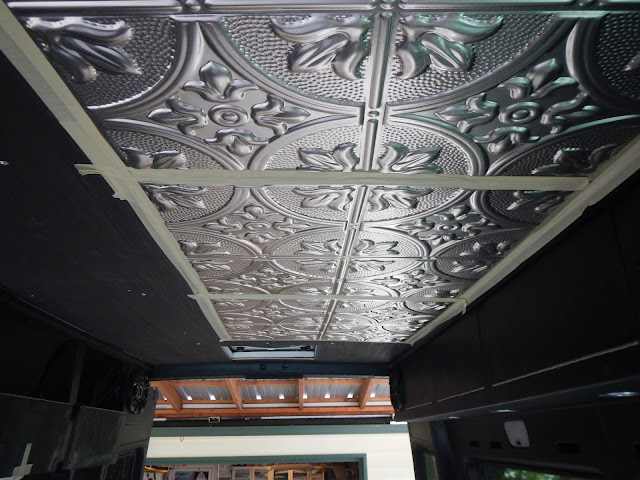
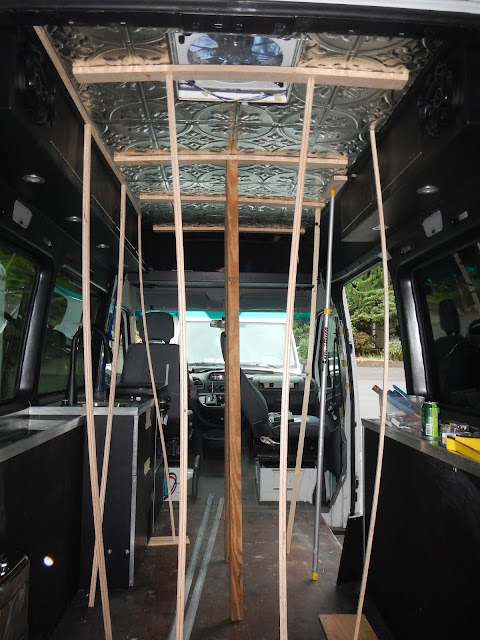
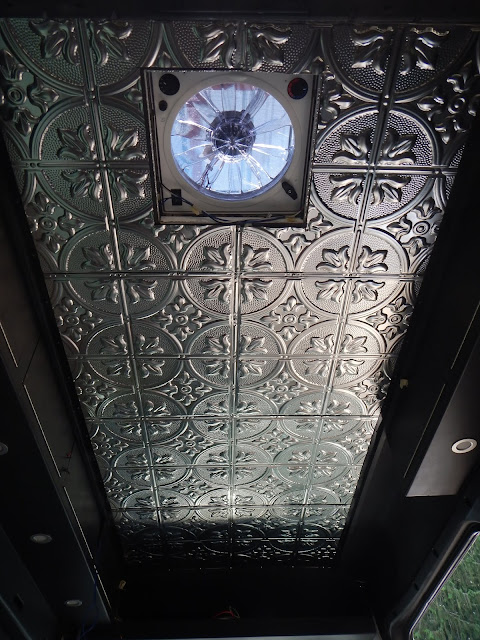
(above) The tin ceiling tiles finally arrived... I taped a few to the plywood backing to get a sense of how it will look...
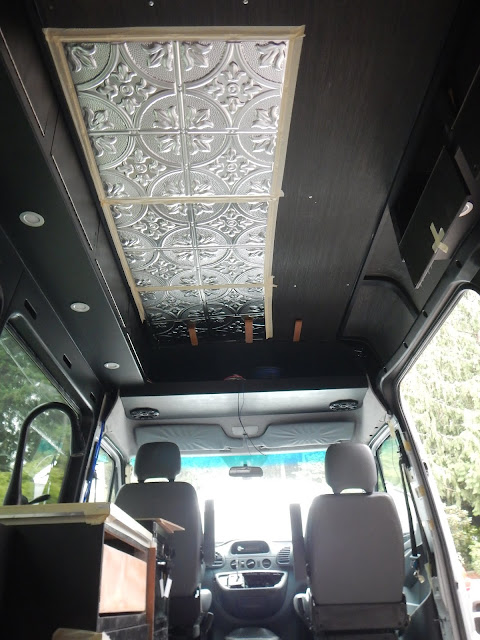
(above) At first it seemed out of proportion, but I think it will balance out all the darkness of the cabinetry and add some lightness and levity to an other wise cave-like ambiance... Good choice Tyler...!!!...