pygmyowl
Member
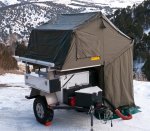
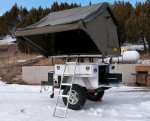
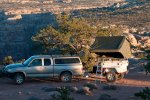
2007 AT Horizon Trailer
I purchased the trailer new in August of 2007. It is in excellent condition; it has always been garaged when not in use and it has never been flipped or involved in an accident. All three sides of the nose box as well as the front of the side boxes have been Rhino lined.
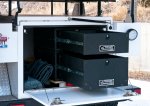
I was constantly “tinkering” with the trailer during the 2 ½ years I owned it. Originally I had an Engel fridge in the trailer cargo box, but I found that I liked the fridge in the bed of my ‘06 Tundra (which is also for sale) better and had my fridge hooked up to a National Luna Power Pack there. I found it much more versatile having the fridge in truck, as often I only took the truck out wheeling without the trailer. That is when I got the idea to install the AT Composite Drawers where the fridge was.
The Adventure Trailer is absolutely fantastic and the guys at Adventure Trailers are legendary, but I chanced upon a used 2007 SMB that was locally available and that is the direction I’m headed now.
The trailer includes:
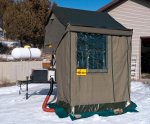
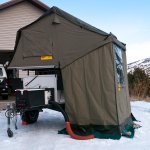
• Eezi Awn Globetrotter Tent & removable ladder (like new only been on 1 week trip, sold the original EA 1800 & purchased the GT in September 2009 – it is one sweet little set up with a instant roof over your head and four zip together panels to make a small room when it is cold out – bomber shelter and had local canvas shop sew heavy duty coated nylon wall tent material ( additional 10”) to the bottom of panels to stop drafts and allows you to really stake it out well
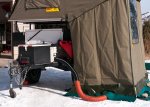
• Espar D4 Diesel Heater including thermostat and high altitude kit (spec to 14,000’) mounted on trailer (totally self contained) – fuel draws from Scepter Military 10 L fuel can (sips diesel fuel, approx. .25L/HR @ Medium) - will quickly heat the GT 4 paneled “sitting room” and sleeping area all at once- used “Aeroduct” high temp silicone impregnated “SCAT” flexible aircraft duct and slips easily under the GT’s side panel
• 2 AT Composite Drawers mounted in the main cargo box where a fridge would normally go, both 24” deep with the “24-B” (12” high) mounted on the bottom and a “24-A” (8.75” high) stacked on top of it, both drawers are 20” wide – still leaving another 14” open (width wise) from the drawers to the tail gate lip to slide in bulky items the full length of the cargo box – drawers provide incredibly easy access to food and gear
• 19 Gallon roto-molded water tank with brass drain valve
• Odyssey PC2150 Group 31 AGM 12v Deep Cycle Battery (always on the battery maintainer when not in use)
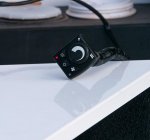
• Auxiliary 12V Power, with night light and 3 fused outlets
• Power Tender Plus 6 amp battery charger and maintainer with shore power inlet
• LED Work light mounted in back to the side of the tail gate with water proof toggle switch – can be turned to illuminate sliding drawers
• Electric Braked Axle with 10” drums (includes break-away kit)
• BFG 265/75/16 AT KO tires mounted on 06 Toyota Tundra wheels
• 4000 lb Lock-n-Roll Articulating Coupler with Silent Hitch Pin
• 6x6 F-35 Fiama awning and telescoping brackets
• 28” Wayne Stabilizer
• 2 Mac’s Custom Tie down rings installed in nose box (that’s where I secured my propane tank)
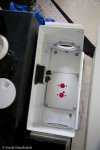
• SS bracket mounted in Nose box- for 20oz CO2 bottle that I used to adjust air pressure in my air bags & tires– easy to take out if you don't want it (two screws)
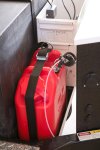
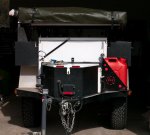
. AT Steel Fuel Can Holder and Red 20L Scepter Fuel Can
$13,600
Attachments
-
 _1000354.jpg133.8 KB · Views: 514
 -
 _1000366.jpg83.4 KB · Views: 674
 -
 _1000372.jpg106.8 KB · Views: 589
 -
 _1000373.jpg64.7 KB · Views: 537
 -
 _1000376.jpg121.6 KB · Views: 472
 -
 _1000377.jpg151.5 KB · Views: 519
 -
 _1000405.jpg101.3 KB · Views: 582
 -
 _1000383.jpg127.6 KB · Views: 637
 -
 _1000378.jpg80 KB · Views: 549
 -
 _SAM2063.jpg171.1 KB · Views: 534
Last edited:

