You are using an out of date browser. It may not display this or other websites correctly.
You should upgrade or use an alternative browser.
You should upgrade or use an alternative browser.
24" Hightop Express Rear Build-out
- Thread starter Len.Barron
- Start date
Len.Barron
Observer
Len.Barron
Observer
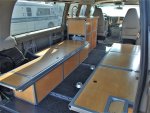
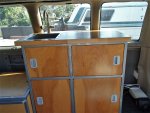
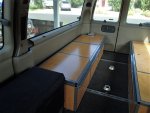
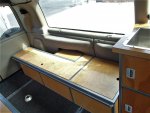
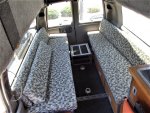
At some point I'll tackle all custom interior panels, but, I've got a deadline of mid-august to make a trip so I'm using my stock interior plastics/panels as best I can, on the drivers side I had to notch 3" extra to allow the cushion to fit properly, beyond that it was mostly just cutting off the bottom half of them, thankfully they are in pretty good shape.
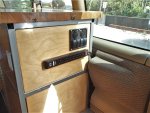
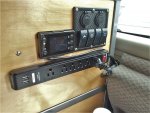
Also installed a power station on the front of the galley, pretty straight forward stuff, one switch is the main, the others provide individual loads.
Also installed a power station on the front of the galley, pretty straight forward stuff, one switch is the main, the others provide individual loads.
Attachments
Len.Barron
Observer
Len.Barron
Observer
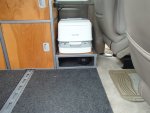
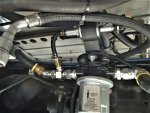
Completed the chinese heater install today and got a good operational check on it...I had bought the fuel fittings awhile back but just got to this as it had to be powered up to prime/bleed it. It puts out some serious heat! That allowed me to get the potty back in...also made myself a nice sturdy step and had it powder coated with the rest of the stuff.
Attachments
Len.Barron
Observer
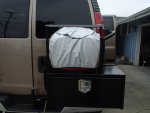
The bulk of the wiring is done shy of the solar panels (due in tomorrow), buy the end of this week it should be self sustaining. I bought a "generator skin" off amazon for a honda eu2000, it's a close-enough fit, I can just push it up out of the way to use it and the reataining mount holds it from flying off. Second power strip at the passenger rear door jam.
Attachments
Len.Barron
Observer
45Kevin
Adventurer
Hey Len, the argument for a separate swing out is often that the doors won't support the weight of the swing out and load. They would start sagging, implying deformation of either the hinges, the hinge jambs or the door itself.
Doesn't mounting the swing out hinges to the door hinges put the same load on the door jambs?
Thinking along the KISS line, why wouldn't some strategic backing on the inside of the door be sufficient to hold a rack mounted on the outside of the door?
I see people often attach cabinetry to the rear side door, without any reports of ill effects. Albeit, the weight of the load is probably less.
I'm just thinking this out as I sit here and procrastinate building my own swing out.
Dat's a solar by the way.
Len.Barron
Observer
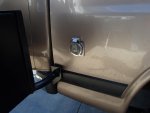
There's a lot more structure in the rear door jam/body corner than a door, not that a door couldn't be beefed up but that too will make the door heavier putting (again) more on that hinge pin wear point.. My spare has got to weigh 85lbs, add the tire carrier plus beef up structure and I'd be a 110lbs easy, those hinges will only tolerate so much of that. On the other side with the toolbox and generator I'll be in the 120lbs range.the argument for a separate swing out is often that the doors won't support the weight of the swing out and load. They would start sagging, implying deformation of either the hinges, the hinge jambs or the door itself.
Doesn't mounting the swing out hinges to the door hinges put the same load on the door jambs?
Thinking along the KISS line, why wouldn't some strategic backing on the inside of the door be sufficient to hold a rack mounted on the outside of the door?
With the setup I have all that is bore by the structure, the hinge/door don't carry any of it at all.
This is a pretty easy/cheap fix that I haven't found any downside to.
Last edited:
Len.Barron
Observer
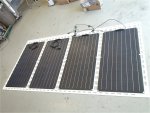
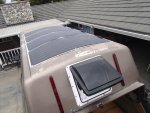
dry run/loose fit up of the solar system...figures a no sun day in San Diego but still making good power...I think I'm going to need more ty-wraps.
Now that I know it works I'll get to permanently sealing the panels, with the 6ea 5/16" truss head screws they aren't coming off but I want to keep the air/water from getting up under the edges.
Still a bit to do.
Now that I know it works I'll get to permanently sealing the panels, with the 6ea 5/16" truss head screws they aren't coming off but I want to keep the air/water from getting up under the edges.
Still a bit to do.
Attachments
Len.Barron
Observer
the top obviously needs some paint/clearcoat repair; but, those are "tomorrow Len" problems..."today Len" has plenty of real stuff left to fix.
Len.Barron
Observer
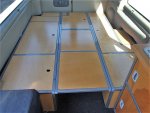
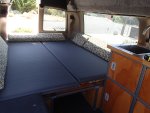
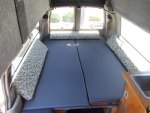
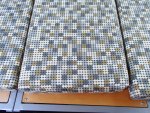
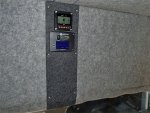
Cushion and mattress layout; 3" foam cushions and 2.5" self inflating camping mattress makes for a nice comfortable sleeping surface. Also got the solar monitor and inverter remote installed, the new polymat is quite a bit darker than the 19yr that was already there but I can learn to live with that..
Attachments
Len.Barron
Observer
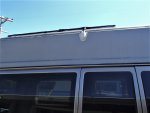
Got the solar panel wires groomed up a bit and installed some 1.25" split loom to keep the sun off of them...this is temporary until I'm sure this set up is going to do the trick.
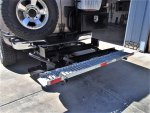
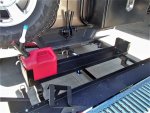
Made a couple changes to the scooter carrier, it was a bit wider than the track width of the van so I cut 2" off both sides. I also converted the ramp that came with it to a storage tray; I'm using a leftover ramp I had as it will give better traction for loading.
Made a couple changes to the scooter carrier, it was a bit wider than the track width of the van so I cut 2" off both sides. I also converted the ramp that came with it to a storage tray; I'm using a leftover ramp I had as it will give better traction for loading.
Attachments
Similar threads
- Replies
- 6
- Views
- 2K
- Replies
- 3
- Views
- 1K
- Replies
- 3
- Views
- 3K
- Replies
- 1
- Views
- 1K


