Im not really sure this will fit the bill of an "expo" trailer, but I hope for it to be as multi-functional as possible.
Its a 6x14 white enclosed cargo trailer with V-nose and ladder rack on top. I need to be able to haul my quad in it, and possibly a snowmobile once in a while. It will become an ice fishing shack in the winter. And it will be a camper in the summer. The bad part is it isnt light and it doesnt have great clearance.
I've got this build already started over on Iceshanty so I'll just copy and paste it here if that's alright with the moderators. The build will be primary geared towards ice fishing, but it will be built with overland expeditions in mind as well. The tow vehicle is my 2000 Grand Cherokee.
Its a 6x14' cargo trailer. 2001 model year with a V-nose and ramp door. It even had a ladder rack installed by the previous owner.
The plan is to cut some holes in the floor and mount some access hatches. Im not going to make it drop down, Im just going to use sleeves. This thing still has to pull double and triple duty as a camper and hunting shack and will see some rough mountain roads.
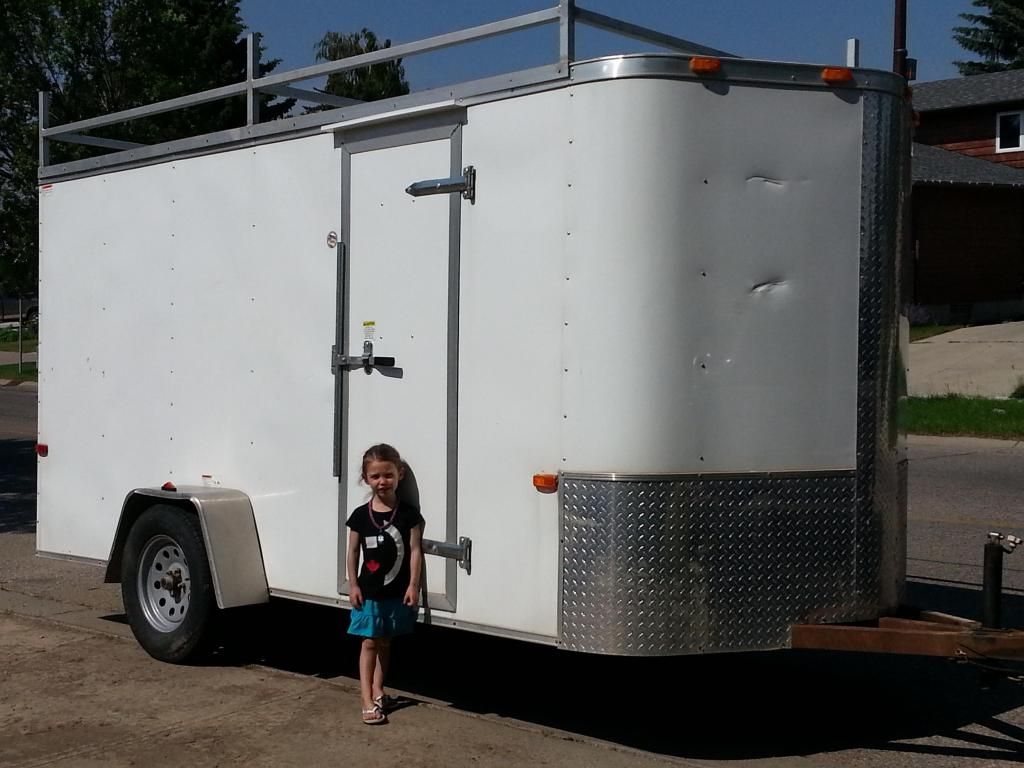
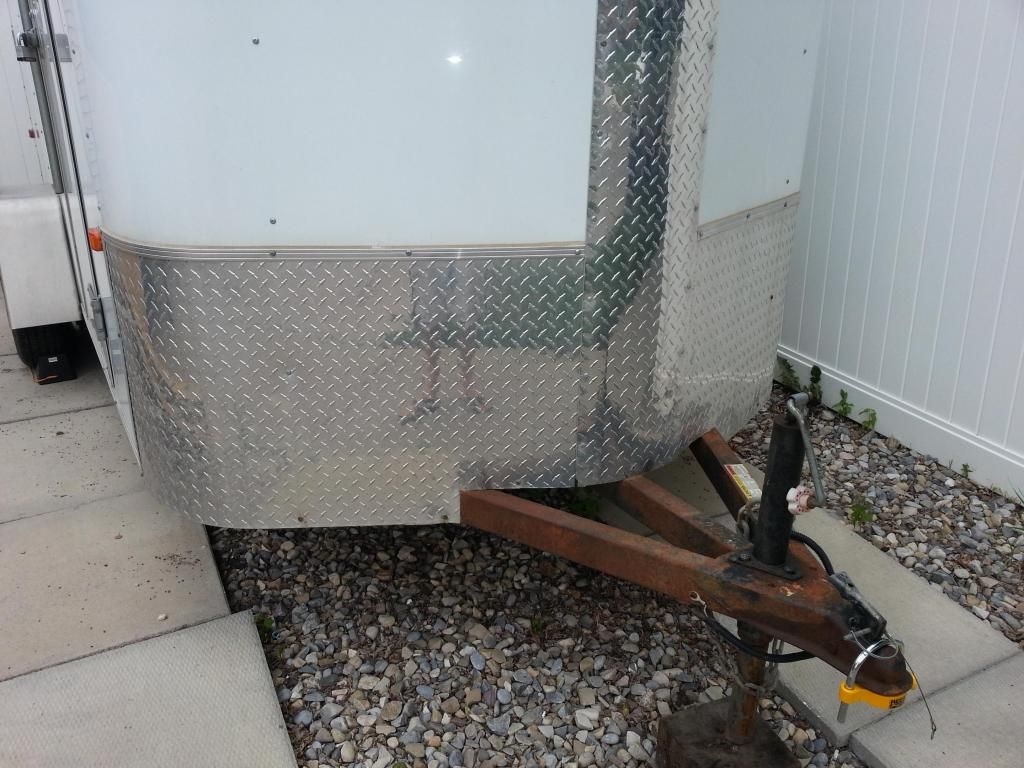
Enough rambling, here's the pics of delivery day. Ignore the missing bumper on the tow vehicle. It has a winch bumper being fabricated.
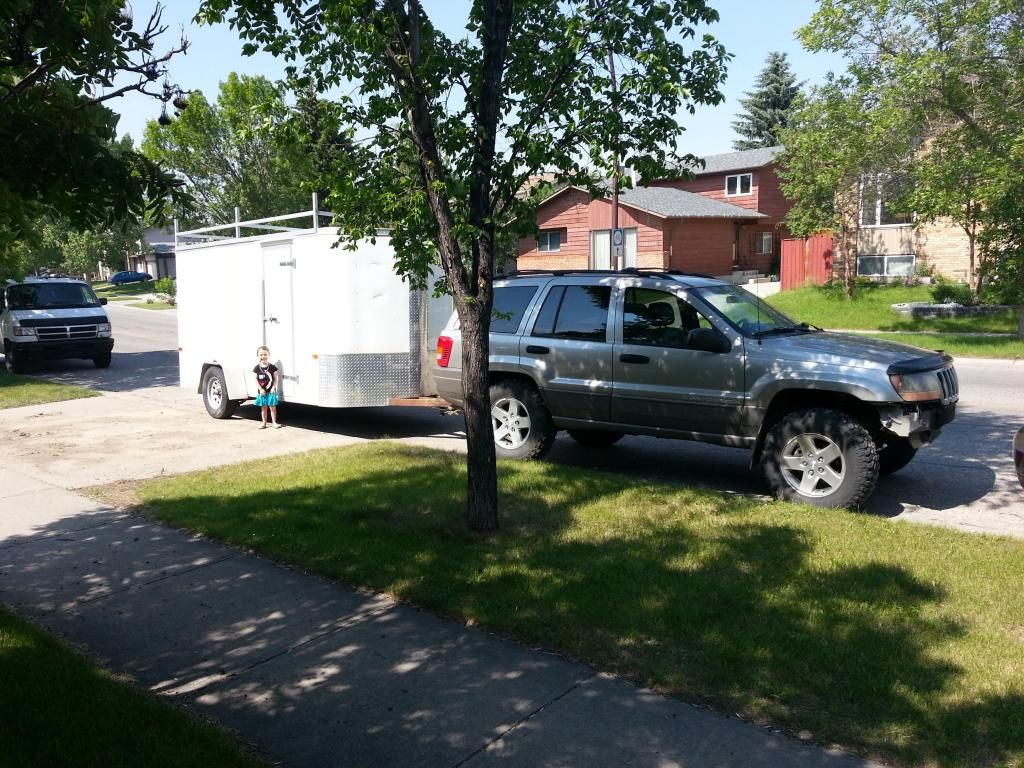
Someone saw me about to take a picture and had to run up to get in on it. Lol.
It has a few dents and dings, but I dont care. Its functional.
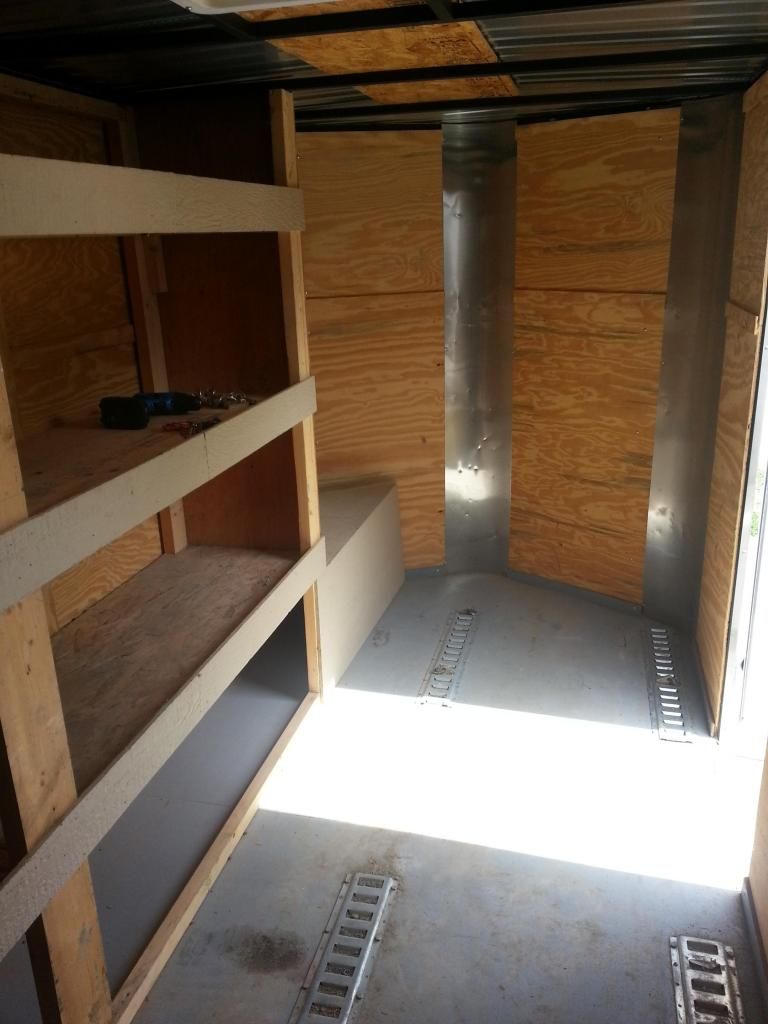
It had shelves built inside, but the quad wont fit with them in there so they were the first thing to go.
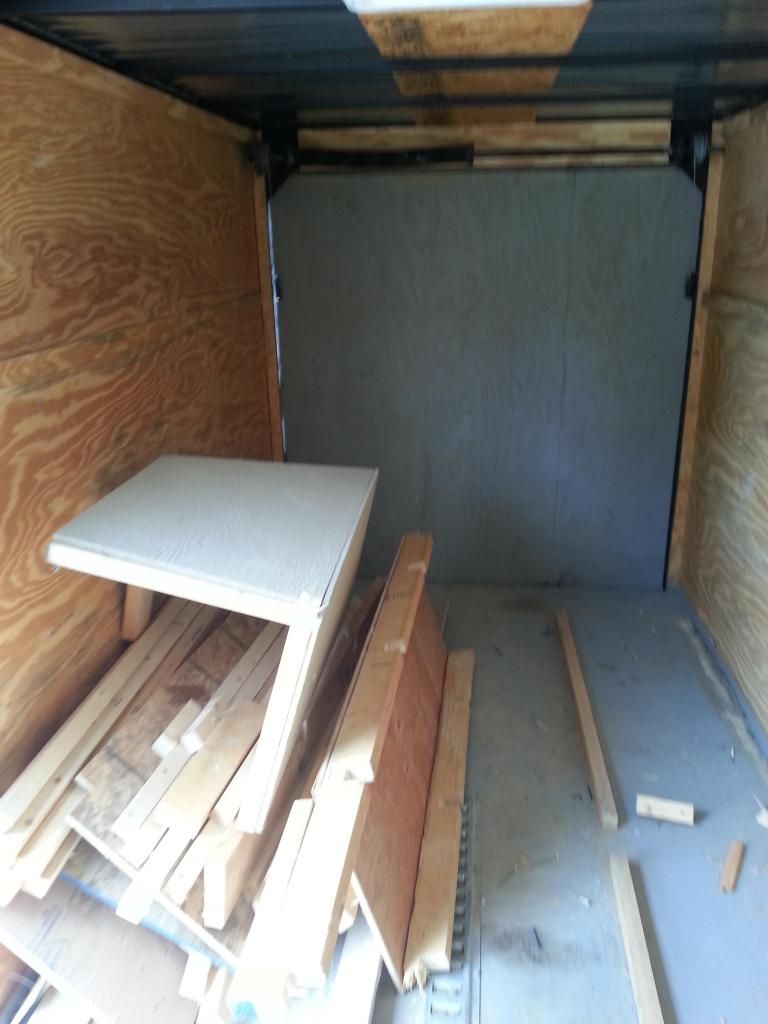
Thats it so far. I've only owned it 24 hours so far.
I picked up a small 19" LCD TV and adjustable mount for entertainment and to watch the underwater cam. That will be mounted up on the V-nose above a small cabinet. It will be a very slow build over the summer. Eventually I want to add solar under the ladder rack on the roof. Hopefully the ladder rack protects the panels without shading them too bad. Lots of plans, no time or money. Lol.
Im going to try to get to the big box store tonight to pick up some 1" insulation and then that can get started.
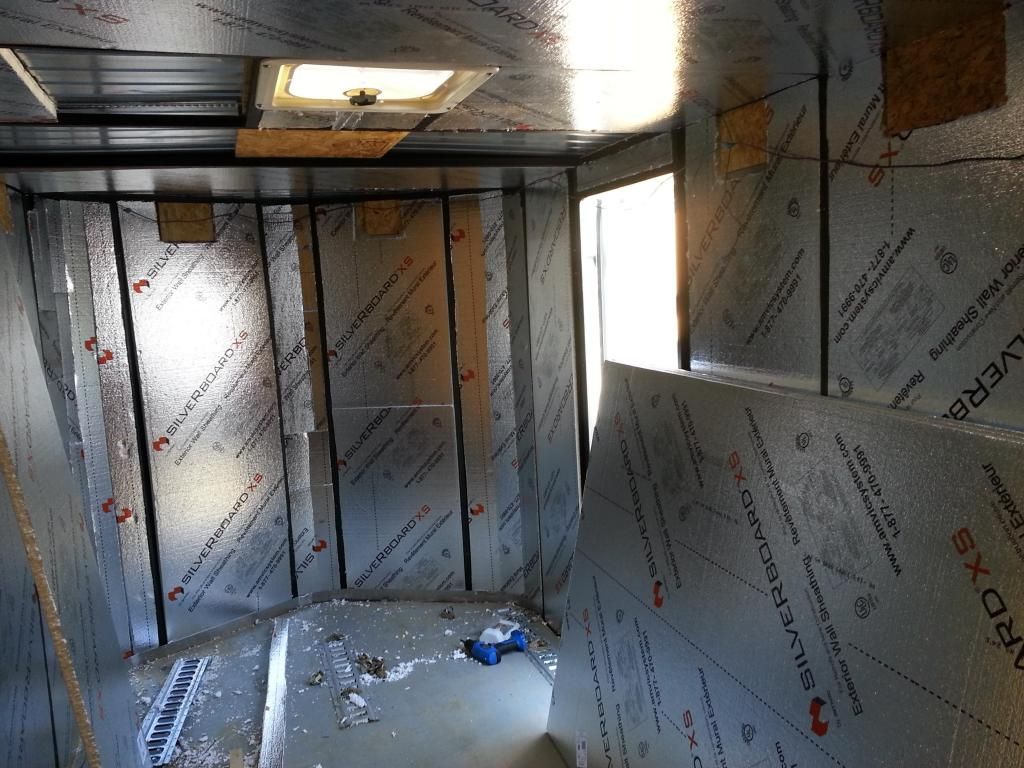
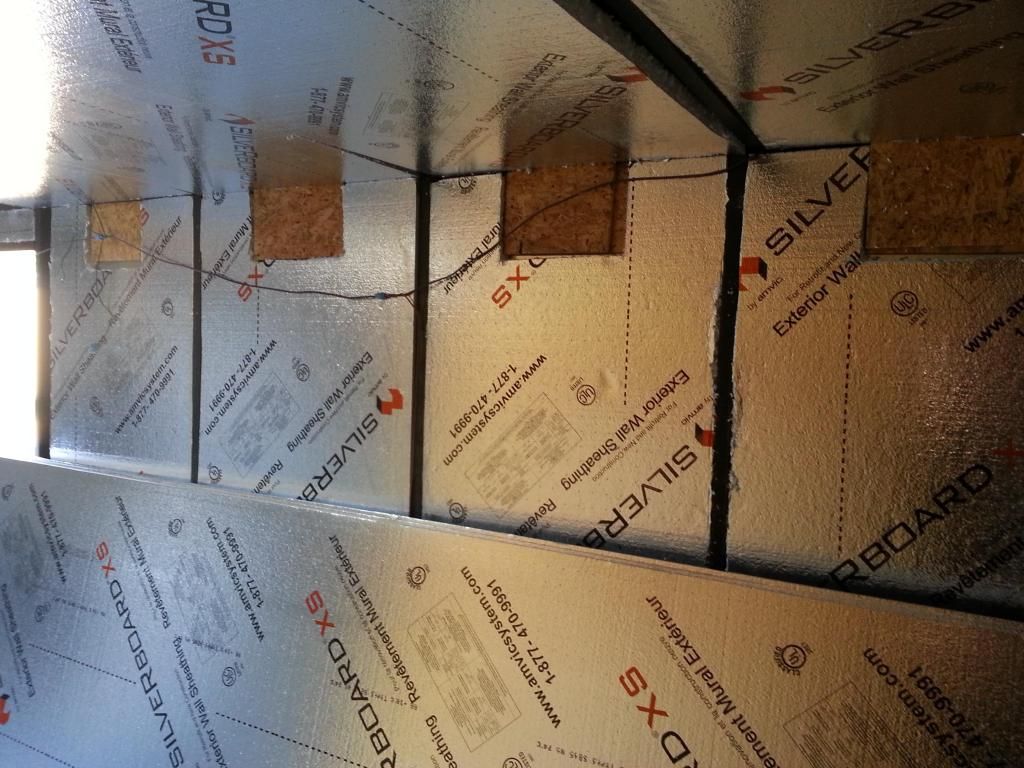
Got it mostly insulated. One wall, ceiling and half the other wall (the curved hard part). I'd say its 70% donebeing insulated. I needed a break from the heat though so Im done for the day.
I didnt accomplish a whole lot today, but I did do a little.
I cleaned up the garage a bit so I can find and access my tools. It is still an absolute disaster, but it will have to be that way until I can clear out a project or ten.
In the process of cleaning the garage I pulled out the old tent trailer furnace (Hydroflame) and tried to get it started up. SUCCESS! The fan works beautifully. No squeaks or squeals. It lights up without hesitation and blows nice hot air. Im super happy. Now I just need to figure out what vent kit I need and get that ordered. Im not sure how the sizing works. They seem to have 8", 10", 12" vents. Im not sure where they are taking that measurement, but Im sure I'll get it figured out.
I also started gluing in the insulation. I way underestimated how much adhesive I would need, so I'll need to pick more up. I ran out of spray foam too.
The placement of the furnace is going to be difficult. I wish I could center it up front on the V nose, but the exterior vent needs to mount on a flat surface. I might try to find a way to angle the vent and have it exit straight out one side of the V. Im no sheet metal guru though so I dont even know if its possible.
Anyways, text is boring and pictures are easier to understand. So I'll run out to the garage and snap some pics.
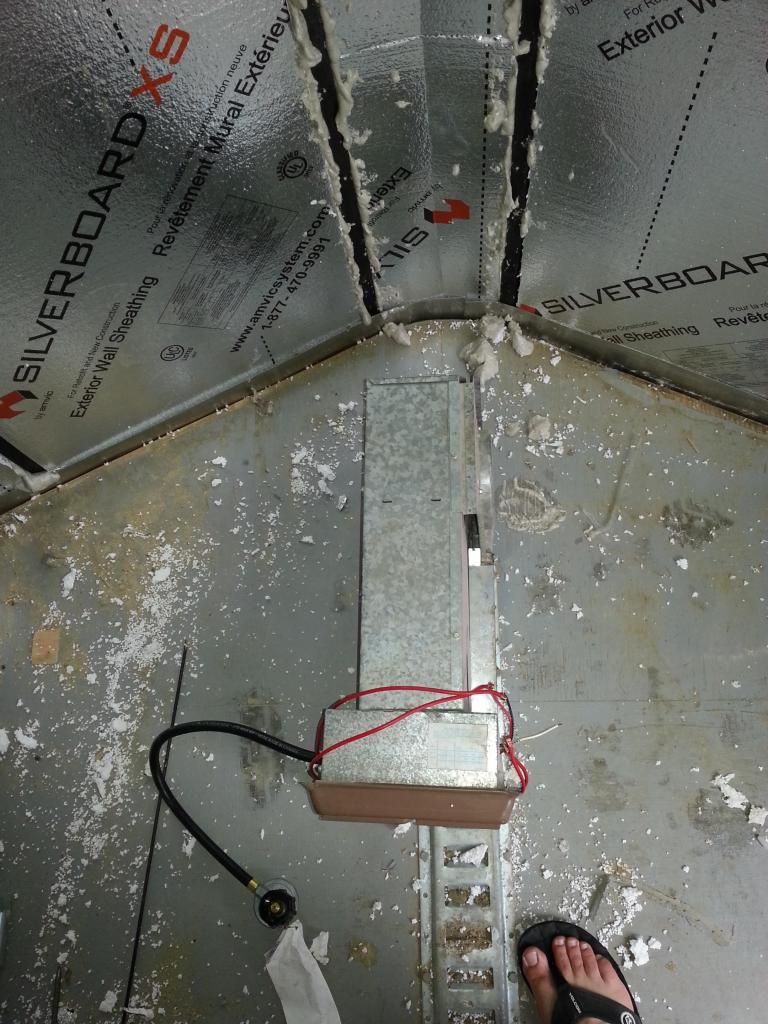
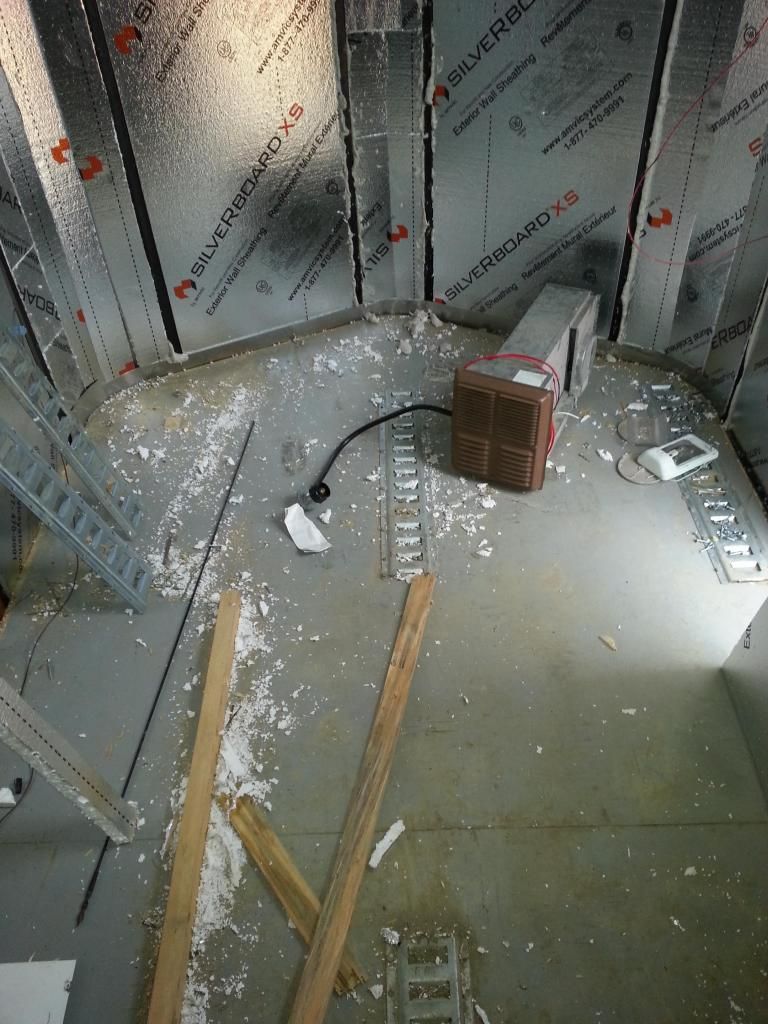
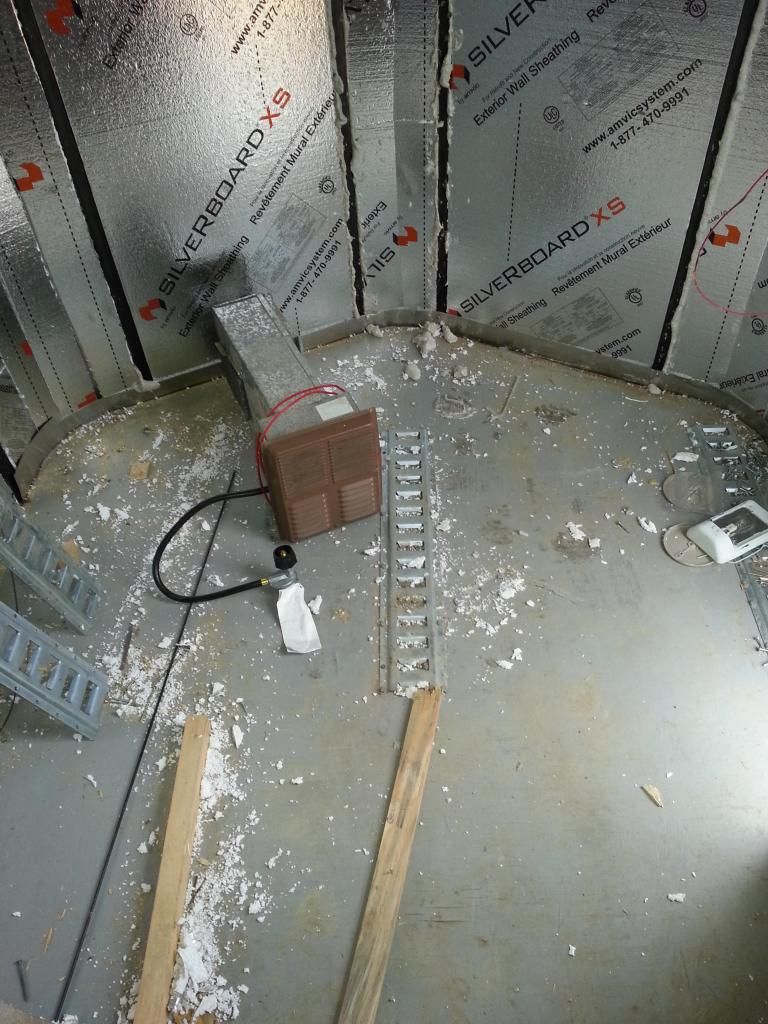
Ok so here's the furnace and how I'd prefer to have it located in the trailer. Ignore the mess of foam.
Unfortunately as you can see, the vent would be pointed straight at the tip of the nose. The style of venting I need is Im pretty sure similar to this:

So the easiest way to mount it I think would be like this:
This setup would allow the furnace to point away from the door (to avoid wasting heat when the door gets opened), and should push the vent far enough from the nose that it wont affect the propane tanks themselves on the tongue. Im thinking dual tanks, but I may not need two.
One of the major problems would be the face of the cabinet would be at an angle. Sure I could angle the other side and have a V shaped cabinet, much like the front of the trailer, but that creates a construction nightmare for the cabinets. It would be soo much easier to just make the cabinet flat straight across. I dunno. Maybe I'll be custom making the vent afterall.
Another problem is that would have the exhaust vent closest to the door. As much as I doubt any fumes would enter through the door, that possibility exists. And if I point it the other way as seen here:
Then the exhaust vent is opposite the door but the heat would get blown straight out if the door were opened.
Decisions, decisions!
Here's a pic of the sweet blue flame of SUCCESS!

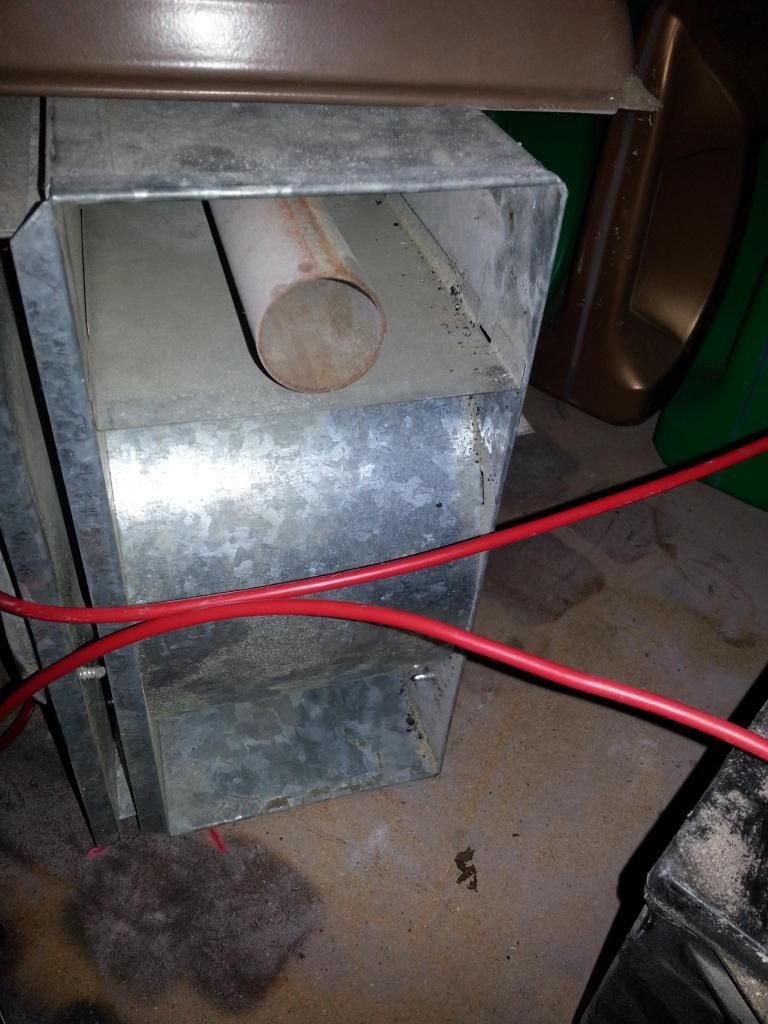
And heres the back exhaust vent section. Rectangular top part is the fresh air intake from what I can see. The round 1.25" tube is the combustion exhaust. Ignore the wires. They were temporary for testing purposes.
There is pretty limited space on the tongue so I have to figure out where Im going to put the propane tank(s) and battery without making it too tongue heavy.
Its a 6x14 white enclosed cargo trailer with V-nose and ladder rack on top. I need to be able to haul my quad in it, and possibly a snowmobile once in a while. It will become an ice fishing shack in the winter. And it will be a camper in the summer. The bad part is it isnt light and it doesnt have great clearance.
I've got this build already started over on Iceshanty so I'll just copy and paste it here if that's alright with the moderators. The build will be primary geared towards ice fishing, but it will be built with overland expeditions in mind as well. The tow vehicle is my 2000 Grand Cherokee.
Its a 6x14' cargo trailer. 2001 model year with a V-nose and ramp door. It even had a ladder rack installed by the previous owner.
The plan is to cut some holes in the floor and mount some access hatches. Im not going to make it drop down, Im just going to use sleeves. This thing still has to pull double and triple duty as a camper and hunting shack and will see some rough mountain roads.
Enough rambling, here's the pics of delivery day. Ignore the missing bumper on the tow vehicle. It has a winch bumper being fabricated.

Someone saw me about to take a picture and had to run up to get in on it. Lol.
It has a few dents and dings, but I dont care. Its functional.

It had shelves built inside, but the quad wont fit with them in there so they were the first thing to go.


Thats it so far. I've only owned it 24 hours so far.
I picked up a small 19" LCD TV and adjustable mount for entertainment and to watch the underwater cam. That will be mounted up on the V-nose above a small cabinet. It will be a very slow build over the summer. Eventually I want to add solar under the ladder rack on the roof. Hopefully the ladder rack protects the panels without shading them too bad. Lots of plans, no time or money. Lol.
Im going to try to get to the big box store tonight to pick up some 1" insulation and then that can get started.
Got it mostly insulated. One wall, ceiling and half the other wall (the curved hard part). I'd say its 70% donebeing insulated. I needed a break from the heat though so Im done for the day.


I didnt accomplish a whole lot today, but I did do a little.
I cleaned up the garage a bit so I can find and access my tools. It is still an absolute disaster, but it will have to be that way until I can clear out a project or ten.
In the process of cleaning the garage I pulled out the old tent trailer furnace (Hydroflame) and tried to get it started up. SUCCESS! The fan works beautifully. No squeaks or squeals. It lights up without hesitation and blows nice hot air. Im super happy. Now I just need to figure out what vent kit I need and get that ordered. Im not sure how the sizing works. They seem to have 8", 10", 12" vents. Im not sure where they are taking that measurement, but Im sure I'll get it figured out.
I also started gluing in the insulation. I way underestimated how much adhesive I would need, so I'll need to pick more up. I ran out of spray foam too.
The placement of the furnace is going to be difficult. I wish I could center it up front on the V nose, but the exterior vent needs to mount on a flat surface. I might try to find a way to angle the vent and have it exit straight out one side of the V. Im no sheet metal guru though so I dont even know if its possible.
Anyways, text is boring and pictures are easier to understand. So I'll run out to the garage and snap some pics.
Ok so here's the furnace and how I'd prefer to have it located in the trailer. Ignore the mess of foam.

Unfortunately as you can see, the vent would be pointed straight at the tip of the nose. The style of venting I need is Im pretty sure similar to this:
So the easiest way to mount it I think would be like this:

This setup would allow the furnace to point away from the door (to avoid wasting heat when the door gets opened), and should push the vent far enough from the nose that it wont affect the propane tanks themselves on the tongue. Im thinking dual tanks, but I may not need two.
One of the major problems would be the face of the cabinet would be at an angle. Sure I could angle the other side and have a V shaped cabinet, much like the front of the trailer, but that creates a construction nightmare for the cabinets. It would be soo much easier to just make the cabinet flat straight across. I dunno. Maybe I'll be custom making the vent afterall.
Another problem is that would have the exhaust vent closest to the door. As much as I doubt any fumes would enter through the door, that possibility exists. And if I point it the other way as seen here:

Then the exhaust vent is opposite the door but the heat would get blown straight out if the door were opened.
Decisions, decisions!
Here's a pic of the sweet blue flame of SUCCESS!

And heres the back exhaust vent section. Rectangular top part is the fresh air intake from what I can see. The round 1.25" tube is the combustion exhaust. Ignore the wires. They were temporary for testing purposes.

There is pretty limited space on the tongue so I have to figure out where Im going to put the propane tank(s) and battery without making it too tongue heavy.


