You are using an out of date browser. It may not display this or other websites correctly.
You should upgrade or use an alternative browser.
You should upgrade or use an alternative browser.
86 Suburban, warwgn's build.
- Thread starter warwgn
- Start date
2" body lift
Ok, so thinking on this and I am just about sure I am gona do it now. Reasons below for a 2"
1) will not hurt to replace the bushings and may help it, new bolts and all that
2) even with a 6" lift I have bad tire rub, this may be Suburban specific not sure if the fender wells are a little different and how the body sits on the frame, but 2" of lift should fix this.
3) gives more room for the distributor cap, trans in the tunnel, gets the fuel lines and tranny lines farther away from the headders.
4) gives more room to clock the t-case latter down the road.
5) I want to build a larger fuel tank and this gives me more capacity in gallons if I cam make the tank taller by 3 inches( was only gonna be 1")
6) will improve my approach and departure angles since I can make the bumpers higher when I build them.
Now I need to think the issues
1) radiator shround will now hit the fan so need to lower the radiator
2) lengthen the shifter for the t-case (trans uses a cable so no problem)
3) possible steering shaft issues (should go XJ upgrade anyway which would fix it?)
4) possible wiring adjustments
What else am I missing??
rube bonet
Adventurer
My .02, buy a sawzall, skip the body lift. The added COG, the leverage the taller body mounts cause the body to shift around more during wheeling, they look like crap, even when you build the bumpers too match.
You really don't need any extra room for the tranny, or distributor, but you will for the t case shift lever after you raise the body. I don't remember what tcase you have, but if the stick is mounted on the tcase, ala 205 or 203, yui really won't be able to use the shifter boots if you wheel it. The shifter pivot moved two inched below means the hole thru the floor has to be a lot bigger to account for the extra body shifting, and the swing of the shifter. There is enough movement the body can potentially knock the shifter out of gear...
It takes very little trimming to make 37's fit , especially with 6 inches of lift!
Chevrolado
Cruisin'
Wow. Great lookin rig! Man, I envy those that know motors and can do all that kind of work so easily.. Must.. gain.. knowledge!
Very cool swap and great looking truck. Nice work! Thanks for posting it up.
Very cool swap and great looking truck. Nice work! Thanks for posting it up.
lot to think on for sure. I really need to see a burb that has a body lift to really know how it looks, but function wise I am still struggling to really see a major down side. I did find a 1" lift kit wich I think would not be very noticable and wont require as much work.....how ever I loose some of the benefits of the extra inch.
tuff decision not real sure how I will go. One thing for sure I do want to replace all the bushings anyway so just need to decide what I will do before then so only got to do it once. Now is the time with the inside gutted I can get to any bolts very easy if any are inside that is??
tuff decision not real sure how I will go. One thing for sure I do want to replace all the bushings anyway so just need to decide what I will do before then so only got to do it once. Now is the time with the inside gutted I can get to any bolts very easy if any are inside that is??
Larry
Bigassgas Explorer
My .02, buy a sawzall, skip the body lift. The added COG, the leverage the taller body mounts cause the body to shift around more during wheeling, they look like crap, even when you build the bumpers too match.
You really don't need any extra room for the tranny, or distributor, but you will for the t case shift lever after you raise the body. I don't remember what tcase you have, but if the stick is mounted on the tcase, ala 205 or 203, yui really won't be able to use the shifter boots if you wheel it. The shifter pivot moved two inched below means the hole thru the floor has to be a lot bigger to account for the extra body shifting, and the swing of the shifter. There is enough movement the body can potentially knock the shifter out of gear...
It takes very little trimming to make 37's fit , especially with 6 inches of lift!
:iagree: Yeah, what he said! You don't have to be crazy to go with a body lift but it may help.
Tire rub is not the main reason I want to go body lift, I agree there are better ways to get the clerance for that if it was my only reason.
thanks to all for the reply's on this, every little bit helps, I did not think about the size of the hole for the shifter. I have a NP208 so it is just the rod and will not affect the shifter at all other than needing to lenghten the rod to attach the two and prevent it from binding. I did say lever but meant the conecting ron not the inside lever itself, but good info if someone else reads this and has the 205 T-case. That is the kind of stuff I was looking for the little bits I am not thinking about.
I will not go more than 2" no matter what I dont like the look when the body is way above the frame with daylight shining through. I do want to build a replacement Aluminum gas tank and had designed one to fit in the stock location that would net 65 gallons. With the body up 2 more inches I think I can get another 10-15 gallons out of it since I can go above the cross brace in the frame just behind the axel. I think I am gonna cut that brace and modify it to give more room for the tank, I would like to get 80 gallons net use and set a dummy light when it gets down to 5 gallons left. Even at 10MPG I would be able to go 750 miles with 40 reserve miles give or take, that allows me to shop arond for cheaper fuel and more important more range.
Anyway, I think there are other options to get where I want to be but just wanted input to the down sides of a body lift so I can make a well informed decision so I can make the right choice for me and what I want to do over all.
Ok just went out and looked it over and the bushings are shot, but the good new is the cross brace in the rear is just there for the gas tank strapss to bolt to so that blows my theory for the new tank. Seems I can go forwad a lot and can get the extra gallons with out a body lift.
legendaryandrew
Adventurer
Sick build man, can't wait to see that thing in action!
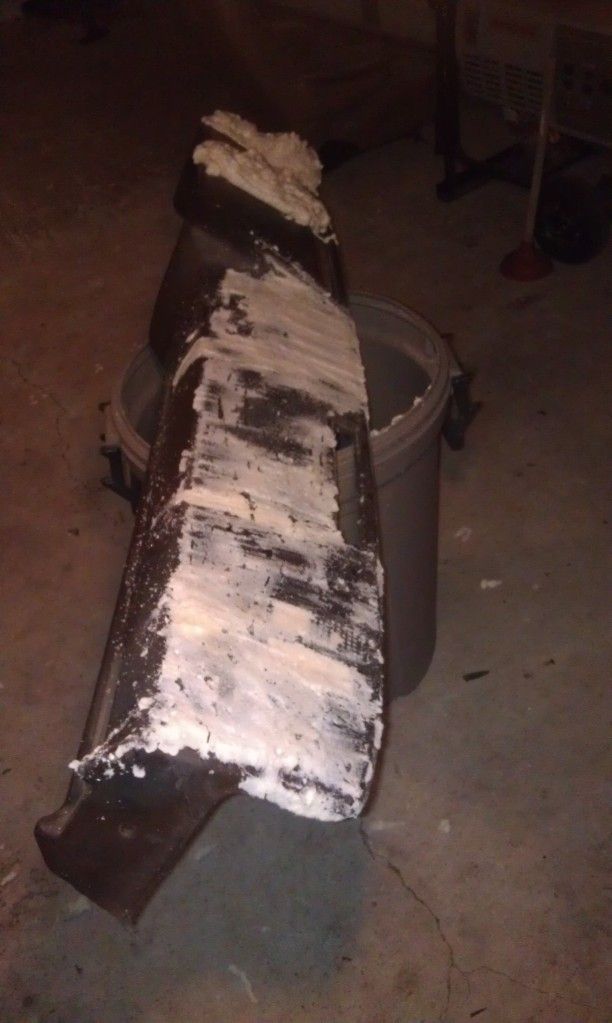
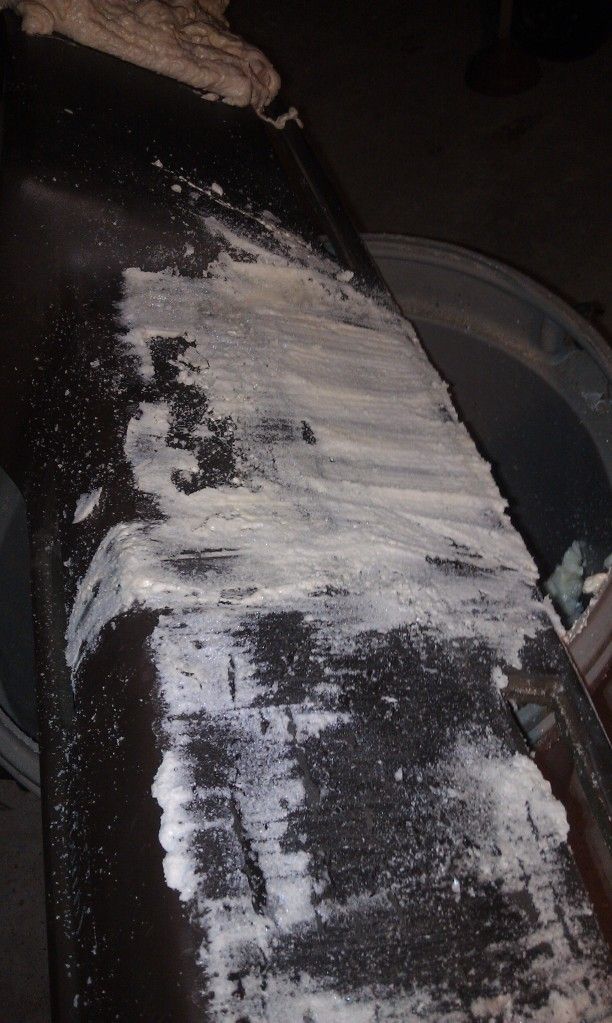
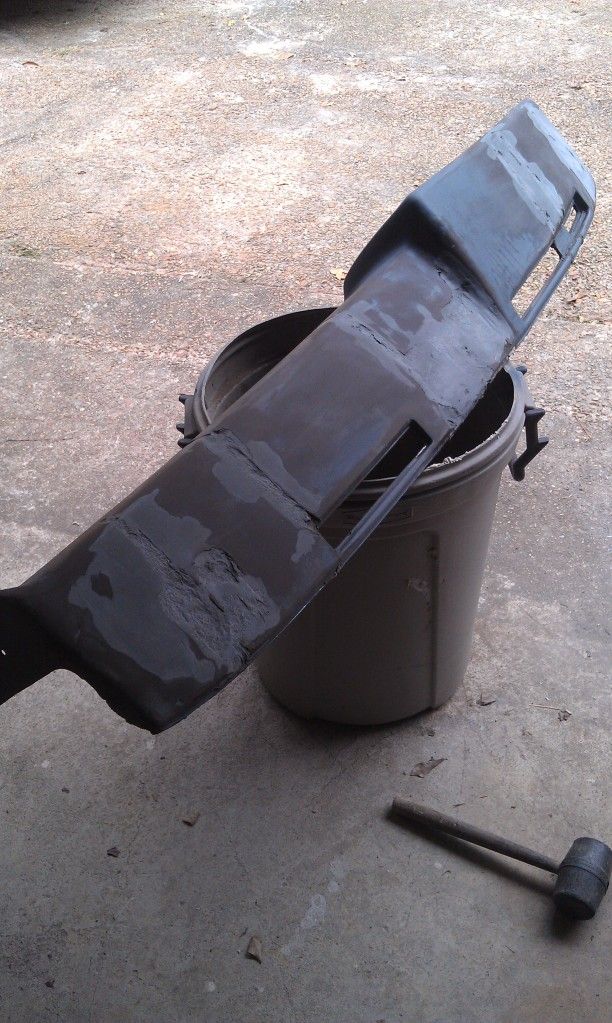
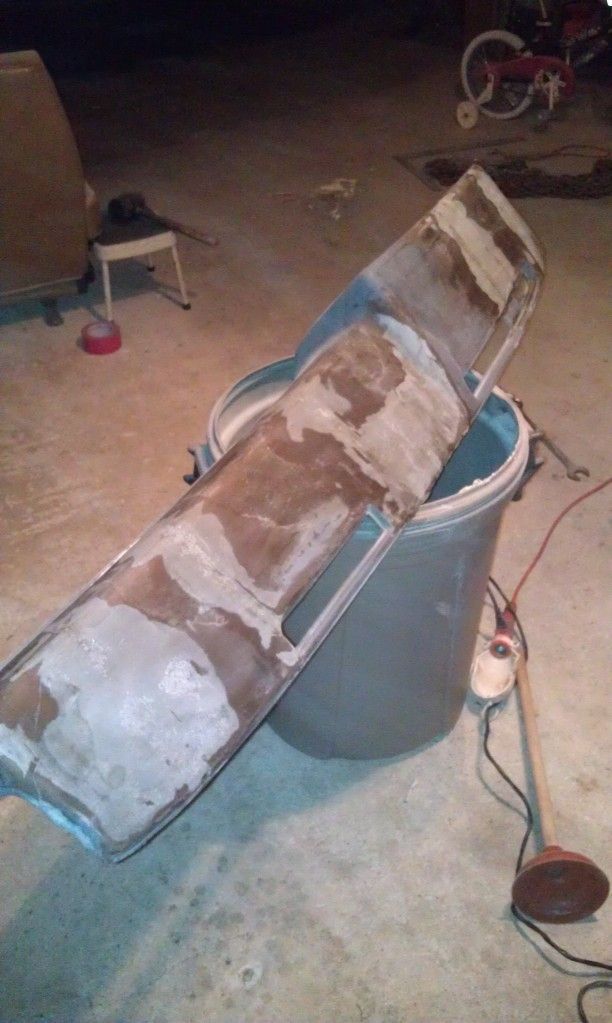
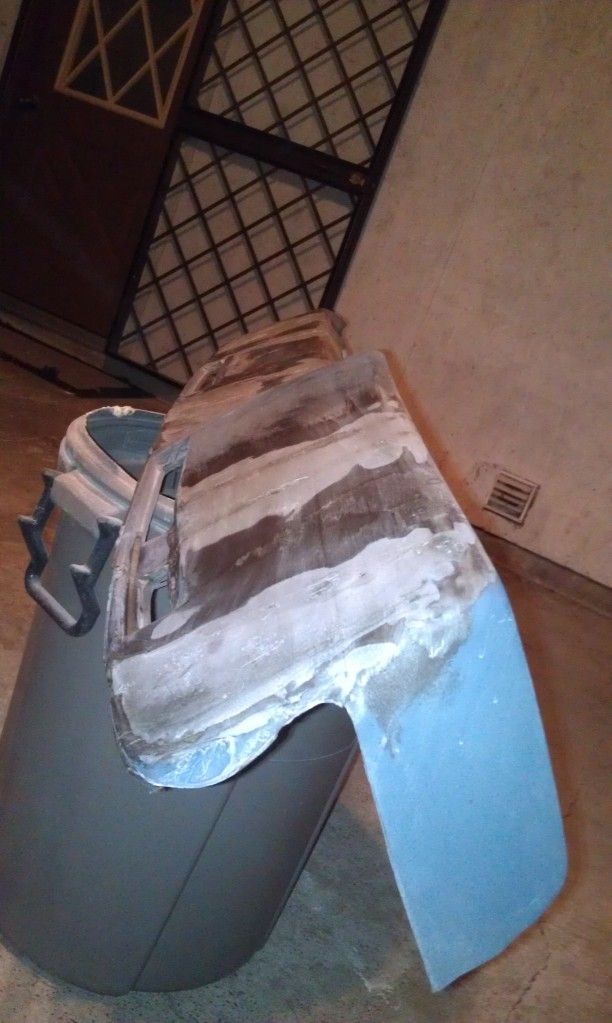
Little more sanding this morning, followed by a thin coat of primer to show the areas that need work. Might mix up the glass bondo later today.
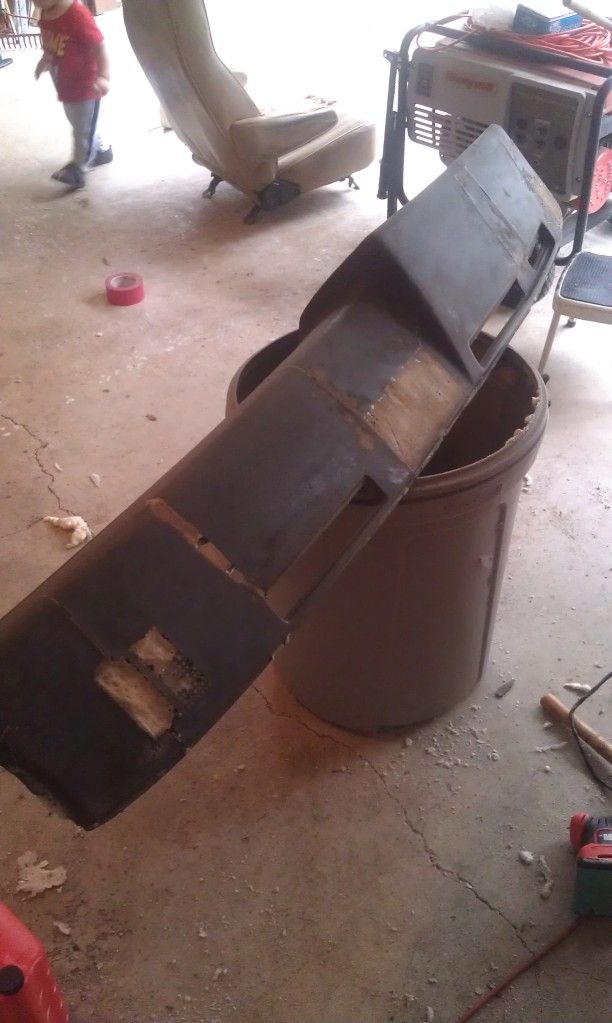
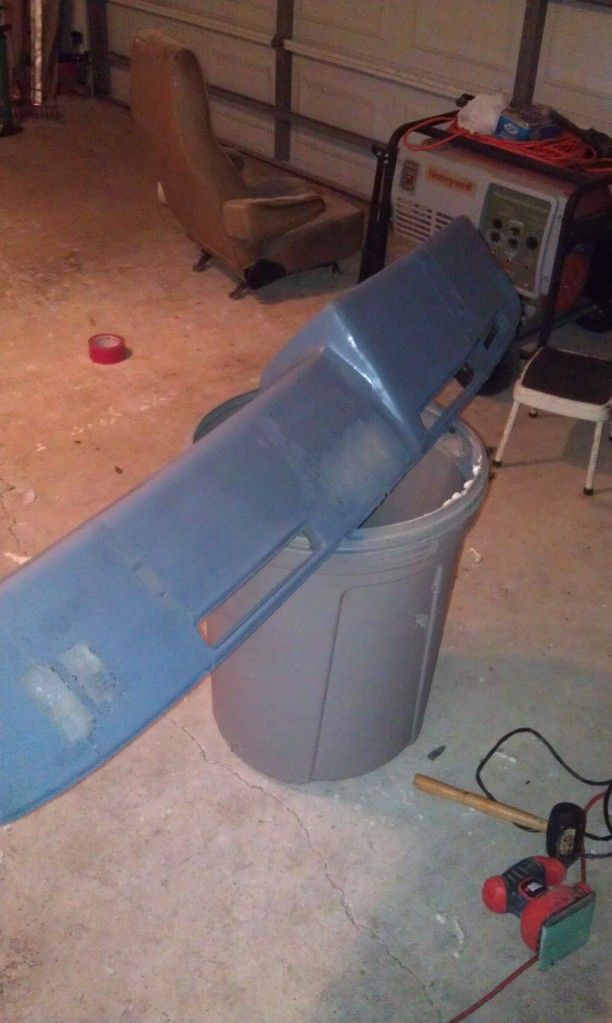
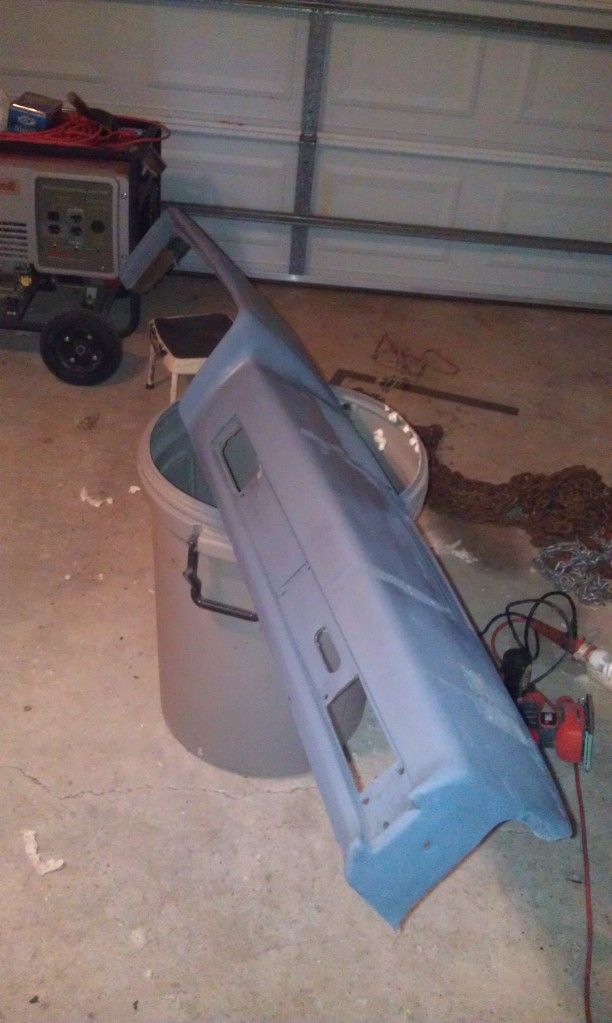
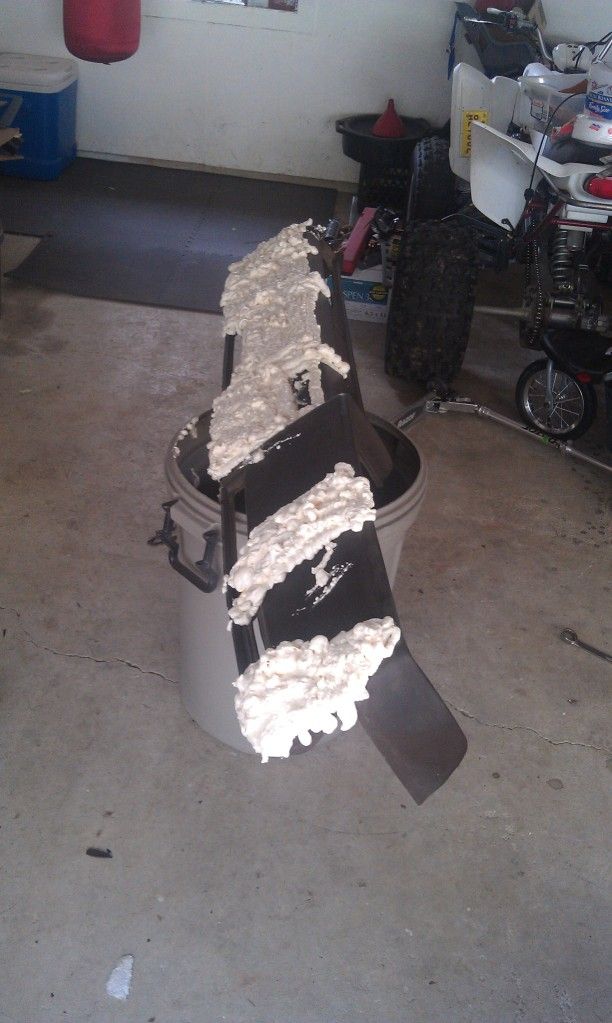
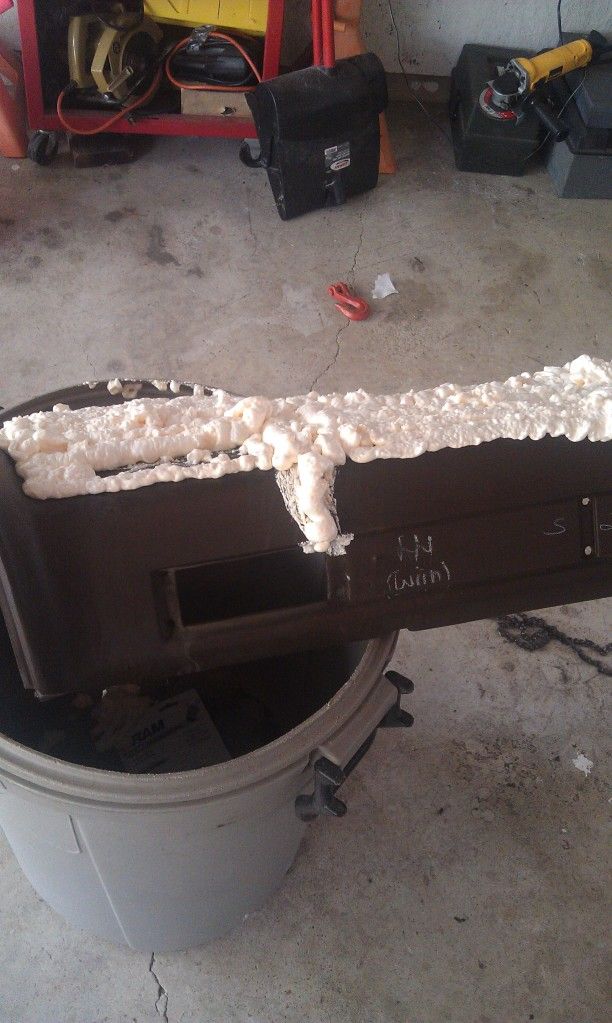
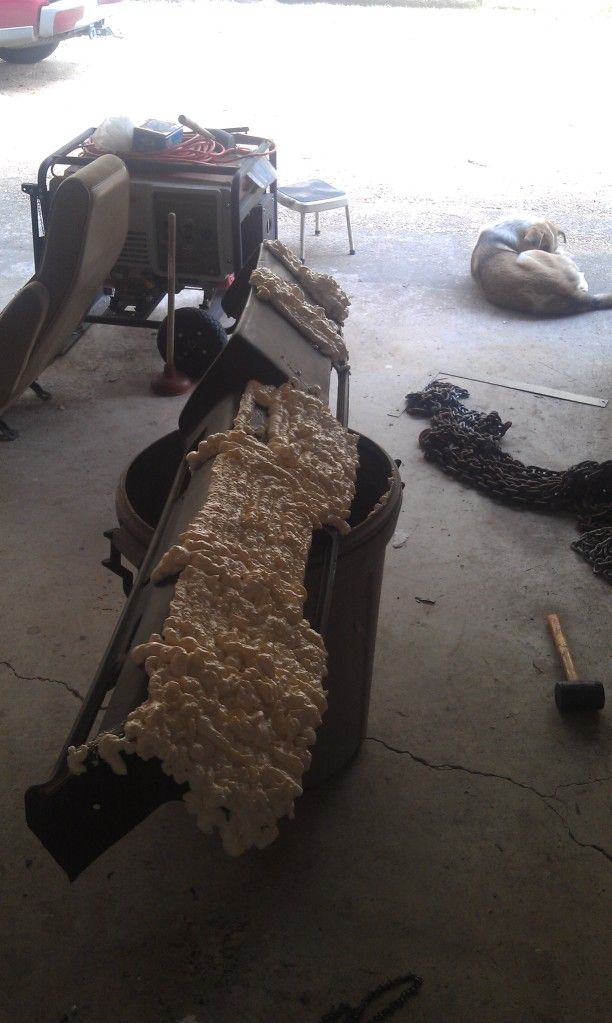
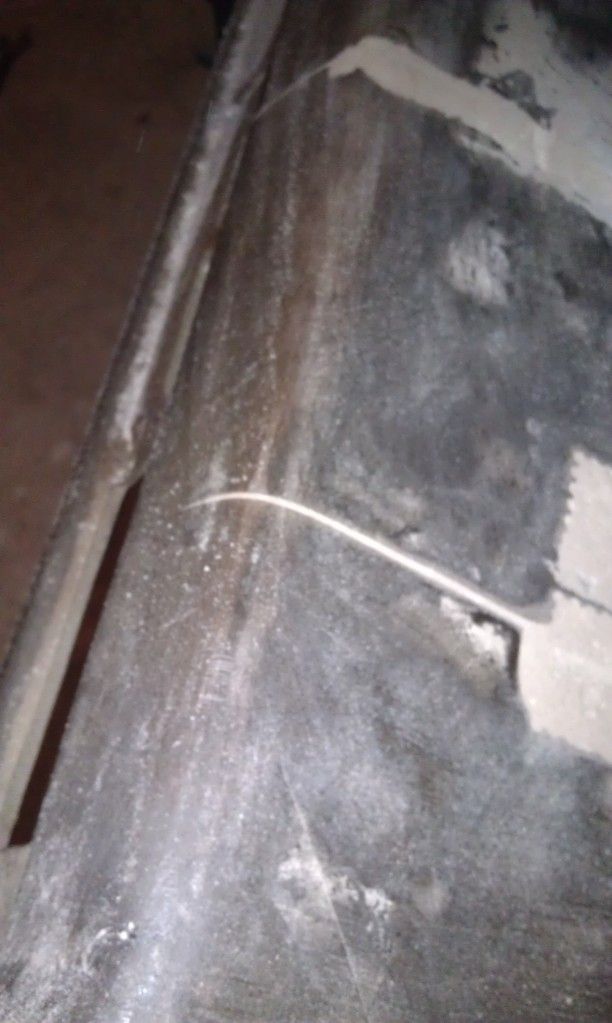
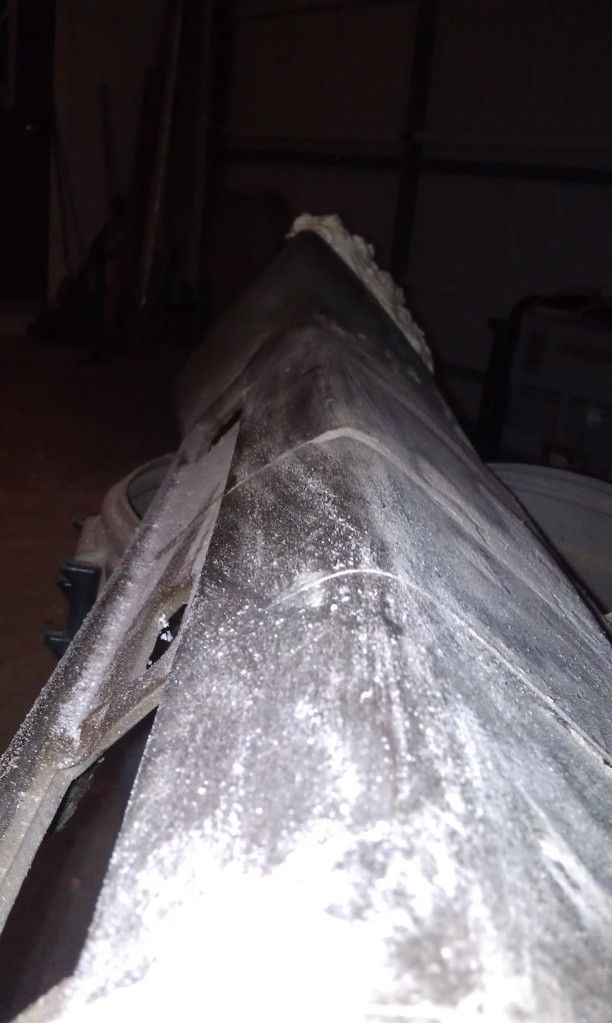
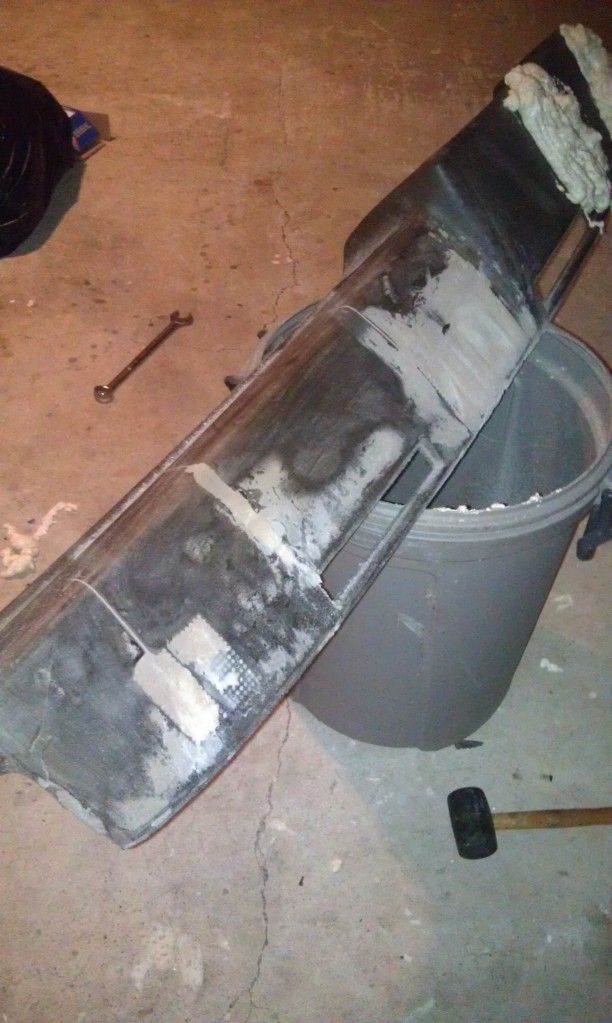
The foam did what I expected and was real easy to sand off, it did real good for getting deep in the cracks.
Well change in plan, it looked like there would be raised bumps si I broke out the flapper wheel and cut in to remove the roughness.
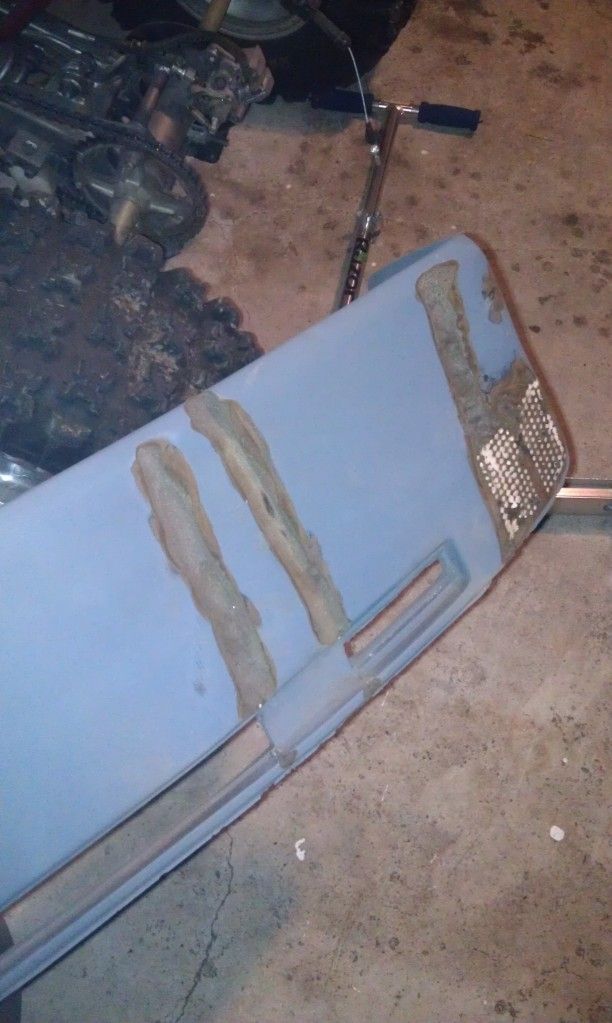
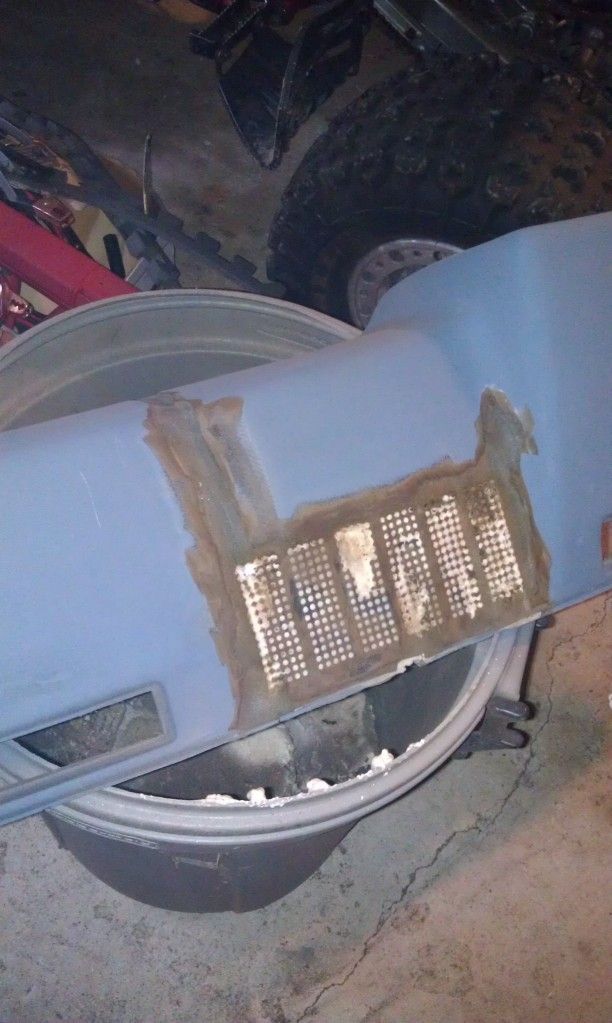
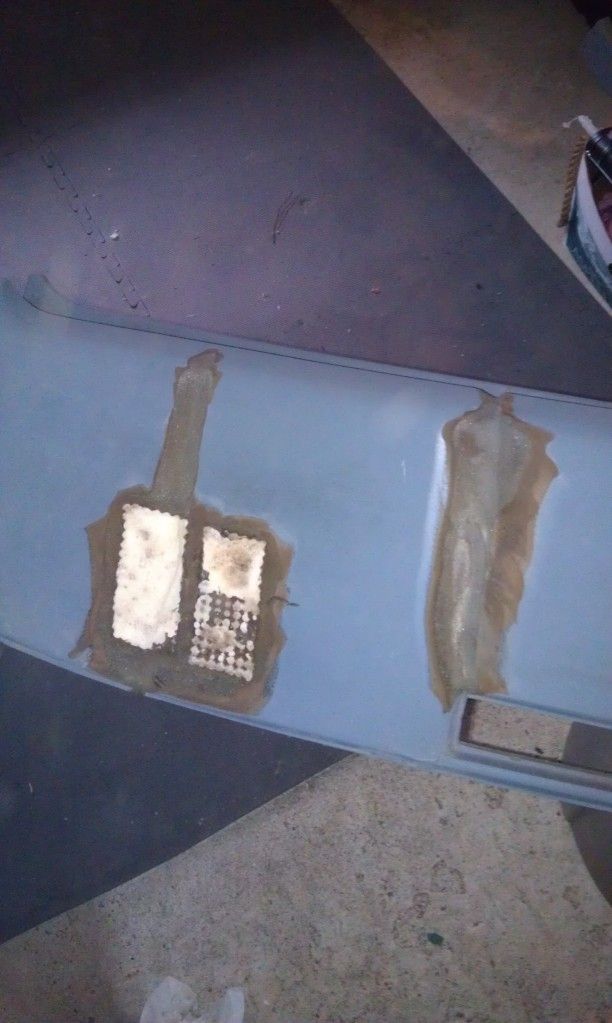
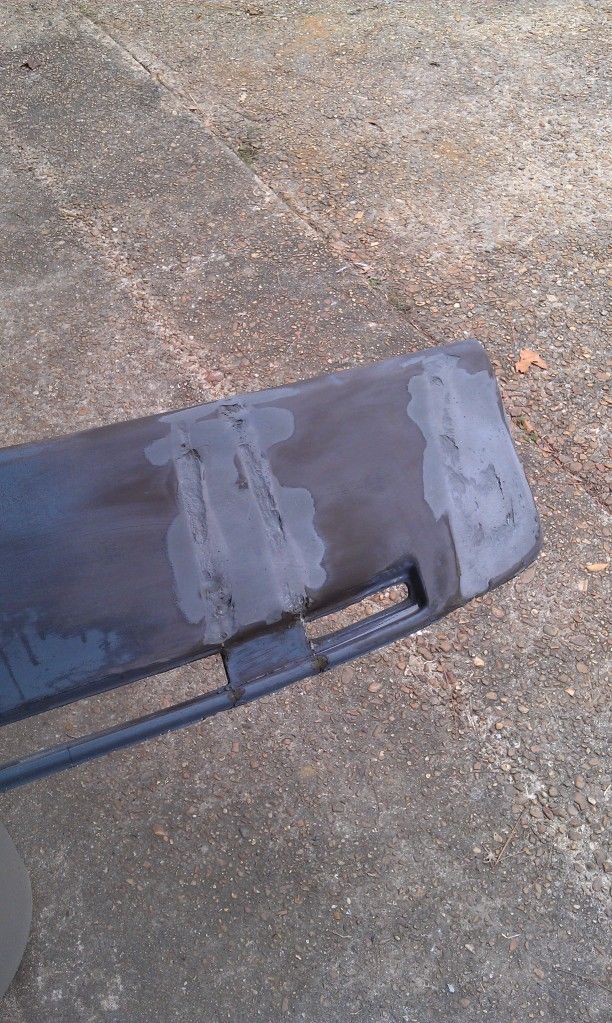
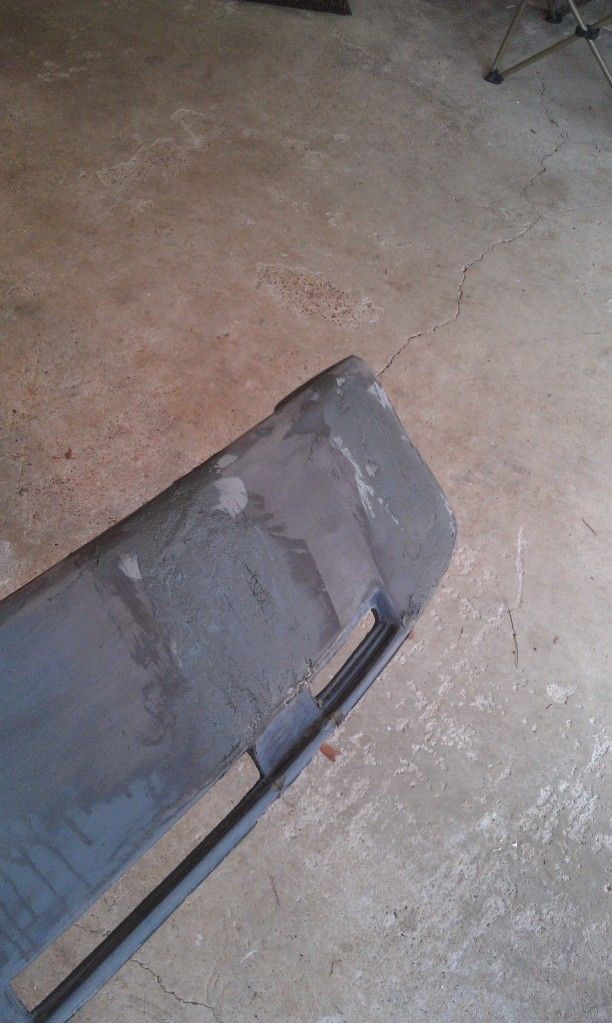
First layer of filler
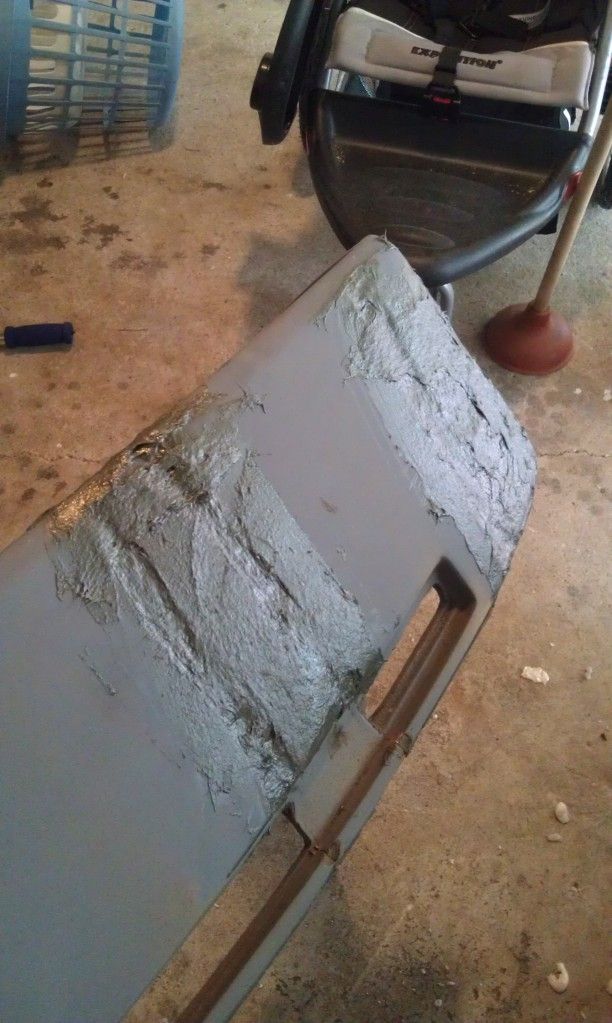
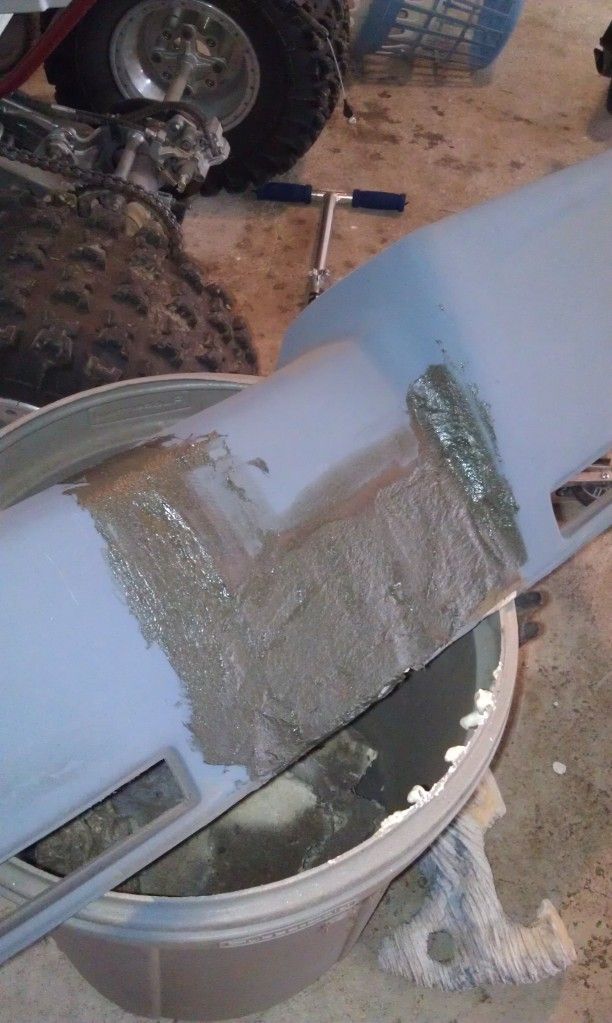
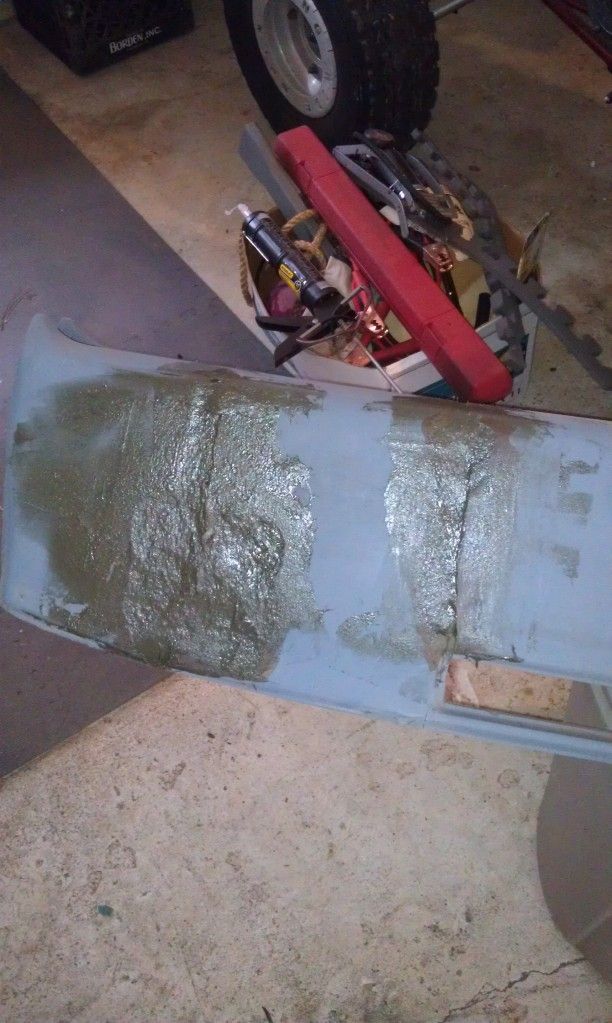


The foam did what I expected and was real easy to sand off, it did real good for getting deep in the cracks.
Well change in plan, it looked like there would be raised bumps si I broke out the flapper wheel and cut in to remove the roughness.


First layer of filler


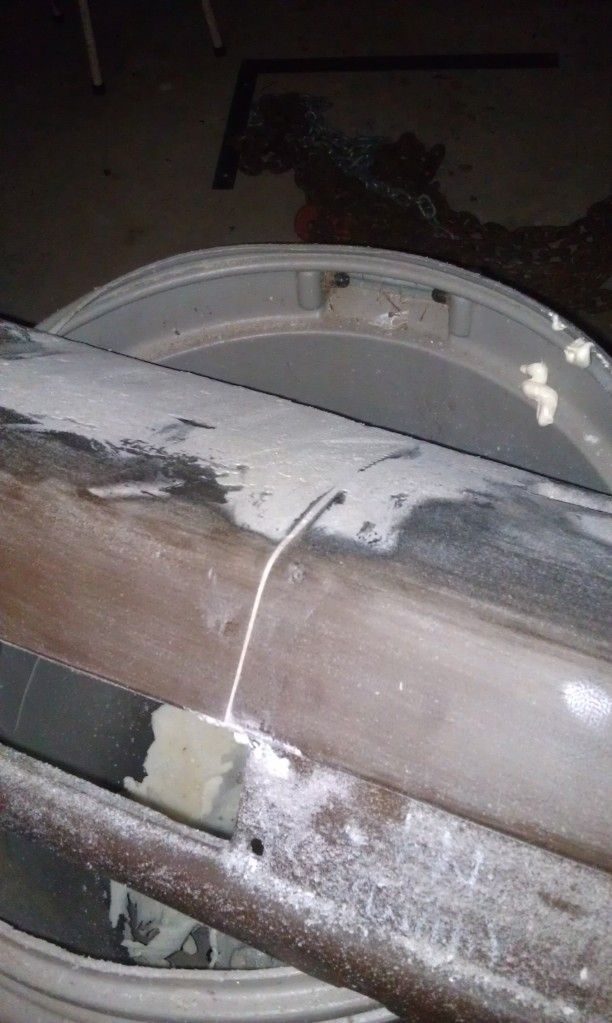
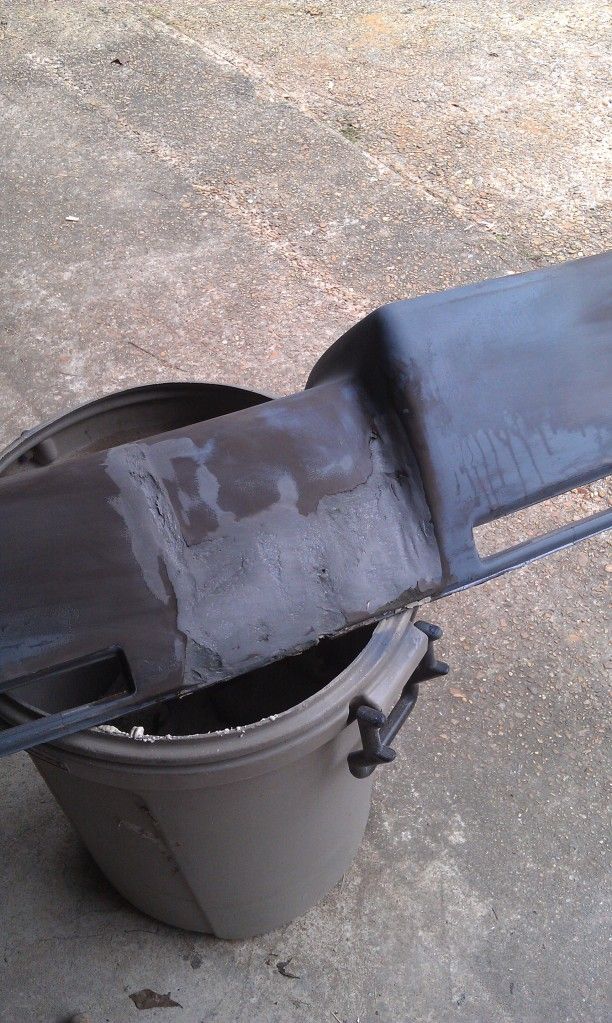
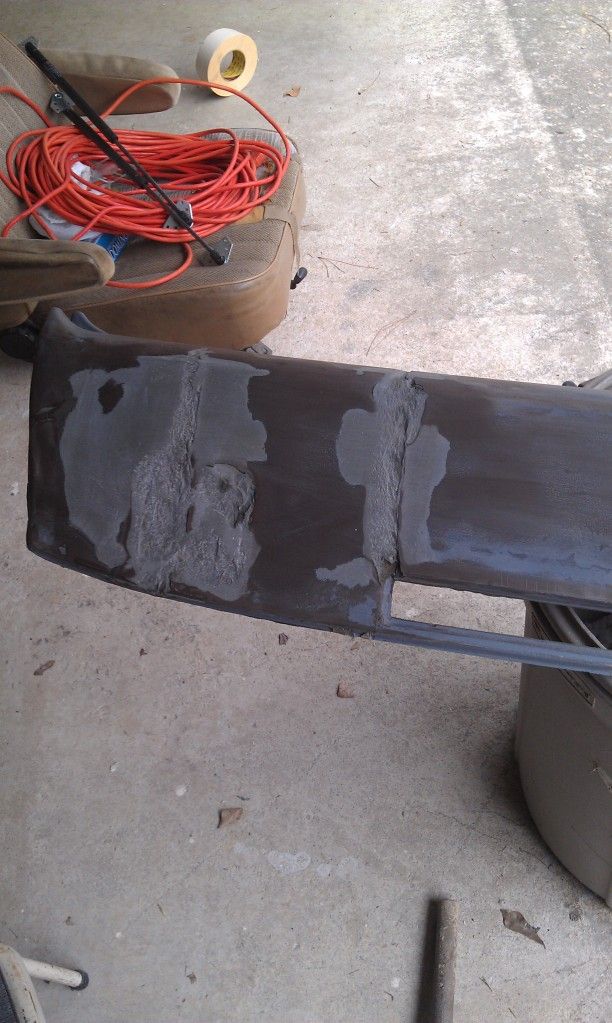
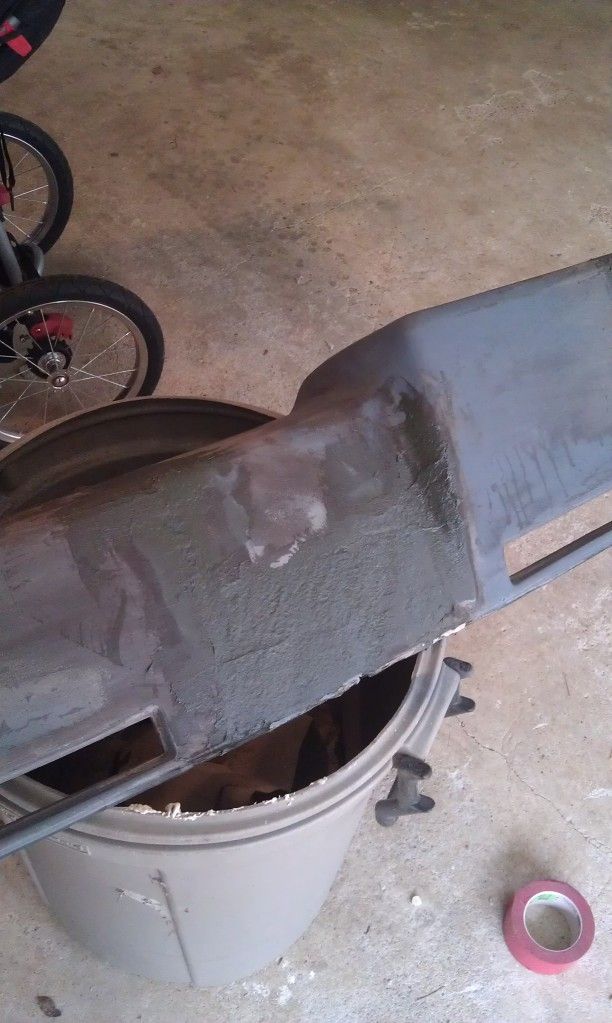
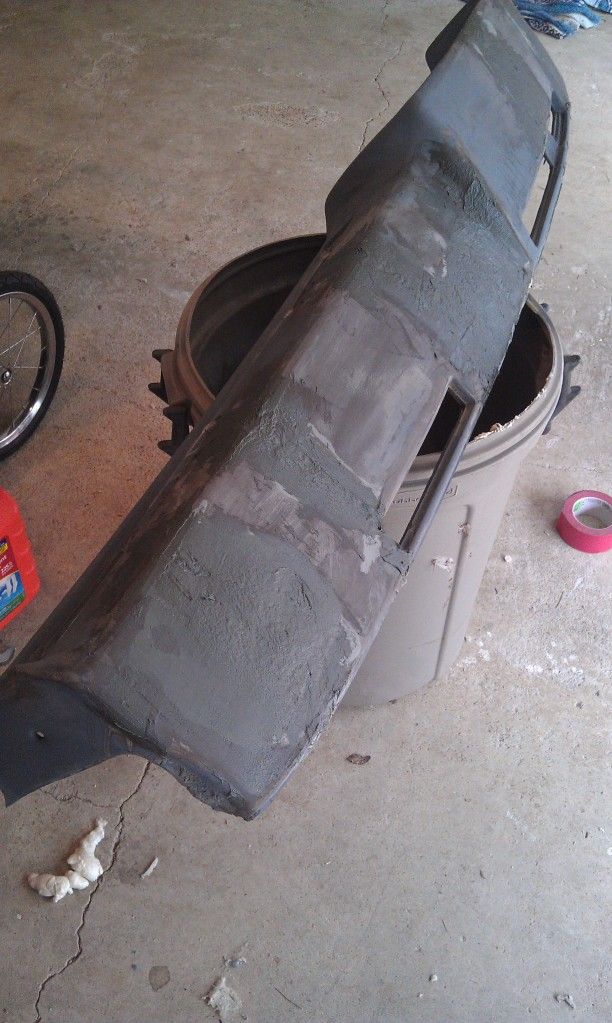
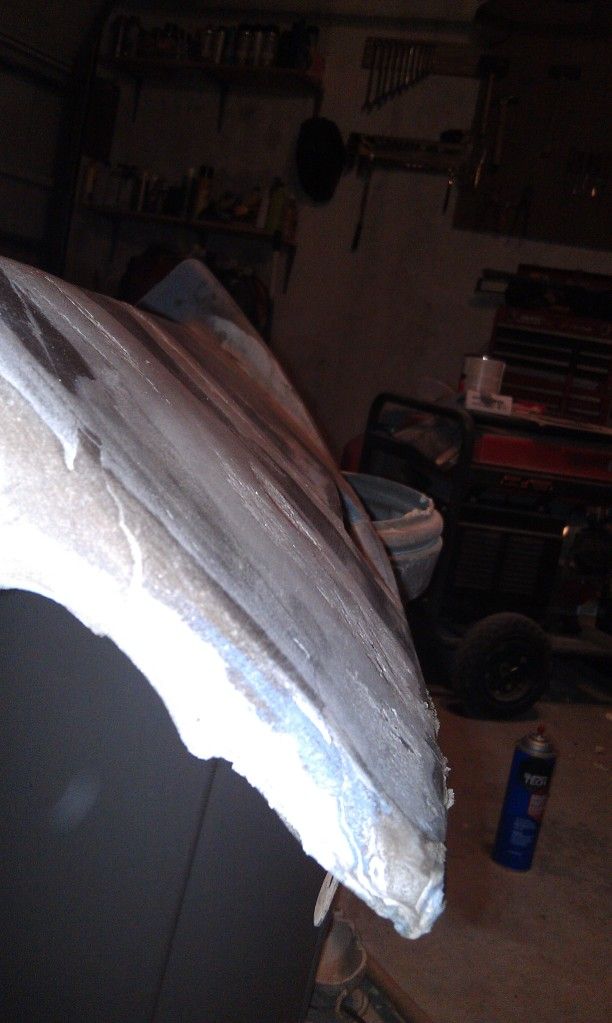
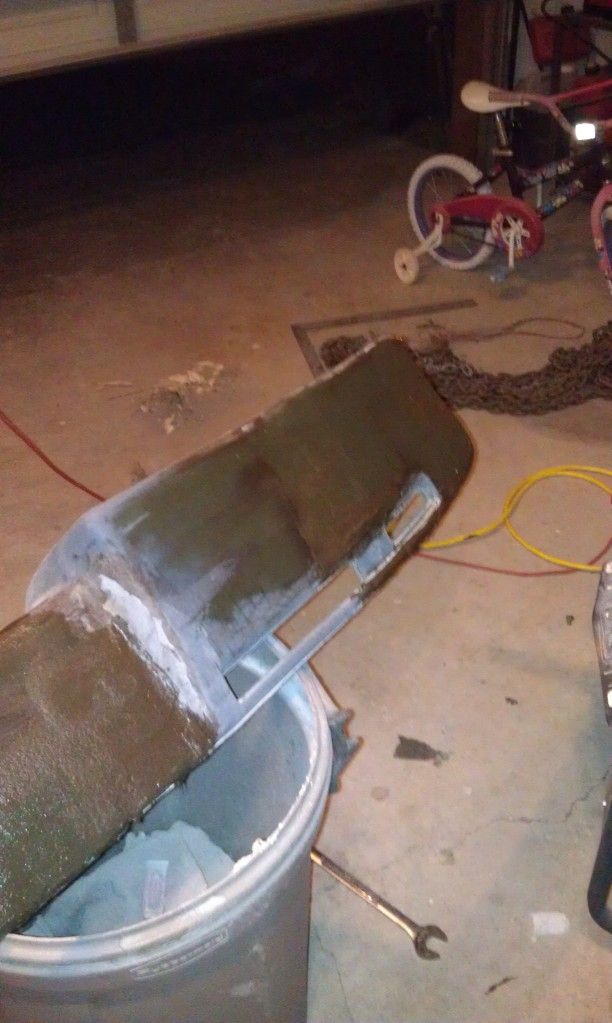
Ok so round 3 was a *****! Done for the night, seems like I still have a long way to go, round 4 and 5 for sure and prolly a 6.
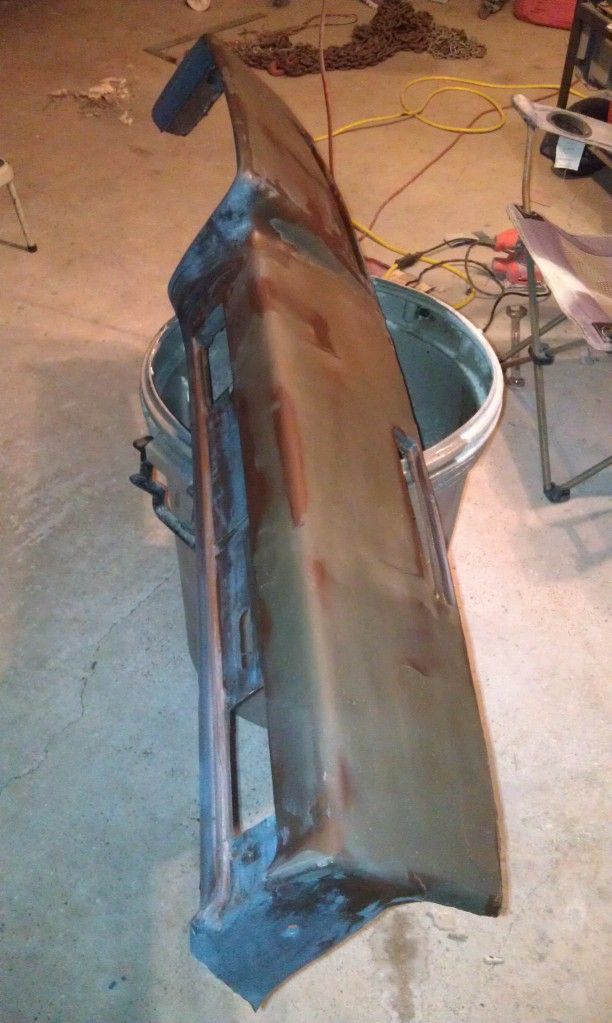
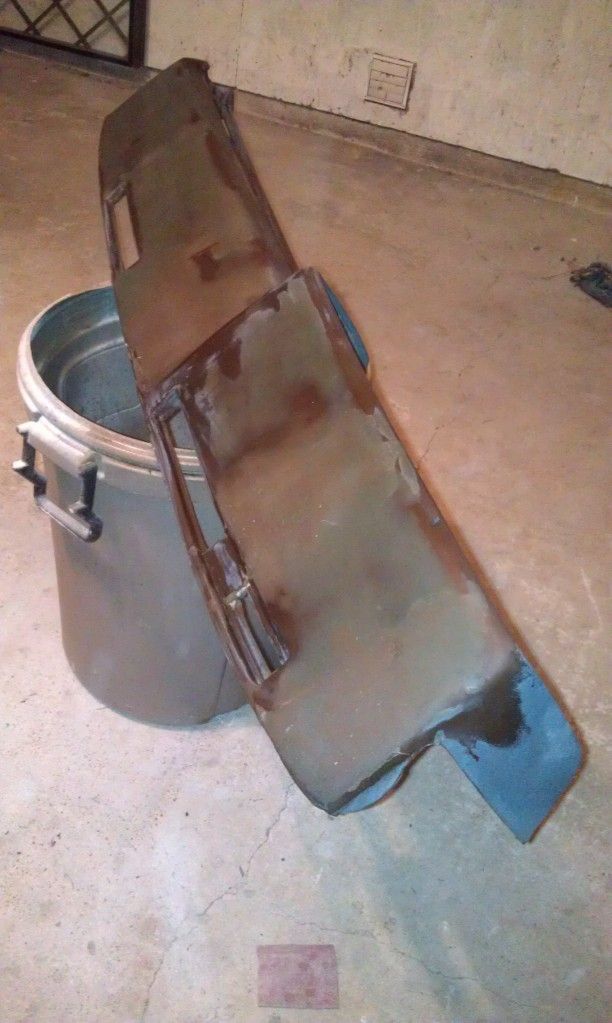
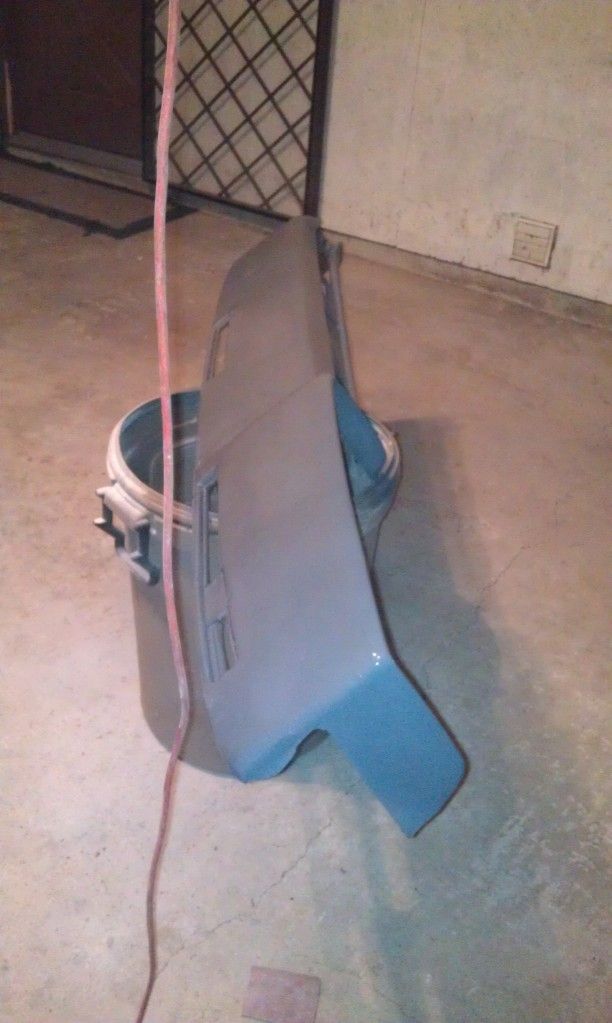
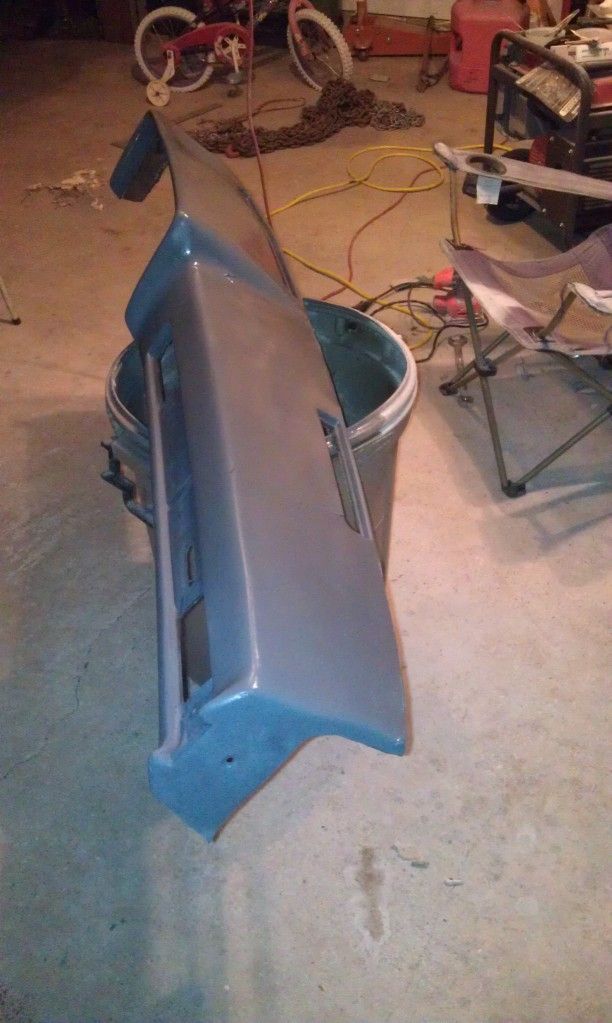
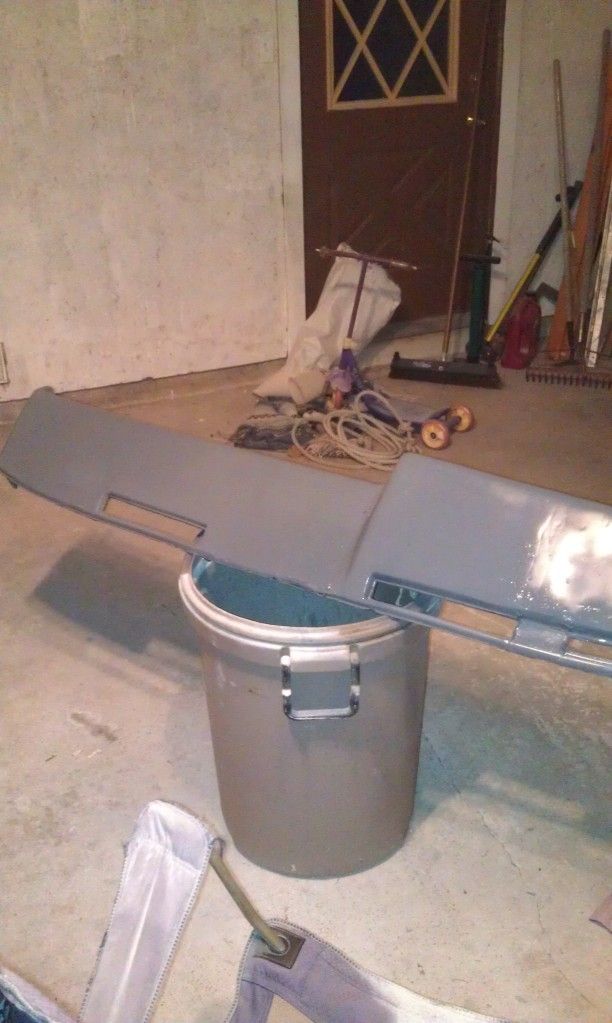
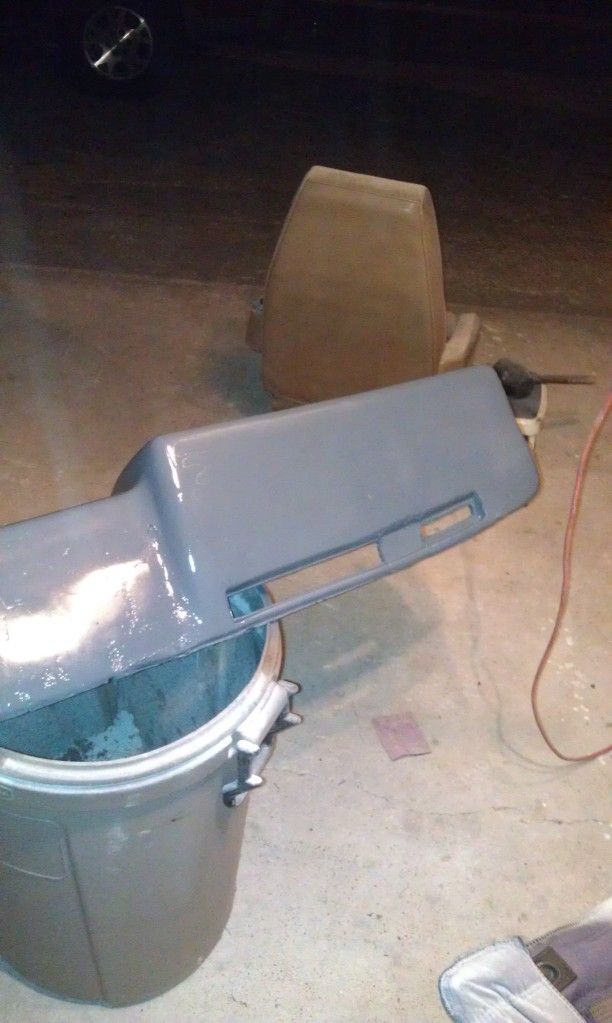
Gonna take a lot of glazing putty. I am prolly going overboard since this is not actual body work. I finally figured out not to try and block it out perfect since the dash pad is not flat anyway.


Gonna take a lot of glazing putty. I am prolly going overboard since this is not actual body work. I finally figured out not to try and block it out perfect since the dash pad is not flat anyway.
Similar threads
- Replies
- 2
- Views
- 3K

