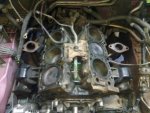
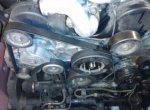
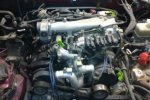
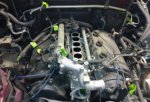
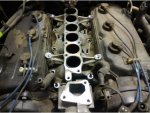
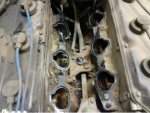
This is the end of the refresh tutorial hopefully will cover everything all the way down to the head gaskets hopefully I don't run into any major problems. You can find to original google doc
here, and my parts list
here.
Specialized tools we'll be using:
Large Torque wrench - the crankshaft bolt requires a ton of torque, way bigger than anything I had in the garage
Small Impact drive - technically not required, but it sped the process up dramatically
OK here where we start, this is a 2001 Mitsubishi Montero, 96k on the odometer and relatively good mechanical shape. I'll be replacing the timing belt, water pump, head gasket, valve seals and anything else we find.

First thing is to pull the battery, easy, couple of tire downs and out of comes.
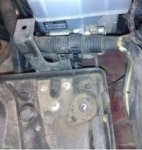
Next up is the air box and filter assembly. Again, pretty easy, looks like my filter hasn't been changed recently...
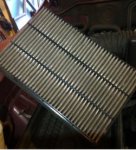
Pulling the air bad really opens up the passenger side of the engine bay. Notice you'd need to pull the battery and air box to replace the front suspension.
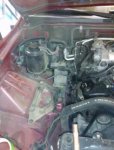
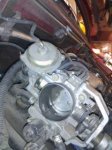
The intake and throttle body are pretty scummy, whenever I disconnect the battery and the computer is recalculating I get the stalling problem at low revs. Hopefully, cleaning this up will solve this problem.
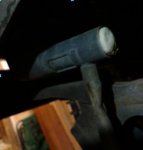
We're going to have to pull the radiator in a bit, well technically we don't have to but it will make life easier, so we'll want to drain the system. The valve is beyond the driver's front tire, so pull it and open up the valve. Unfortunately, the handle on mine is broken off. I grabbed it with some pliers, I'll glue a new game on before I put it back in. The valve doesn't need to be fully removed to drain, but you do need to pull the radiator cap.
The correct disposal technique for coolant is actually top flush it down the toilet. Ethylene glycol is poisonous to animals but biodegradable in conventional water treatment plants.
Pull the radiator grill, again -not necessary but convenient. It's held on by a number of little clips, they work like electrical connectors, squeeze the lever and carefully ease the panel off.

Next, pull the radiator hoses top and bottom. I found that lineman's pliers work very nice to squeeze the hose clamps. Be prepared for a flood after you pull the hoses, there will likely be a bunch of coolant in them.
Next pull the top radiator brackets and disconnect the blower shroud. The blower shroud is actually in several pieces and can be disassembled in place for removal.

Disconnect the transmission heat exchanger lines to the bottom of the radiator. Drain them into a suitable receptacle for safe disposal. The radiator should lift straight out easily, it's going to drip oil and coolant everywhere though, so put it on some cardboard or something.
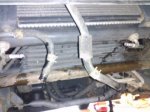
Next disconnect the engine fan, you can pull the blades of separately from the hub or you can just snake a wrench behind the blades and pull off the assembly. I just did the assembly...


