You are using an out of date browser. It may not display this or other websites correctly.
You should upgrade or use an alternative browser.
You should upgrade or use an alternative browser.
Alaskan Camper Build Up
- Thread starter Carlyle
- Start date
pete.wilson
Adventurer
Hey
Carlyle,
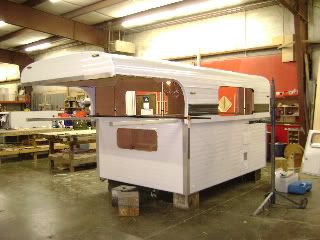
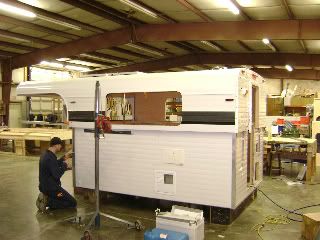
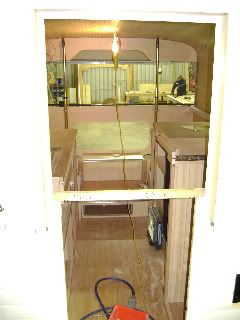
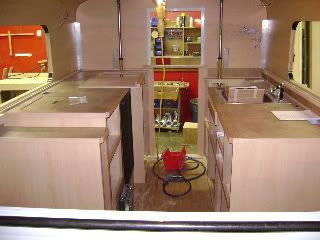
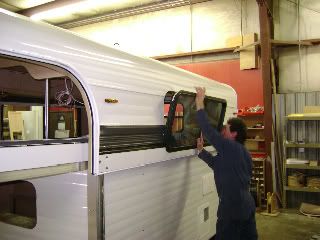
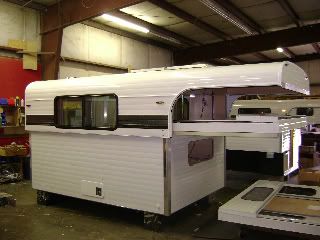
Nice looking camper. Questions....What thickness plywood did they use for the walls, floor and ceiling, if you know. Do you know how the walls and floor joined? Where are the fresh, gray and black water tanks located. I'm interested in the construction aspects. Thanks.
Pete Wilson
Carlyle,
Nice looking camper. Questions....What thickness plywood did they use for the walls, floor and ceiling, if you know. Do you know how the walls and floor joined? Where are the fresh, gray and black water tanks located. I'm interested in the construction aspects. Thanks.
Pete Wilson
mog said:I'm sure there must be a formula somewhere to figure that out... x(BTUs) = temp drop x area x time or such?
I bielieve the formula to calculate btus required to offset heat loss in winter or heat gain in summer is:
BTU = ( Temperature difference * area in sq ft ) / R value of insulation
if the R value is different for ceiling, walls, floor calculate a btu figure for each surface and add together.
I suppose you could use different temperature differences for each surface if you thought there was a big enough temperature difference from outside the roof as opposed to outside the floor.
I guess that's why roofs and floors of houses have more insulation than walls.
This gives the BTUs to maintain the heat loss or offset the heat gain, You would need more BTUs to raise or lower the starting room temperature. The source for the formula suggested doubling the number of BTUs but I don't know the basis for that.
Too many BTUs and the AC / Heater will short cycle and use to much energy or produce big room temperature swings. The hvac experts seem to say a longer run time is more efficient and more comfortable.
Carlyle
Explorer
Thanks for the replies and I knew there had to be a physics major on the forum who would have the BTU formula. As far as the thickness of the plywood, I'm not sure, but I assume 1/4 to 3/8 that is dovetailed. The fresh water tank is 30 gallons and located directly under the settee, no black as we went with a Thetford cassette toilet, Grey is an adapted Thetford cassette identical to the toilet. The gray will typically just drain to the ground as we use biodegradable soap exclusively and prefer to boon dock or if we are on the road and have to stay at a campground the valve can be switched over to the second cassette that is emptied in the same manner as the standard Thetford cassette...El Banyo
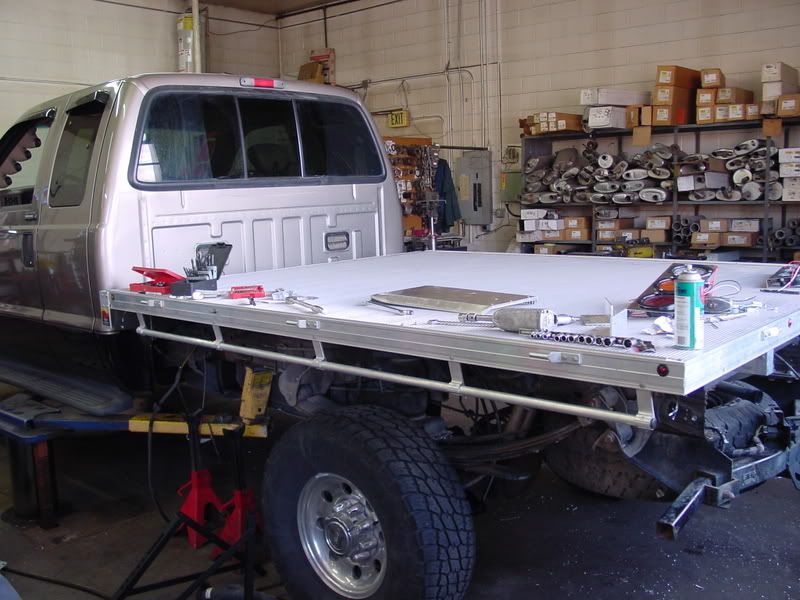
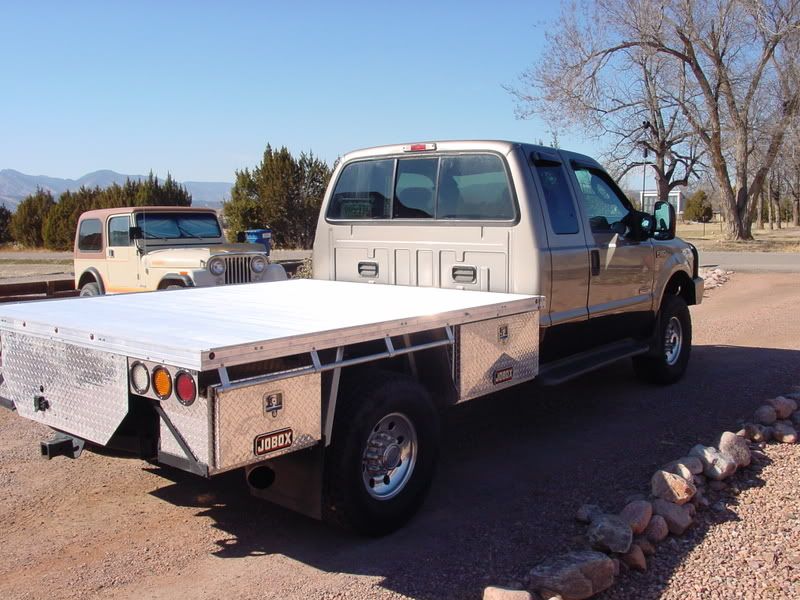
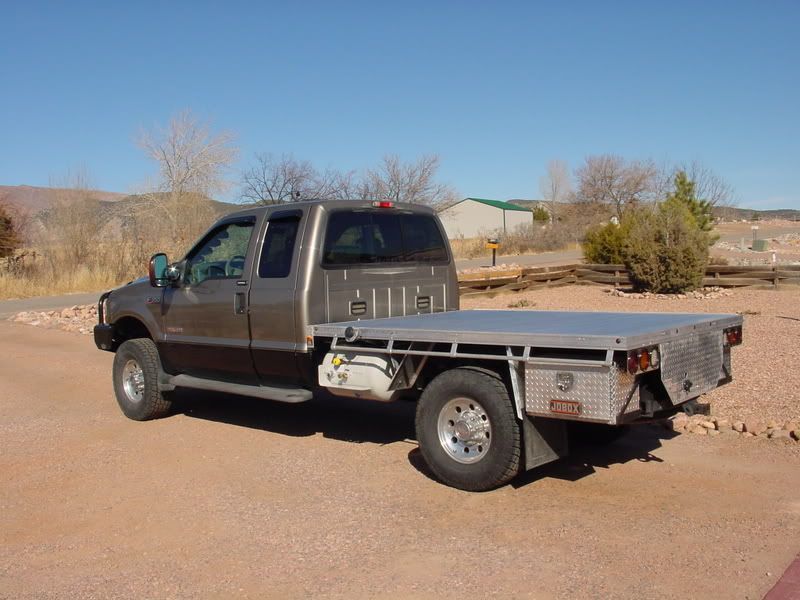
The old camper came off today and the truck went into the shop for flat bed, aluminum box, and propane tank mounting.
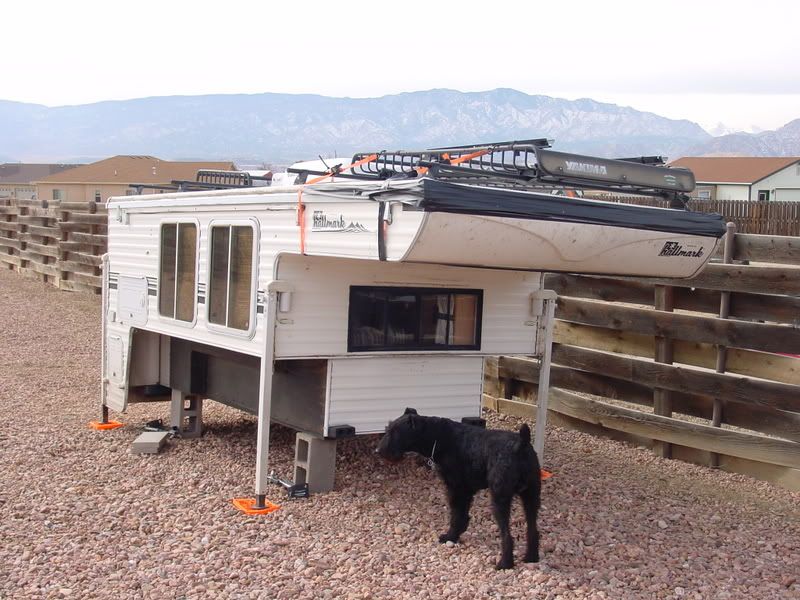
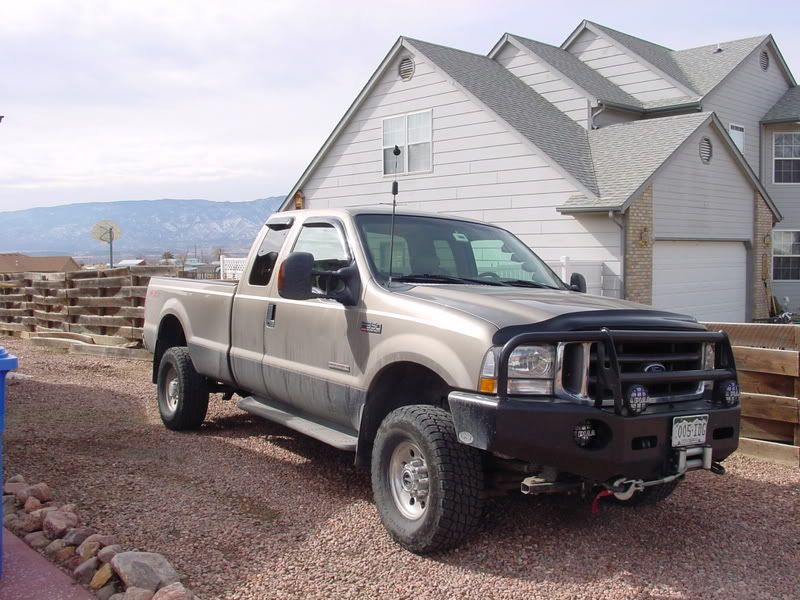
The old camper came off today and the truck went into the shop for flat bed, aluminum box, and propane tank mounting.


toyrunner95
Explorer
I like your build keep it comming cant wait to see it together!
FAW3
Adventurer
This is continuing to be an outstanding build...like many, I am drooling!!! I see some really great components coming together and can foresee that this spring will really be a fun time for you as you get it real dirty the first time.
One observation, and this is based on just the visual perspective provided in the photos...and this is my own simple a** opinion: the potential of a sideswipe or direct impact along the drivers side (another vehicle or object) proximate to propane tank may indicate that more physical protection be provided, via a protective rail or box enclosure. Especially to the fill & on/off valves which are brass.
Thanks for posting this thread, I hope you can keep it coming!
Regards,
Frank W
Carlyle
Explorer
Thanks for the reply Frank and welcome to the forum. The visual perspective is slightly skewed by the earlier pictures. The propane tank actually sits inboard slightly though I will be devising a skid guard and front protection before the vehicle goes off road or back to the narrow Baja roads. My only last concern, besides the snow on the drive to WA with no weight in the back, is how the camper will look with 14-15" of overhang over the back. It should actually still have a much better departure angle than the last camper that was not just over, but down about 12" +.
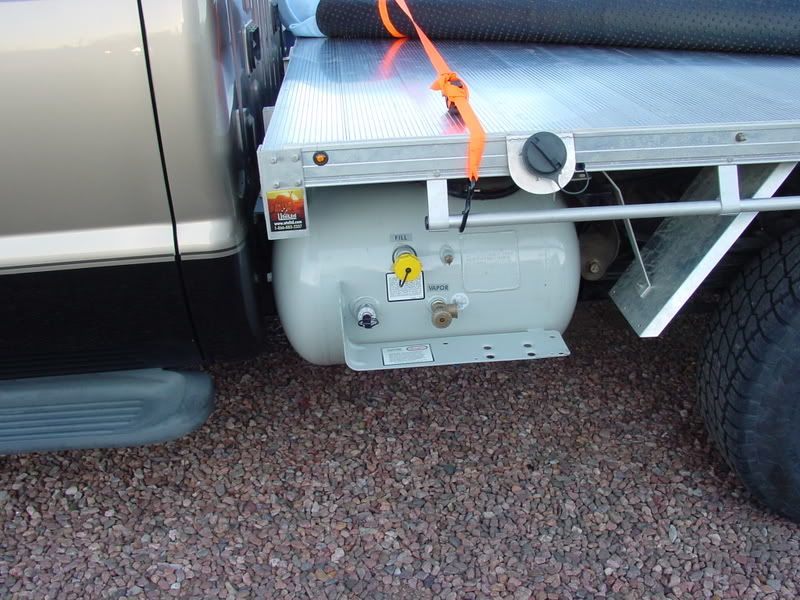
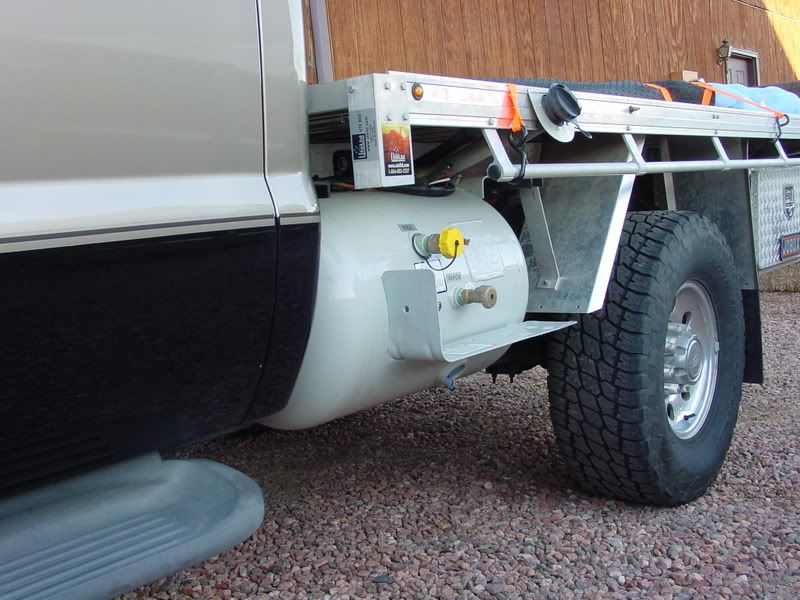
I'm gonna love 16.2 gallons of propane though!


I'm gonna love 16.2 gallons of propane though!
IronSmiles
Observer
That's a really cool build. Question about wheels/tires. Are you keeping the same ones you have now as well as lift? Are you going to go any higher or modify the suspension to fit anything bigger? Build looks great, keep the pics coming! :victory:
Carlyle
Explorer
There is no actual lift in the rear of the truck, it simply has a 2.5" front spring lift to level out the truck, ( a mandatory thing if you want a level camper), and Bilstein 7100 shocks all around with 260 psi. The wheels are factory 16" and the tires are 10 ply Nitto 33's that are rated around 3500 lbs. I will be putting a tire with a stiffer sidewall on after these ones wear out, and that won't take long. The only suspension add on I plan in the near future, other than replacing my ball joints, is to add super sway stops by Supersprings as I already have air bags.
http://www.supersprings.com/ssstops.asp
http://www.supersprings.com/ssstops.asp
suntinez
Explorer
wow
I am so impressed with every aspect of this build!! :drool:
Lots of great ideas here, thank you for excellent documentation, pictures and progress updates. Have been enjoying tracking this one and excited for you on the upcoming road trip/installation. That is one awesome rig you have put together.
:lurk:
boblynch
Adventurer
The build looks great so far. A couple ideas came to mind for your rear overhang. One would be to add a drop down tool box (see pics). Another would be to incorporate some type of retractable platform and stairs (see pics). If the slideout platform had stair slots on each side and the rear it would give you three different options for entry.
View attachment 16339 View attachment 16340
View attachment 16341 View attachment 16342
View attachment 16339 View attachment 16340
View attachment 16341 View attachment 16342
Similar threads
- Replies
- 3
- Views
- 2K
- Replies
- 2
- Views
- 808
- Replies
- 0
- Views
- 638

