Door Swing and Tire Carrier Hacks:
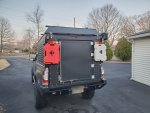
My biggest pet peeve with the AluCab is the door swing. When ordering I was told that the door couldn't be reversed because of the Molle panels but I didn't believe that to be true. It turns out that the door swing can be reversed which is ideal for my planned setup overall. With the right side awning I did not want the door (or my right side All-Pro tire swing) wasting space under my awning. I also hoped to install my propane cylinder on the right side under the Molle plate as that's the side I plan to cook from to compliment the fridge mounted up front in the bed. After some measuring and a beer I got to work..
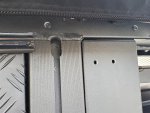
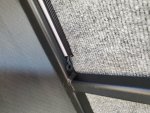
Fortunately the camper side of my door hinges and latches were not glued on, can't say if that's typical or not. Unbolting and door removal is straight forward once the hydraulic cylinder is pulled along with the limit strap. Next was fishing out the nuts from the door frame extrusions and swapping them to the opposing sides in roughly the right locations. This was a bit of a pain but I found that the nuts can be easily held in the right location using a small ball of butyl tape sealant stuck in the extrusion under each nut.
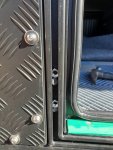
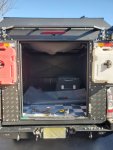
Once the fasteners were reversed I hung the door back on to line everything up and snug everything down. No Molle panel interference - sweet!
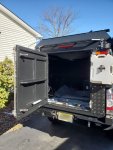
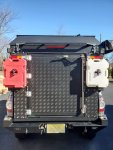
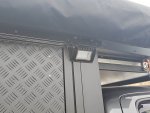
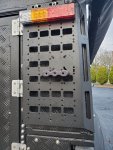
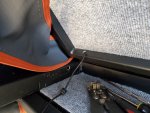
All that was left now was addressing the light on the door (which was now too low) and the hydraulic cylinder and limit strap. The bracket for the hydraulic cylinder is made in a way that can't easily be reversed to the top driver side corner. I debated remaking one out of steel but after looking at how I planned on how I was going to do my interior cabinets I realized that I could just install the OEM bracket in the lower driver side corner and it'd be plenty out of the way. This also allowed me to use the OEM riv-nuts in the door for the opposing end of the cylinder - win-win.

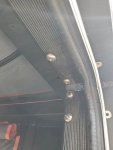
Drilling out the rivets was a bit of a pain due to the limited access but not too bad. The bracket is glued on too. I was able to use a plastic putty knife to work it loose then just gave it a good yank. After cleaning up the area I enlarger the holes slightly and tapped them for stainless ¼"-20 screws and installed which allows the door to be put back to OE later if desired.
Next I lined up the bracket in the lower left corner and drilled and tapped four holes there to hold the bracket. I didn't want the limit strap hanging out the bottom of the door so I moved it to the top left side with a couple more drilled and tapped holes.
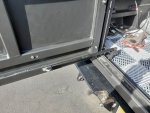
The last real chore was moving the bumper/shim thing on the frame from the left side to the right side. Again, drill the rivet and pry free of the glue and line up on the opposing side. I had some countersunk ¼"-20 stainless hardware lying around that worked great for filling the original rivet hole and securing the bumper on the right side.
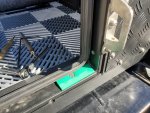
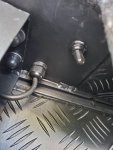
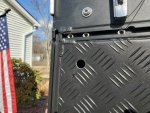
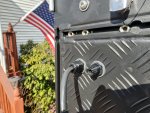
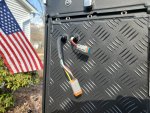
The light move was easy as well only requiring a few more drilled holes and some wire extensions. While drilling I figured I'd move my license plate to the back door so I could free up my hitch for towing. I used to mount the plate either there on on my tire carrier but it would be covered by the trasharoo...
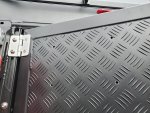
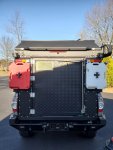
I'm still using the OE shipping container style door lock but plan to remove that soon for what I believe is a better setup. I plan to use a locking paddle latch like this (
https://www.industrialhwe.com/locki...rd-4901-single-point-locking-paddle-latch.asp) and a bear claw automotive style latch (
https://www.industrialhwe.com/rotary-latches/trimark-rotary-latch-two-rotor-right-hand.asp) to replace the whole setup. Hopefully there will be more to come on this latch setup in the next few weeks but the next update will be modifing my tire carrier swingout and propane carrier to work with the planned setup!

