Per usual life gets in the way and you don't have enough time to accomplish what you hoped. I did however get the chance to spend Tuesday and Wednesday night installing the ARB bumper. The install was performed solo in my garage with only a basic set of hand tools. Here are my initial impressions of the kit and experiences with the install. Sorry for the lack of pictures.
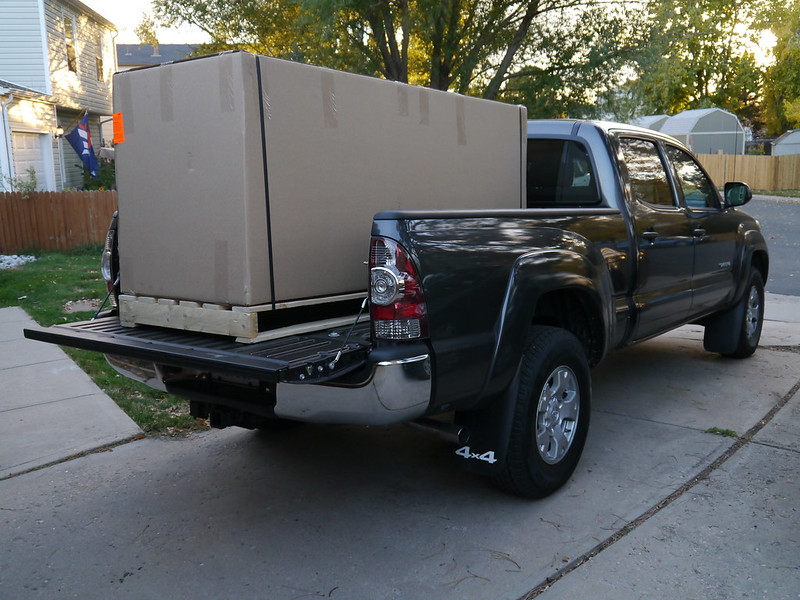
- The packing job was fantastic. The bull bar was neatly wrapped in protective cardboard, foam, and sealed in a plastic bag. It arrived with no dings, dents, or other blemishes. The same goes for all of the other hardware within the box.
- The listed weight of the kit at 175lbs is probably a bit much, but its certainly not close to the 75lbs some have contended. I can for sure confirm that it is a handful at times.
- Removing all trim and components for the vehicle was fairly straightforward minus the crash beam. On mine, in its assembled state, the crush cans put outward tension on the mounting studs that did not allow it to be removed as a whole. I had to loosed the bolts to the crush can in order to remove the crash beam assembly.
- For the life of me I could not get the diagonal bolts with the 3mm trim packers torqued to spec. I tried all sorts of combinations with an extension and u-joint but there was just not enough room to fit my torque wrench in there. Snugged it down the best I could and moved on.
- After getting everything lined up it took a bit of effort to drill the 4 bolt holes on both sides. The upper two were straightforward but the way the bullbar is shaped did not allow my drill to get to the bottom two from the outboard side. I had to take some wild *** guesses and drill from the inboard side hoping I hit the right spot. Amazingly I was pretty on the money. I didn't have a 10mm bit as recommended and used a 3/8".
- I made the mistake of installing the turn indicators prior to putting those fascia into the bumper. Bad move. Got all brackets mounted up in the bumper and re-installed the turn indicators. Much easier.
- No winch was added at this time
- I didn't wire everything up yet, so I'll be back with comments on that when/if I get around to it.
Note: I did not cut up my prior bumper. While there is a noticeable gap around the top of the bumper, it isn't enough to convince me to cut up my old one. I may however source a third party unprimed one to cut up for the sole reason that without the bumper there the grill is a bit floppy. I zip tied it to the crossmember there to keep it from rattling around.
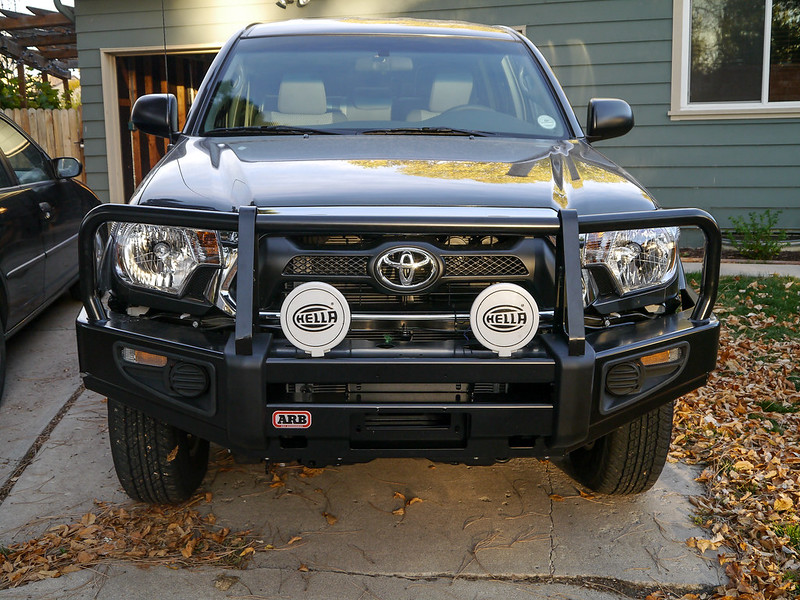
And a picture of the final results!
 20141023-P1010210
 by
Tim Souza, on Flickr
After impressions:
- With the stock, non-TRD suspension you can for sure notice the weight up front. There was some settling of 3/4" I'd guesstimate and I'd anticipate a little more as the springs bed in.
- It does stick out a fair amount from the front end but I knew that going in and I suppose that's sometimes the price you pay for an aftermarket bumper
- I very much need to install my lift and tires. It's more than a bit unbalanced with this cool bumper and the stock suspension and Dunlop turds.
 20141019-P1010205 by Tim Souza, on Flickr
 20141020-P1010206 by Tim Souza, on Flickr
 20141023-P1010210 by Tim Souza, on Flickr