Gear change pt. 1
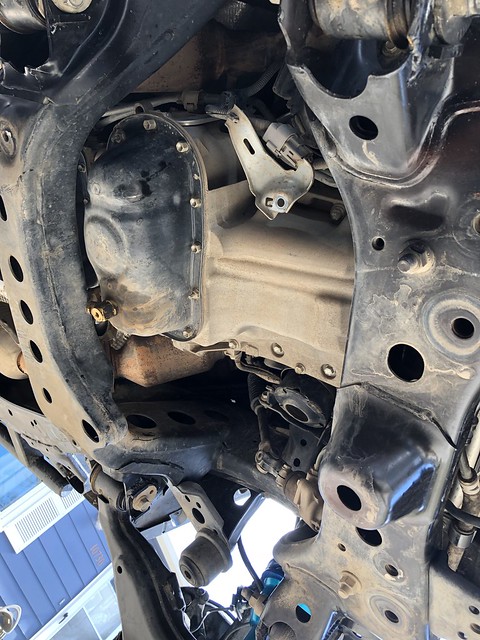
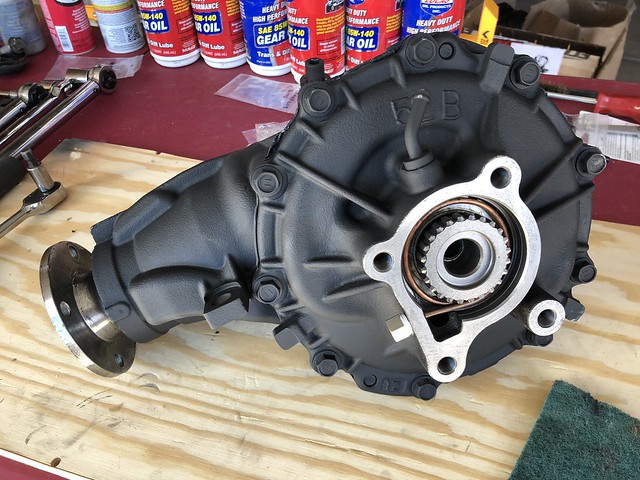
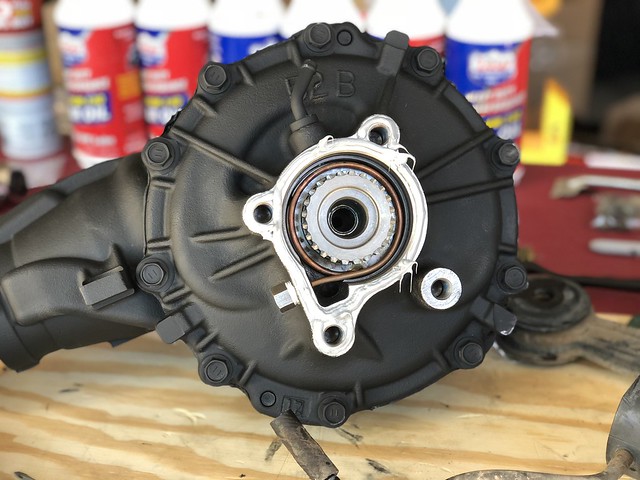
Last Thursday the diffs from ECGS arrived. Both were built with Nitro 4.88 gears and ARB air lockers. Figuring the rear would be the easier of the two, I chose to tackle that first and get my mojo going.
In advance I laid out all the tools I thought would be necessary and created a diff swap work station. There actually aren't too many tools involved to make this one happen.
Tool List:
(x2) 14mm wrenches OR torque adapters (would have preferred these in hindsight)
12mm socket
10mm socket
Torque wrench
Small screwdriver
Soft faced hammer
(x2) Impact sockets (doesn't matter what size, just used for spacers)
(x4) jack stands
Floor jack
3 qts gear oil of choice
1 tube grey RTV
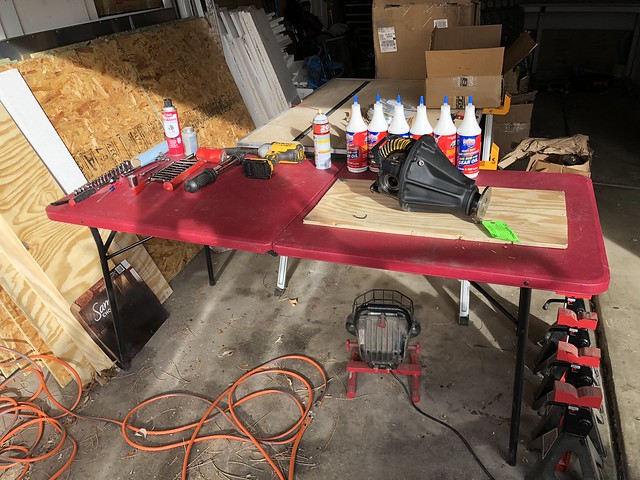 Untitled
 by
Tim Souza, on Flickr
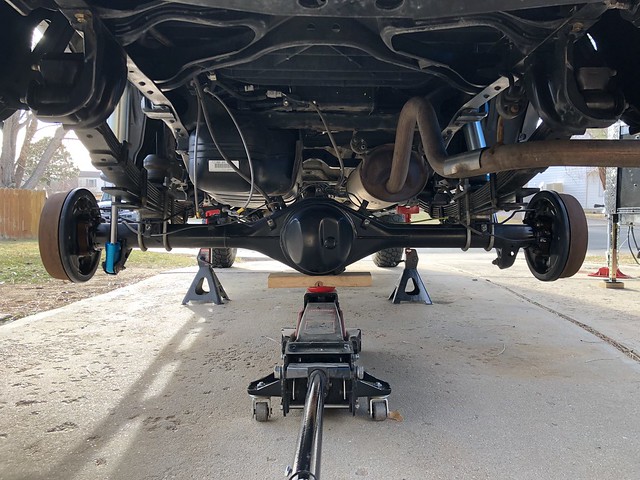
Then came the safety related stuff. As I would be crawling under the truck a bundle and needed it lifted up safely, the front wheels were chocked, jack stands placed under the frame, there were a pair of jack stands under the drums (not shown), and the jack was supporting the rear axle. Safety first!
 Untitled
 by
Tim Souza, on Flickr
Per usual, it is a good idea to hit the bolts with PB blaster a few days before the surgery takes place to give it adequate time to work. This is more important in rusty climates, but I do it here anyway to make it easy on myself.
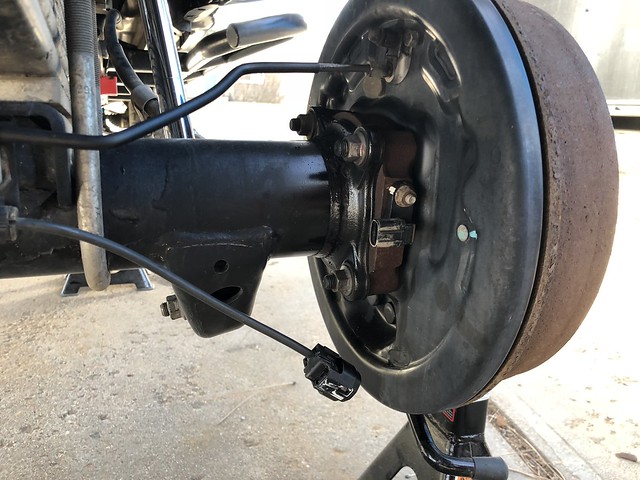
The disassembly process is pretty straightforward. In order to pull the 3rd member you have to get the axle shafts out far enough to wiggle it free. To that end, the sensors on the rear hubs must be disconnected and the e-brake cable bracket also has to be undone from the leaf springs.
 Untitled
 by
Tim Souza, on Flickr
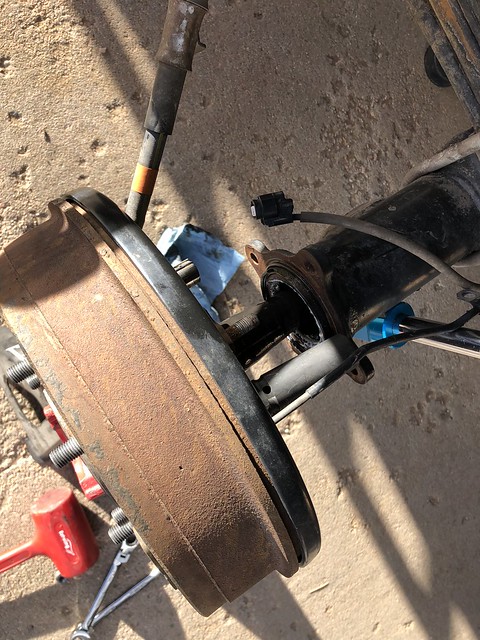
With those out of the way I undid the 4 bolts holding the hub to the axle. Credit goes to the Monkeyproof write-up on Tacomaworld, but if you remove the 6 bolts holding the brake hard line to the axle, you should be able to slide the axle shafts out far enough to get the 3rd member out
without having to disconnect and bleed the brakes after. It takes a wee bit of force to get it out far enough, but it will. Impact sockets were used to keep the axle out, jack stands were used to support the axle and prevent it from wrecking the axle seals.
 Untitled
 by
Tim Souza, on Flickr
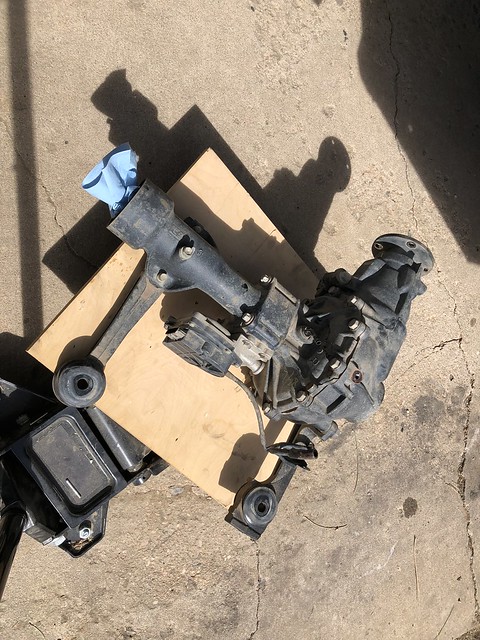
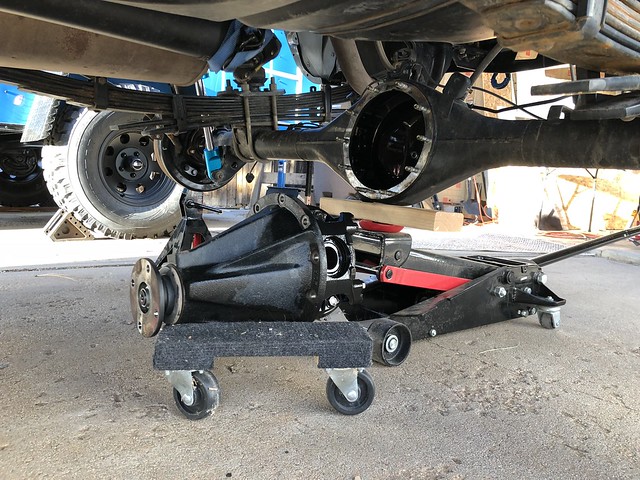
With those out of the way you can undo the 4, 14mm driveshaft bolts and secure that to the exhaust hanger above. This should give you the space to undo the 10, 12mm nuts and washers holding the 3rd member to the axle. Once those are undone all it takes is a little wiggling to get the 3rd member out. Be prepared, it is a bit heavy and awkward. I had a furniture moving dolly handy to set it onto so I could roll it out from under the truck. All done!
 Untitled
 by
Tim Souza, on Flickr
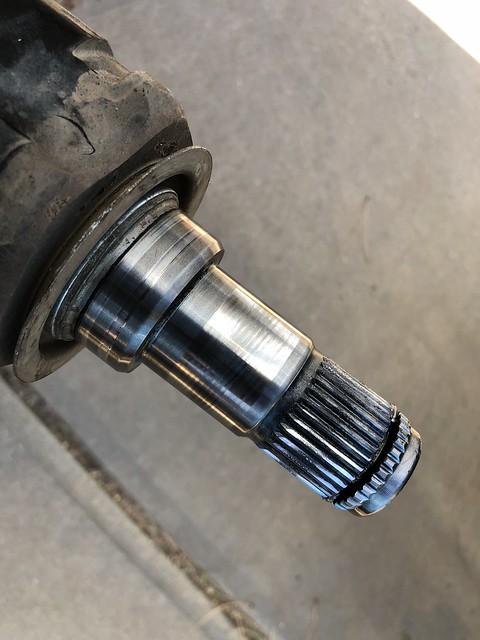
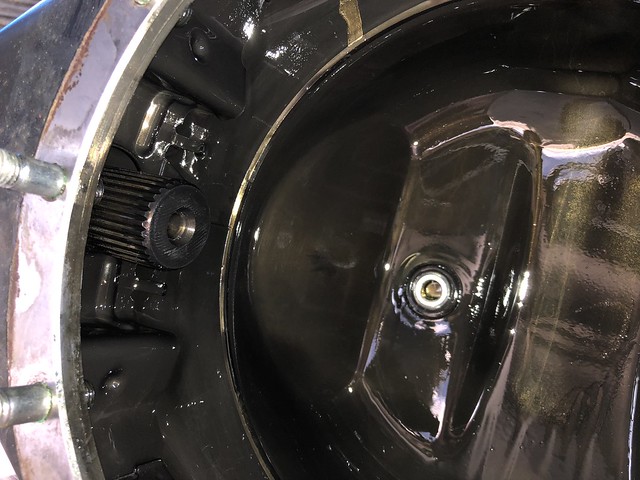
While I was in there I made sure the splines on the axle shafts looked good. No sense in putting it all back together only to find out that they were twisted or something.
 Untitled
 by
Tim Souza, on Flickr
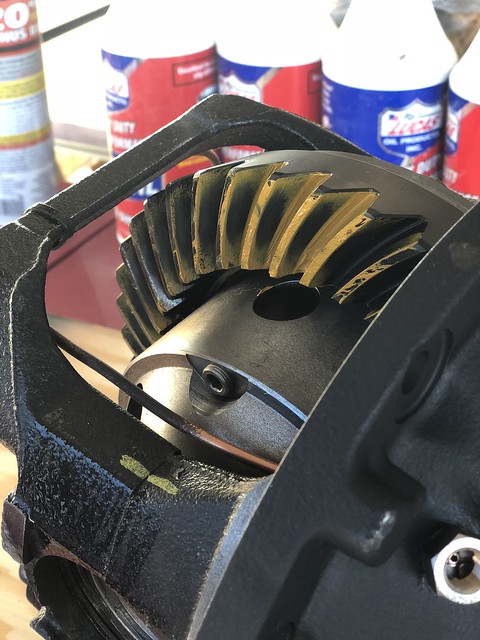
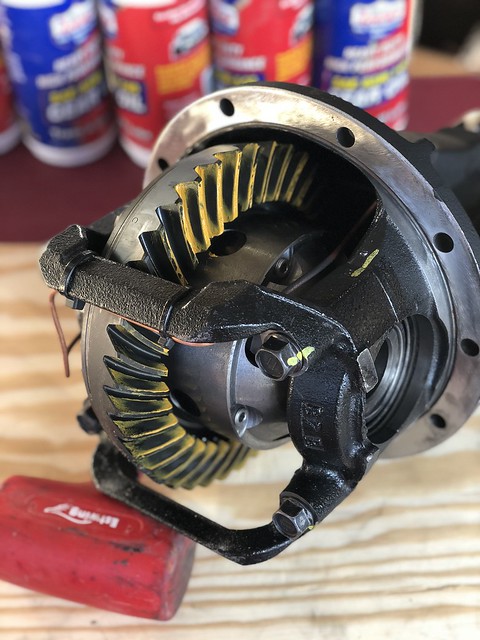
Before the new one can go in some time and care needs to be put into preparing everything for a successful transplant. The mating surfaces on both the diff and the axle were cleaned with a brass brush, Scotchbrite pads, and Brakleen before re-assembly. Be careful not to let any material fall into the diff or the axle, you probably won't be screwed if some does, but you are certainly better off without it. Some pics of the gear tooth pattern before installation.
 Untitled
 by
Tim Souza, on Flickr
 Untitled
 by
Tim Souza, on Flickr
I'm no expert, but it looks like they did a good job getting it all set up. Patterns on the drive and coast side are centered and not too deep or shallow.
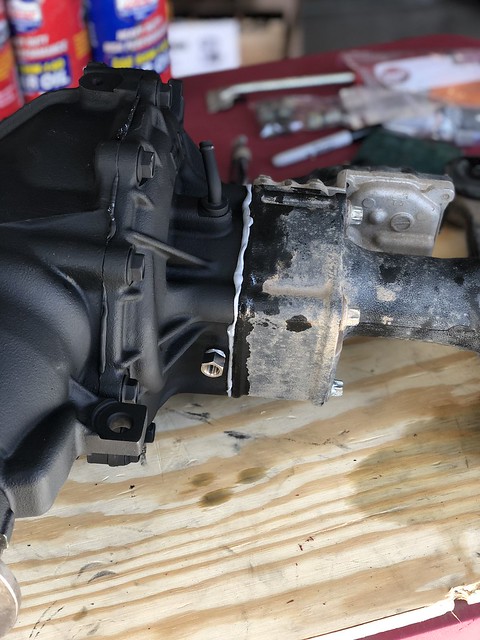
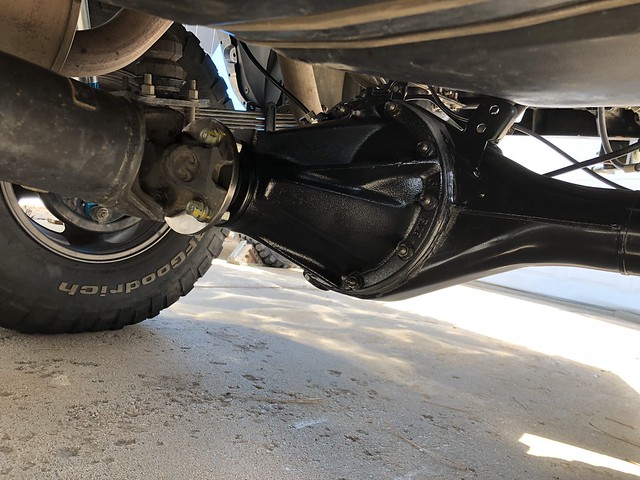
Not too much to share from the re-installation, it is more or less the opposite of the removal so nothing fun to share there. I used grey RTV instead of a gasket, and put blue Loctite on the driveshaft bolts, the differential bolts, and the hub bolts before torquing them to 65 ft*lbs, 18 ft*lbs, and 27 ft*lbs respectively. Grey RTV was allowed 24 hours to cure before the differential was topped off with fresh Lucasoil 85W-140 non-synthetic oil per ECGS recommendation. Following this I went in with some gloss black enamel (diff came shipped with matte paint, which is fine, it just holds dirt more) and a paint pen to mark all bolts. And the finished product!
 Untitled
 by
Tim Souza, on Flickr
The ECGS break-in differs from other sources by a little bit, their initial heat cycle calls for 15-20
minutes of driving instead of 15-20
miles per some other sources. I will stick to 15-20 minutes and have done 4 heat up cool down cycles with conservative driving and no heavy acceleration. I'll reserve comments for after the 500 mile break in period, it's a bit difficult to judge the performance of the new gears when I can't really use the skinny pedal liberally.
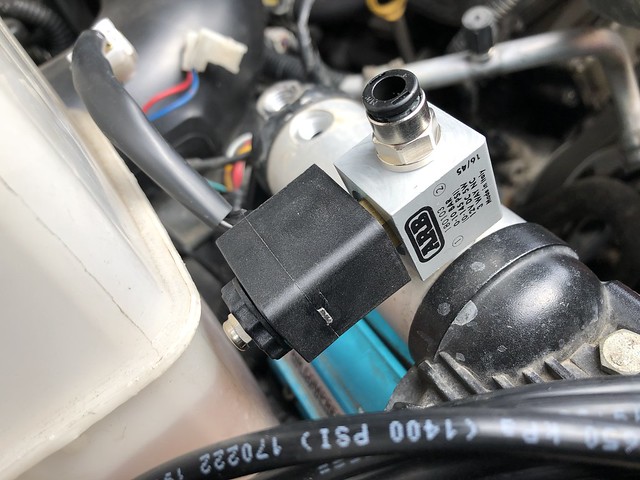
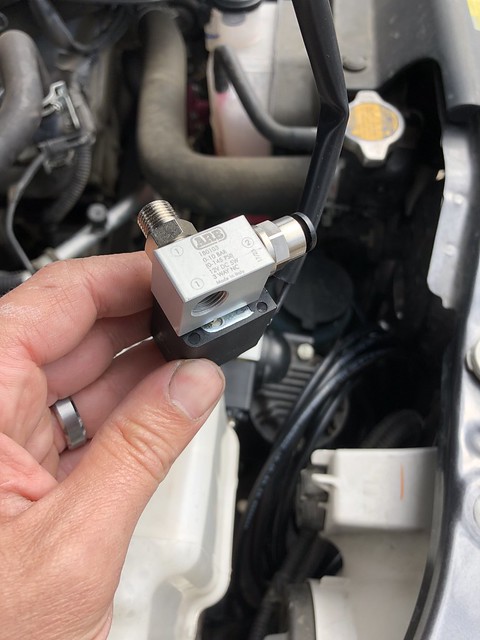
Locker isn't connected at the moment as the air line isn't long enough to run how I'd like. I was hoping to follow the wiring harness/fuel lines that run along the driver's side frame rail up to the front before jogging over to the passenger side and connecting to the compressor in the front passenger corner of the engine bay. Either I have to re-think my approach and go along the passenger frame rail, splice in an adapter to use the extra line from the front locker, or, find a neat way to route it along the passenger side frame rail. Maybe that's a DCLB problem only...still thinking about it, but in the mean time I connected the air line and zip tied the coil up under the bed to prevent any gunk from getting lodged in there.
Write up for the front to come...

 Untitled
 Untitled
 Untitled
 Untitled
 Untitled
 Untitled
 Untitled
 Untitled
 Untitled