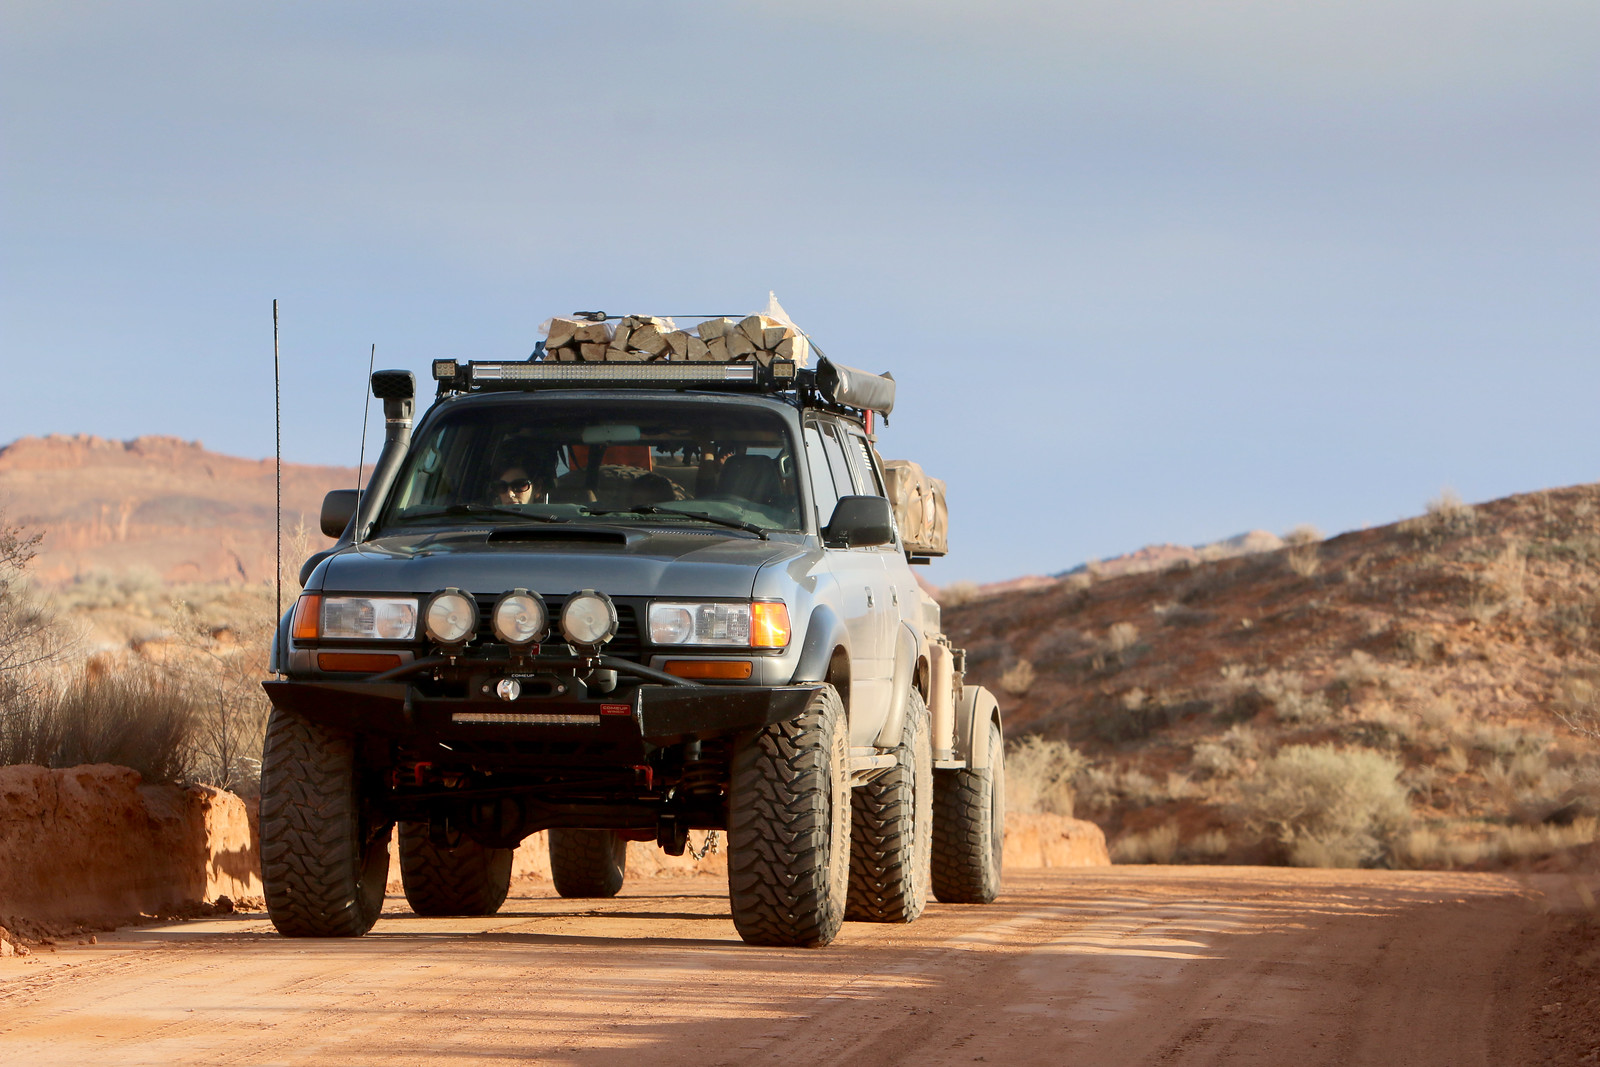
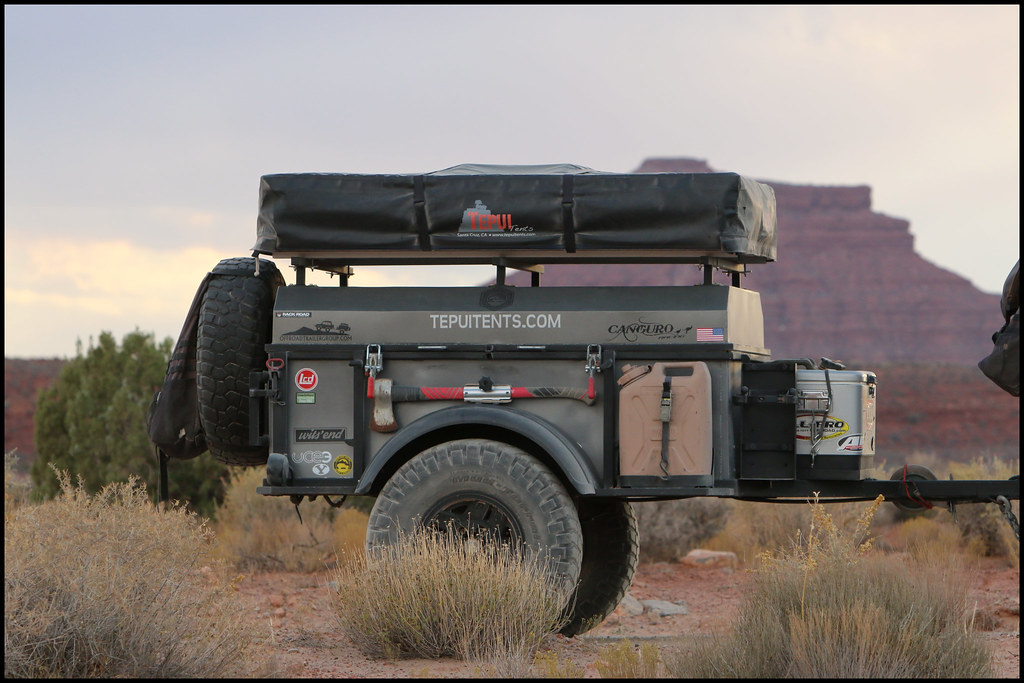
Box Rocket Homemade trailer build.

Flat_Ernie

Observer
Just went through this entire thread front to back - really cool build!

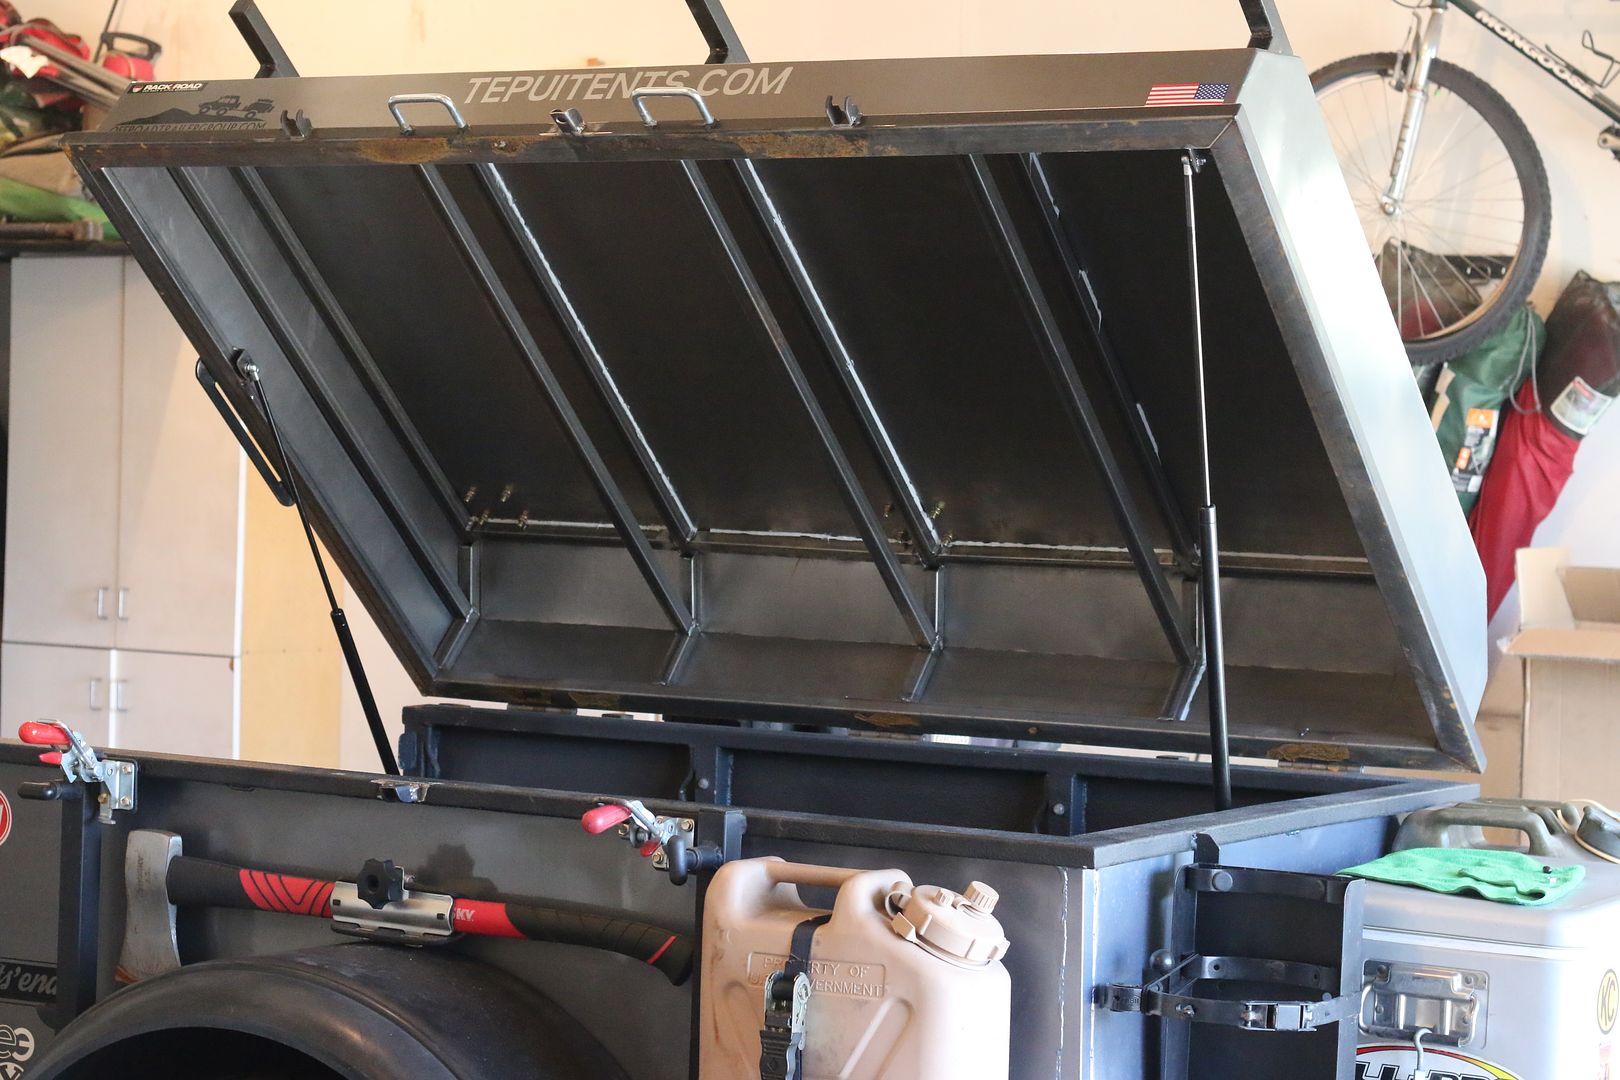
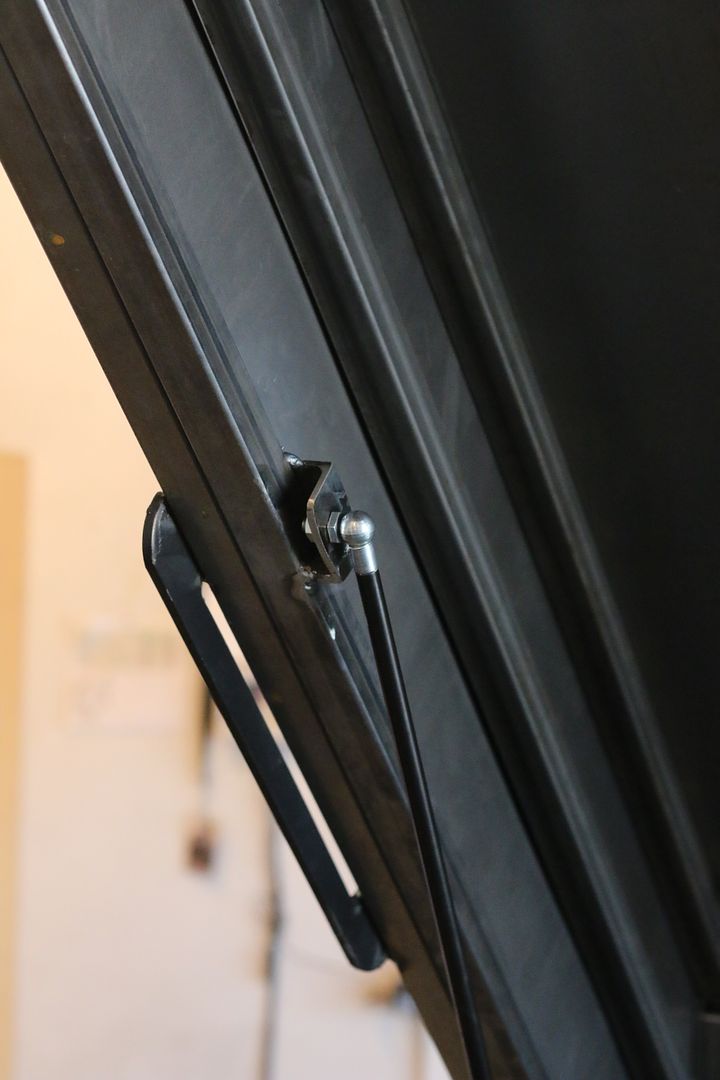
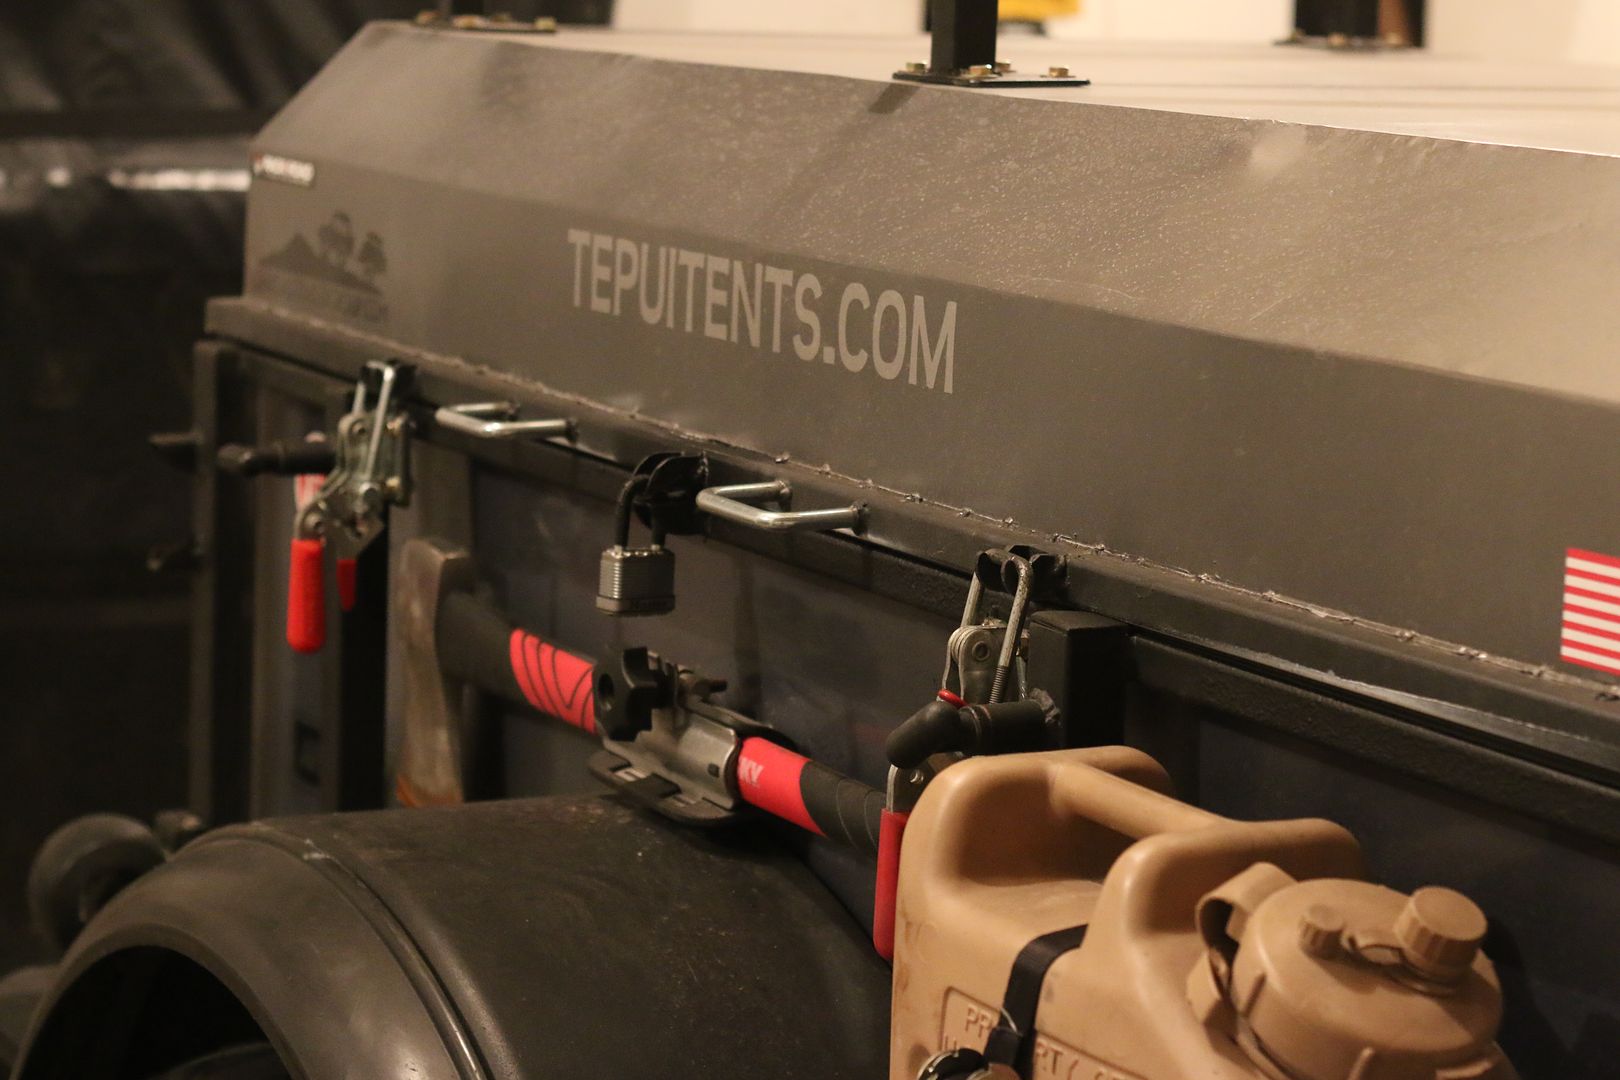
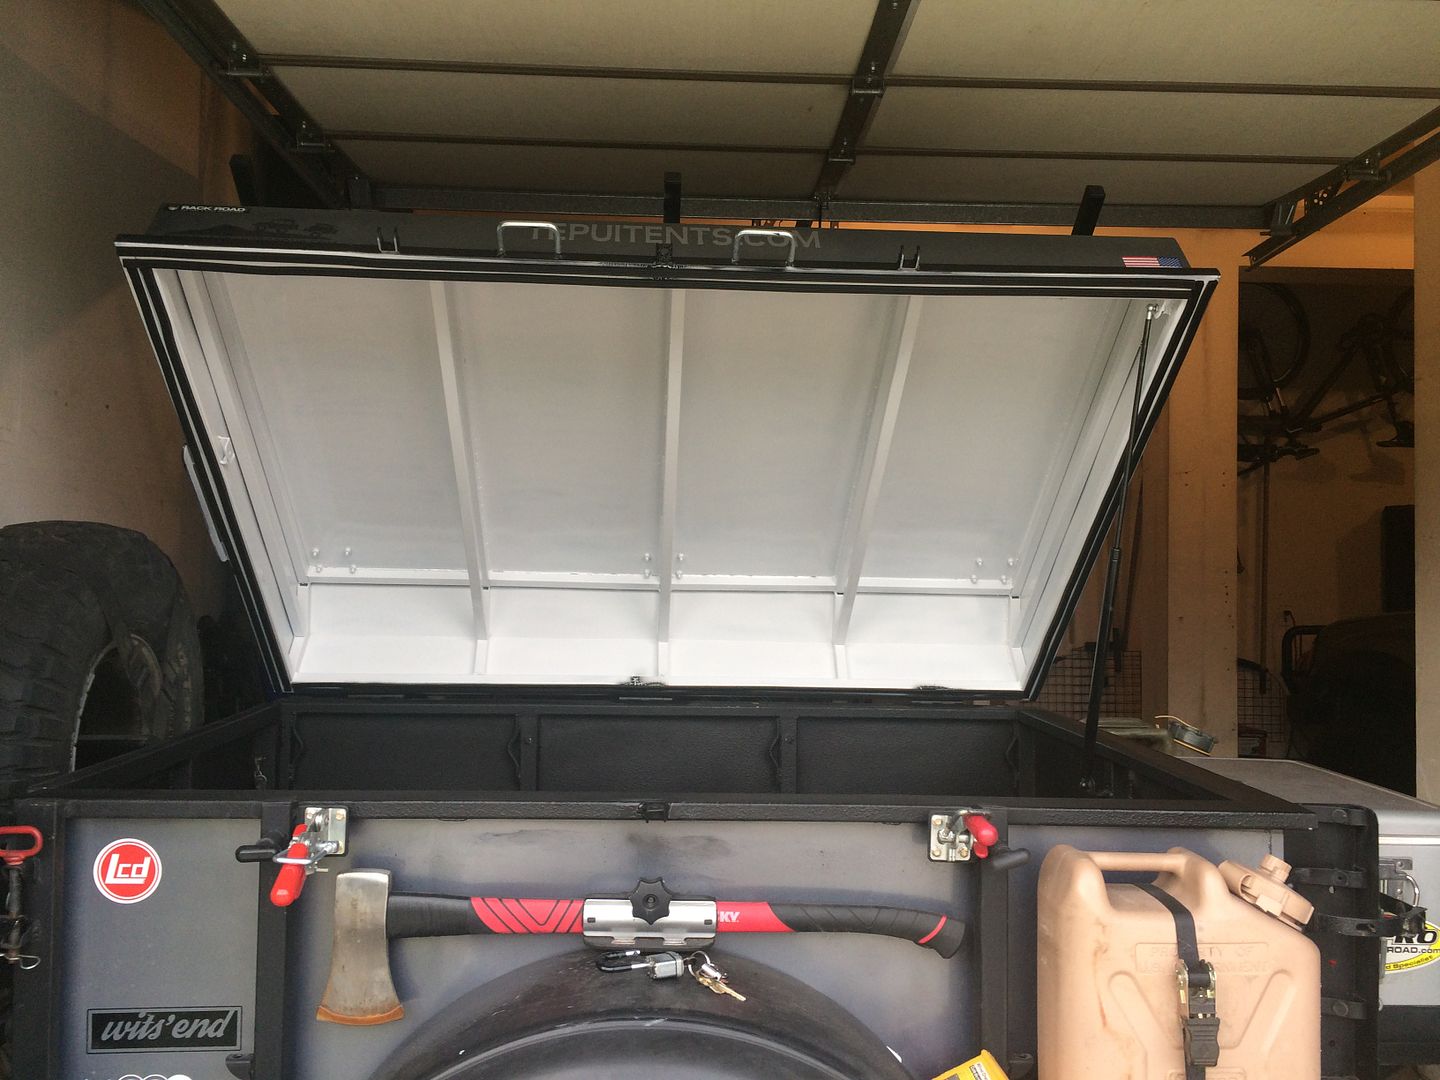
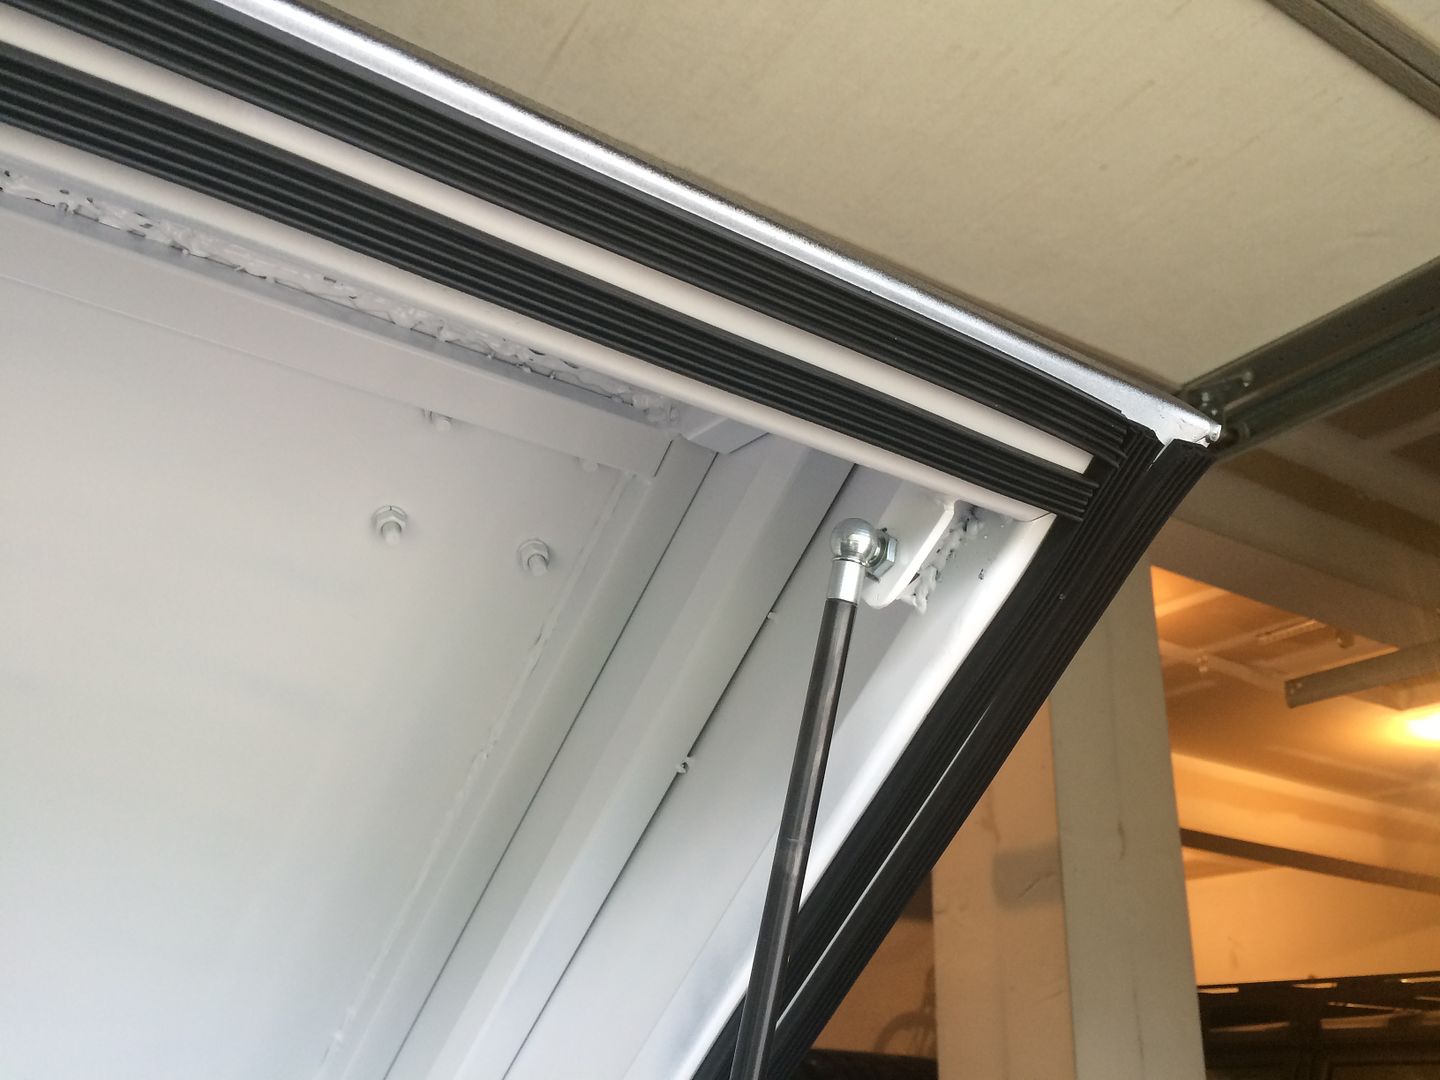
Do you have any pics of your new lid open? Pics of the struts for it? And what are the lever locks on the side? Where'd you source those?
 

Box Rocket

Well-known member
I haven't checked this thread in a little while, I apologize. Thanks for the compliments and here's some answers to the last couple questions. The brackets for the gas struts were ones I fabricated as part of the lid. The gas struts were sourced from McMasterCarr. Length and pressure of the struts will depend on lid construction and the amount of weight, as well as mounting location. Latches were also from McMasterCarr. Here's some pics to hopefully help describe some of it. Along with a couple vidoes. The first video is just showing the lid opening at the time I finished building the lid. The second one is to answer the question about whether I can open the lid when the Tepui tent is deployed.

.

.

.

.

.
https://youtu.be/BhqXgPegVa4
.
https://youtu.be/6iVD64wlRpg
 

cvanhook

New member
Hello, Love your trailer build. I am in the planning stages of building my own trailer and would like to model it after yours, its by far my favorite that I have seen. The goal is to eventually install a roof top tent on the trailer. My question is how large of a tent do you think a trailer the size of yours would support? I will be looking at getting at least a four person tent to accommodate my wife and I and our two kiddos. I just don't want to start building a trailer and then find out later that it wont support the size of tent we need. Thanks so much for documenting your build!!
Chad
 

dogtags

New member
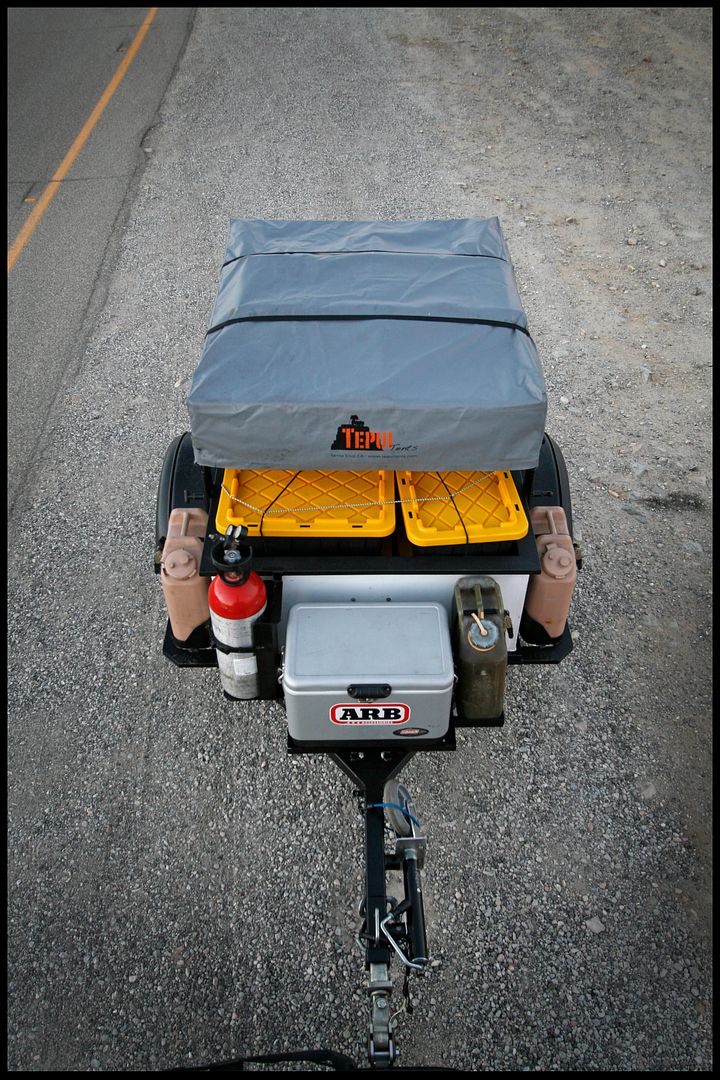
On the front of the trailer I had changed things a couple months ago by moving the water can mounts to the sides of the trailer and moving the tongue box back closer to the tub. When I did this I lost the space that I was using for my CO2. I wanted to get the CO2 mount back on the front and add an additional spot for a fuel can. Pretty simple solutions but the CO2 and fuel can do a nice job of countering the weight of the new spare tire carrier and giving the trailer a more balanced feel with proper tongue weight.

Hey Adam:

Your build looks great! I'm just curious about your CO2 tank. What kind of regulator are you running? I have some old Fire Department Self-Contained Breathing Apparatus (SCBA) cylinders that I have thought about using for stored air. I'm having trouble finding a reasonably priced regulator though. Any thoughts on where to find one?

~Robert
 

MtnClimber

Ready To Explore!
Robert, just use an old pack. The regulator off the pack will lower the air pressure enough to air up tires, blow out air filters and such. Cut the hose end off that would normally attach to the face mask regulator, attach an airhose disconnect/coupling of your choice and use a nice 20' ARB hose to reach all the tires all while leaving the tank in one spot.
 

screwball48

Explorer
Axe mounts from the future...new trailer projects...Tepui representative... the plot thickens!!


Sent from my iPhone using Tapatalk
 

Box Rocket

Well-known member
Axe mounts from the future...new trailer projects...Tepui representative... the plot thickens!!


Sent from my iPhone using Tapatalk
haha no plot. I'm not that interesting.

The axe mount is actually a bike mount for a hitch mounted bike rack. It's made by swagman. The new trailer project is just something that's been bouncing around my mind for a few years now and I'm finally thinking its time to give it a shot. And I like having a project. Has nothing to do with Tepui, although I'd love to include a new Tepui Hardshell on the new trailer.
 

Box Rocket

Well-known member
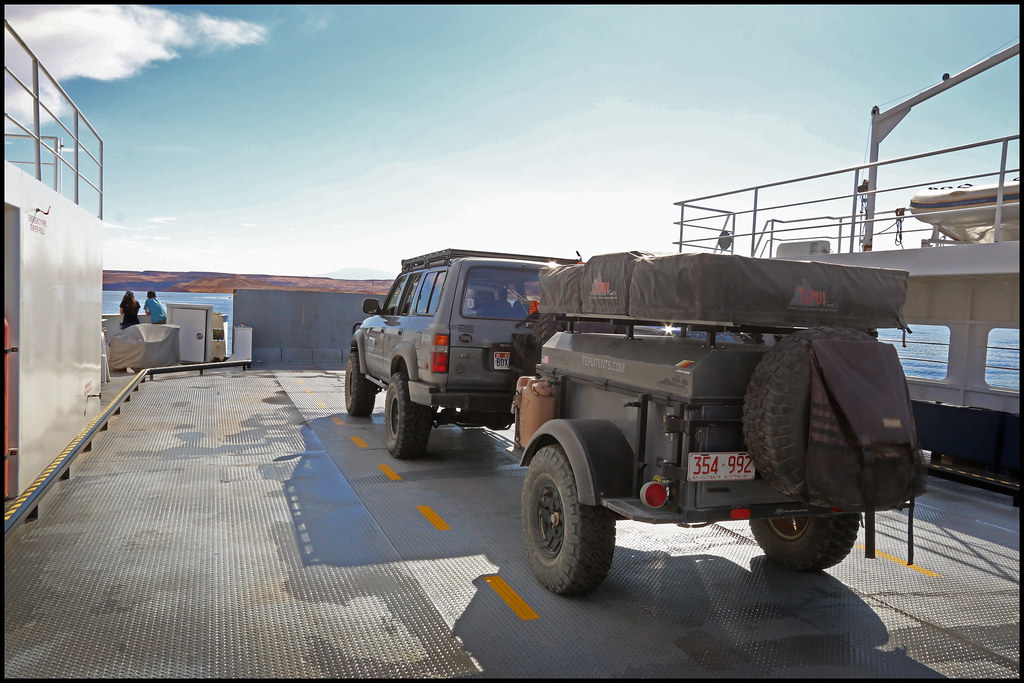
Been almost a year since I last posted to this thread and 10 years since I started it. Seemed like a good time for an update. I haven't changed too much with the trailer since my last post from last year but it's probably getting a pretty serious overhaul this summer. The past 10 years of use have been awesome and it's been great to have the room to haul all the gear for my family of 6 on extended outings.

By my estimation I've put approximately 80k miles on the trailer since building it, with a major portion of those miles being offroad. I'm not one that travels very slow when offroad, in fact most people that have come on one of our trips have commented about the pace and that we move significantly faster than they ever do when they do their own trips. So that means the trailer has had a lot of rough, hard, and fast miles. As a homebuilt trailer, and my first major welding project I've been really pleased that it's been completely trouble free it's entire life....until the last trip. :)

As per usual we were traveling very quickly on a very rough, rocky road in southern Utah. We were 50+ miles from the nearest paved road. I started hearing a clicking sound that was new. I stopped to check it and found that I had broken one of the leaf spring shackle hangers off the frame. Because the trailer has been so reliable over the years, I don't really carry spares or other things in case of a trailer breakdown. So it took a bit of creativity to get it fixed.

But first a few pics from earlier in the trip before the trailer broke.
IMG_2338 by Adam Tolman, on Flickr

IMG_2436 by Adam Tolman, on Flickr

IMG_2452 by Adam Tolman, on Flickr

IMG_2483 by Adam Tolman, on Flickr

IMG_2510 by Adam Tolman, on Flickr

Back to the breakdown.... Remember when I said this trailer was my first major welding project. I've improved quite a bit as a welder of the past decade since building the trailer but as you can see from this photo the shackle hanger did not have great penetration on the frame. Honestly I'm quite surprised this hadn't broken long before.
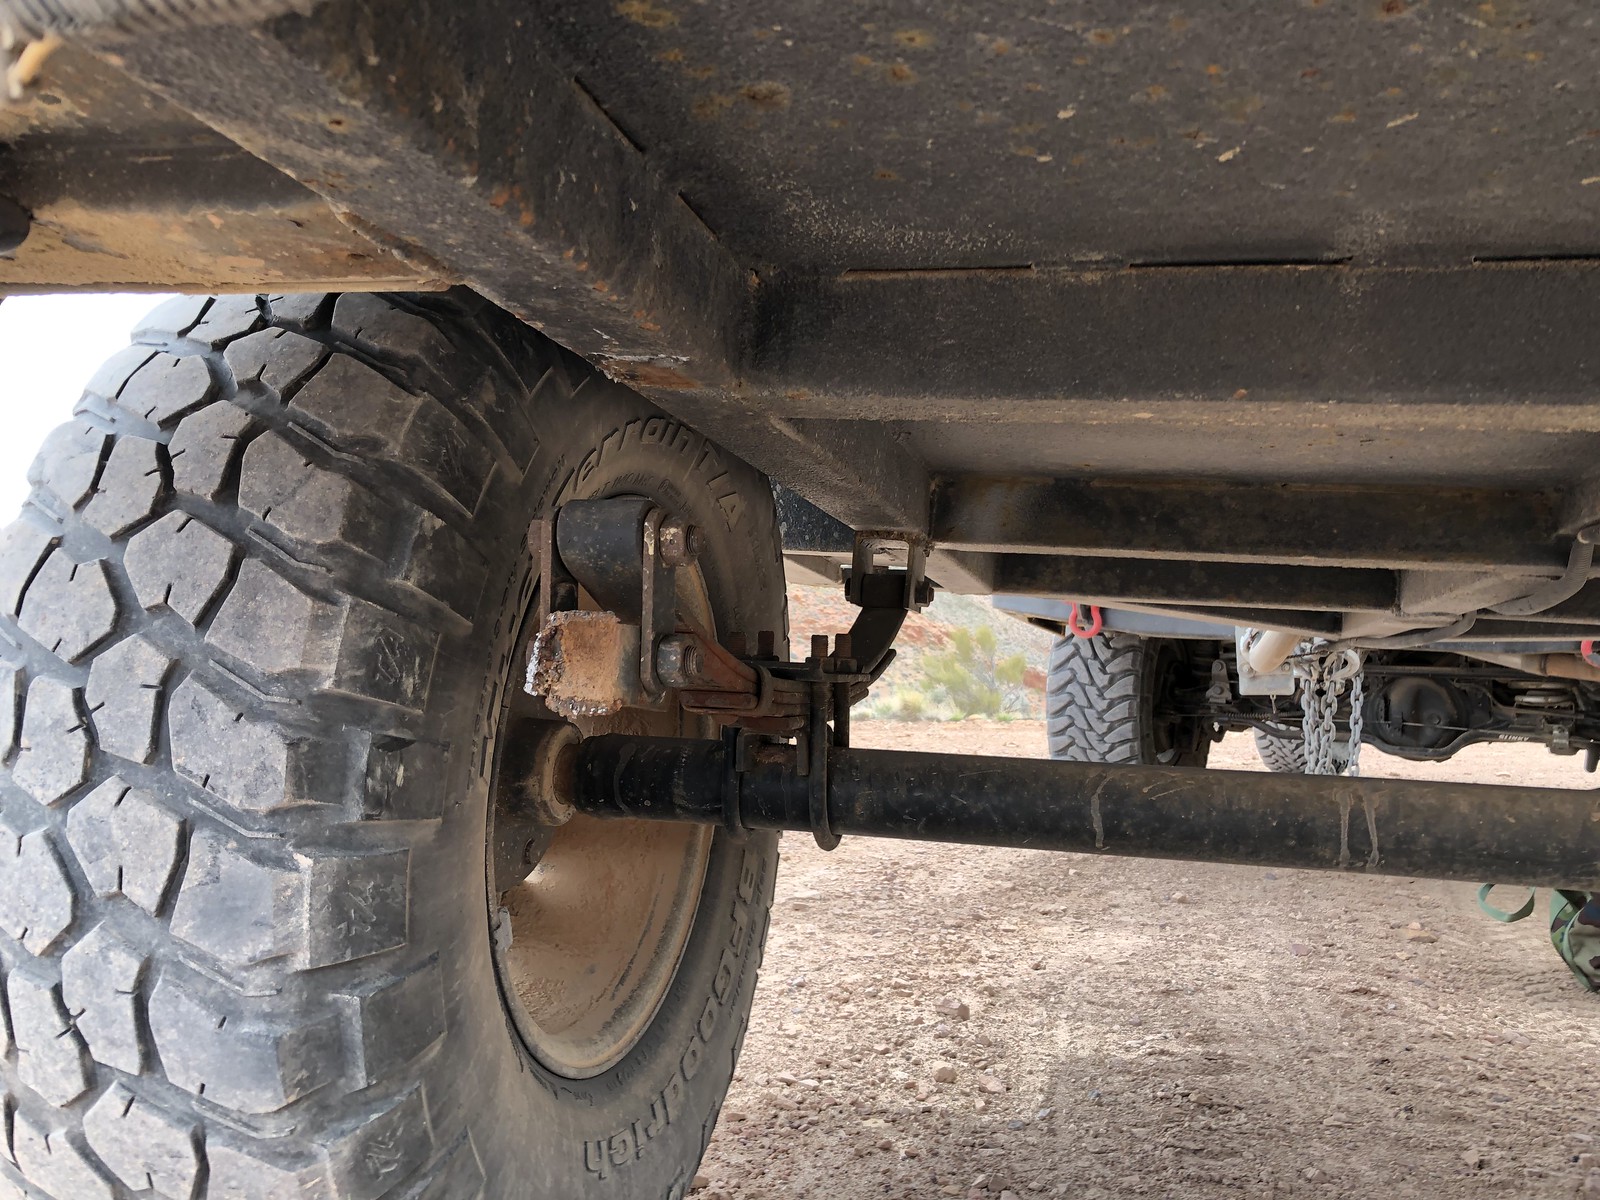
Untitled by Adam Tolman, on Flickr

My son and I got to work on the fix while my wife made lunch for all of us. You'll notice in this picture that the box of the trailer is welded directly to the frame. This presented a problem because the only way we could fix the shackle hanger was to somehow clamp it to the frame but there was no way to clamp it to the top surface of the frame.
Untitled by Adam Tolman, on Flickr

Untitled by Adam Tolman, on Flickr

I had my cordless drill but in the rush to leave home I forgot drill bits. But I had a chisel. So we used the chisel to punch two holes in the side skin of the trailer and two more in the floor skin of the trailer so that we had a way to tie around the frame rail. I used a small prybar through the hanger and a generous number of zip ties around the frame and prybar to hold the hanger in position against the frame. For good measure we slathered the hanger and zip ties with JB Weld and used a ratchet strap from one spring to the other to help hold it in place laterally.
Untitled by Adam Tolman, on Flickr

Definitely not the nicest trail fix but was the best we could do with what we had with us in the remote location. The only thing that matters with a trail fix is if it works to get you off the trail. This one ended up working great as we backtracked 50 miles down the same rough road we had just come down. We got into a small town after dark but found a shop the next morning that let us re weld the hanger to the frame. The "real" fix took us all of about 15 minutes and is now stronger than it was originally.
Untitled by Adam Tolman, on Flickr

This whole experience has hastened the refresh that has been planned for a while. I wasn't planning to redo the suspension because it had always worked but now I'm looking at changing it up. At the moment, I'm debating sticking with leaf springs but using some longer ones that I have. Or, building a custom trailing arm/panhard setup with airbags. We'll see how ambitious I get when I start digging into it.
 

old_CWO

Well-known member
You sir have earned an A+ in zip tie engineering.

If it were me, I wouldn't even consider a fancy suspension. Your original (novice welded) stock cheapo trailer spring suspension met every need without question for a decade of rough service. When it did give up, you got it off the trail with zip ties and epoxy. A pair of fresh longer springs with shocks and you have at least another ten years worth of reliable service put back on while improving trail performance. Simple, cheap and effective - that's pretty hard to beat.

Photos I have saved of your trailer in various configs and colors are in my folder of ideas and best practices. Thanks for sharing!
 

dstock

Explorer
I have to agree, great trail repair!

I had a couple novice welds go on my trailer after a couple trips, but it's been so rock solid since I'm starting to take it for granted. I agree with old_CWO that some minimal upgrades will probably get you another 10 years. I do get the itch to upgrade often but then I talk myself out realizing, it's been working great, don't mess with it.

Of course now I've probably doomed myself...LOL.
 

Box Rocket

Well-known member
You sir have earned an A+ in zip tie engineering.

If it were me, I wouldn't even consider a fancy suspension. Your original (novice welded) stock cheapo trailer spring suspension met every need without question for a decade of rough service. When it did give up, you got it off the trail with zip ties and epoxy. A pair of fresh longer springs with shocks and you have at least another ten years worth of reliable service put back on while improving trail performance. Simple, cheap and effective - that's pretty hard to beat.

Photos I have saved of your trailer in various configs and colors are in my folder of ideas and best practices. Thanks for sharing!
I don't disagree. The whole reason I did leaf springs in the beginning instead of something more elaborate is because how reliable and effective the leaf springs are. Breaking a spring hanger off the frame isn't gonna leave you stranded. If you busted a weld off on a trailing arm, you might be completely screwed. More than likely it will get some different springs since I have some on hand that will work well.
 

Forum statistics

Threads
188,274
Messages
2,904,761
Members
229,805
Latest member
Chonker LMTV
Top