Another Update
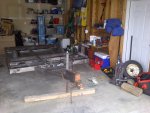
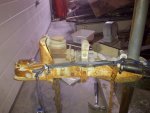
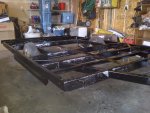
Alright, so another week has passed, and I've made what I feel is a fair bit of progress. I ended the last update with the frame in primer, and the next step was to paint it. as with the primer I brushed on two coats. The nice thing about brushing paint on is that each coat is nice and thick, the problem is that there ends up being little bits here and there where the paint isn't brushed on evenly. So I've had to go back over things with rattle cans to make sure there's a nice and even coat. I also used rattle cans to coat the harder to access areas of the frame. Here it is after the first coat:
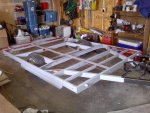
After a second brush on coat and a lot of touching up with the rattle can, I started to build the floor. I decided to build it in place. I used 3/4" ply, and Home depot didn't have any tongue and groove, so I went with standard ply. I also didn't have time to grab my father-in-laws pick up, so I had Home Depot cut the sheets in half so they were 4'x4' and would fit nicely on my roof rack. Here's the floor half way through construction:
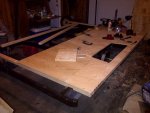
You can see how it's skirted with 2x3's around the edge of the frame and how I braced the location where each sheet of ply met. I glued and screwed each piece to the 2x3's:
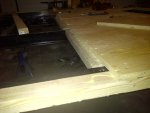
Here the floor is completely built:
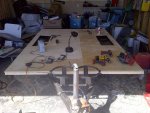
Before I pulled the floor off I drilled the holes I'd need to bolt the floor to the frame. I forget the exact size of the bolt, but basically they're a countersunk grade 5 bolt through the floor and frame with washers on both sides and two nuts to secure them on the bottom. I'll use a pile of waterproof silicone sealer to waterproof it. Here's a couple pics:
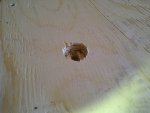
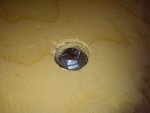
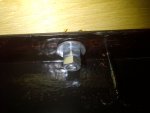
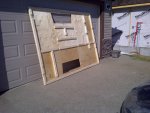
I was worried about the strength of the floor as I used 4'x4' pieces and thus had more joints, and I didn't use tongue and groove ply like I originally planned. A friend helped me lift the floor off and prop it up against the garage door to seal the bottom, and I was honestly impressed by how rigid it was. There was no visible flex when it was lifted off the frame. Here it is against the garage door and ready to be sealed
I did a lot of reading and thinking about the best way to seal up the floor. In the end I decided to fiberglass all the joints while being very liberal with the resin, and then put on three coats of a quality oil based floor paint. So why did I decide against using any of the sealers/bed-liner others have recommended? They all seem like quality products and have been proven to be effective, so why not use them? I was thinking about the old floor I pulled off the trailer. It was 35 years old, and was untreated plywood on a very well used trailer, and it had no treatment at all yet remained in very good shape. As I was browsing through a few build threads on the teardrops and tiny trailers forum (thanks again to the user who posted the link.... it's a great site), a poster was wondering if all the worry about sealing the wood on the bottom of the trailer was overkill since so many of these old trailers had unfinished floors and they've held up for decades without a problem. His/Her thoughts echoed mine, and after giving it more thought I decided that many solutions were overkill. While overkill can be good, I have a tight-ish budget so an adequate treatment will be fine. I've used floor paint on plywood floors before, and it's proven to be a resilient finish that holds up to a lot of abuse. I decided I'd see how well it holds up on my build. After buying the fiberglass and paint I ended up spending $68.00 with taxes, and have a fair bit of leftover fiberglass to use elsewhere. So all things considered I figure that it cost me half as much as bed-lining the bottom, and it's very well sealed. Sorry for the long winded description, here's a pic of the fiberglass:
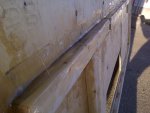
Here it is after the first coat of paint, it got two more:
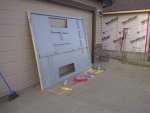
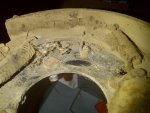
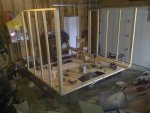
For some reason I can't upload any more pictures right now, so I'll edit and add pictures later. I then set it back on top of the frame after the paint was dry. It had started to snow just before I brought the floor back inside so I haven't bolted it down yet so that I can be sure that any water in the bolt holes had evaporated before they get sealed up with silicone. I used the time to get started on building the frame for the body of the trailer, Again, I used 2x3's. I also wired the trailer lights while I had the floor off. I also decided to deal with the old brakes while the frame was off. It turned out that there was no hydraulic fluid, and the old brakes and actuator were in really rough shape, so I decided that I'd go with electric brakes. The electric brakes at princess auto turned out to be the wrong ones, so I have to order them and install them at a later date.
I'm pleased with my progress this week. I have a busy week ahead so I doubt that I'll get much accomplished over the next four days.

