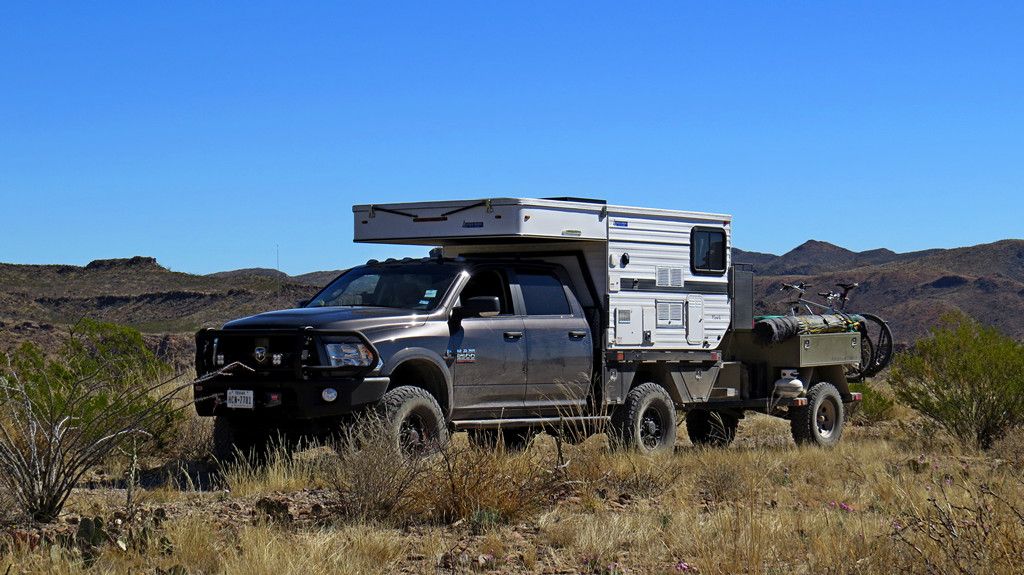
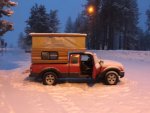
Cedar Strip Pop Top Camper
Here are a few more pictures and some more information on our project. My wife and I do a lot of camping -- from our canoe, our truck, backpacking etc... The last few years in our truck, we used our simple fiberglass canopy with a bed platform and set of drawers underneath to store our gear. This worked quite well, but on those rainy and cold days it sure is nice to have an actual place to sit and cook inside -- simply not possible in our canopy.
We thought a camper would be nice, but it would have to be light and suitable for the occasional foray on 4wd roads. It also had to be easy to haul long distances without impacting gas mileage much. A lightweight pop-top seemed to be the answer. However, when we looked at commercial ones, they seemed quite heavy and of course involved a lot of cash. So, we decided to build one ourselves.
We had some experience building cedar-strip canoes, so thought that we would use this technique. Basically, you slice cedar boards into 1/4 inch thick strips, glue them together on a framework, sand the whole thing down and apply fiberglass cloth and epoxy resin on both sides. You then have a lightweight and strong structure. We then cut holes for the windows and installed them, installed a door, sewed a tent-like bit for the pop top, and built mechanisms to actually 'pop-up' the top.
This all took about 6 months of our spare time, but we got to try it out on a 3 week vacation in February. We drove almost 5000 km and slept in it every night. We also bounced up a lot of backroads. We were quite happy with it... Anyway, here are some pictures:
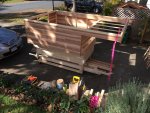
Stripping nearing completion
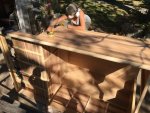
Sanding

Gluing roof strips
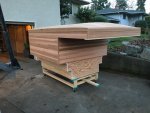
Stripping completed -- awaiting fiberglass
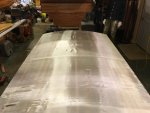
6 oz fiberglass cloth on roof
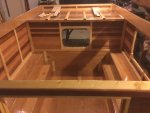
Interior view, after fiberglassing and before the roof was attached
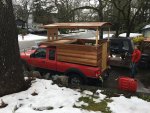
Roof popped up showing front hinge and rear posts used to hold roof up. Tent sides attach with industrial grade velcro.
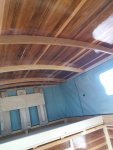
Interior view
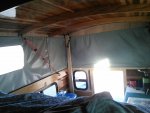
Interior View

Another interior view
Wer were in a hurry to use the camper, so the interior is pretty sparten right now. We will add a water tank, sink and some nice cupboards...
