flyingwil
Supporting Sponsor - Sierra Expeditions
Ok, I am need of some help. I am using a borrowed Nikon D70, and need to capture some night photographs of some lights side by side. I want to capture "a driver's view" of light 1 vs. light 2 and so on.
I am planning on setting the camera up on a tripod, on the front driver's side of the vehicle, so each picture will be from the same location, and have the same view.
My problem is that I do not know enough about photography to be able to pull off the shots I am looking for, and in turn do not know how to set up the camera accordingly. I have one chance at this photo op and one chance only, so I need to get it right.
Can anyone walk me through the best setting to capture these shots I am looking for?
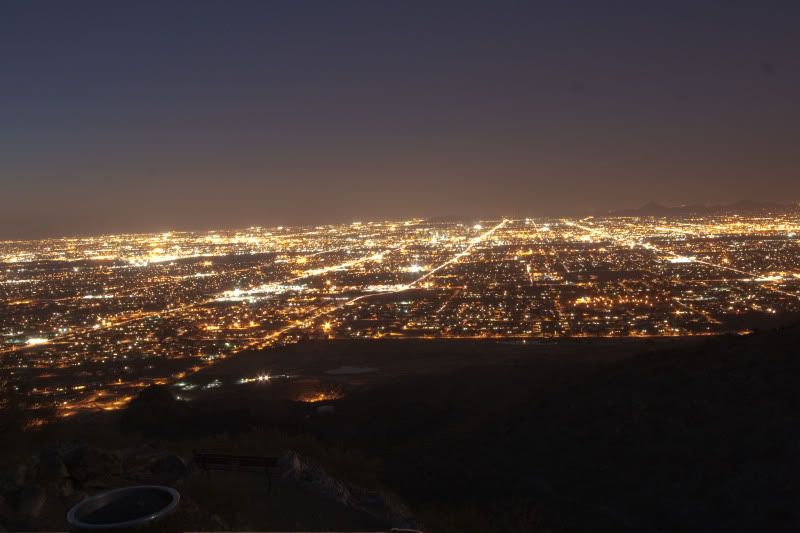
Below is a poor example of what I am hoping to get, I just want mine to be more uniform and precise.

I am planning on setting the camera up on a tripod, on the front driver's side of the vehicle, so each picture will be from the same location, and have the same view.
My problem is that I do not know enough about photography to be able to pull off the shots I am looking for, and in turn do not know how to set up the camera accordingly. I have one chance at this photo op and one chance only, so I need to get it right.
Can anyone walk me through the best setting to capture these shots I am looking for?
Below is a poor example of what I am hoping to get, I just want mine to be more uniform and precise.
")