casualthursday
New member
Hey everyone,
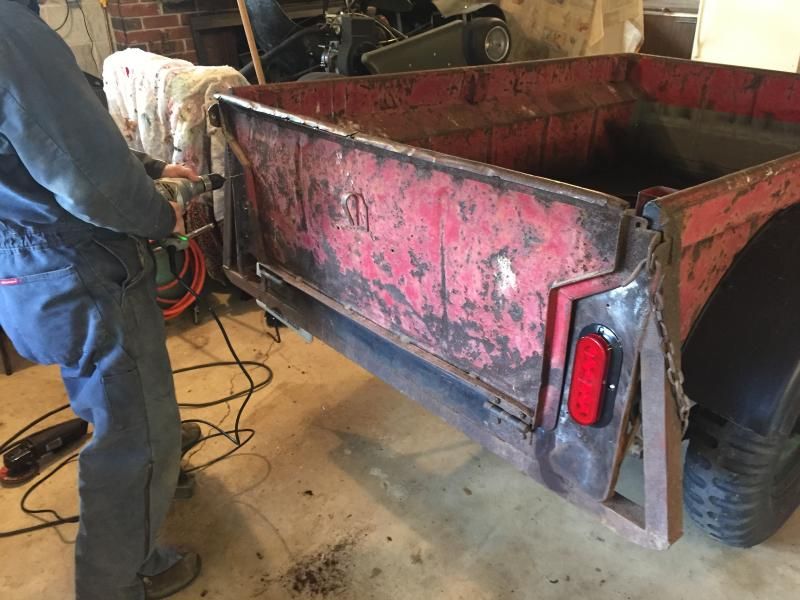
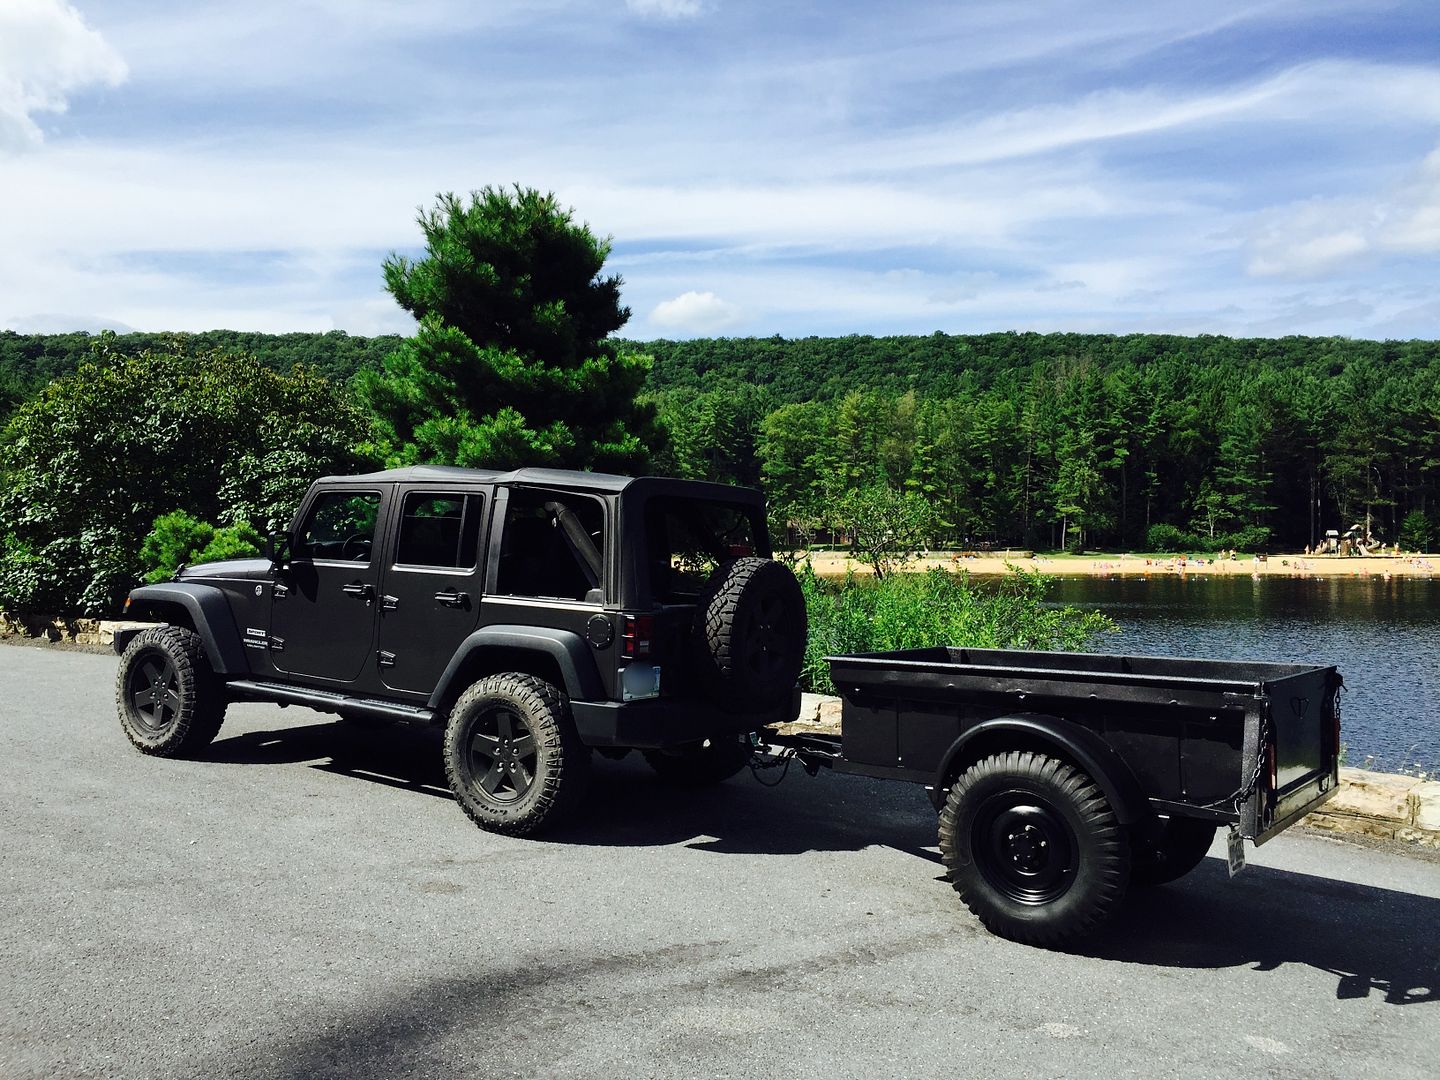
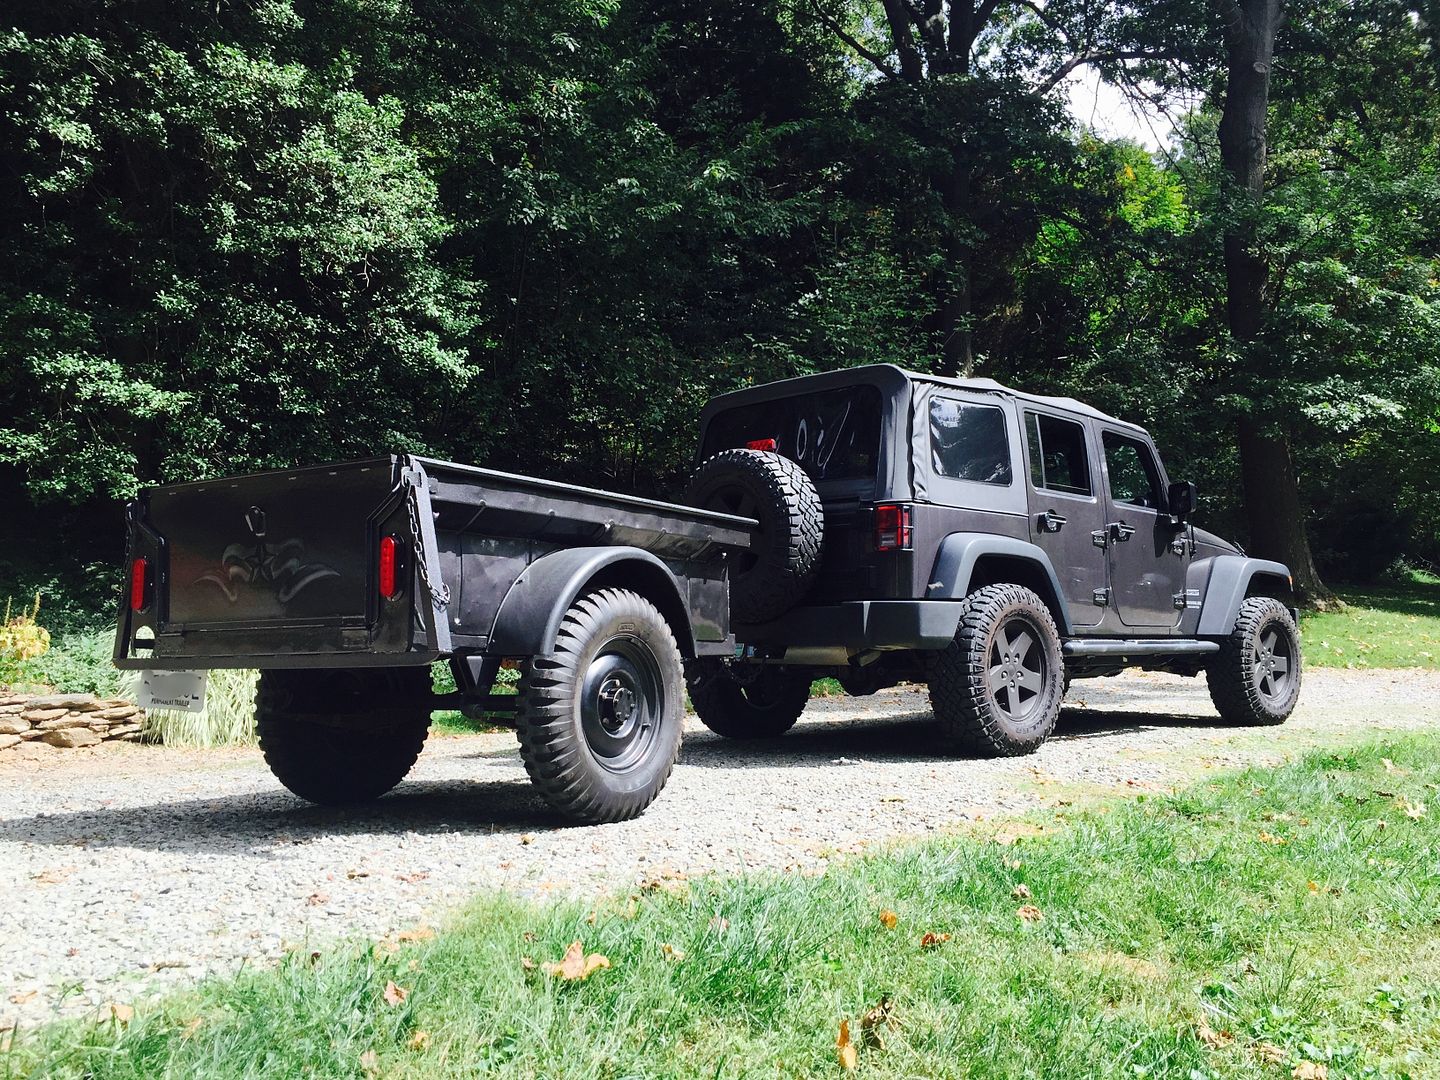
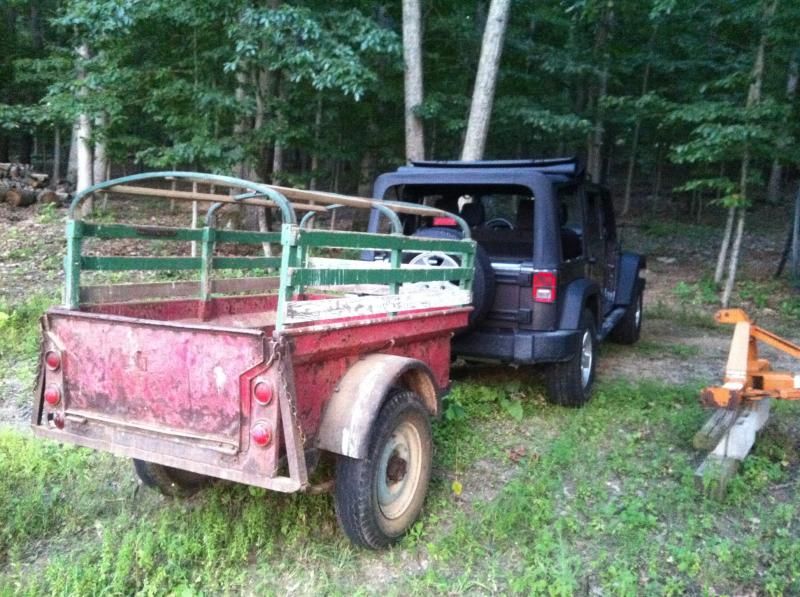
I picked up a 1948 Bantam T3-C at an auction in late July and wanted to share my progress so far. This may or may not qualify as a true expedition trailer, but I plan to haul it around the woods, to the river with my kayak, and on the beach. Close enough, I guess.
Please enjoy my posts as I update them, I'm learning a lot along the way.
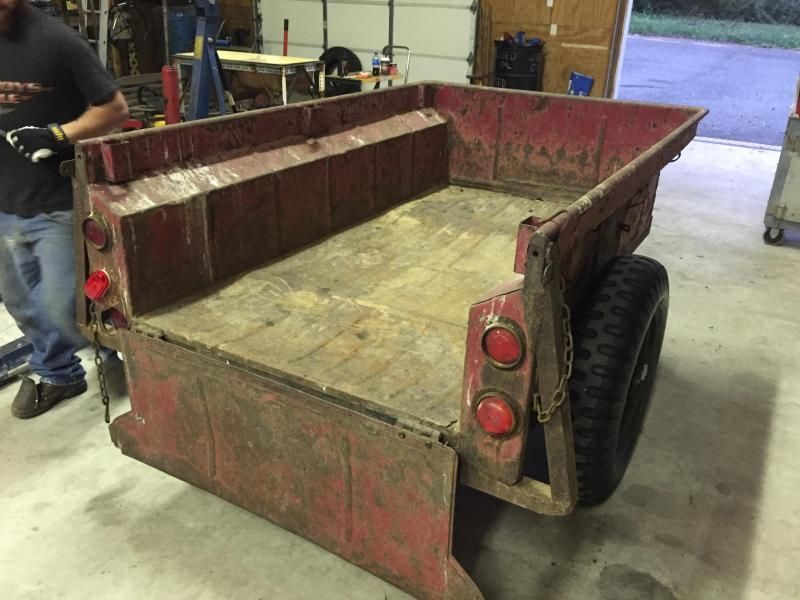
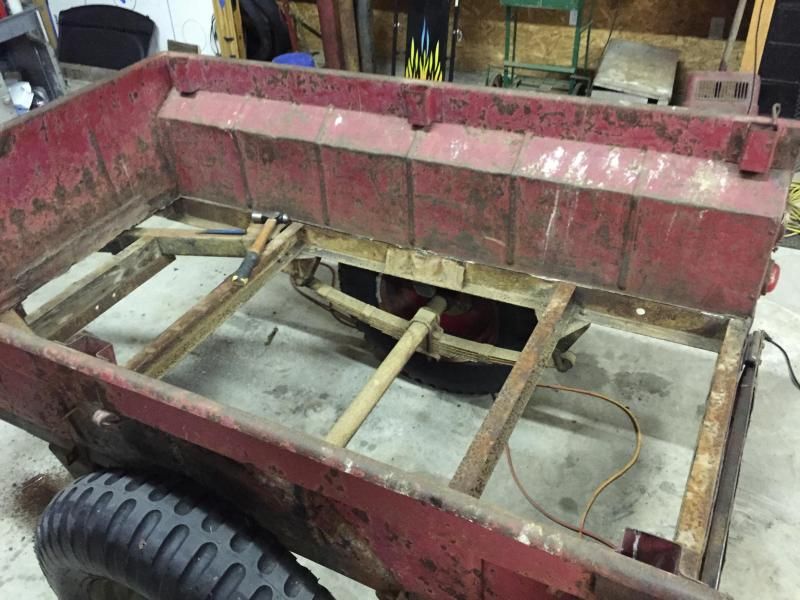
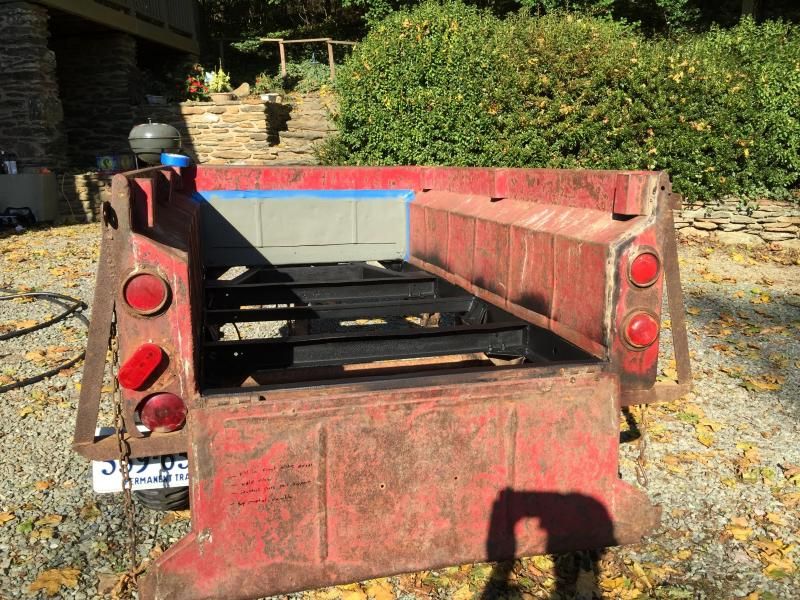
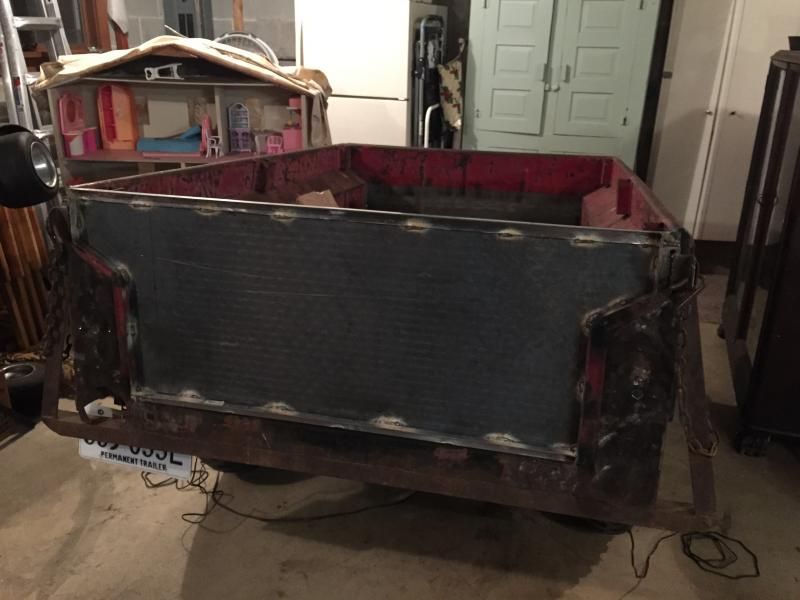
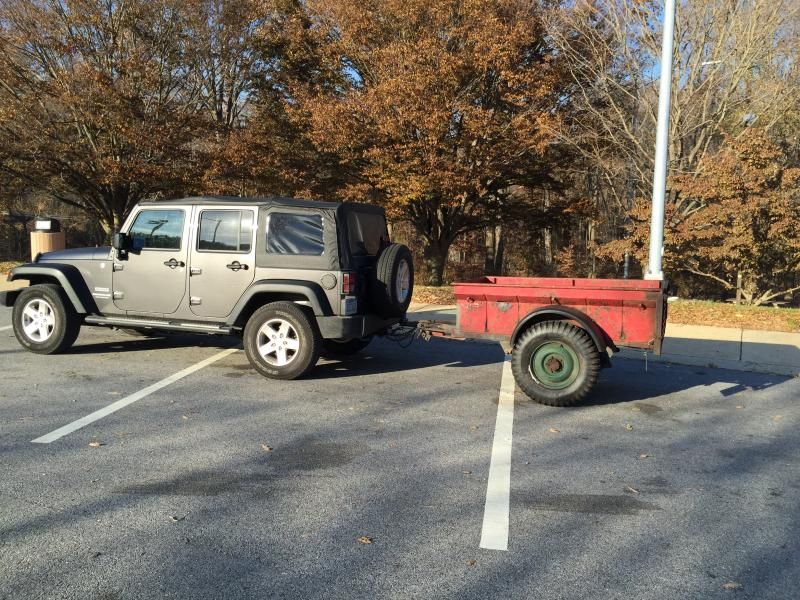
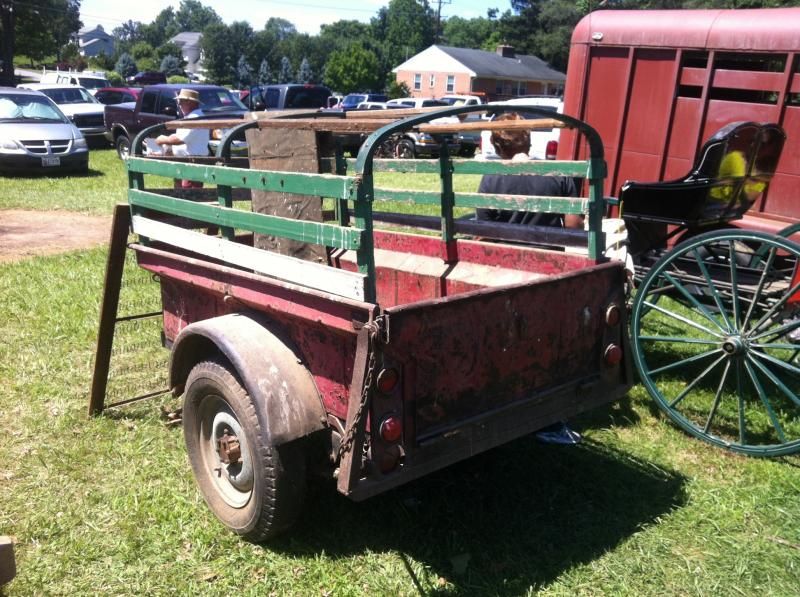
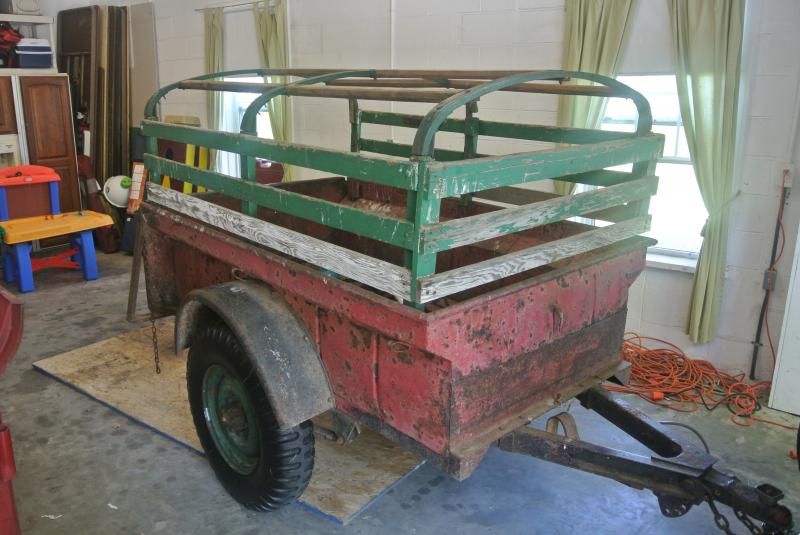
Here's my "barn find" on the day of the auction:
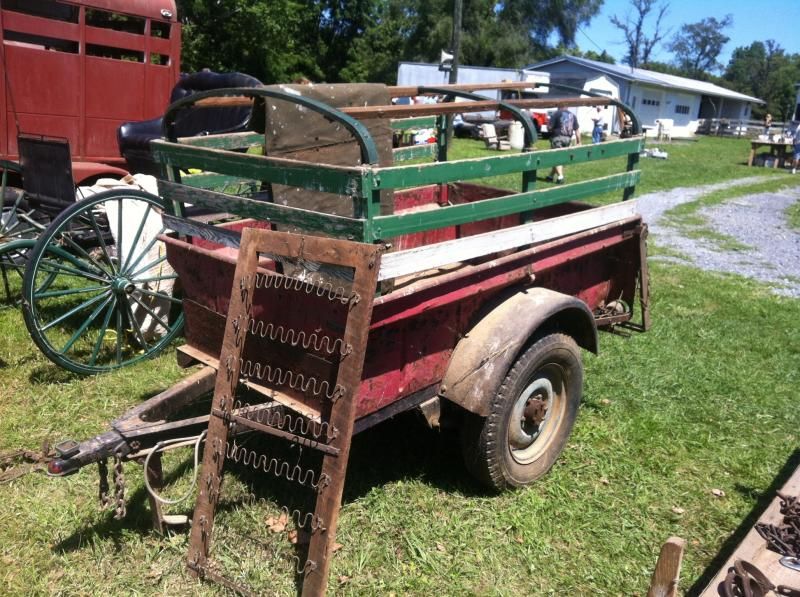
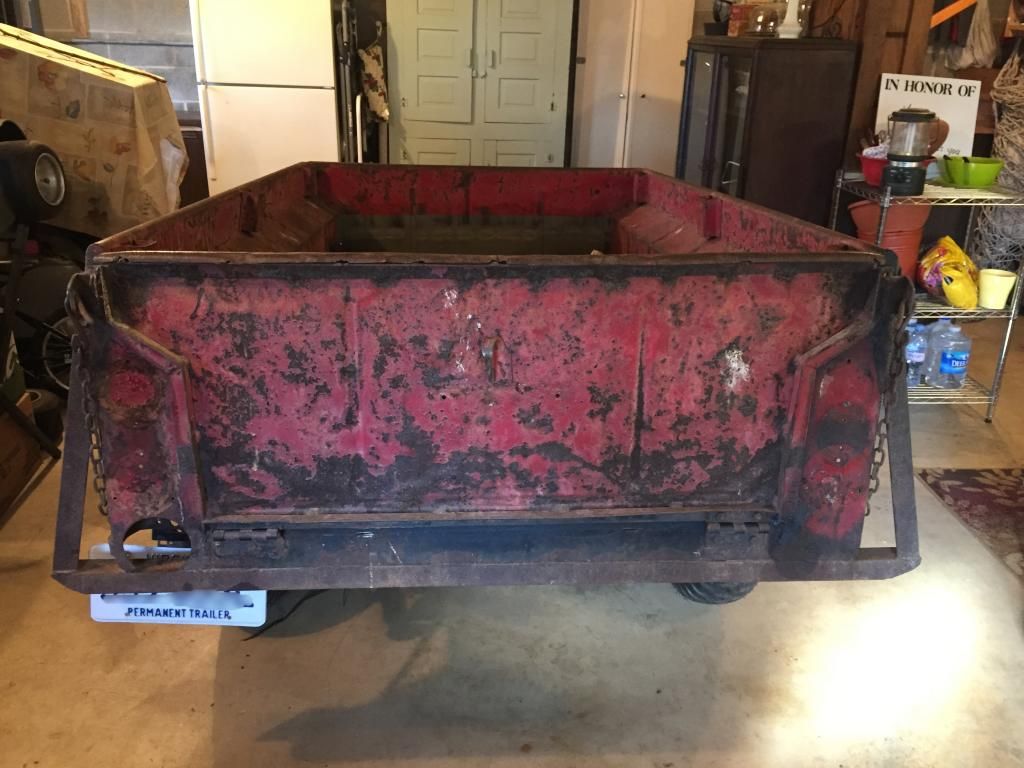
I had the seller air up the tires and made the 40-ish mile trip to a friends house to let the trailer sit while I ordered proper tires/tubes. Big thanks to Robert Bills for the advice while ordering my tires.
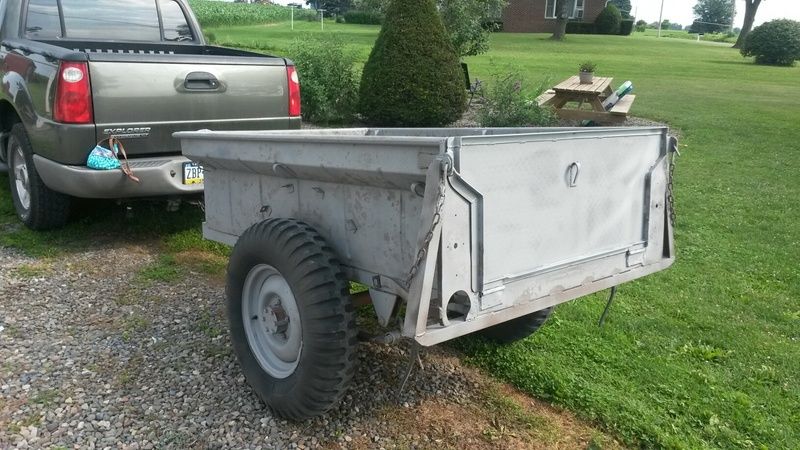
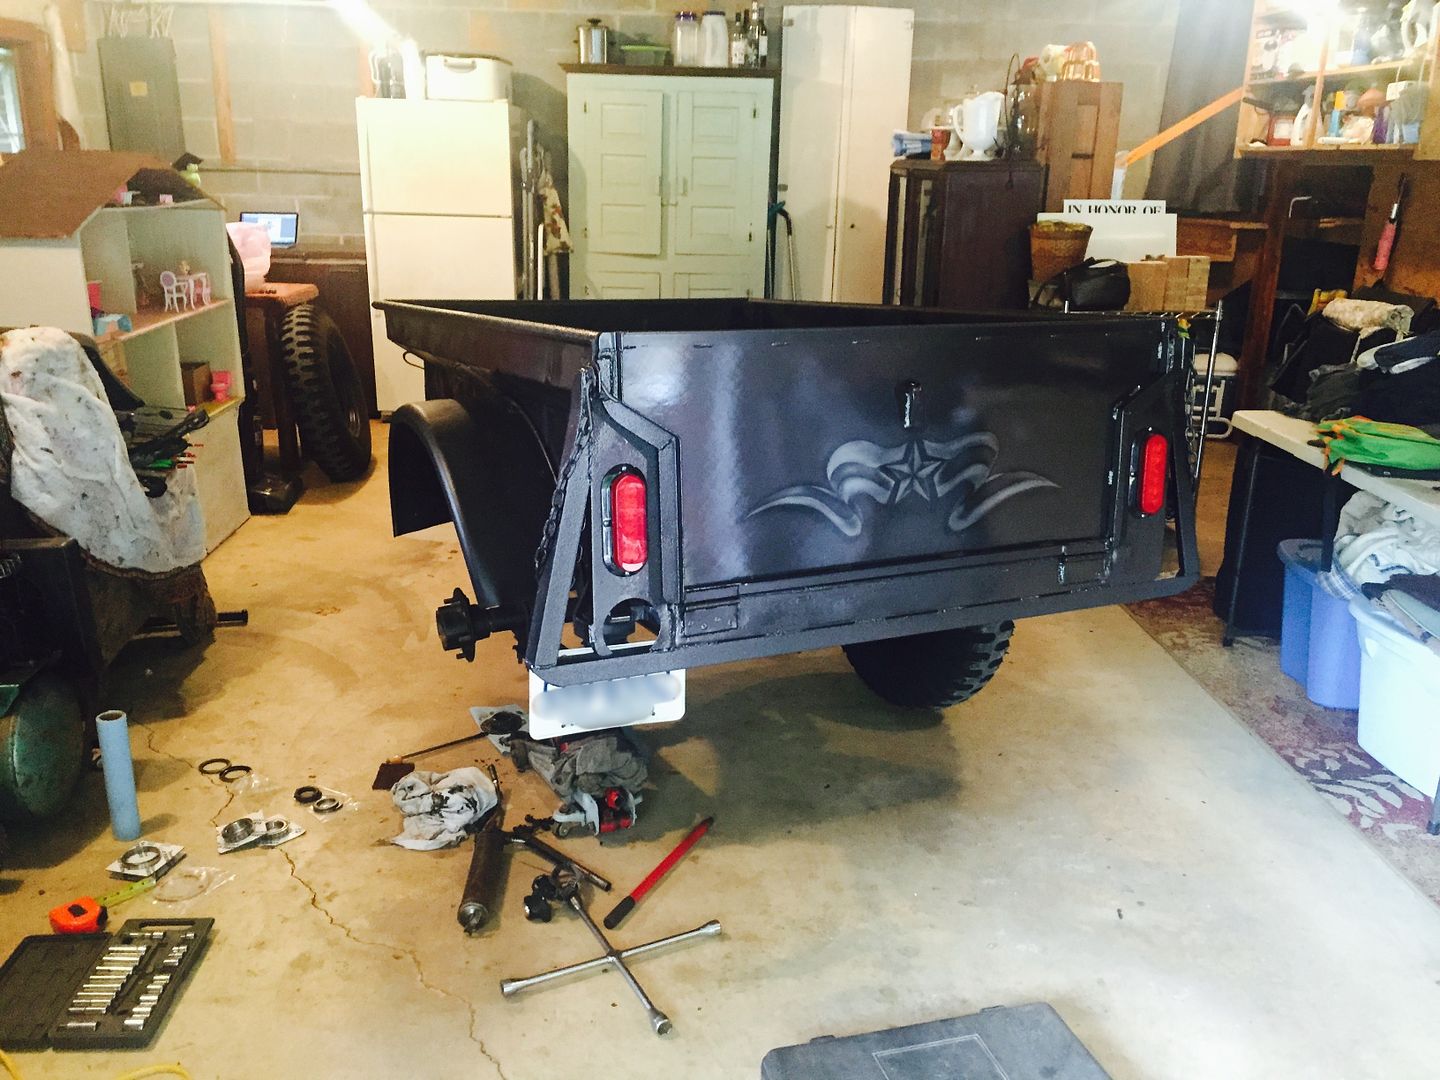
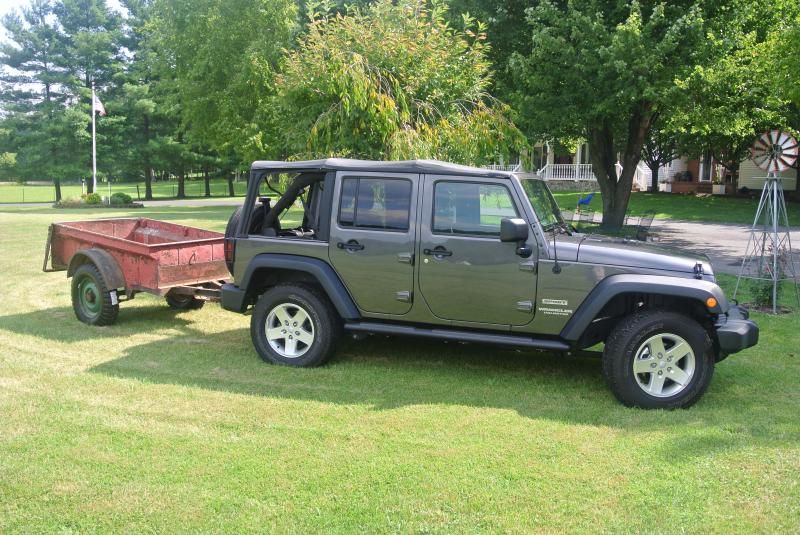
New tires and tubes mounted!!
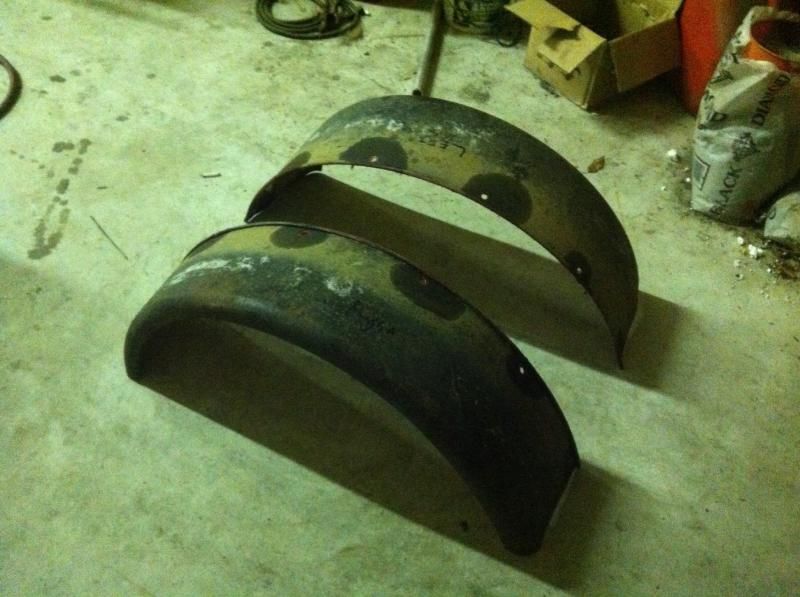
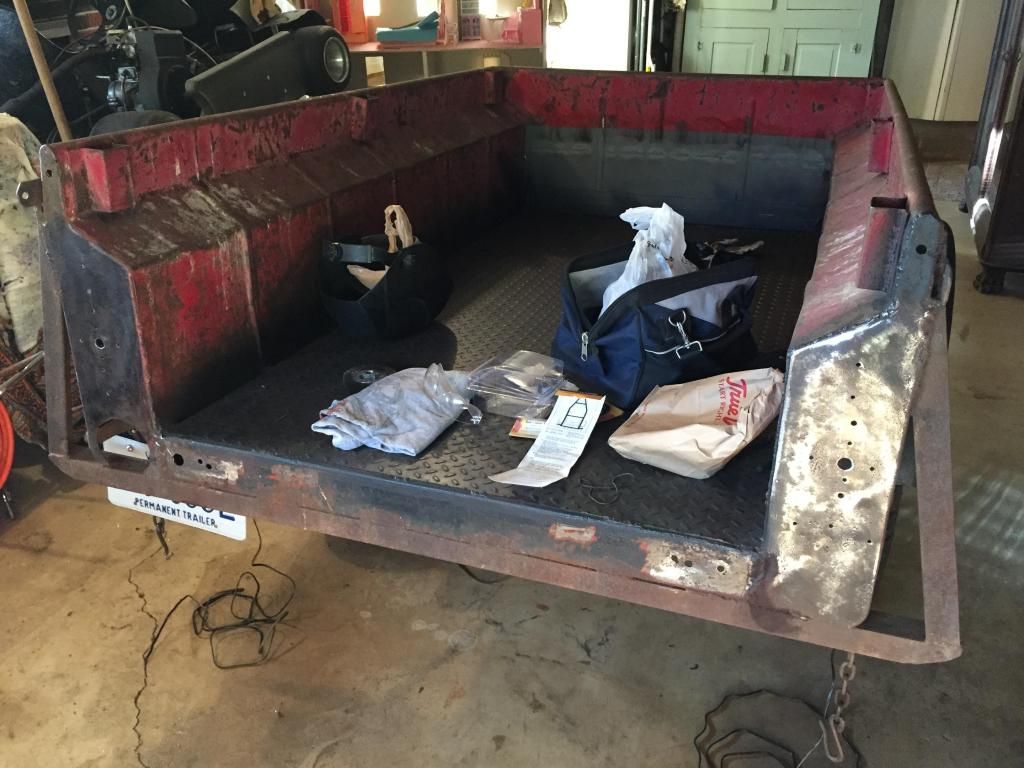
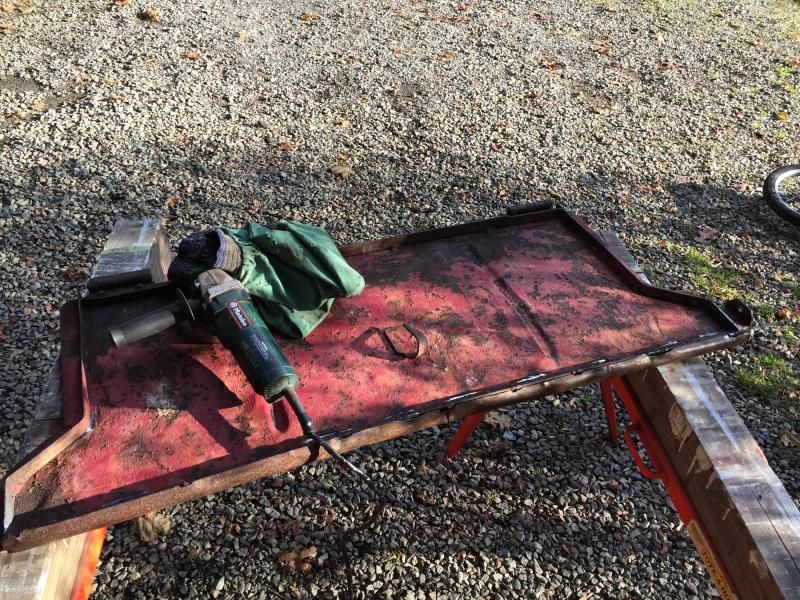
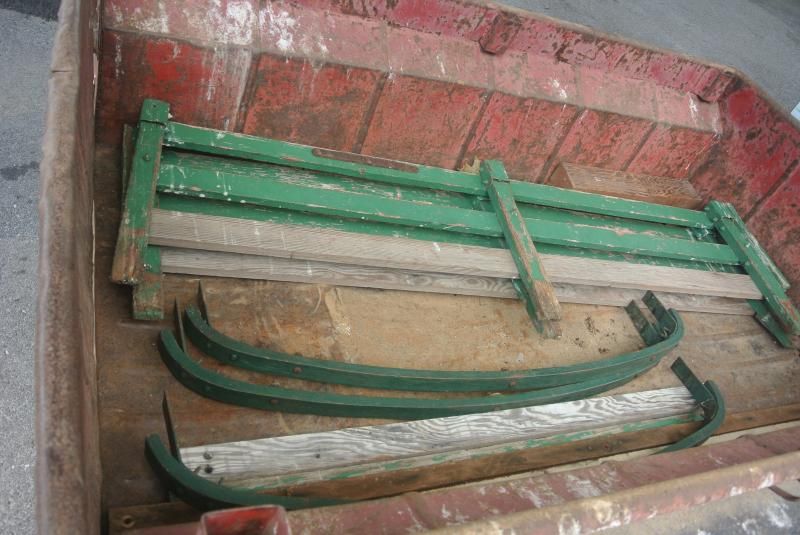
Then I broke down the bows/rack/canvas and sold them. My plans did not include these items.
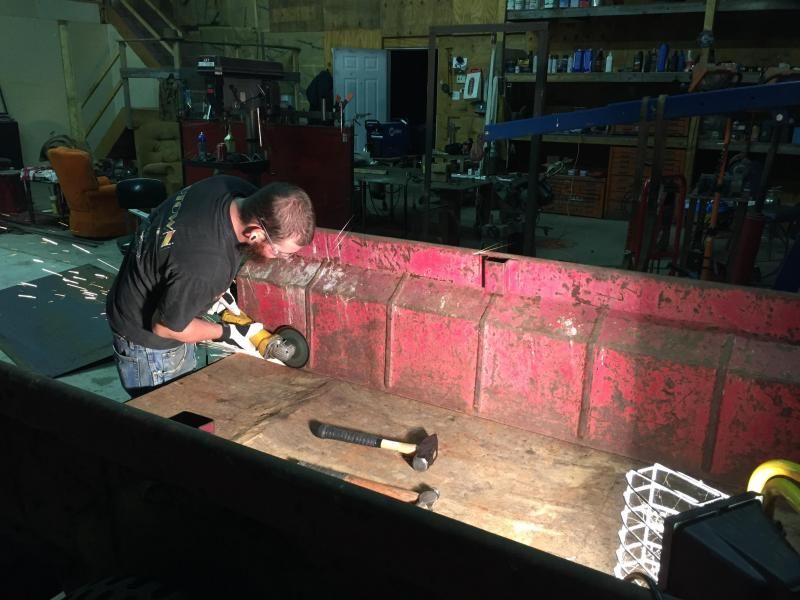
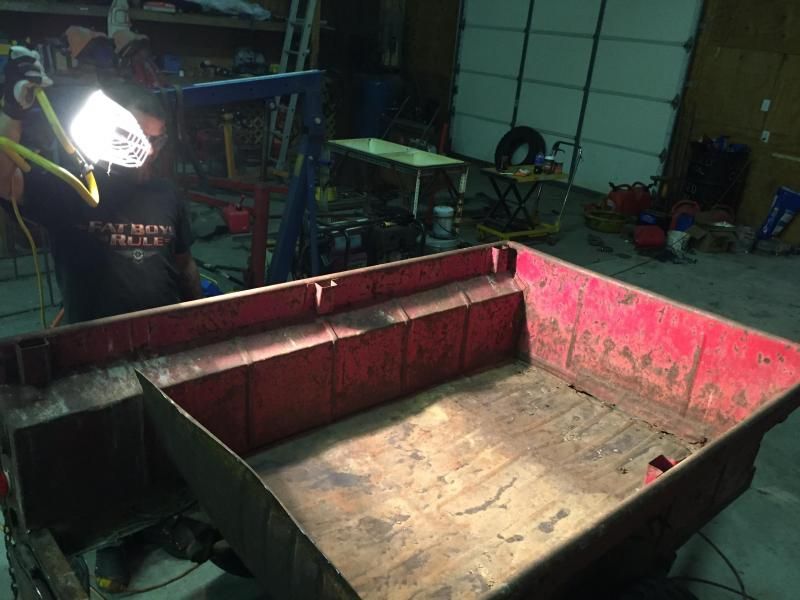
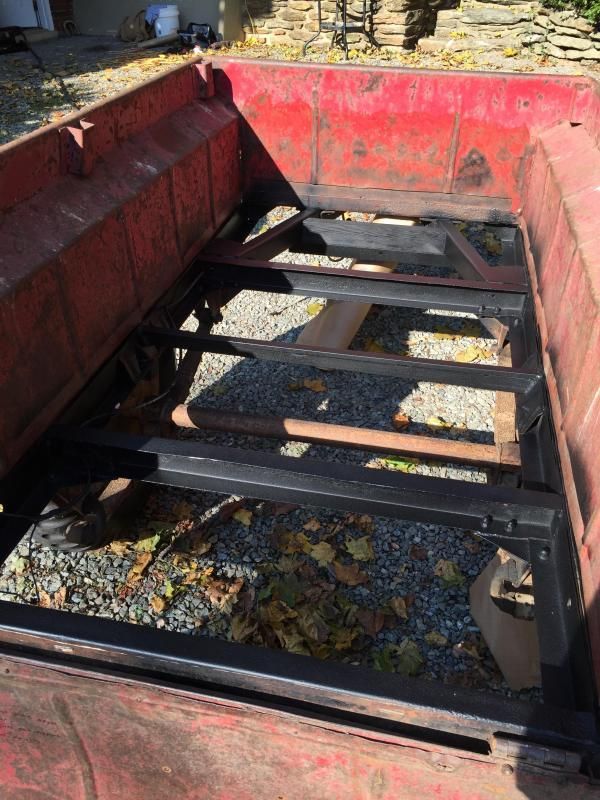
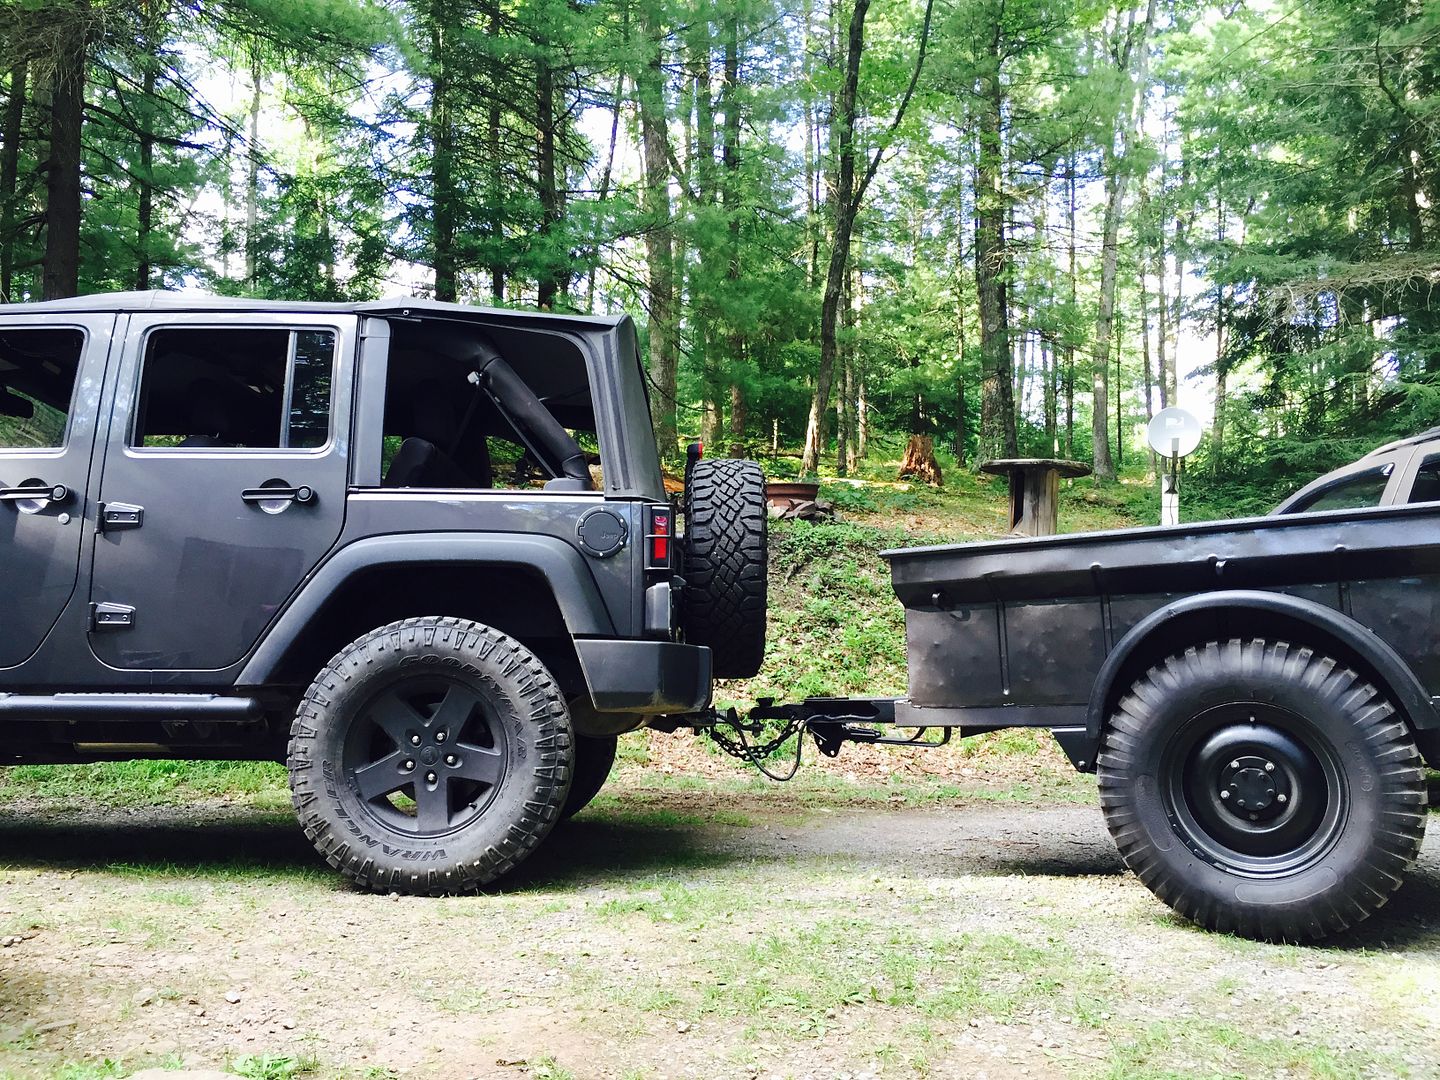
Looking better already....
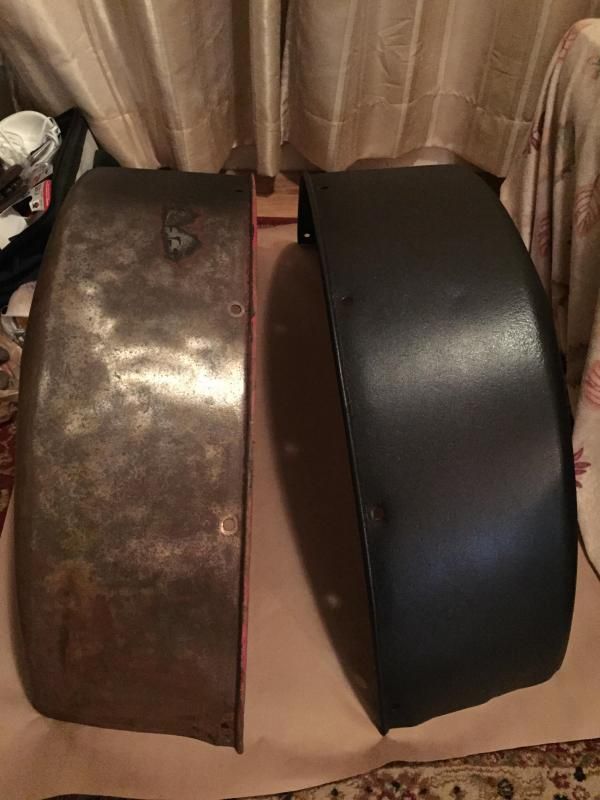
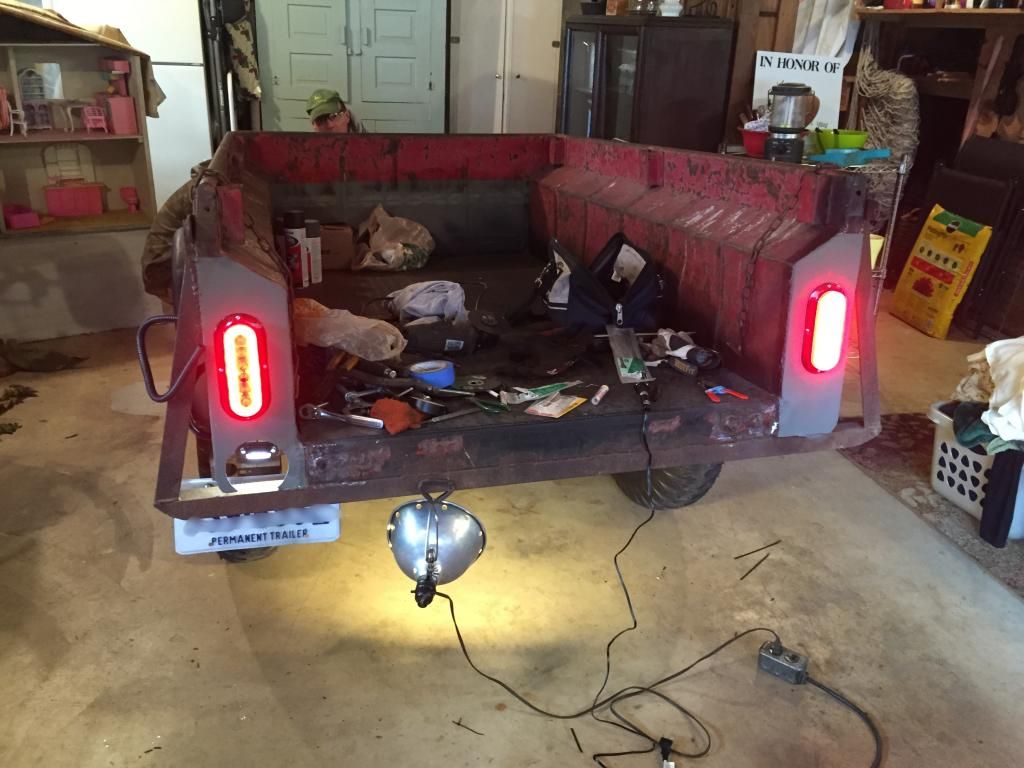
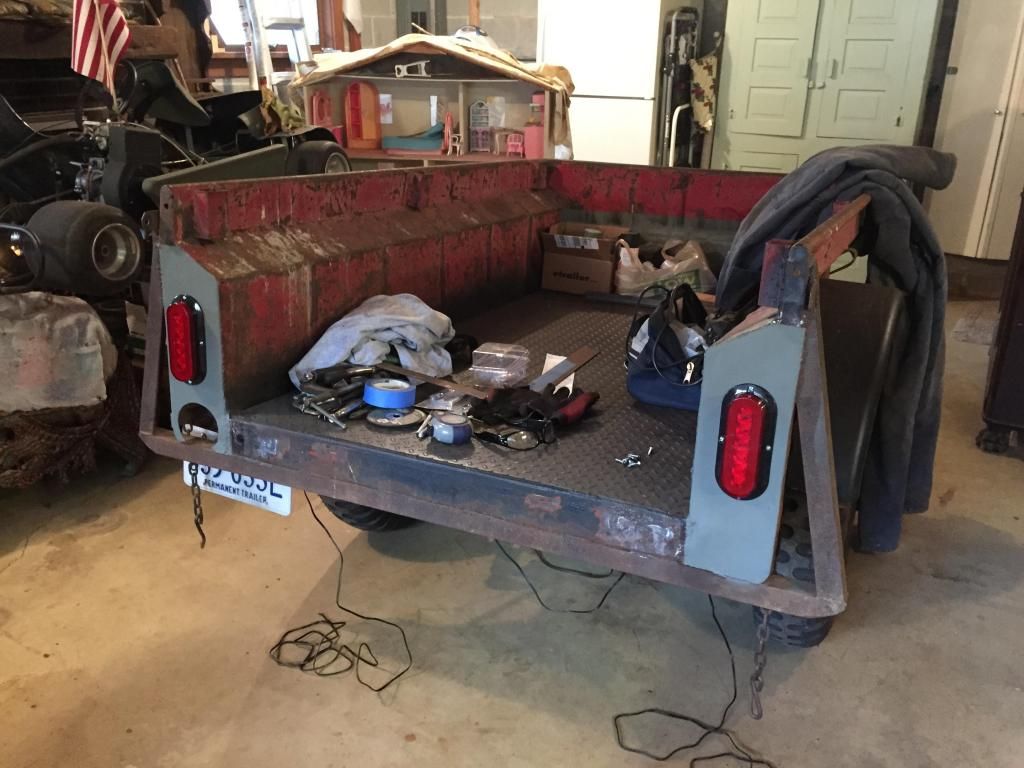
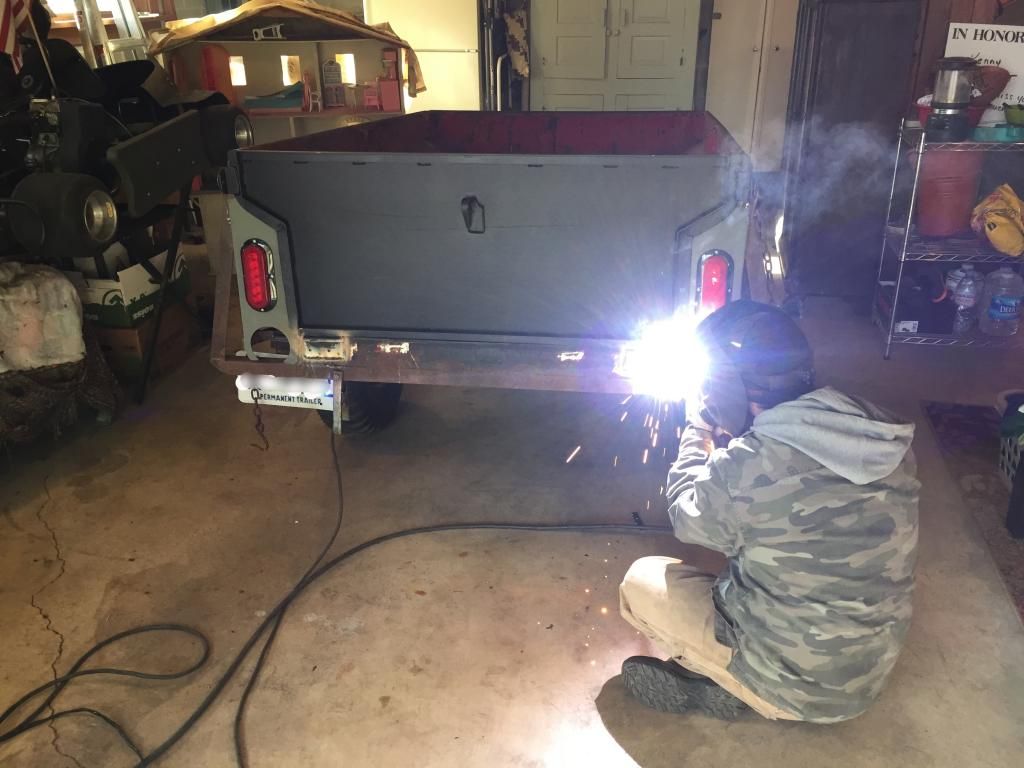
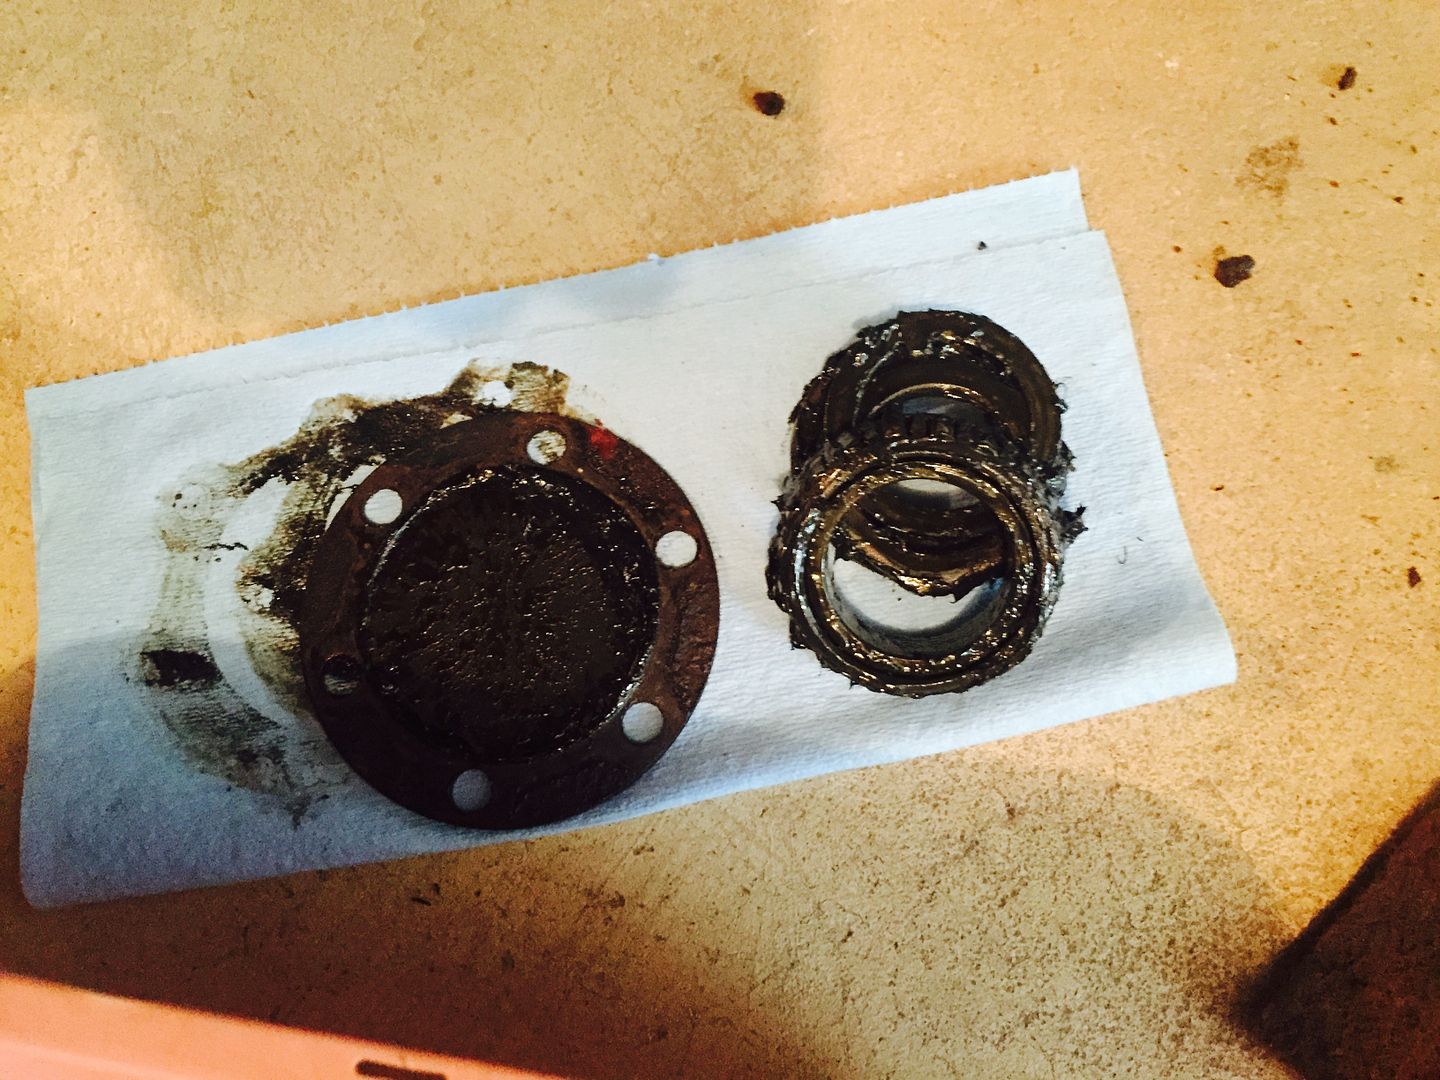
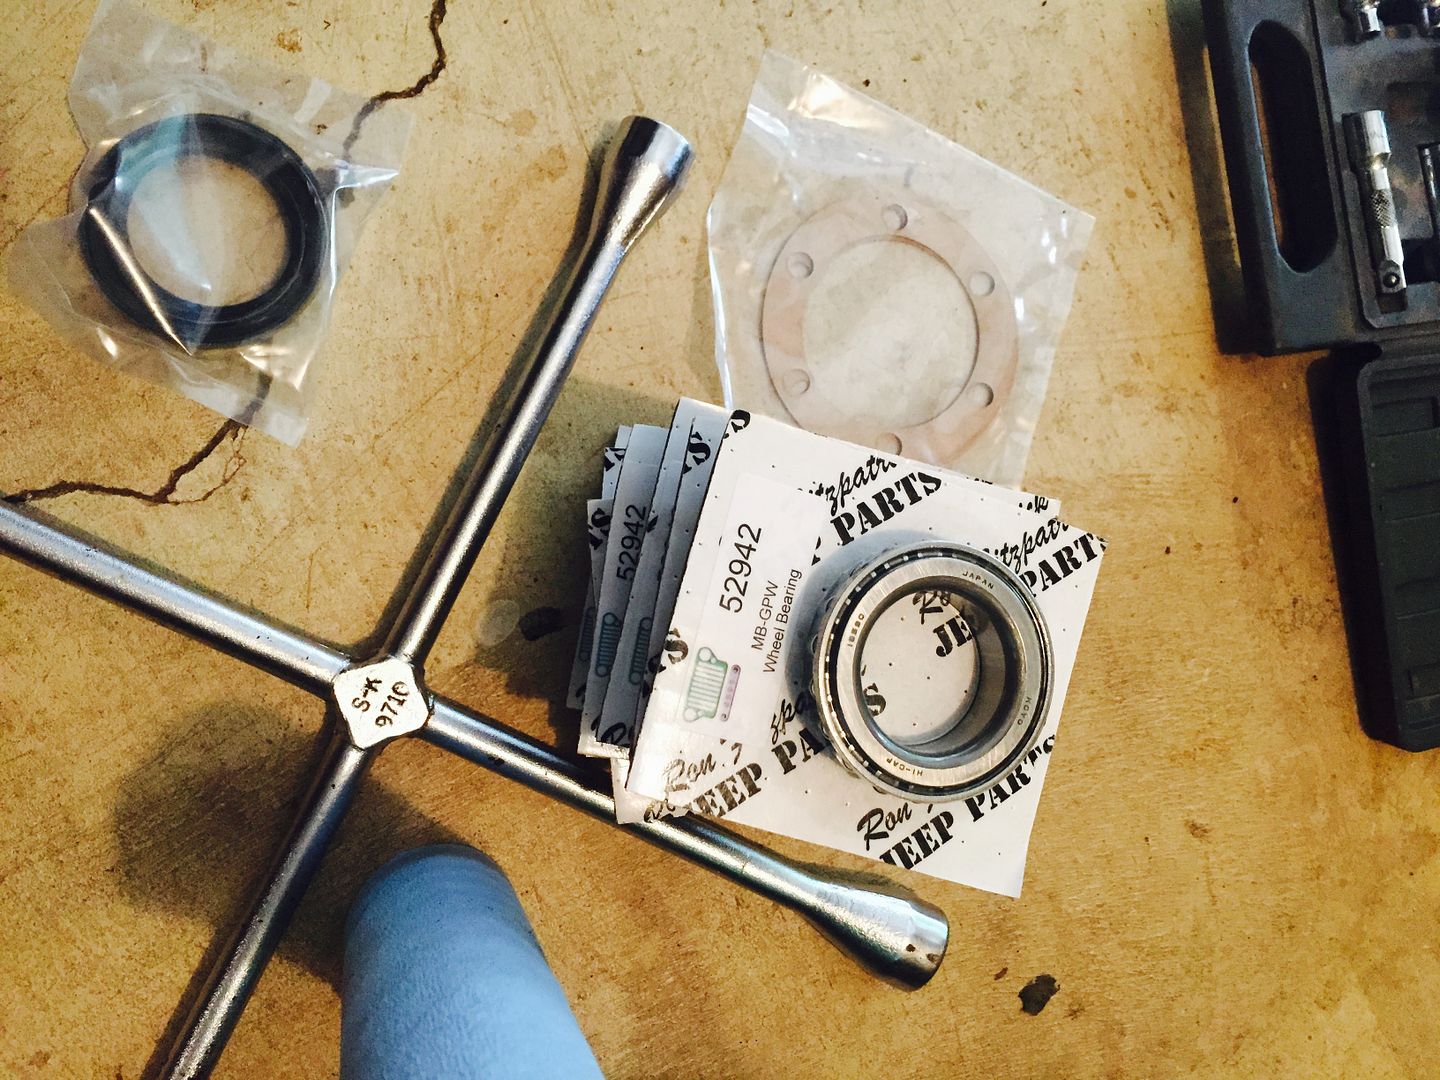
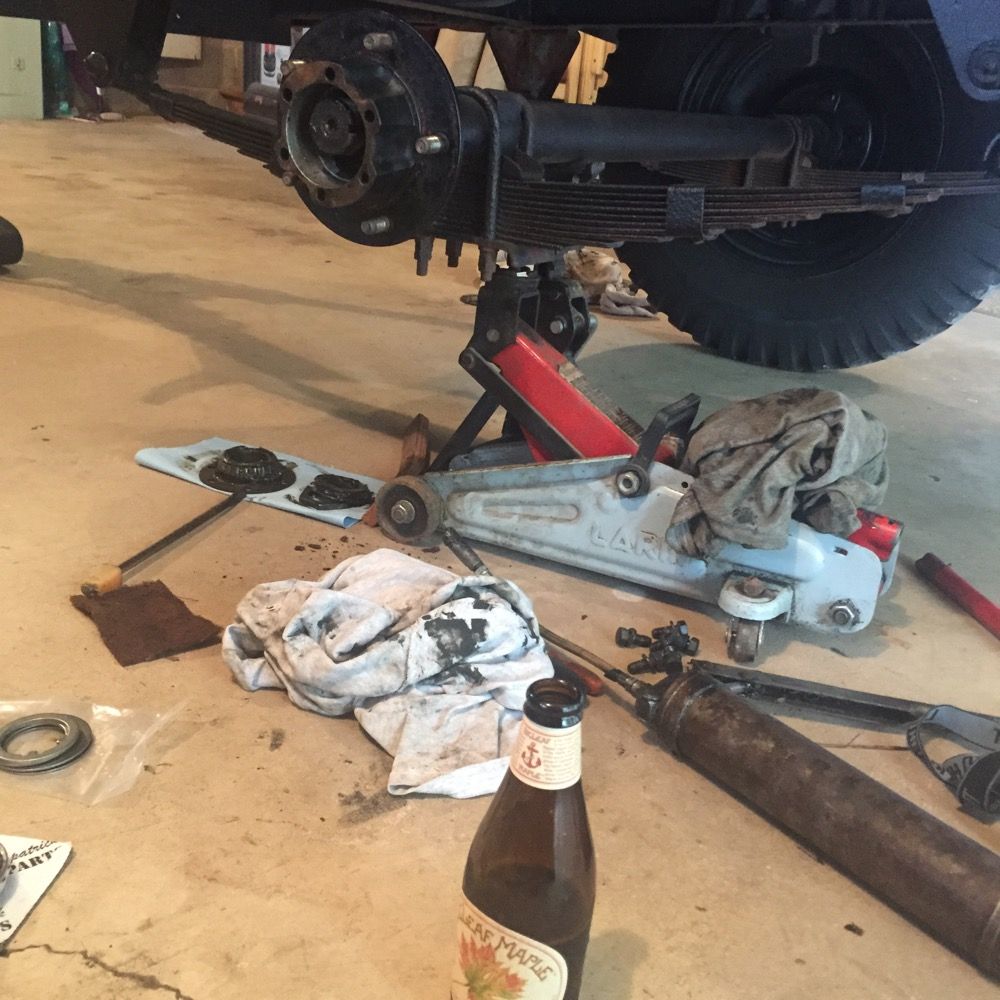
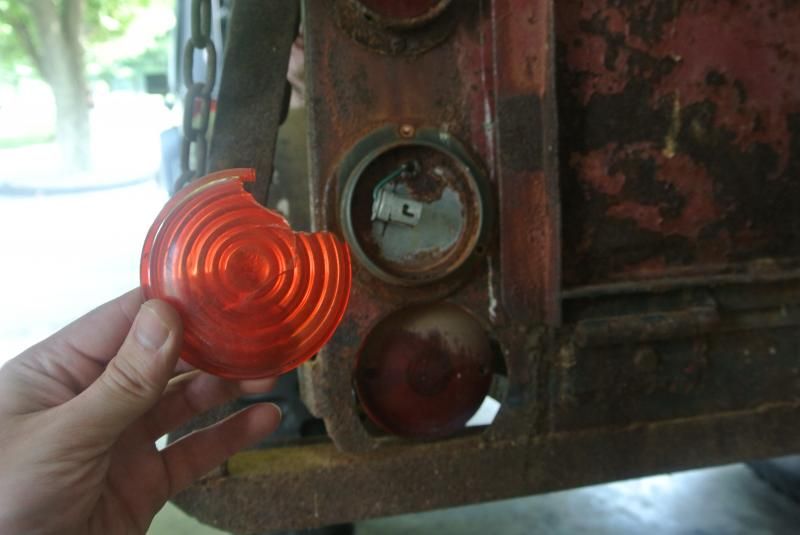
I learned a valuable lesson while handling these old trailer parts... BE CAREFUL. The lens was a total loss and had to make a quick trip to Auto Zone.
I picked up a 1948 Bantam T3-C at an auction in late July and wanted to share my progress so far. This may or may not qualify as a true expedition trailer, but I plan to haul it around the woods, to the river with my kayak, and on the beach. Close enough, I guess.
Please enjoy my posts as I update them, I'm learning a lot along the way.
Here's my "barn find" on the day of the auction:
I had the seller air up the tires and made the 40-ish mile trip to a friends house to let the trailer sit while I ordered proper tires/tubes. Big thanks to Robert Bills for the advice while ordering my tires.
New tires and tubes mounted!!
Then I broke down the bows/rack/canvas and sold them. My plans did not include these items.
Looking better already....
I learned a valuable lesson while handling these old trailer parts... BE CAREFUL. The lens was a total loss and had to make a quick trip to Auto Zone.