99Yota's build thread

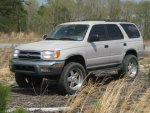
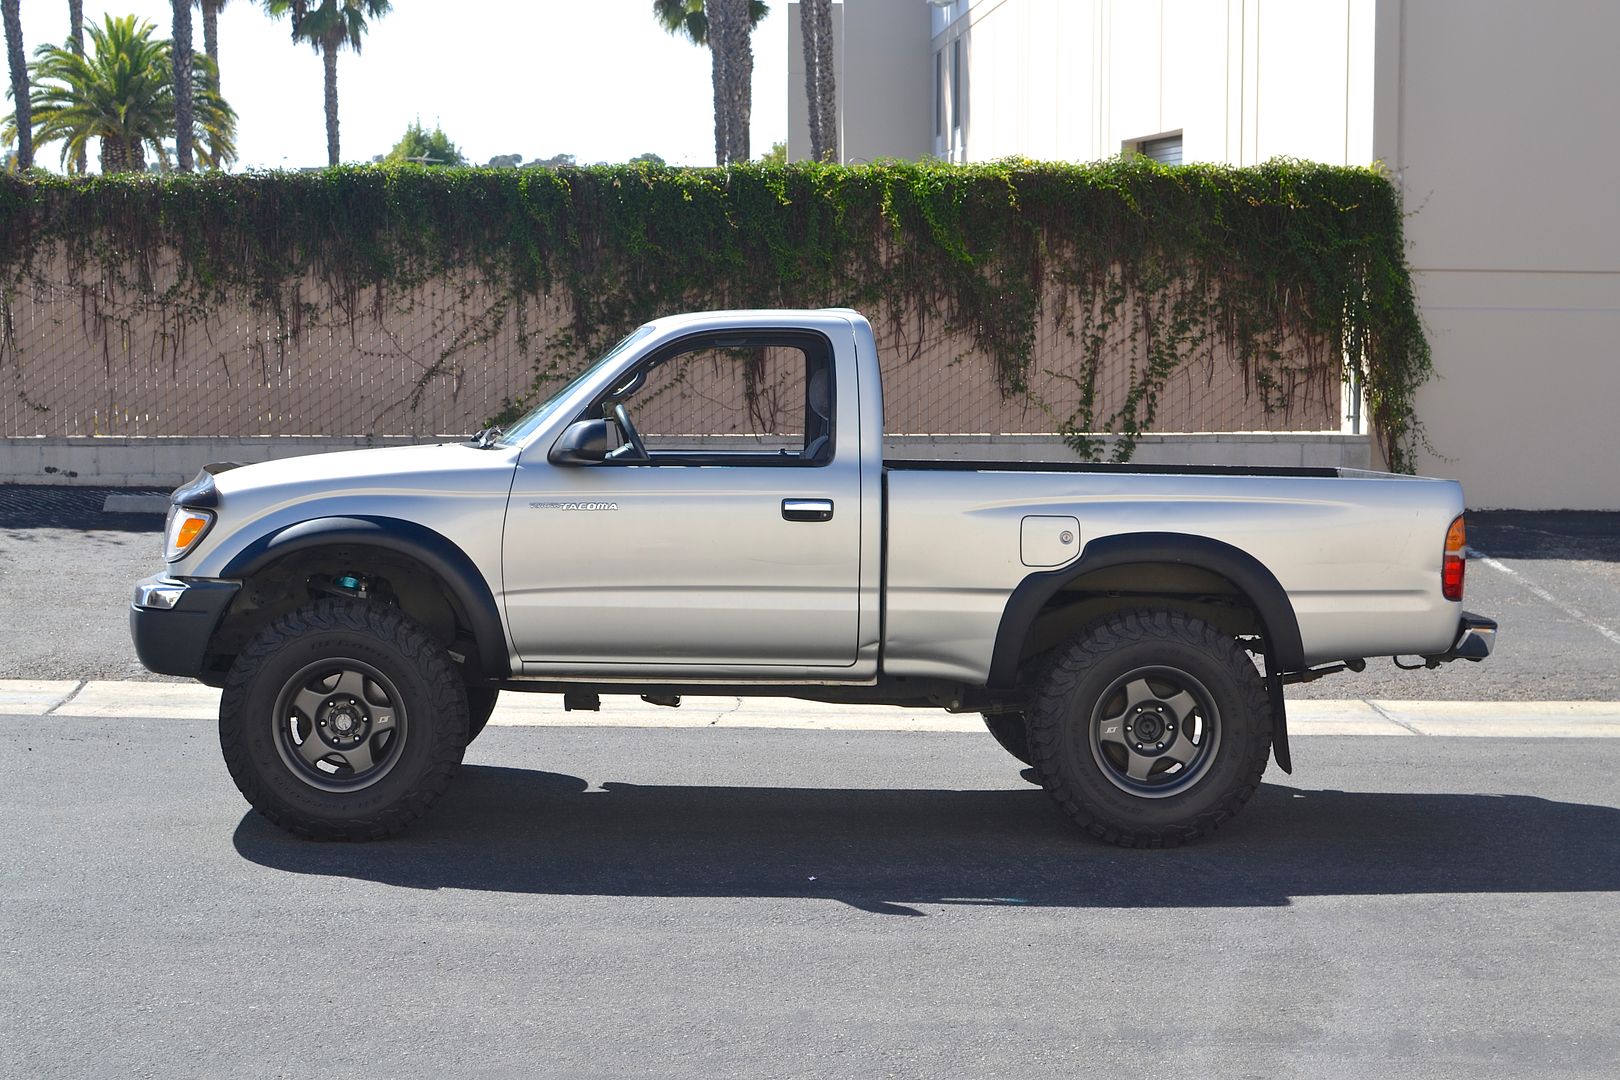
I've had the vehicle since new so naturally, it's gone through some changes over the years. In the picture above, I am running a 1.5" Cornfed spacer lift up front to clear the 32" Terra Grapplers, and Downey Silver coils which are a little taller then the factory 99 rear coils in order to clear the slightly larger tires with factory bumpers. The Bilstein HD yellow shocks worked well and were firm but for the type of driving I was doing, they worked well.
After remaining largely stock for a number of years, I thought I would make some tasteful mods:
I added plate bumpers front and rear along with a swing out tire carrier, added sliders, lights, and a Bajarack- total mileage hit with all the extra weight? About 2mpg(!)


With all the additional weight, I had to replace the factory 99 front coil and spacer lift to something more substantial. In went OME 881 front coils which are a 590lb/in and out went the cornfed spacer. The added front weight even without the winch caused the front end to have a tendency to understeer. In the rear, I initially went with Toytech's Superflex coils which did give the necessary 3" or so of weight but after adding the RTT and other items in the rear, they were no longer adequate and sagging under load. Out they went and in went OME 851 rear heavy duty coils which is a Landcruiser application. So far, these coils are the best I have found give the weight I am carrying. Unless you have a plate bumper and swing away, and lots of heavy stuff in the back of our vehicle- (I have a dual batteries, a speaker box, and a refrigerator) the 851 will probably be too much- (4.5" or more)
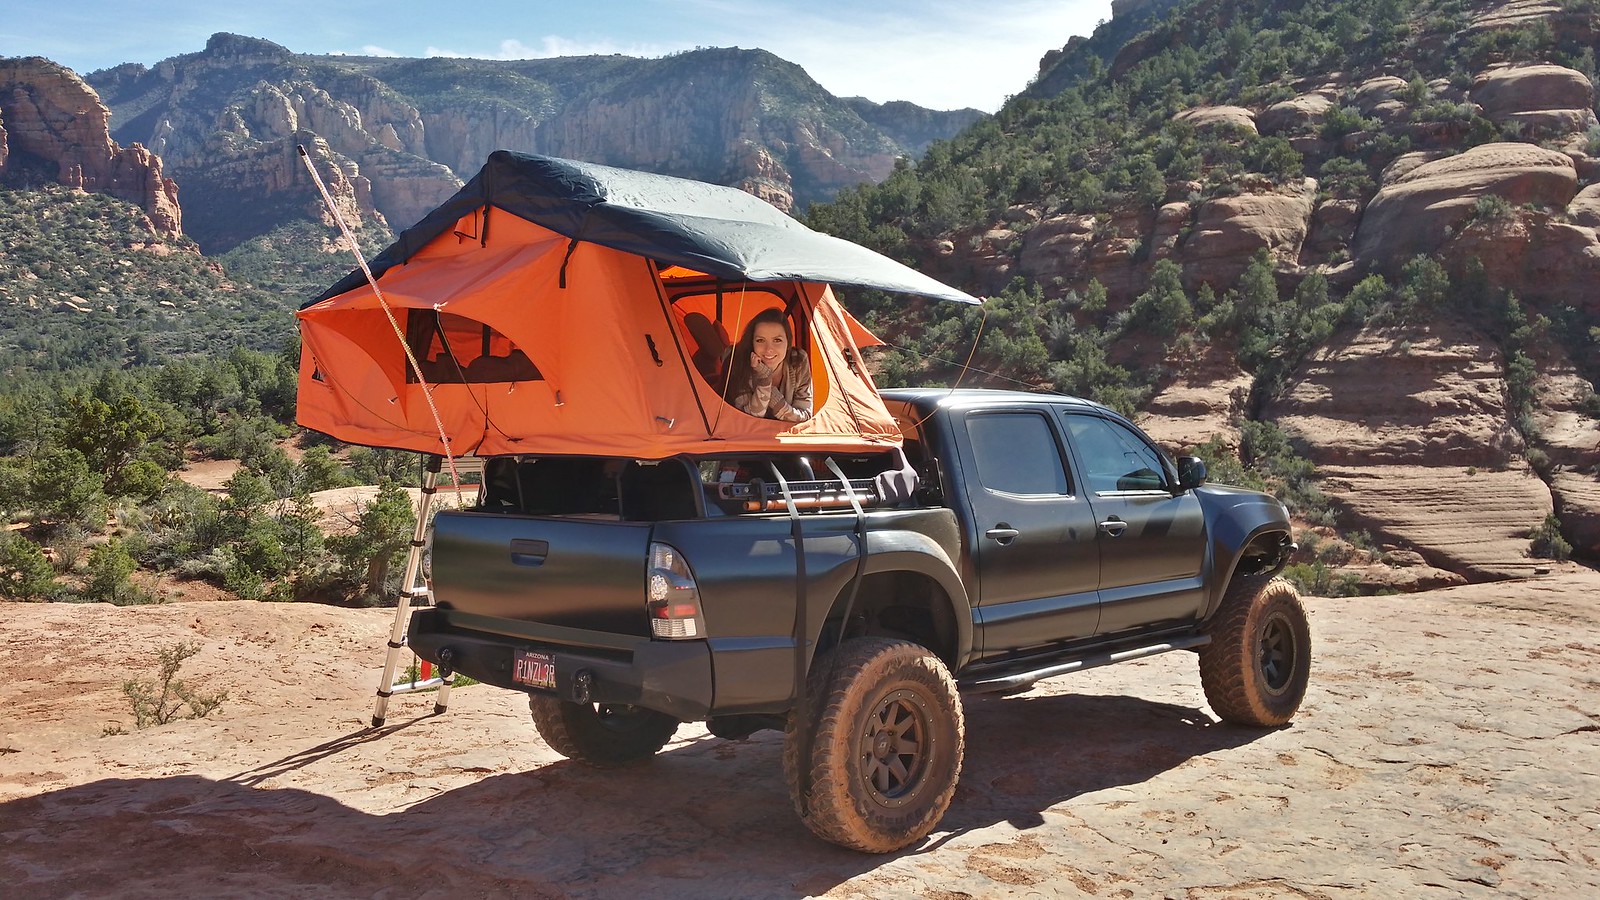
After getting turned on to expedition portal, I started researching RTTs, and thought the James Baroud line would suit me best. At about the same time, I also had the vehicle repainted in the same factory color and added a Rhino Rack awning. I contemplated getting their Foxwing for a while but the high cost didn't seem to be worth it.

I also modified a trailer platform to carry my items which I would be taking along with me for a 6,000mi roadtrip to AZ and return through Utah, Colorado, and circle back to Florida. I used a CBI dual jerry can holder mounted sideways to hold my Scepter fuel containers. Also attached is a bulk propane cylinder for the propane powered items I would be taking on the trip.

![20150512_181719[1].jpg 20150512_181719[1].jpg](https://forum.expeditionportal.com/data/attachments/221/221368-64cda4bc8e6ecf8f15004e878b8bb4b1.jpg?hash=ZM2kvI5uz4)
Next mod was an ARB locker for the front- the rear already had a locker so naturally, I opted to get a locker for the front. Not shown are the heavy duty Lotus axles which were also installed as the factory CVs had about 195k on them along with torn inner boots. Not sure if heavier duty CV axles are mandatory with a front locker but given the possibility that I might not have an opportunity to swap them out etc, I thought the added cost was appropriate.

. This setup is new to the Icon line and so far seems promising. It's their new CDC or compression dampening control setup. There is a rotary knob at the end of the reservoir which allows the dampening to be adjusted from soft to firm in 10 clicks. The coils are rated at 650lbs and are currently dialed in to a little under 2" of lift with my vehicle weight.
Next items were a set of heavier duty trailing arms and an adjustable panhard bar from Sonoran Steel. The primary purpose for the adjustable panhard bar was to center the rear axle. With a lift and the factory unit, the rear axle gets pulled to the passenger side.

Also, installed was a front diff drop which consists of 2 machined spacers which lower the front differential relative the frame to help relieve CV joint angles resulting from a front lift. Not sure how much of a difference it will make but if it's inexpensive and helps CVs last longer, why not. At this time, I also installed a set of rear sway bar extension brackets and a parking brake cable bracket. The sway bar brackets raise the rear sway bar about an inch- another option is to install longer sway bar links and leave the sway bar in the factory location. The parking brake extension bracket relieves some of the tension in the parking brake cable due to a rear lift.
**Jun16
Completed Tundra brake swap. Went with new OEM 2005 Tundra rotors and 13WL calipers and replaced the flexible brake lines up front. Aside from the fact that I had over 210K miles on the rotors (never turned), it was time for brake job and was looking to upgrade. Prior to upgrading, I would only get a couple of panic stops before the brakes would start to fade. During the 10 hard stops I performed to bed in the pads/rotors, I did not observe any drastic decrease in braking performance. Considering my vehicle is about 5700lbs fully loaded for camping, the added peace of mind is well worth the cost of new OEM components.

**May17
Went Marlin dual transfer case with a 4.7 gear, and triple sticks, and Hutchinson beadlocks and BFG KM2. Also replaced the original clutch with a Marlin 1200lb unit and OEM flywheel. Had the work done by OK4WD - top notch work btw! This added a lot of weight but a tremendous amount of control for more serious trails. Great on the trails but not the best for the highway to to weight issues.
**Dec21
Added a LCE high boost supercharger with the 8 psi pulley and a split second FTC-1 to manage the 5th injector. Mounted an Innovate PSB-1 AFR /Boost gauge on top of the steering column between the Tach and speedo. Also replaced exhaust with a stainless cat back setup from JBA.
**Aug22
Ran about 12k miles before I started having issues. After pulling the engine, found that the head was cracked in a number of places and had 2 badly burned valves. Engine had ~301K. Bought a new OEM shortblock, bare cylinder head, and a number of other preventative maintenance parts and assembled and installed the new engine. Some details: balance shaft delete, did a light port on the head- bowl blend and casting flaws cleanup, supertech stainless valves, LCE Pro valve kit, and stage 1 Kelford cam, ARP studs along with a LCE long tube header and 35lb flywheel. Also went with a Haltech 1500 standalone ECU which made a BIG difference in the way the vehicle runs. No longer running 5th injector but swapped injectors for 750cc units from SNP Performance. Took much longer than expected to complete the build as I went ahead and painted the timing cover and valve cover and a number of other aluminum parts to prevent oxidation.
**Jan23
Swapped the LCE pulley (2.3") with a smaller pulleyboys unit (2.1"), installed a Snow Performance methanol injection kit and retuned the haltech for smaller pulley. This nets 10psi at sea level. The old pulley saw 8.3. Methanol comes on at 6psi so not needed during regular driving. Also updated the ECU firmware with a newer version which allows for better closed loop performance. Not sure how much it puts down but it moves out pretty well now.
**Feb23
Wired up oil pressure gauge and led lights to indicate when the methanol pump is running and when the reservoir gets low.




![20150512_181719[1].jpg 20150512_181719[1].jpg](https://forum.expeditionportal.com/data/attachments/221/221368-64cda4bc8e6ecf8f15004e878b8bb4b1.jpg?hash=ZM2kvI5uz4)


