mwtownsend
New member
Hey EP fam, long time observer first time post(er),
For the last 4 years I’ve been dreaming about, designing, and ultimately bringing to life my dream North-American expedition vehicle. I thought you might enjoy my story.
I started a Reddit thread (you might have seen it) asking if anyone wanted to team up to develop a bolt-on habitat for F-550/Ram 5500. I was looking for something streamlined and less boxy than what was out there. No shade, but I didn’t want to build with FRP panels. After months of research into composite camper shells, one thing became pretty clear: the vehicle I wanted wasn’t available to buy.
Full disclosure: I’m not a truck guy. I’ve never owned a pickup truck. Picking a vehicle that could haul whatever I designed was the first step and I was pretty far out of my depth. RAM 5500 and Ford F-550s are capable of carrying the shell and I determined I would build on whoever provided CAD models first. Long story short, I was able to get my hands on Ford F550 models through Ford’s Body-Builder Assistance Service and I’ve been really happy with the truck.
After a few months in SolidWorks, the initial habitat design started to come into focus. In the beginning it had definite “horse trailer” vibes. I also designed and FEA tested a custom 4-point subframe and would later design front and rear bumpers. The subframe was one of the most challenging parts of the whole build. Since my intention was always to design for scaled production, I had to find new suppliers who were able to process structural tubes into assemblies at a price that was reasonable. It took a few tries, but we got it there.
Early this year I dove headfirst into assembling the shell. I worked with a fabrication shop outside Fort Worth, TX, who helped bond the two large sections of the shell. We then set about mounting the completed shell. Using old-school manual chain hoists, we lifted the finished shell onto the truck and attached it to the custom four-point subframe.
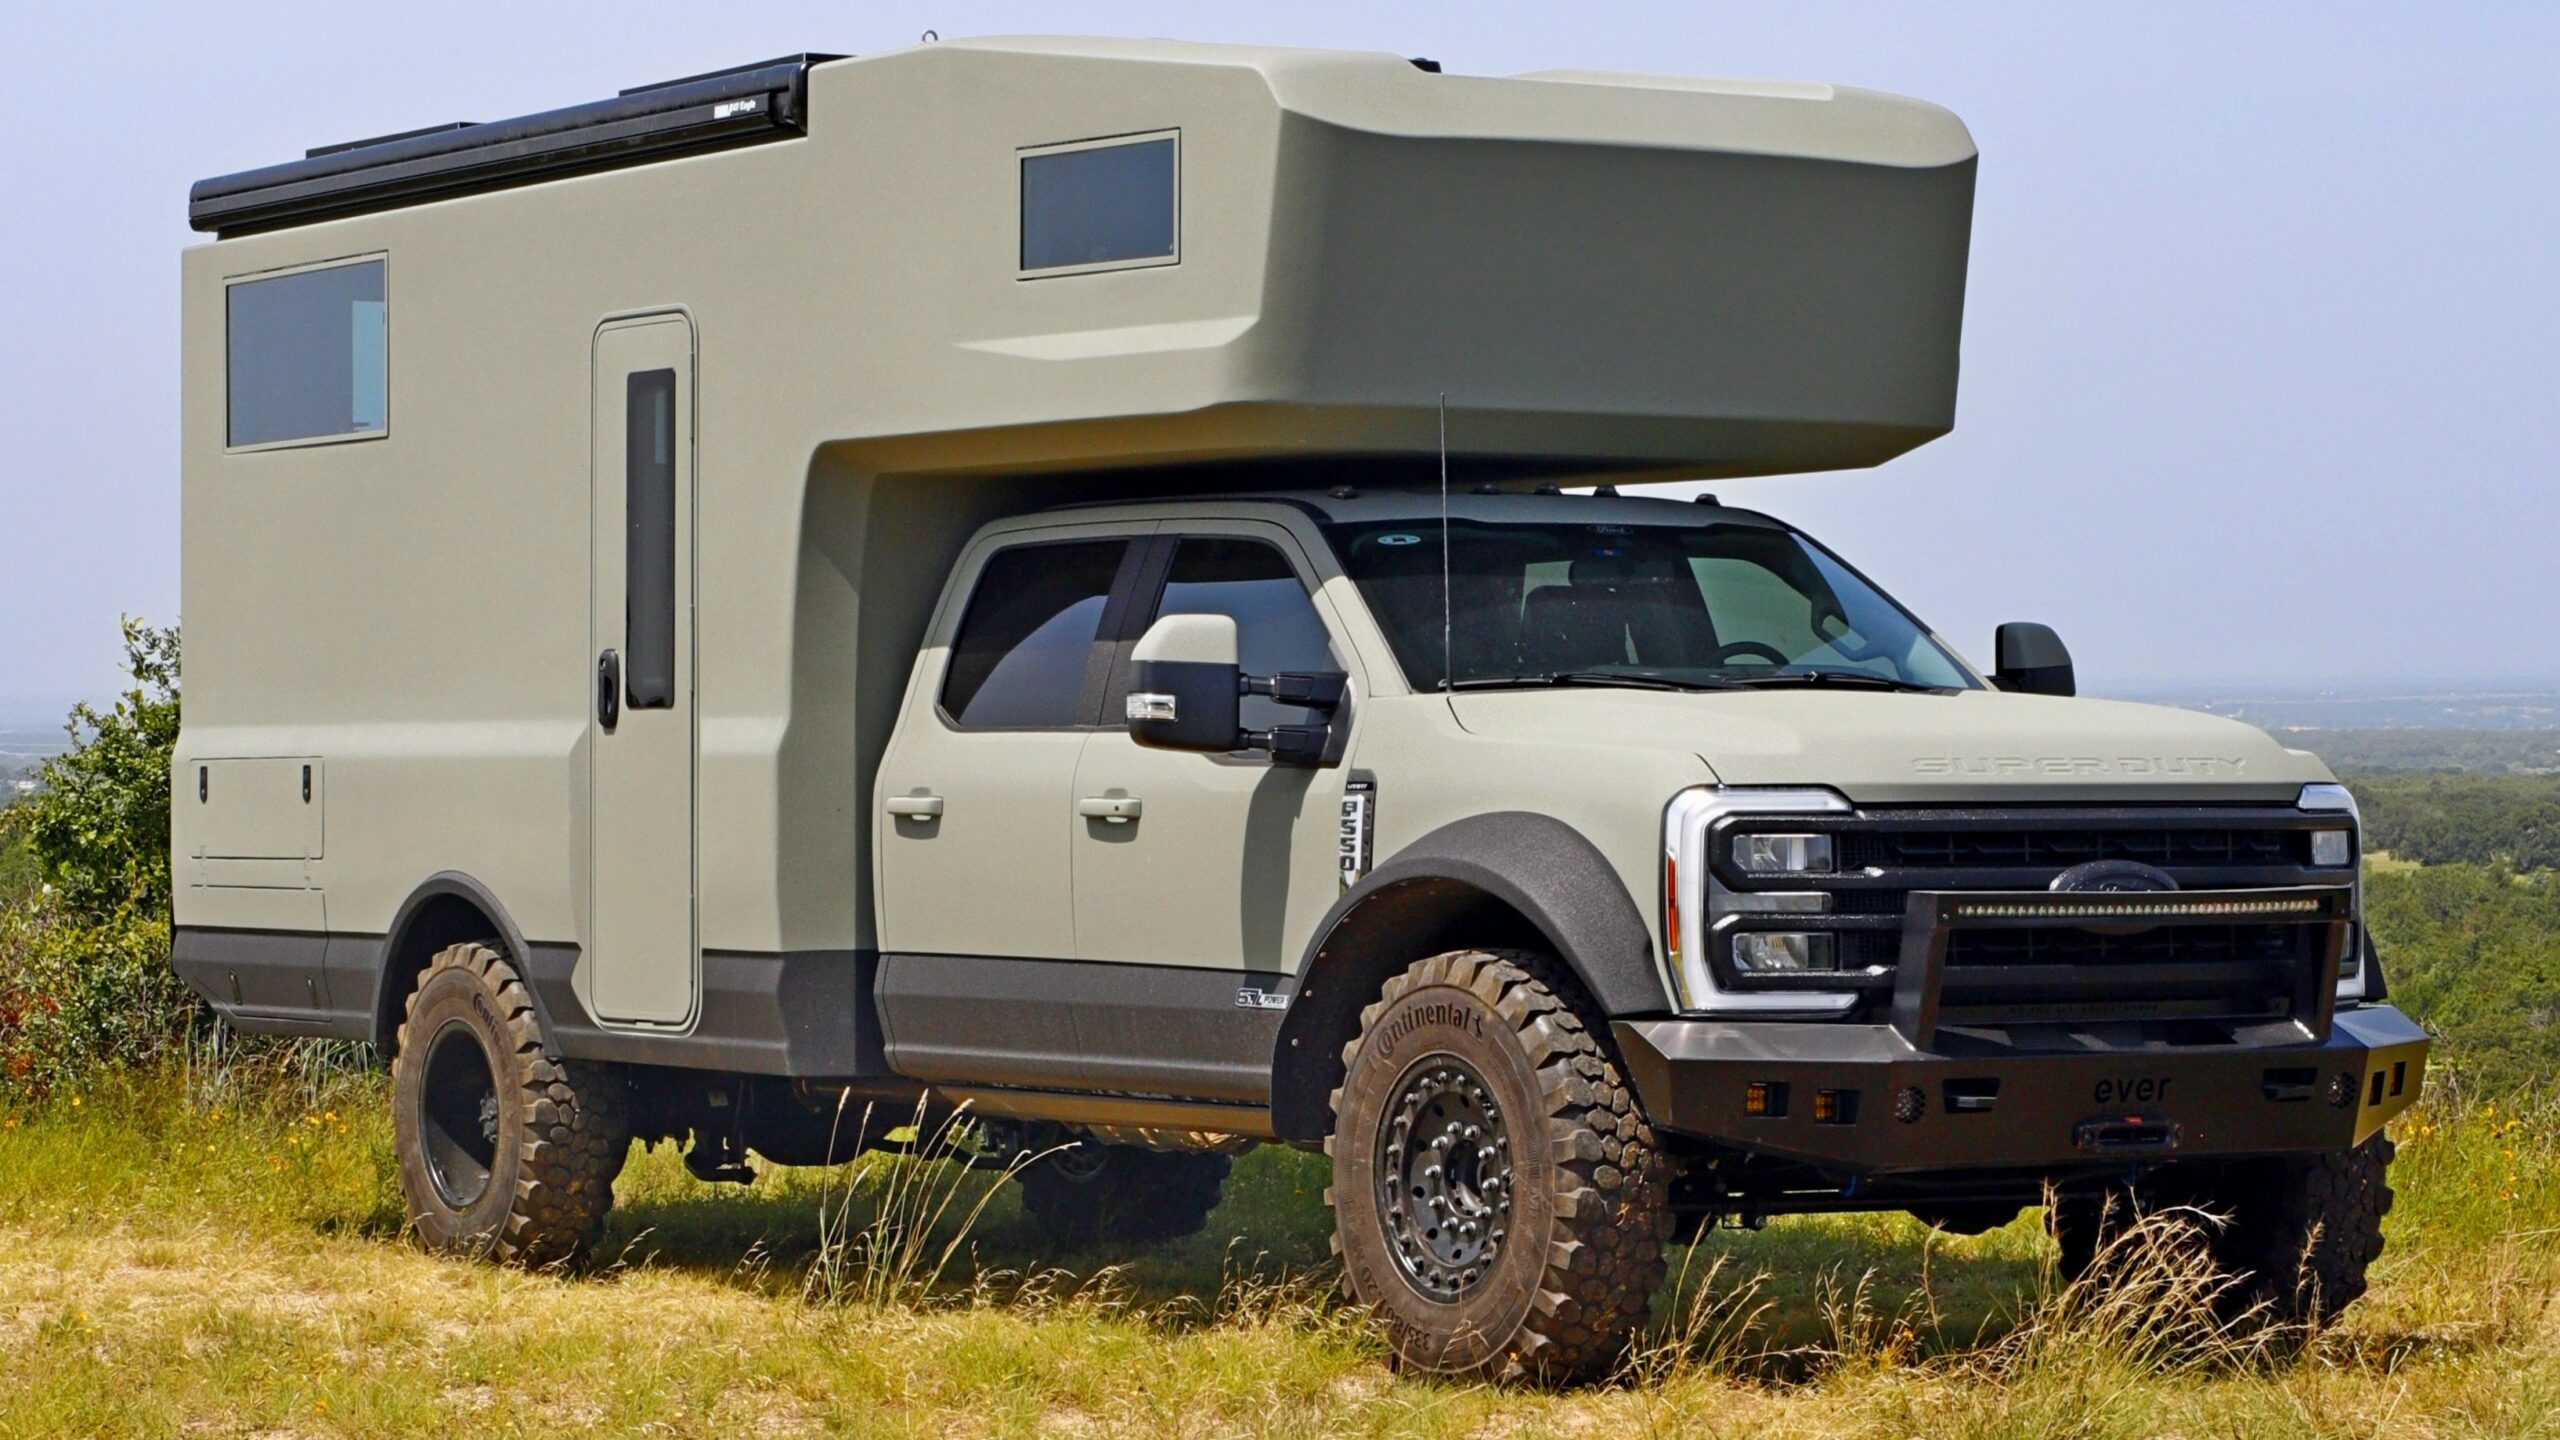
Once window openings were in it was time for paint! I chose a specialized textured kevlar paint coating built for offroad vehicles. Kevlar based paints are a lot lighter than thicker bedliners. Due to the size of the shell I had to build a custom dolly to roll the shell around in the paint shop. I set hoist points on the top of the shell to make mounting and dismounting a bit more manageable.
The results were beyond my expectations.
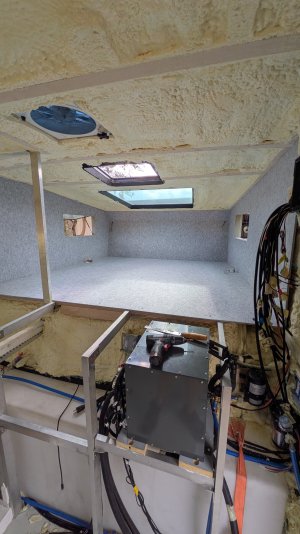
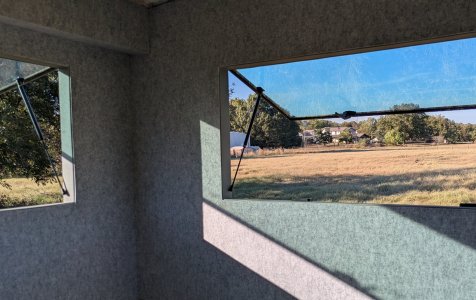
With paint done it was time to install all the windows, hatches and “dry in” the shell. I am experimenting with tempered vacuum insulated glass. I also needed to finish the roof: installing the awning, solar panels, cutting openings for the ventilation fans, and then installing the skylight.
For the last 4 years I’ve been dreaming about, designing, and ultimately bringing to life my dream North-American expedition vehicle. I thought you might enjoy my story.
Birth of an idea
In 2021 my wife and I took a road trip from Texas to California. On the trip, we drove through Utah and I took my first tandem paragliding flight at Point of the Mountain in Draper, Utah. While staying with a friend, we also met Andrew Muse, who had just finished the “Museroamer”. I was immediately drawn to the design challenge of crafting an expedition vehicle. It was a puzzle where, if executed correctly, "everything was in its right place."I started a Reddit thread (you might have seen it) asking if anyone wanted to team up to develop a bolt-on habitat for F-550/Ram 5500. I was looking for something streamlined and less boxy than what was out there. No shade, but I didn’t want to build with FRP panels. After months of research into composite camper shells, one thing became pretty clear: the vehicle I wanted wasn’t available to buy.
Initial Design
My background is in product and industrial design. My goal was to design a full composite shell; the ultimate blank canvas for a dream North American expedition truck build. On a personal level, I decided to build a larger truck because I wanted a bigger camper. My wife and I were trying for a baby, which took a lot longer than expected, but we ultimately welcomed Rio into the world and she just turned 1. We’re minimalists, but babies come with many accessories. Smaller 350 size trucks are awesome and more nimble, I wanted a 550 because the extra space is welcome and shouldn’t materially change the cost (time or expense) of the build.Full disclosure: I’m not a truck guy. I’ve never owned a pickup truck. Picking a vehicle that could haul whatever I designed was the first step and I was pretty far out of my depth. RAM 5500 and Ford F-550s are capable of carrying the shell and I determined I would build on whoever provided CAD models first. Long story short, I was able to get my hands on Ford F550 models through Ford’s Body-Builder Assistance Service and I’ve been really happy with the truck.
After a few months in SolidWorks, the initial habitat design started to come into focus. In the beginning it had definite “horse trailer” vibes. I also designed and FEA tested a custom 4-point subframe and would later design front and rear bumpers. The subframe was one of the most challenging parts of the whole build. Since my intention was always to design for scaled production, I had to find new suppliers who were able to process structural tubes into assemblies at a price that was reasonable. It took a few tries, but we got it there.
Manufacturing my design
Towards the end of 2024 I worked with a composite specialist to take my design and create the moulds for the shell that would be built by vacuum infusion. Due to its size and complexity it was necessary to mold into 2 main pieces and then bond those pieces together - similar to clamshell style camper trailers. The end result is a monocoque shell with no visible seams or parting lines. Keep in mind, while I measured everything on the truck and verified the CAD measurements, I still hadn’t been able to “test-fit” the finished parts on the truck. Needless to say, I was sweating bullets when the unassembled shells (yes, two of them…) arrived.Early this year I dove headfirst into assembling the shell. I worked with a fabrication shop outside Fort Worth, TX, who helped bond the two large sections of the shell. We then set about mounting the completed shell. Using old-school manual chain hoists, we lifted the finished shell onto the truck and attached it to the custom four-point subframe.
Cutting in windows and painting
The next step was cutting the window openings and hiding the seams so they could sit flush with the exterior – a small detail that makes a big difference.Once window openings were in it was time for paint! I chose a specialized textured kevlar paint coating built for offroad vehicles. Kevlar based paints are a lot lighter than thicker bedliners. Due to the size of the shell I had to build a custom dolly to roll the shell around in the paint shop. I set hoist points on the top of the shell to make mounting and dismounting a bit more manageable.
The results were beyond my expectations.
Installing glass, solar panels and “drying in” the shell
With paint done it was time to install all the windows, hatches and “dry in” the shell. I am experimenting with tempered vacuum insulated glass. I also needed to finish the roof: installing the awning, solar panels, cutting openings for the ventilation fans, and then installing the skylight.