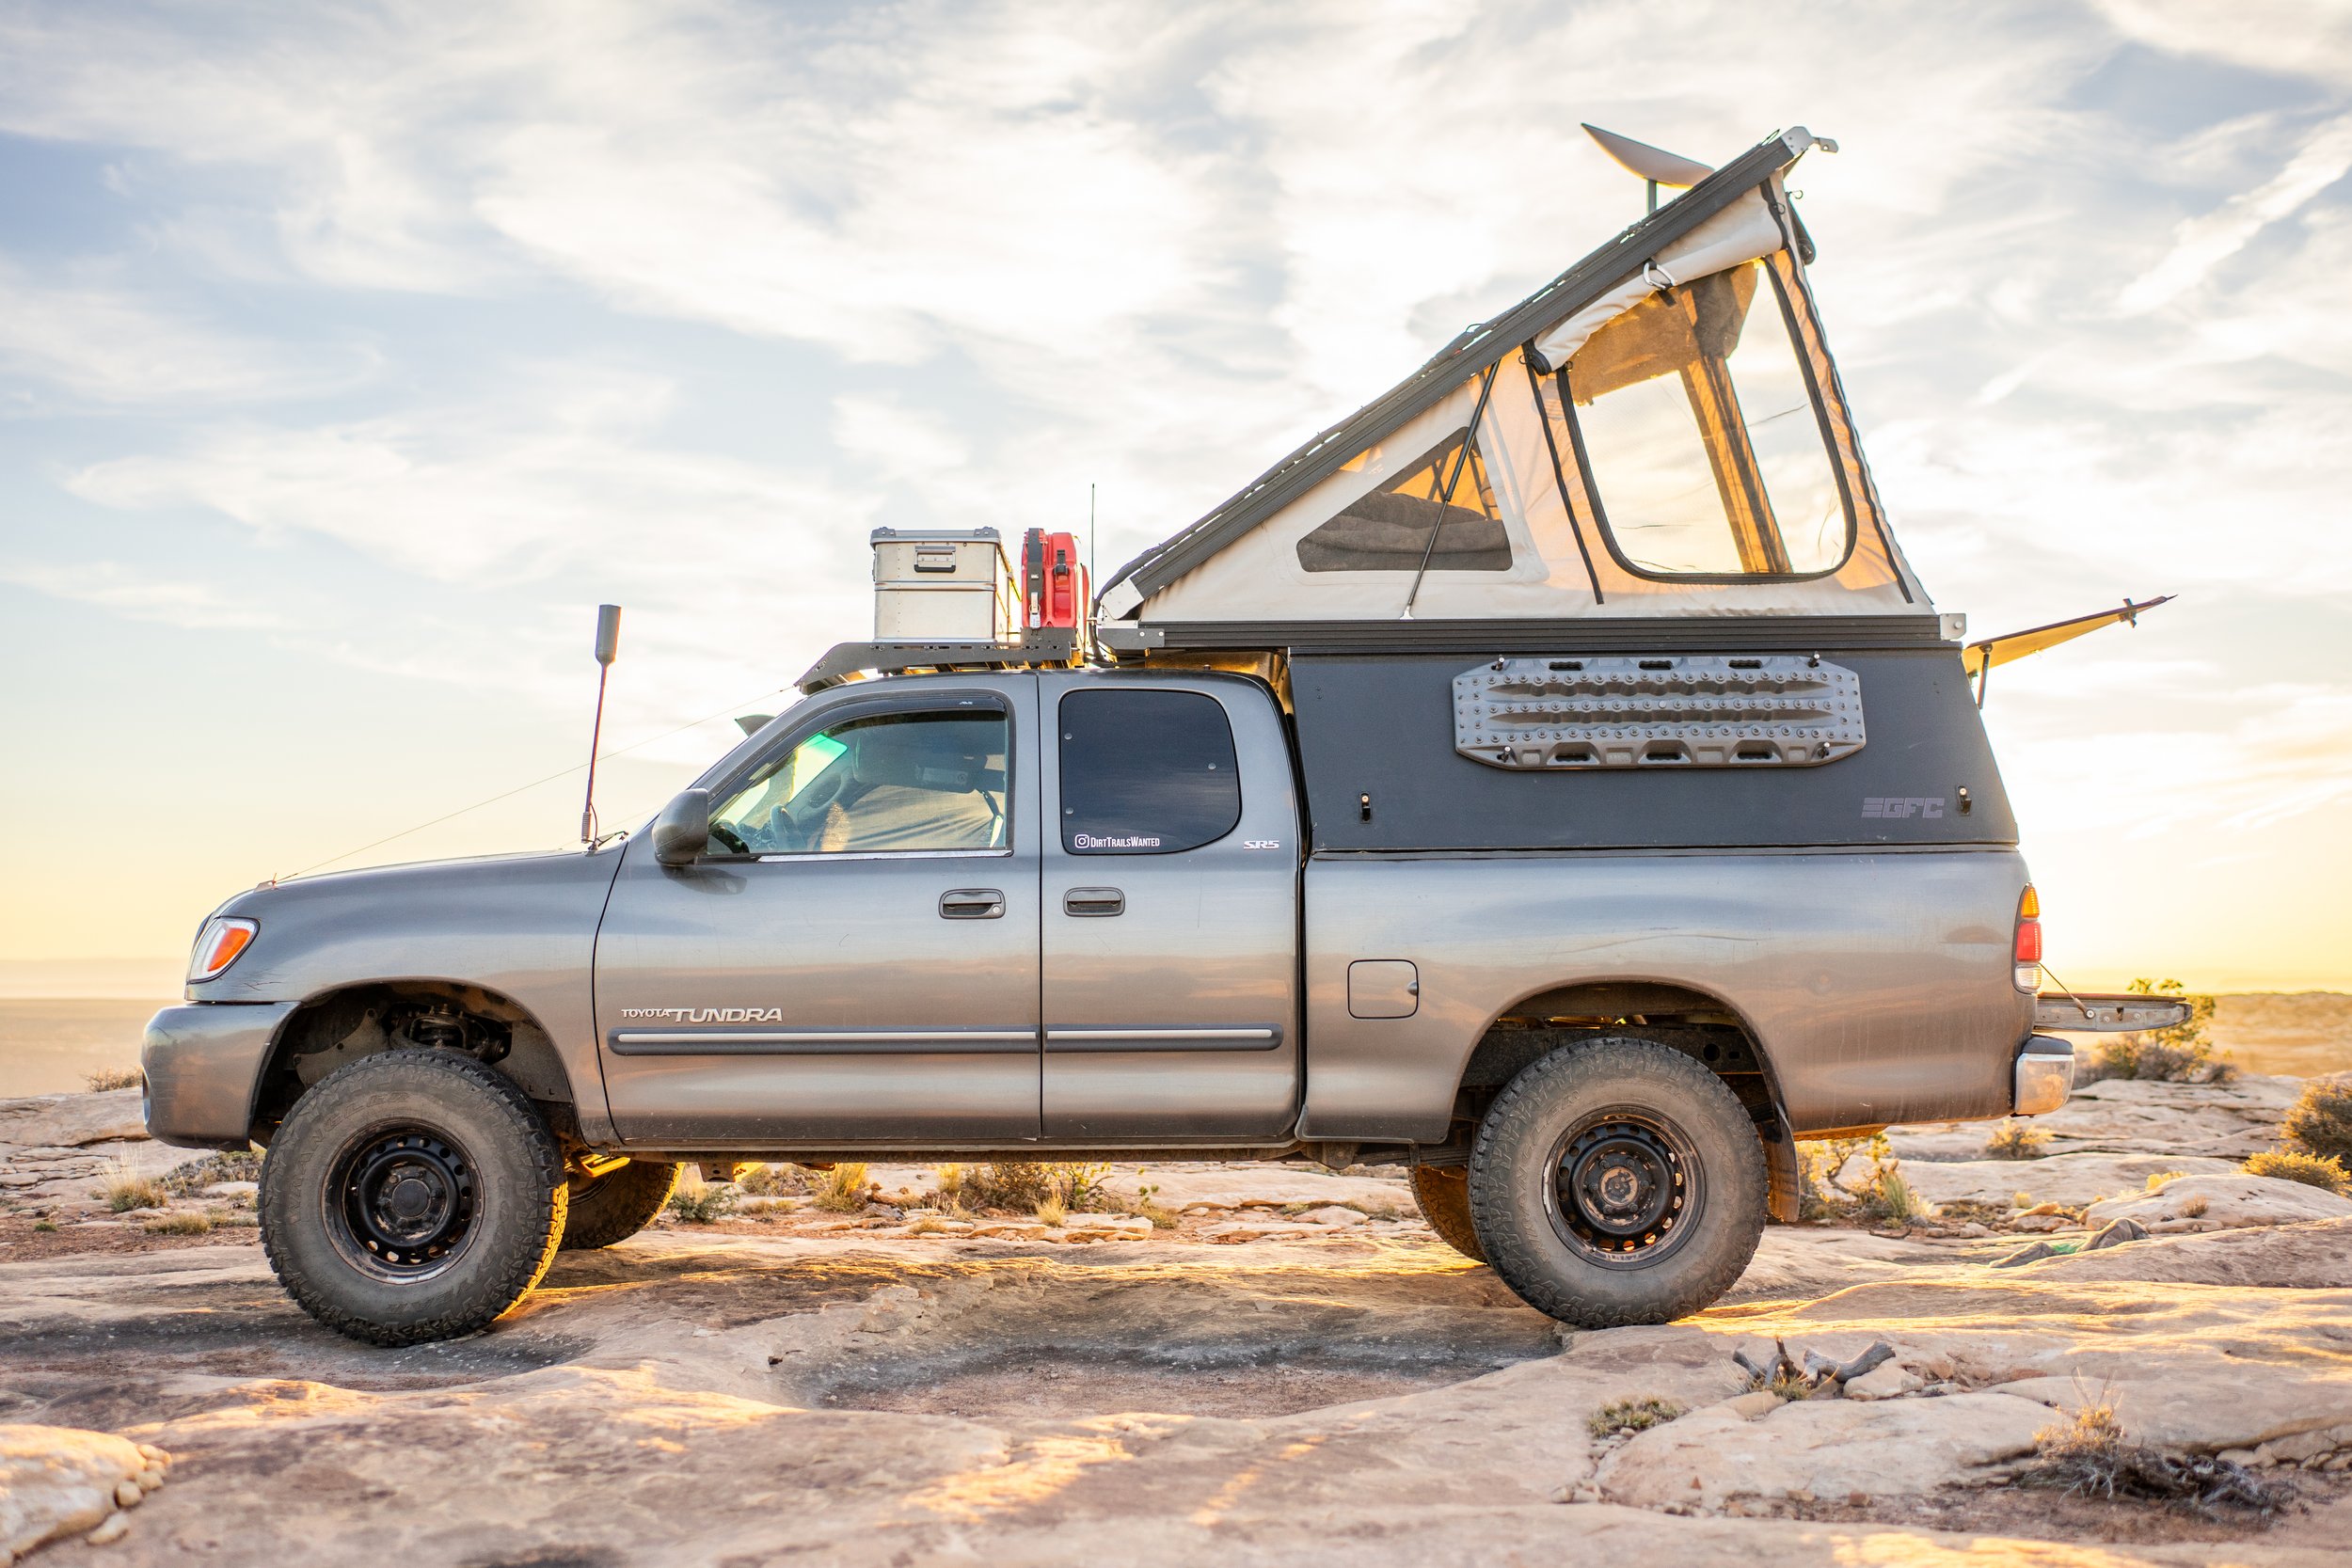
Dolores: Our 2003 Tundra Build

DirtTrailsWanted

Active member

June ‘23, Build Out Remodel.

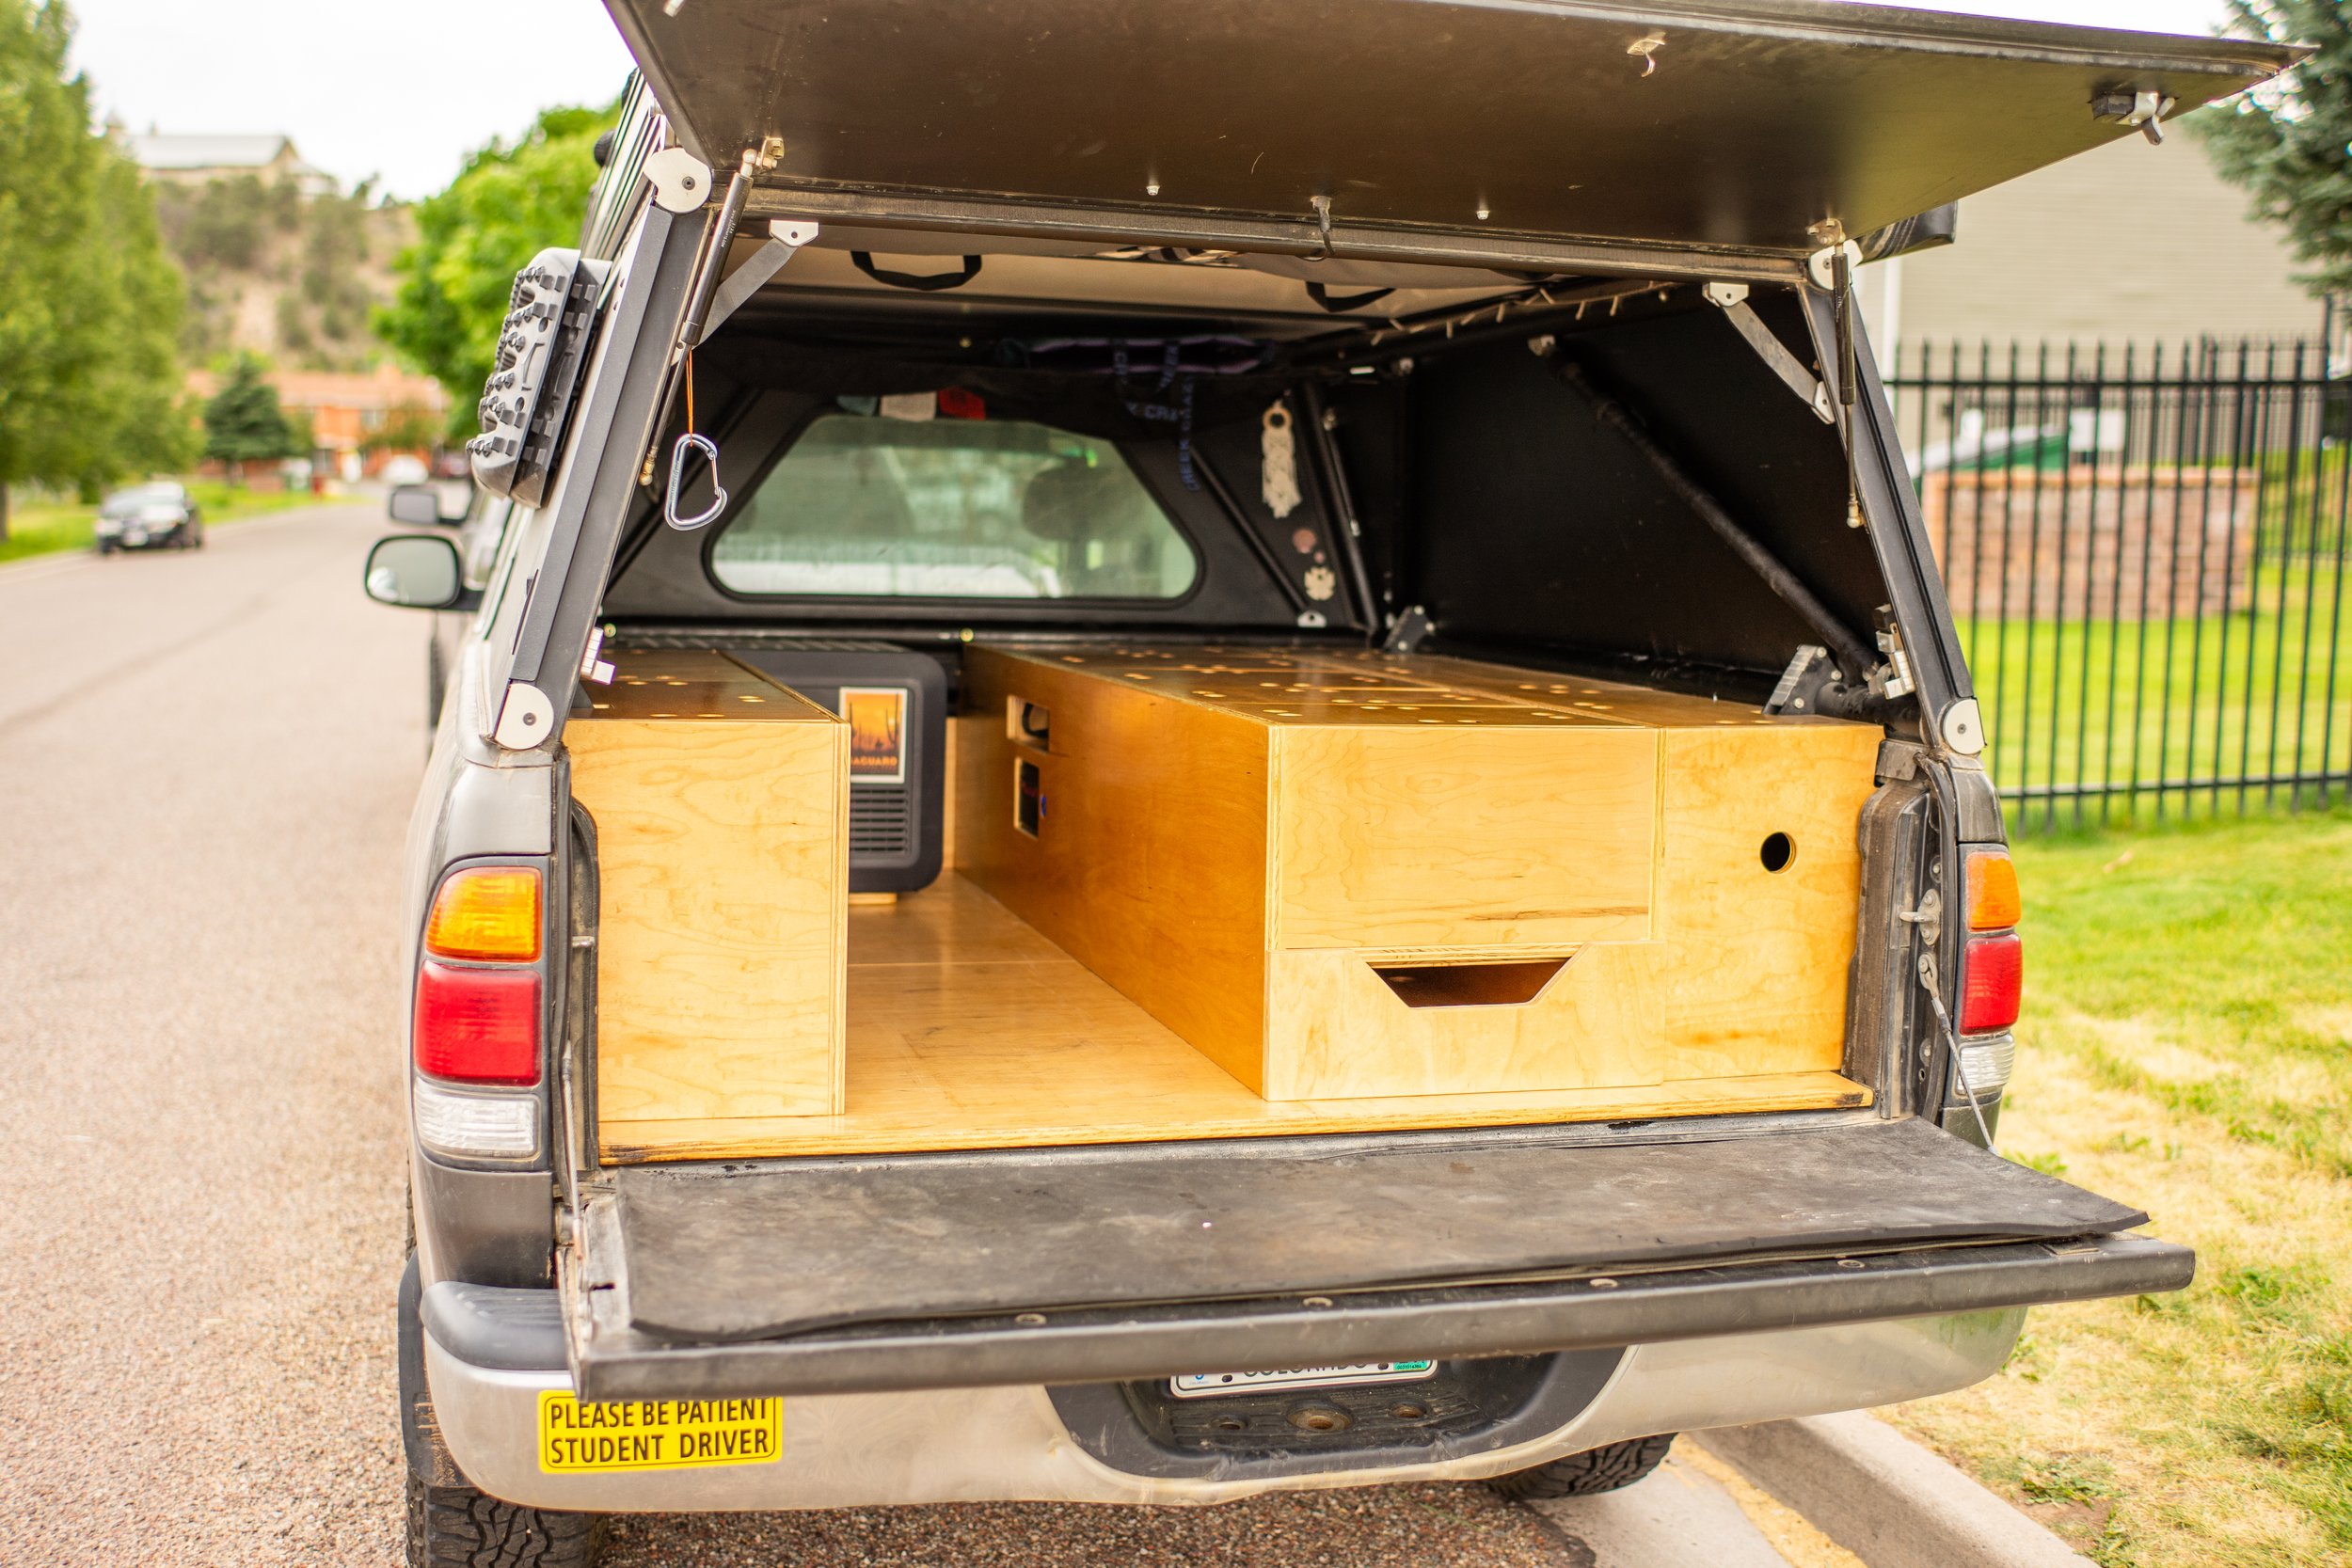
After living in the truck at this point for well over a year, and still using the build-out that we had before the GFC it was time for a refresh. We will eventually do a full blog post on this build but here are the photo hight lights.
Screen+Shot+2023-06-07+at+9.03.11+PM.png

BCM09698.jpg

BCM09711.jpg

BCM09681.jpg

BCM09691.jpg

BCM09706.jpg

BCM09701.jpg


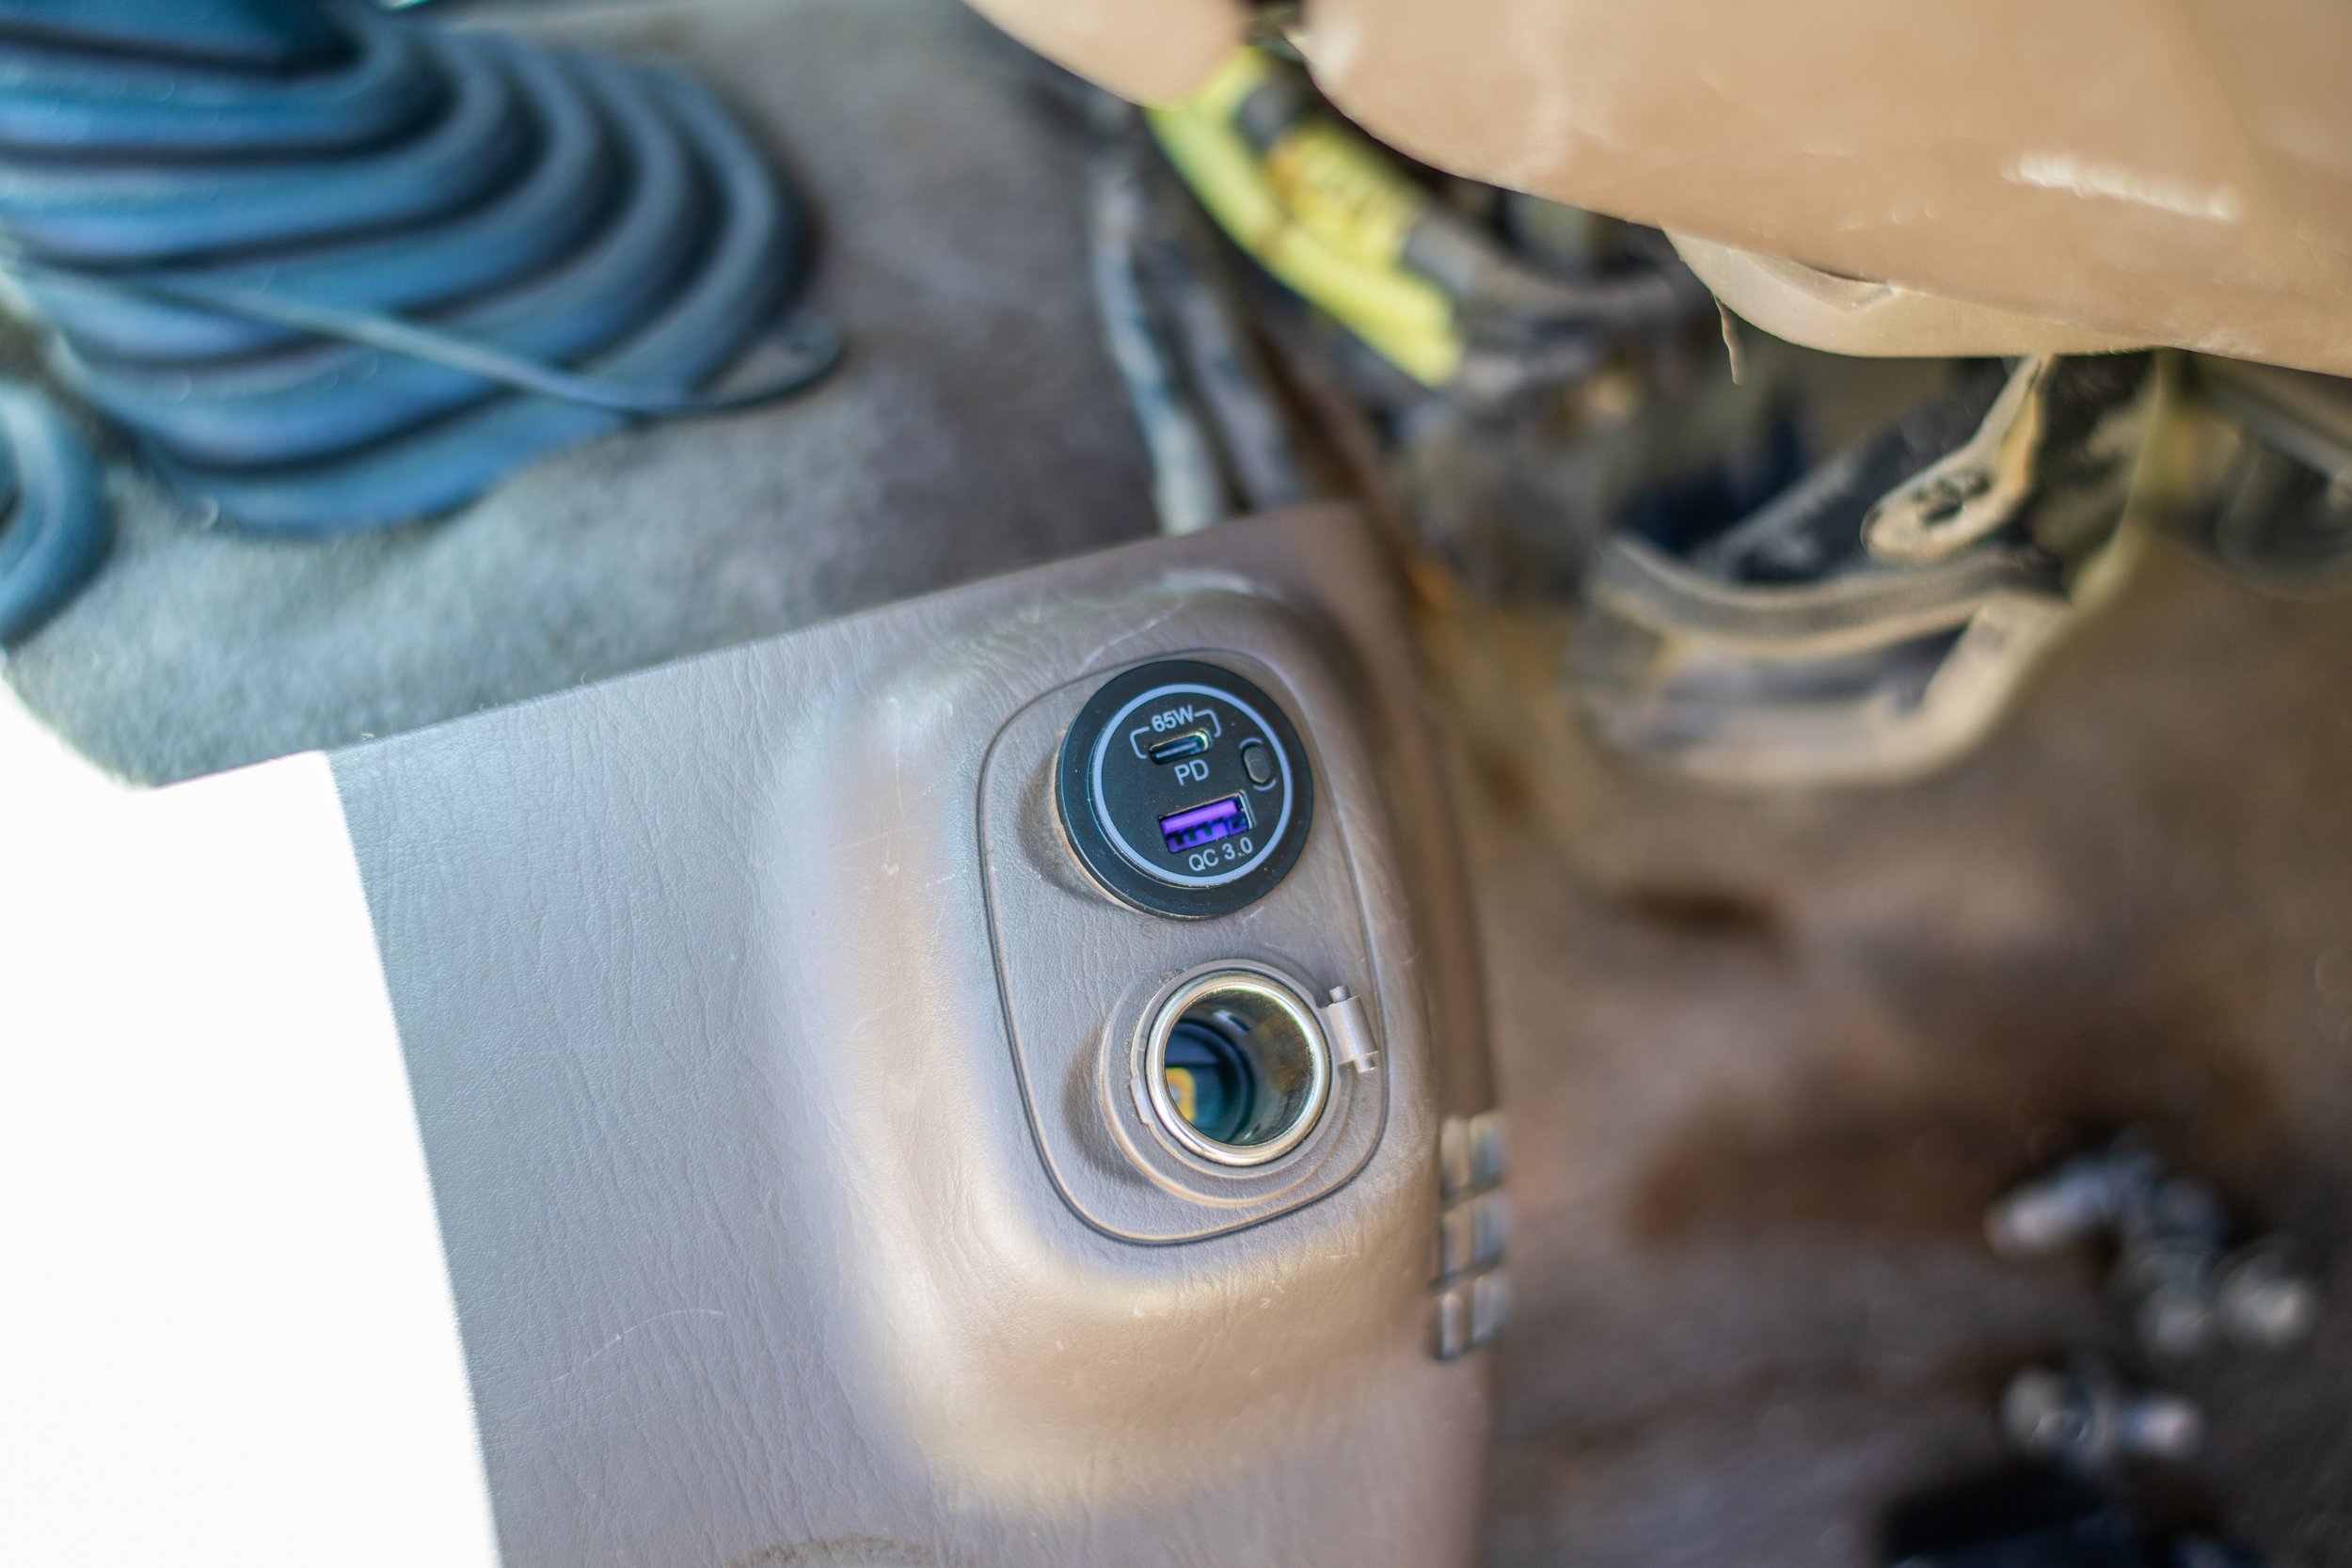
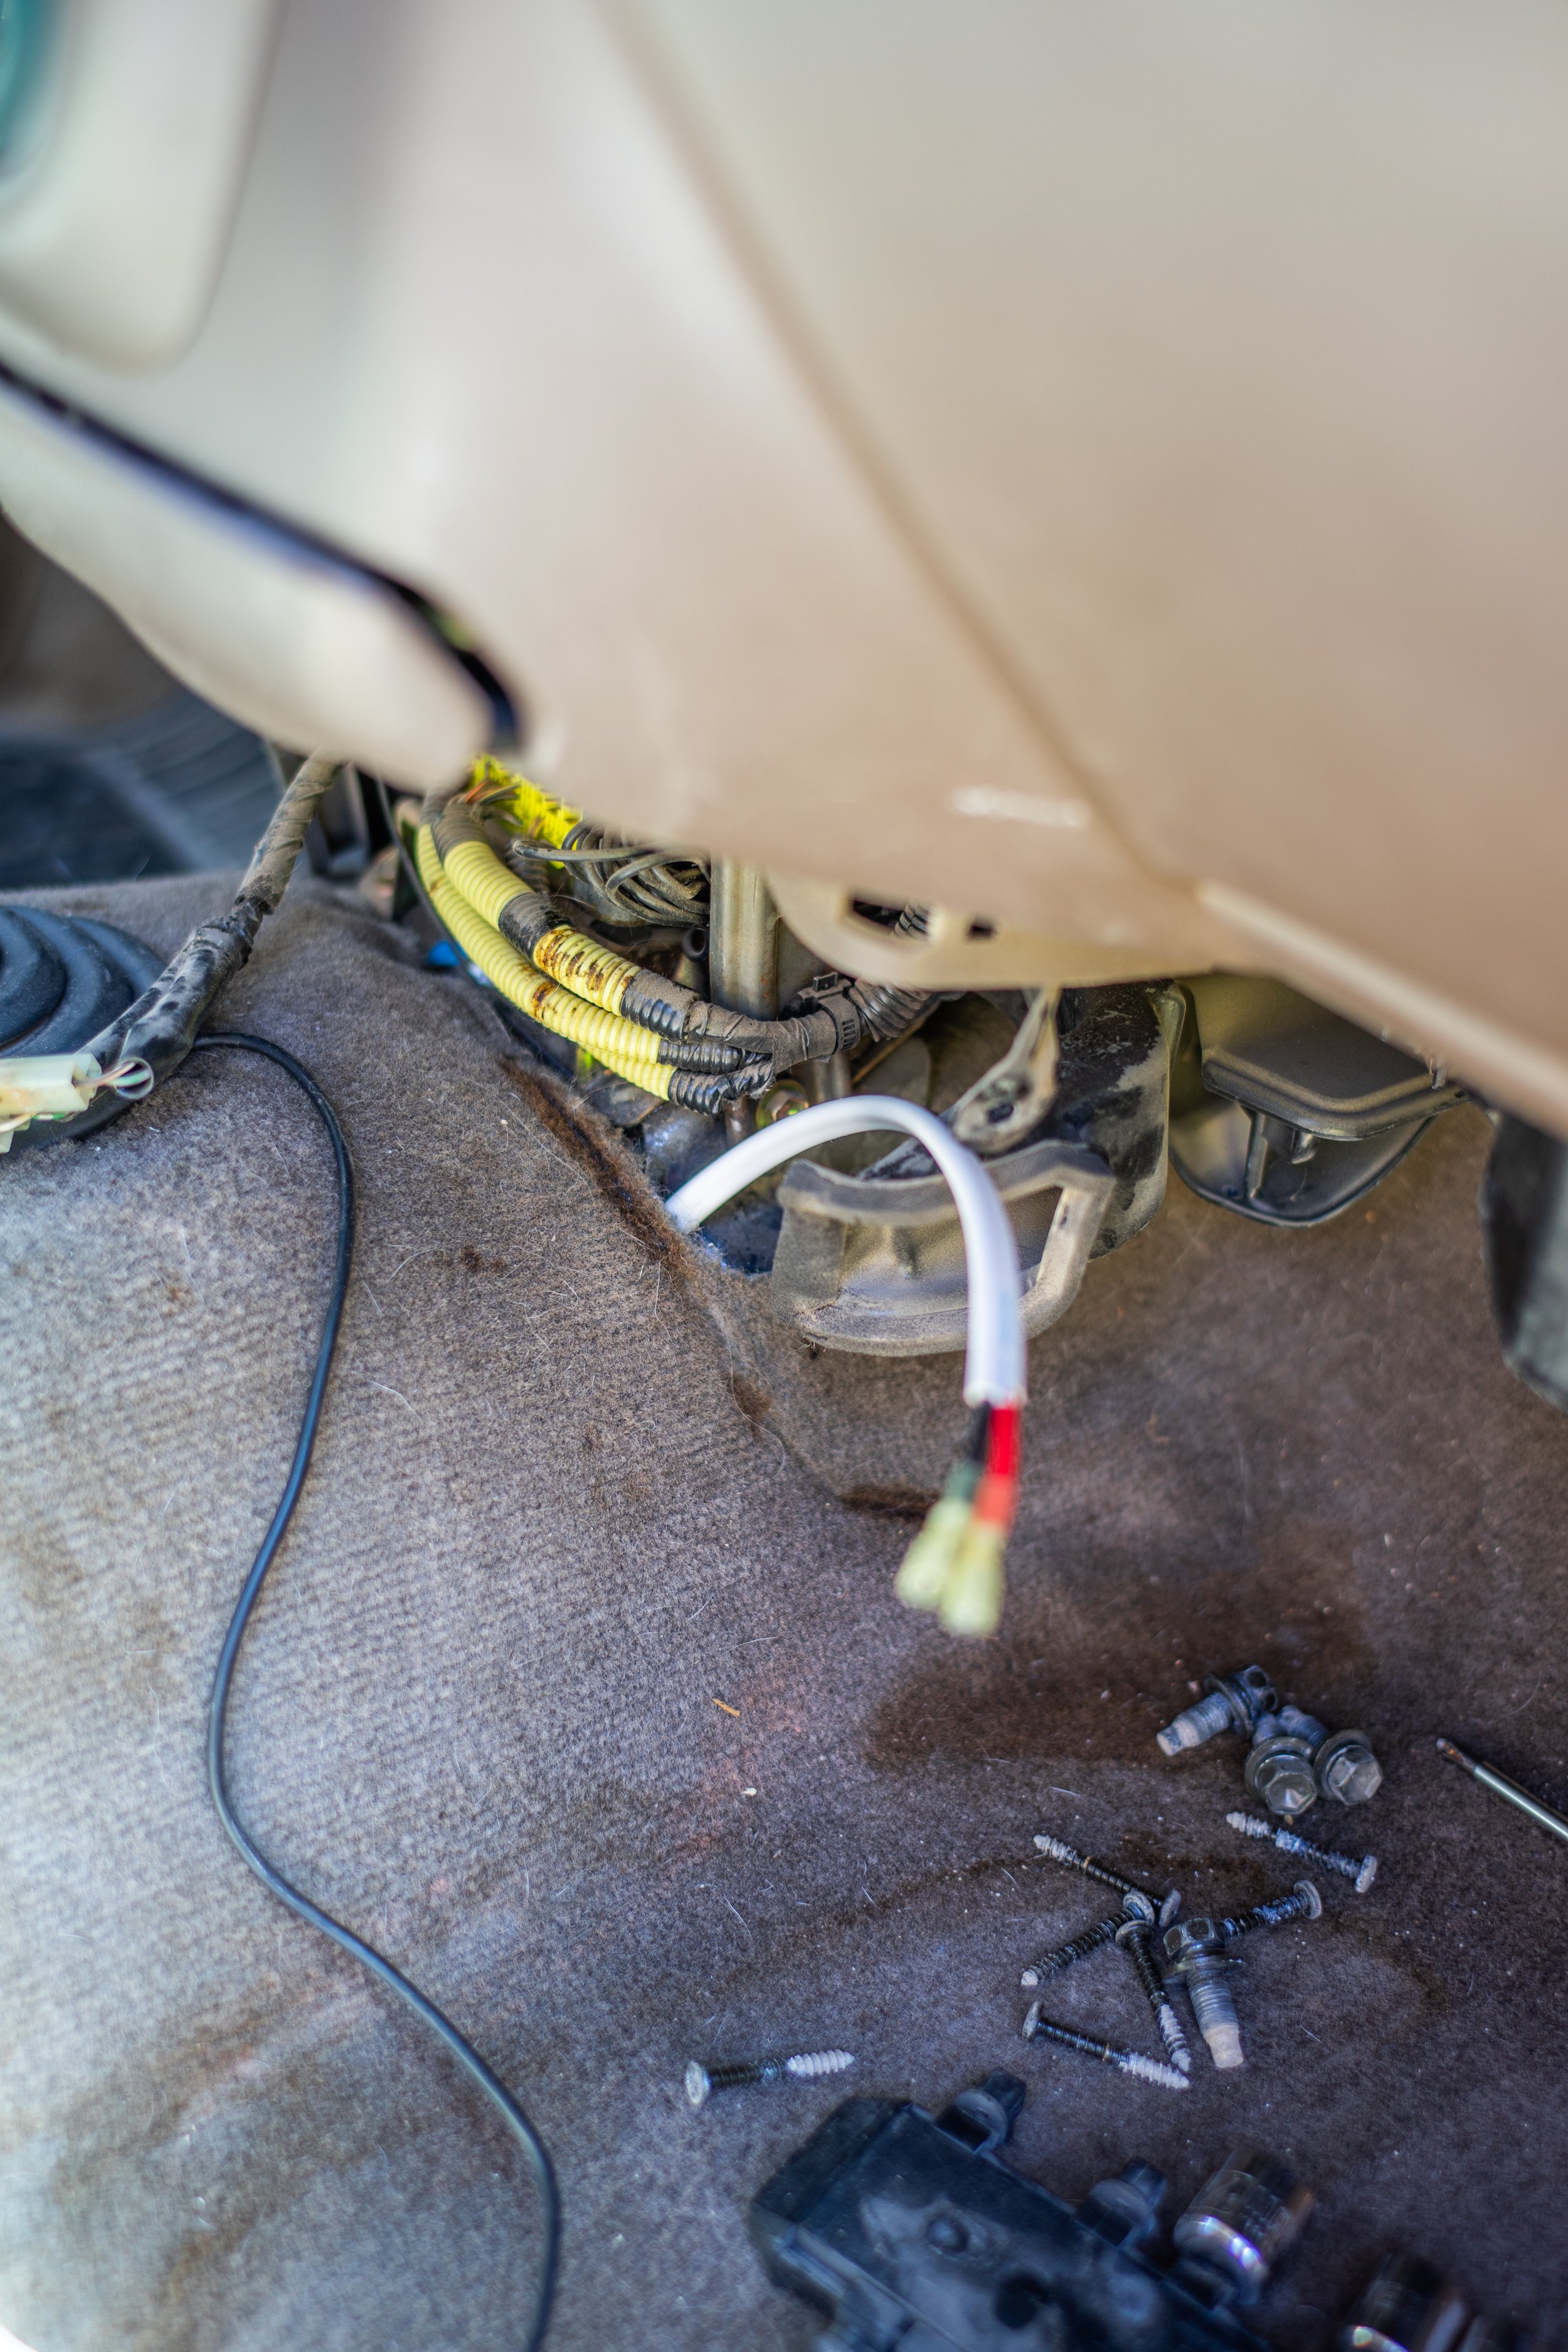
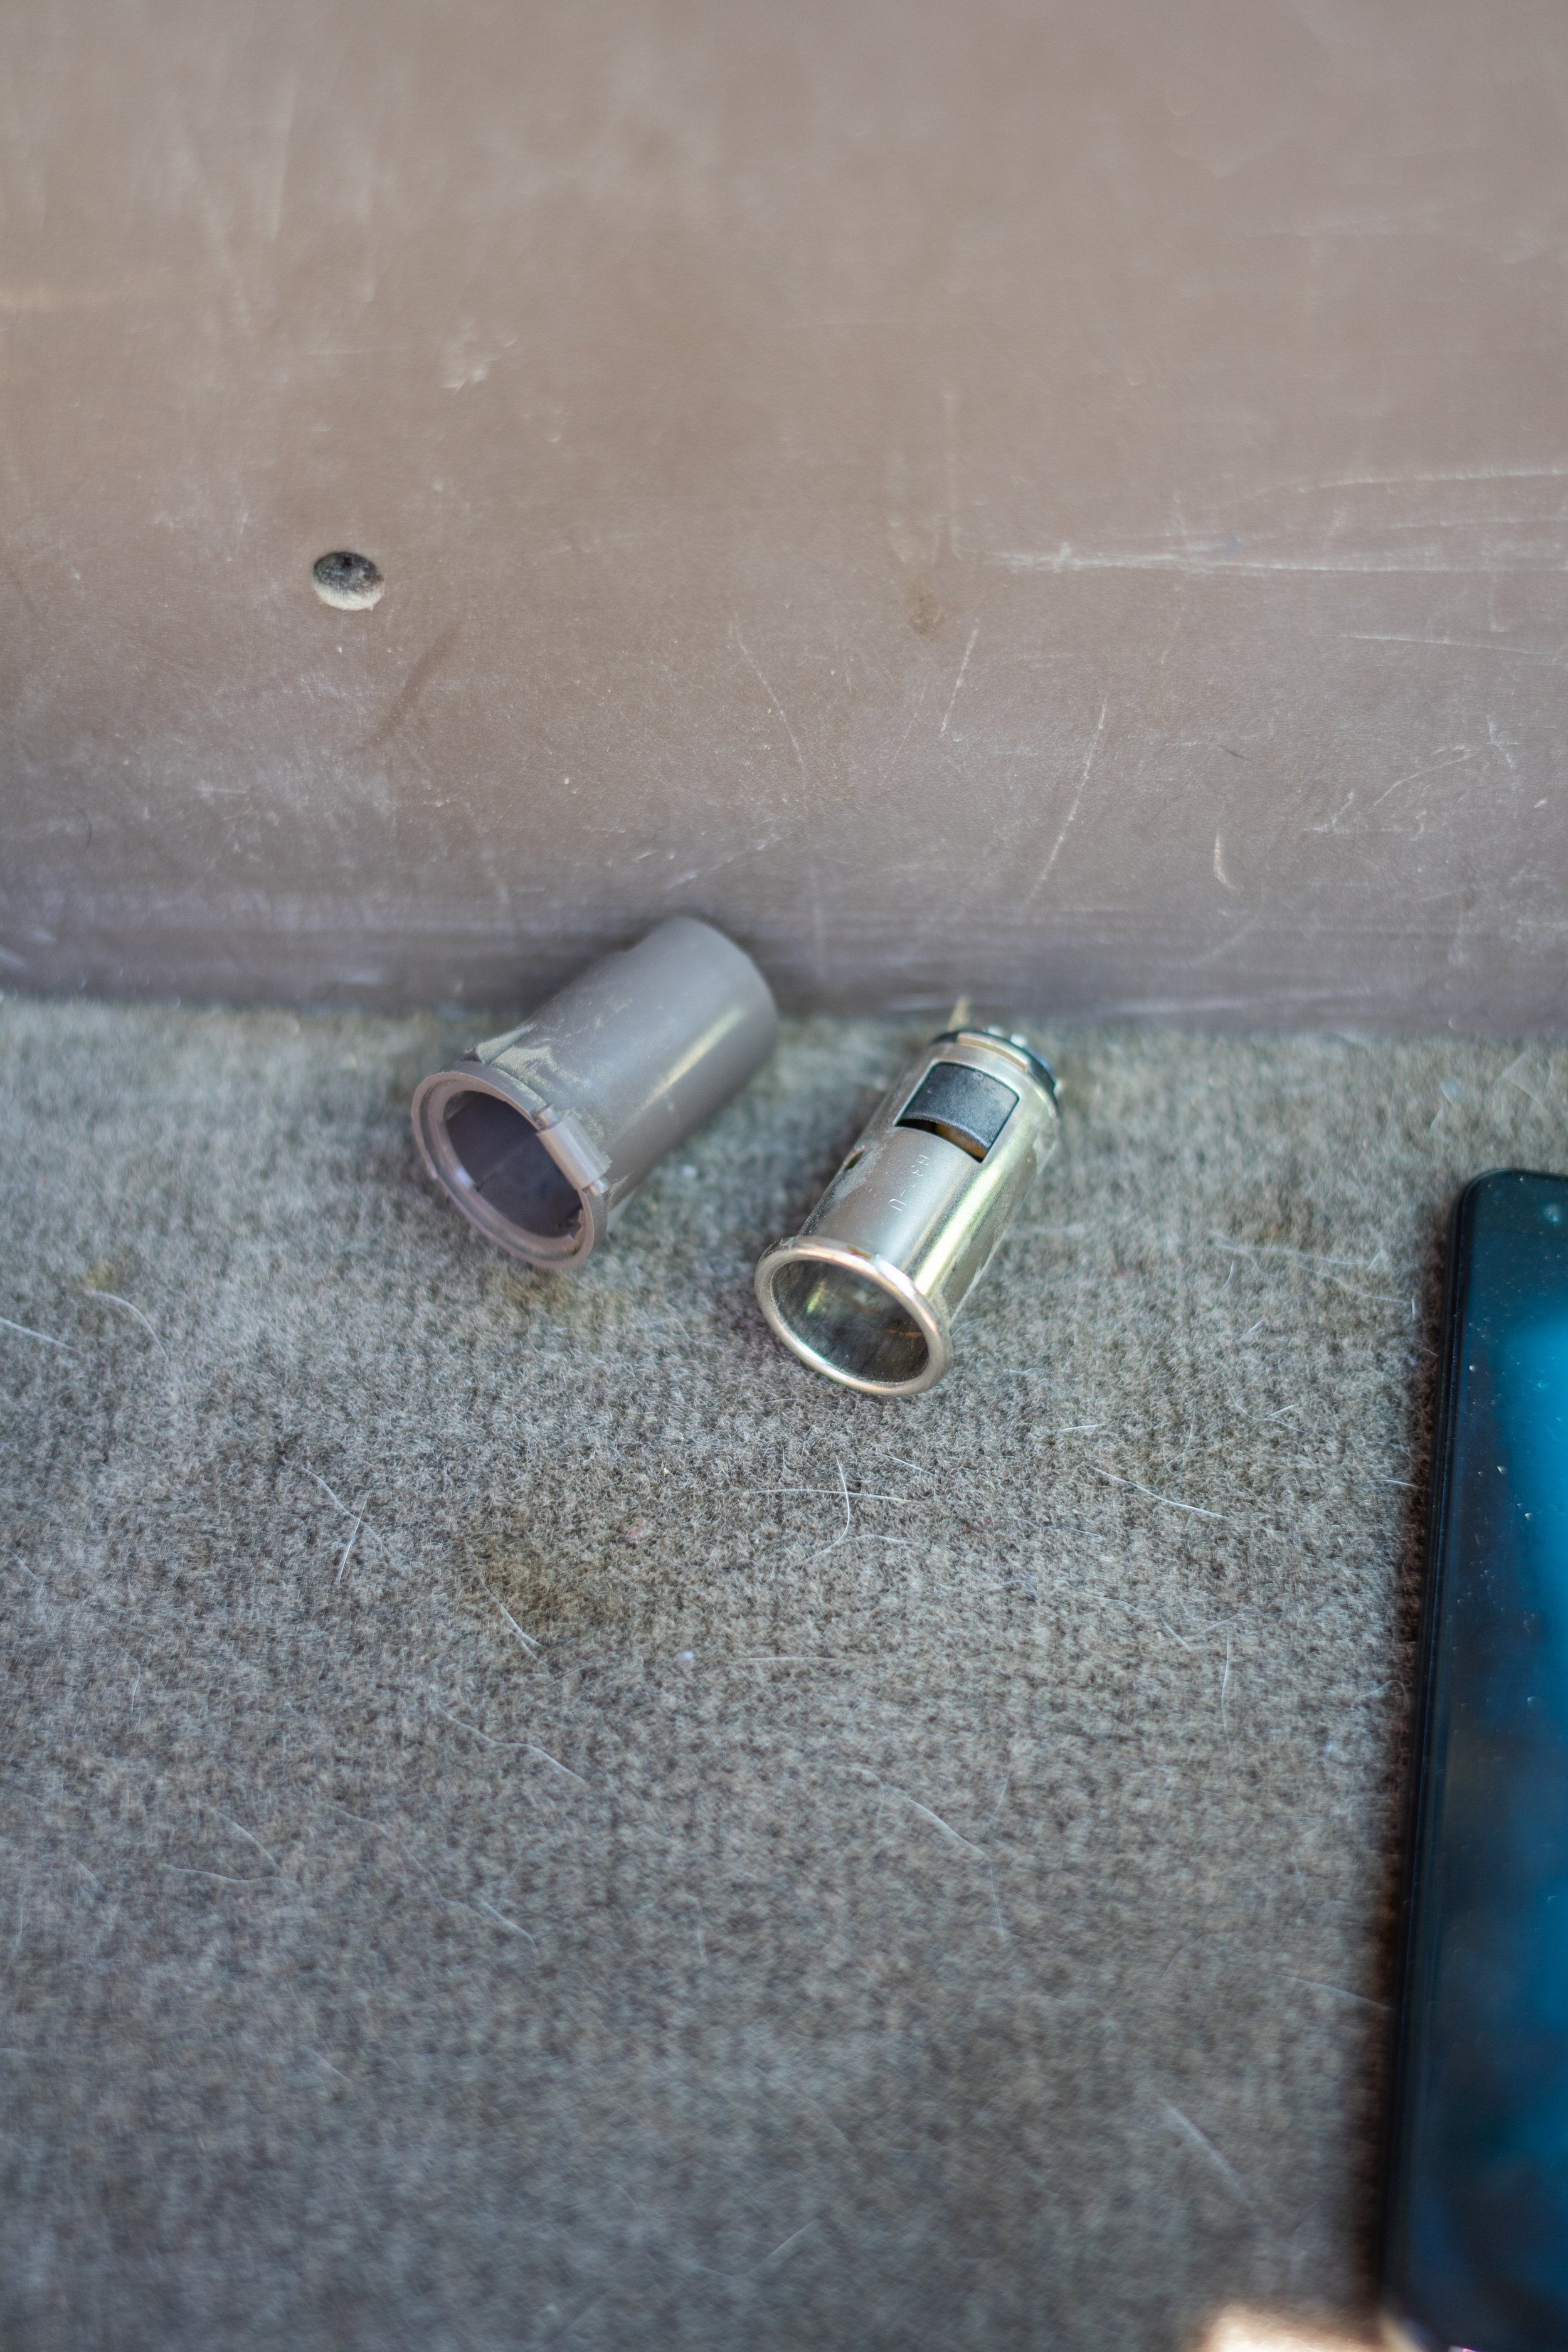
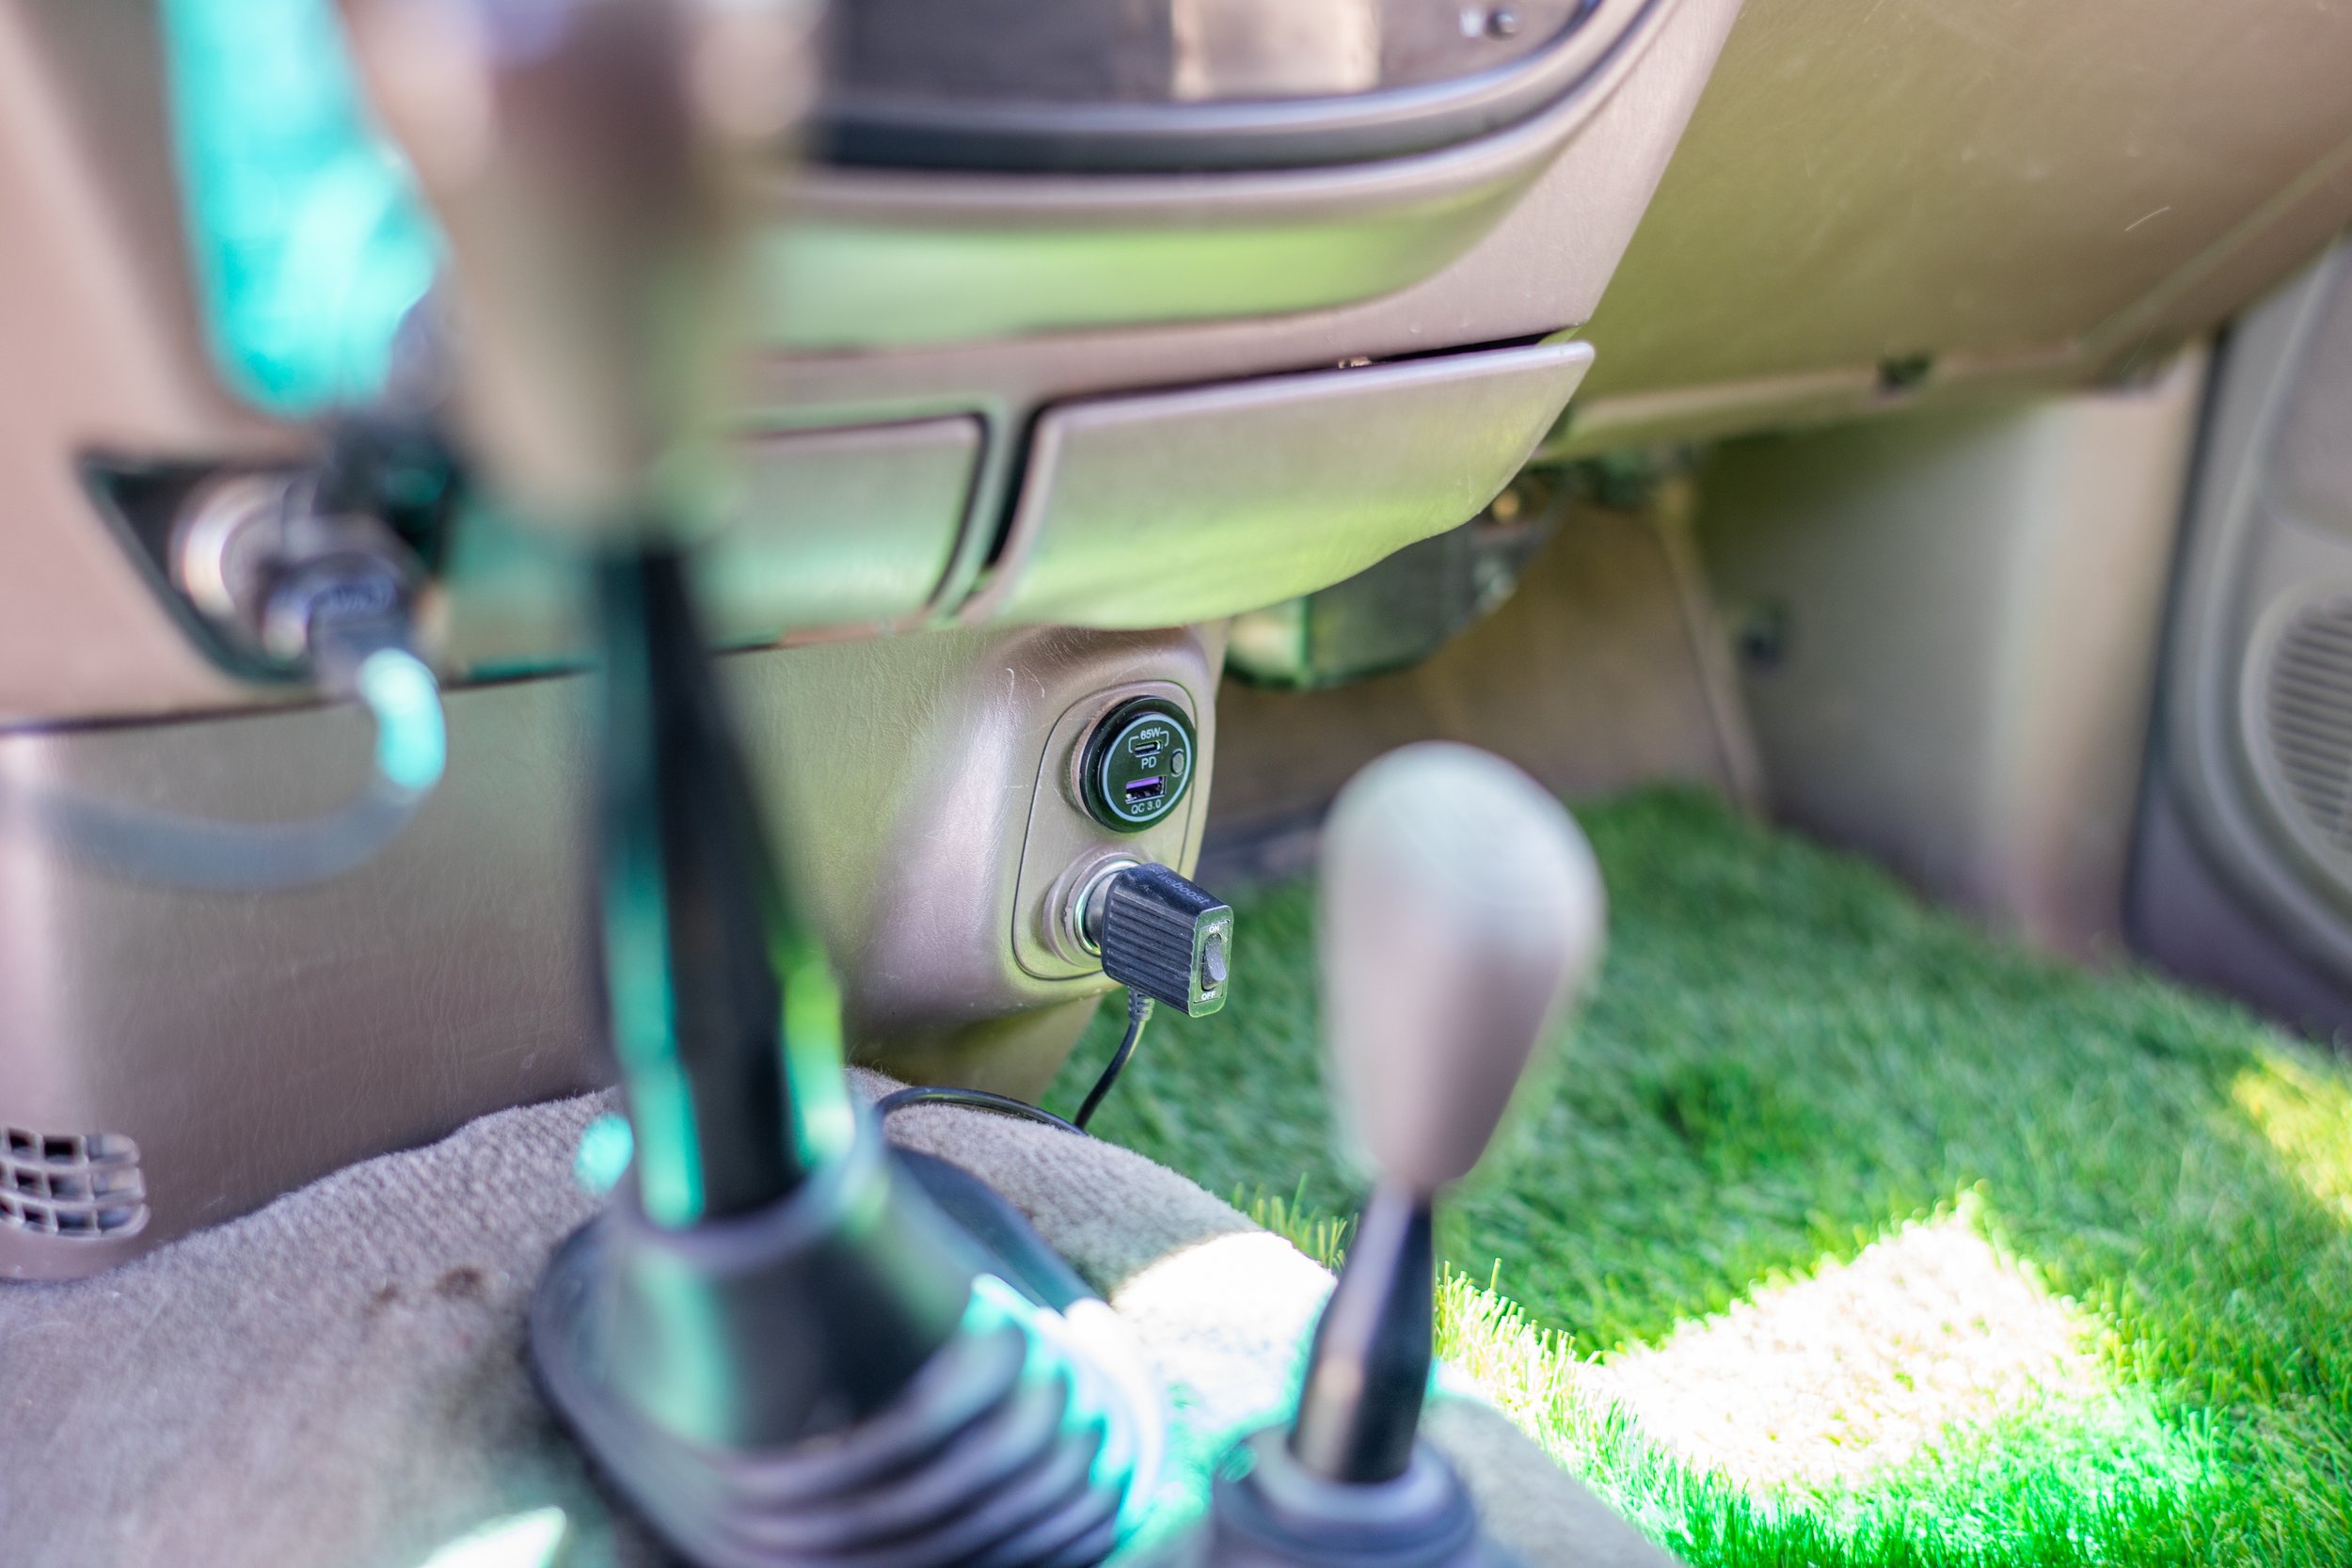
June ‘23, Cab 12volt Power.

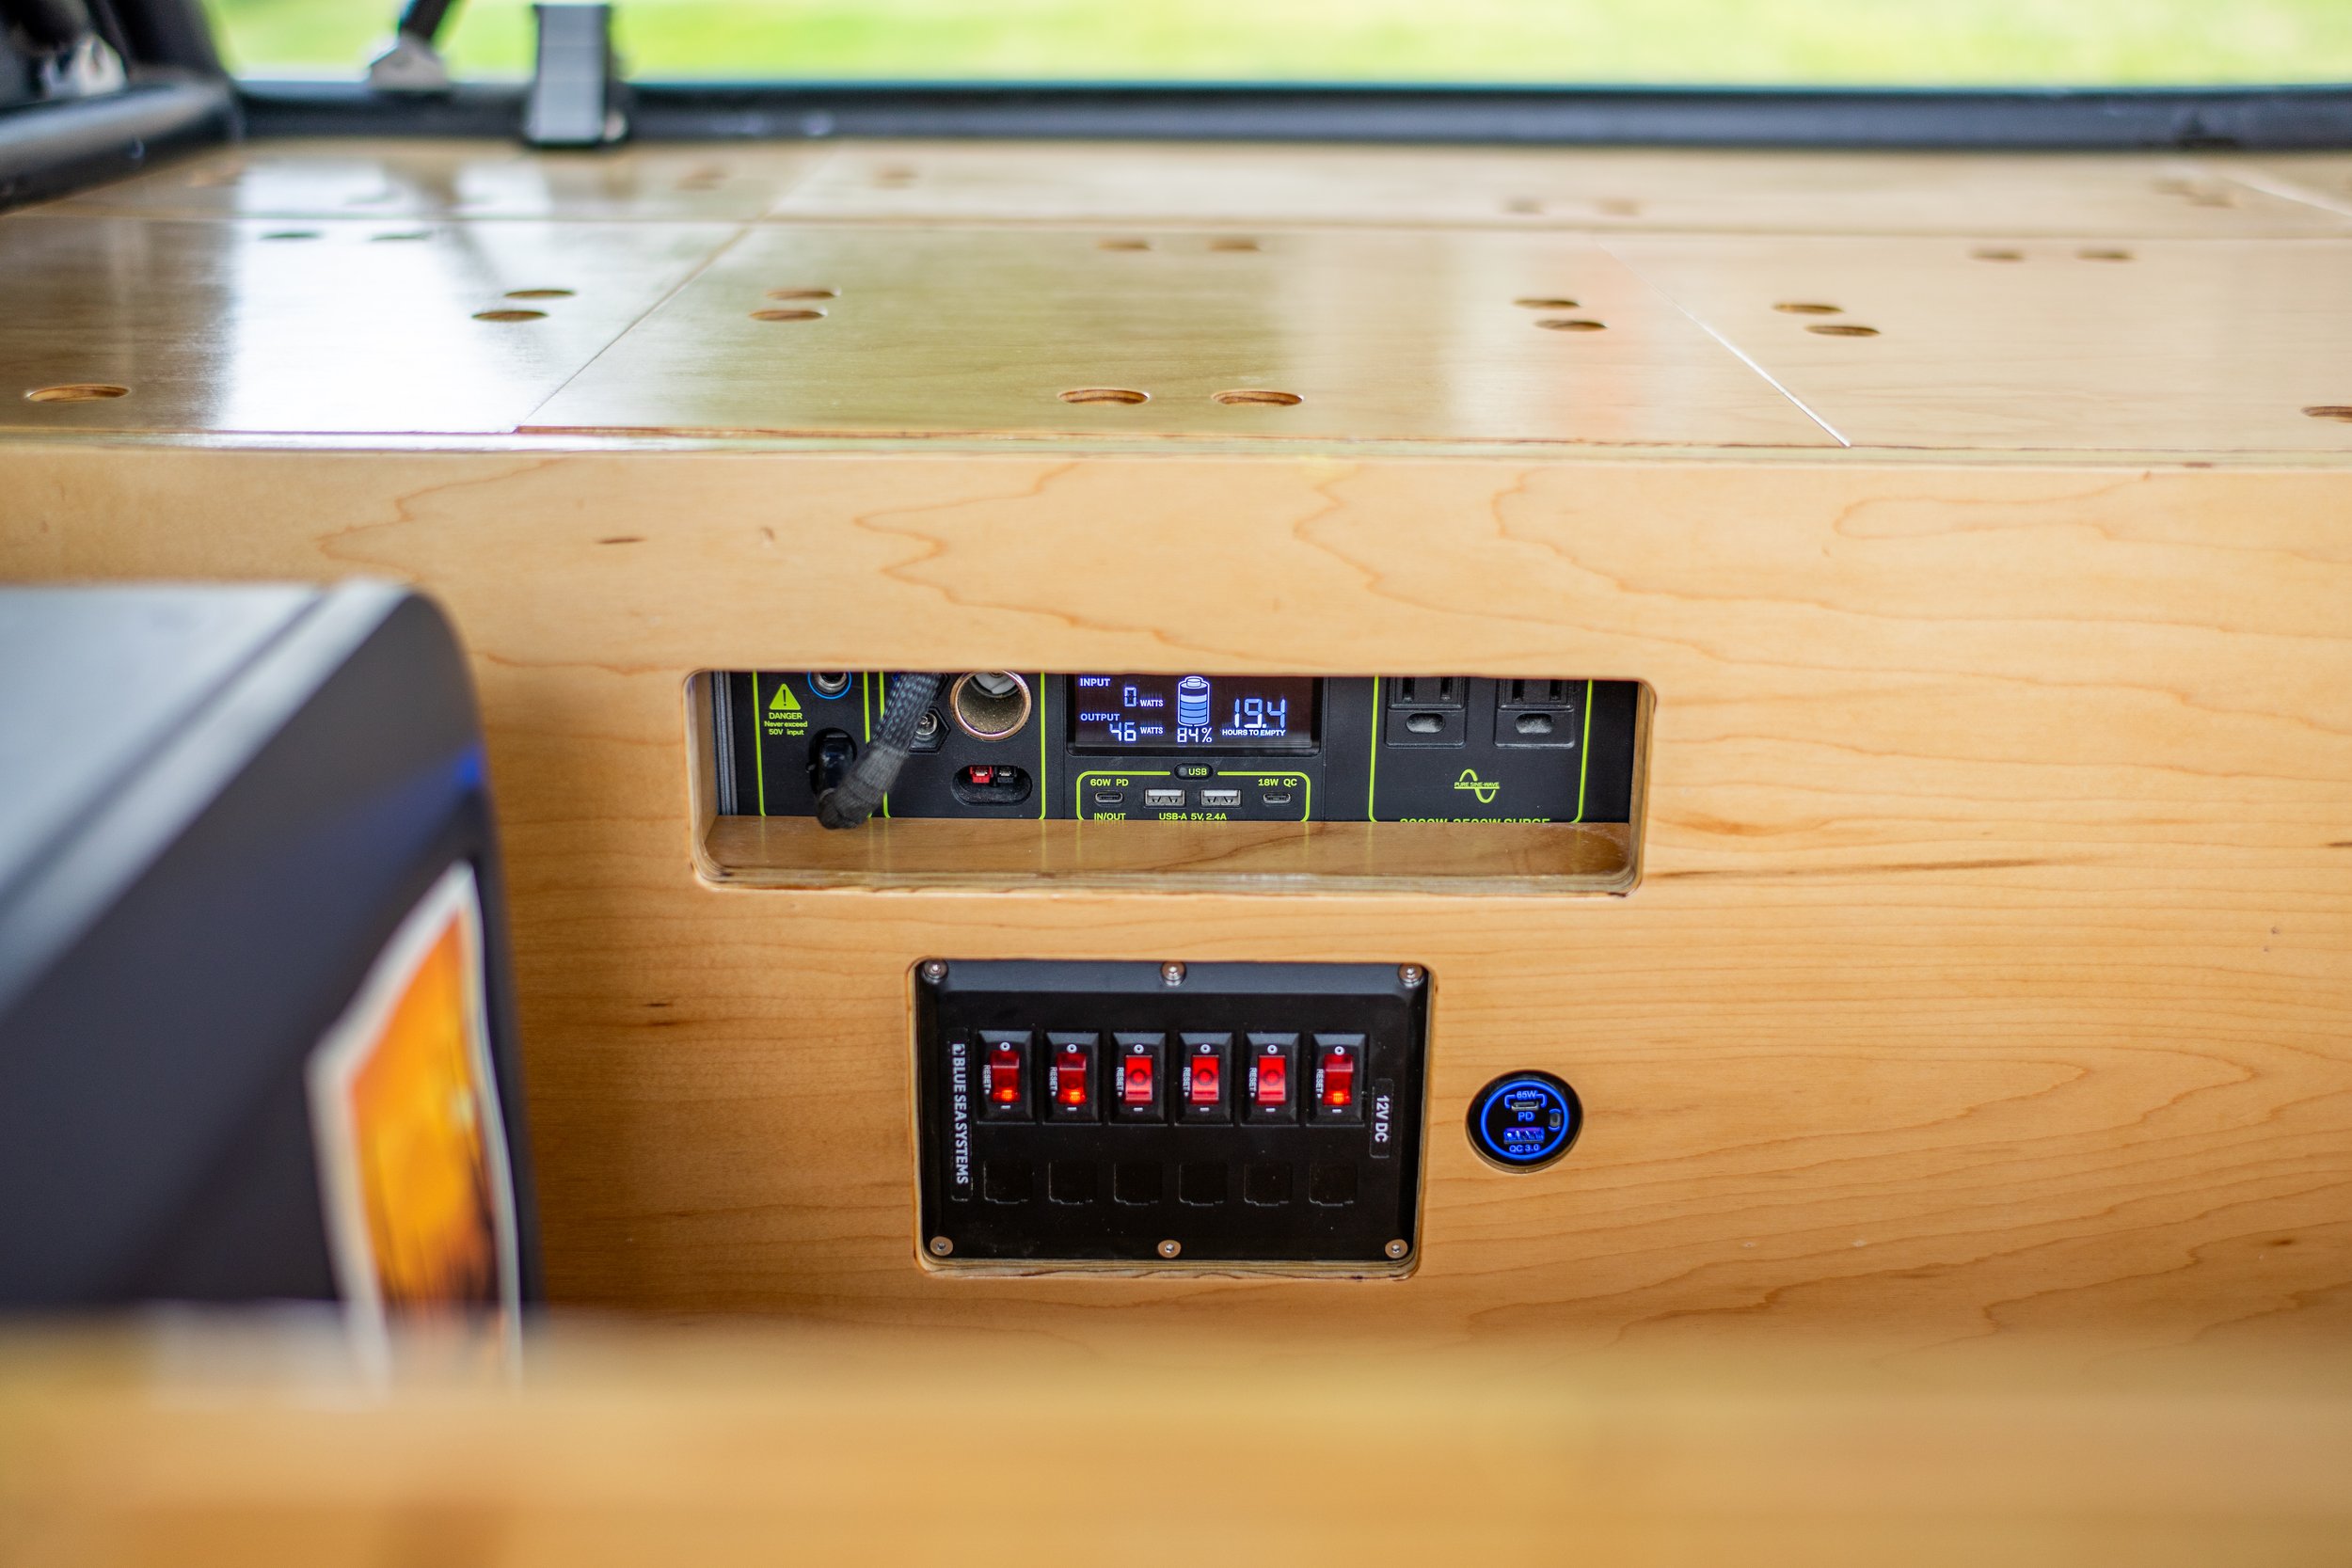
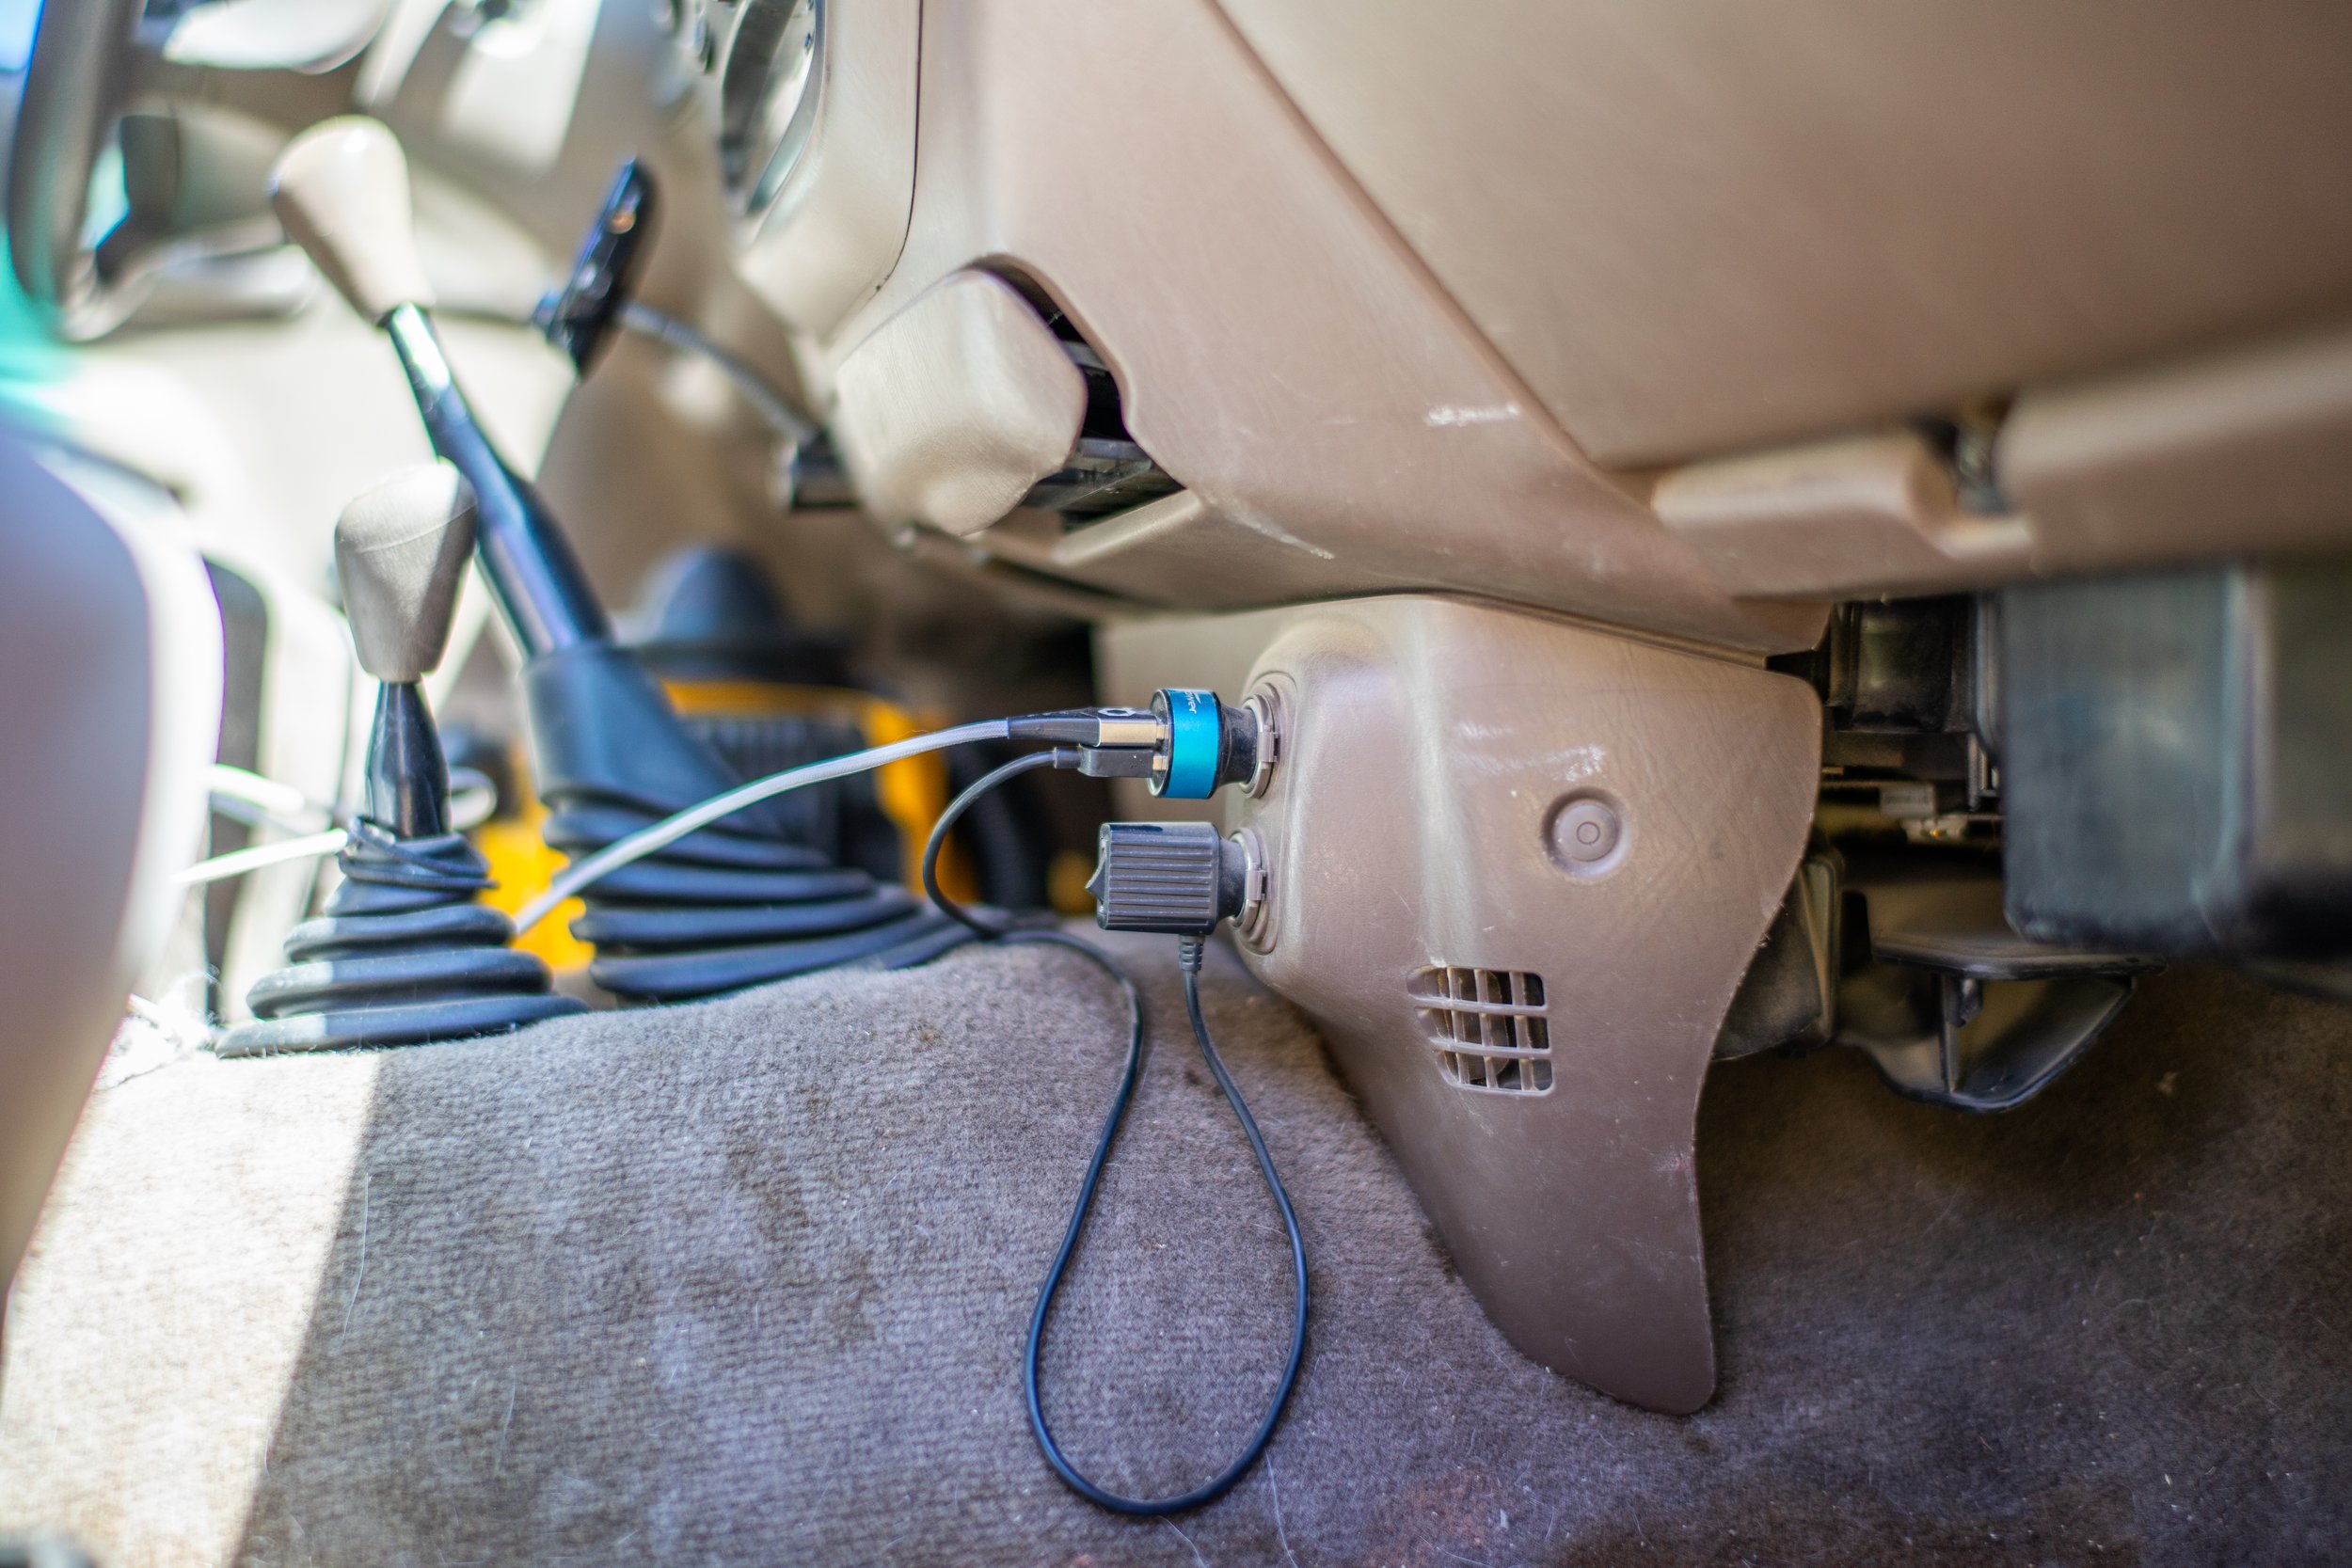
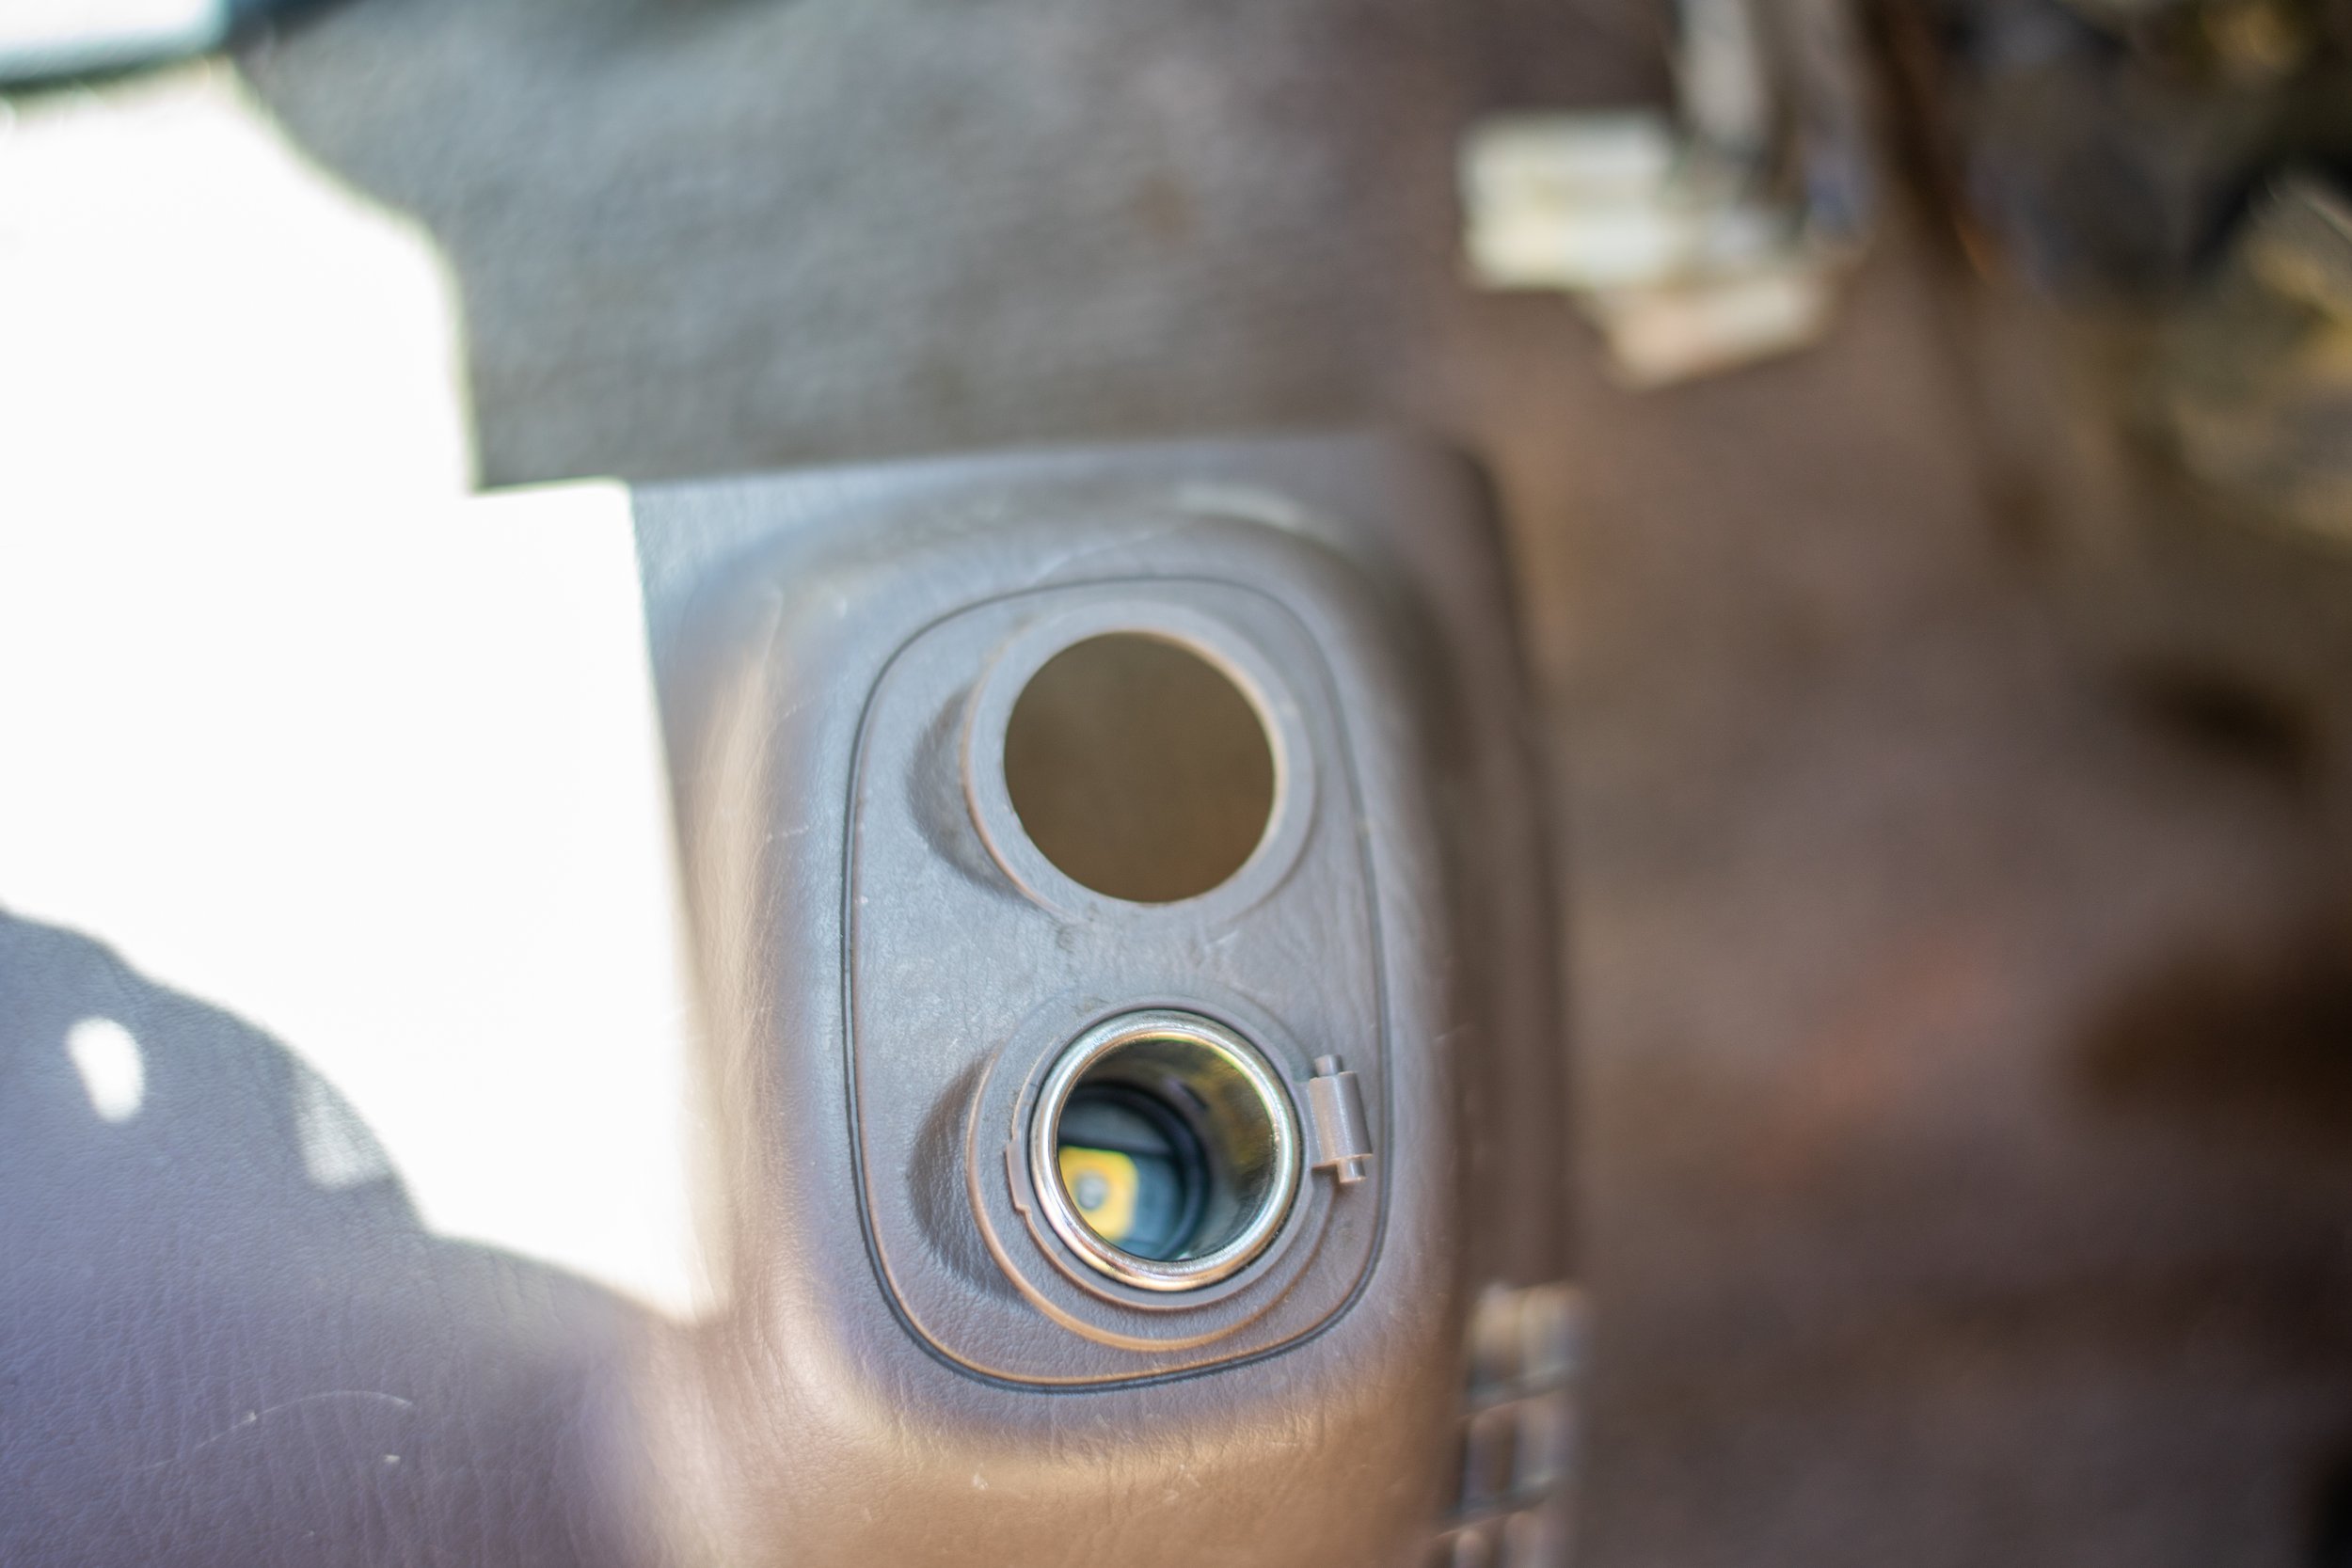
A small challenge that we have faced while traveling has been keeping the computer charged when one of us is working in the front passenger seat, so we set about providing power from the house battery to the cab at a rapid charge 65watt USBc port.
BCM09619.jpg

BCM09623.jpg

BCM09626.jpg

BCM09631.jpg

BCM09633.jpg

BCM09639.jpg


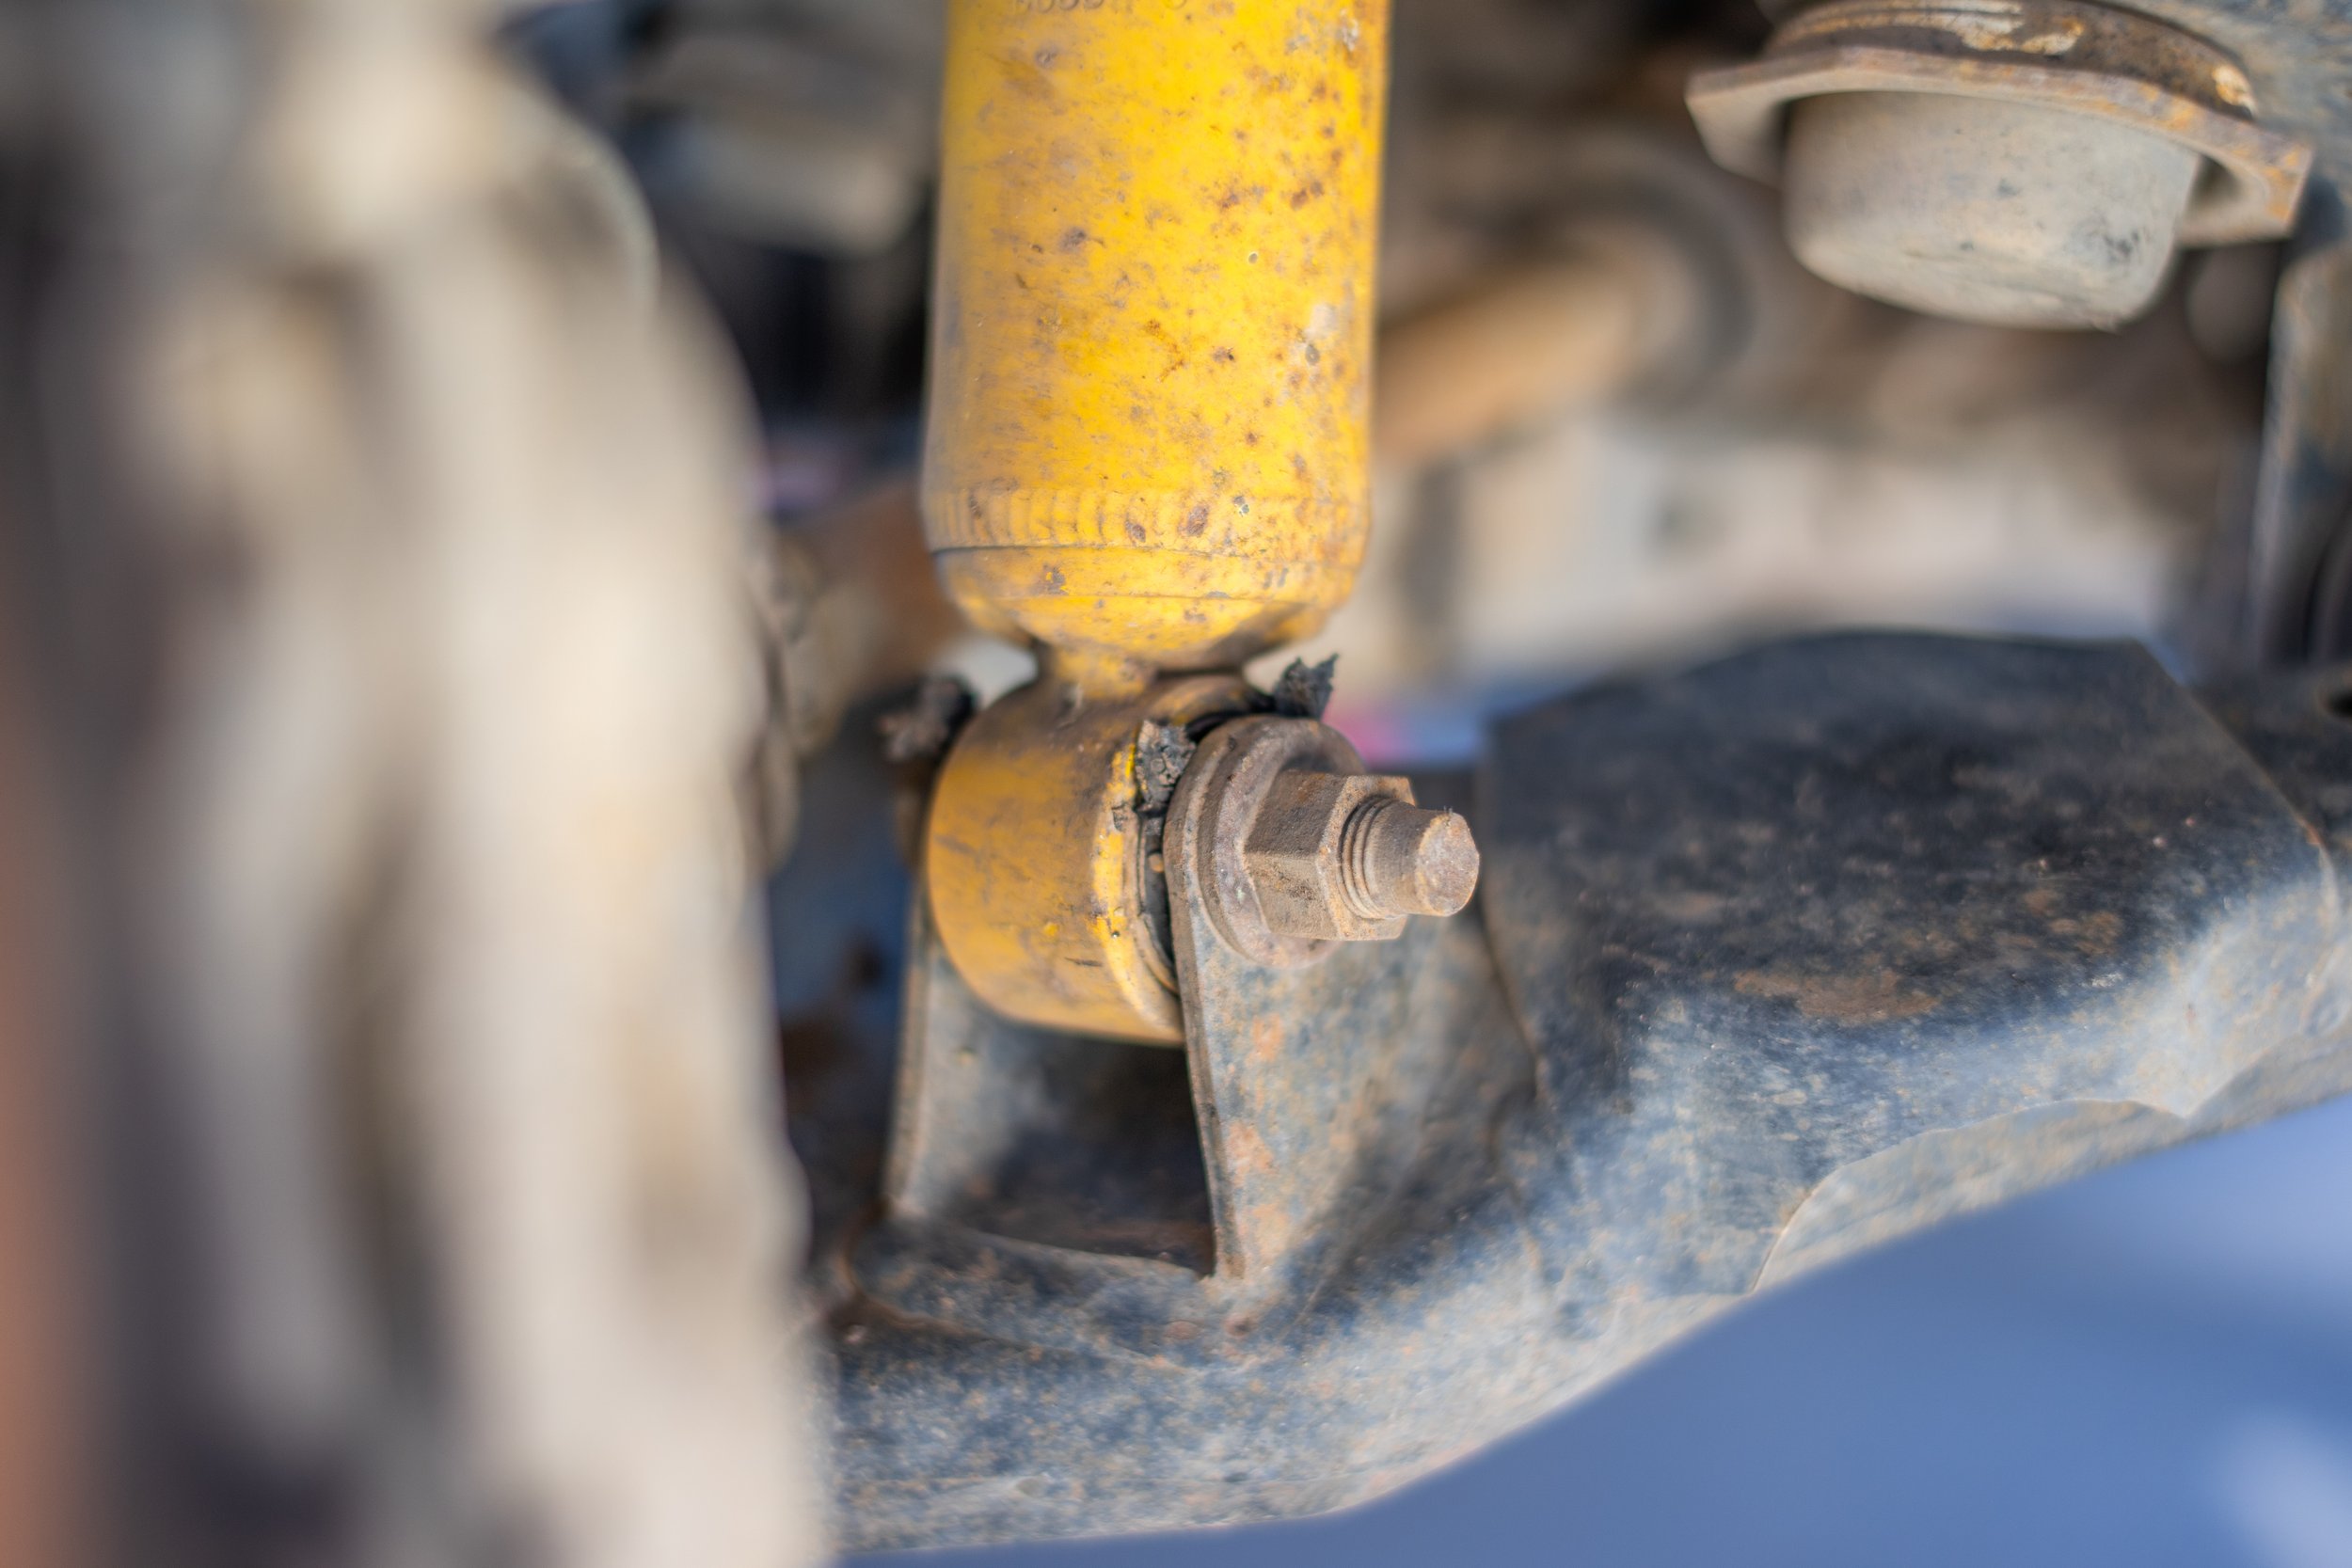
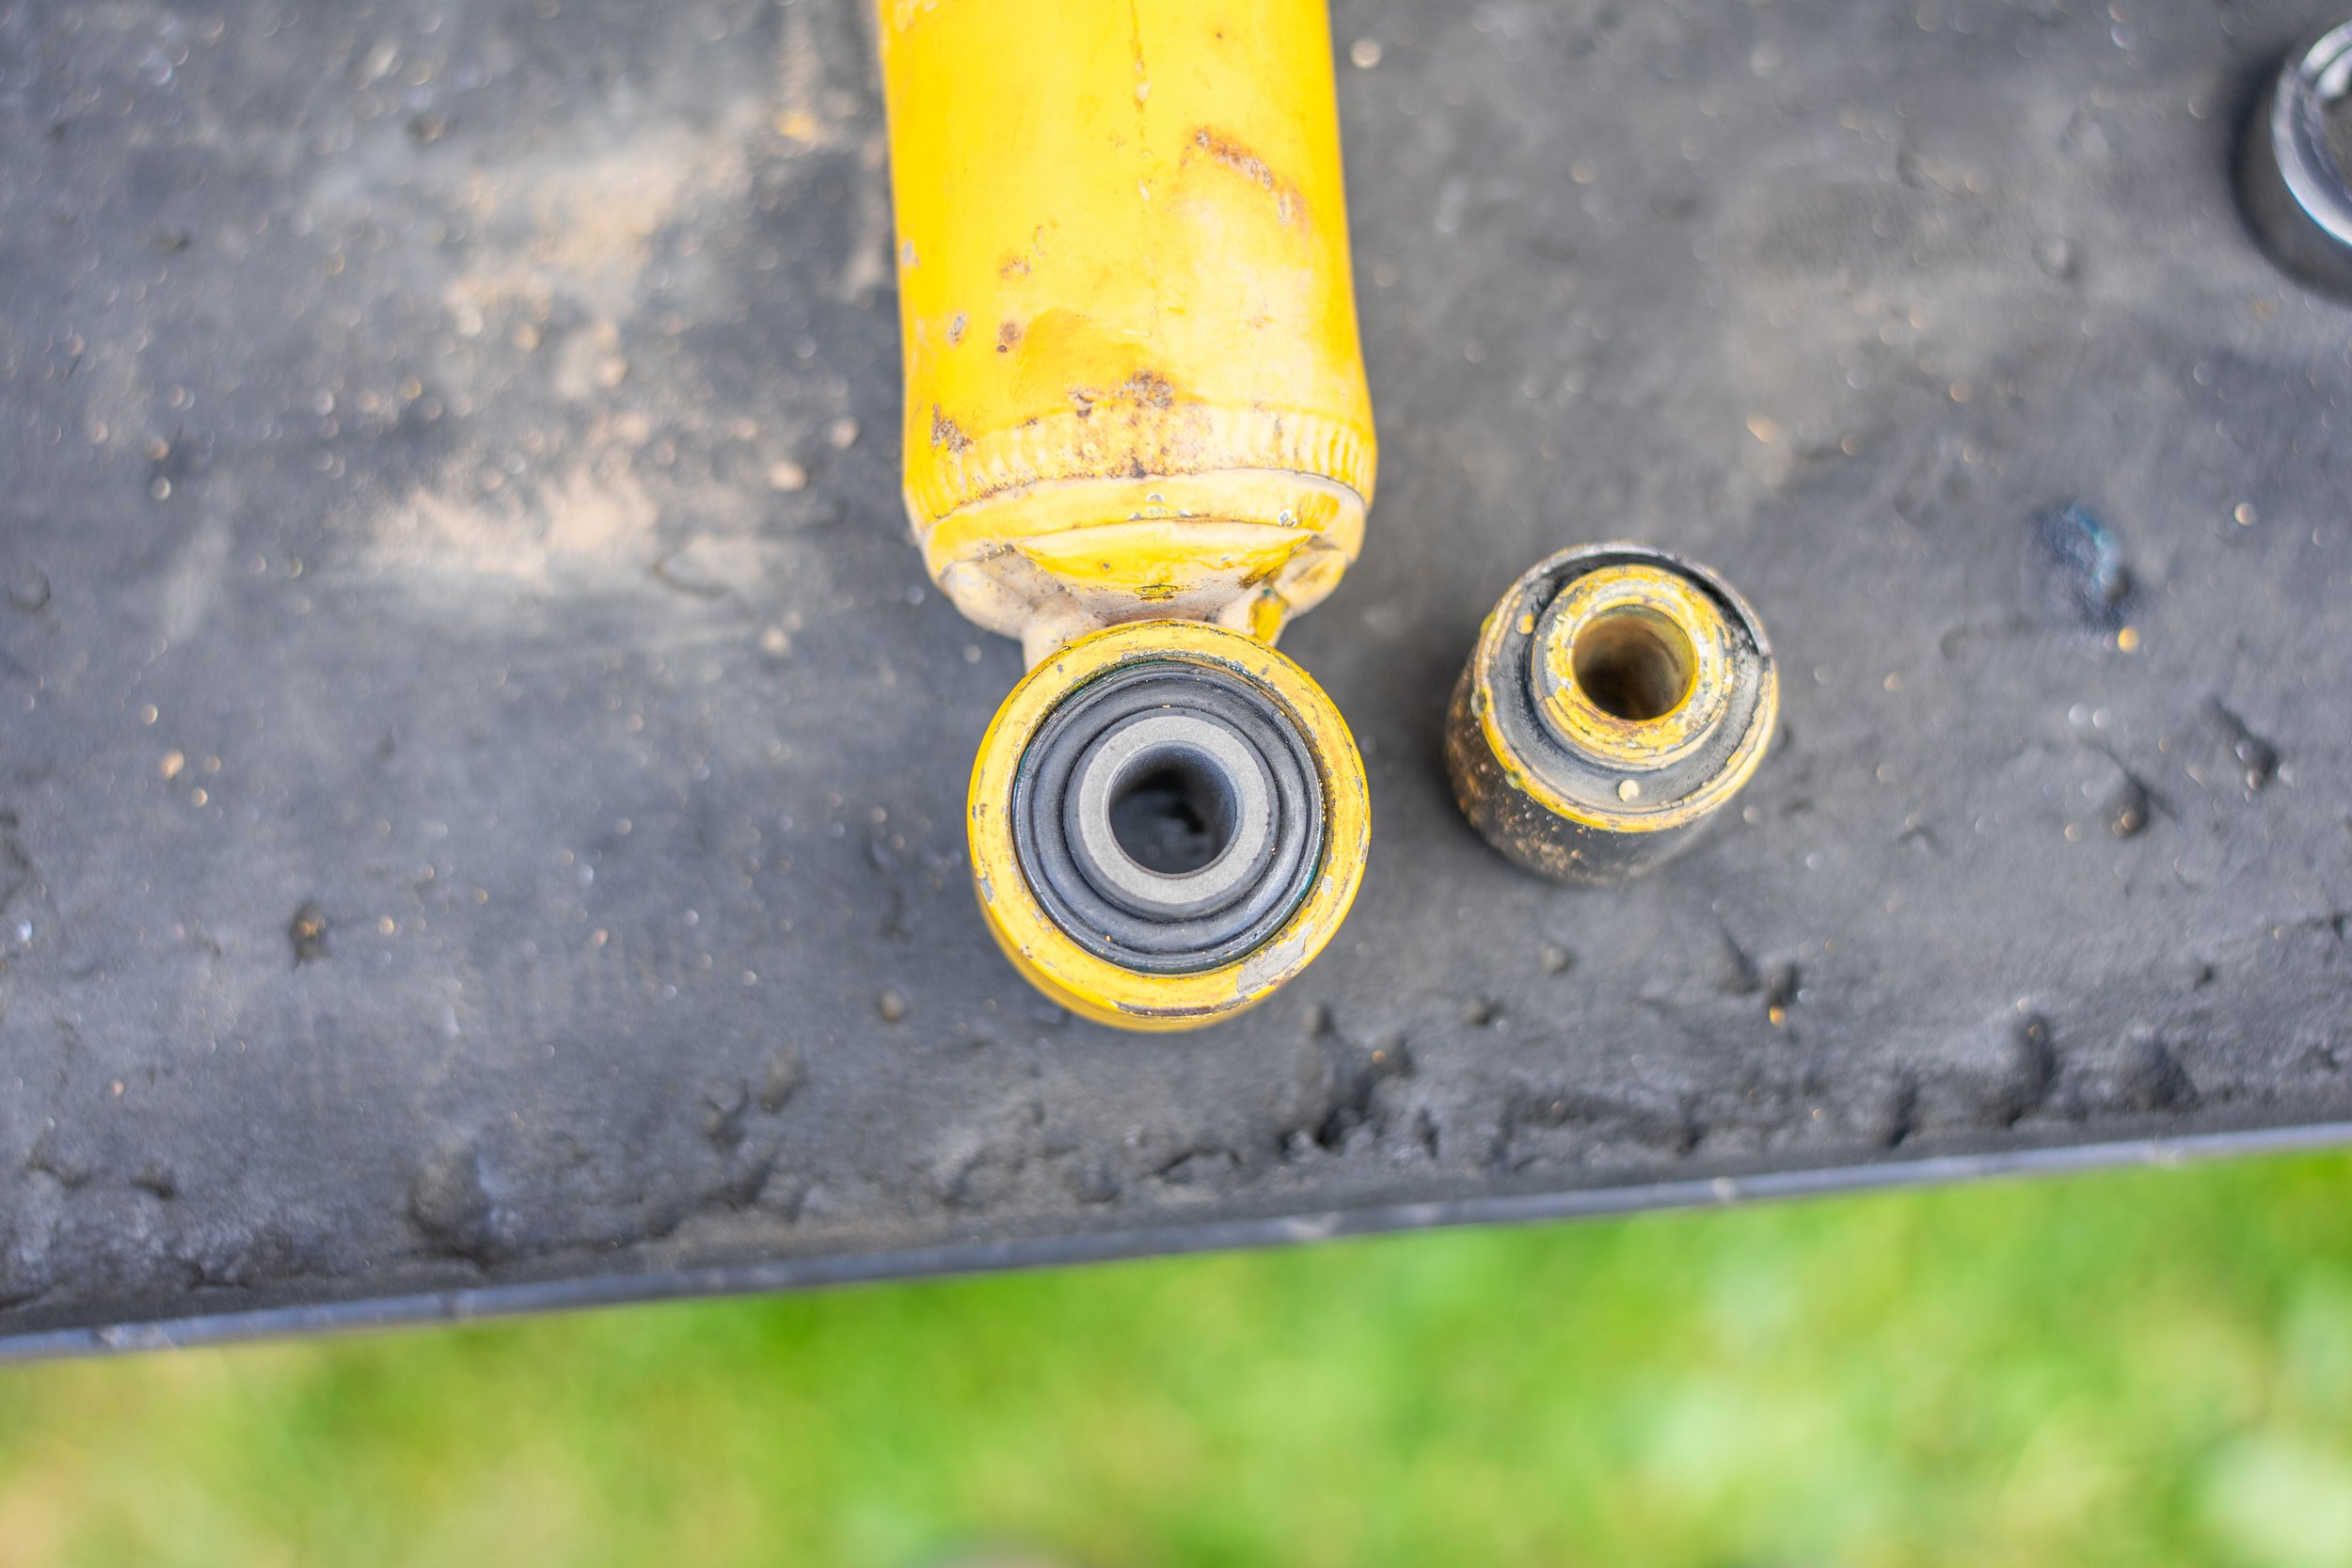
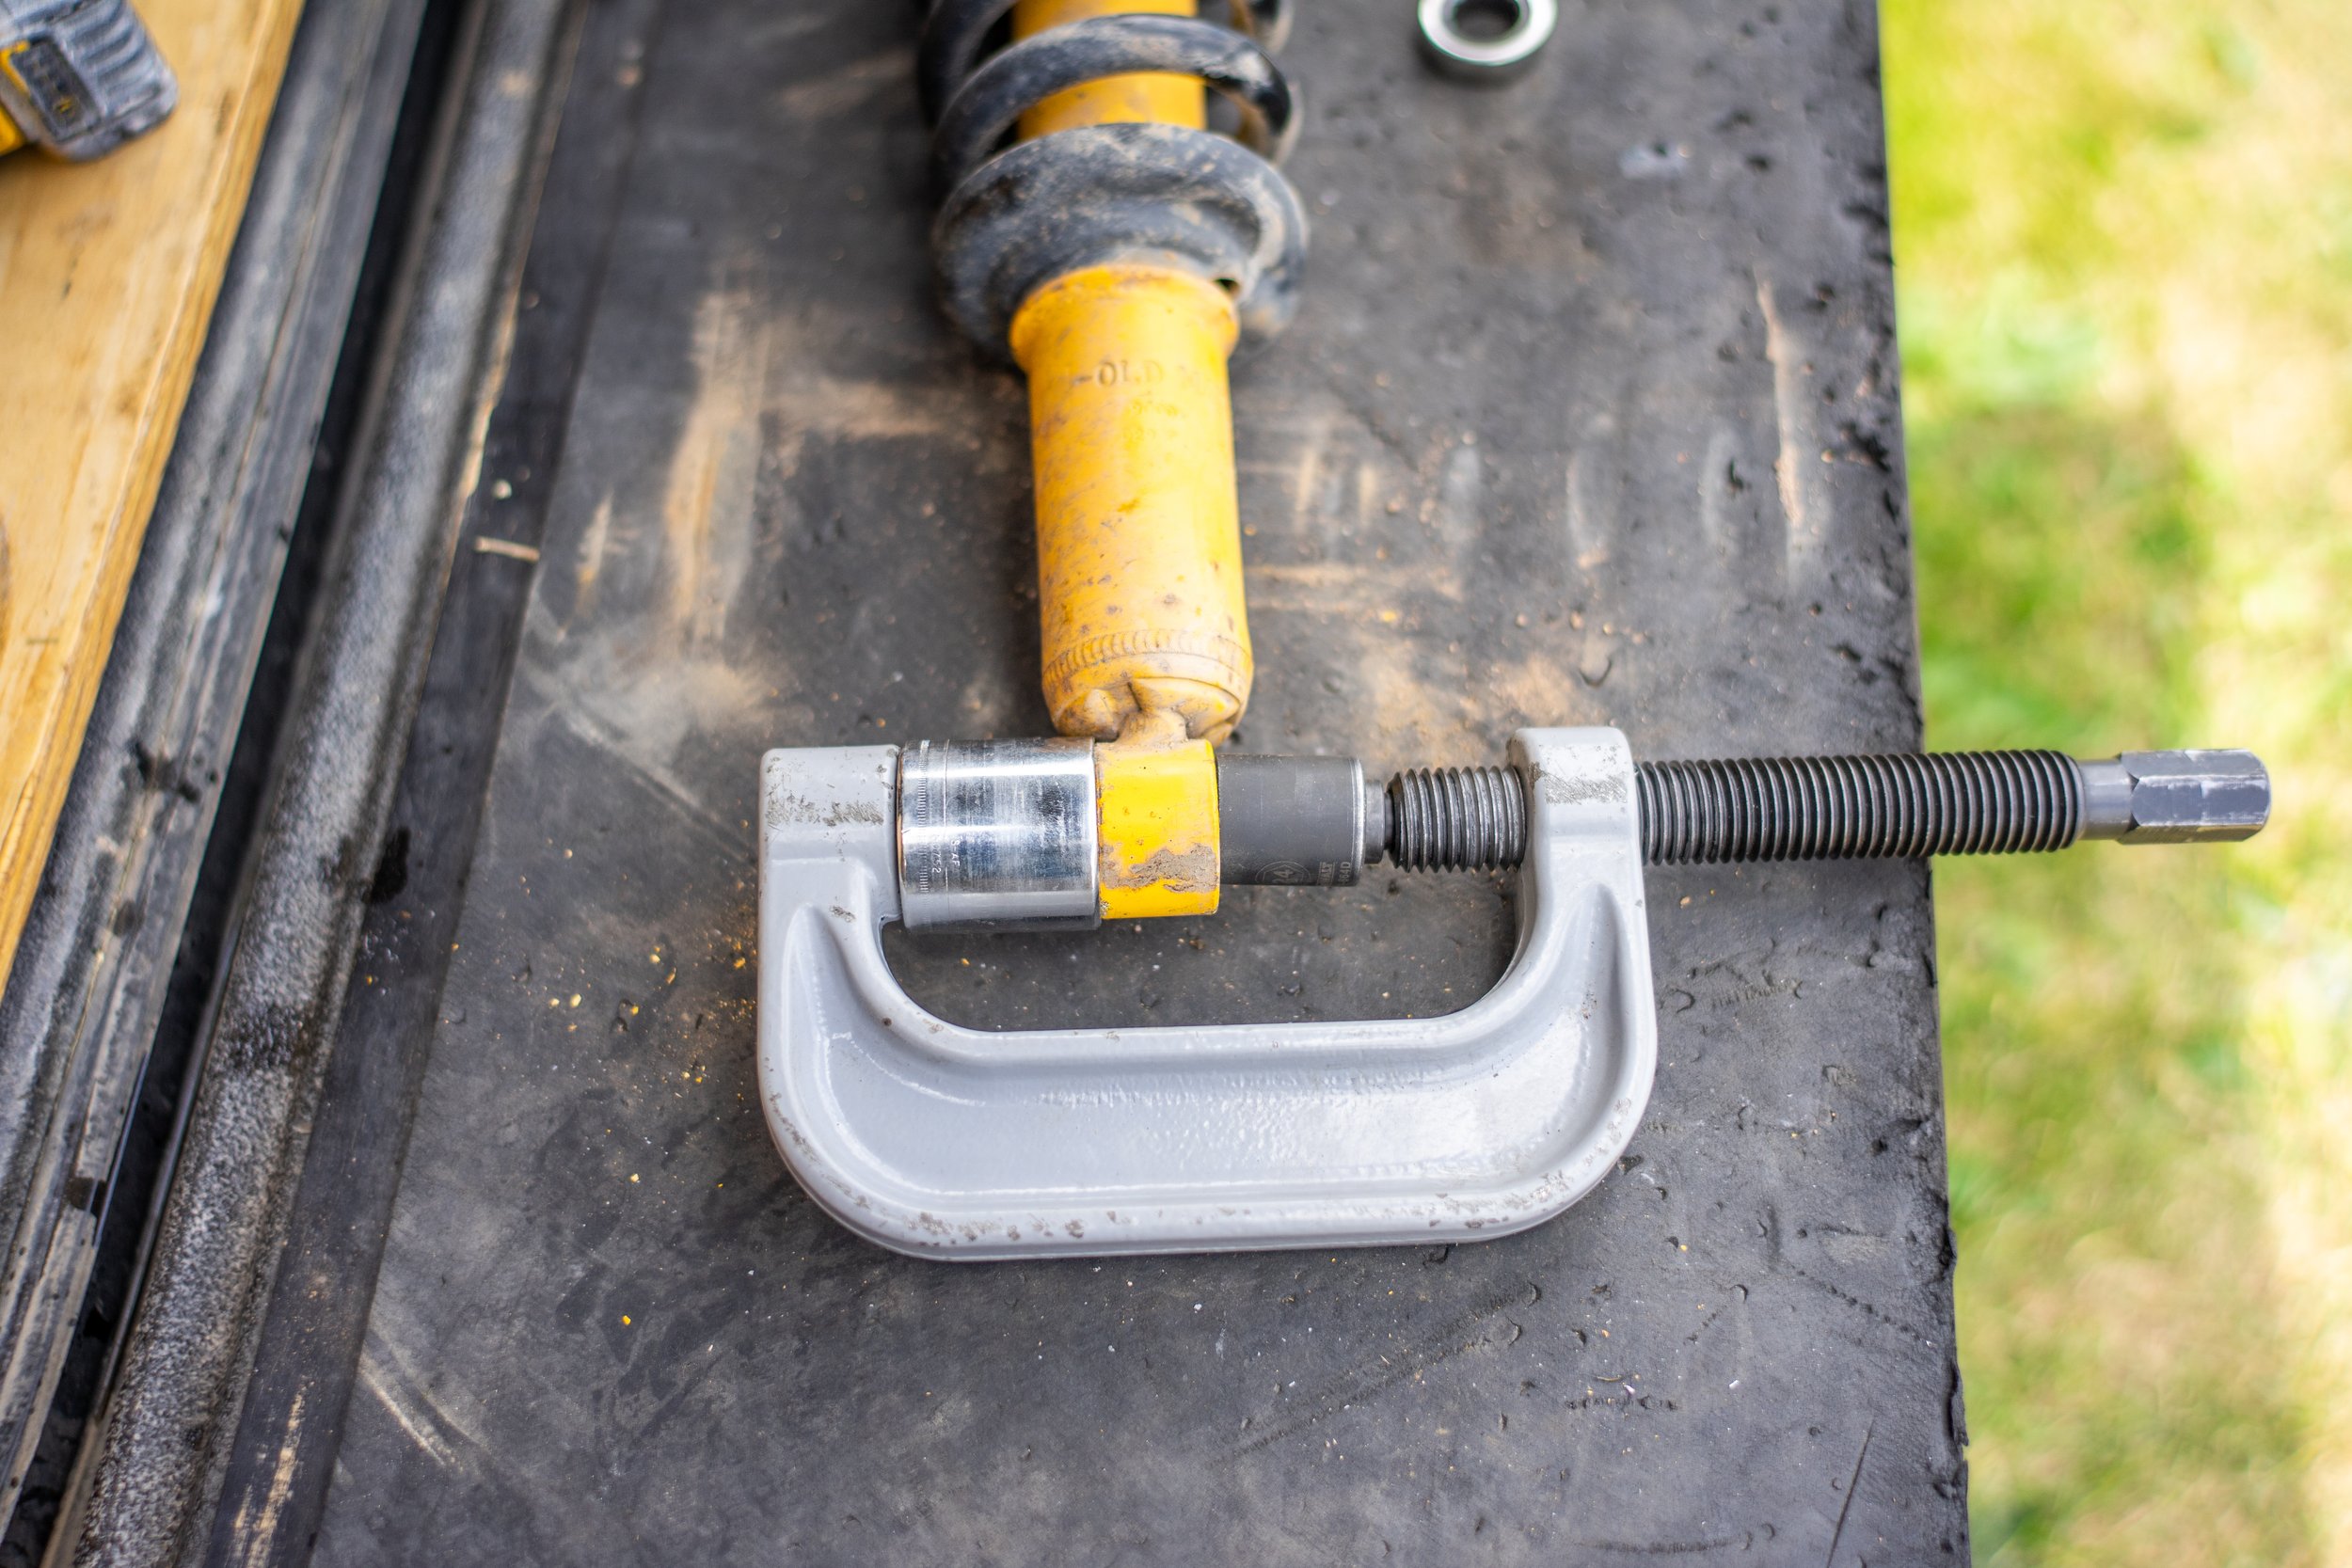
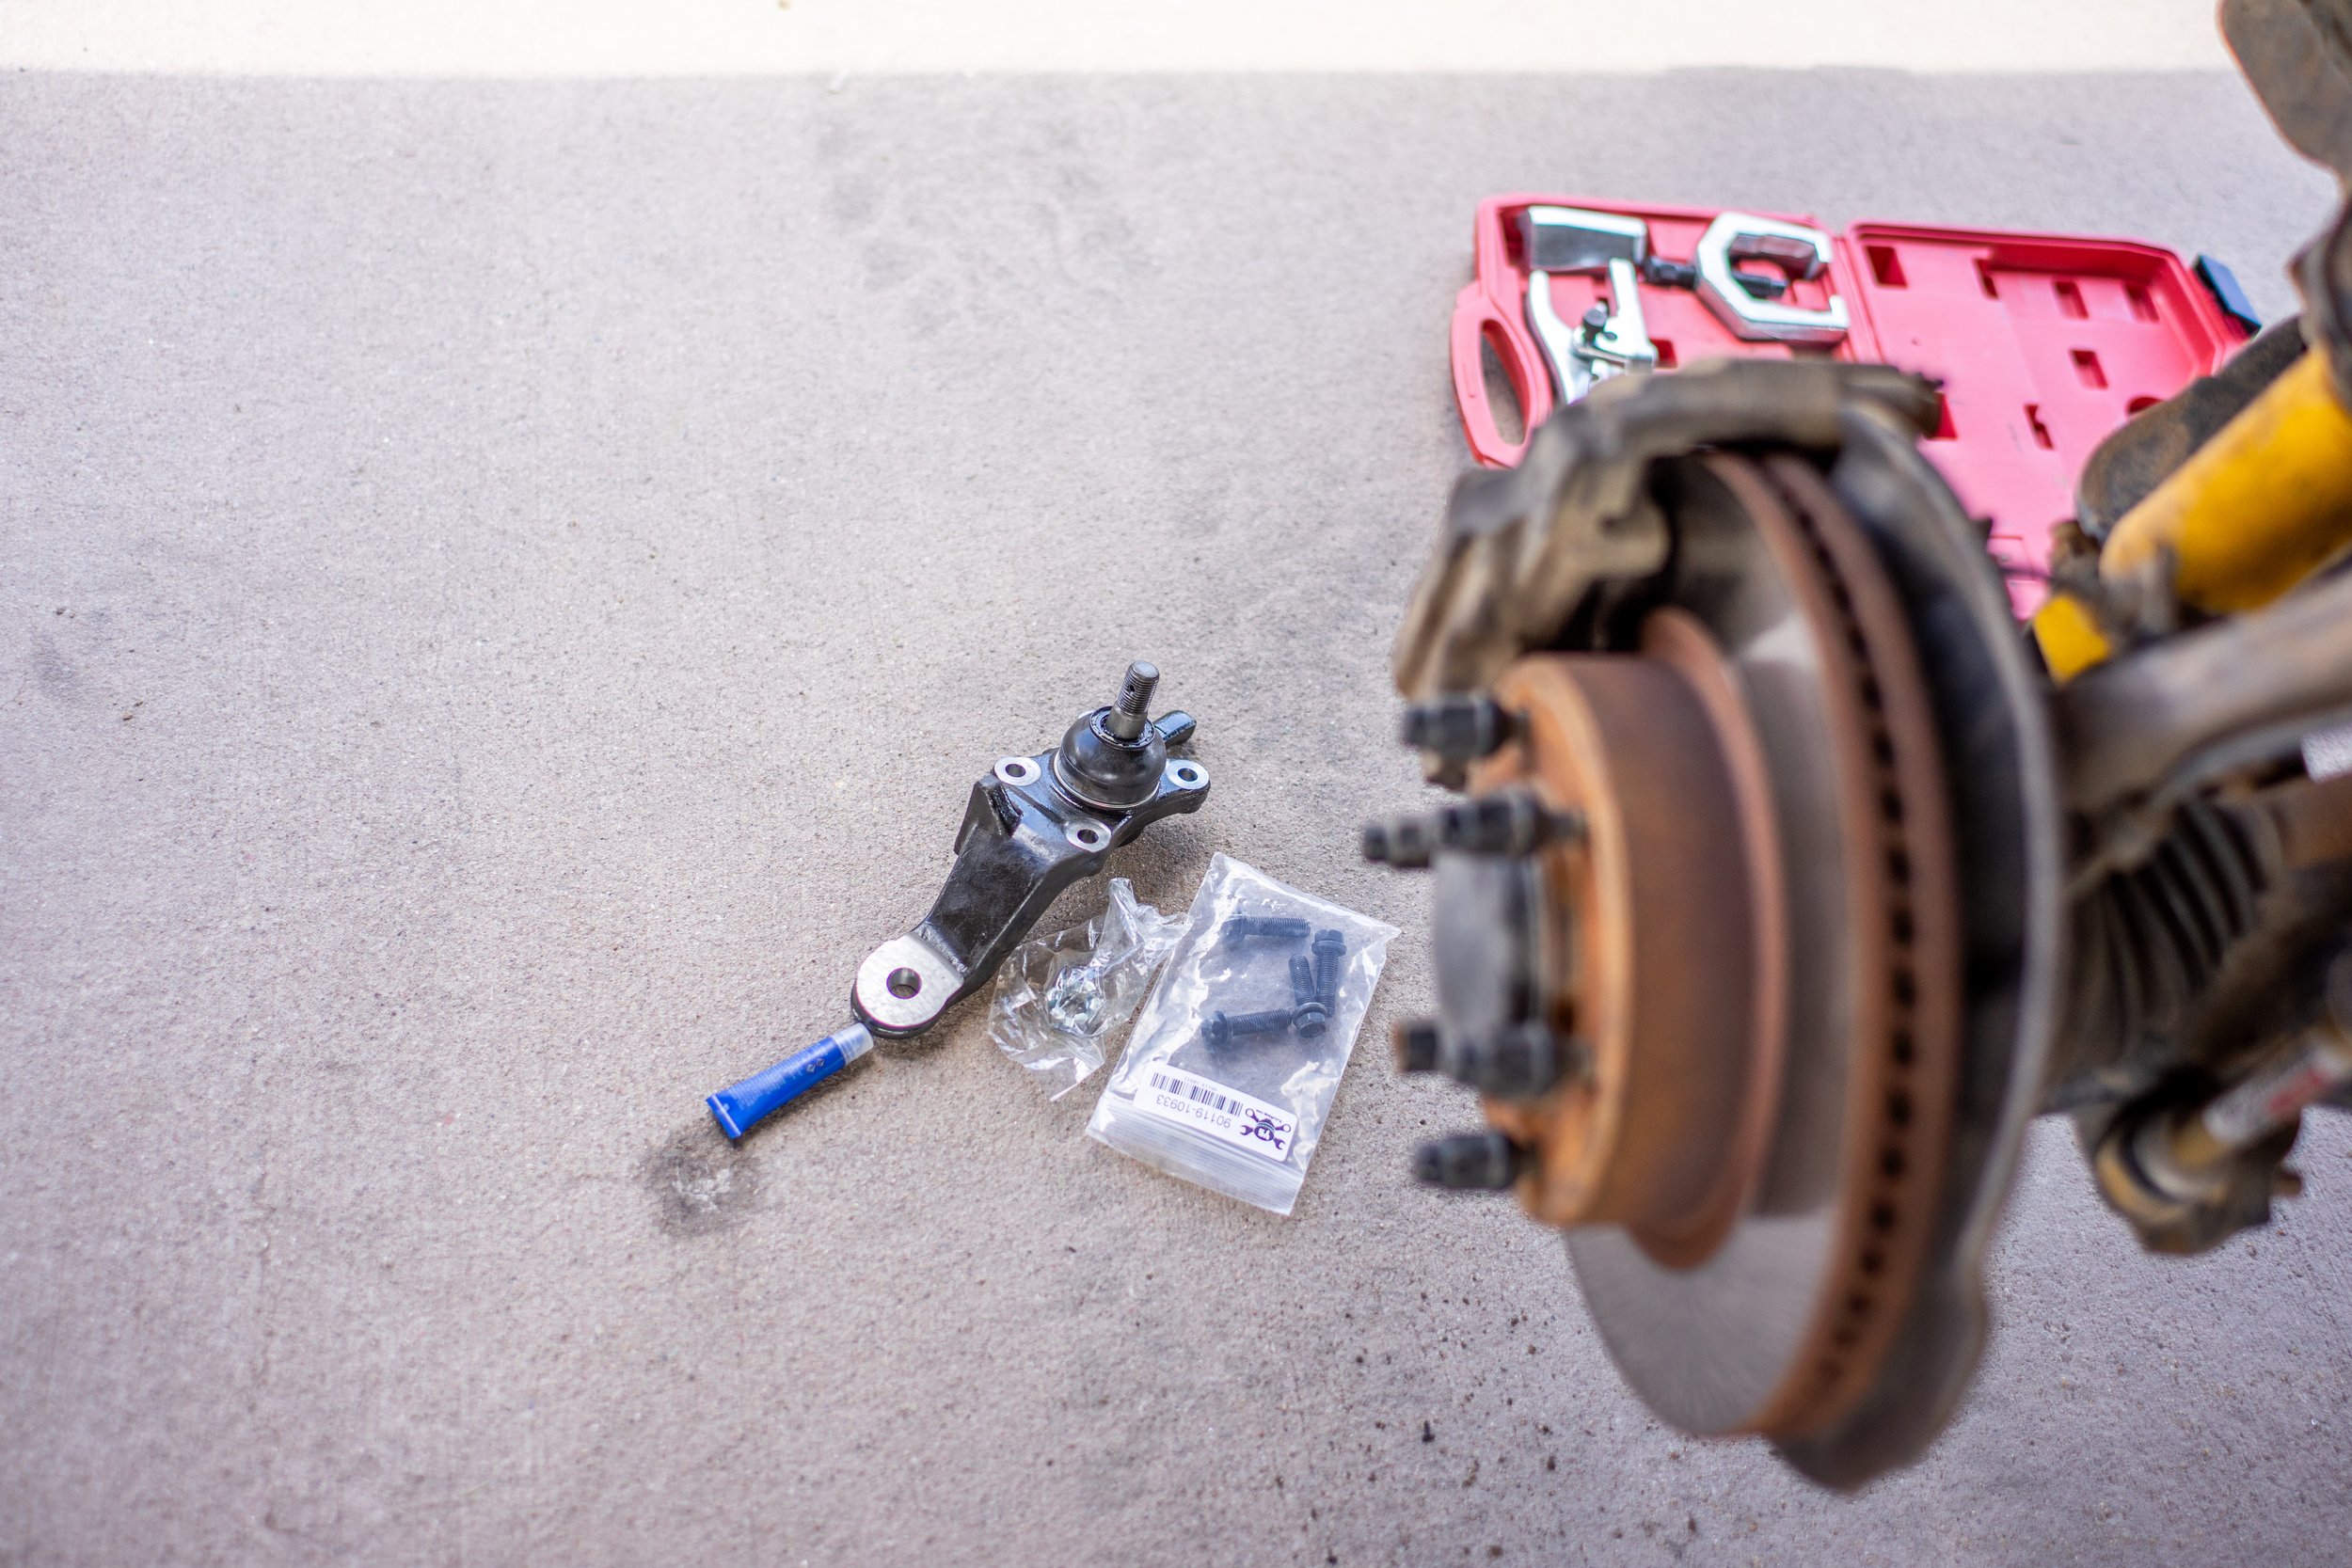
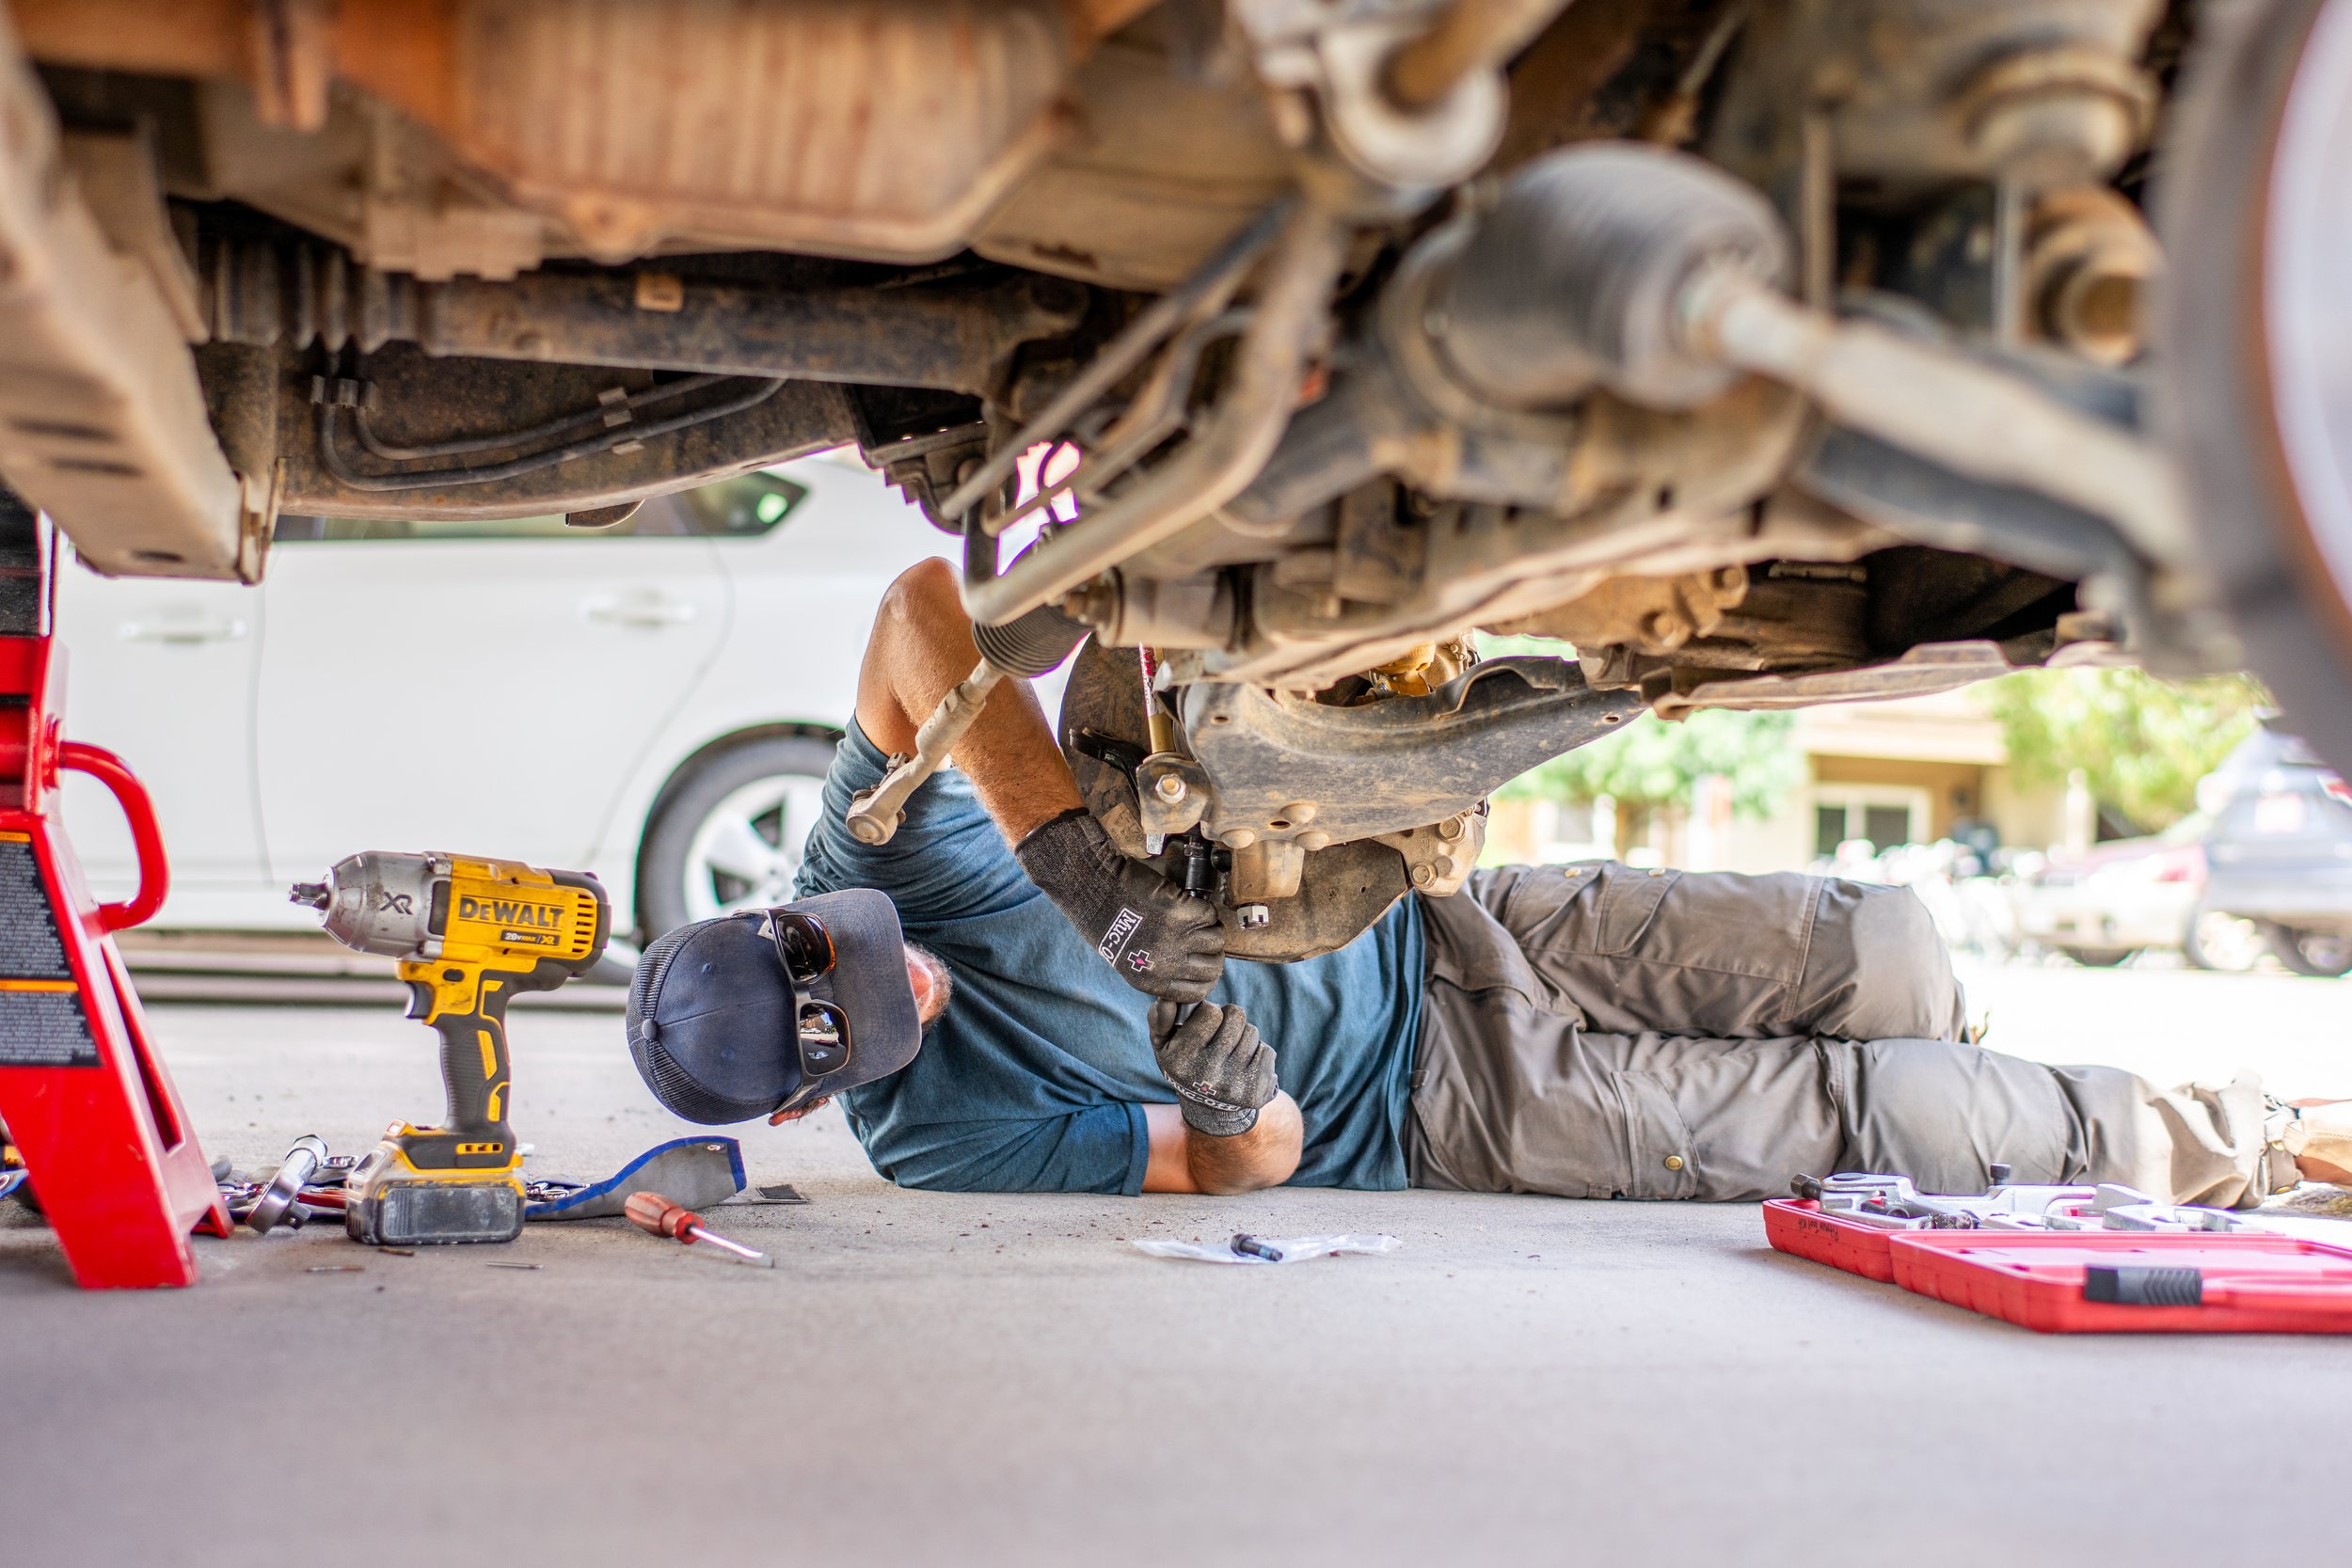
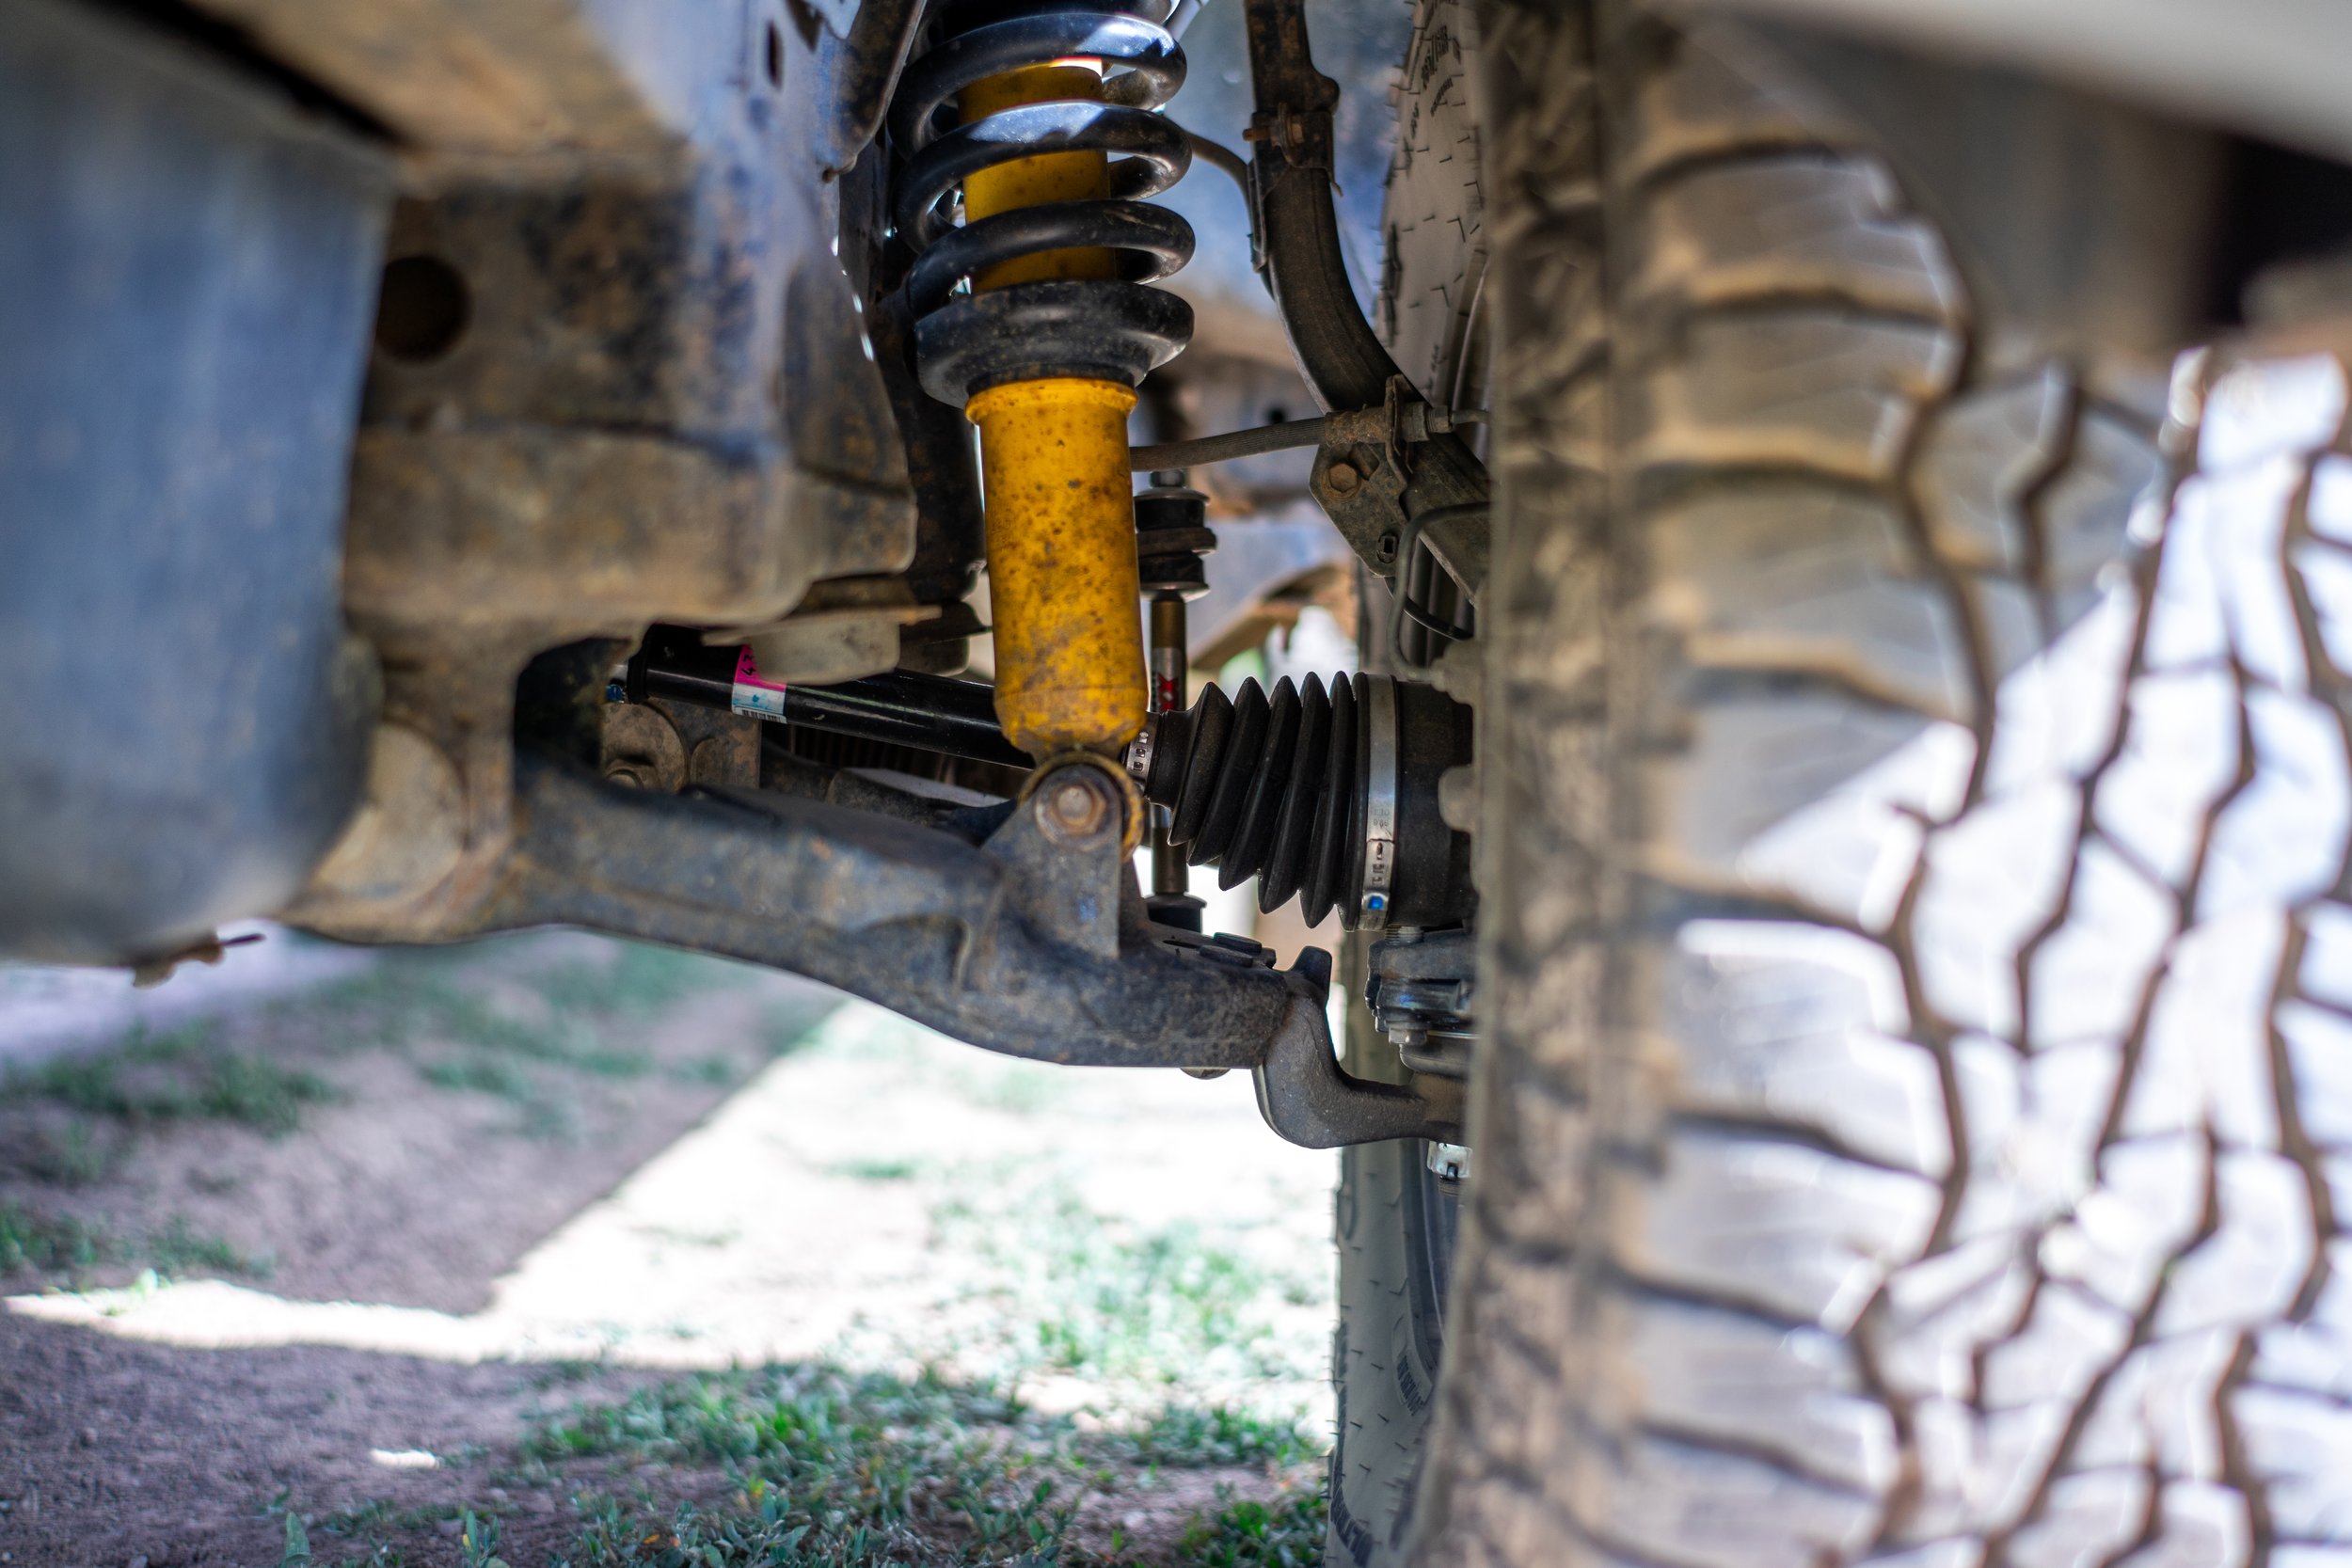
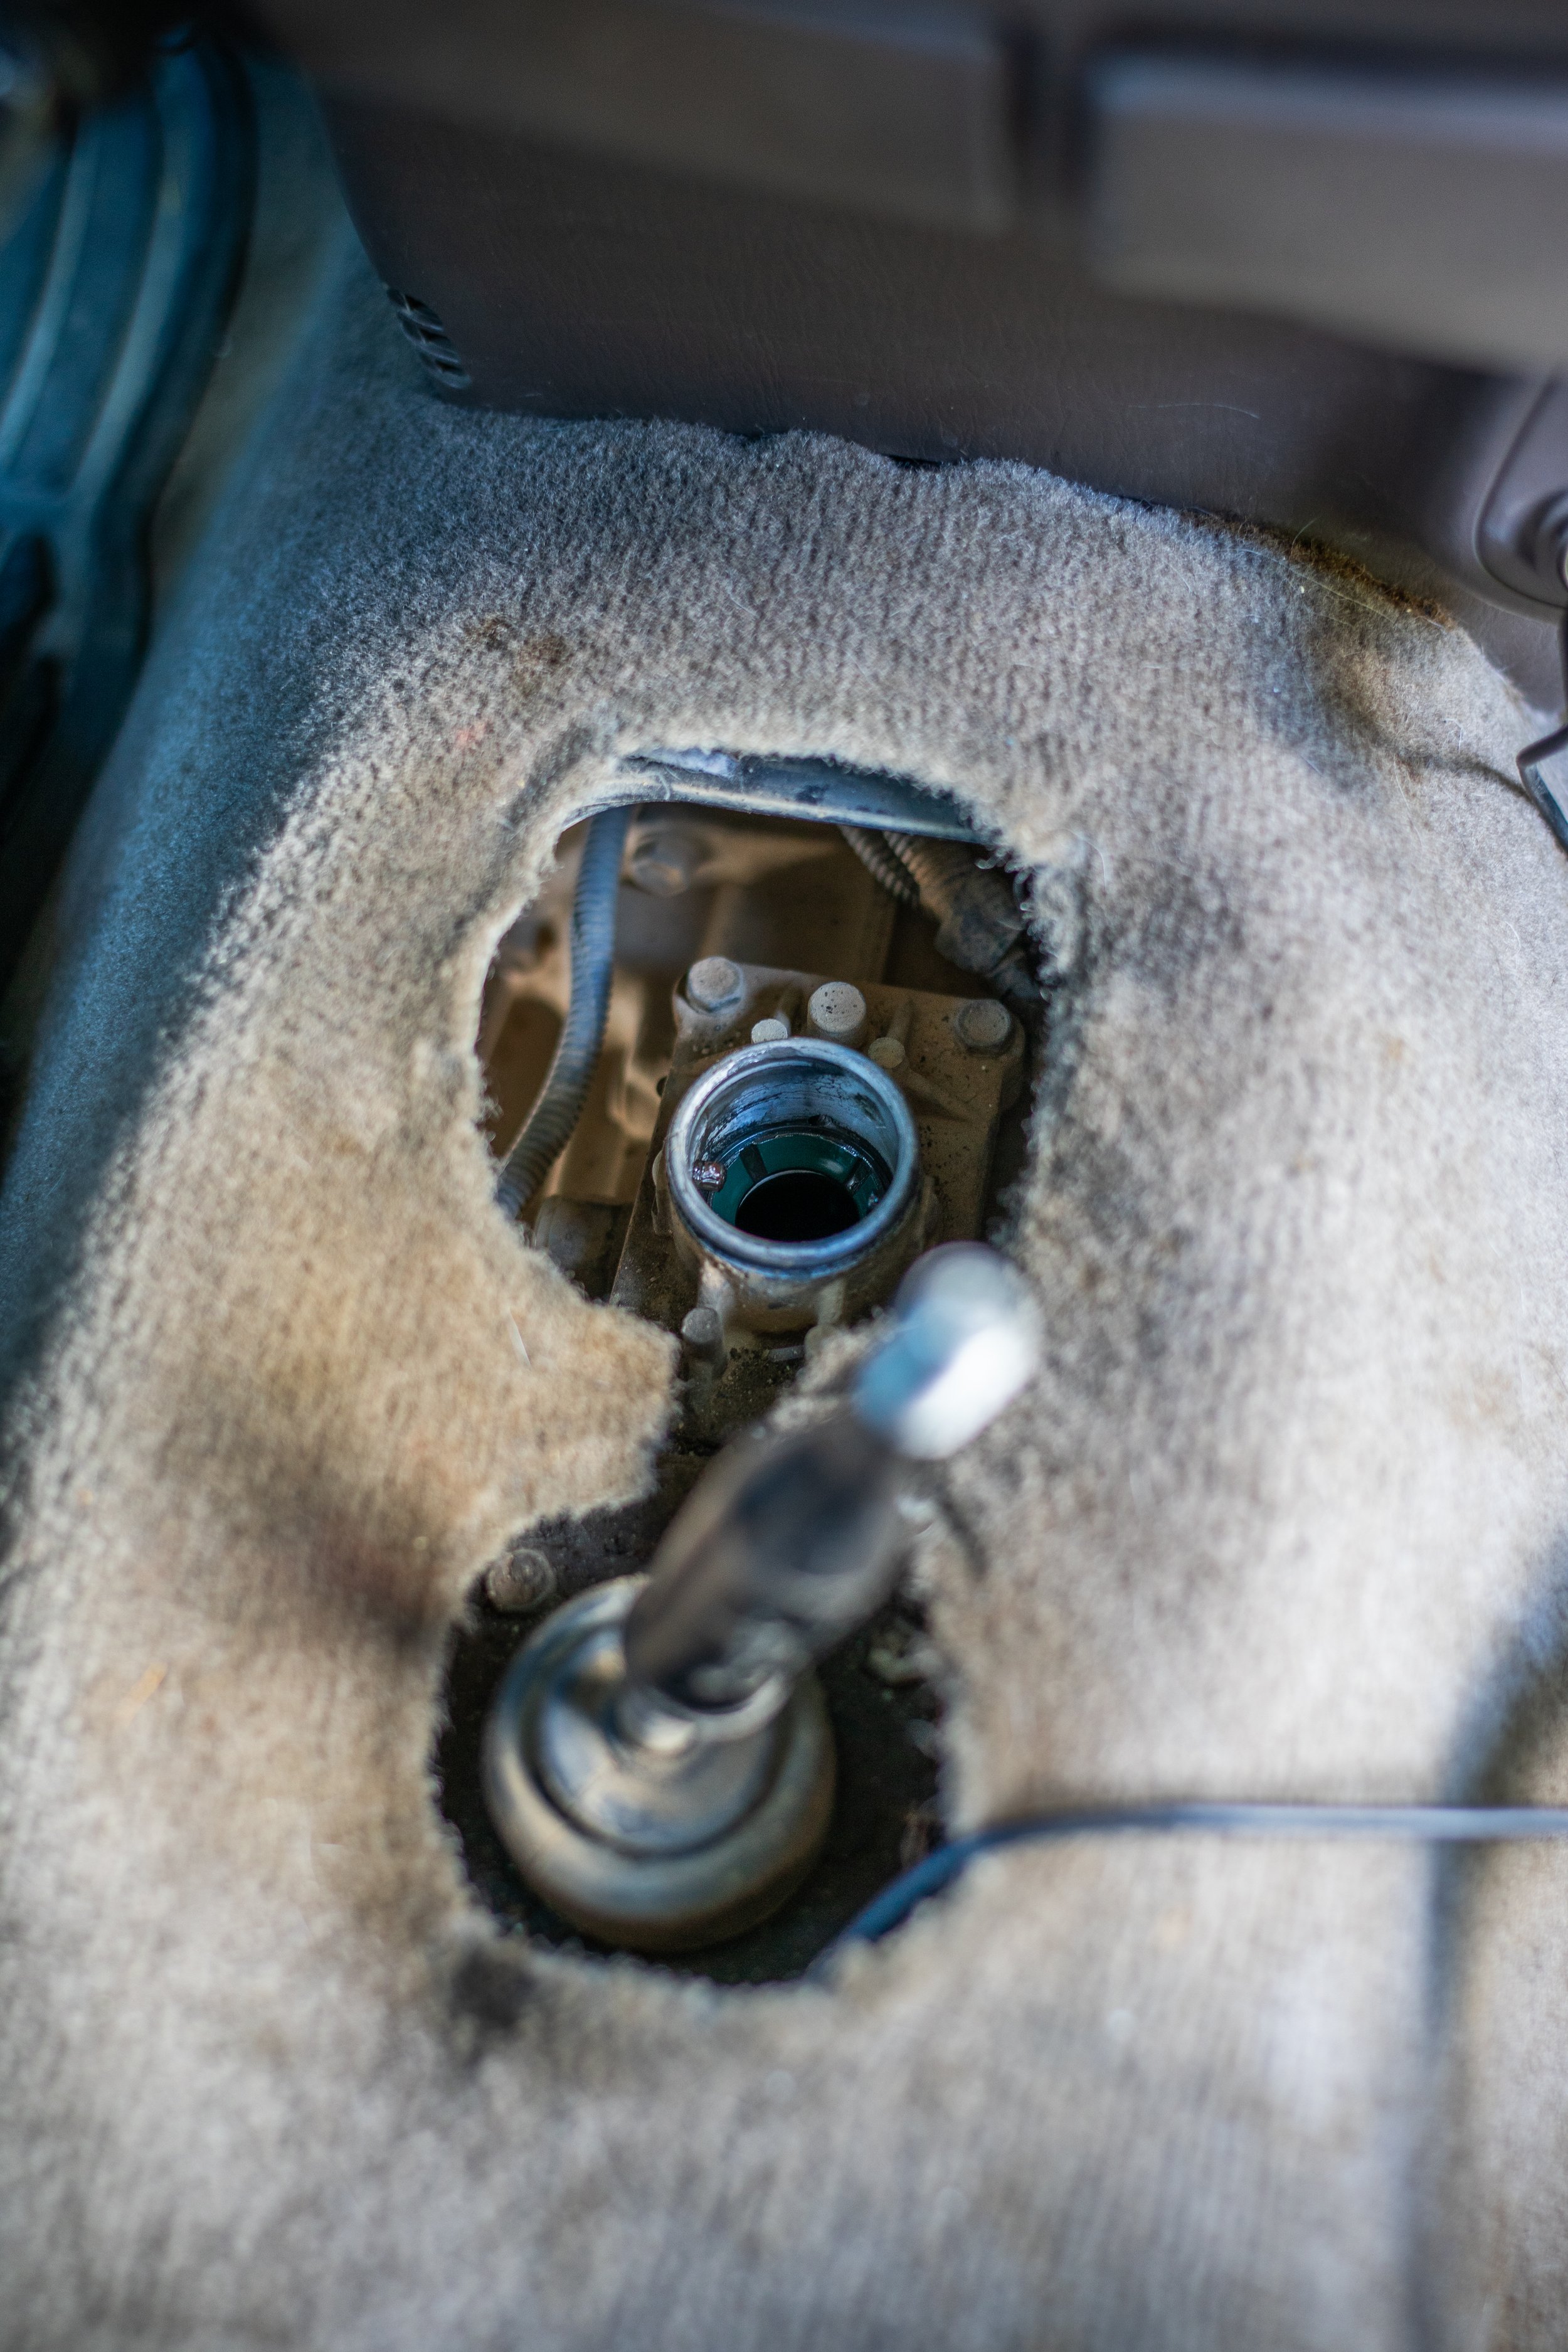
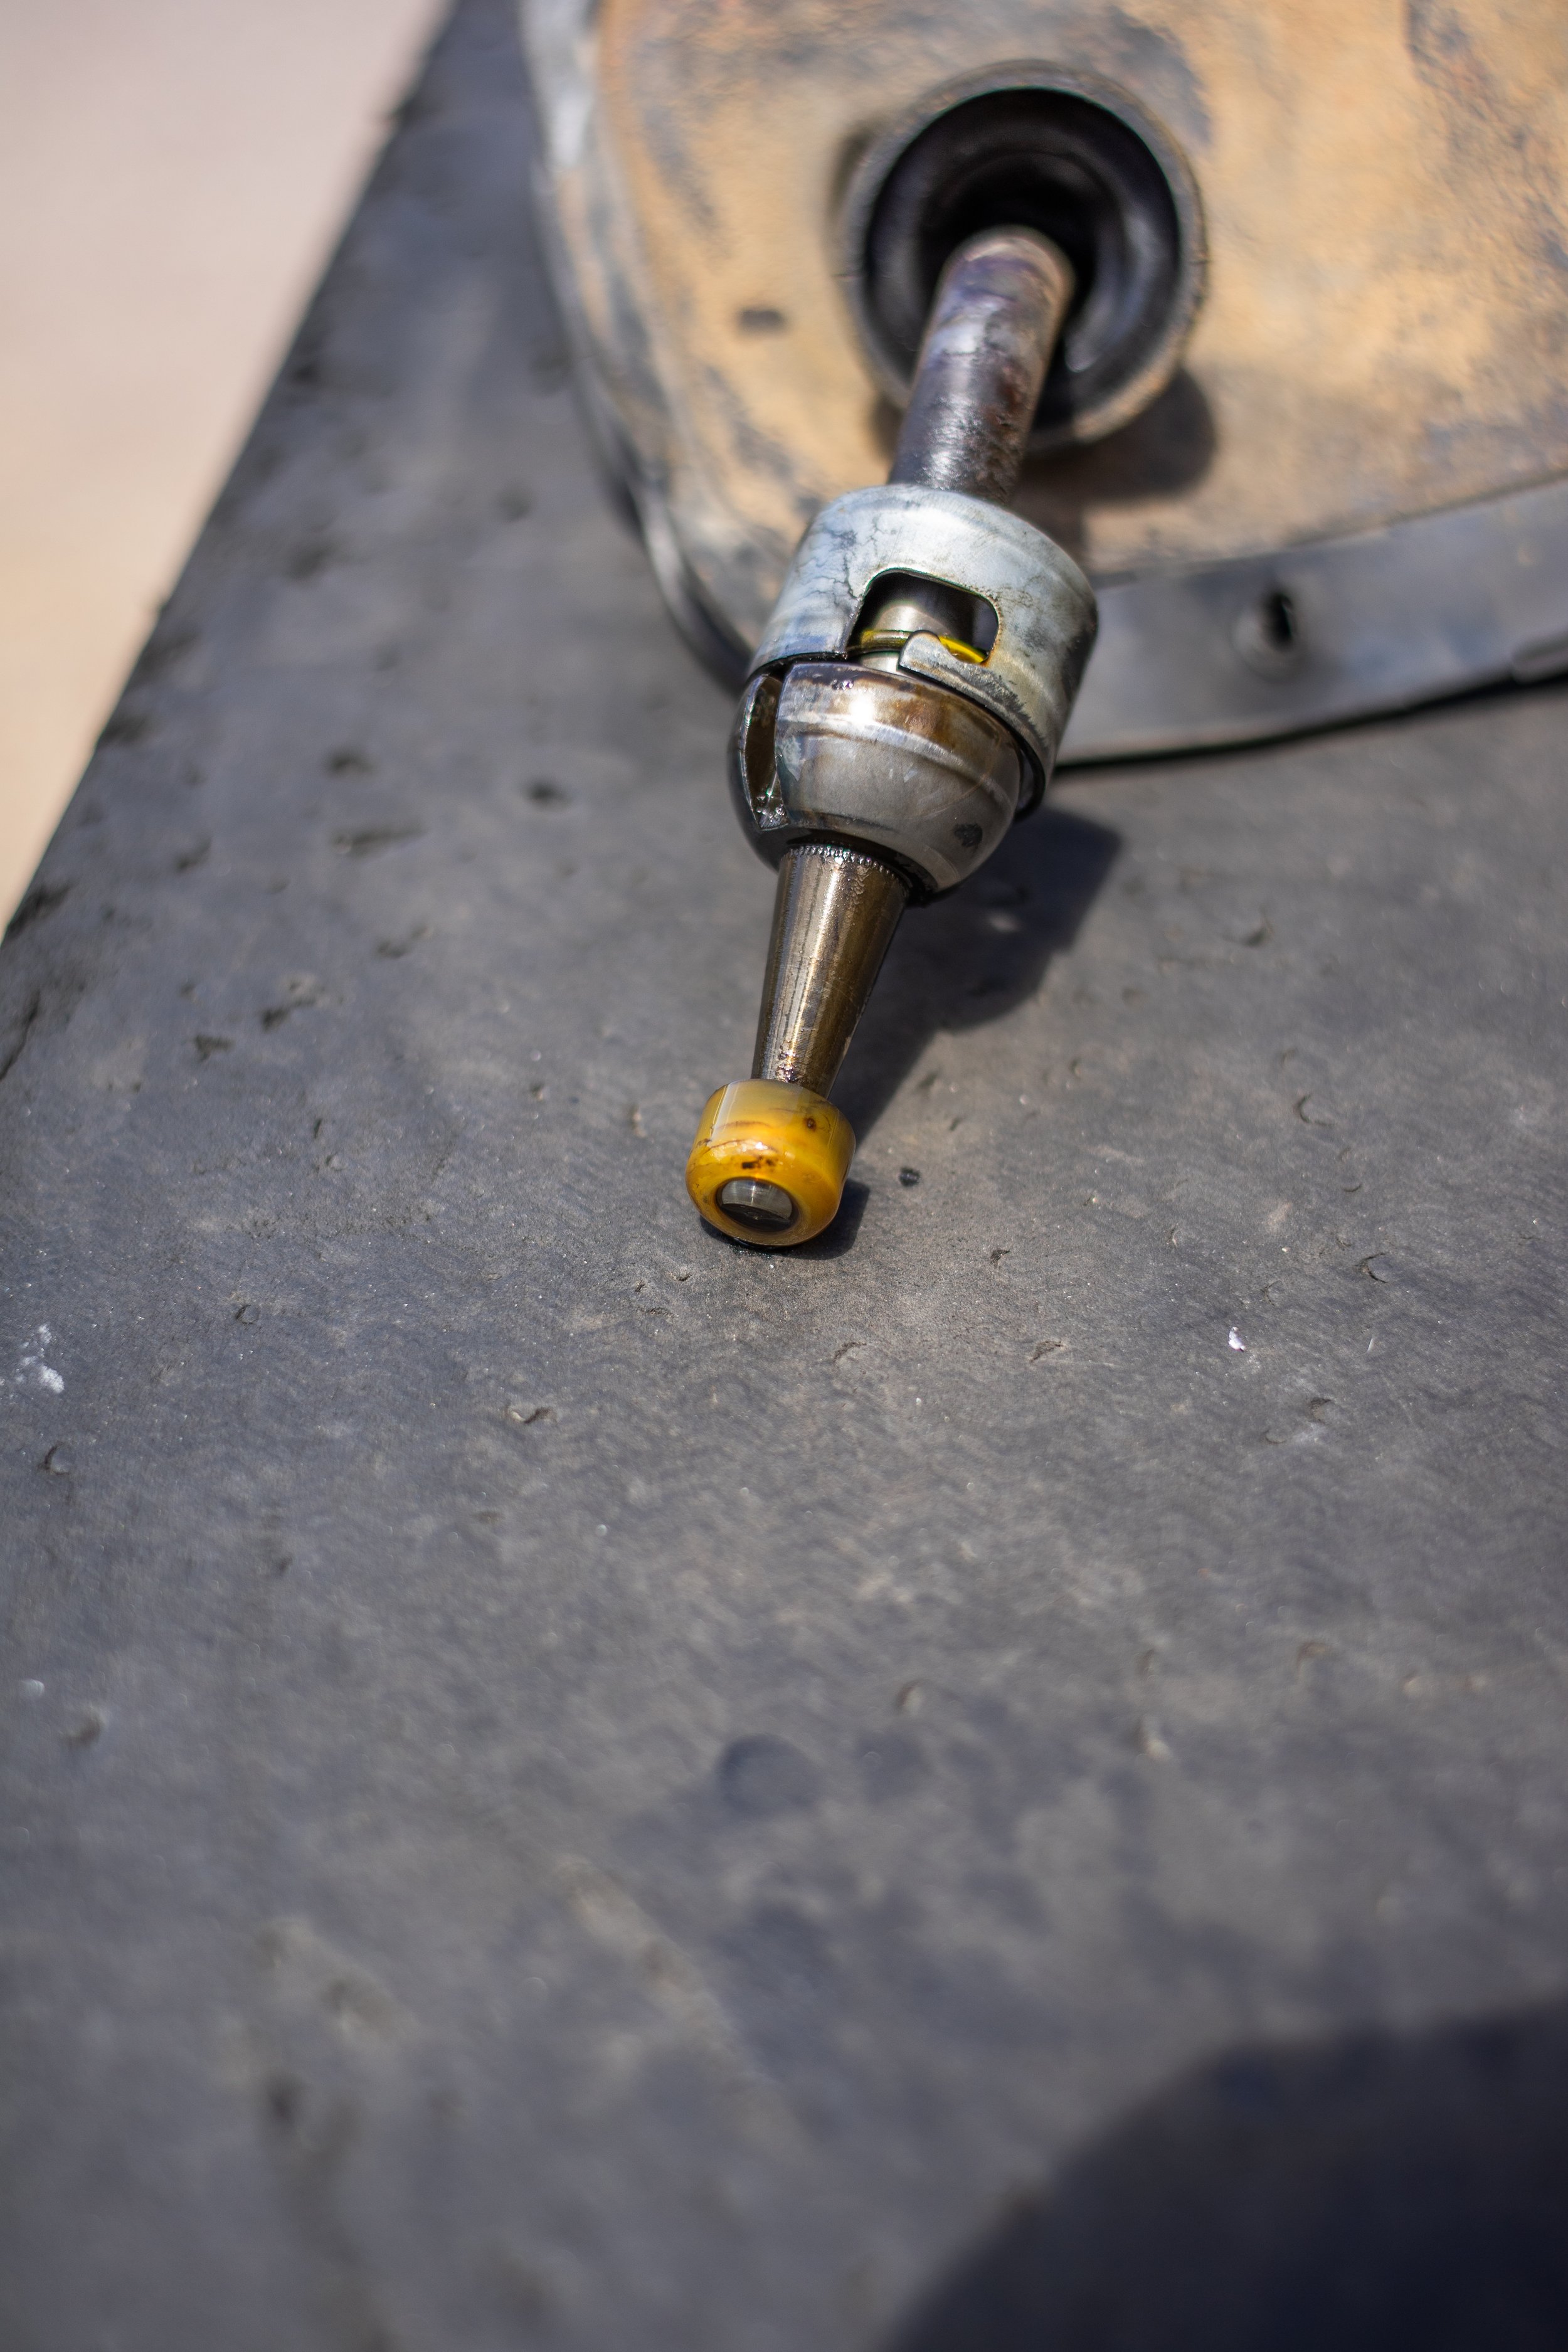
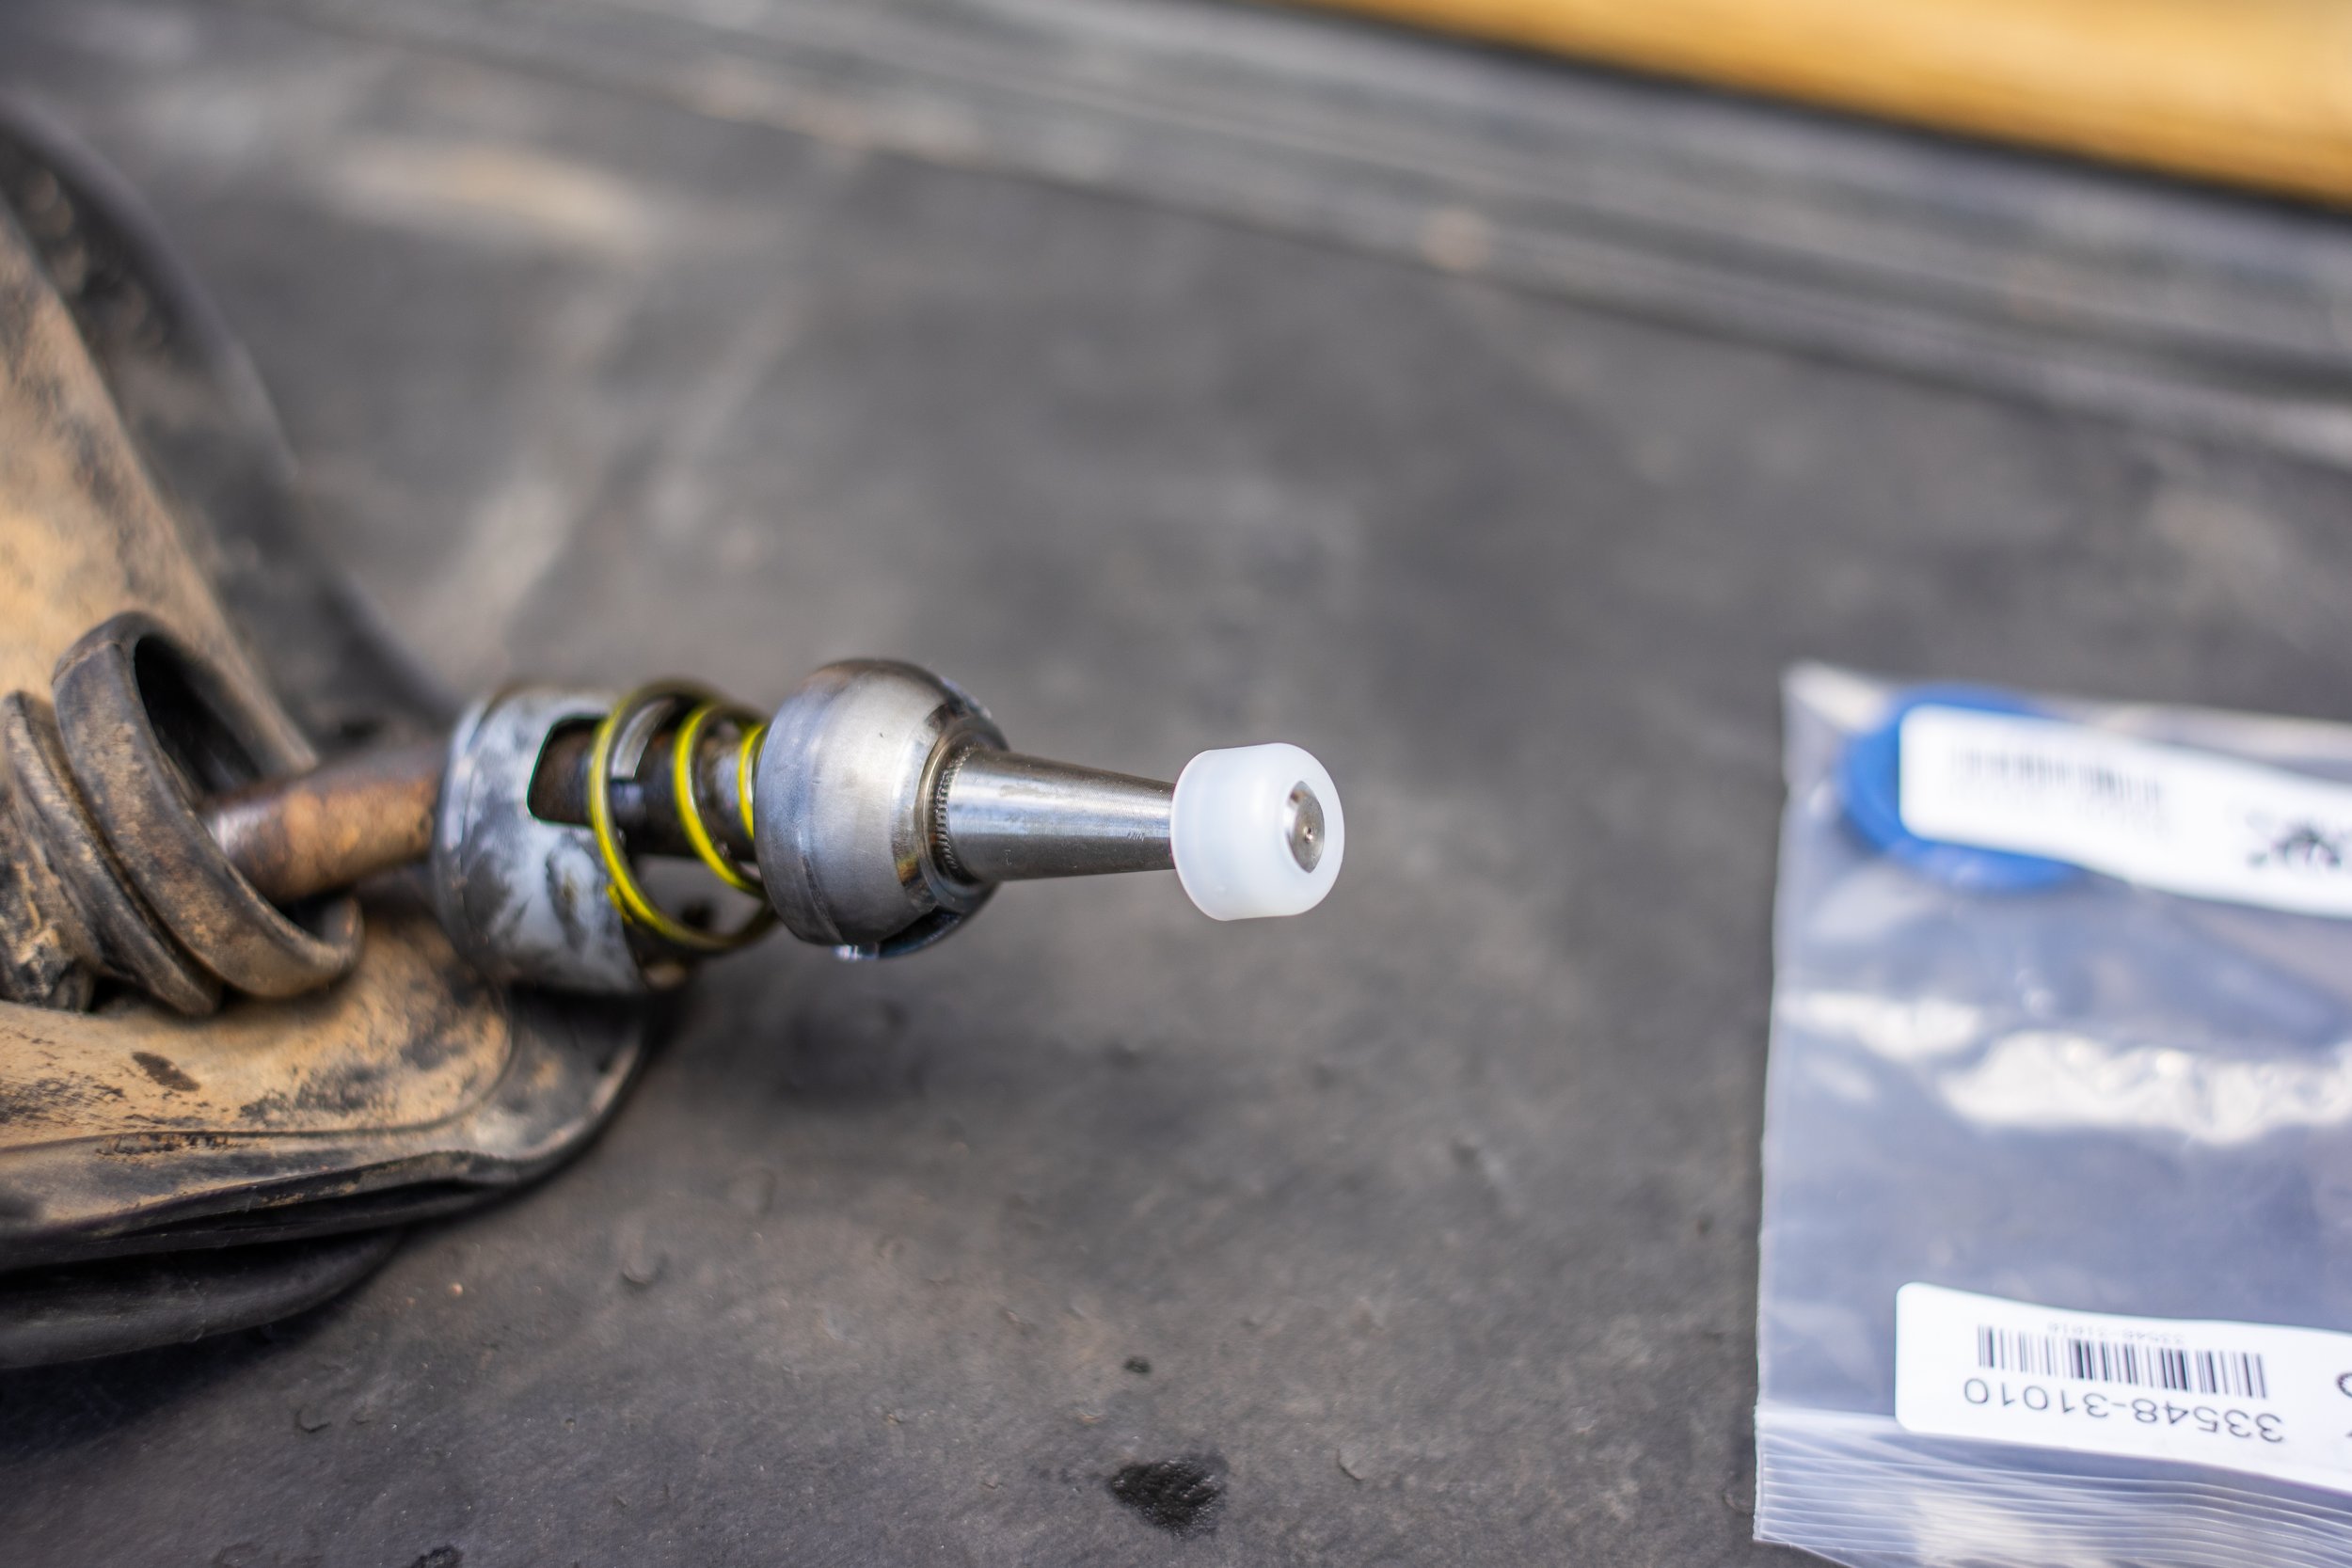
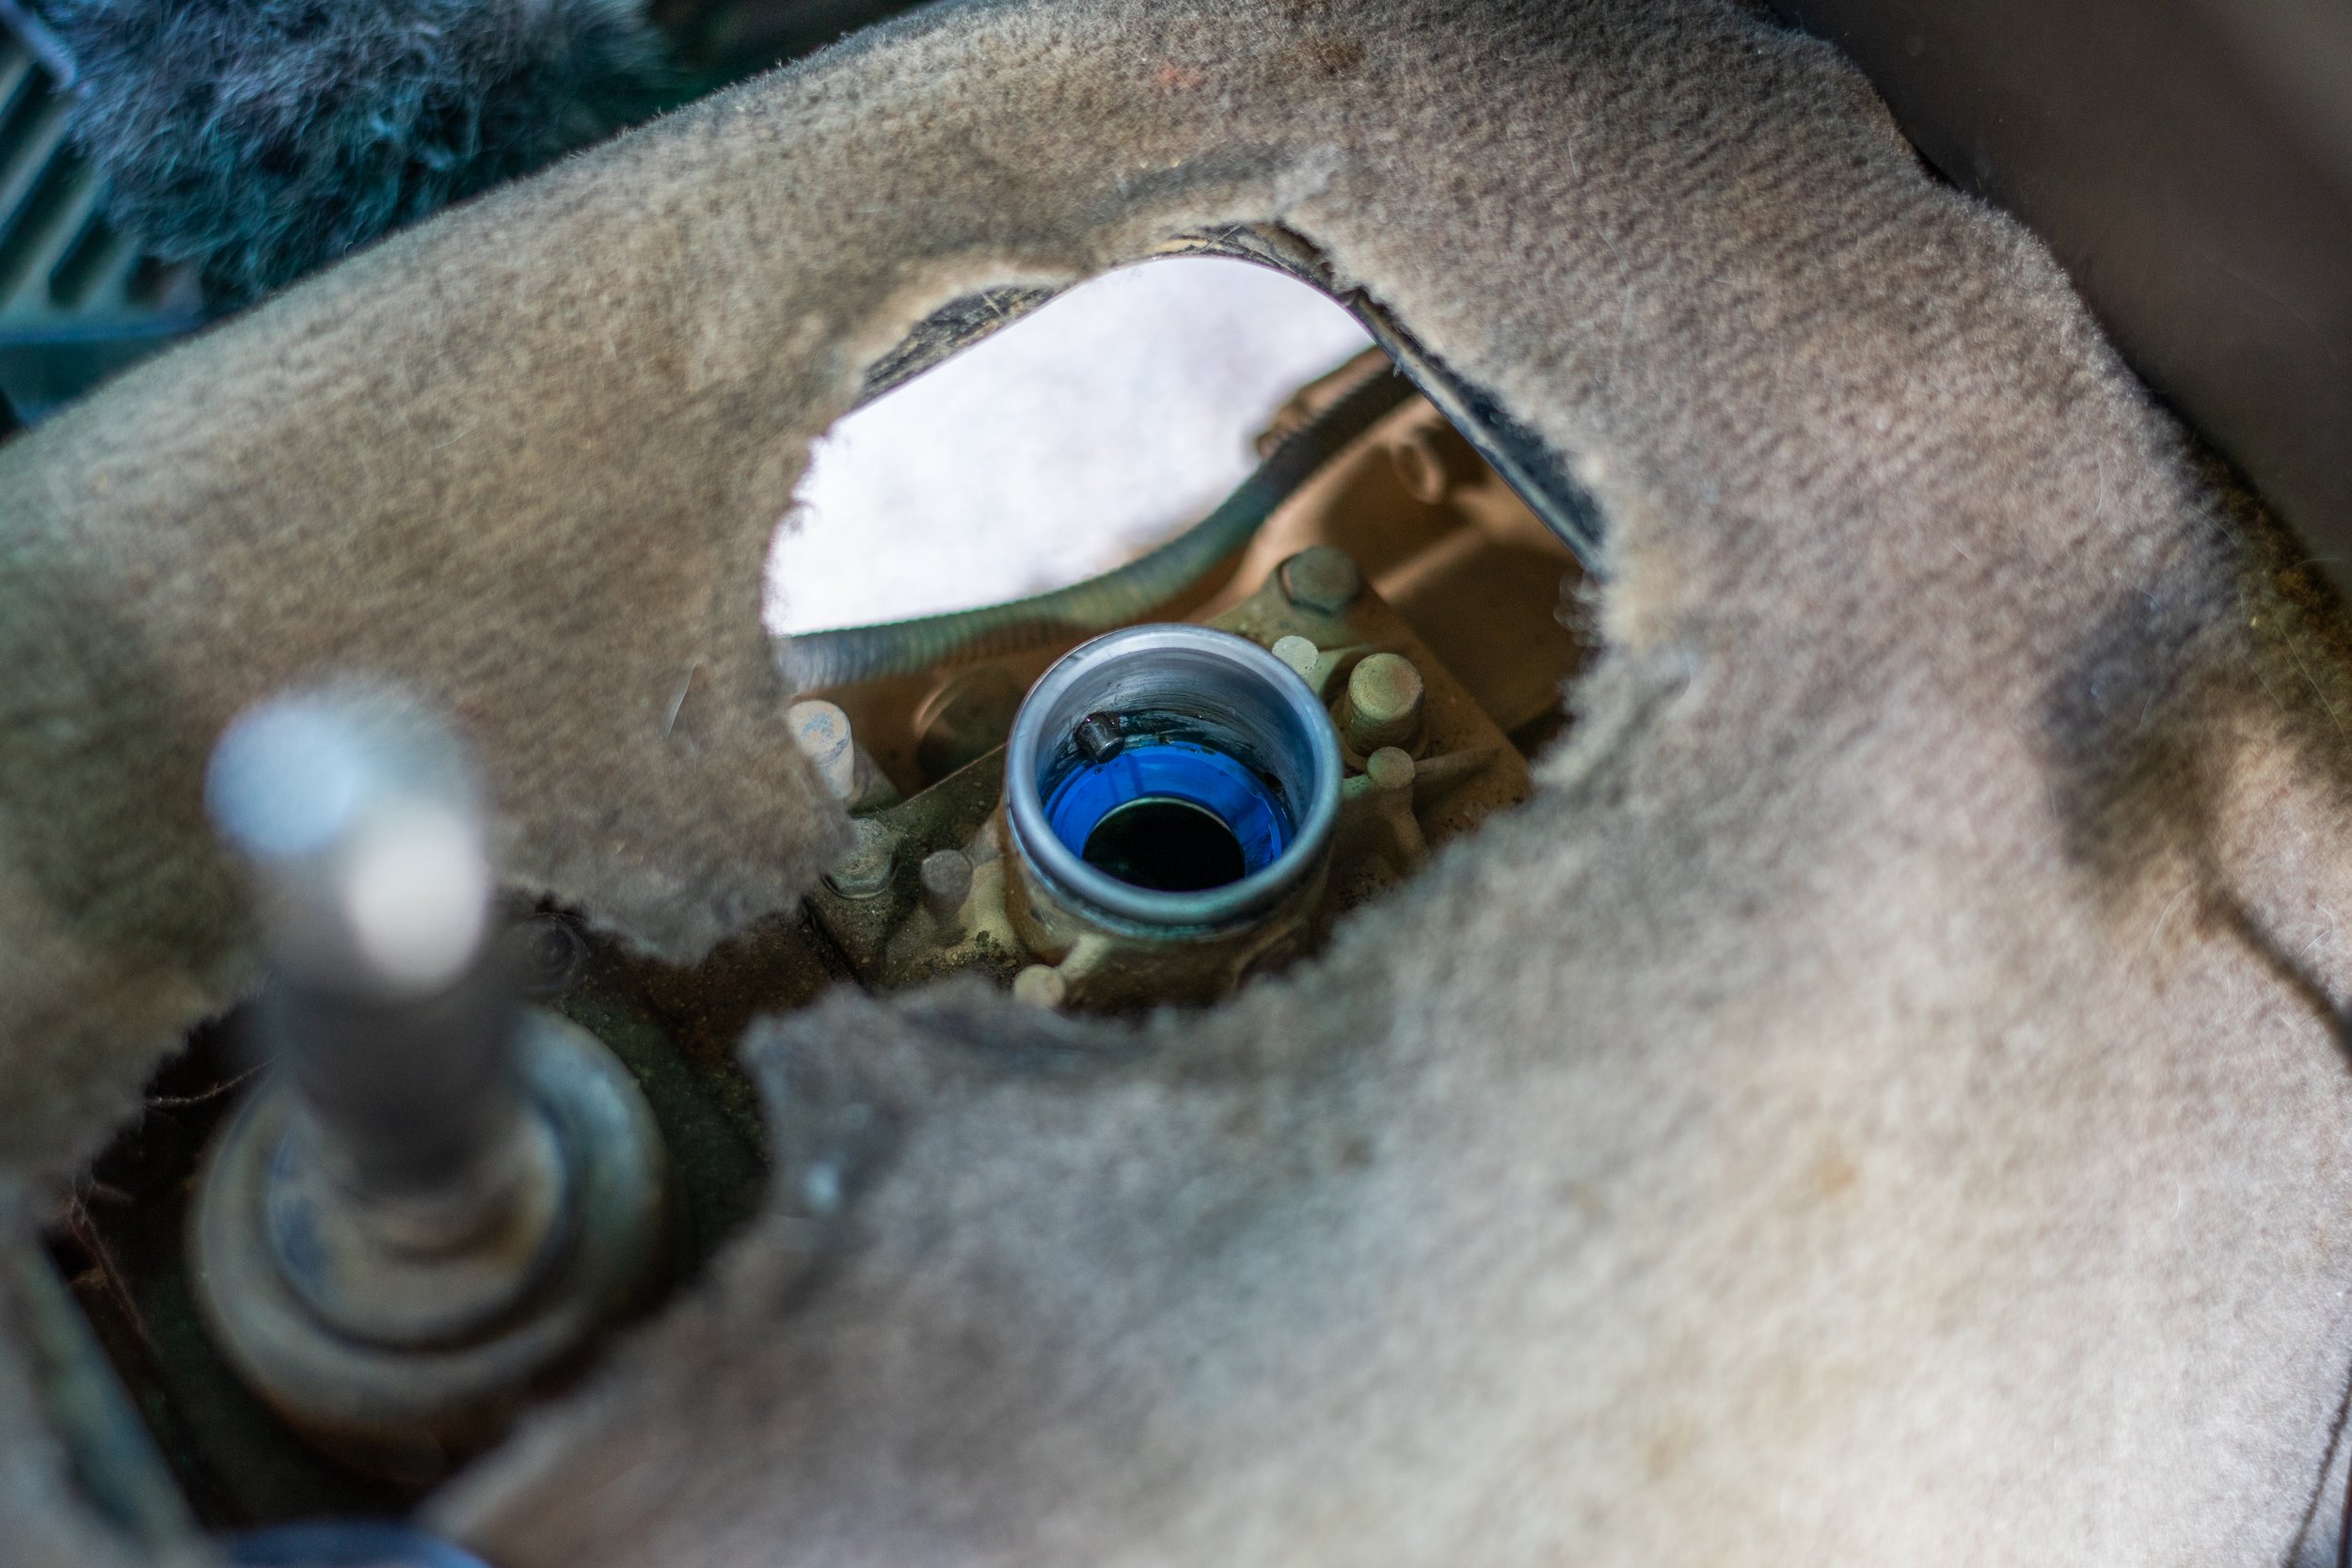
June ‘23, New Lower Ball Joints, Lower Shock Bushings, CV Axels, and Wheel Bearings.

I handled the first half of this project at home, replacing the lower shock bushing, and lower ball joints. But handed Dolores over to the pros for the second half to replace our front wheel bearings and CV axels, all with genuine Toyota parts.
BCM09728.jpg

BCM09733.jpg

BCM09737.jpg

BCM09740.jpg

BCM09760.jpg

BCM09890.jpg


DirtTrailsWanted

Active member
Nice pictures and updates! I've learned there are many projects I like to tackle... and many I'd rather just have pros do.
With a fast charging outlet, any issues with melting wires?
I can relate to that!
No signs of heat or damage to them, the fast chargers are on 14 gauge maire duplex wires that should be more than capable of handling the 65watt load through them. Some will say it is significant overkill but the only downside is the price, an upside would be that gauge is notably safer than the supplied 18 gauge against heat, shorting, and also less voltage drop across the wire run.
 

DirtTrailsWanted

Active member
finally got around to writing about our whole remodel in the back of our truck on our blog. Here is a copy of the blog post.

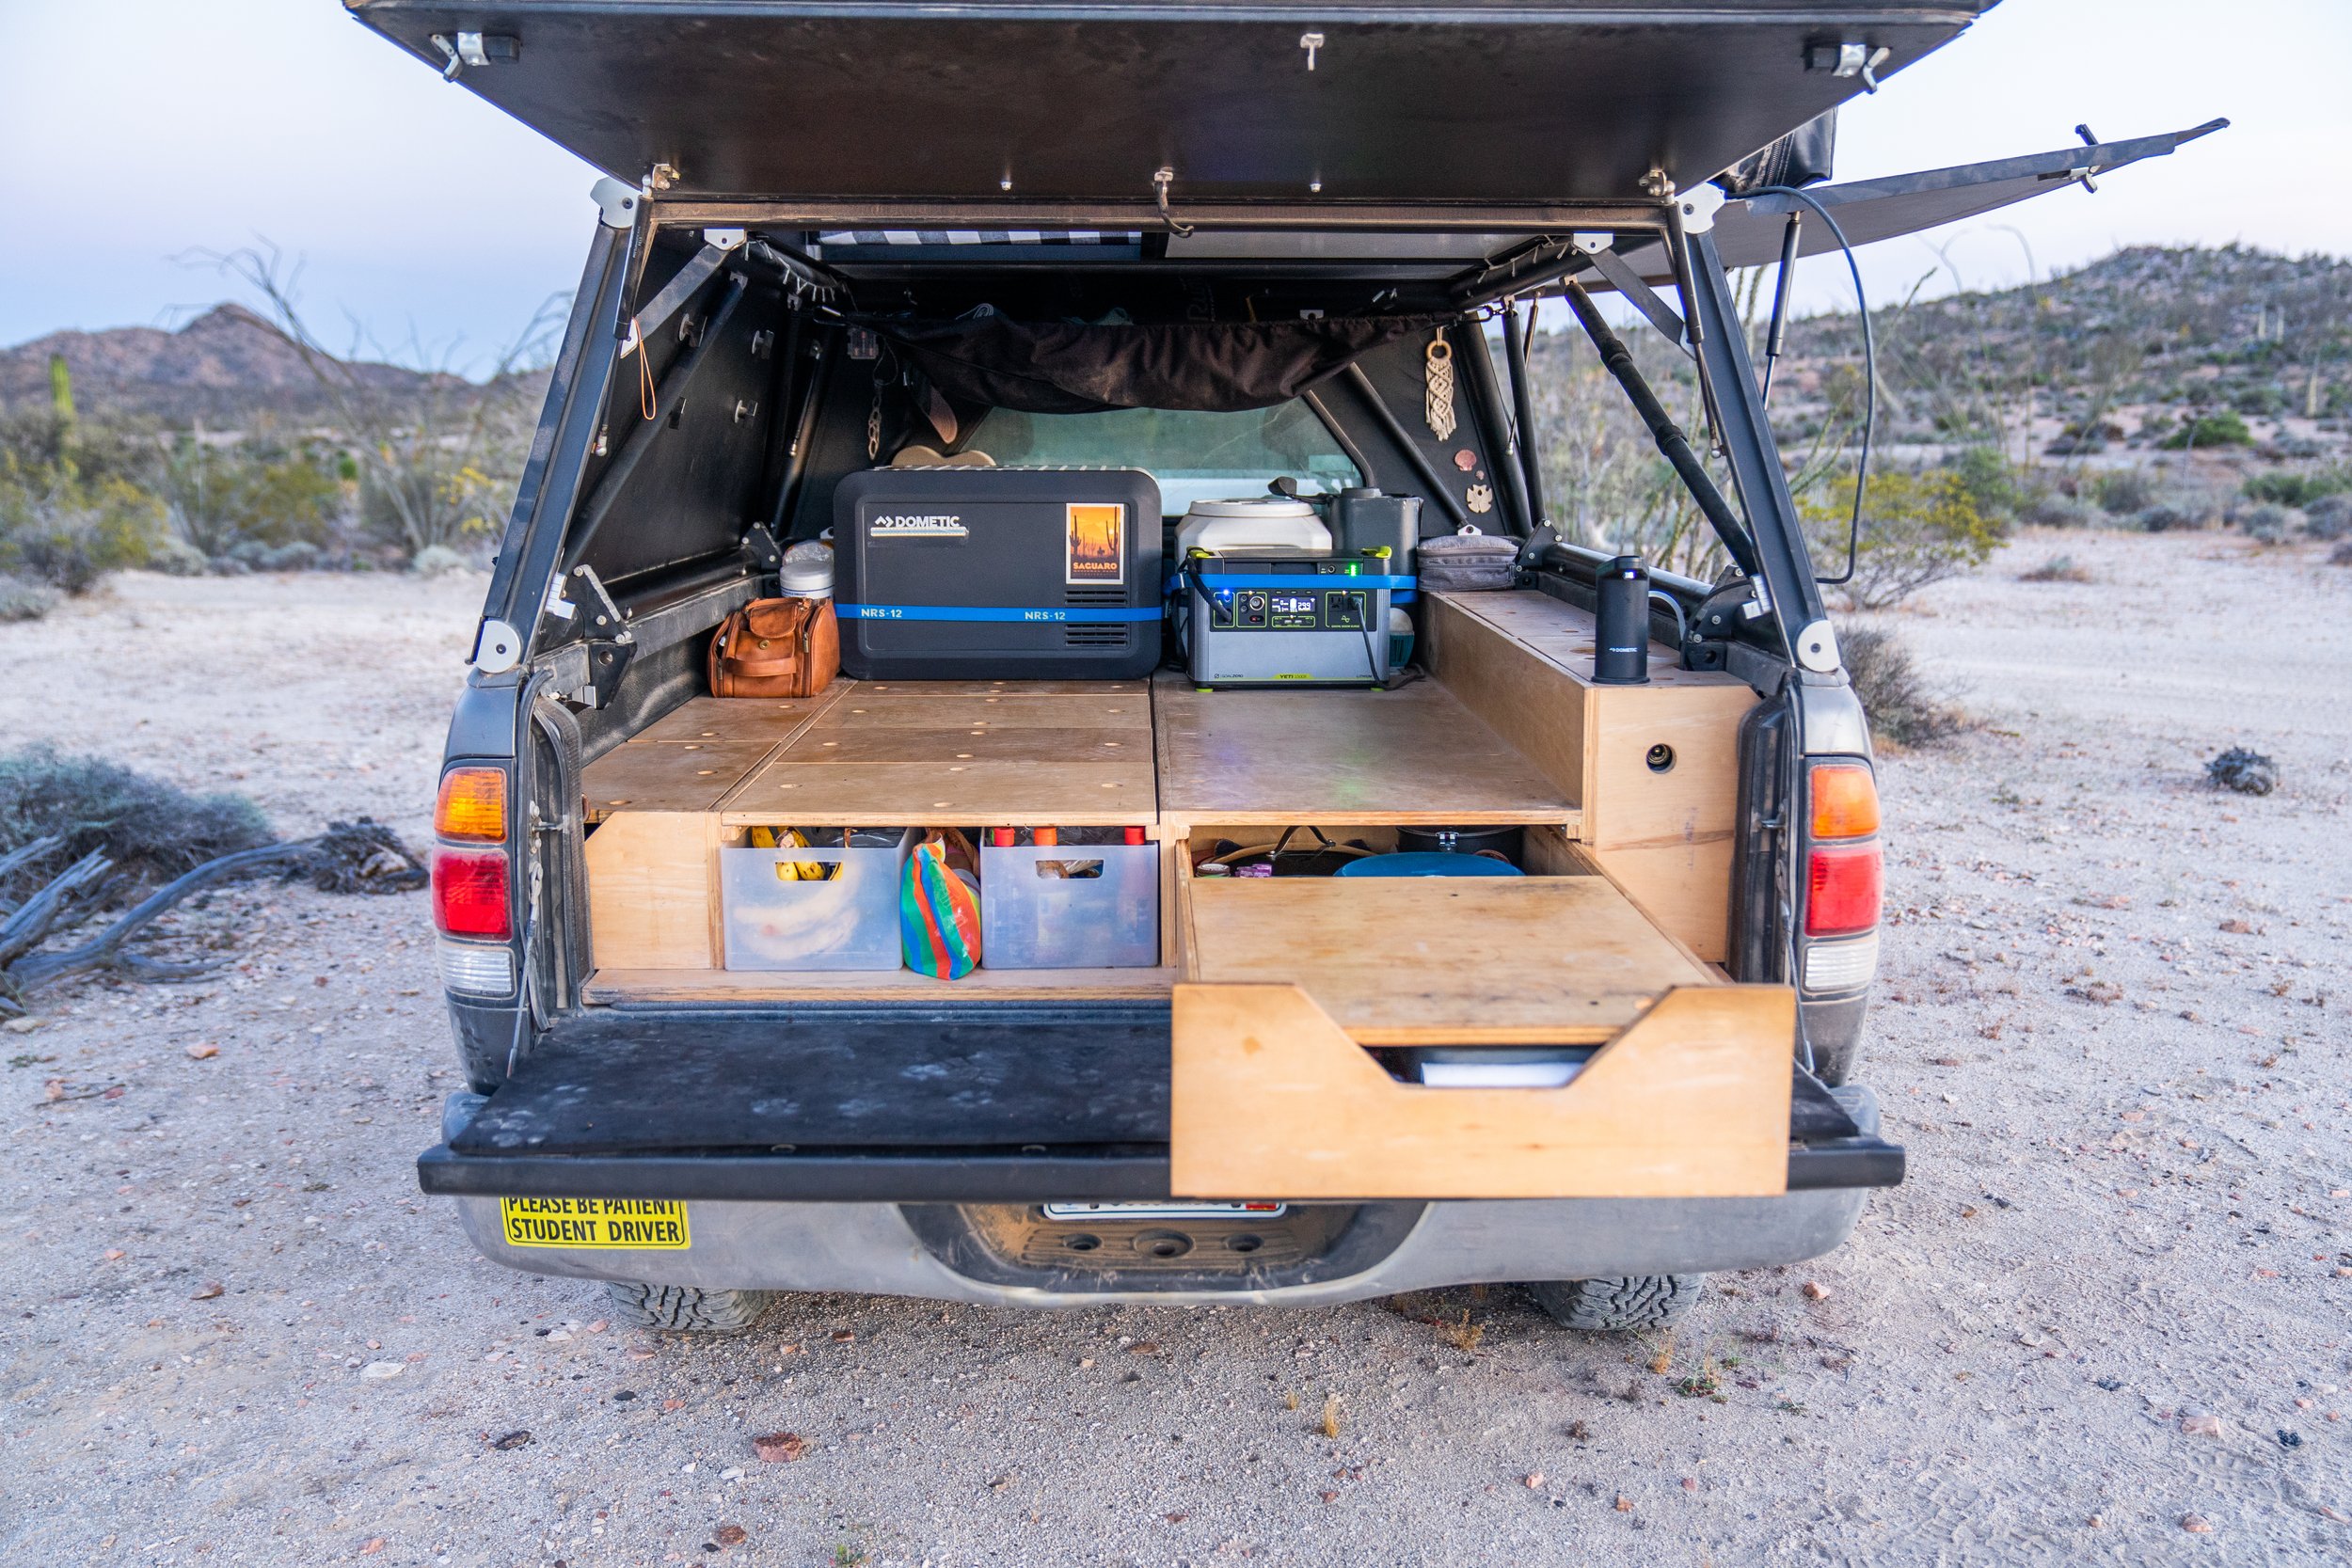
In May of ‘22, we picked up our Go Fast Camper. At that time we already had a platform that we had built in the truck that was originally used when we had a fiberglass topper. We knew we eventually wanted to build a platform but with only a month between when we got the GFC and when we set off for our trip to Alaska and Canada we knew there wasn’t enough time to figure out what changes we wanted to make, so we made do for a while.
BCM07501.jpg

Our Previous build
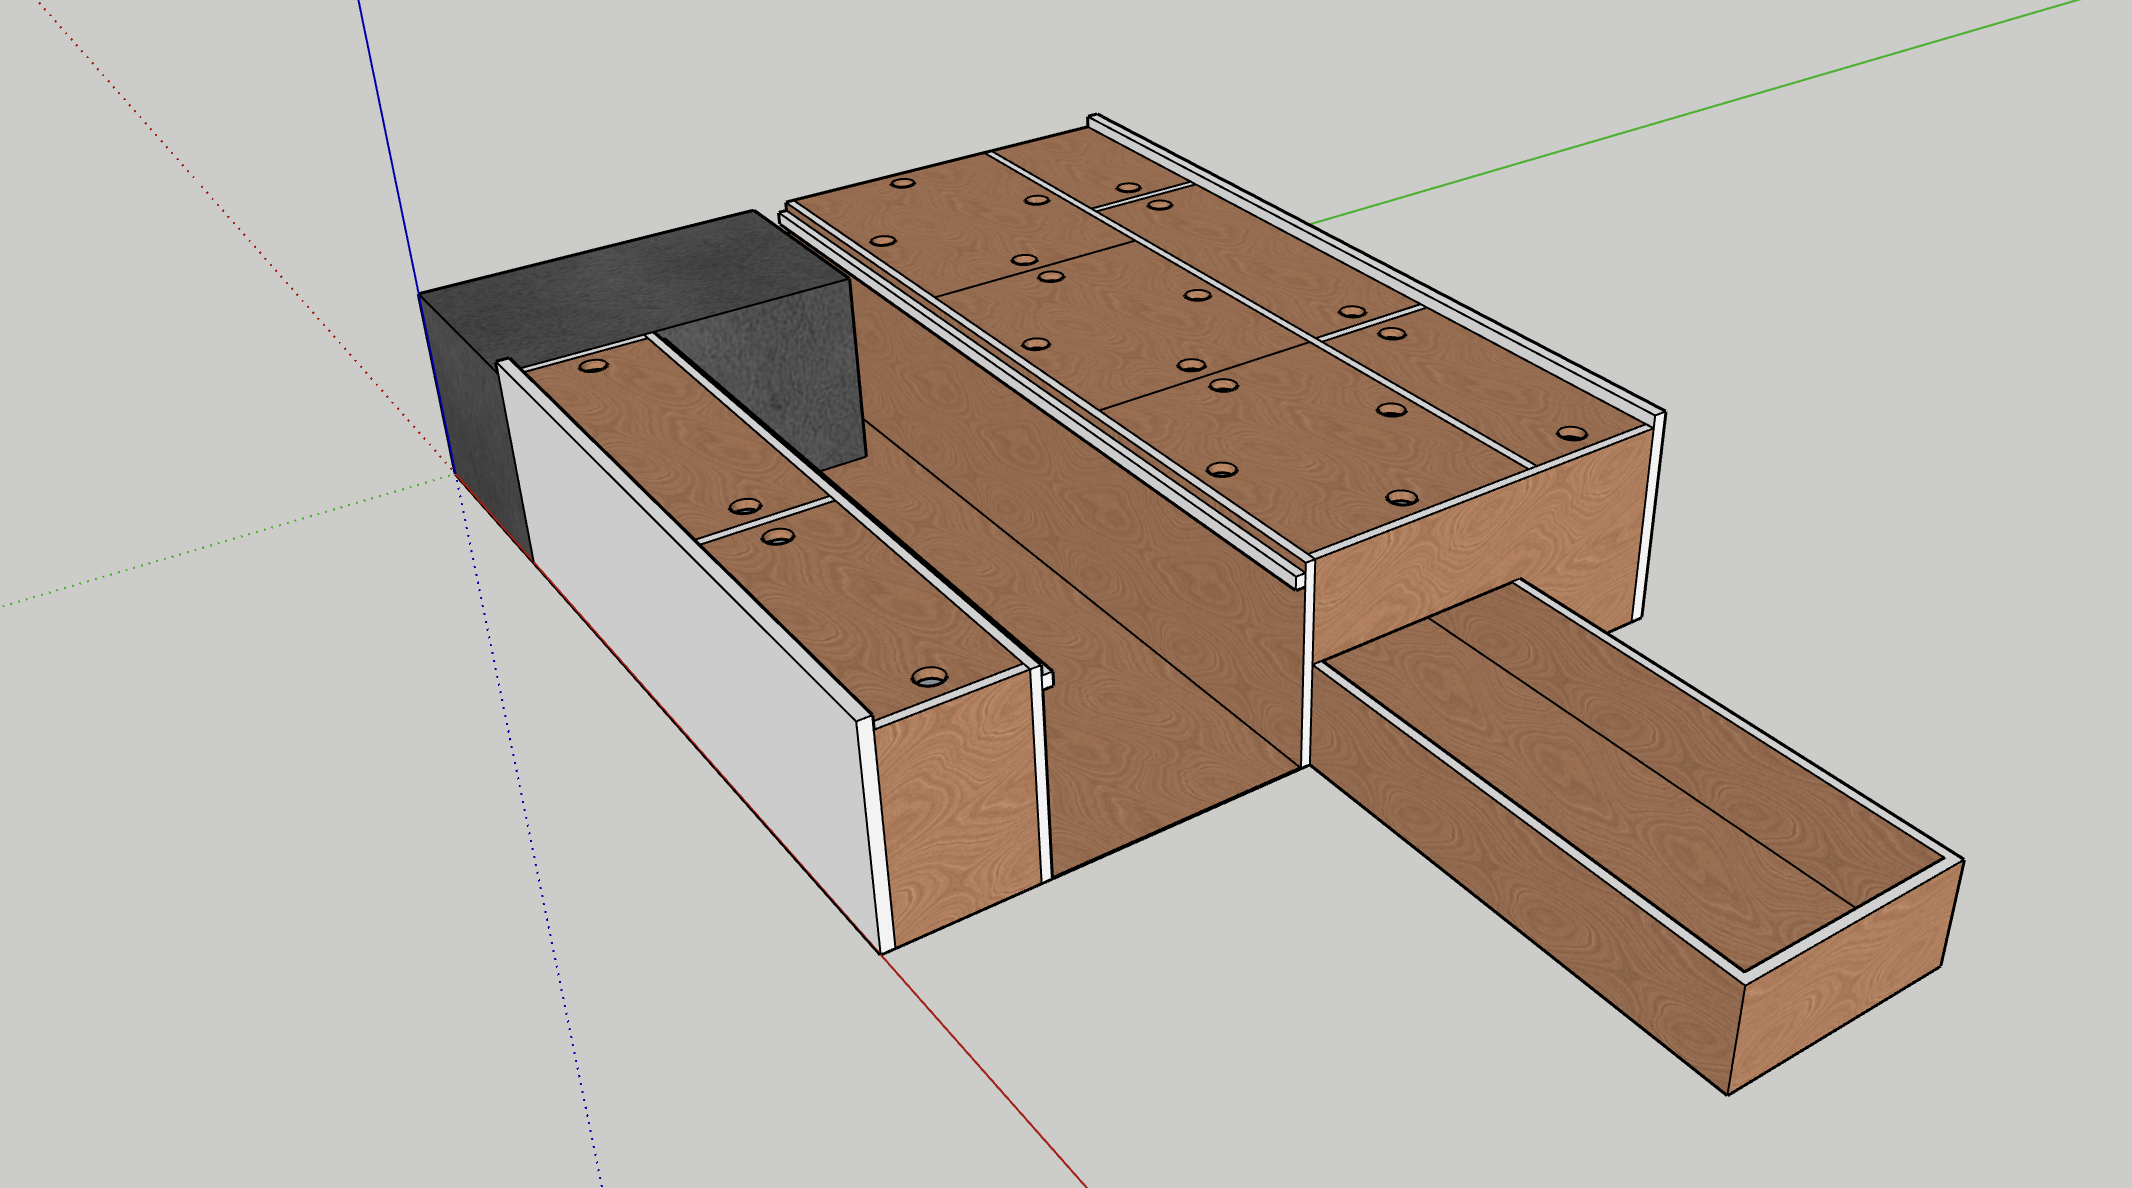
Over the last year, we had spent a lot of time tweaking our previous setup, imagining what changes would benefit us, looking at other people’s builds, asking lots of questions about what was and wasn’t working for us, planning, making 3D models and reworking them, Eventually, we settled on some ideas that we really liked.

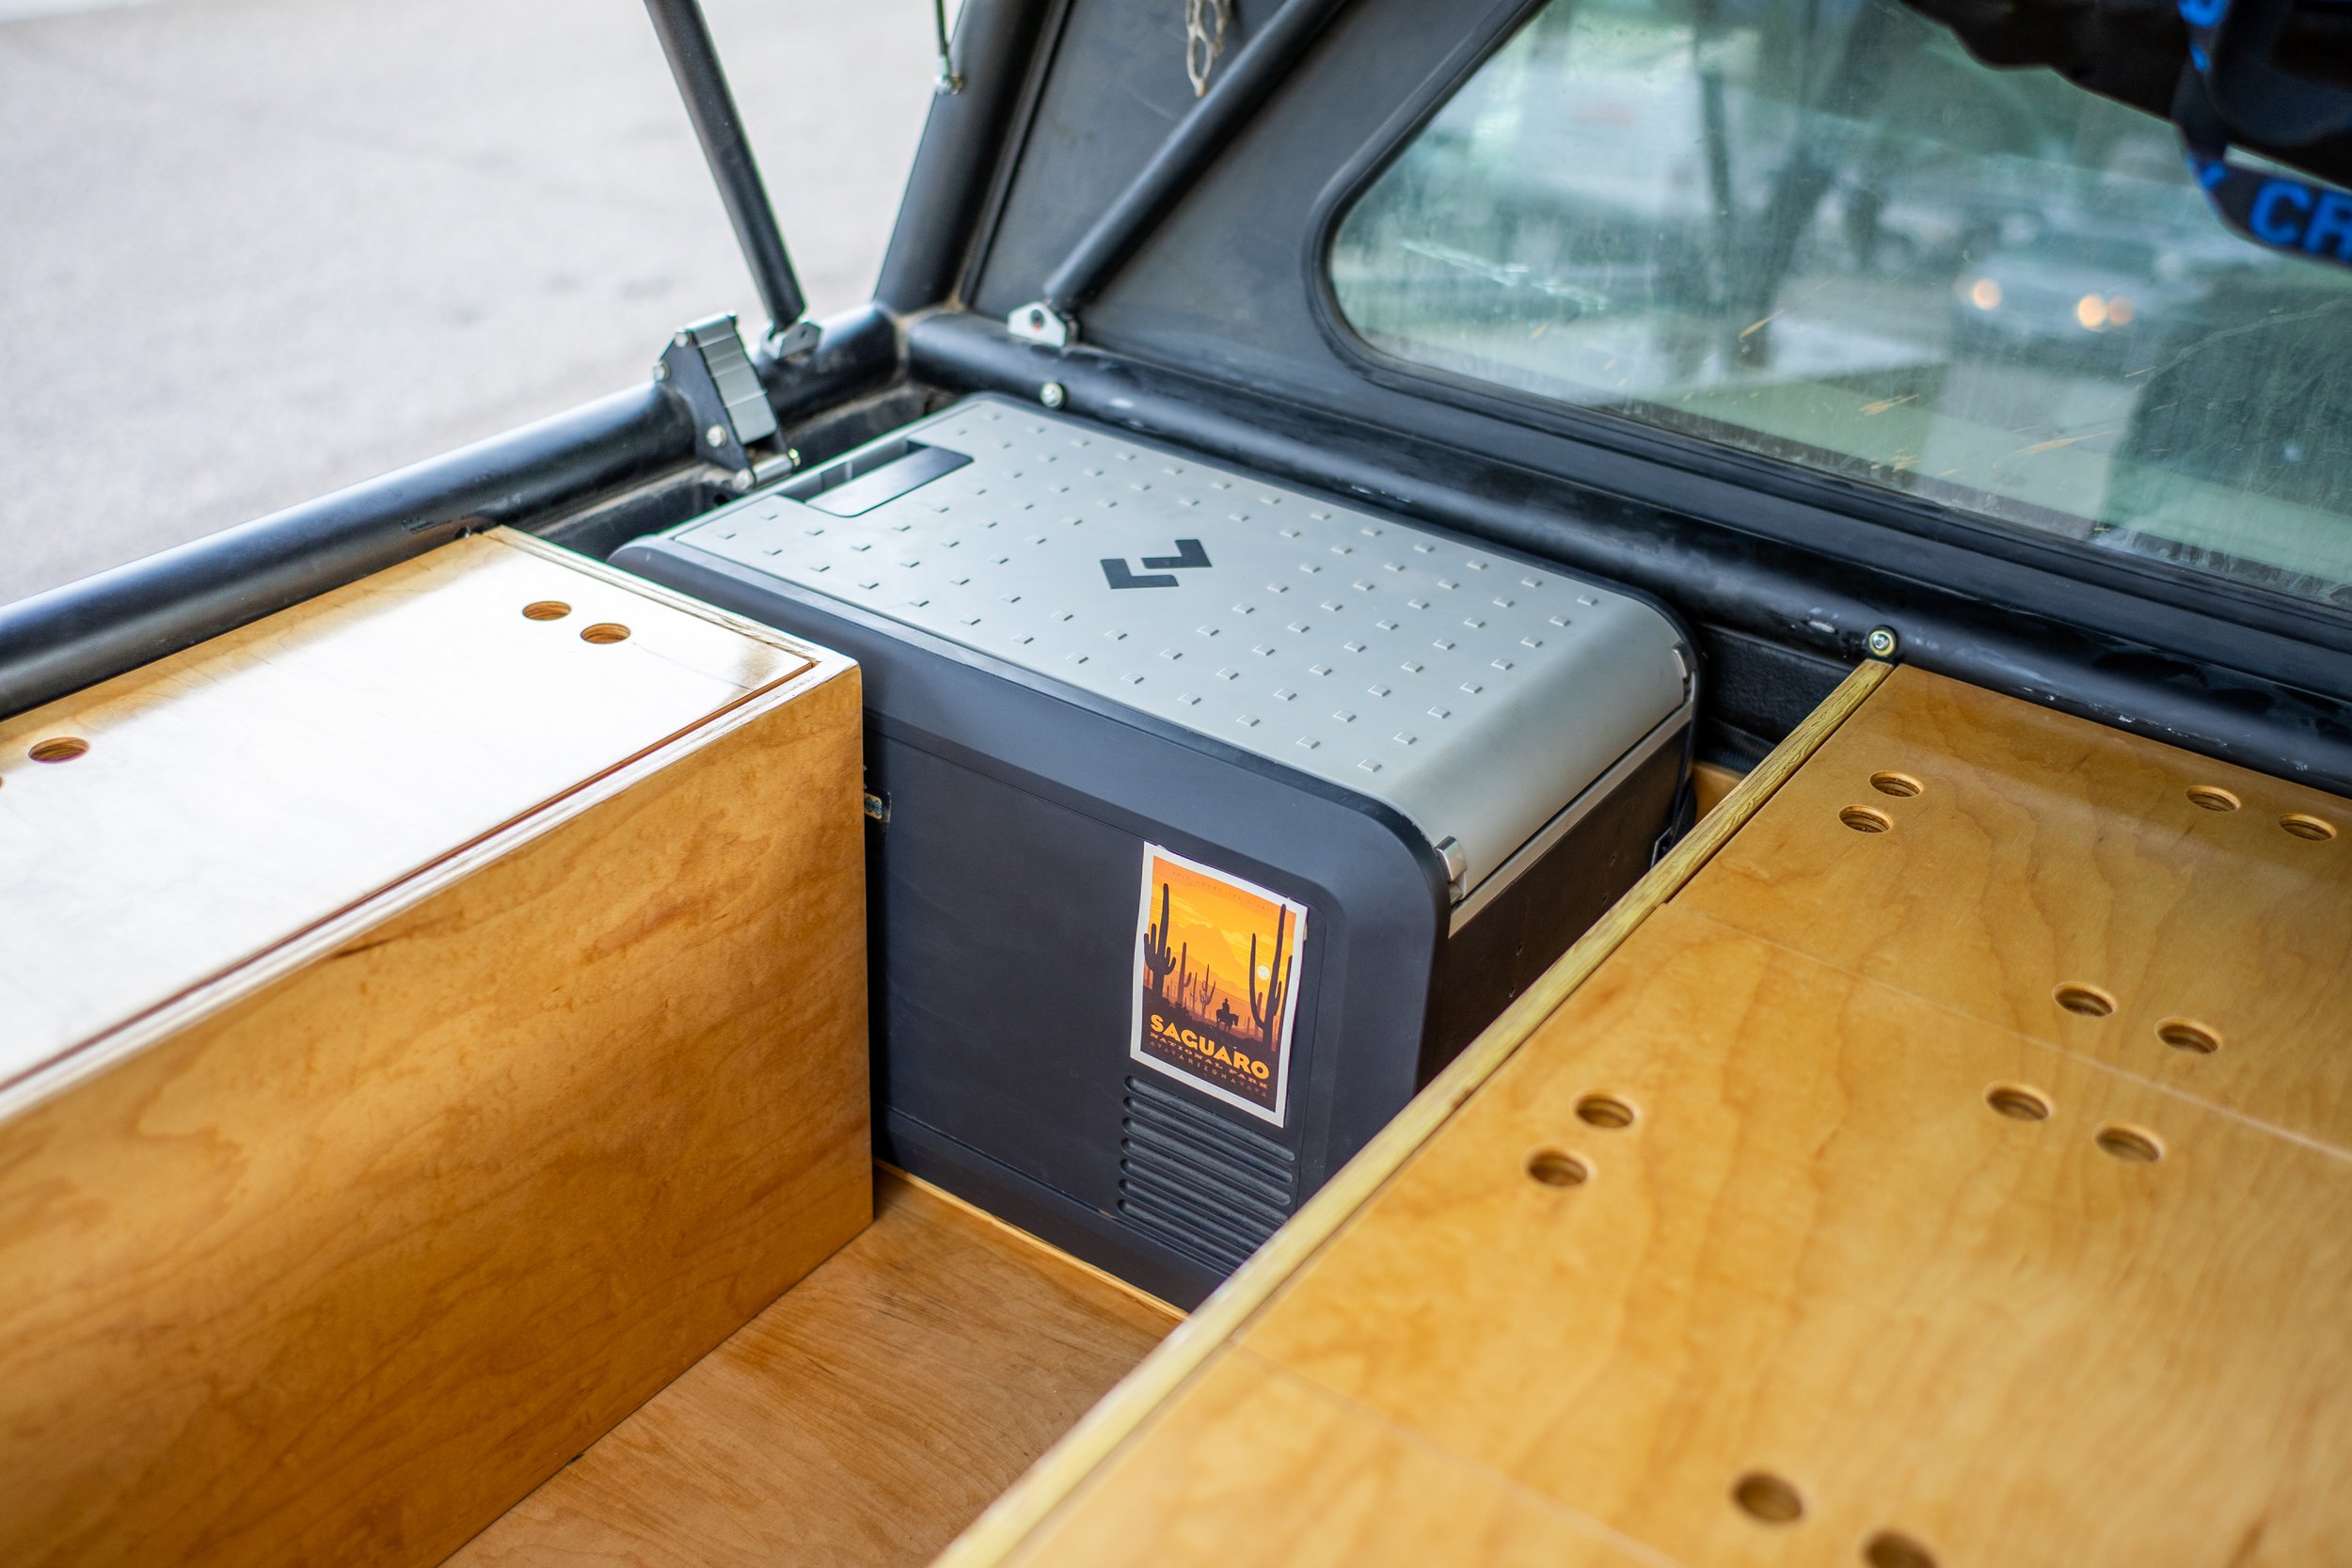
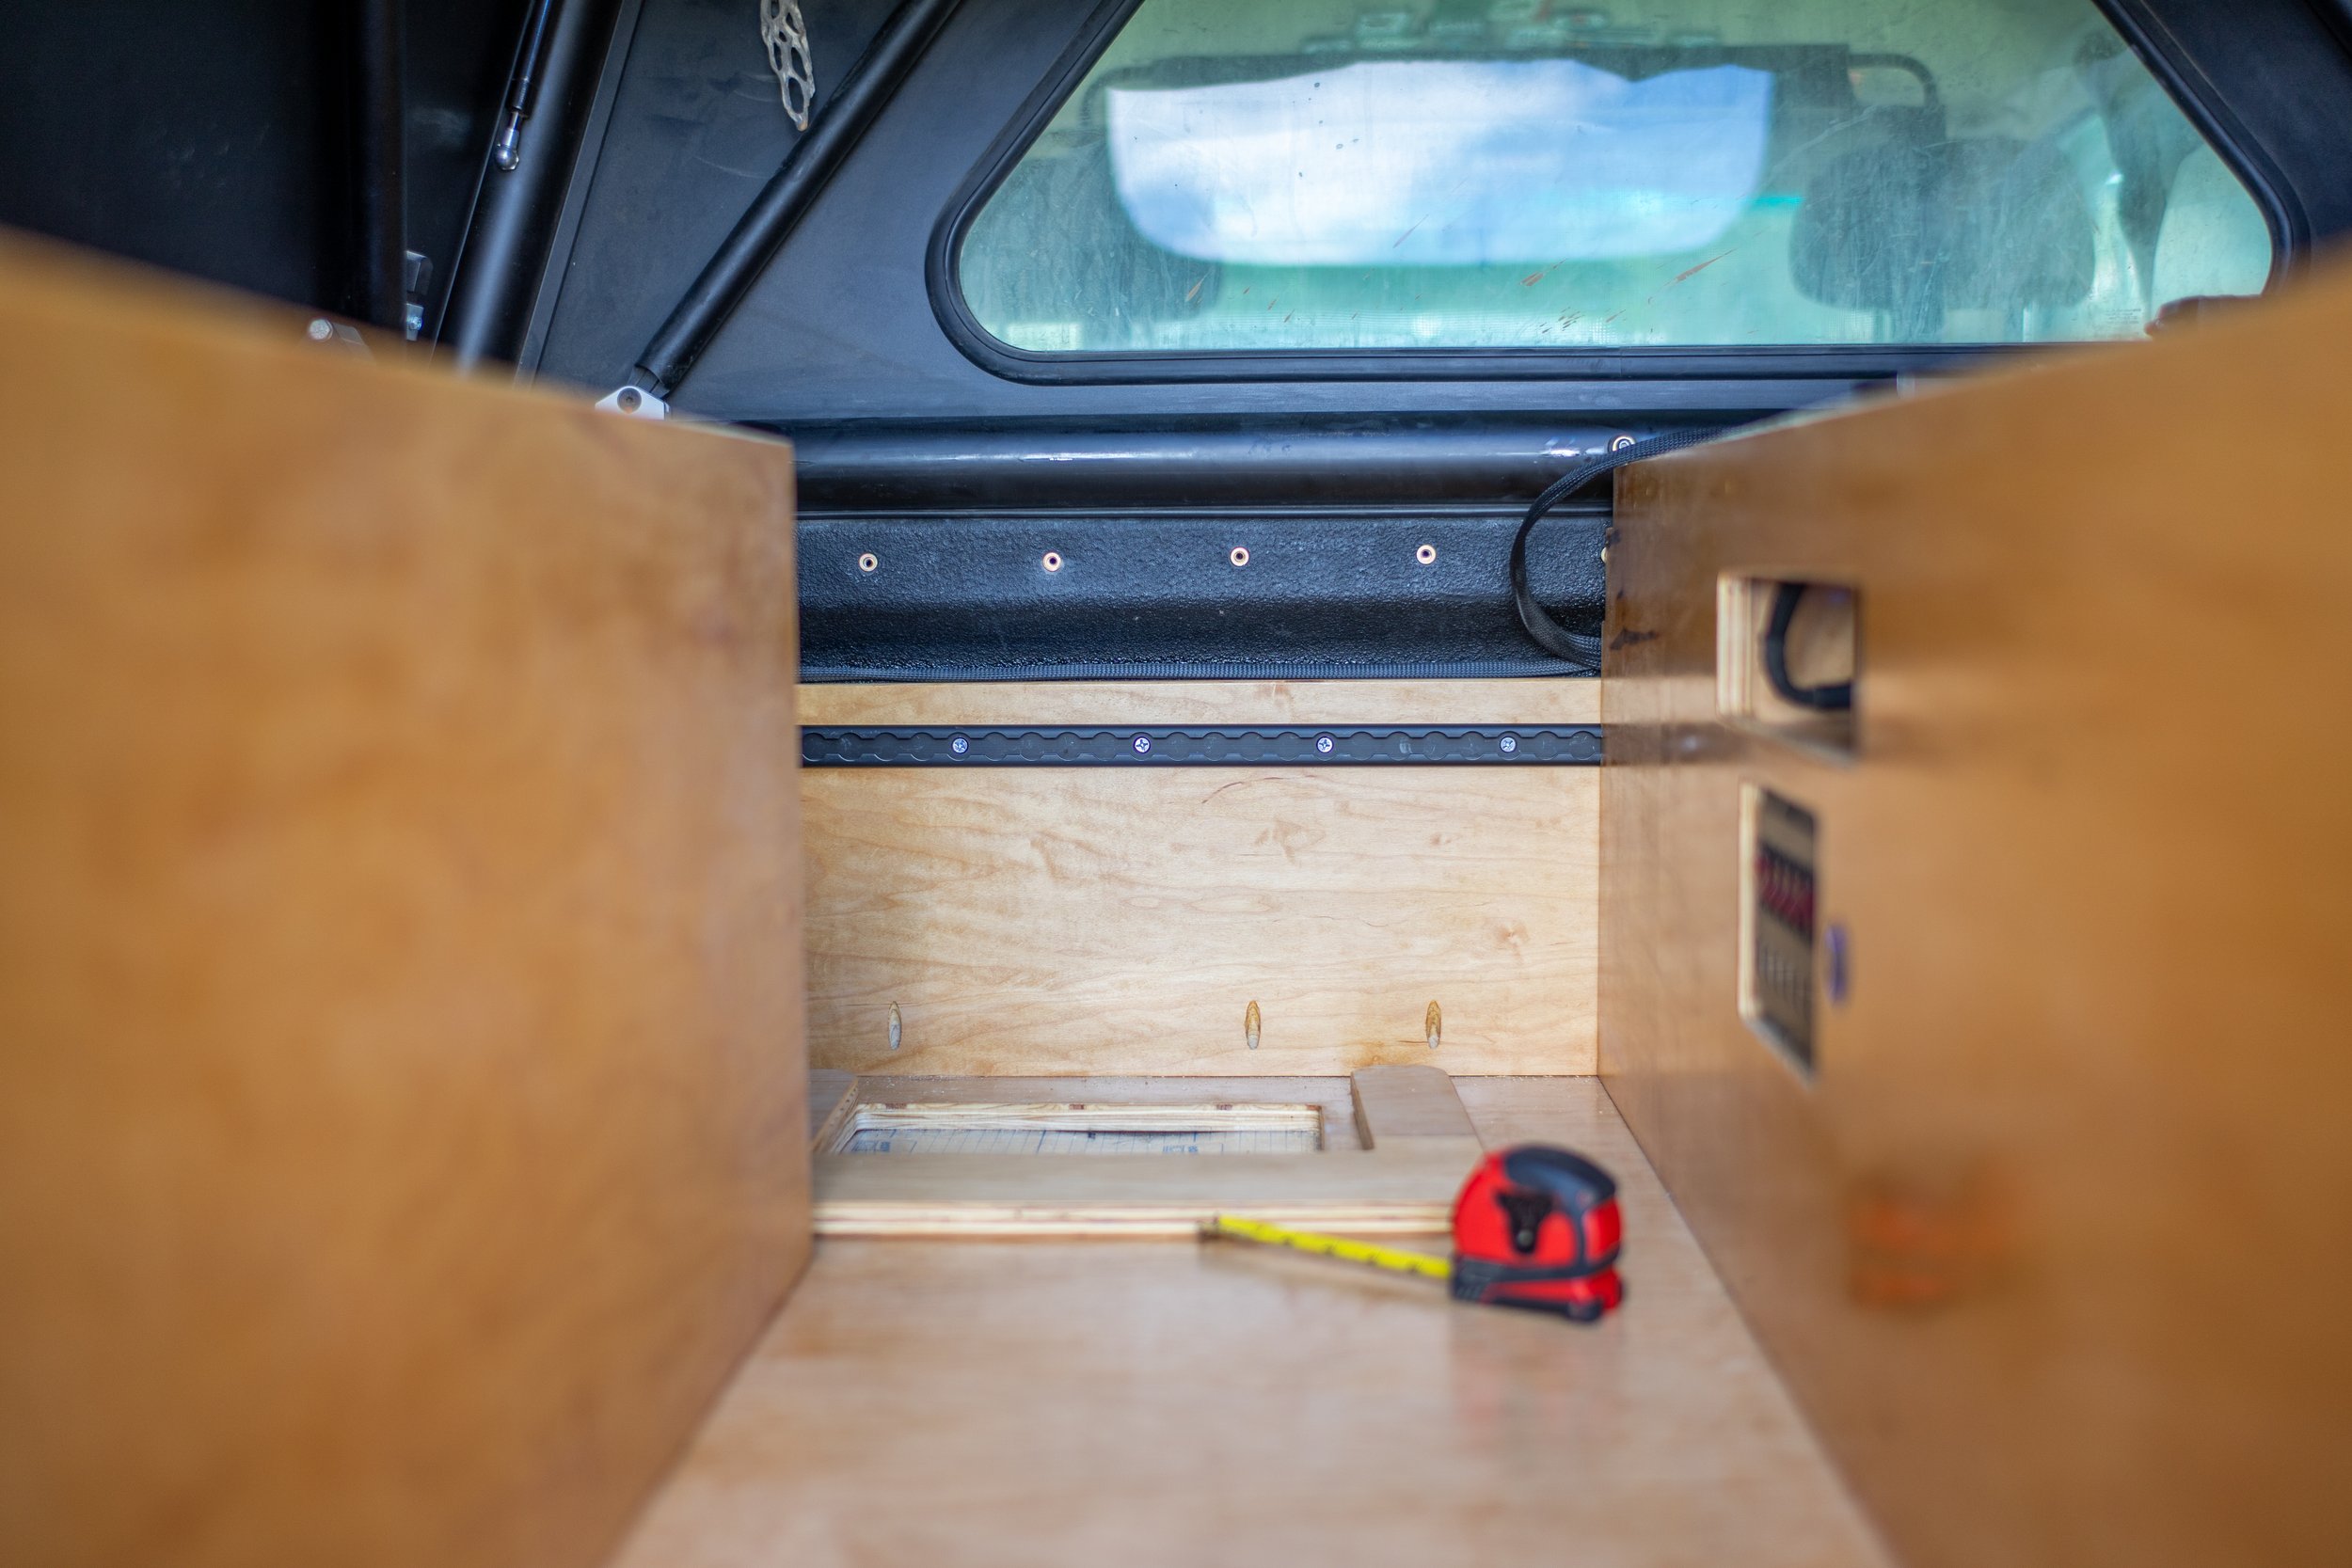
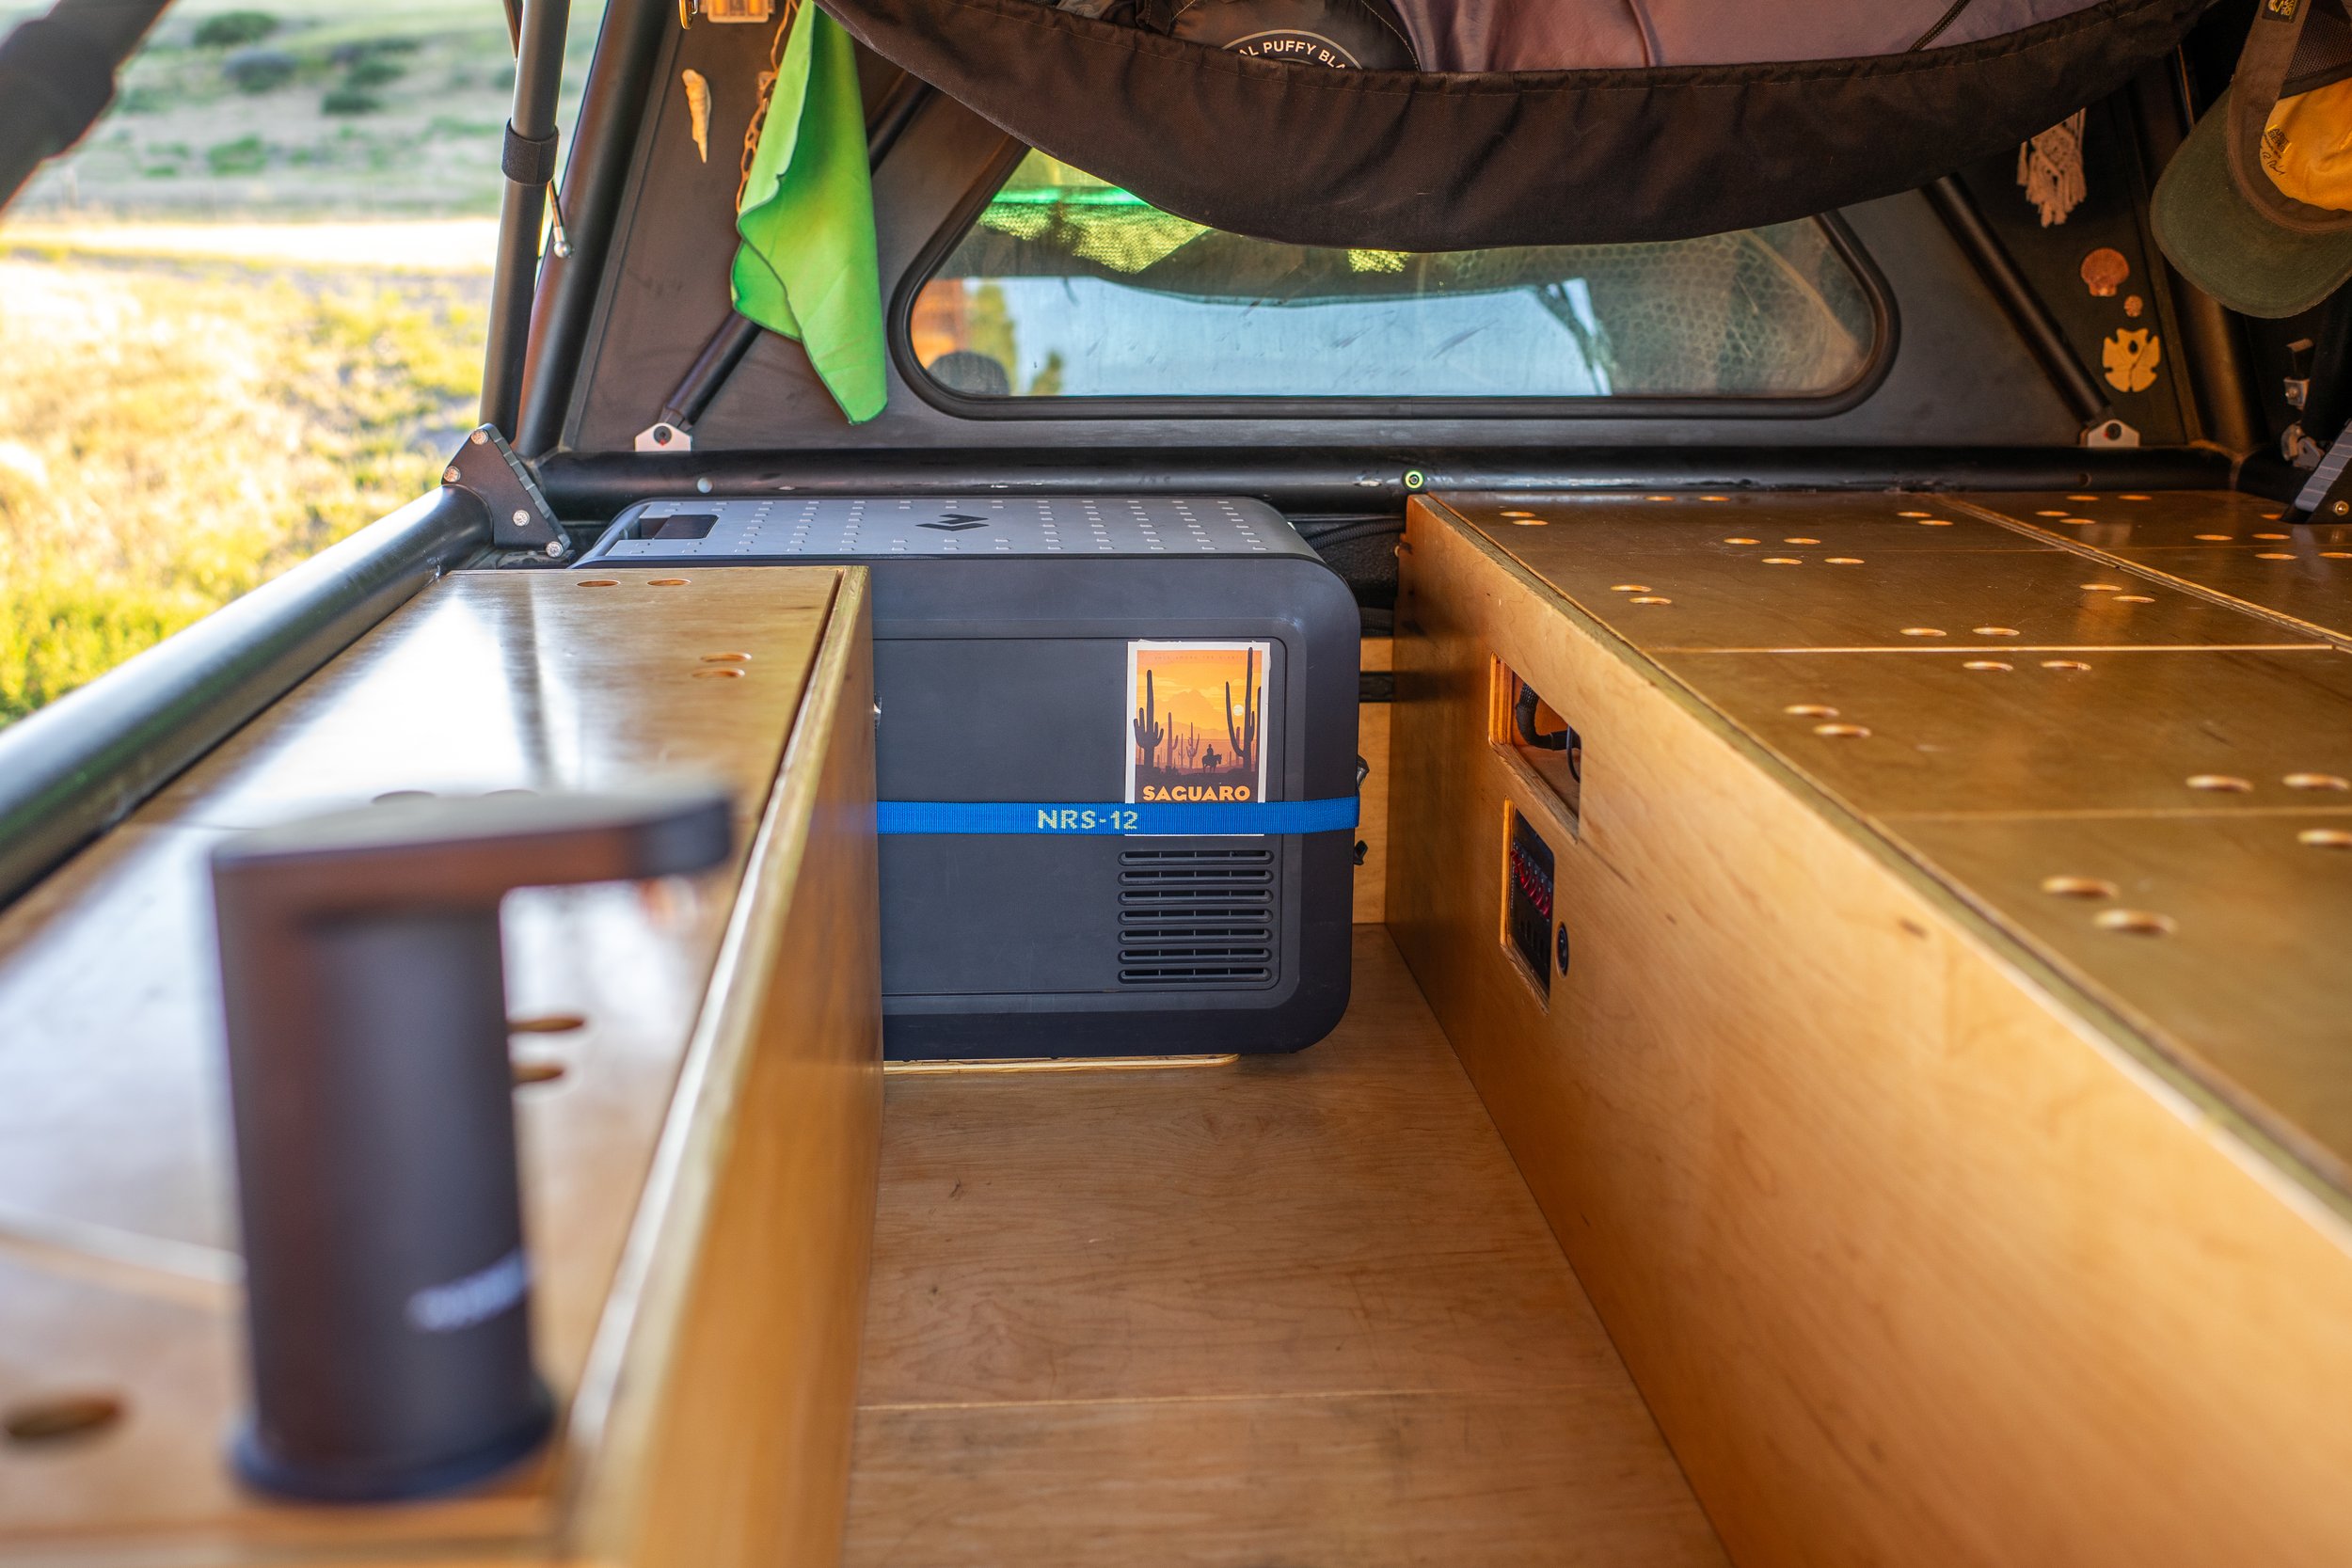
Going into this remodel, like our original build, we had sorted out a list of criteria. First, the fridge needed to be lower and easier to see into, we wanted our house battery, water, and dog food all stored out of sight but still easy to access, we wanted the ability to sit more comfortably inside, and finally, we wanted to be able to sleep “downstairs” in the event of extremely windy weather.

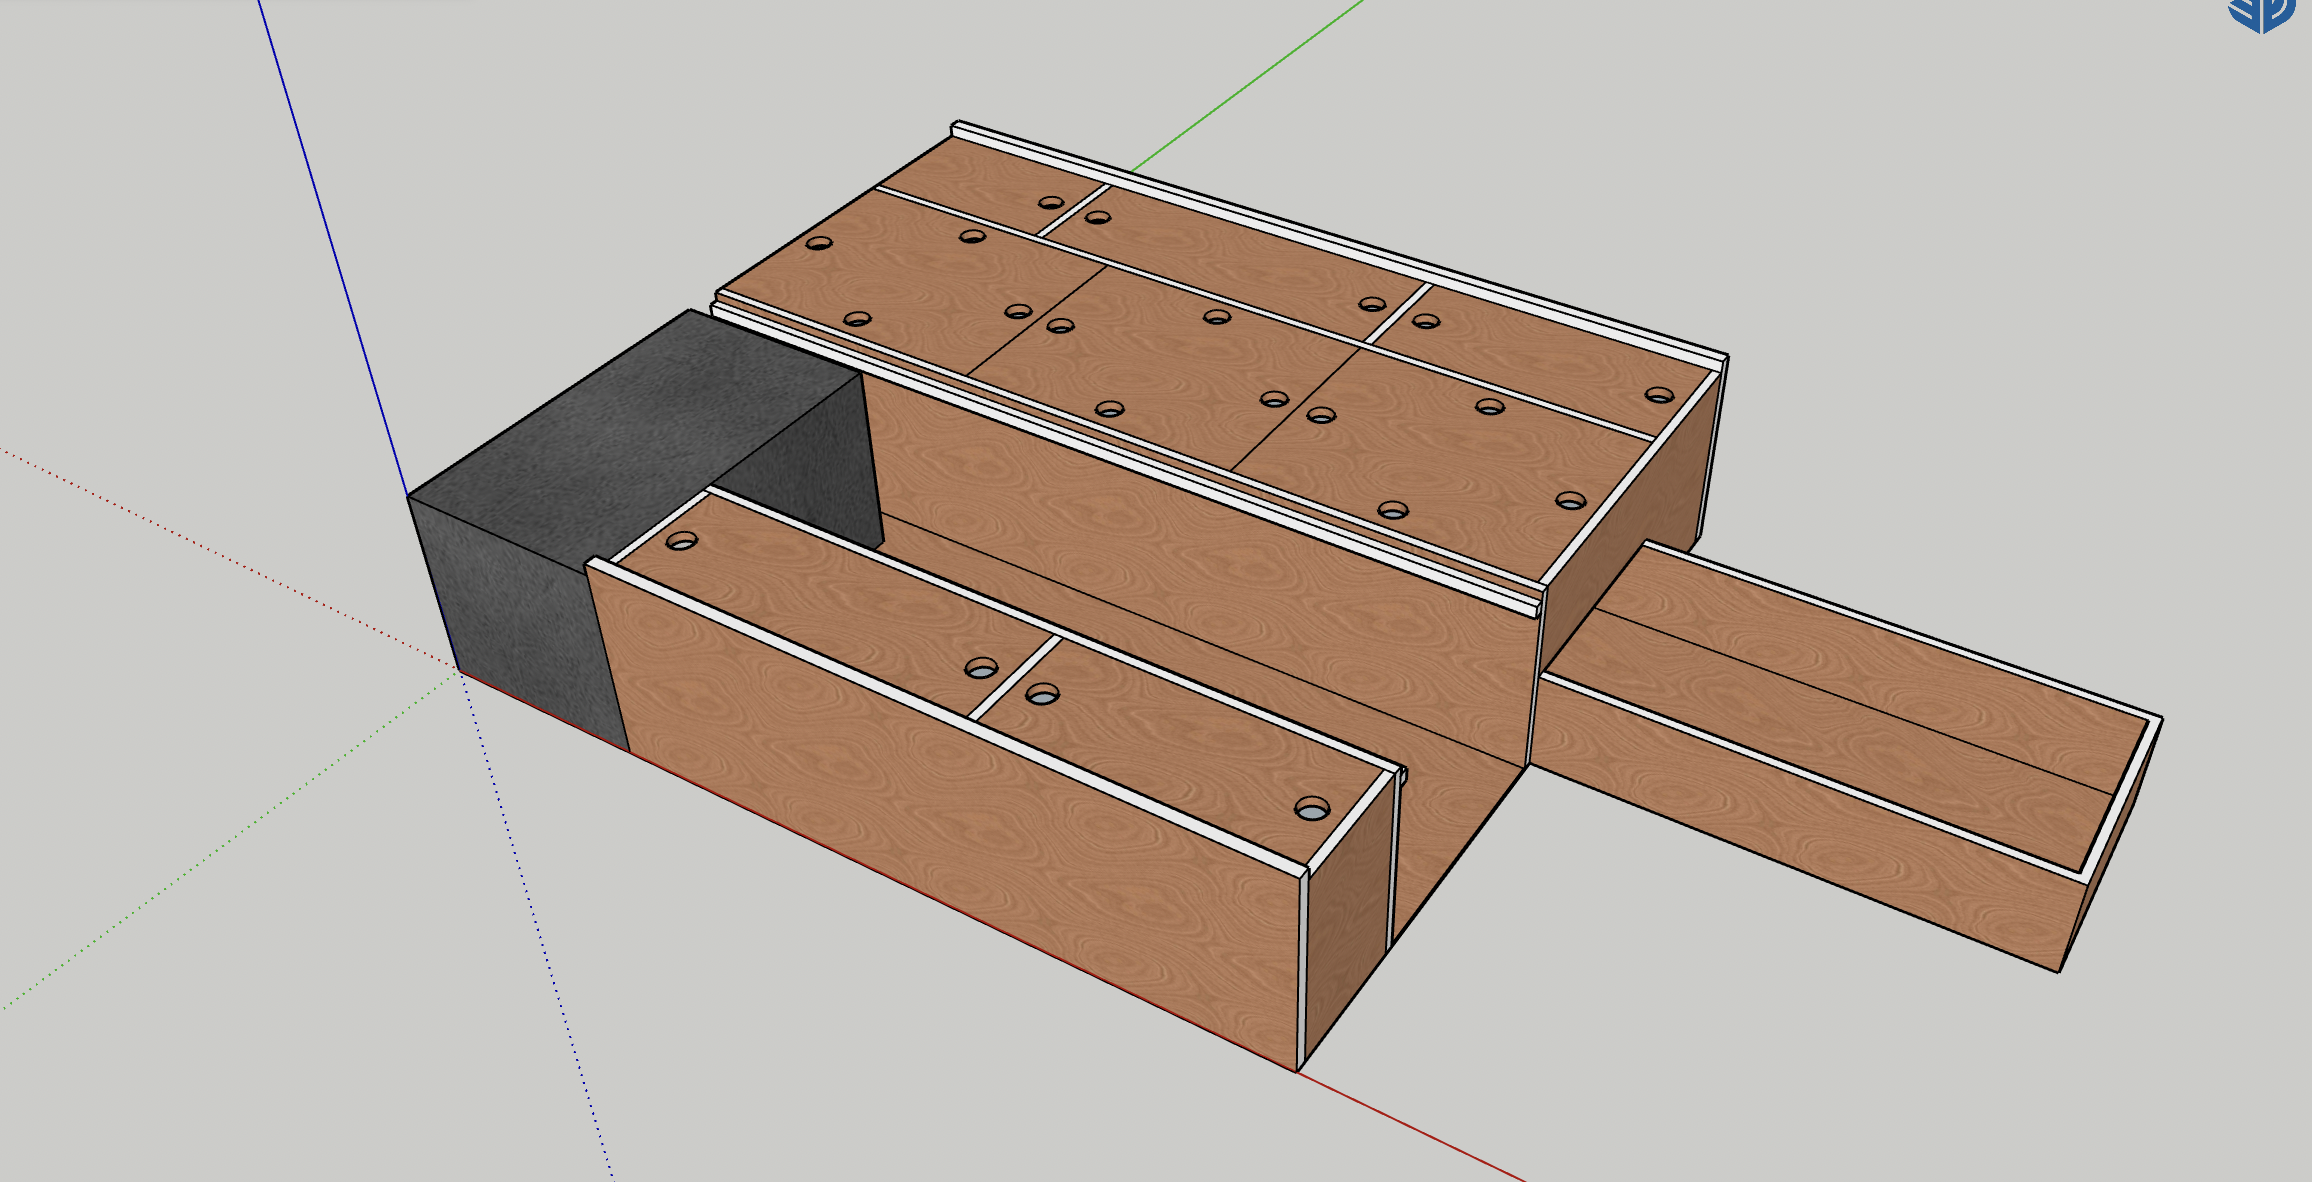
All of our planning started from a few anchor point measurements. We wanted to make our cabinets the exact height of our fridge, this way when we slept downstairs we had a flat surface. We also needed those cabinets wide enough to fit out domestic go hydration water jugs comfortably inside them, and with enough space around them that they would be easy to remove to refill. Then between the cabinets, in our walkway, we needed enough space to stand but more importantly, we also wanted enough space to sit on the floor of the truck, so we measured the width of our hips when seated so that we would fit. Of course, all this needed to work within the bed dimensions of our truck as well so we marked out the length, width, and height of the bedsides. With all of these, we put together an accurate 3D model using SketchUp.
From this model, we were able to calculate our material needs and start putting together a cut sheet that would expedite our building process.
Follow this link if you’d like to view the interactive 3D model.
Screen+Shot+2023-06-06+at+5.41.15+PM.png

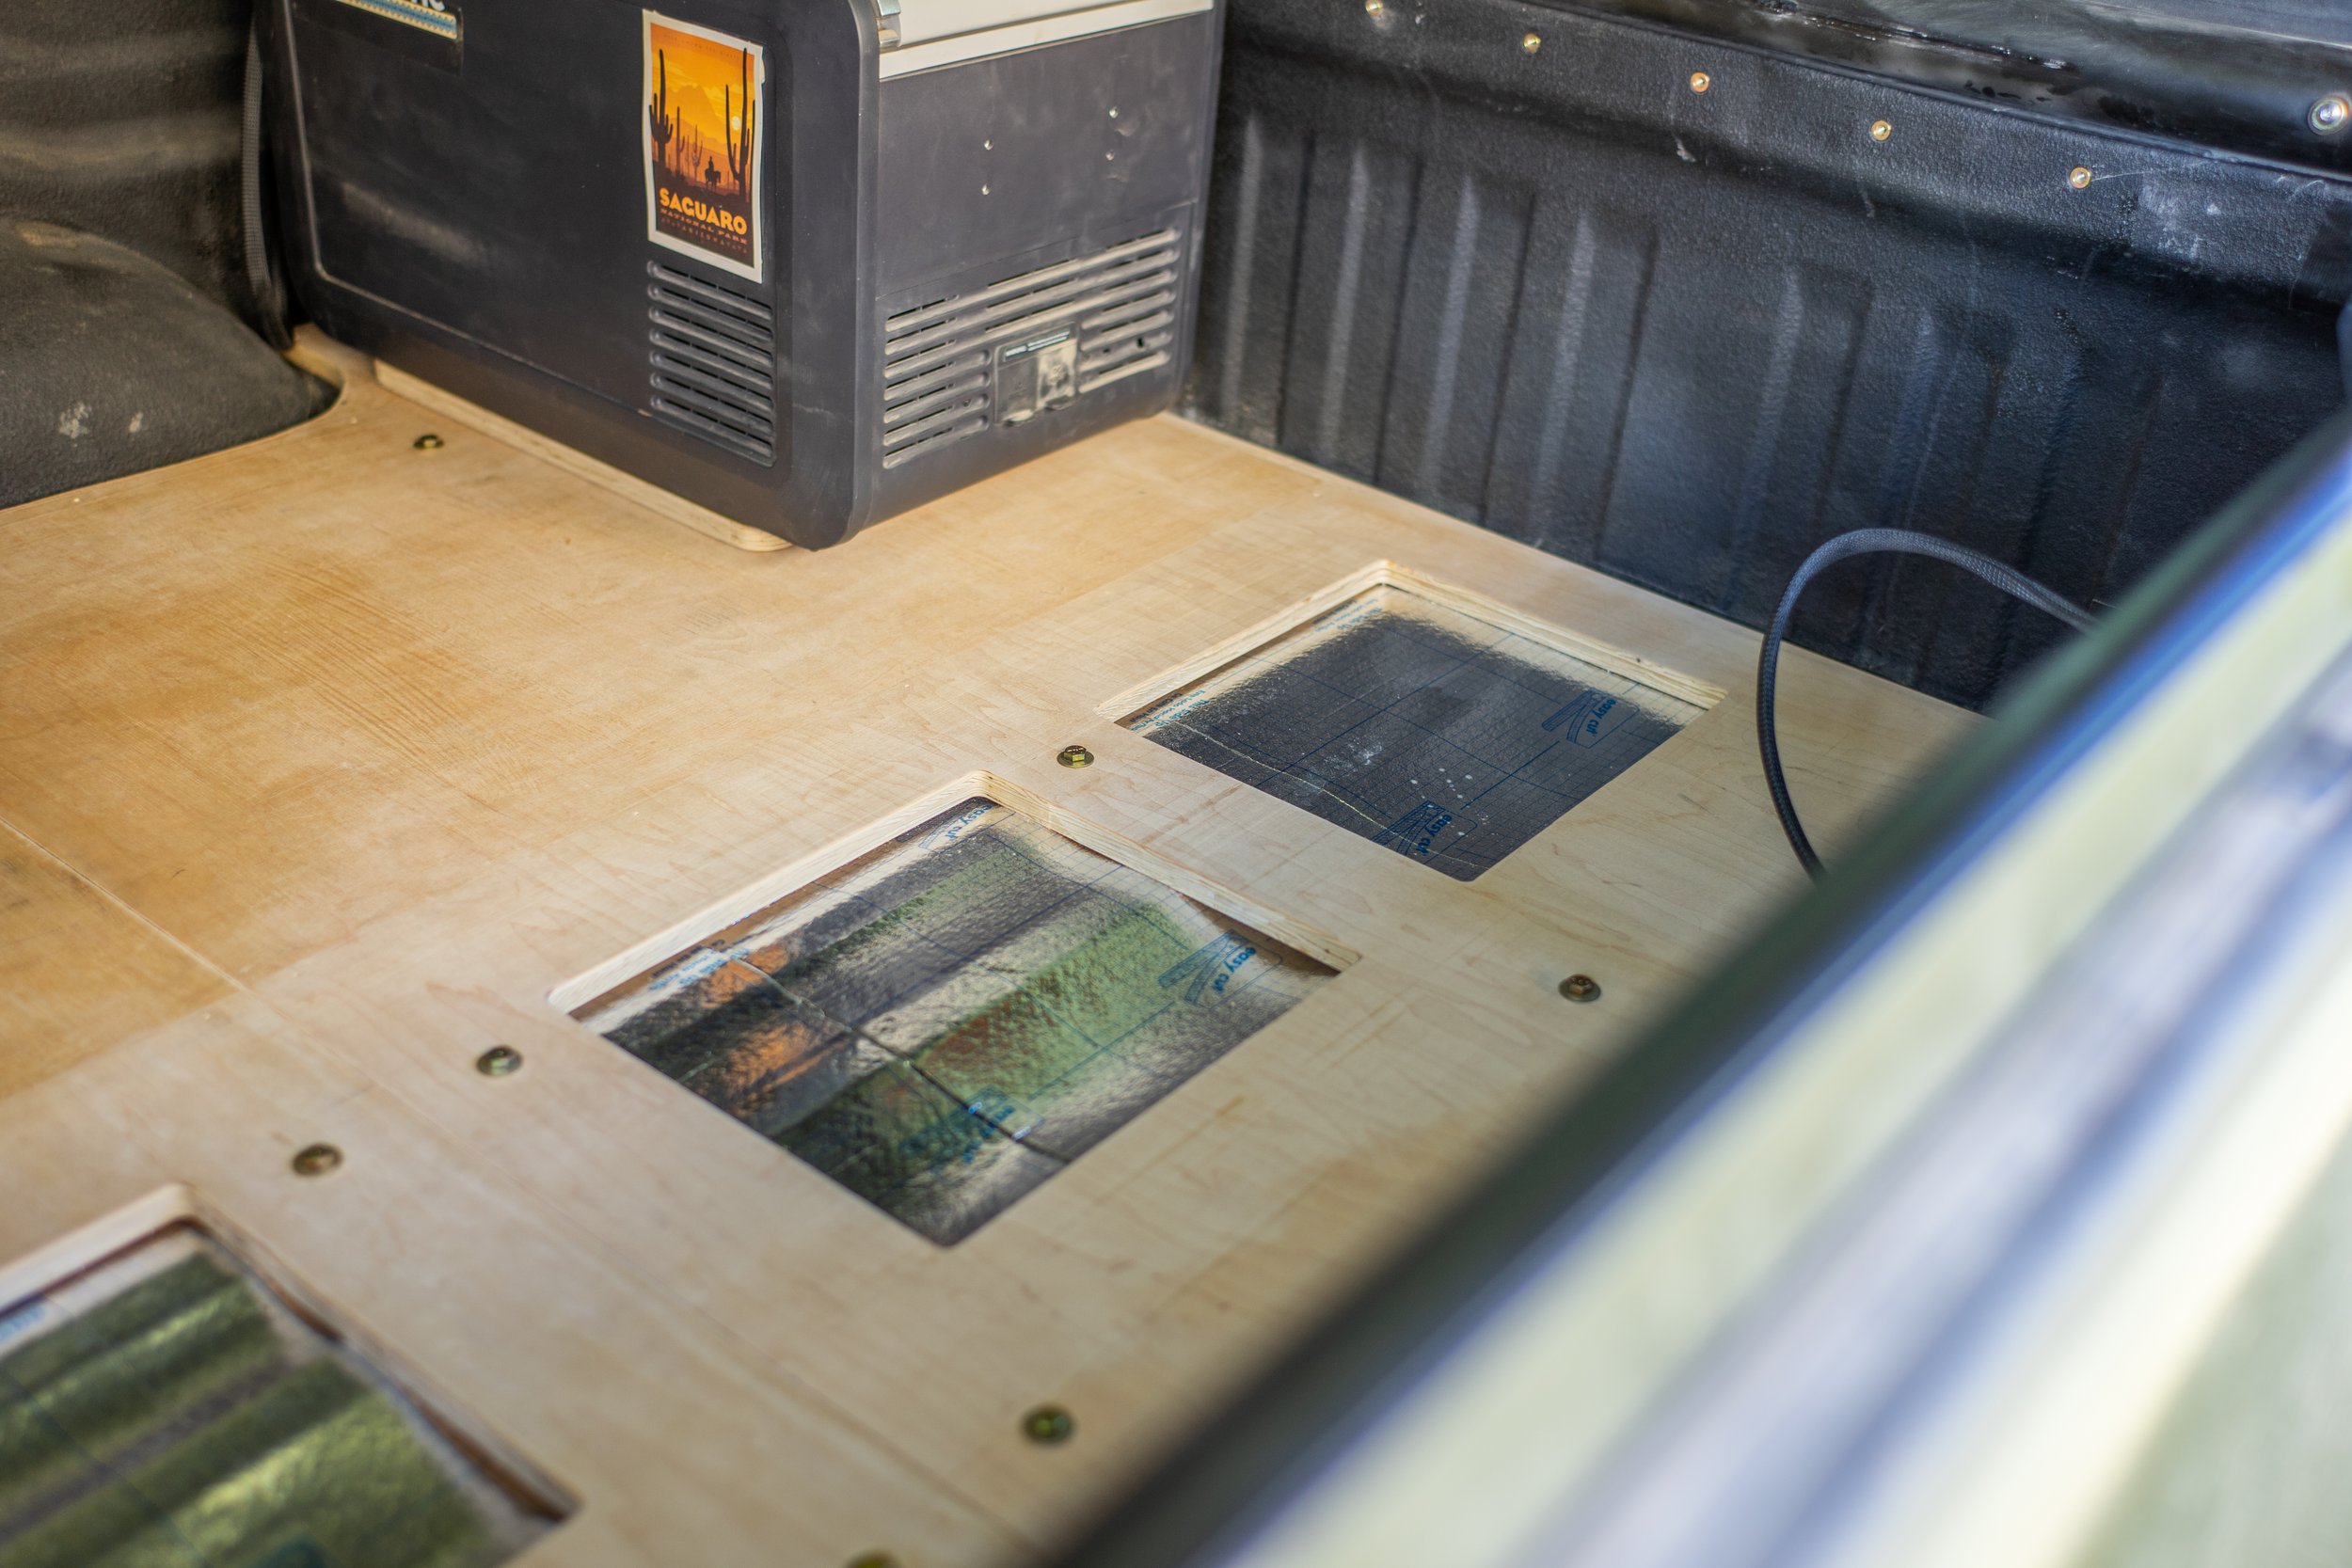
Aside from our main goals above we also hoped to reduce as much weight as possible in places that we could, so we cut out sections of our baseplate where they were less critical. We cut out several sections below where our kitchen drawer would end up, as well below the fridge.
BCM09426.jpg

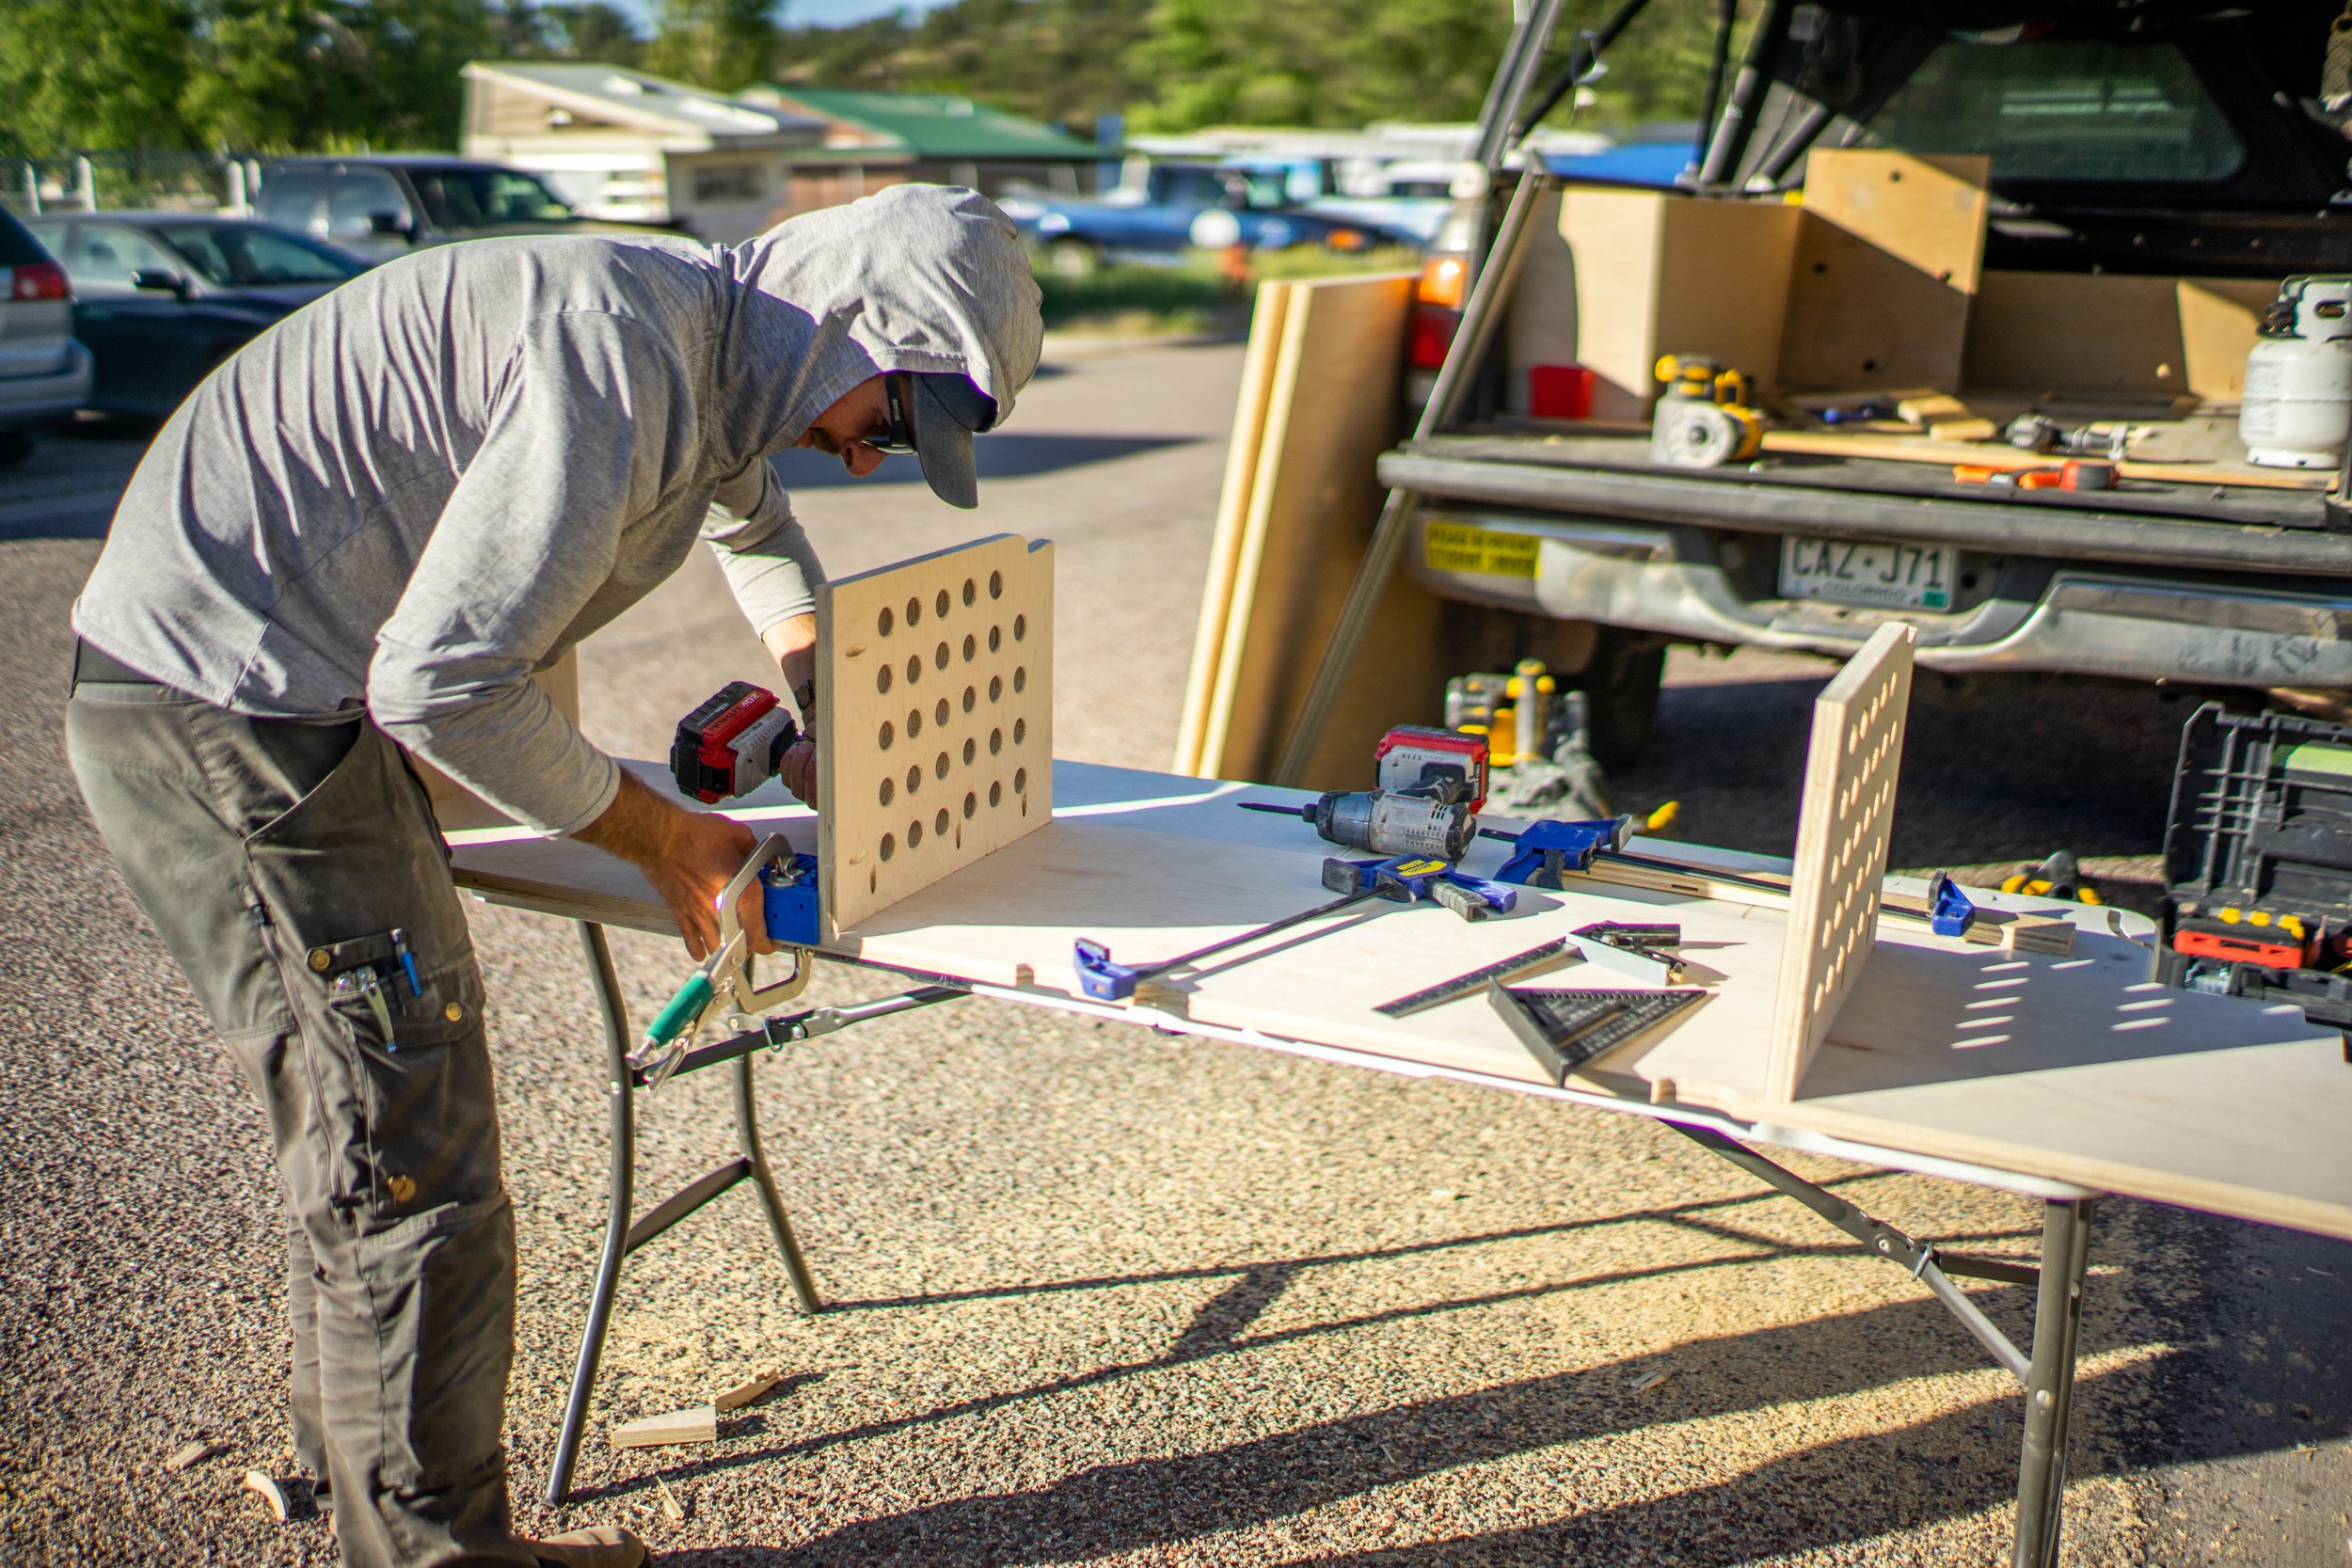
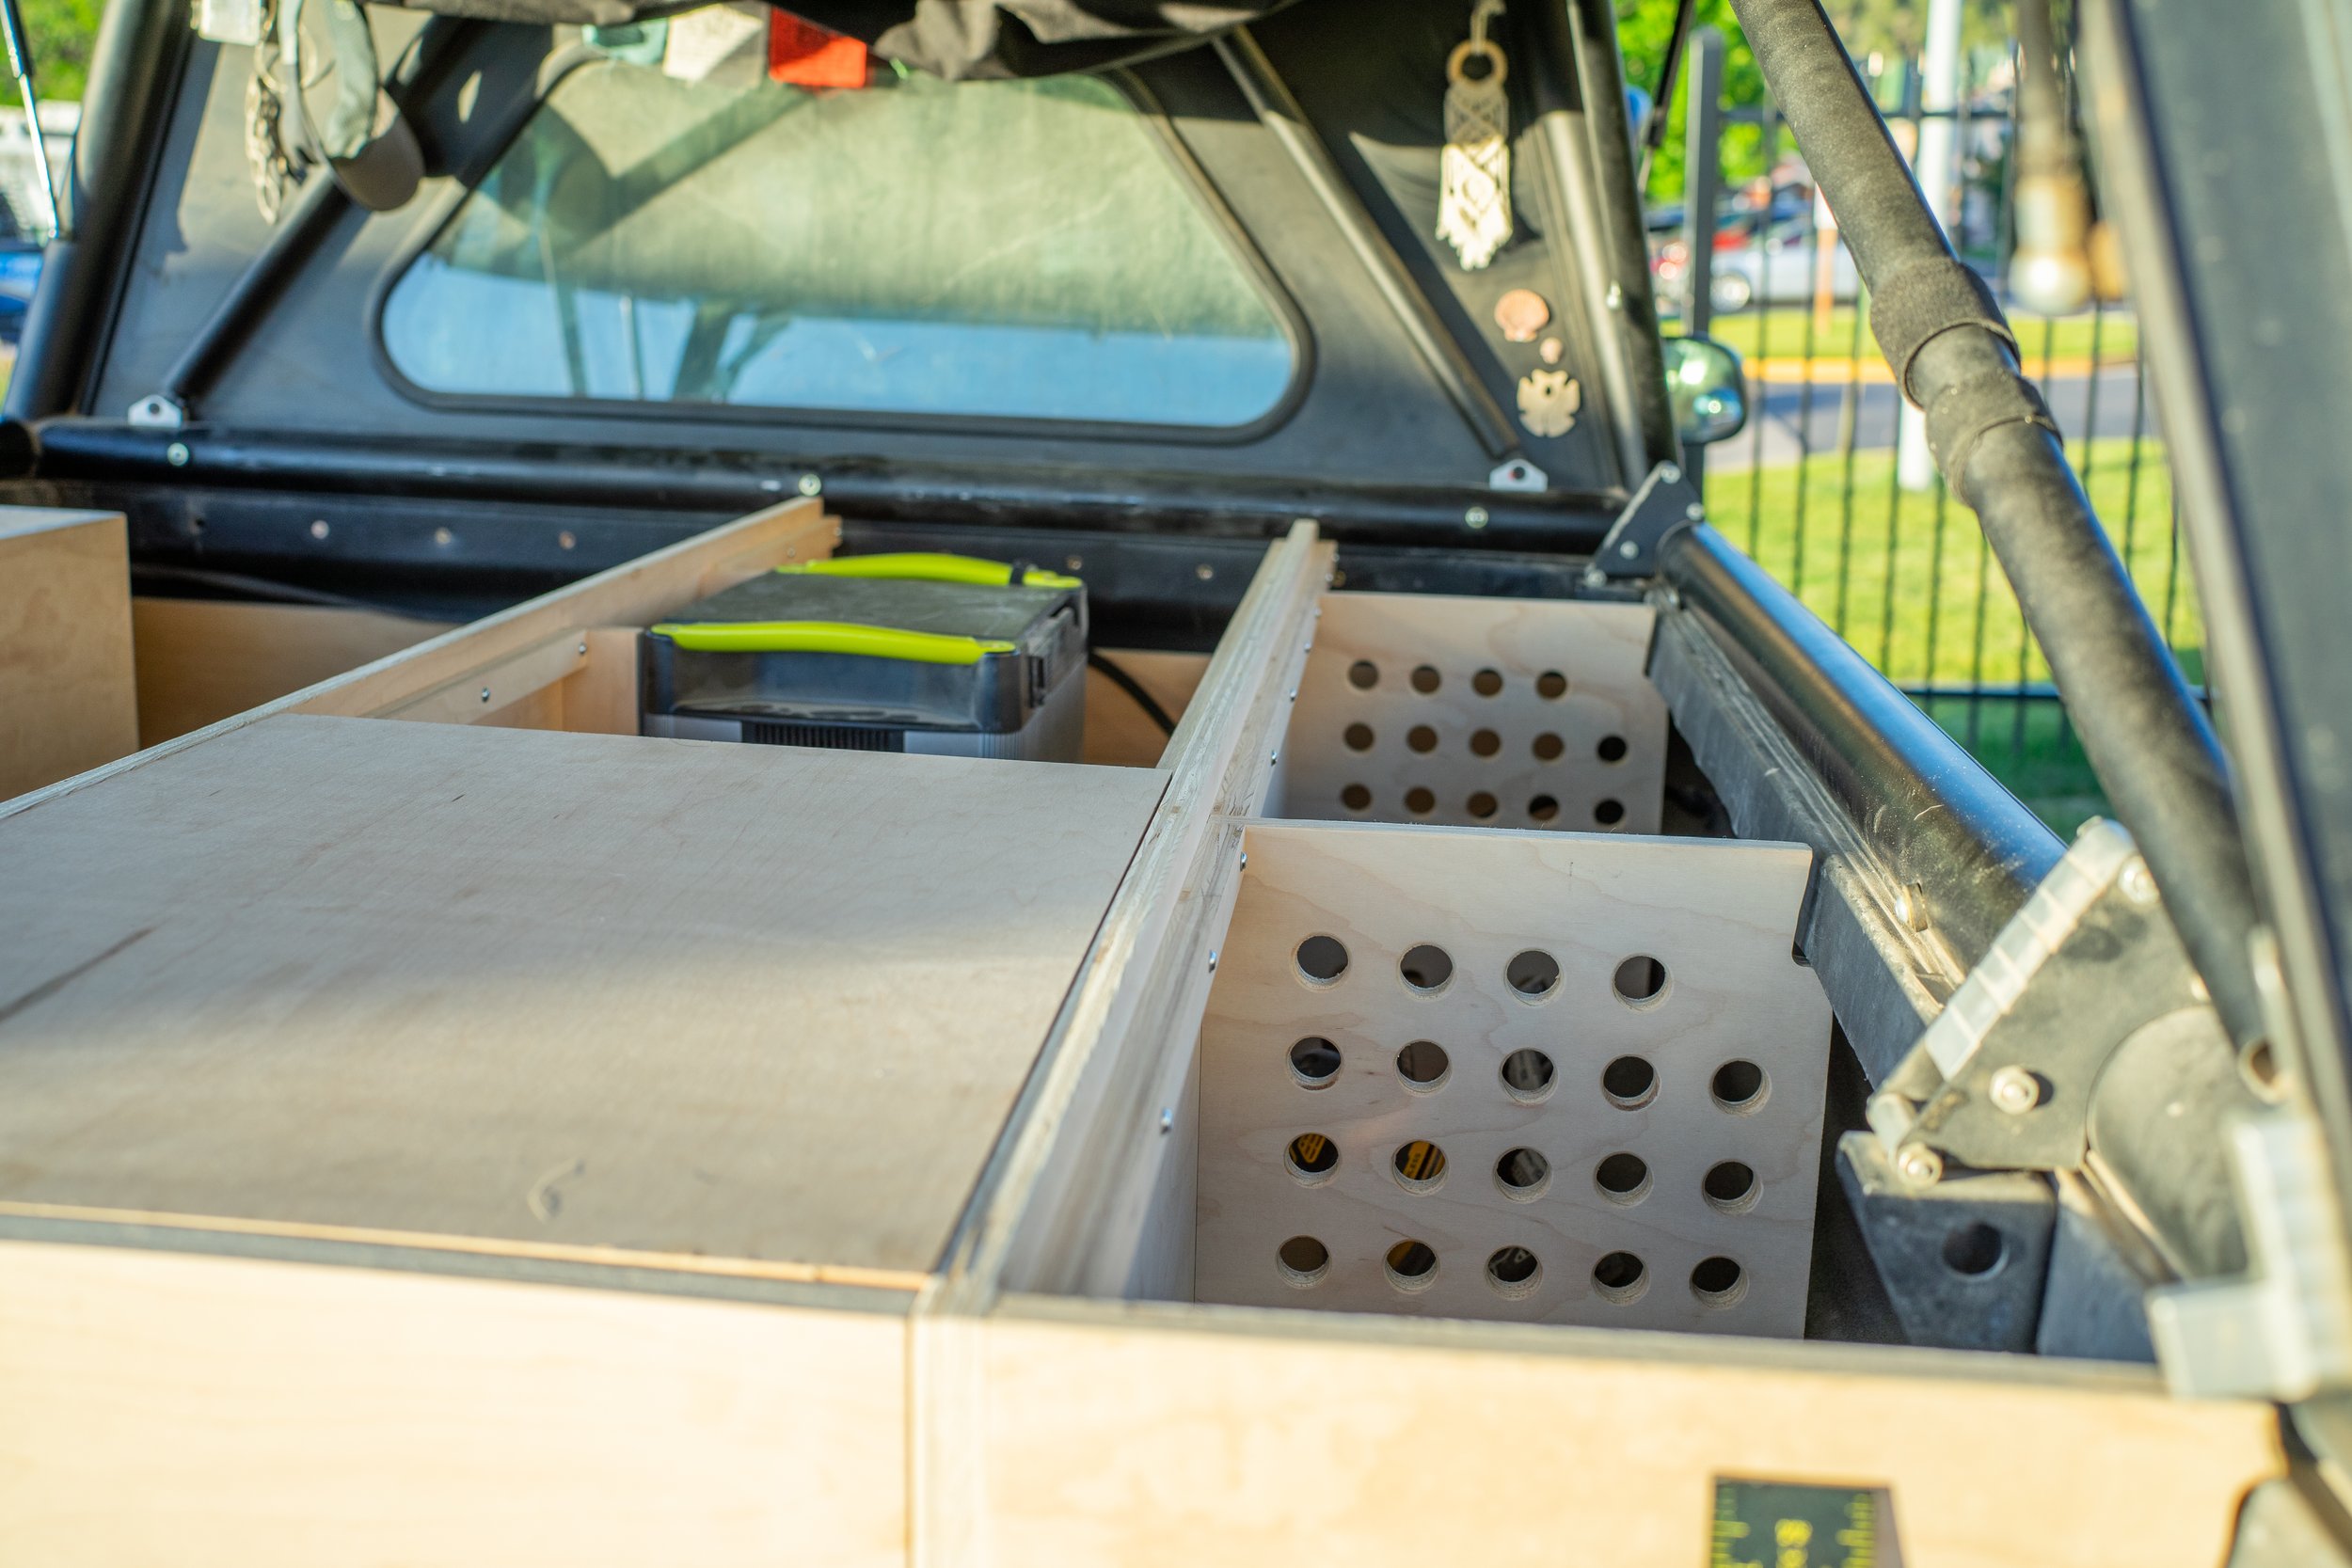
We also knocked out some weight in the vertical dividers of our cabinets, we drilled 1” holes with 2” spacing reducing the weight of these pieces considerably.
BCM09498.jpg

BCM09577.jpg

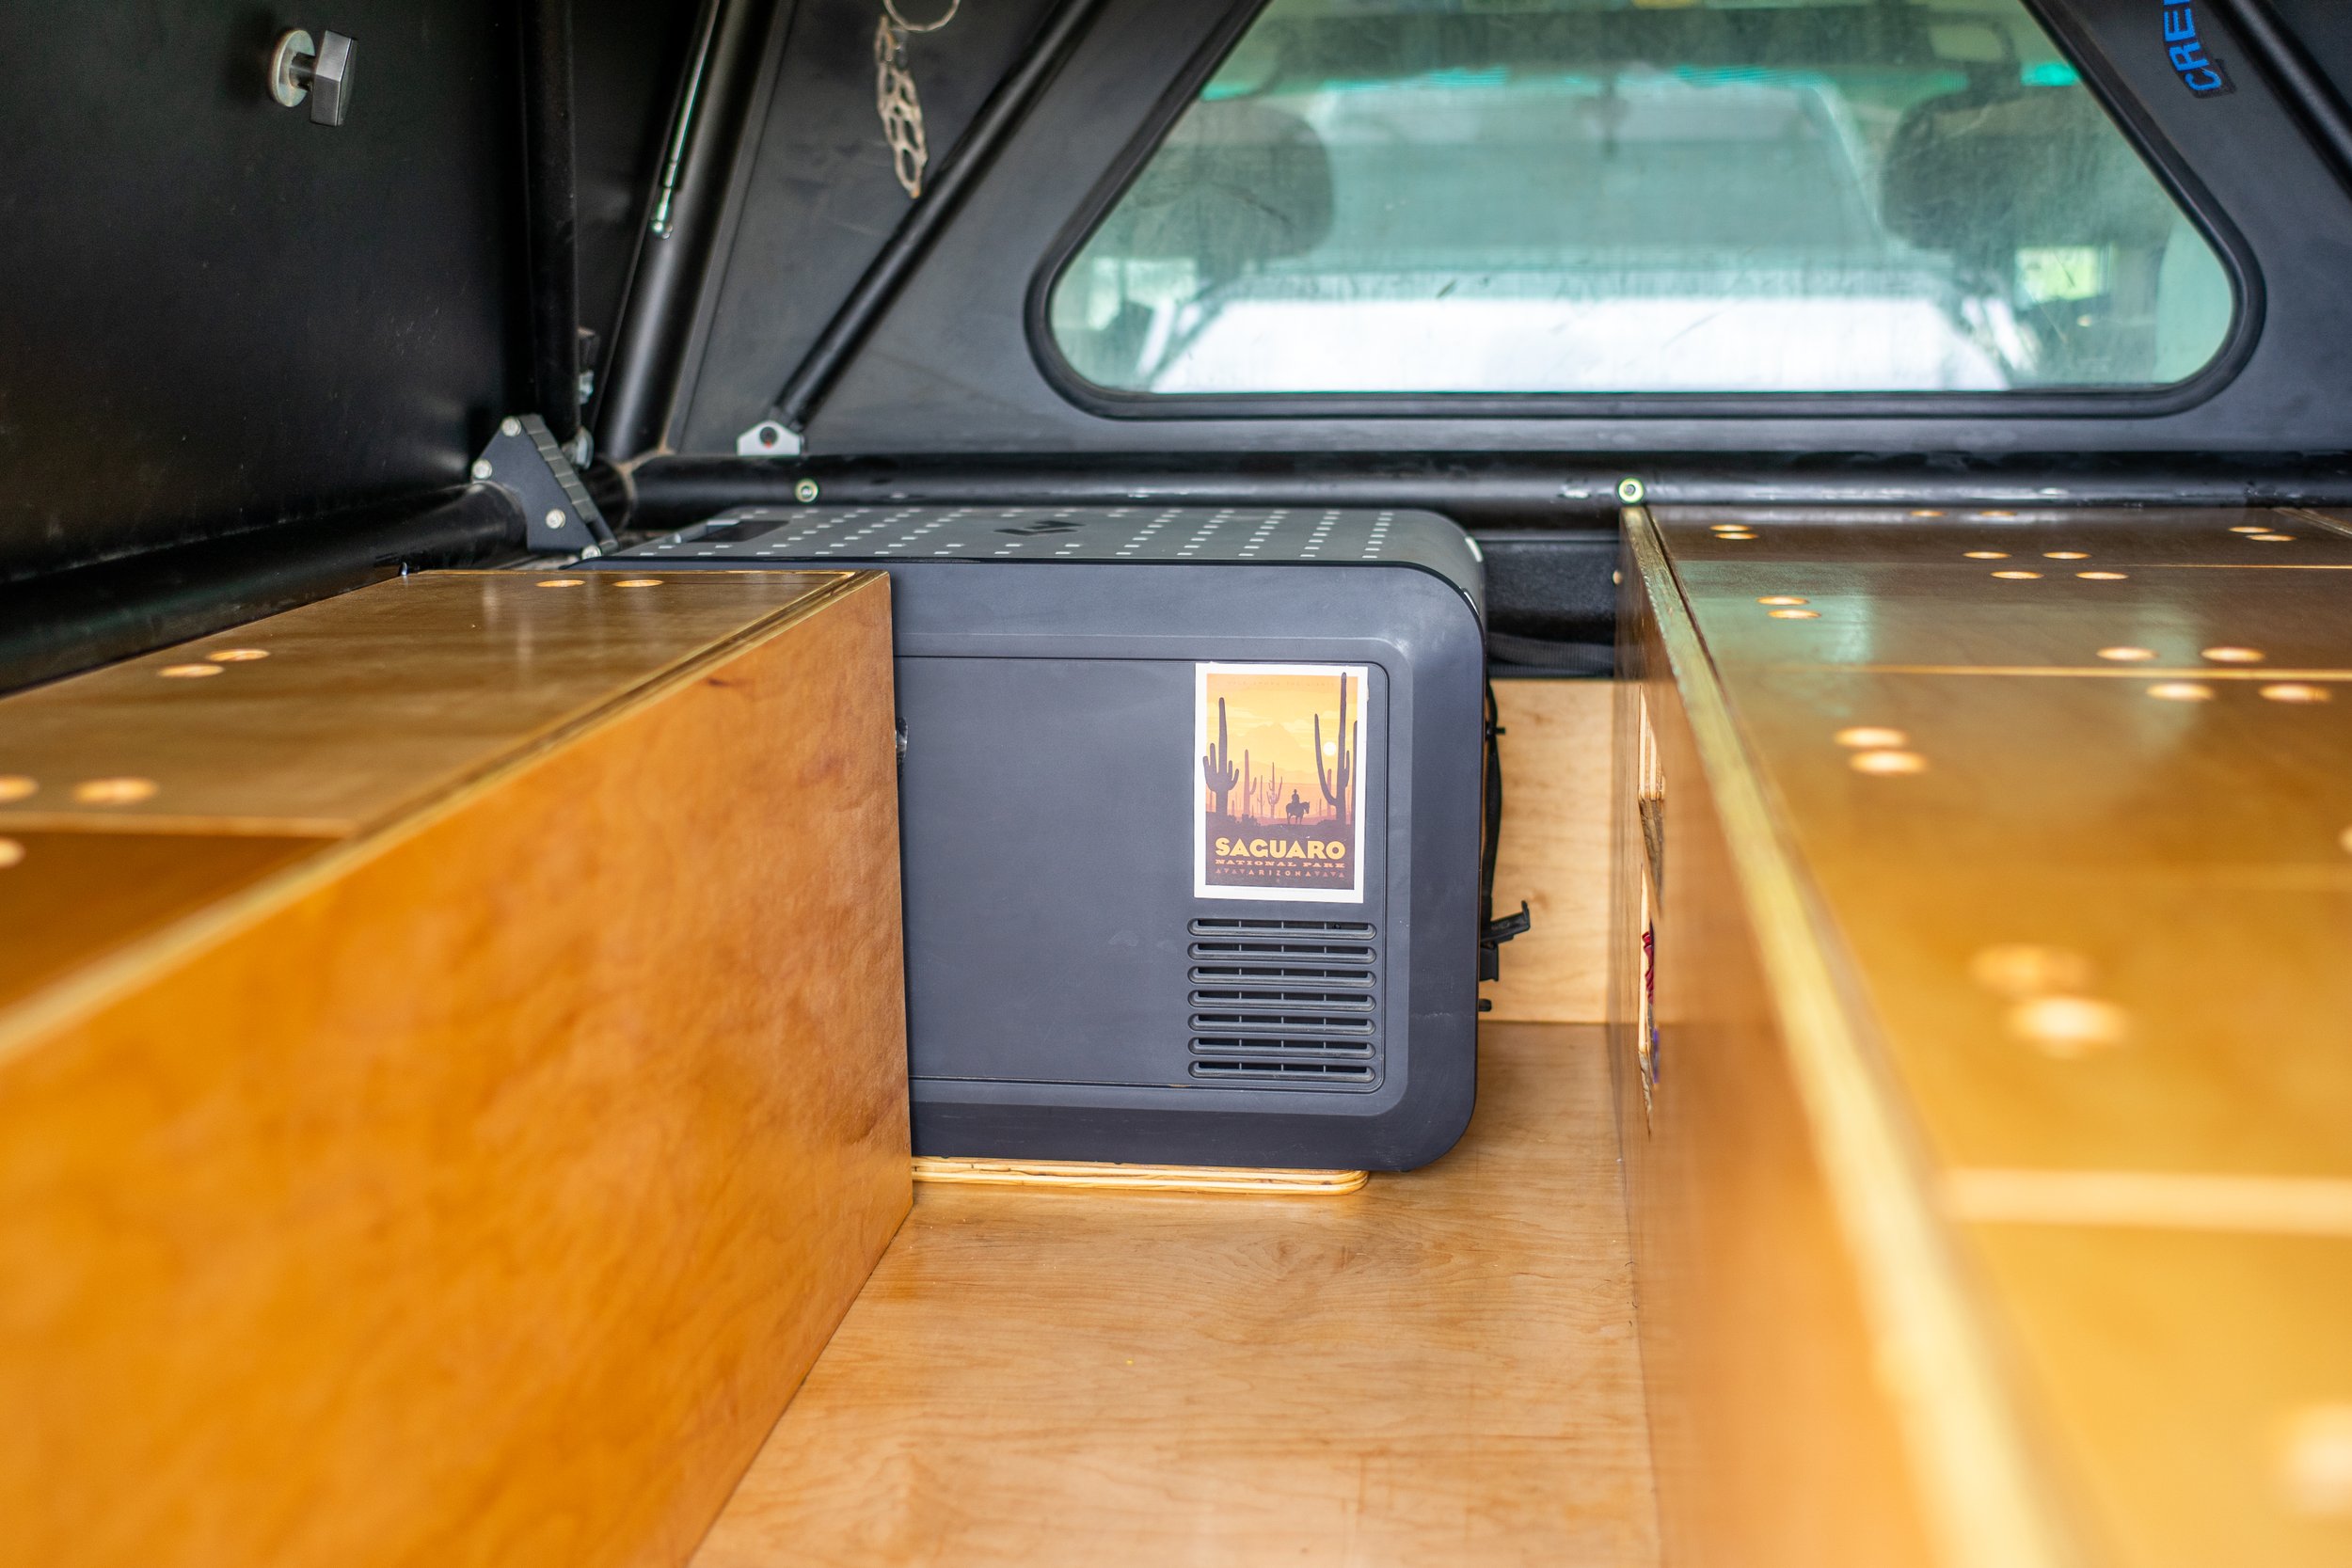
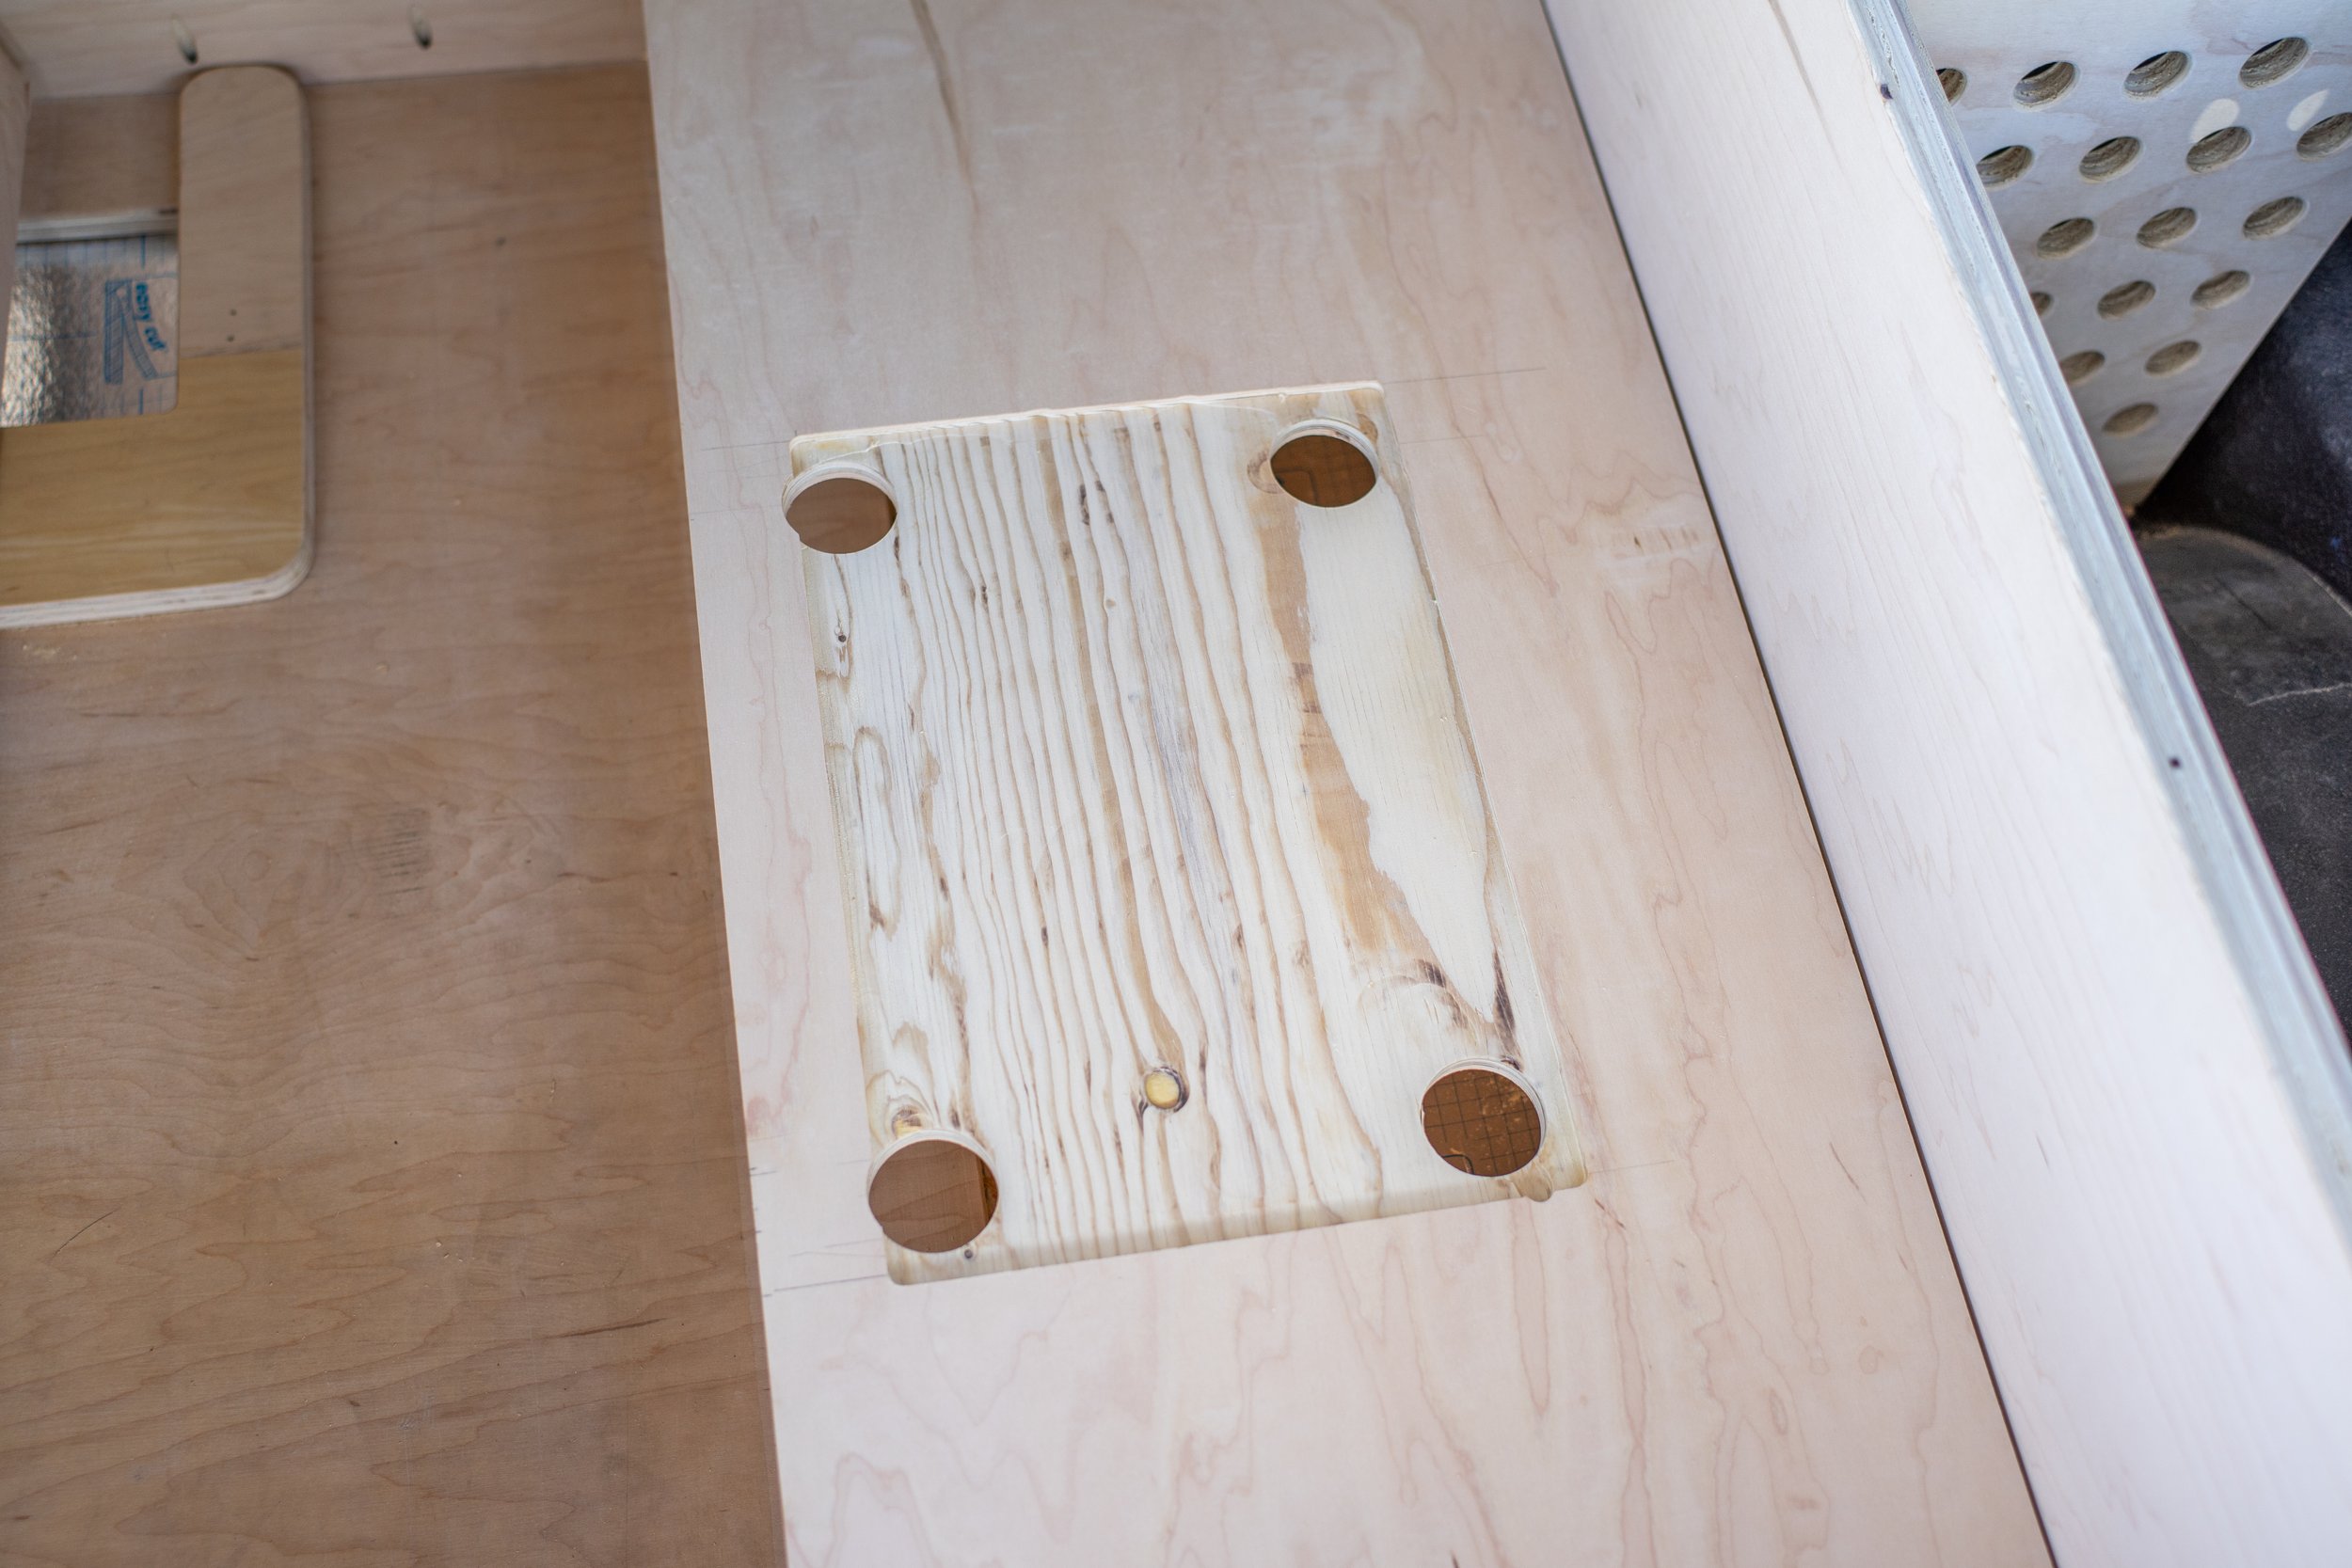
One of the challenges that we ran into while doing this build was how tightly everything would eventually fit together. in order to hit the height requirements that I wanted it meant we had to space the fridge up from the floor by 3/4”, we also had to remove material under the battery to drop it roughly 1/4” as well as doing the same with the stove, and also removed material on the piece of wood that would become the lid for the battery compartment.
BCM09557.jpg

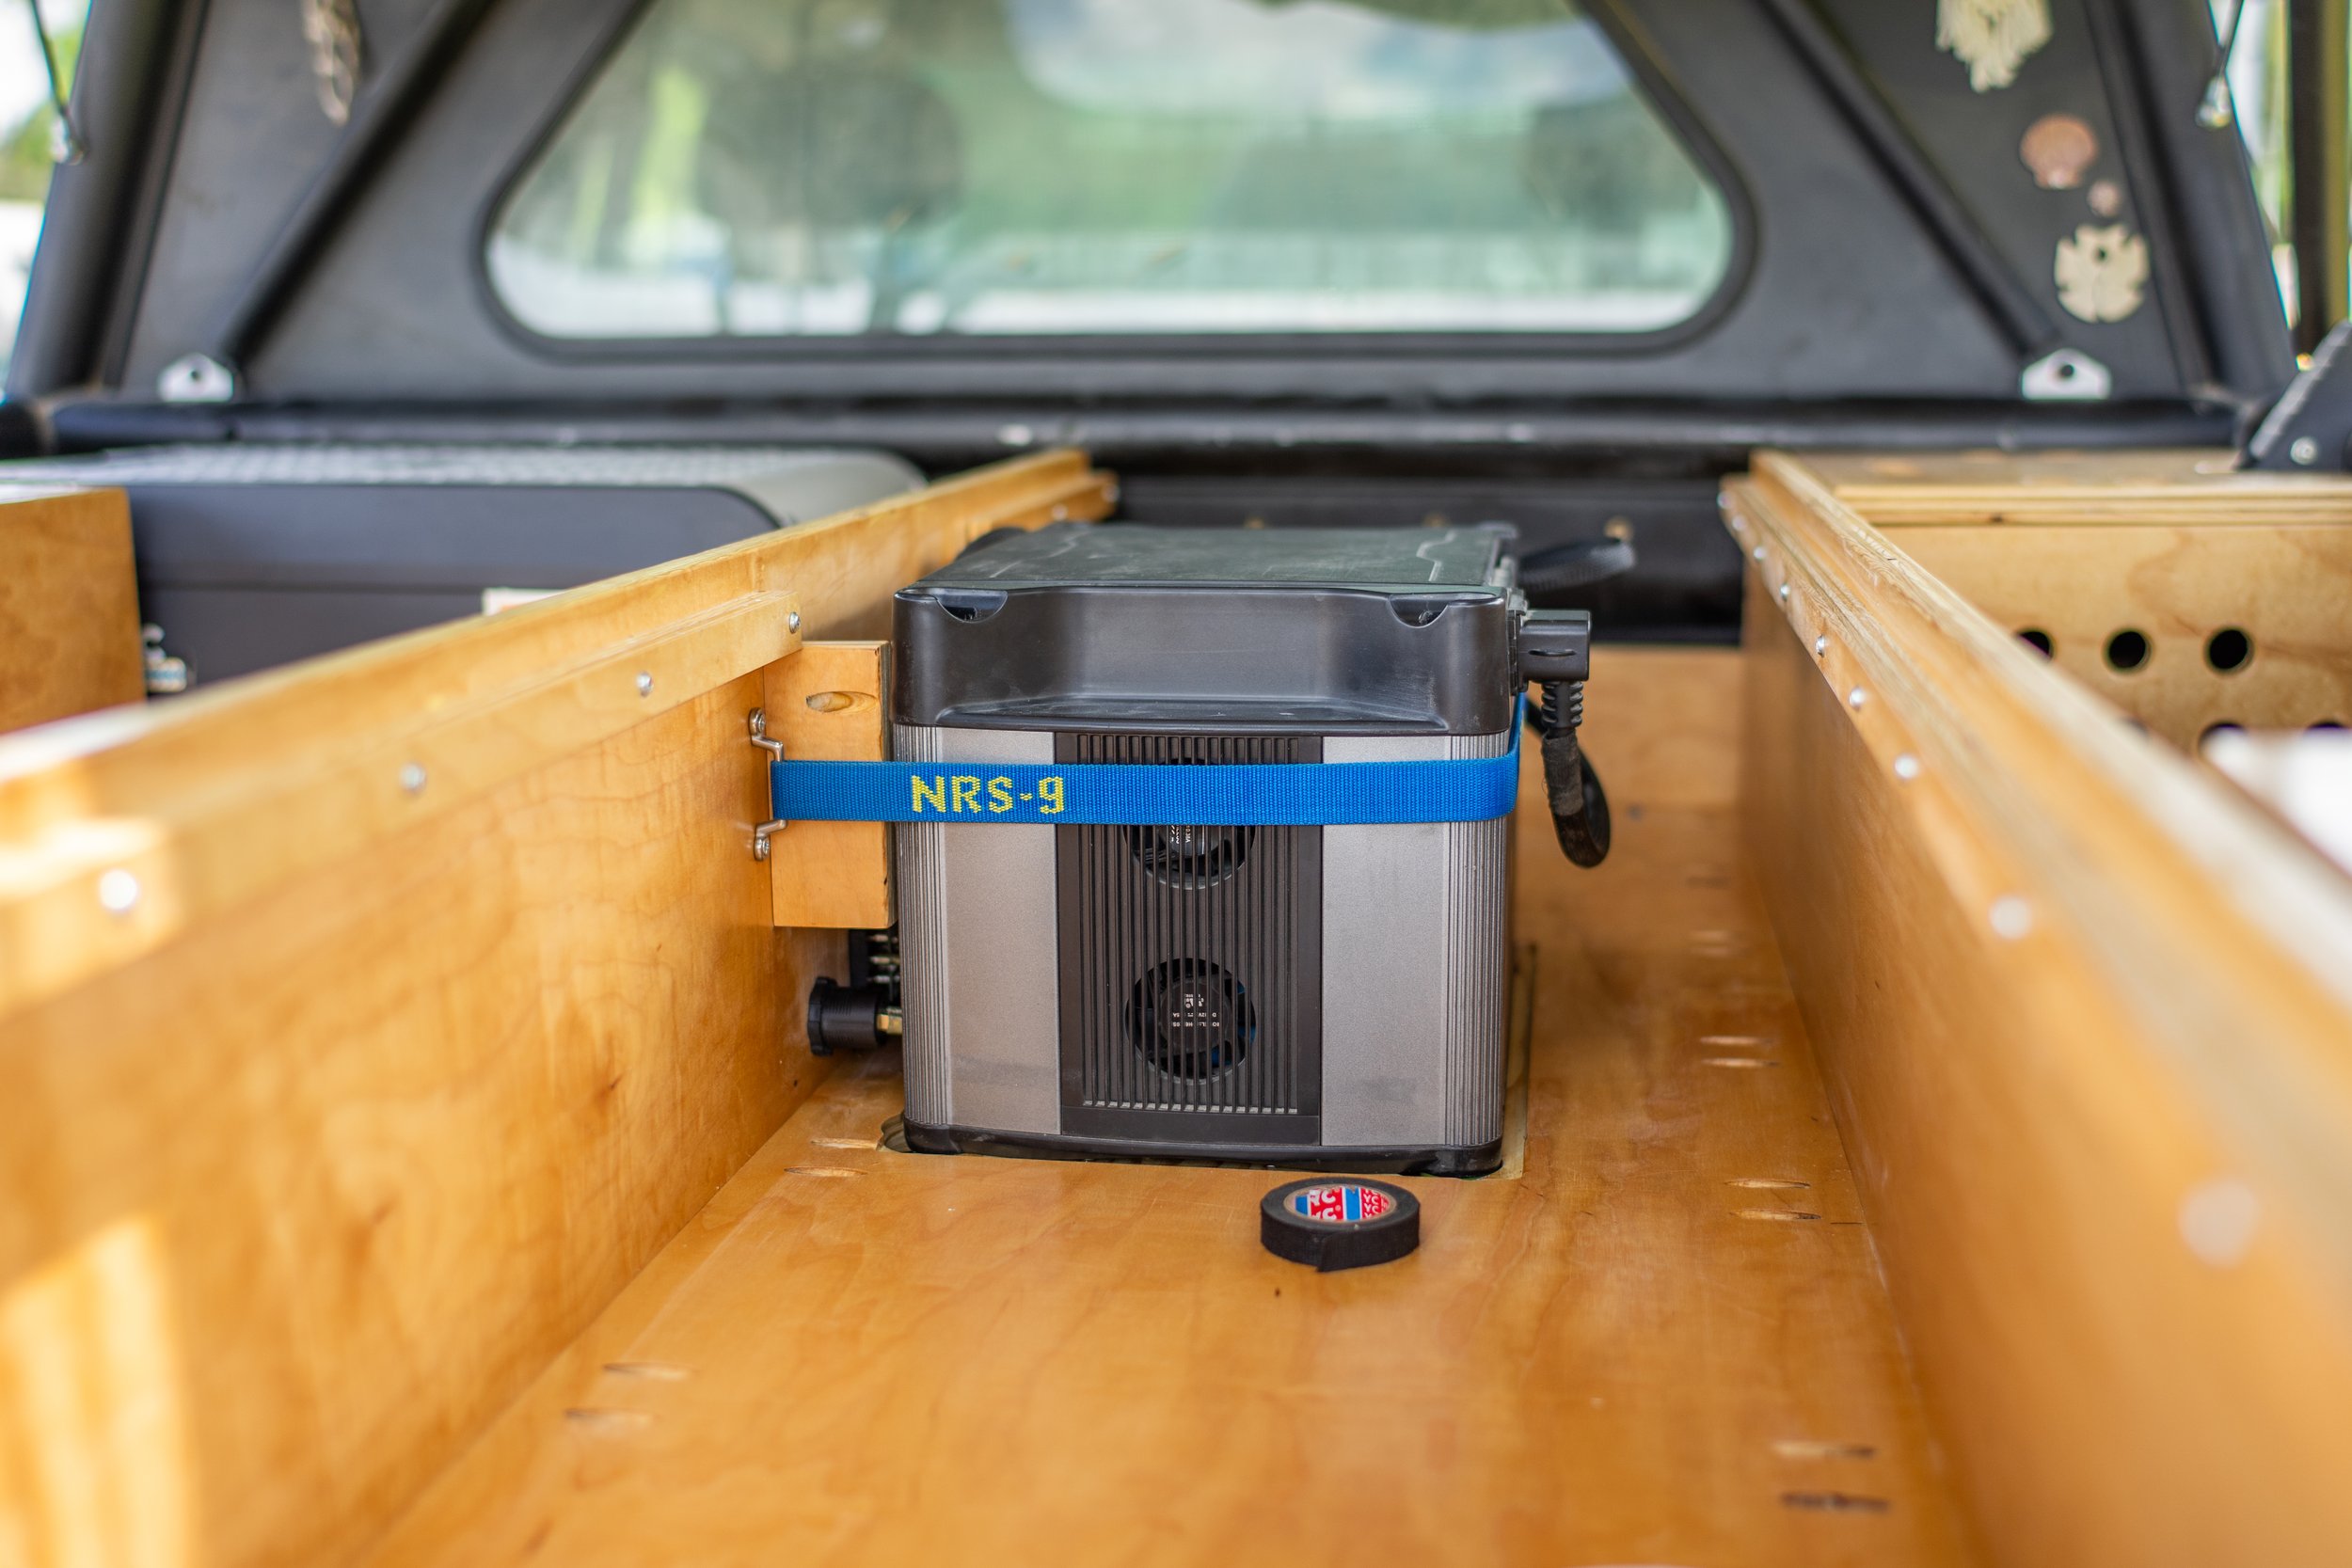
Like before we held the battery in place with a simple NRS strap however instead of strapping the battery to a strip of L-track like before, we used much lighter and simpler strap anchors.
BCM09716.jpg

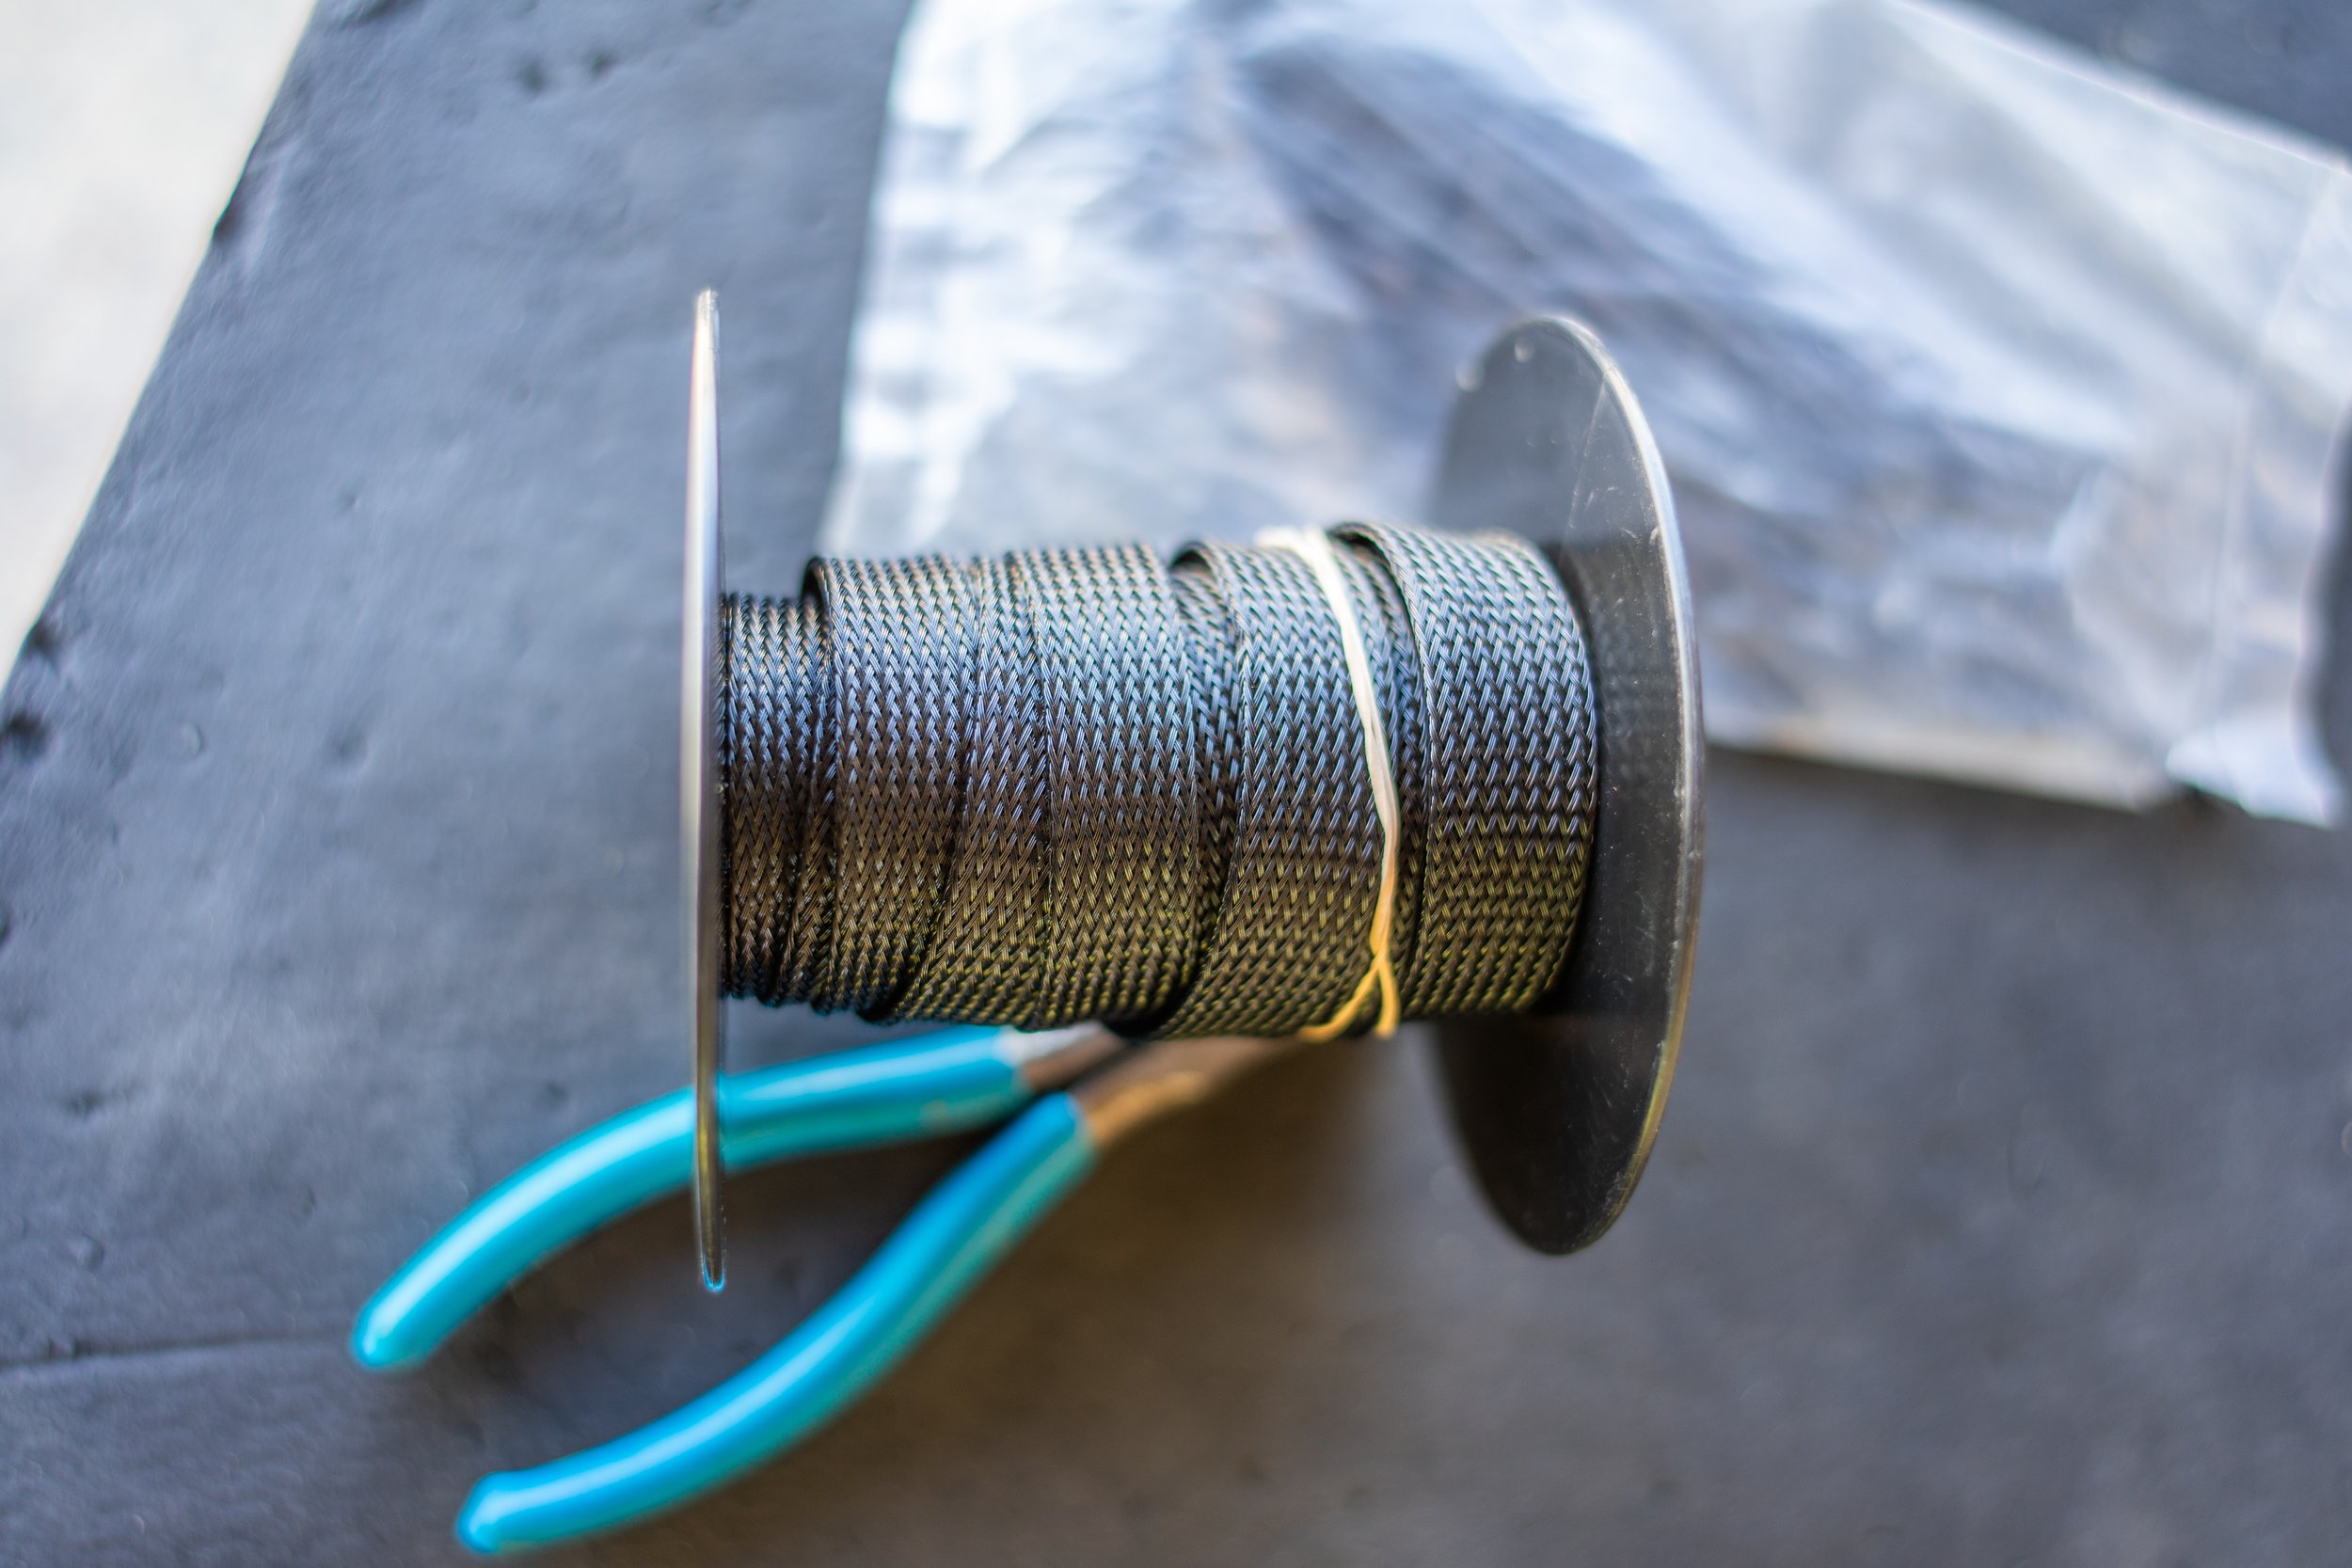
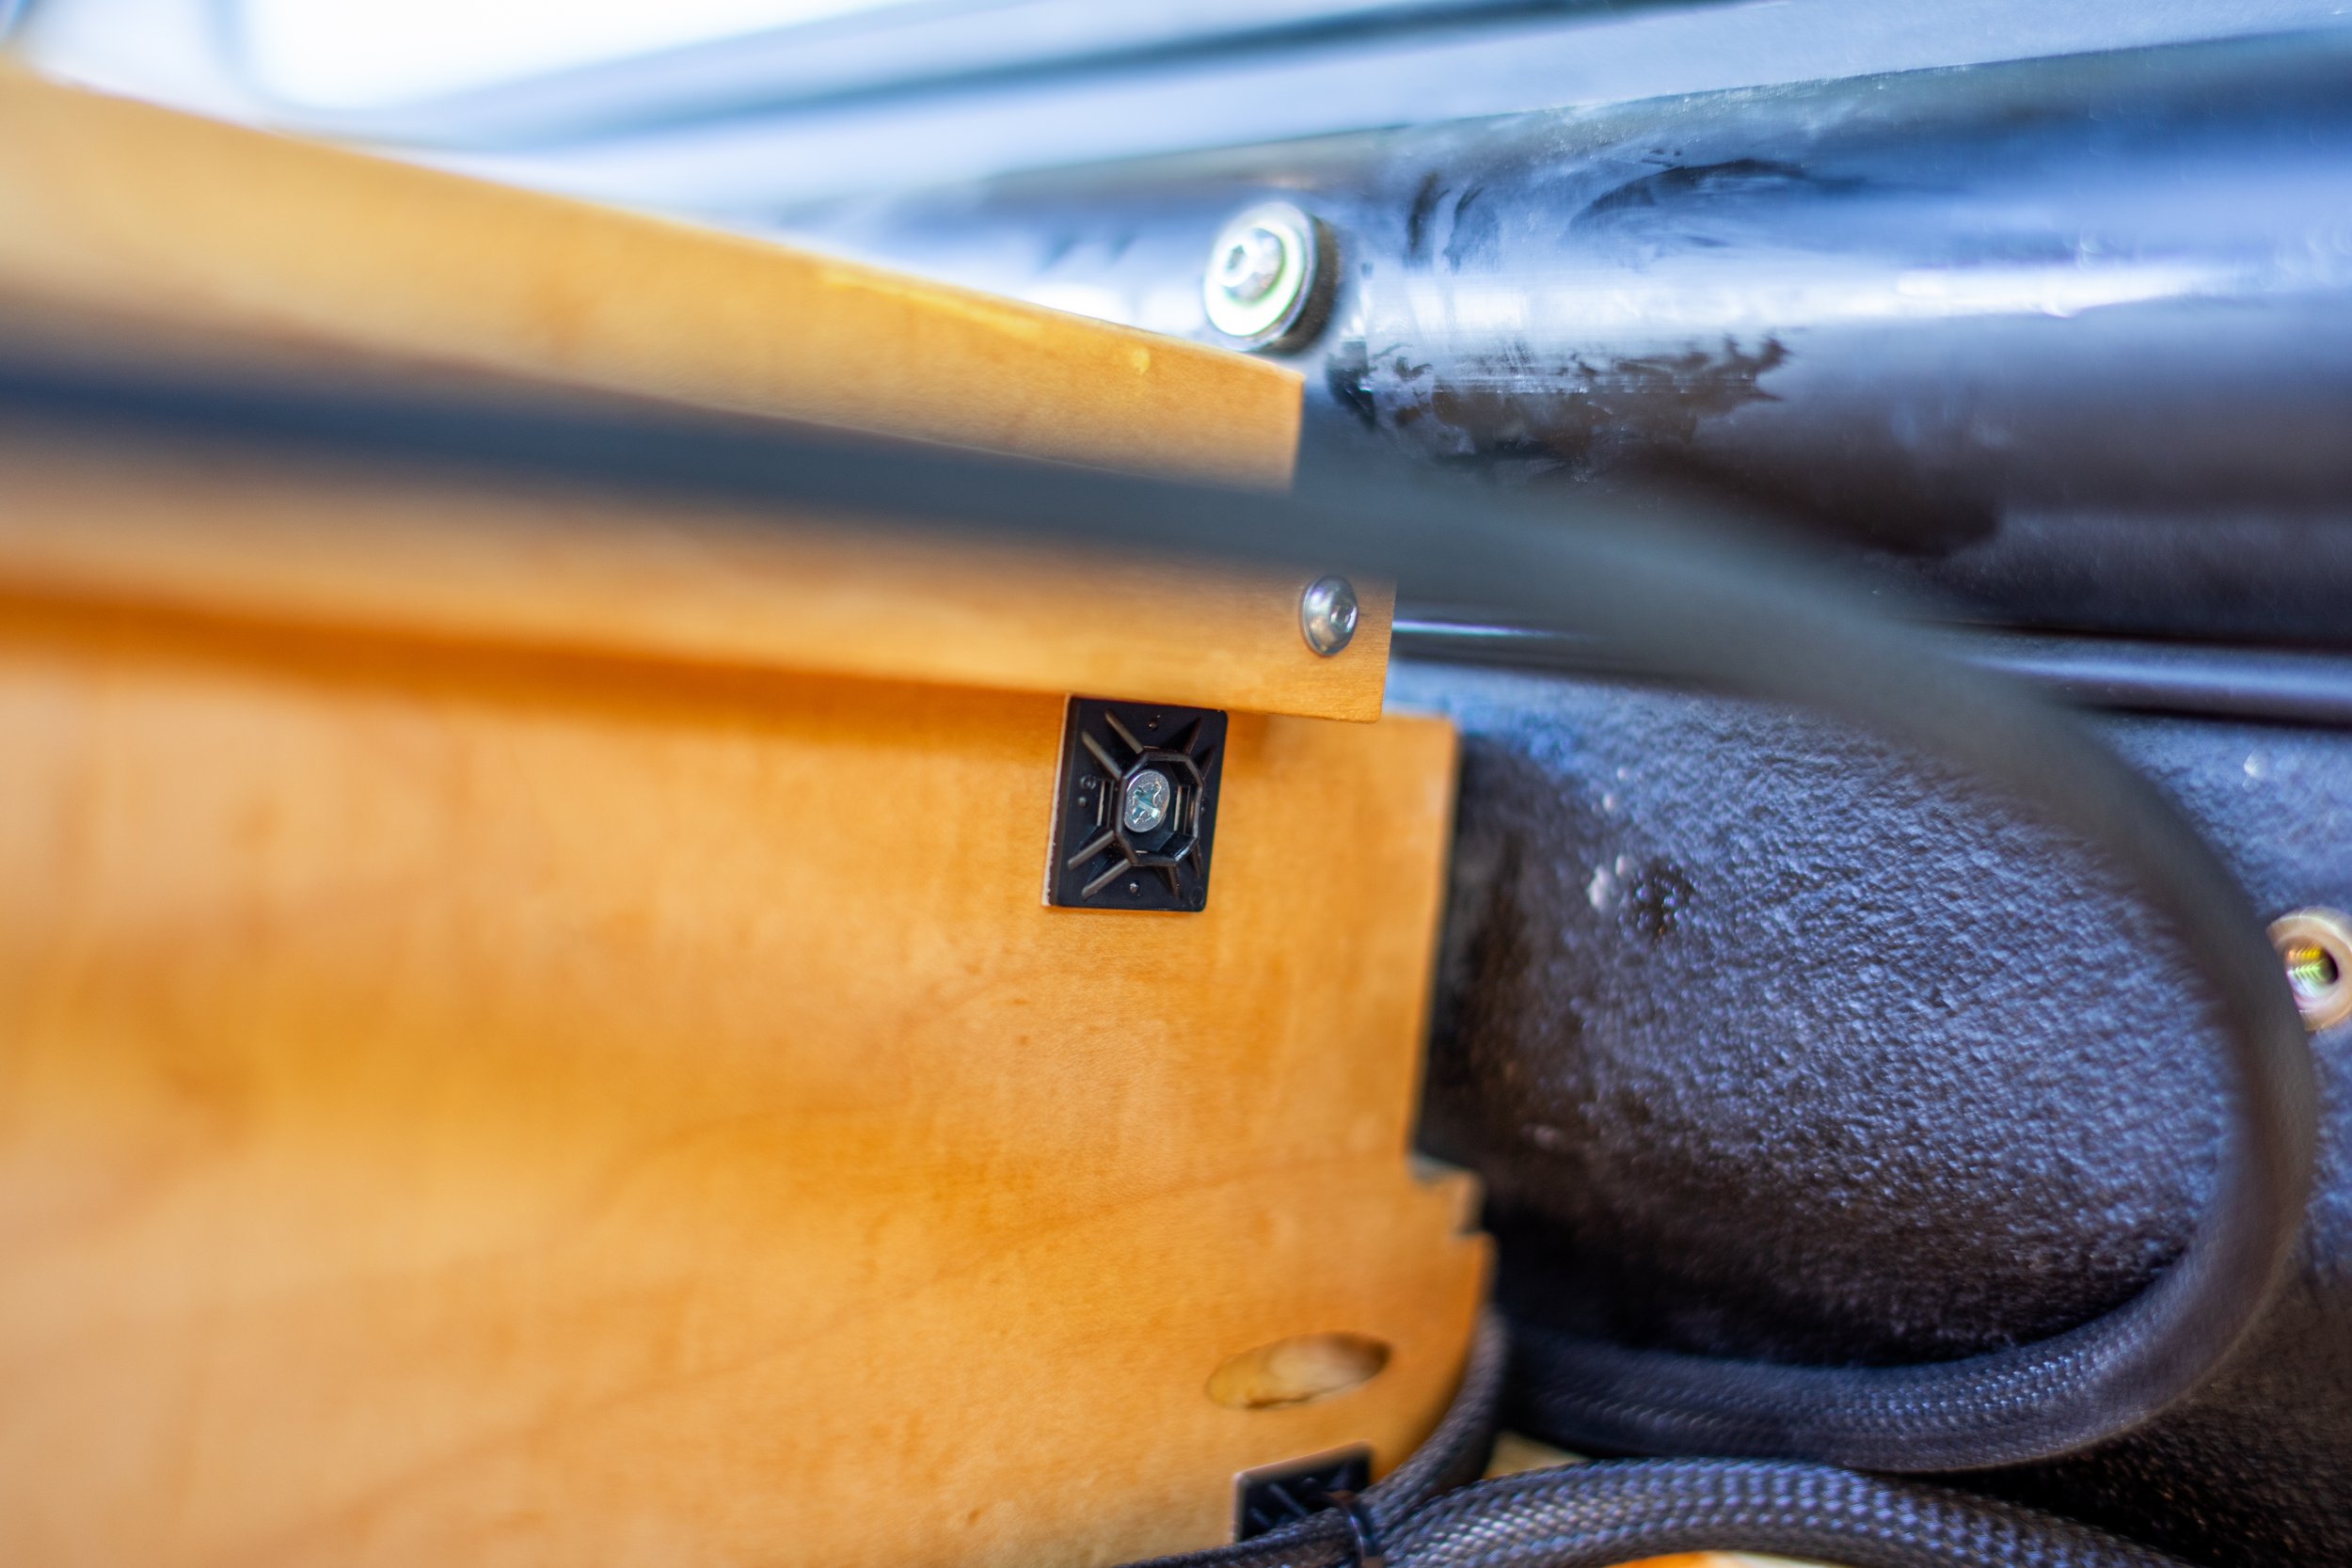
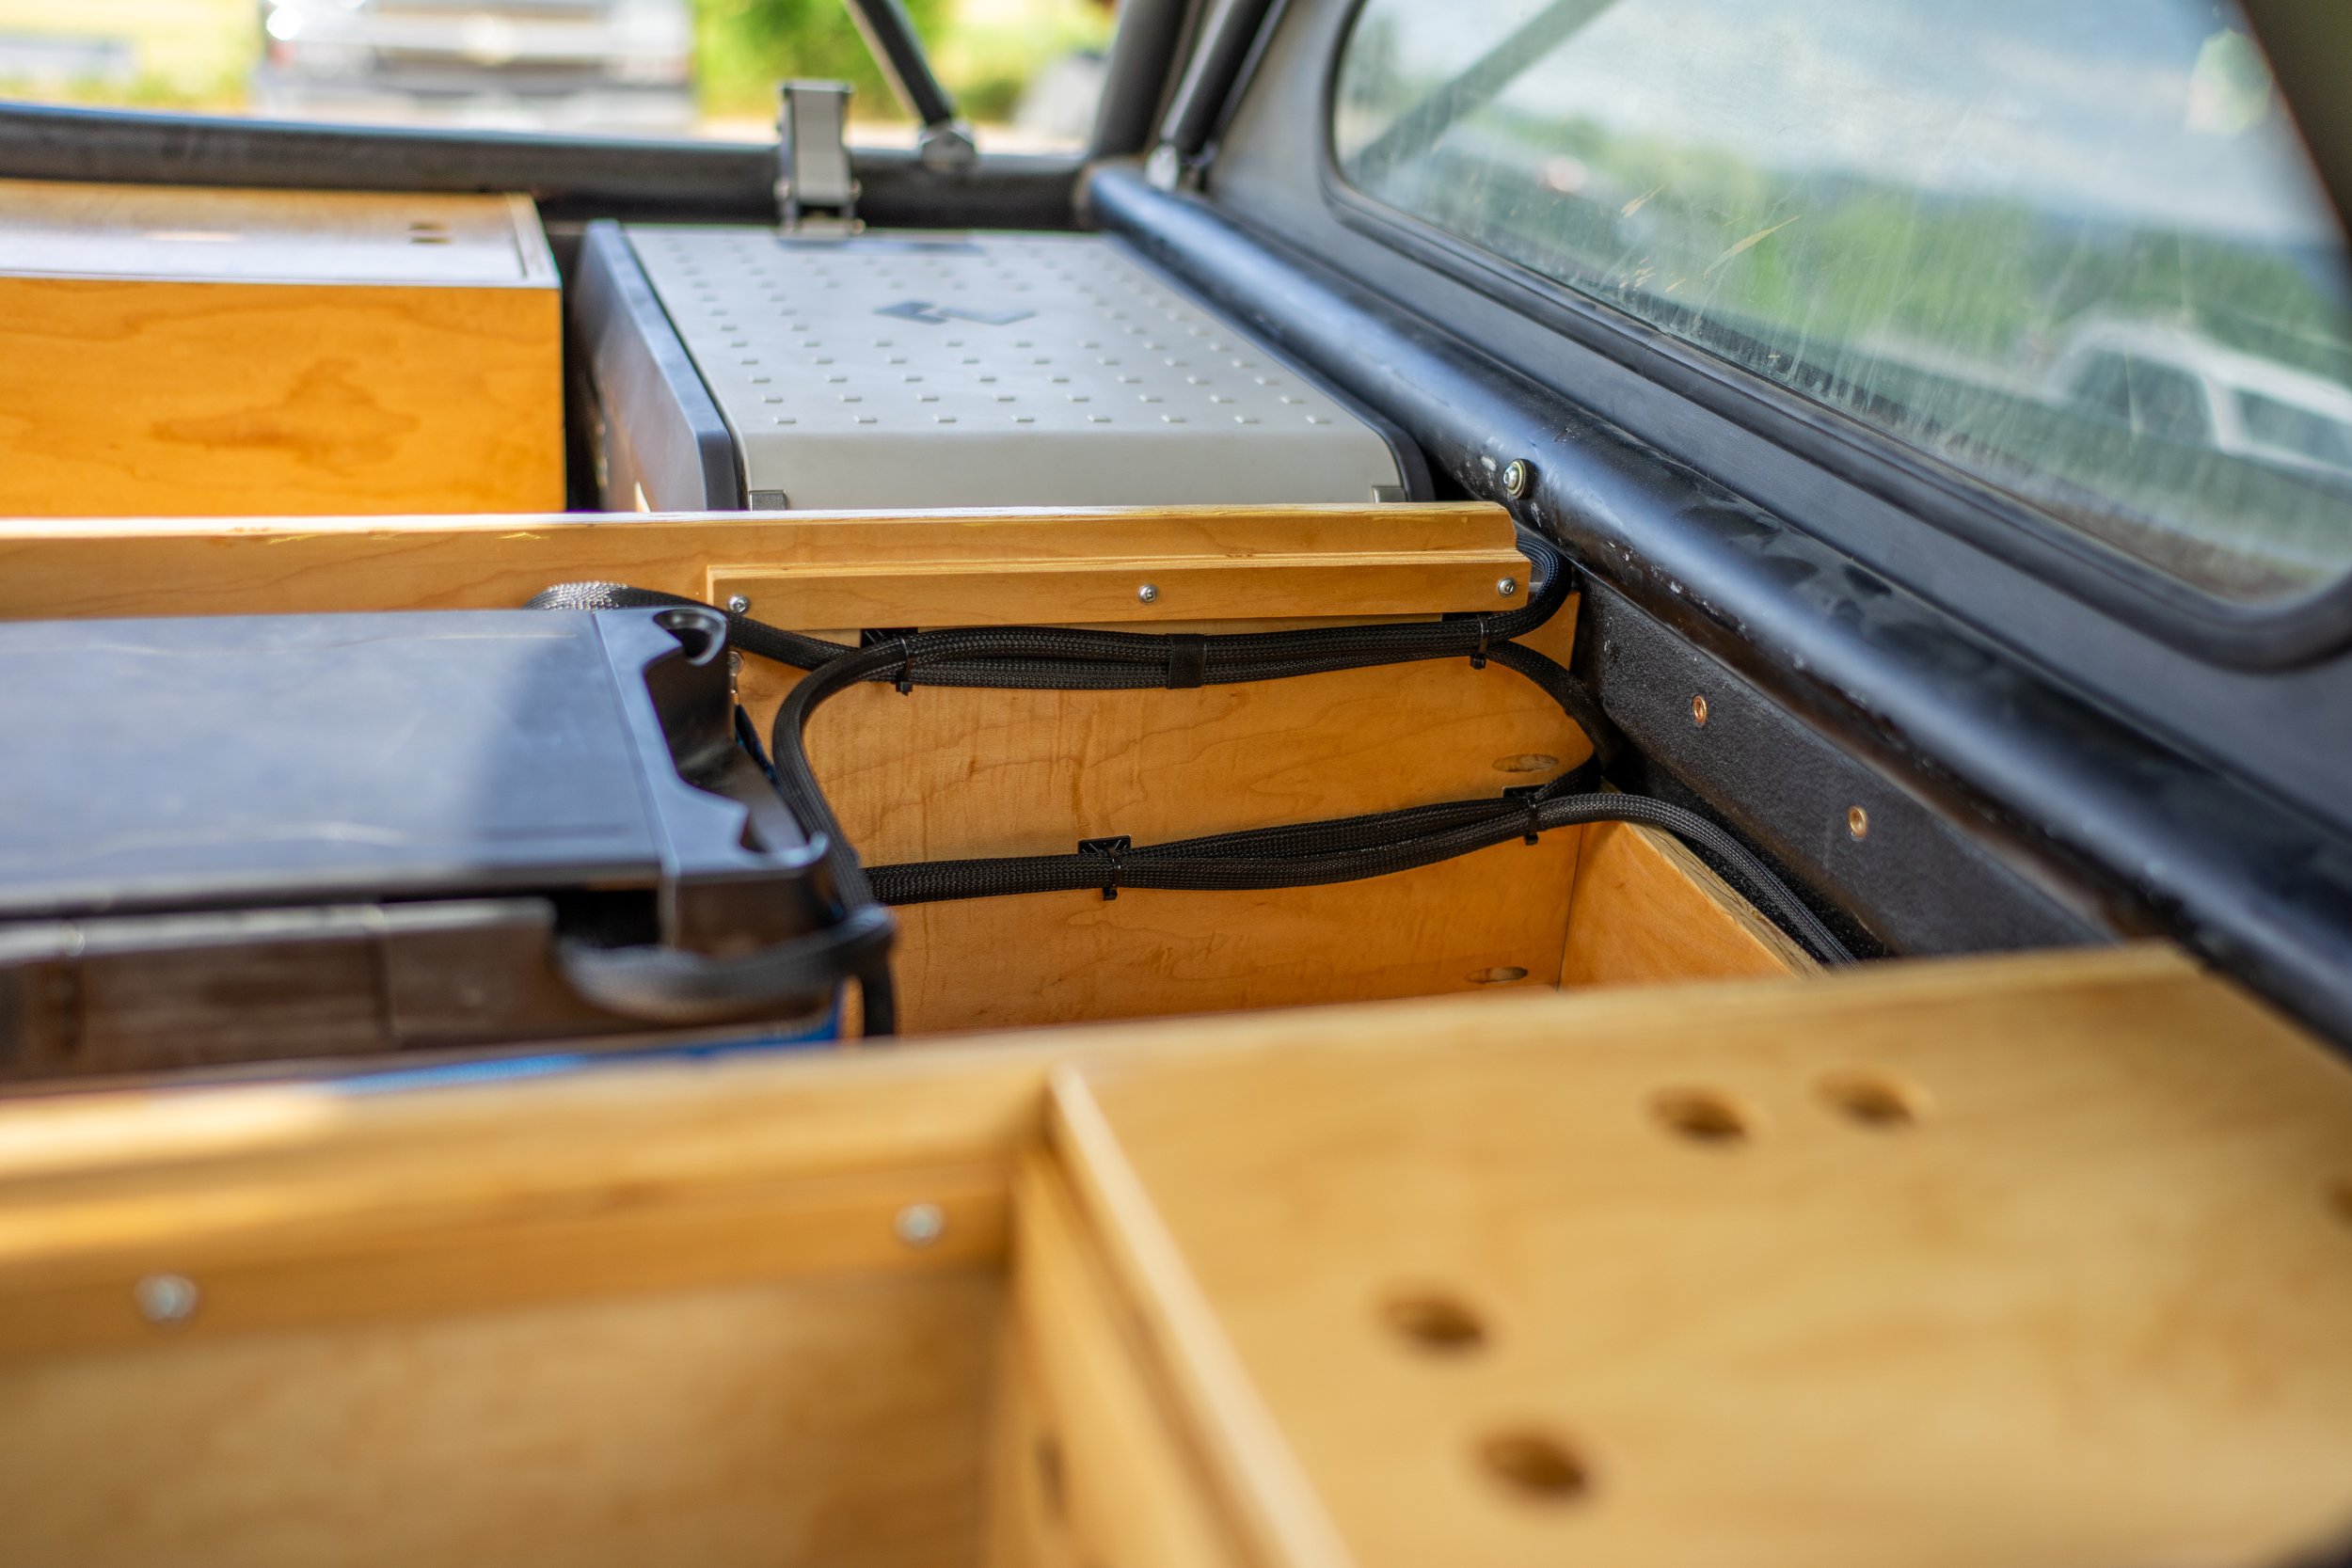
All of the wires running to and from the battery are wrapped in Alex Tech expanding cable sleeves to help protect them from wear, they were then secured in place with zip tie anchors screwed to the cabinet walls.
BCM09645.jpg

BCM09679.jpg

BCM09720.jpg

The battery and solar setup stayed the same except for the addition of a blue sea 12v break/distribution panel. This panel receives power from the house battery and then splits it to three different places at the moment, our fridge and two 65-watt USB-C ports, one that is in the cab and one in the back seen in the photo below. The addition of these ports means that we are able to power our laptops from either the cab or the back, without needing to turn the truck on or running the inverter on the Goal Zero. The panel has several unused switches at the moment that will allow us to expand this electrical system to include things like a diesel heater, or exterior lights in the future.
BCM09681.jpg

BCM09639.jpg

We secured the fridge like we had before using the same L-Track hardware and NRS straps that we had used in the previous version of our build.
BCM09713.jpg

BCM00128.jpg

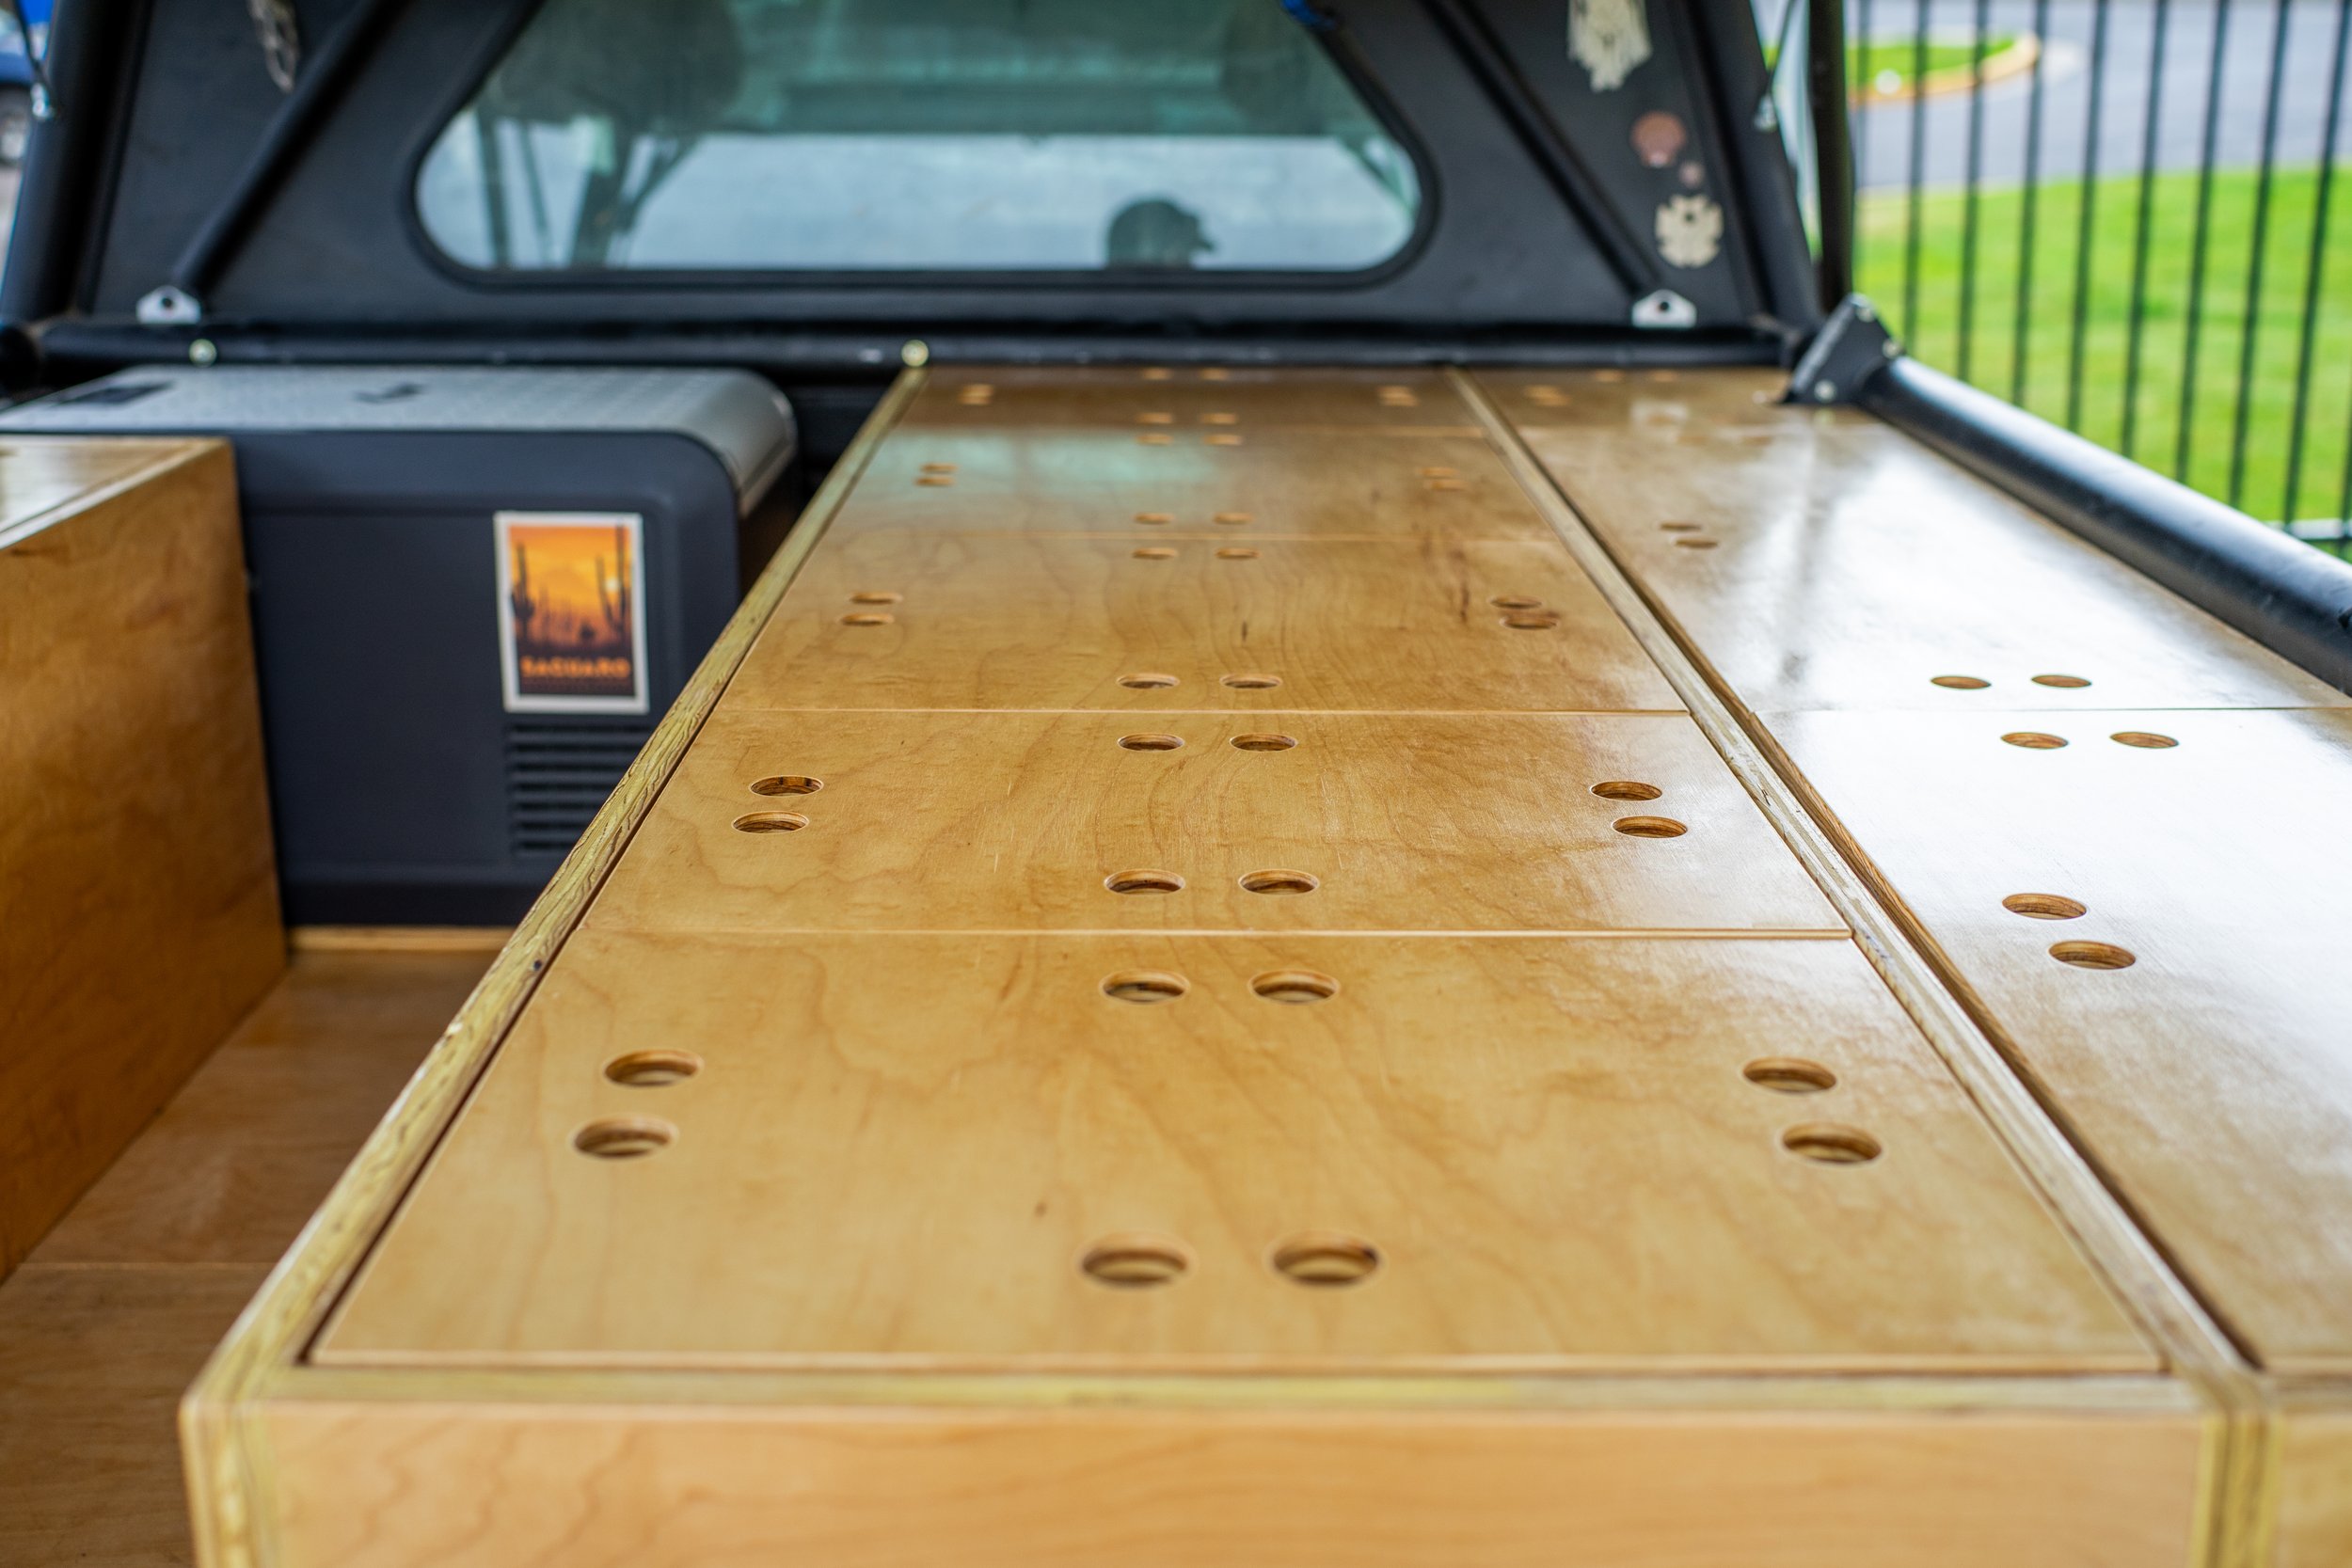
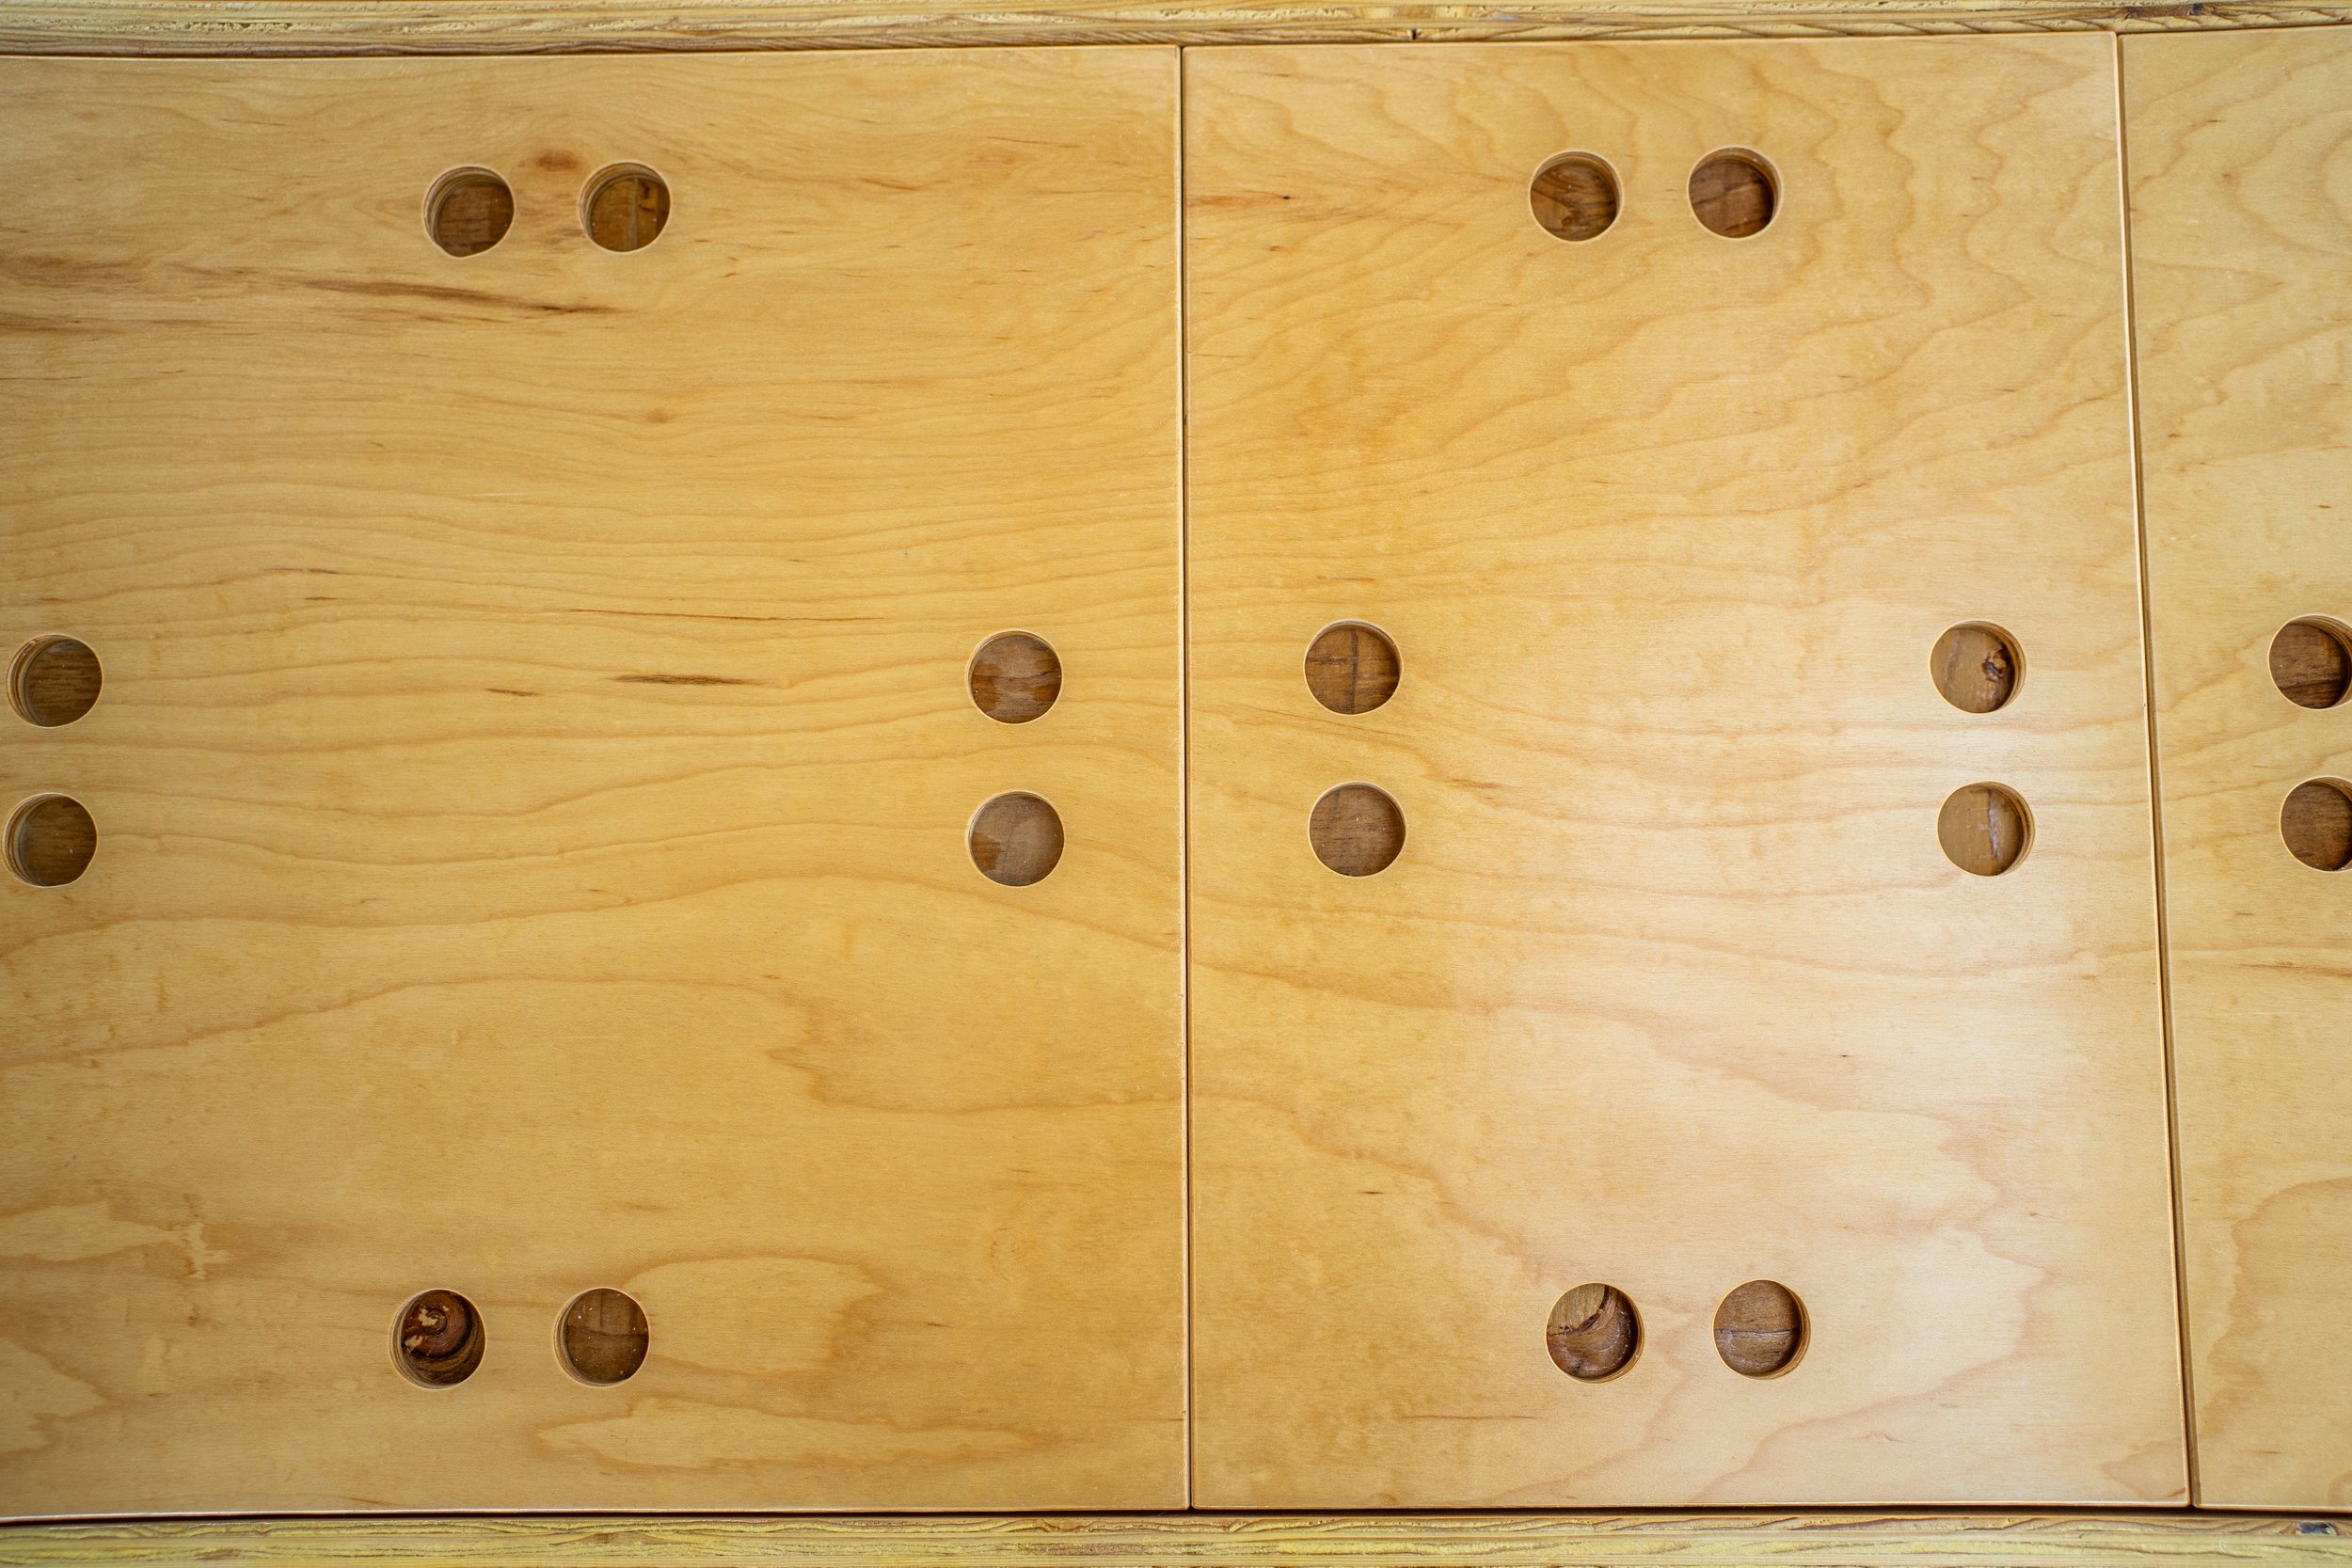
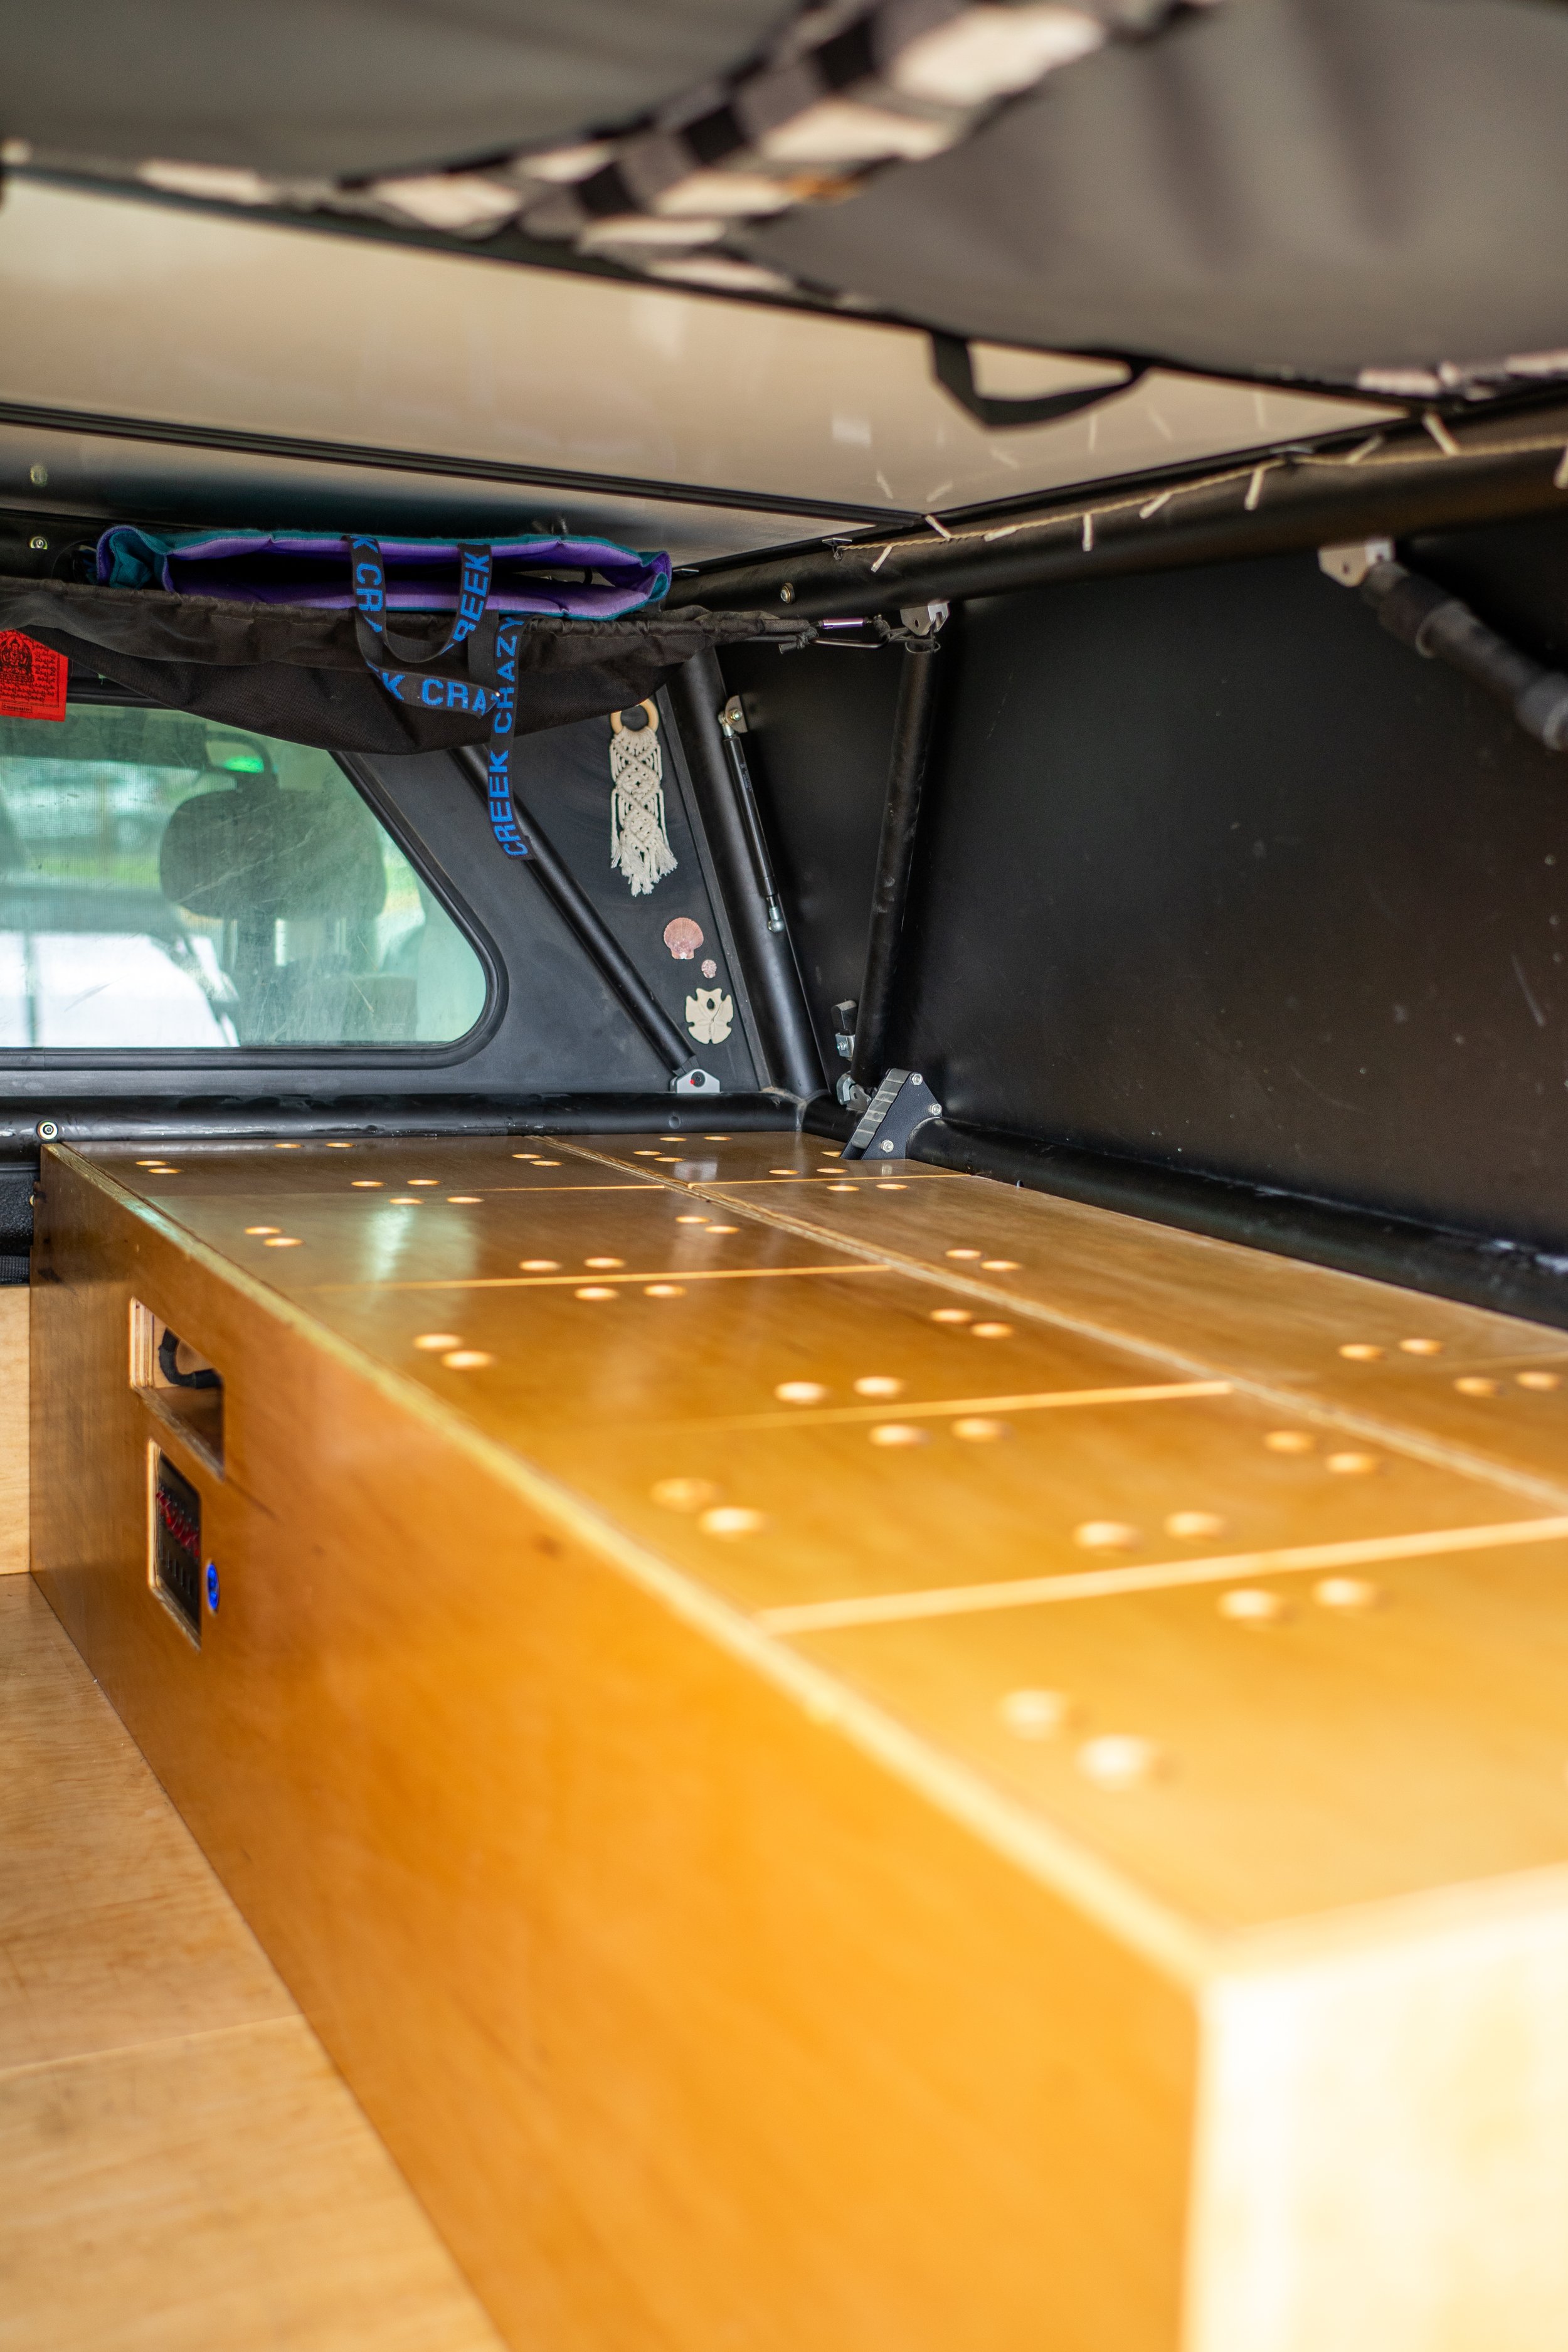
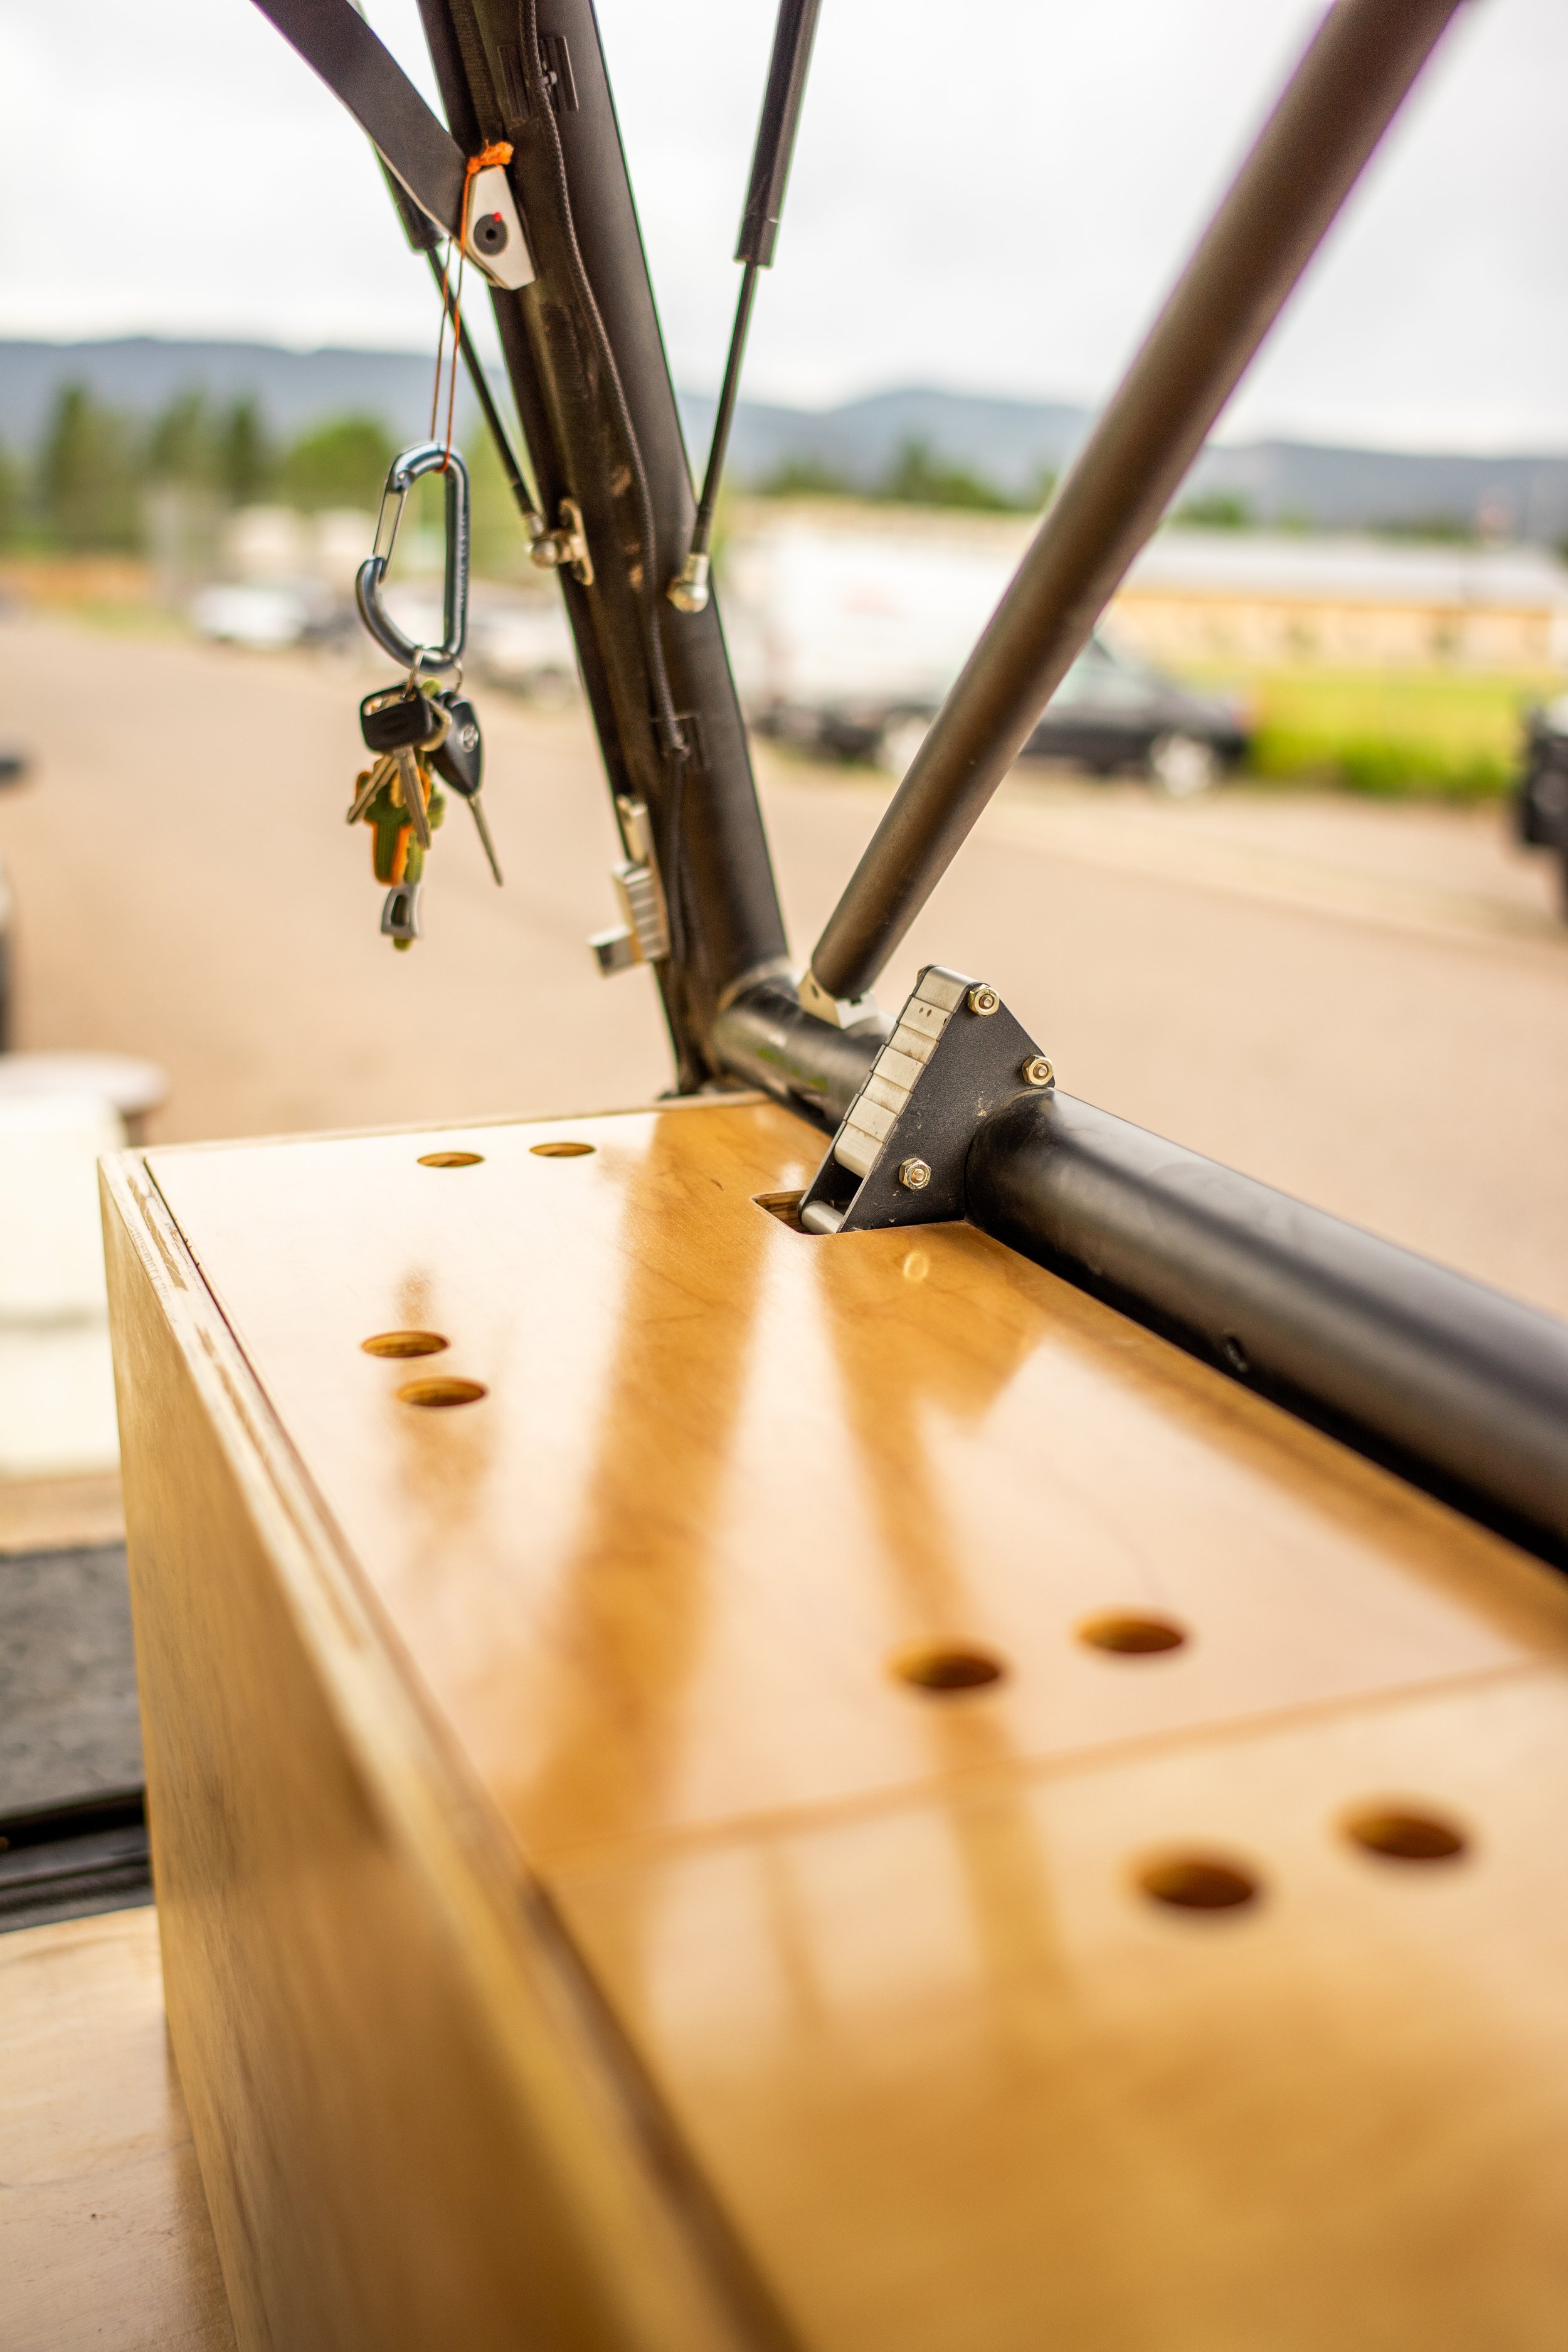
In our previous build, we covered all our clothes and food in a similar way with a simple wood lid, that worked great but had one small problem. The finger holes that we drilled into them that made them easy to open also allowed a lot of dirt, sand, and dog hair to fall into all the contents below. This time instead of drilling all the way through the lids I routered in two holes side by side that went 90% of the way through the boards, but not all the way so hopefully we have less dirt falling into our things. For the sake of form, all the lid tops are cut and arranged from the same piece of 3/4” maple, so that they have continuous grain.
BCM09691.jpg

BCM09692.jpg
 

DirtTrailsWanted

Active member
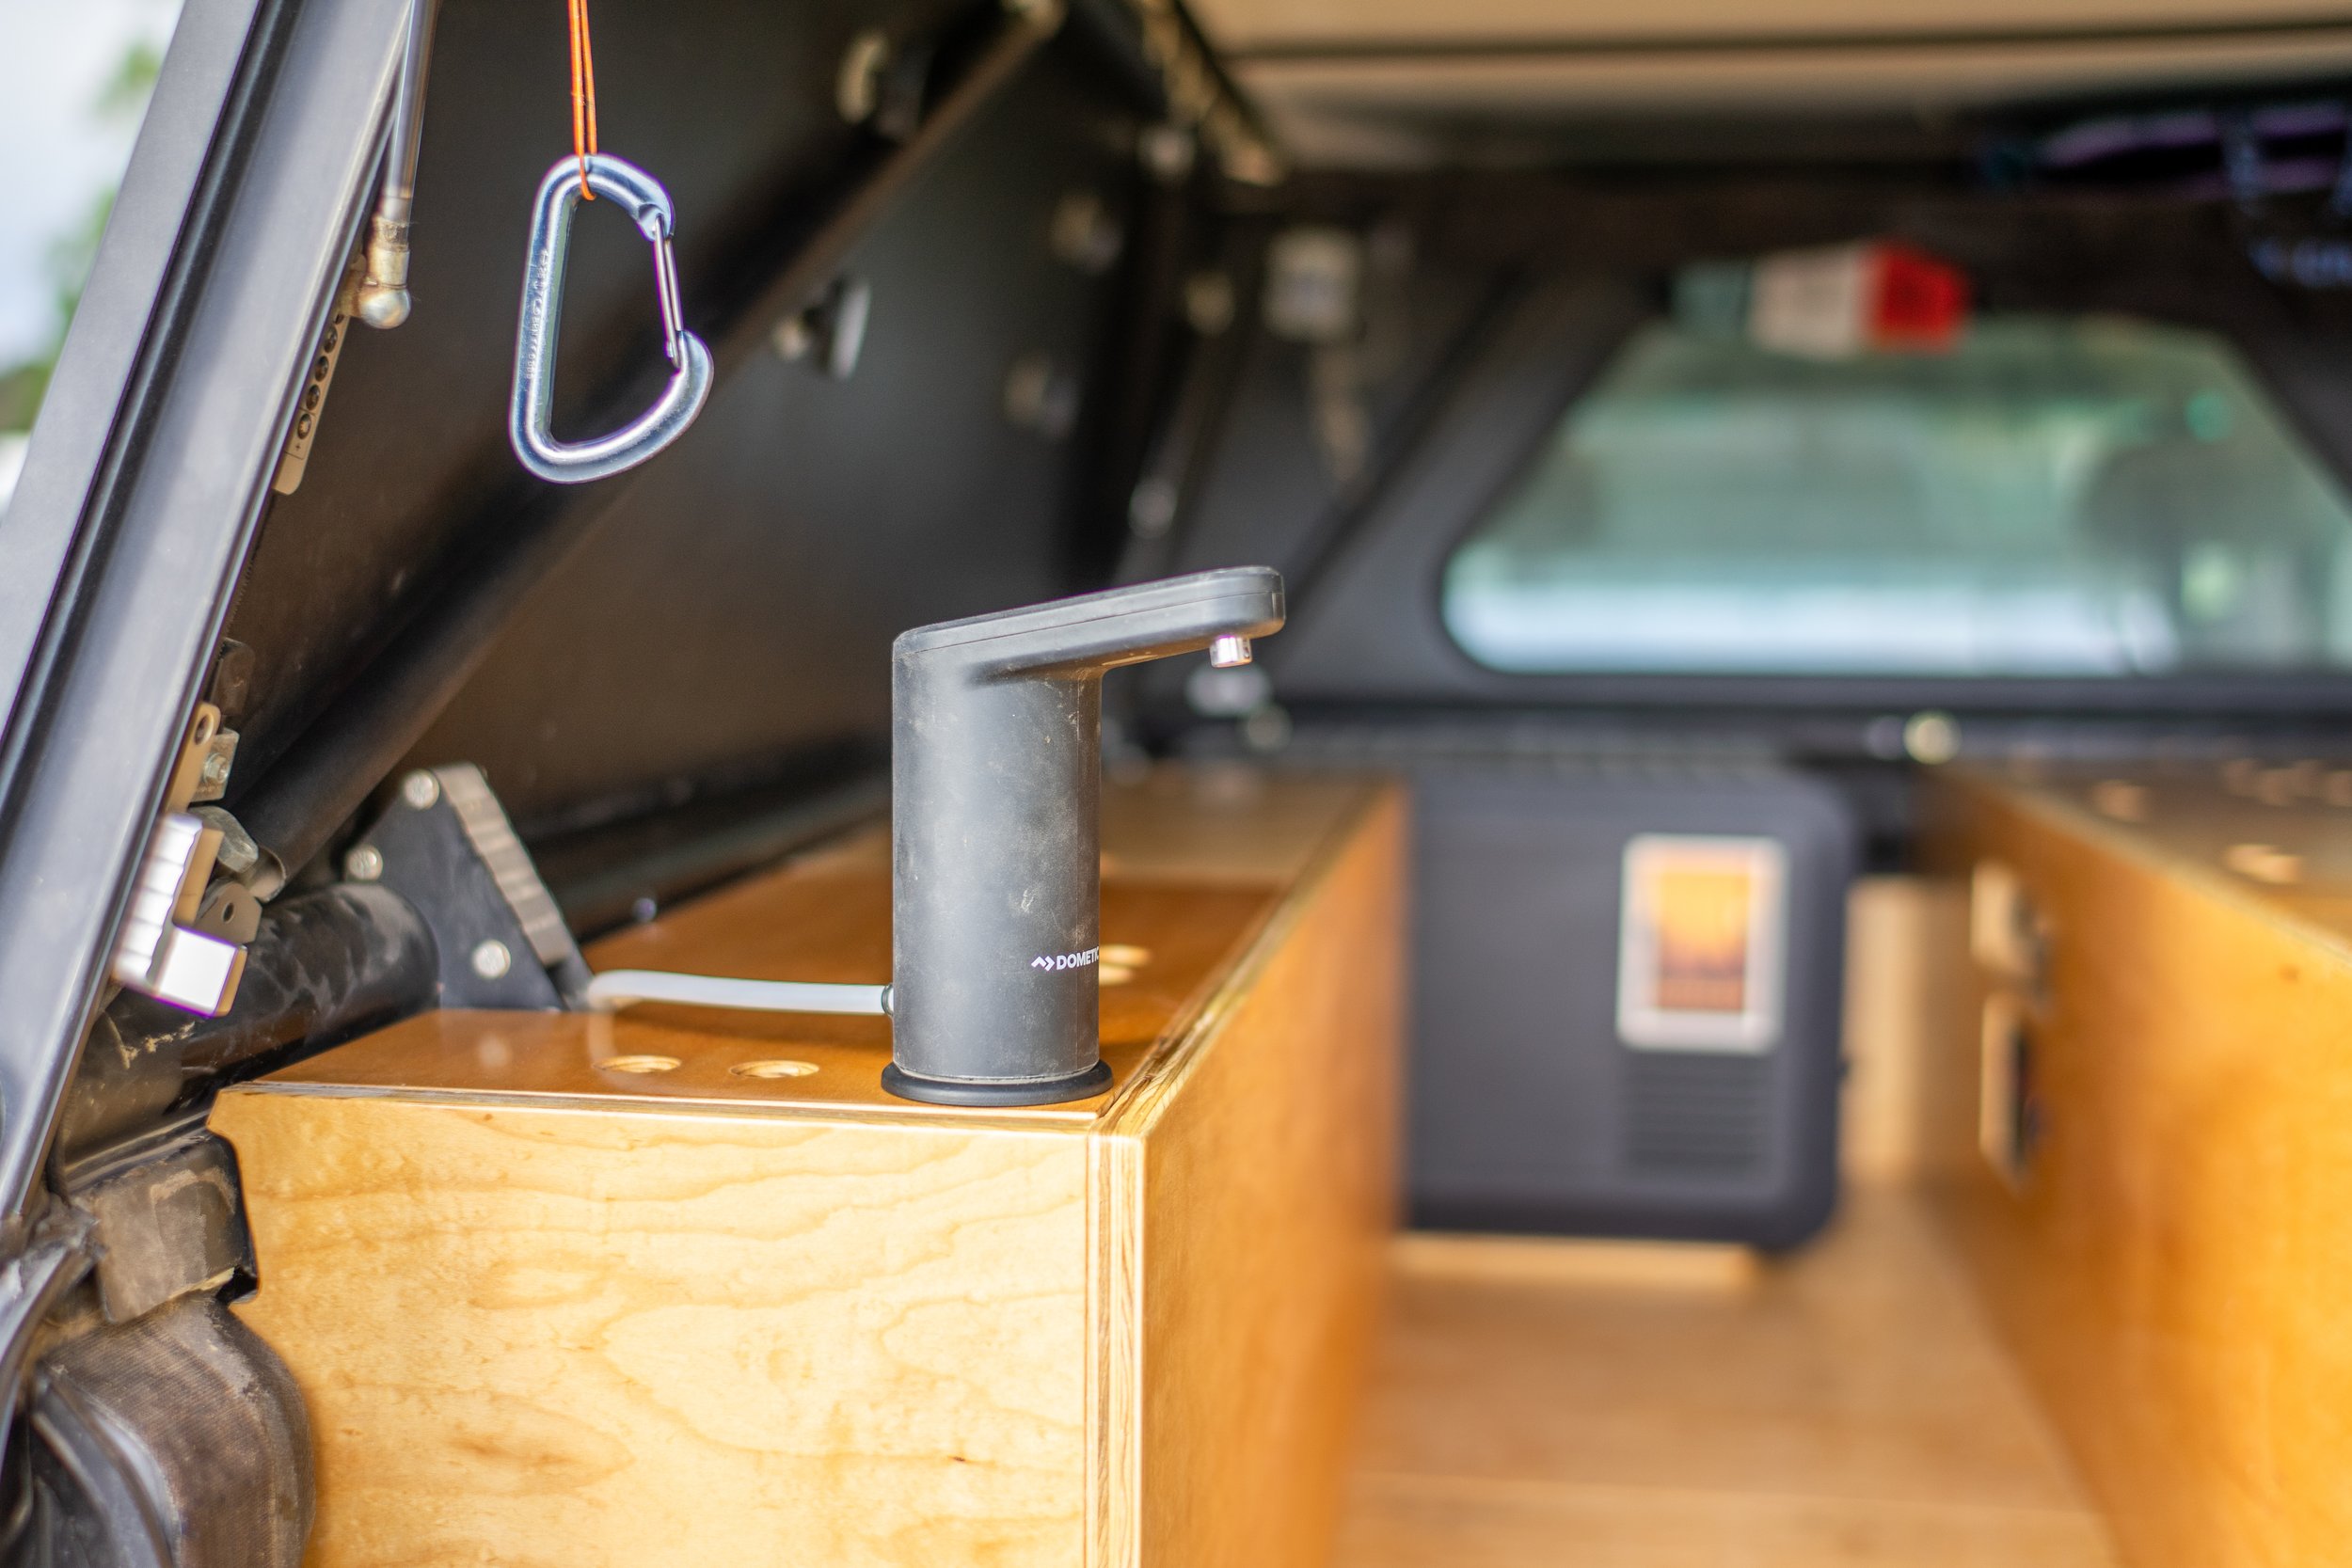
We are using the same water system that we had in our previous setup. the Dometic Go Hydration water jugs and Faucet, however, we added a 3rd water jug, bumping the total capacity to just over 35L, they advertise that the jugs are 11L each but they hold roughly two liters more.
BCM09711.jpg

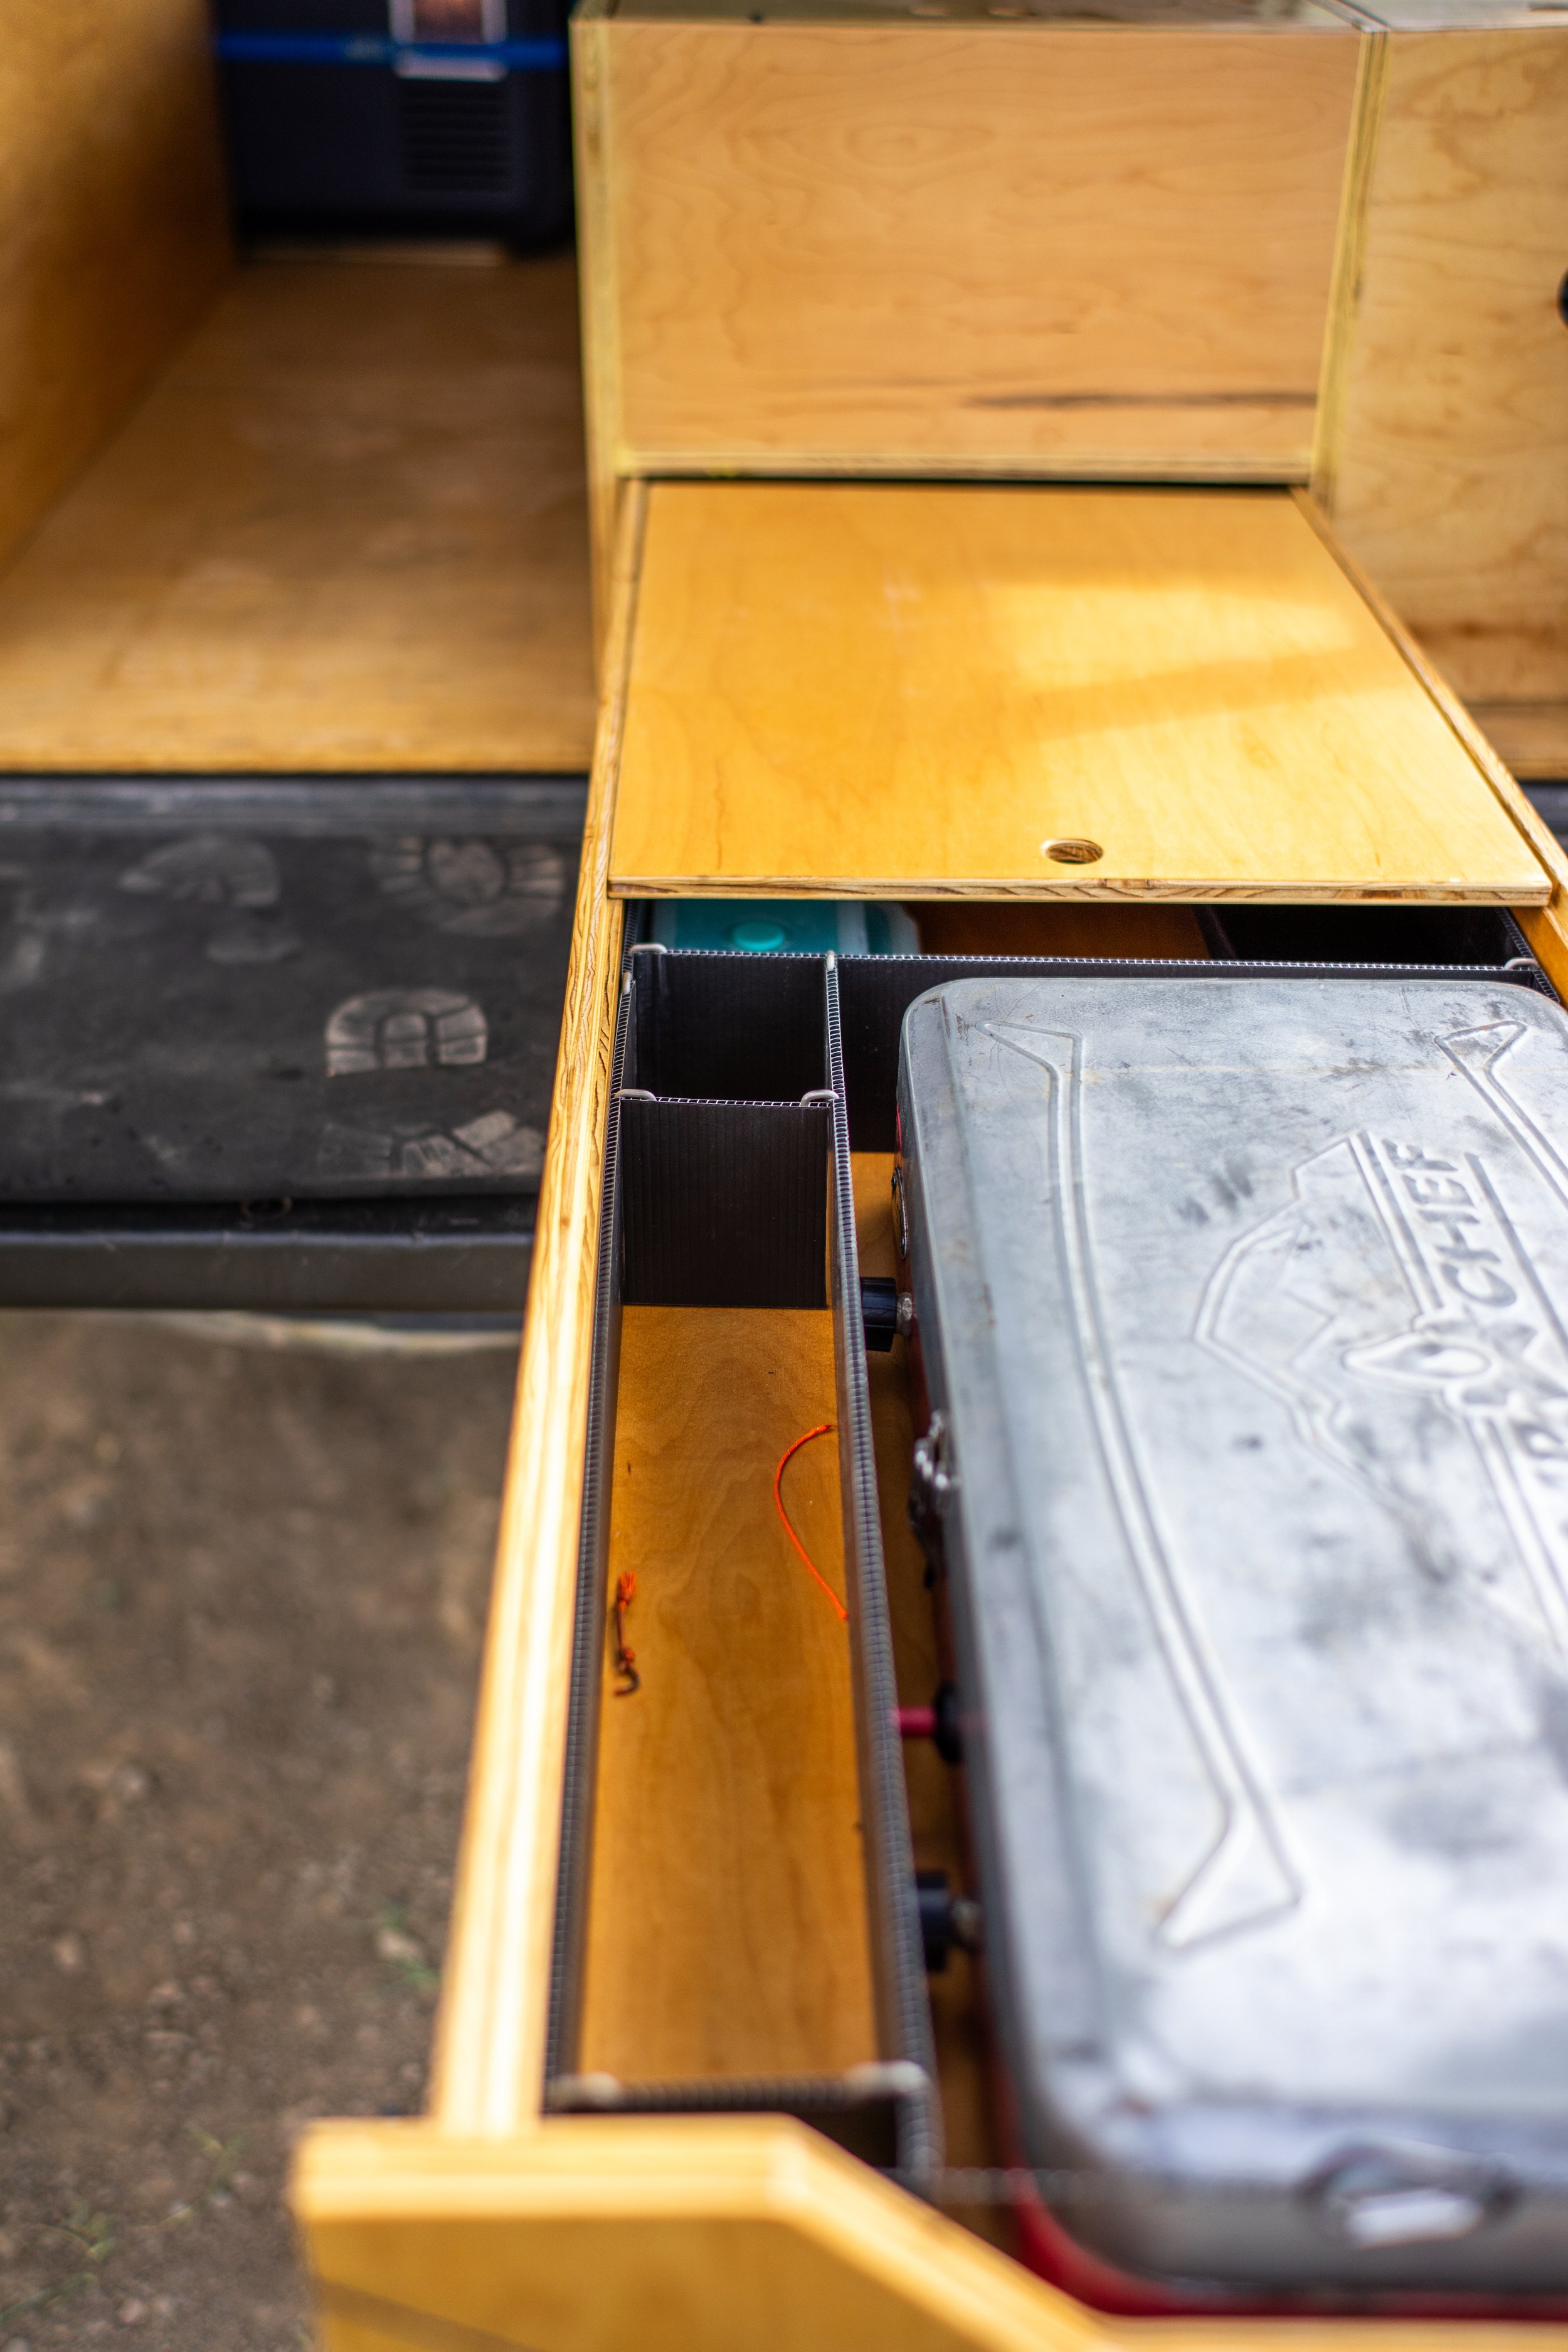
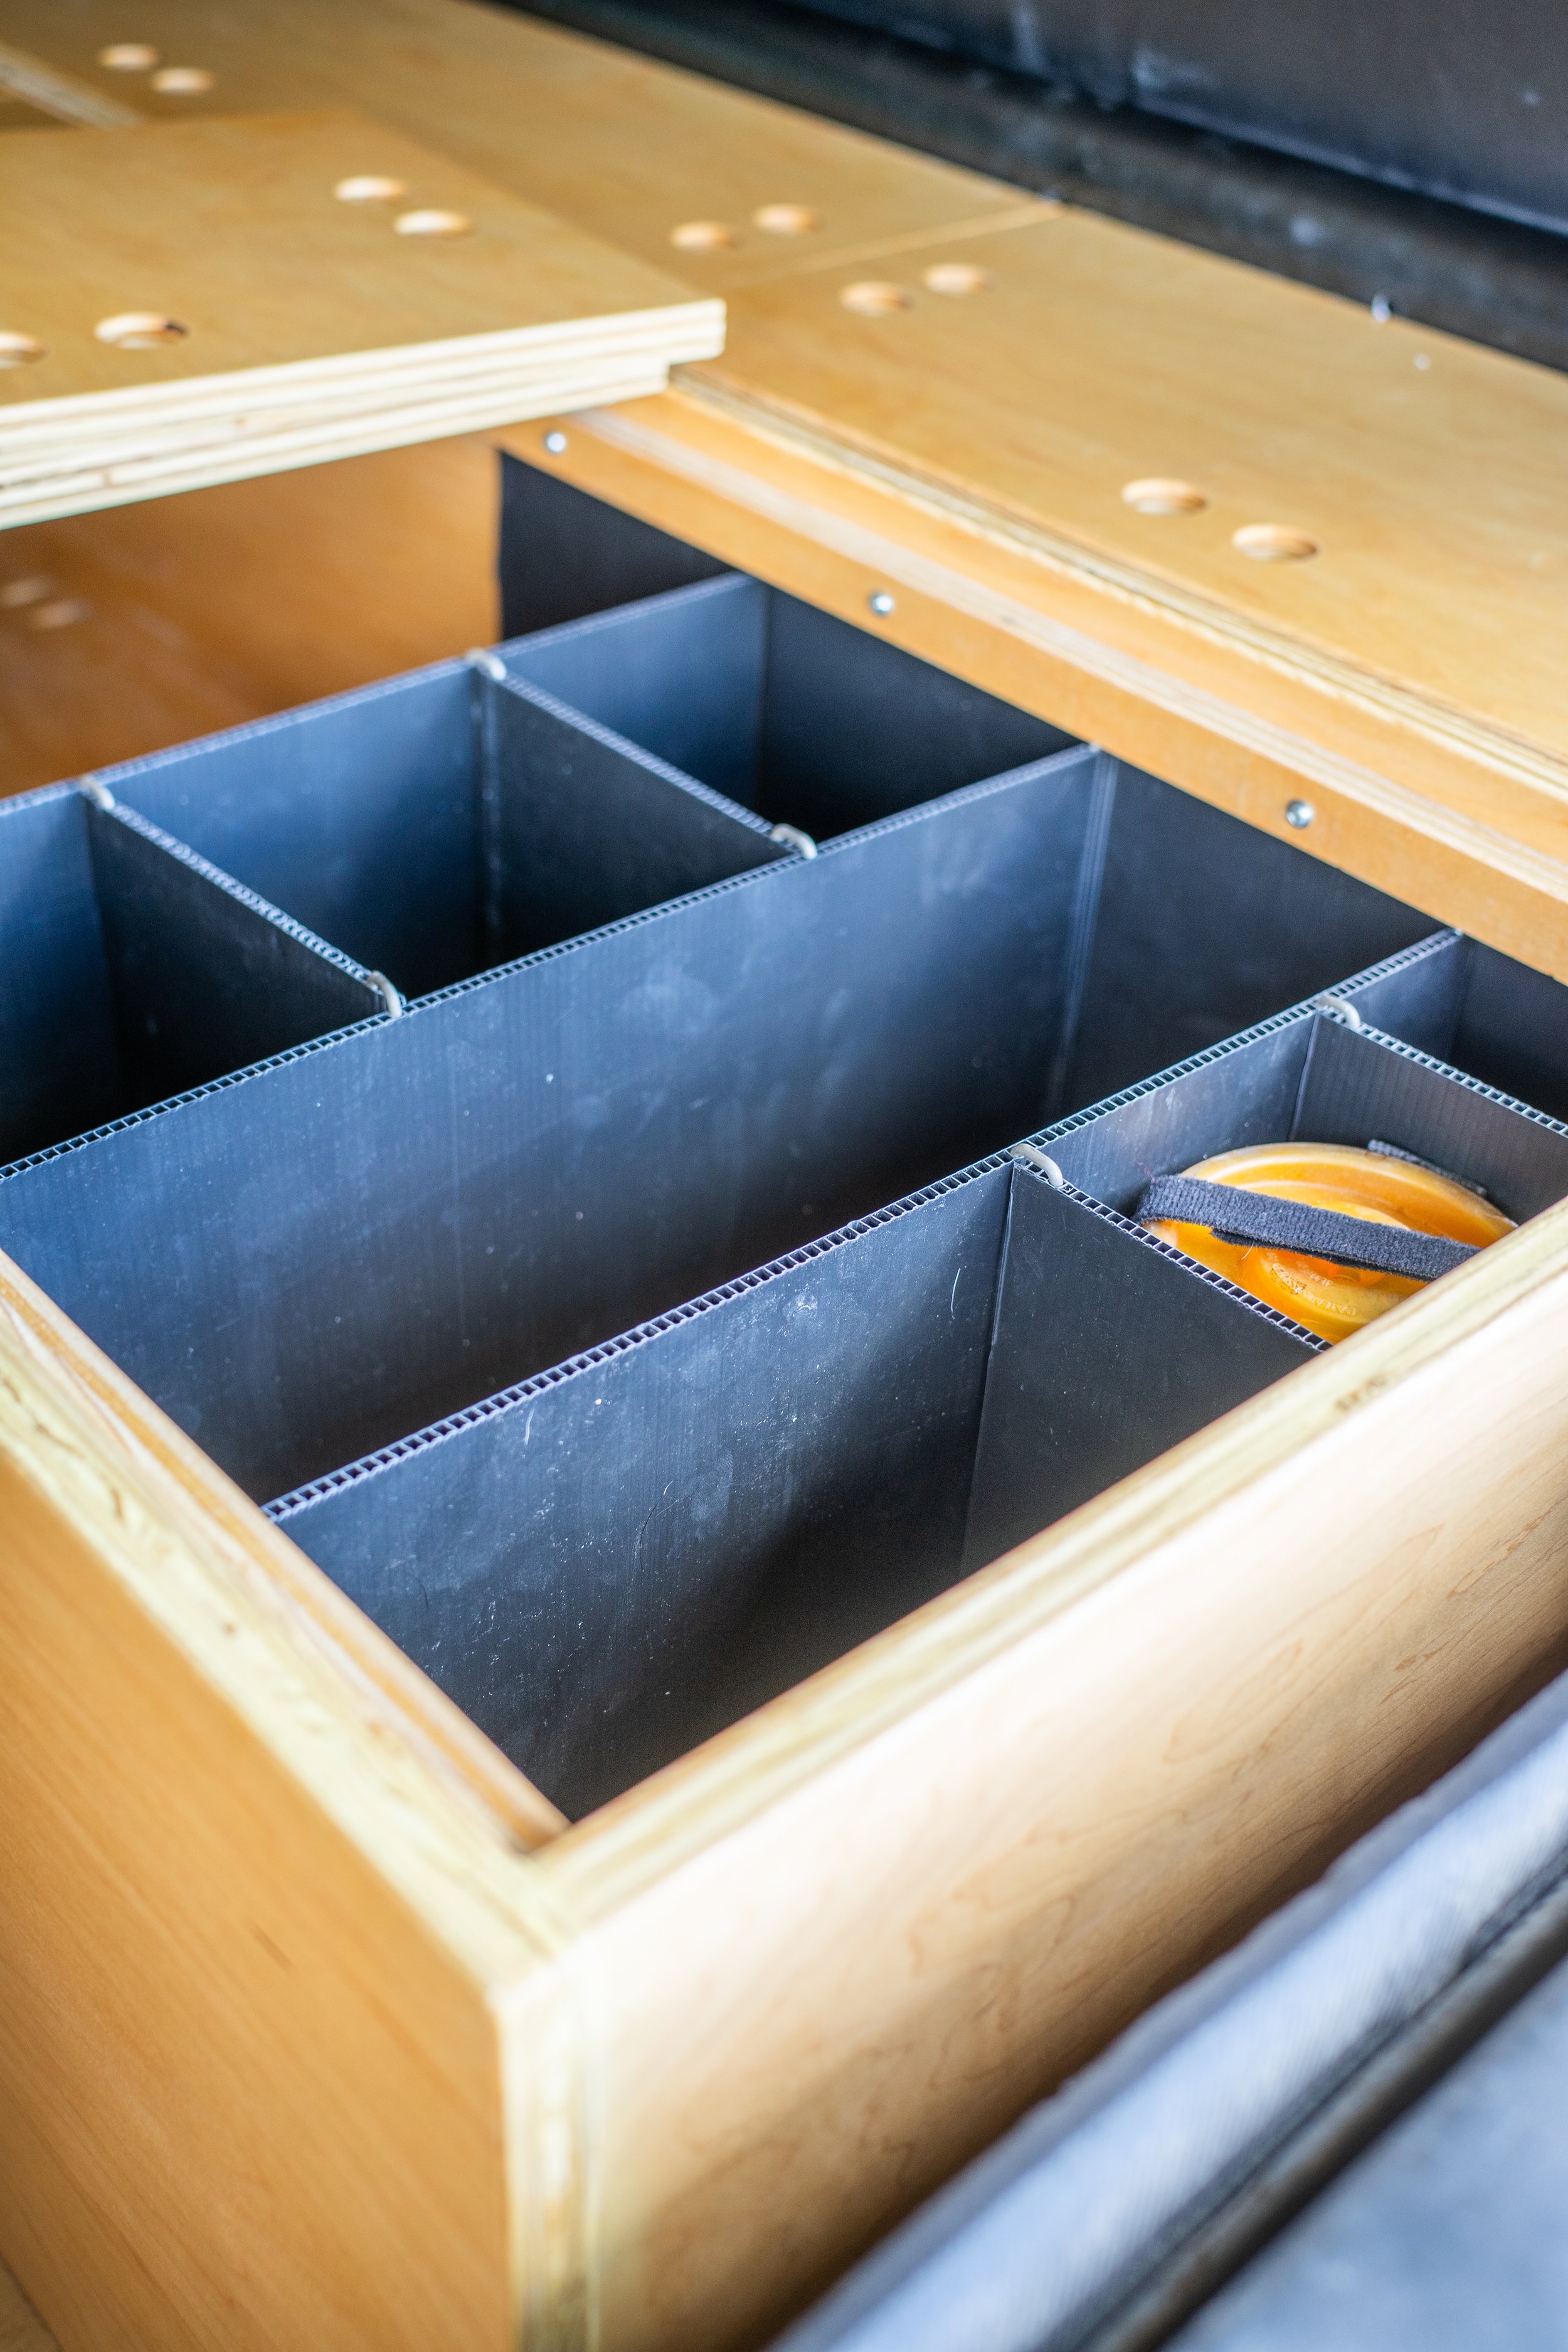
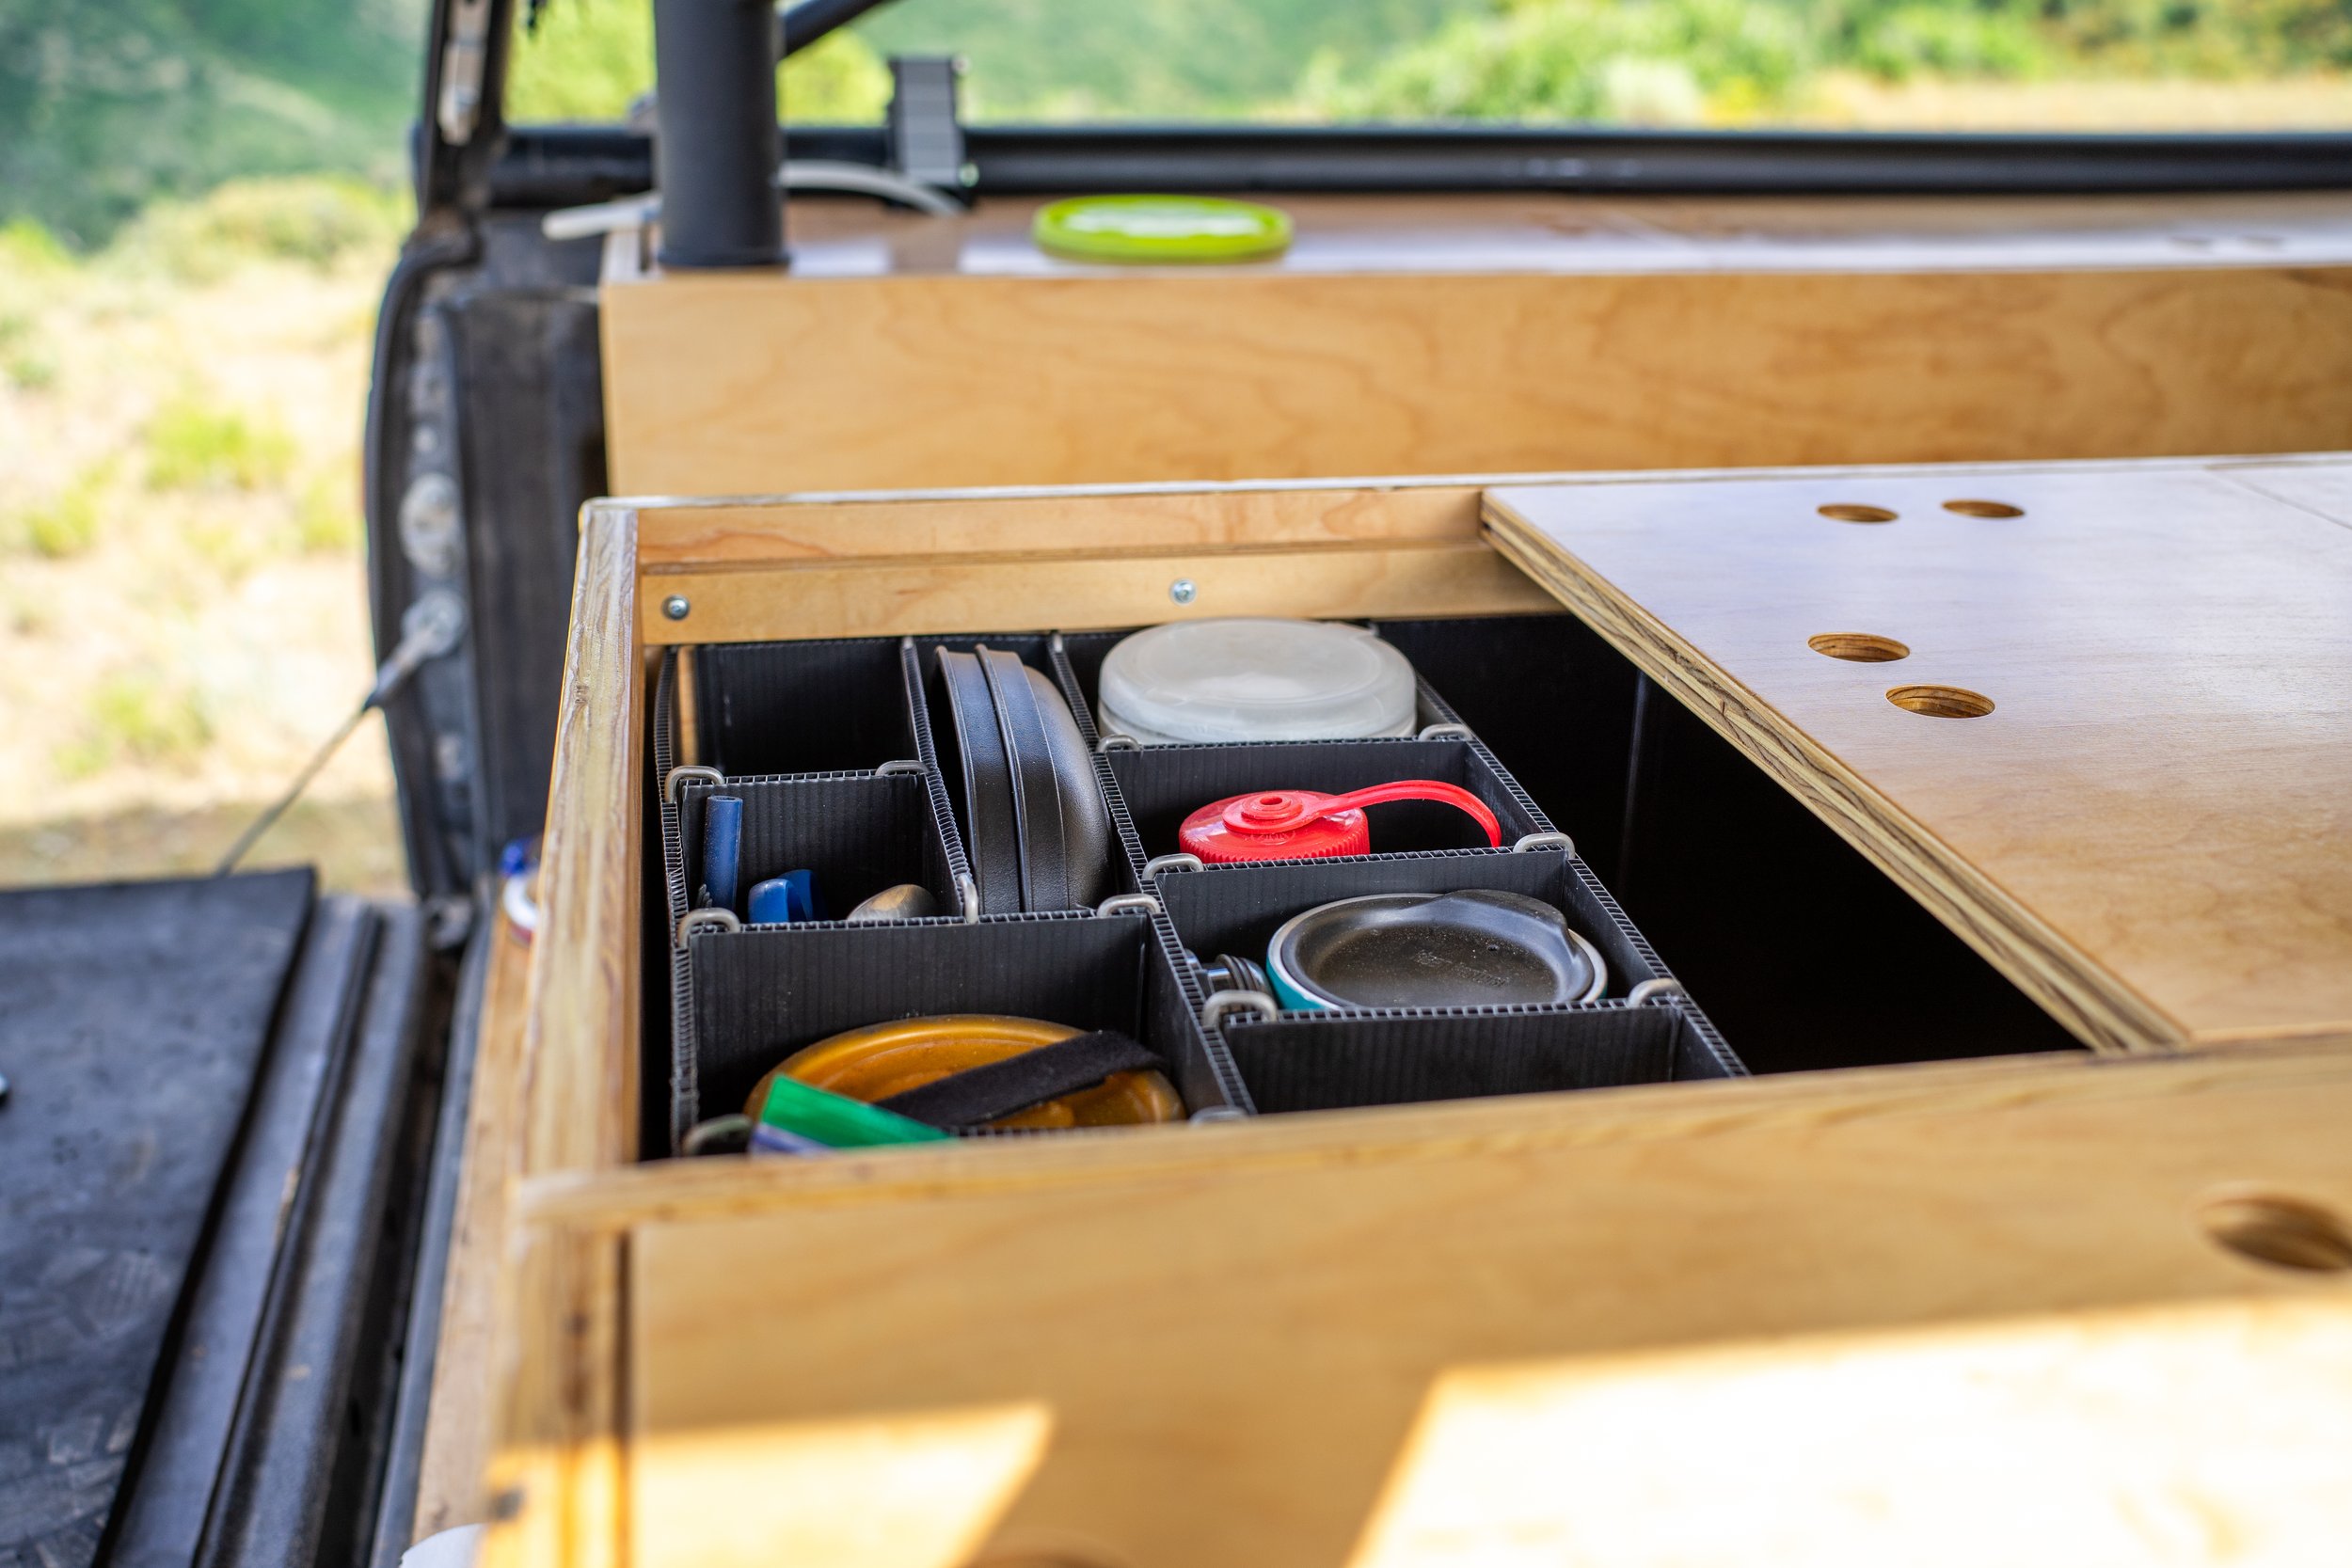
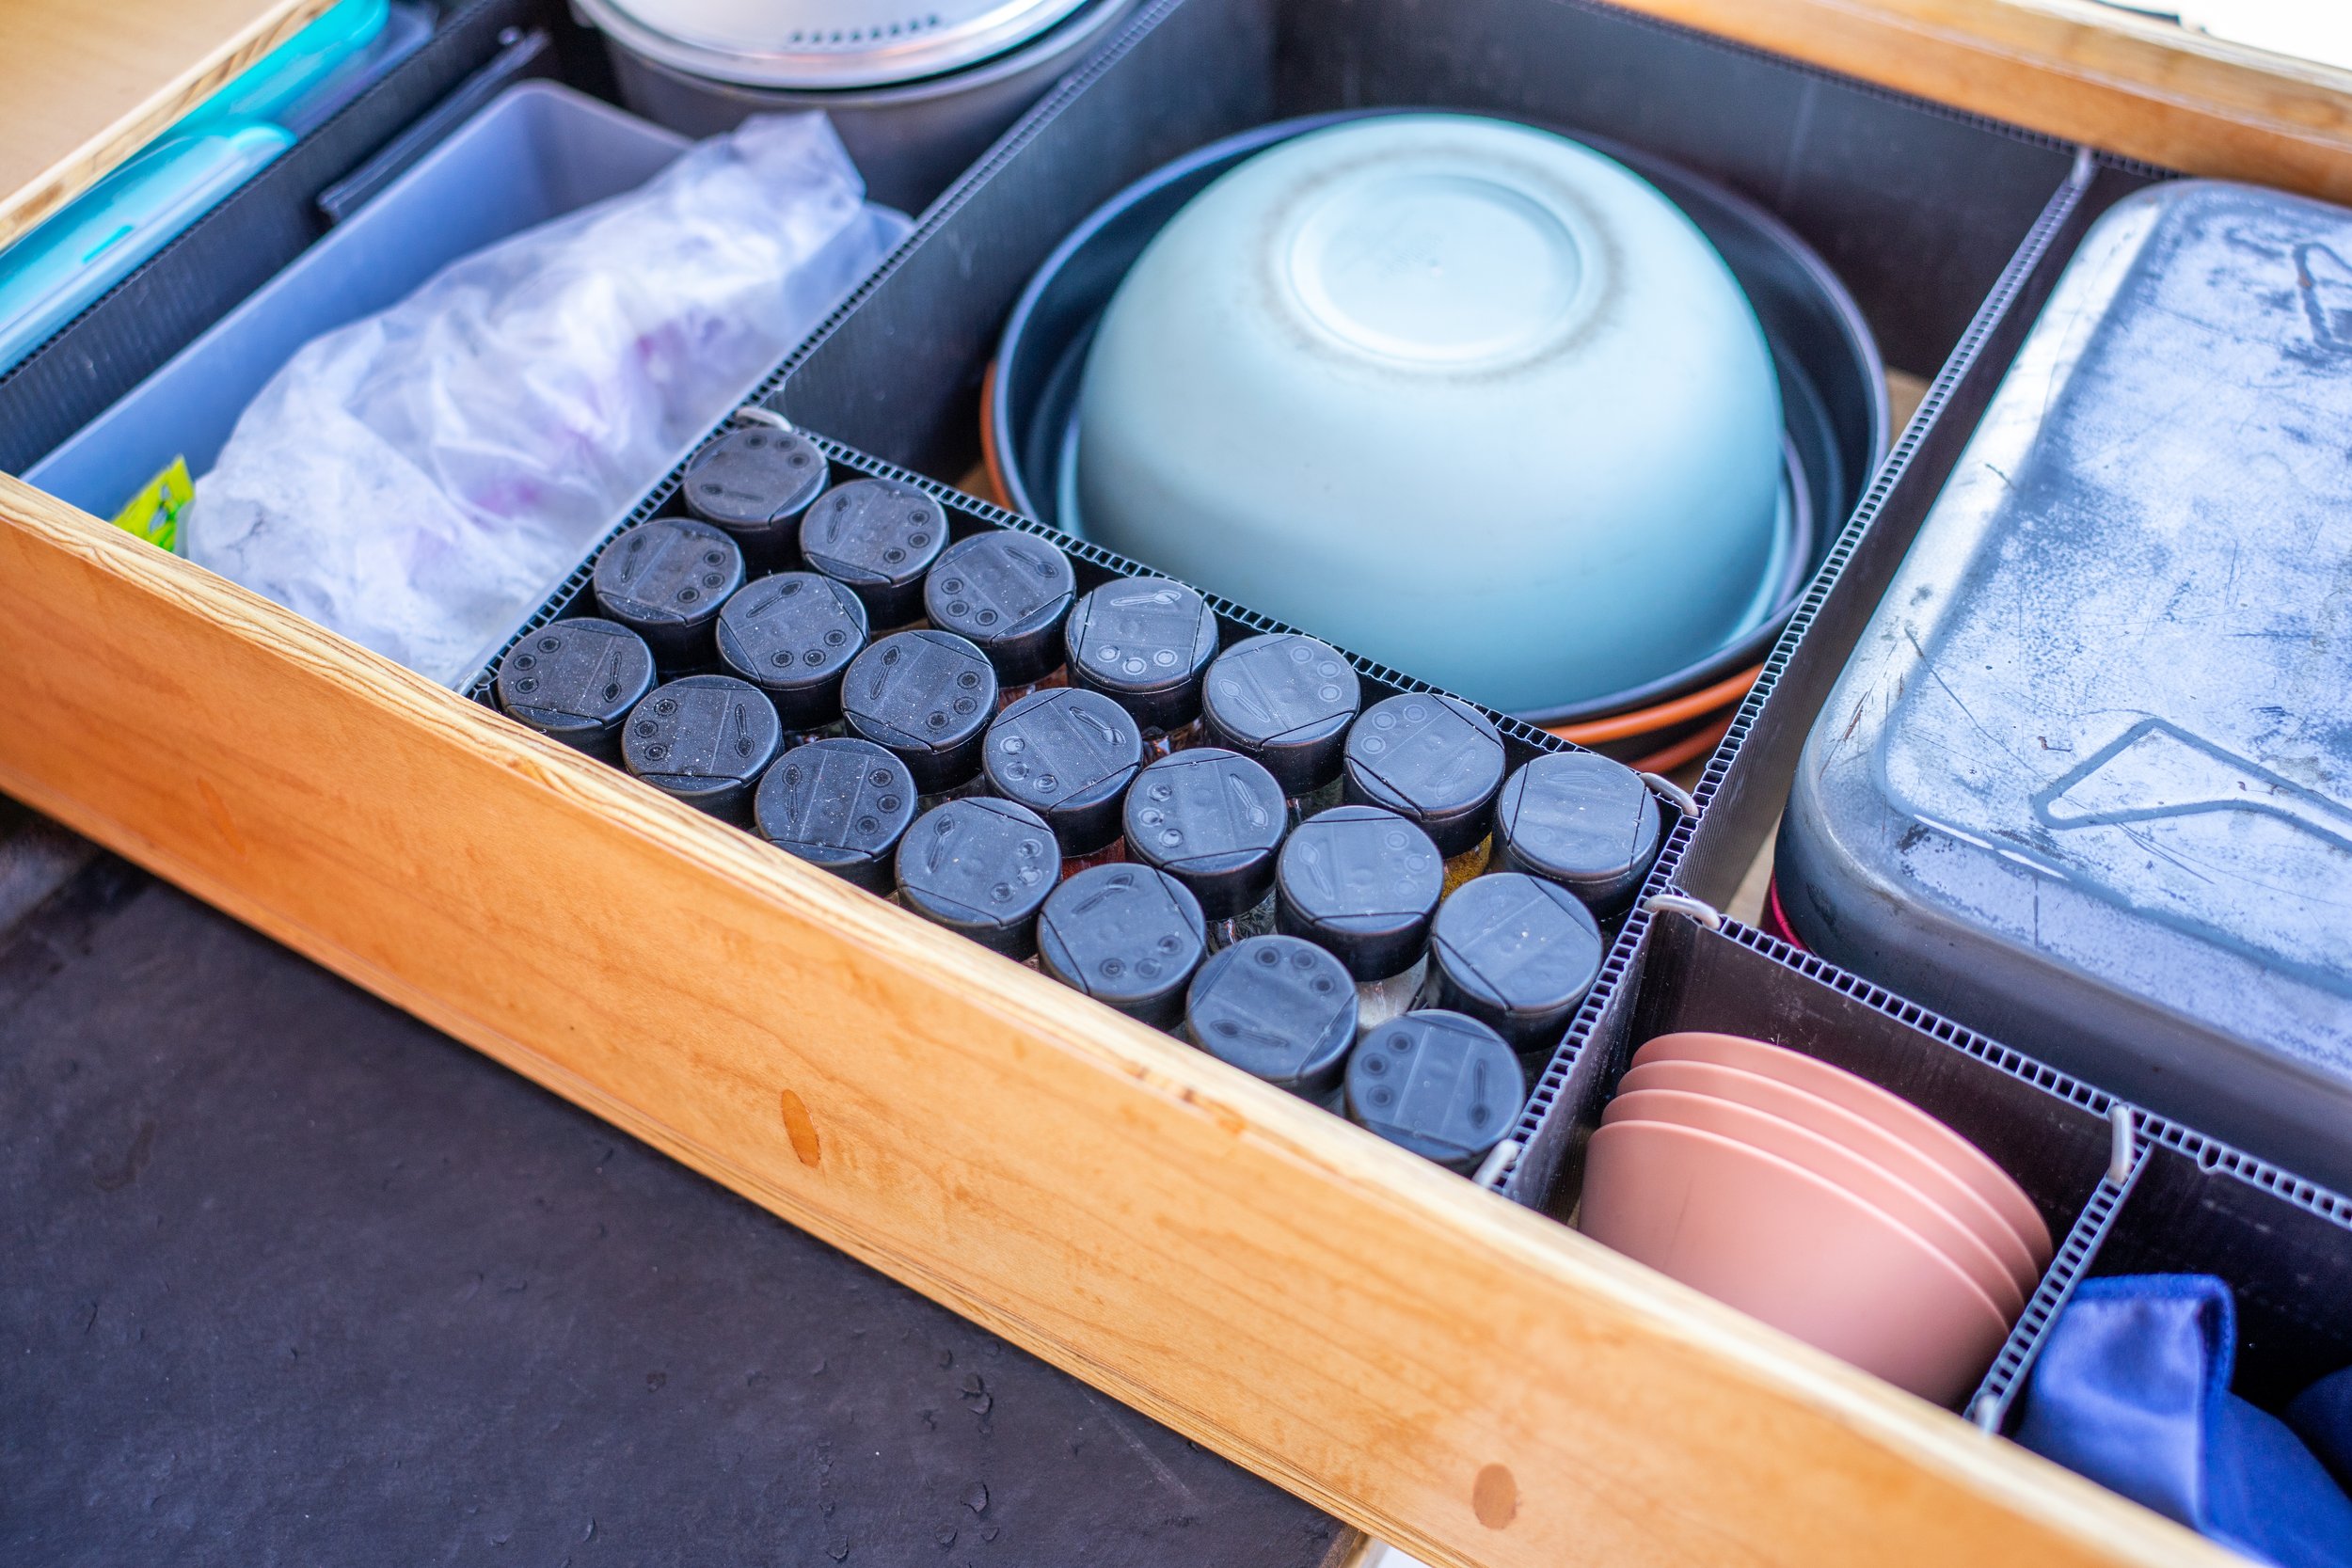
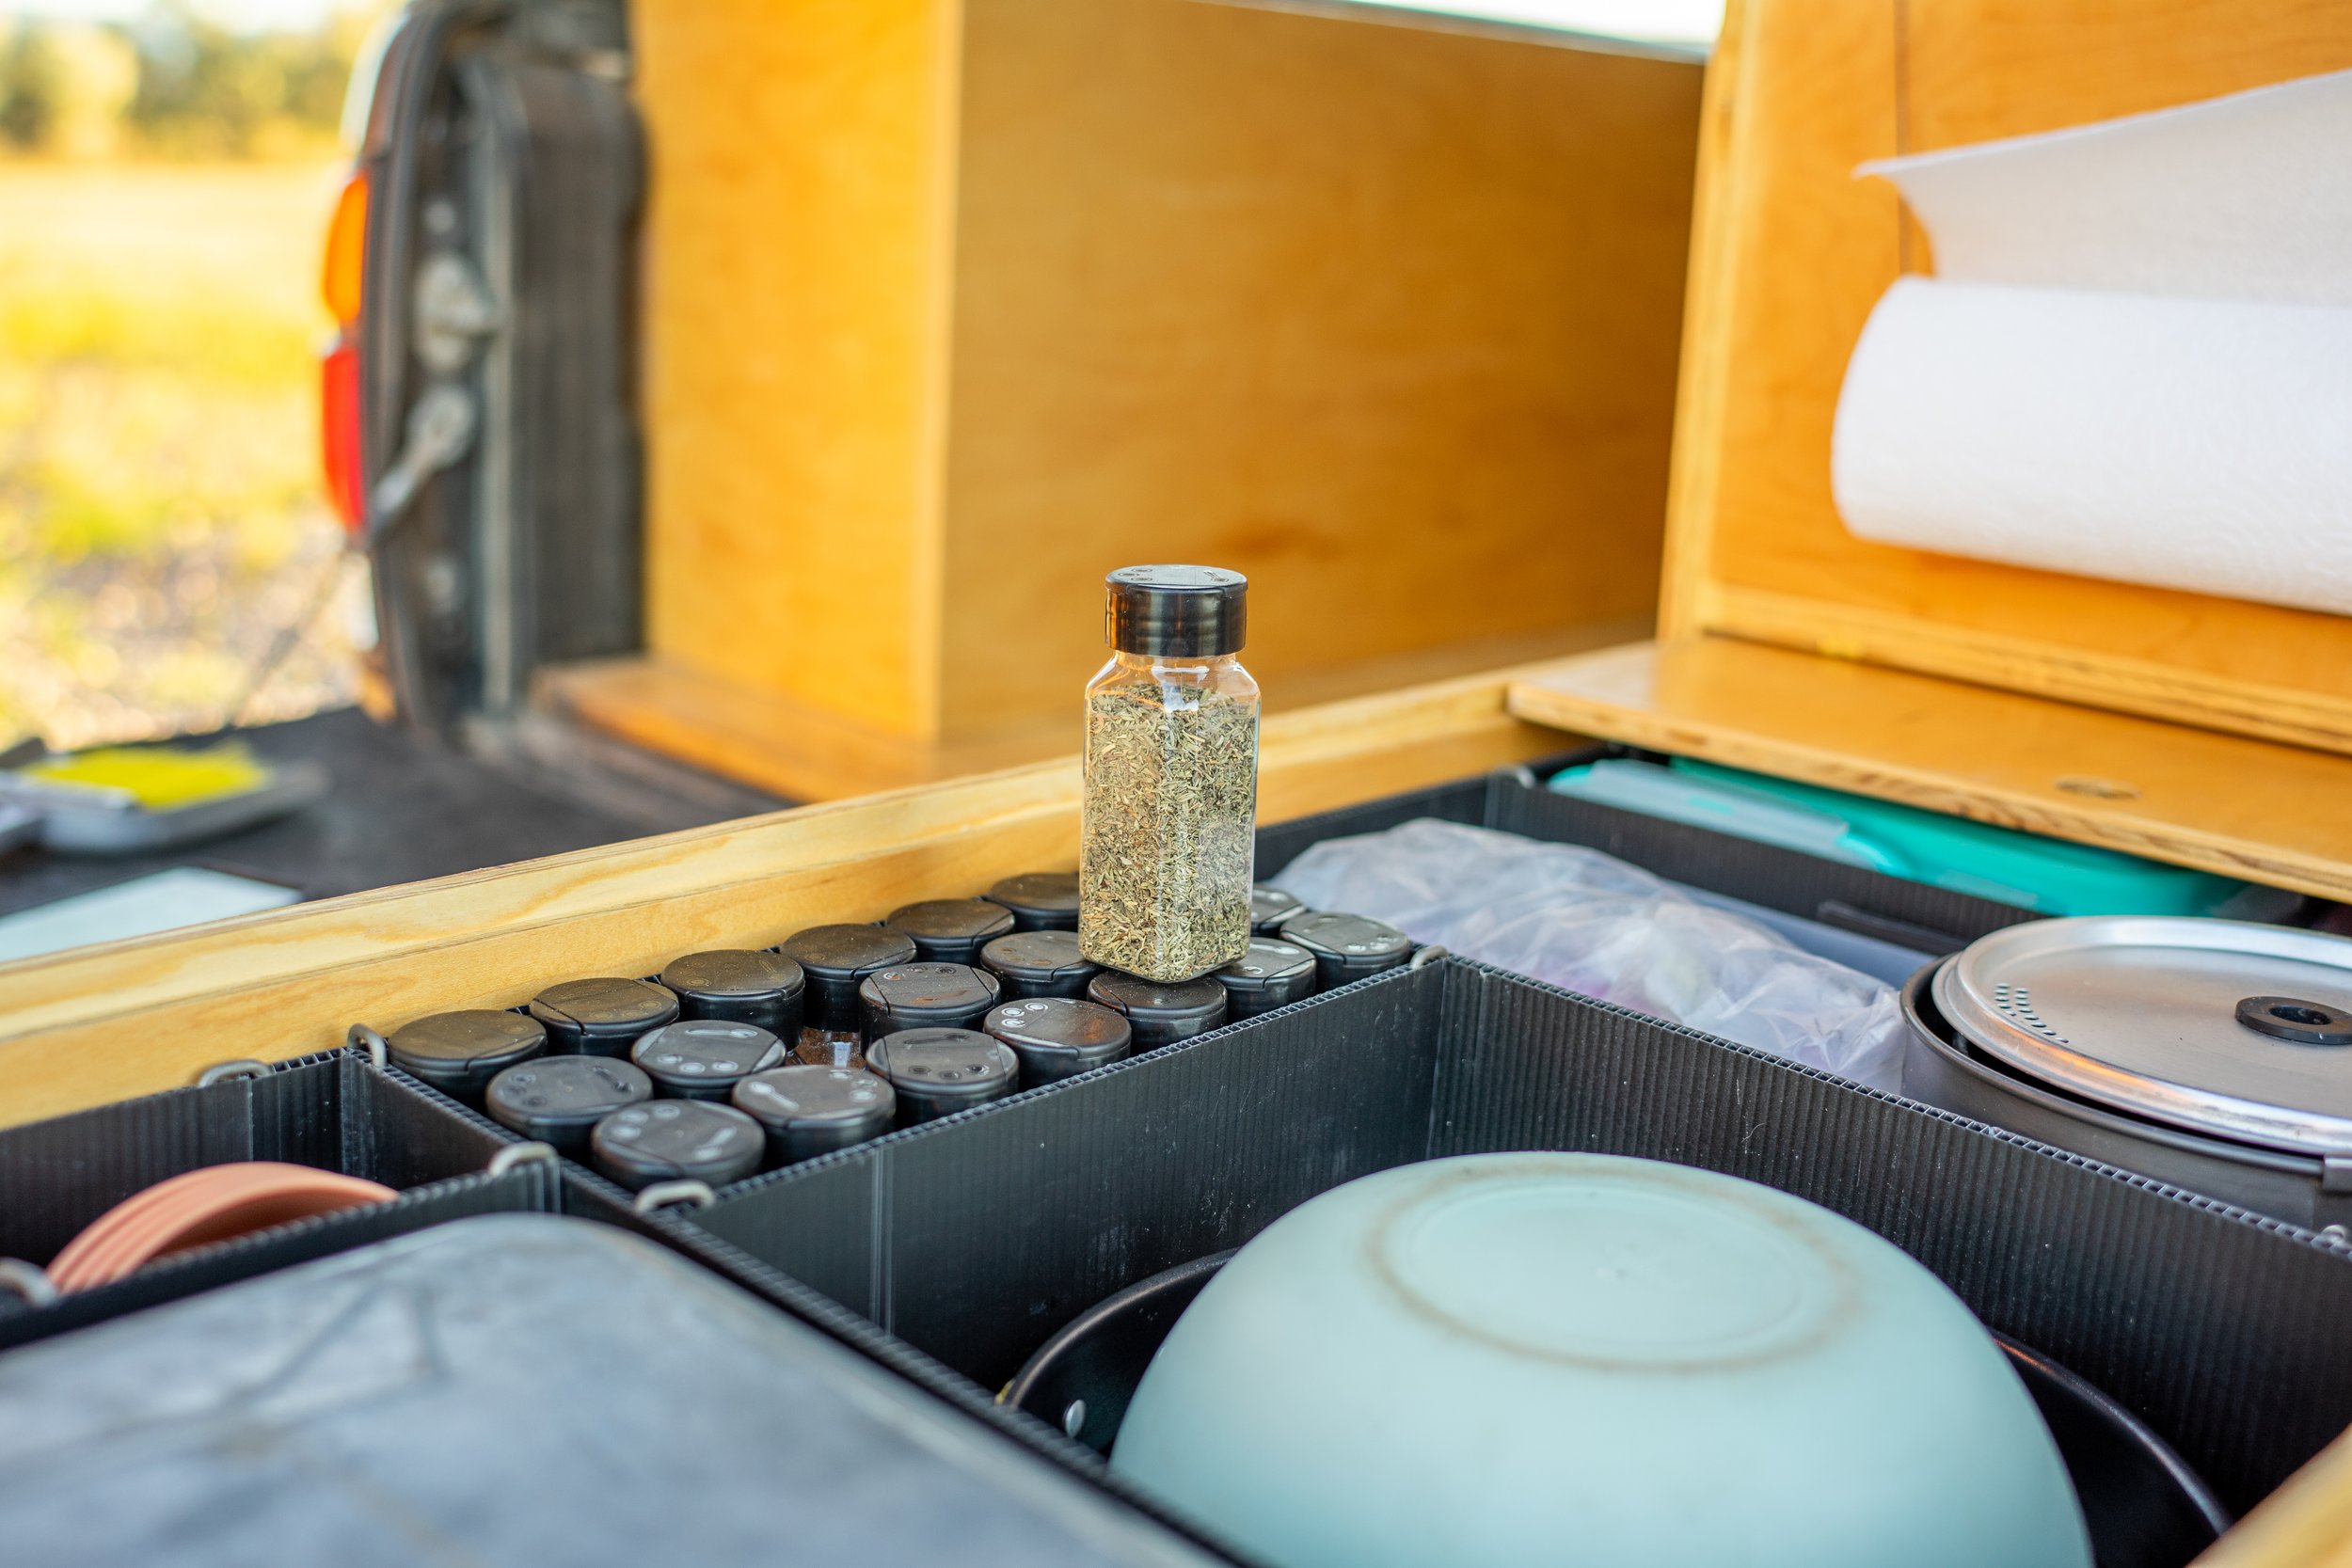
For storing things like our plates, bowl, utensils, and other kitchen-related things we made our own version of the much more expensive Trekpak system. We used corrugated plastic sheet as the dividers and then took 1/8” steel rods, cut them into sections about 6” long, and bent them into u-shaped pieces to make connecting pins to join the pieces together. This has proved to be a nice and modular system so that we can really shape it exactly as we would like.
BCM09879.jpg

BCM09790.jpg

BCM09882.jpg

Using this system might be the single best addition to the camper setup aside from the whole new build-out. It allowed us to solve another problem that bugged us for a while. Our spice containers previously were just whatever we could find available from the grocery stores, they were mixed matched and worse of all, round, leaving loads of dead storage space between them. I spent some time on Amazon and found square-style plastic spice containers that greatly reduce dead space and fit nicely into our drawer, now we have all the spices for a yummy dinner that we could ever want!
BCM00133.jpg

BCM00135.jpg

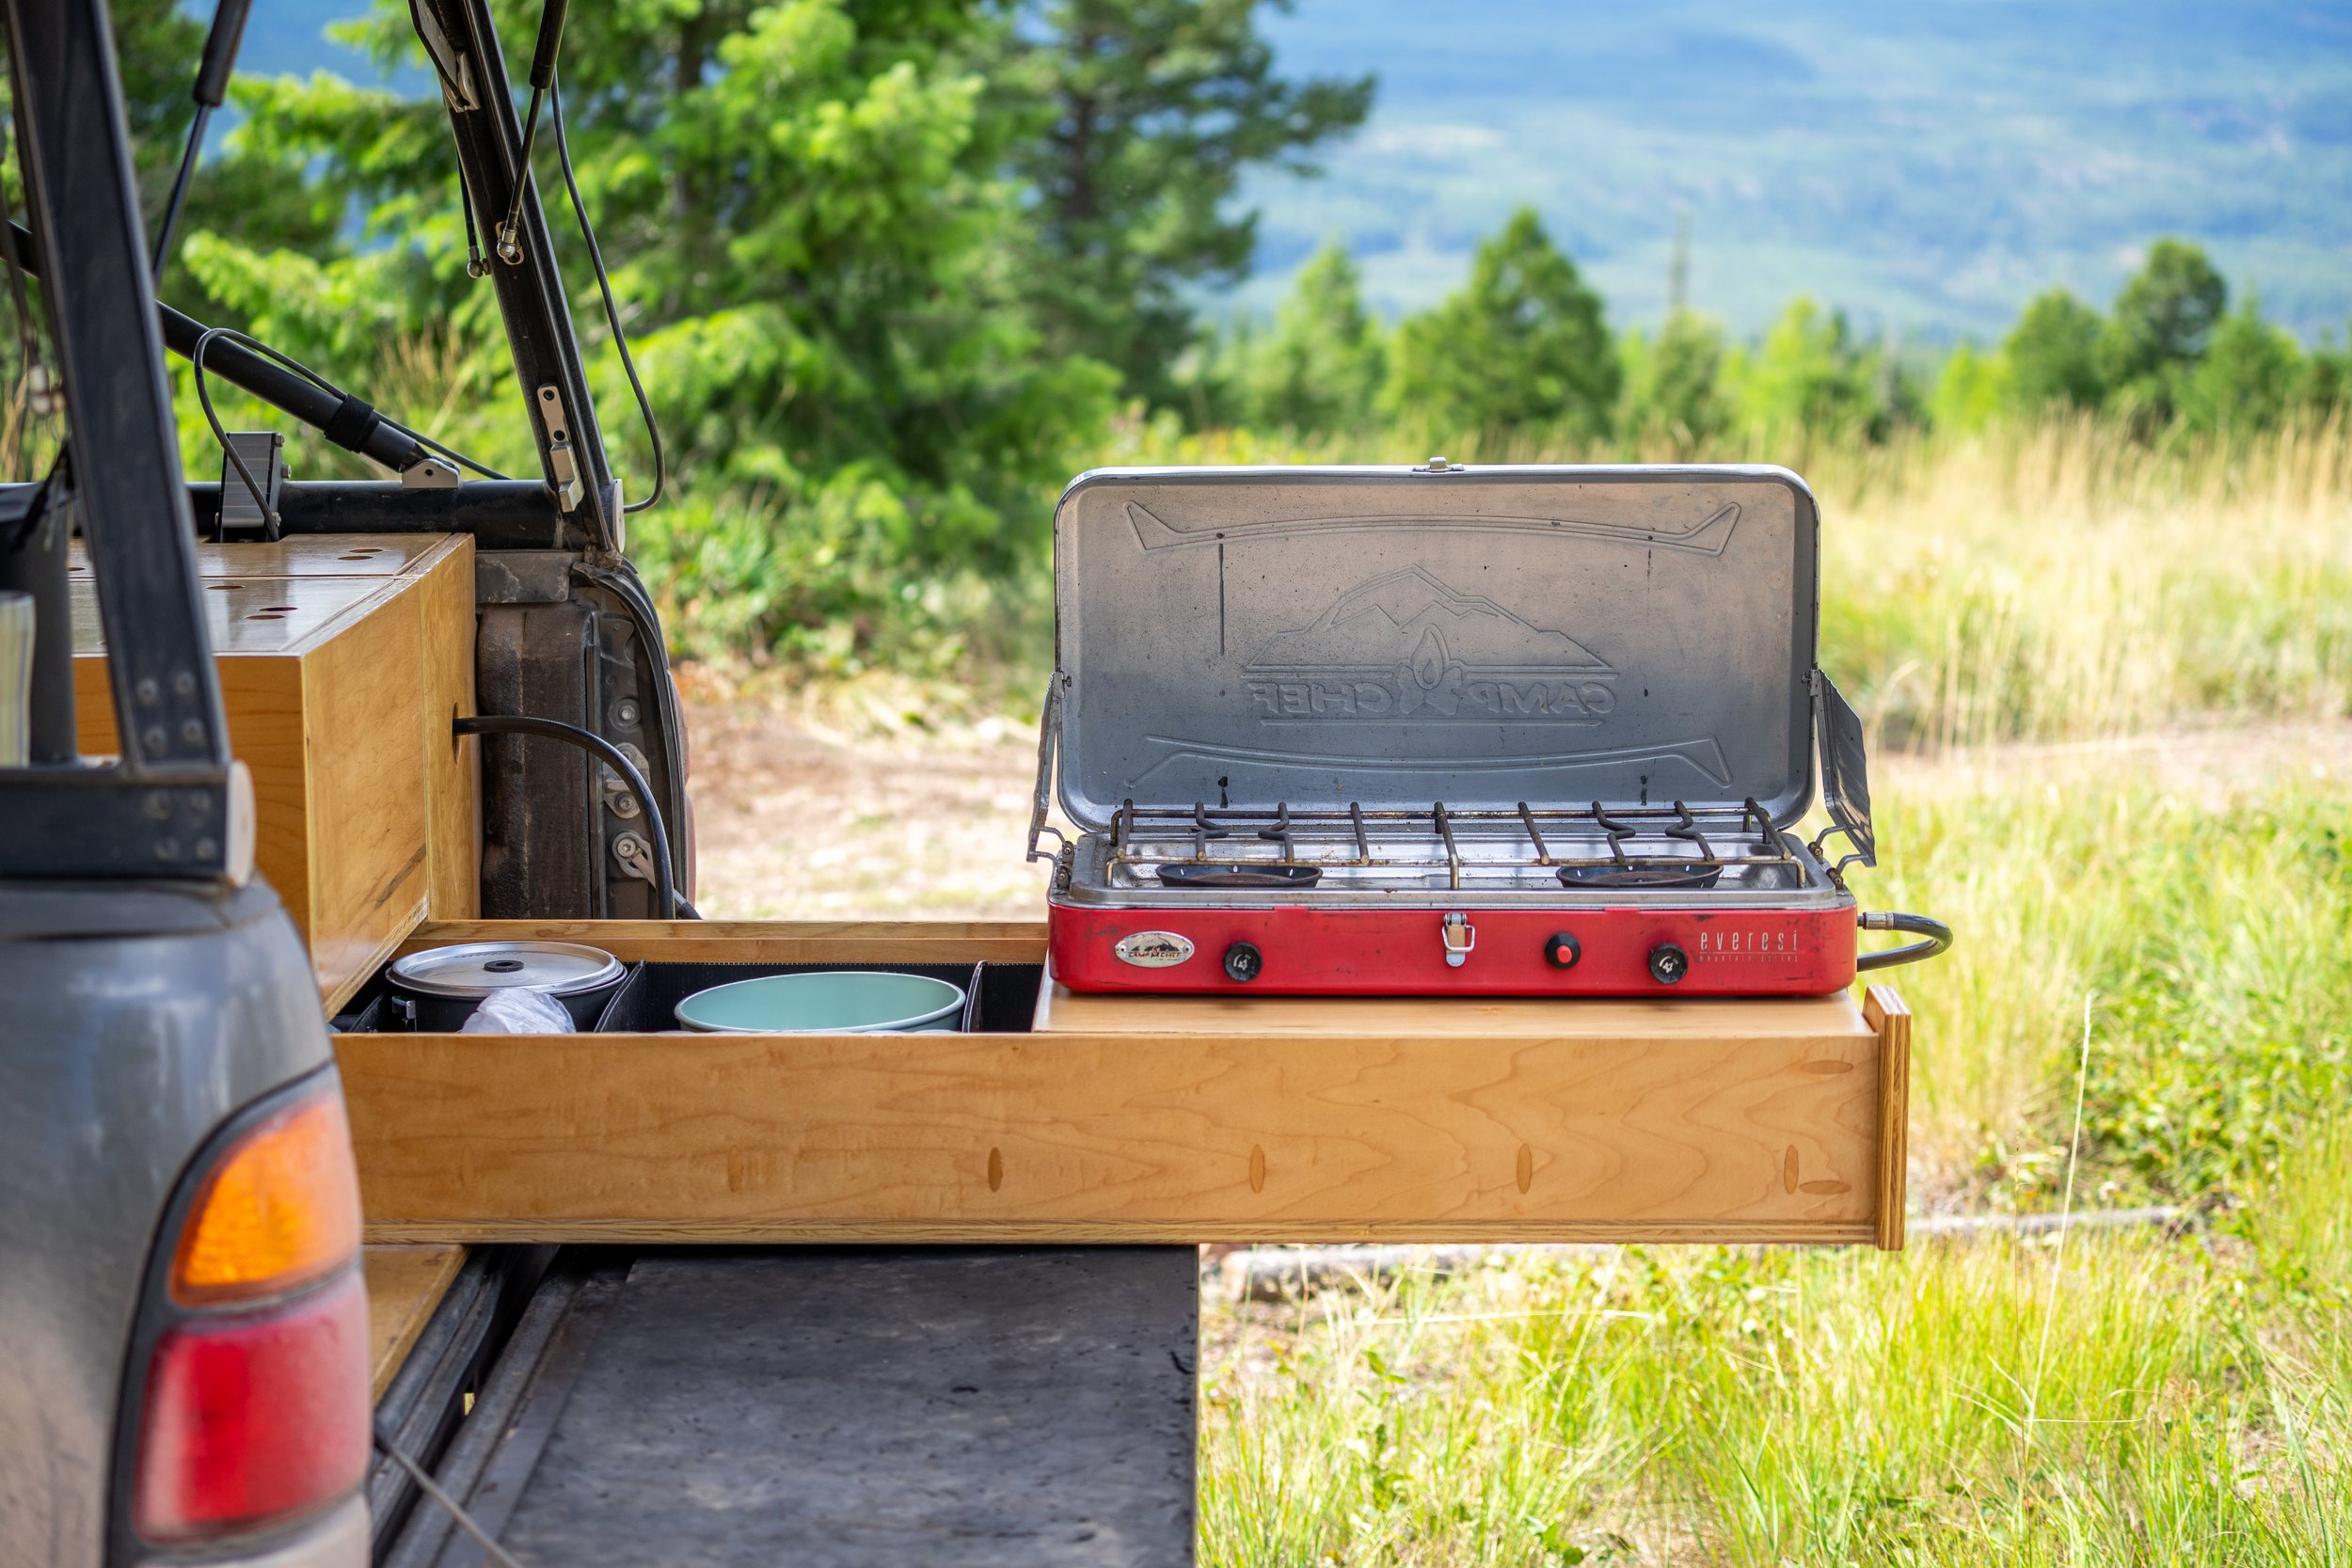
Like our previous build, we again skipped using heavy drawer slides and opted for making the drawer slide on beeswax again. It is shocking how slippery this stuff is, and how easy it is to pull the drawer out. Keeping things as simple as possible is still a cornerstone of this build.
BCM00538.jpg

The last change that we wanted to make over the previous build was the level of finish on our wood. The finish that we used last time just didn’t hold up well to the use that we put out setup through, I think most of it was to blame for only using two coats. This time we spent nearly as much time finishing the wood as it took to build it all. We used a wipe-on polyurethane coating and applied as many as 6 coats to all of the exterior facing panels, so far we are thrilled with the results. The wood has a warm gloss finish, water beads up nicely on the panels and they wipe clean very easily.
BCM09708.jpg

BCM09700.jpg

All in all, we are thrilled with this new setup, it proved to have much more functionality and comfort than our previous build, We are super excited to put it to more use throughout the rest of our travels.
BCM09701.jpg

BCM09706.jpg

BCM09698.jpg
 

DirtTrailsWanted

Active member

August ‘23, Drip Rail Install​

We had been waiting to do this mod for a while. Adding the Drip Rails to our camper will vastly improve it on rainy days and solve an annoying issue of water dripping off the leading corners of our camper and into the rear doors of the truck when they are open.
BCM02069.jpg

BCM02071.jpg

BCM02072.jpg


October ‘23, MAXTRAX MKII installed​

After carrying around some Amazon knockoff traction boards for a while it was finally time to replace them with something proper, and easier to use when needed. We are super grateful for getting hooked up with these MAXTRAX MKII along with the 17mm mounting pins that will allow us to lock the boards in place.
We bolted the pins directly through our driver’s side panel, and to assist in lifting the additional weight we picked up a set of slightly stronger gas struts from GFC.
BCM01884.jpg

BCM01857.jpg

BCM01860.jpg

To find the mounting position we started by taping off the inside of our panel so that we could make any needed marks with a pen and not have to work about removing the pen marks when the job was done. We then marked on the tape where the diagonal supports are so that the mounting pens wouldn’t interfere with them. Once we had that, we then marked the center of the panel relative to the front and back. From there we then measured out the mounting hole pattern on the traction boards and transferred it to the panel. We mounted the traction boards as high as we could so that gas struts would struggle less to open the panel, but not so high that the boards interfered with the top thing.
PXL_20231010_175652275.jpg


October ‘23, Weight Reduction & Venting​

In an effort to shave some more weight from the bed of our truck and to also help our Goal Zero battery to breath we removed even more material from one of the vertical portions of our build in the back. We did this by drilling 1” holes on a 2” square grid pattern.
PXL_20231011_220433991.jpg


Oct ‘23 Baofeng Radio and Antenna​

Wanting to be able to communicate more reliably between distant vehicles and to make spotting on obstacles easier, I installed a very simple radio setup in the truck. I used one of our Baofeng radios that we already had, ran an antenna wire out from the cab of the truck to the GFC where I mounted a small whip antenna that we already had. It was a simple and effective solution for getting a stronger radio signal outside of the metal enclosure of the cab. After the install all of the external antenna wire was wrapped in Alex Tech Braided Cable Sleeve to protect it more.
BCM01849.jpg

BCM01853+%281%29.jpg

BCM01854.jpg

PXL_20231010_162239469.jpg

PXL_20231030_190019979.jpg

Radio Parts list:
Antenna | SMA Bulk Head | GFC Mount | Antenna Wire | Flexible SMA Wire | Radio | Alex Tech Braided Sleeve

Oct ‘23 Starter, Alternator & Belts​

When going to leave camp one morning our starter was completely responseless, a few taps from the blunt end of the hatchet got it started but that was the clear indication needed to finally replace it. The original one made a good run making it to 205,000 miles
PXL_20231027_205042586.jpg

Out with the old and in with a slightly more powerful model.
PXL_20231027_212148941.jpg

The starter job sparked a string of preventive maintenance getting ticked off. The Truck also received a new alternator at the same time we stuck with the original alternator size, but in hindsight it wouldn’t have hurt to sized up. We also replaced all the belts shortly after as well.
PXL_20231101_183533809.jpg


Oct ‘23 New CV axles… Again…​

several weeks earlier while at camp I noticed a packrat running around our truck. We attempted but were unsuccessful at chasing it off. Several days later I noticed some grease being thrown from our brand-new CV Axles and quickly learned that the rat had chewed up our boots on the new axles. We were unable to order new boots by themselves so we were regretfully forced into replacing them again, this time we decided to get a set from CVJ Axles in Denver. They offer a lot of options but one of them is to take genuine Toyota Axles and add a high-angle inner CV boot to it that is hopefully more durable on lifted trucks than the stock setup.
PXL_20231018_210207978.jpg

Our rodent damaged boot
PXL_20231121_230458655.jpg

New CVJ axle with high-angle boot
 

DirtTrailsWanted

Active member

Nov ‘23 Kingpin 40” V-series Light Bar​

Several months ago Kingpin approached us and asked if we would be interested in trying out one of their lights. Pretty excited we said yes! We installed their V-SERIES 40" LIGHT BAR and Smart Touch Dimmer Switch on the rear hatch of our GFC using VHB tape to stick it into place. We chose to mount it close to the hinge of our panel rather than the end so that we can use it outside while hanging out or cooking and also inside whenever we hang out in there as well. Since it is able to rotate in the mounting hardware we are able to bounce the light off our shiny interior when we are inside and also pivot it to illuminate our kitchen area when we are outside as well. We added Alex Tech Braided Sleeves to cover the wires and protect the butt crimp that we used when we wired it in. It’s been several months since we installed the light, it’s worked flawlessly the whole time and is one of the few things in our truck that we use every single day!
BCM02215+%281%29.jpg

BCM06081.jpg

BCM06084.jpg

Kingpin is the first company that we have worked with in this fashion and we feel extremely grateful for their support! This was one of the first products that we truly felt good about, have a direct need for, fit within our current build, offers something that we would benefit from every day, and would have purchased with our own money. So please know that the few times we promote companies or products its something that we truly feel good about. They have been gracious enough to extend a promo code that we can share, so if you feel like this is something that would elevate your camping experience you can use the code “DIRTTRAILSWANTED” to get 15% off. Following this link also does the same.

April ‘24 Dash Cam & Midland Radio Upgrade​

We were generously gifted a Midland dbr2500 Radio from a friend when they learned about my budding radio habit. Aside from being much easier to operate than the Baofeng setup while driving this radio and the much stronger antenna that we installed as part of it is all around more powerful than the previous setup. Combined they allow us to both transmit and receive from further distances. Midland no longer makes this radio but a nearly identical option from Anytone is available on Amazon.
At the same time as the radio, we installed a Garmin Dash Cam Mini 2 in preparation for an upcoming trip to the East Coast. Both the radio and the Garmin are being powered by our house battery.
BCM03821.jpg
 

locrwln

Expedition Leader
Love the build. Definitely got some ideas for my upcoming 1GT build. I really like the rear seat delete. Planning on following your lead on that one.

Jack
 

DirtTrailsWanted

Active member
Love the build. Definitely got some ideas for my upcoming 1GT build. I really like the rear seat delete. Planning on following your lead on that one.

Jack
Thanks so much! reach out if you have any questions more than happy to lend any knowledge we have learned along the way!
 

Forum statistics

Threads
188,395
Messages
2,904,141
Members
230,274
Latest member
mbauerus1
Top