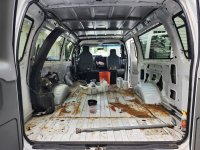
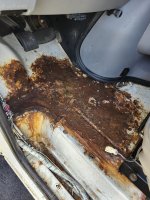
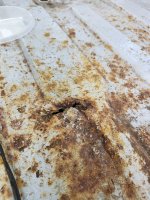
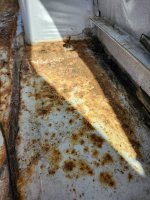
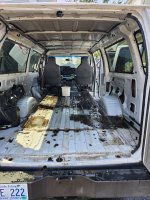
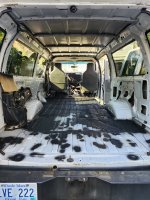
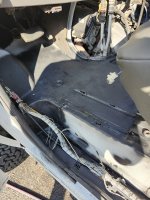
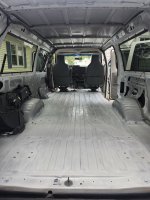
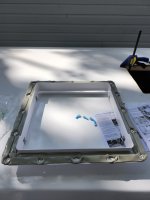
The wife and I spent 2016/2017 on the road in a suburban. Trip Report here. Ten years later, we've got a 2 year old and the itch to get back on the road. Ten years ago we decided on the suburban because it was as close as we could get to a 4x4 Sport mobile for our 10k budget (vehicle and build). Now, it's time to build the 4x4 van we always wanted. This time around, the budget is $50,000. We just bought an E-350 4x4 and plan to do a full interior build out and spent 2026/2027 on the road before he heads off to kindergarten. If I work quick, maybe we will go down the east coast this winter to warm surf in Florida. Our son calls the van "Big White Truck" and the name has stuck.
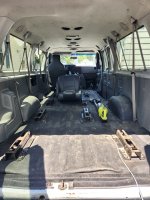
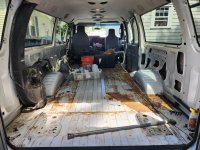
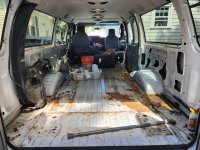
The plan is to add a high top and a full interior build that seats four, sleeps four, and has interior bike storage.
Here's the Big White Truck on the day we bought it:
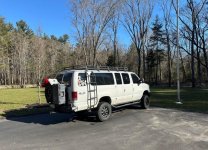
Here are the stats:
Bought for $30,000
2013, 87,000 miles
E-350 Extended Body
5.4 Engine, 3.73
Quadvan 4x4 Conversion w 5 Inch lift
Aluminess Roof Rack, Running Boards, Ladder, Surf Poles
Trail Ready Front Bumper and Badlands Winch
UJoint Rear Bumper
Hornblasters Train Horn
Just barely fitting in the driveway:
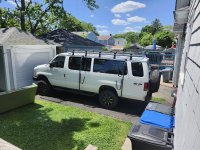
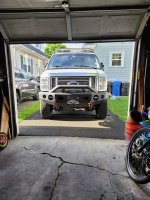
We took a ton of measurements of our driveway before buying...And it barely fits but we're still able to get the bikes in and out of the garage and past the house so we're happy!
Right away I started posting things for sale. I knew we were going to install a high top, so the roof rack has got to go. Sold that to a dude for $2500. He wanted the running boards too so I sold them to him for $1000. I always liked the hoop steps so I figured I could find some used for cheap. Sold the rear seats, and bushwhacker flares that the previous owner never installed as well.
Total van build credits from selling parts: $4075, needless to say I was pretty fired up about getting back 12% of purchase price.
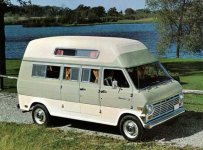
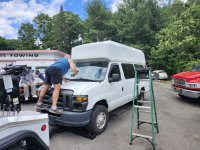
So I mentioned the high top...I'm 6'2" and I would prefer not to stoop so the only real option was a couple options from Fiberine in CA, the rare jumbo tops on select wheelchair/school bus vans, or a top off an Airstream or similar. Fiberine was going to cost be 8+ a drive across the country- we are in RI. Found a junkyard van with the jumbo roof in CT a few minutes away from where my strongest friend lives. Very convenient. $500 bucks and a lot of elbow grease and we got it to my backyard. Also grabbed the rear Driver door as mine was dented from the previous owner's kid driving off with the tire swing out unlocked.
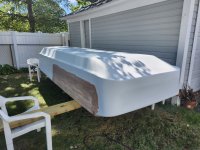
It took the better part of a morning to get this thing off. Tons of screws and exceptionally strong adhesive. It's almost like whoever installed it didn't ever intend for it to come off! We would think we had all the screws out just to find more hidden in random places.
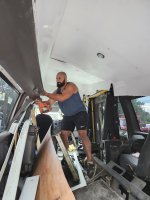
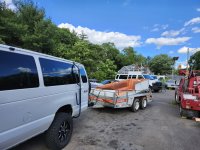
In the image above you can see the donor van in the background with it's roof gone. You can see the extended height doors and the huge gaping hole in the fiberglass topper to accommodate the high doors. The Big White Truck doesn't have extended height doors, which means I have some work to do.
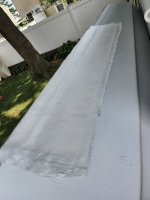
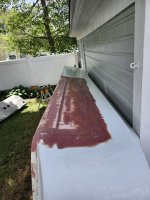
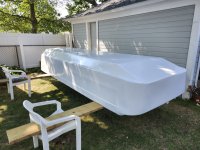
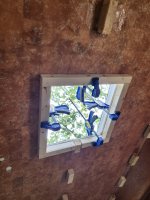
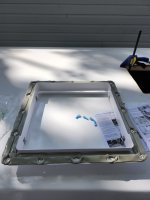
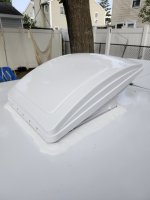
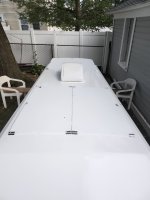
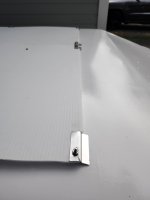
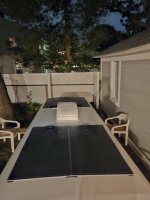
More shots of the top in the backyard, it needs a wash:
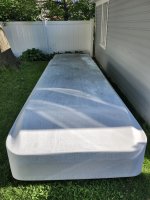
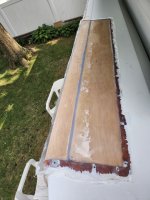
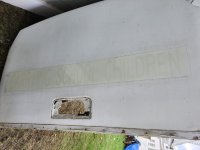
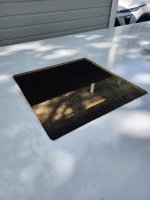
And the gaping hole again:
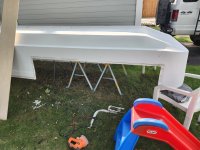
Good thing we are surfers. We are constantly doing board repair so we're comfortable with fiberglass. But I've never fixed a ding this big!
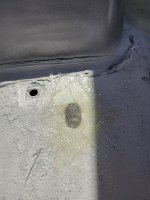
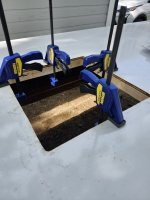
Making the mold and trying to match the body line. 1/4 ply and Liquid Nails:
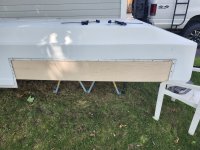
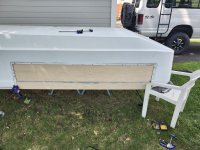
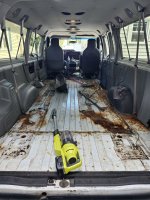
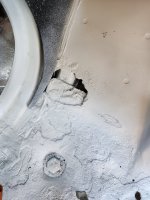
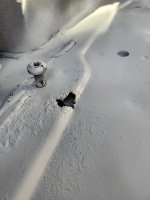
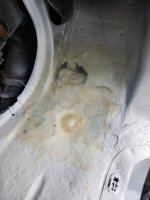
Only 10 images per post?! Fiberglass and rust remediation coming in the next post...
The plan is to add a high top and a full interior build that seats four, sleeps four, and has interior bike storage.
Here's the Big White Truck on the day we bought it:

Here are the stats:
Bought for $30,000
2013, 87,000 miles
E-350 Extended Body
5.4 Engine, 3.73
Quadvan 4x4 Conversion w 5 Inch lift
Aluminess Roof Rack, Running Boards, Ladder, Surf Poles
Trail Ready Front Bumper and Badlands Winch
UJoint Rear Bumper
Hornblasters Train Horn
Just barely fitting in the driveway:


We took a ton of measurements of our driveway before buying...And it barely fits but we're still able to get the bikes in and out of the garage and past the house so we're happy!
Right away I started posting things for sale. I knew we were going to install a high top, so the roof rack has got to go. Sold that to a dude for $2500. He wanted the running boards too so I sold them to him for $1000. I always liked the hoop steps so I figured I could find some used for cheap. Sold the rear seats, and bushwhacker flares that the previous owner never installed as well.
Total van build credits from selling parts: $4075, needless to say I was pretty fired up about getting back 12% of purchase price.
So I mentioned the high top...I'm 6'2" and I would prefer not to stoop so the only real option was a couple options from Fiberine in CA, the rare jumbo tops on select wheelchair/school bus vans, or a top off an Airstream or similar. Fiberine was going to cost be 8+ a drive across the country- we are in RI. Found a junkyard van with the jumbo roof in CT a few minutes away from where my strongest friend lives. Very convenient. $500 bucks and a lot of elbow grease and we got it to my backyard. Also grabbed the rear Driver door as mine was dented from the previous owner's kid driving off with the tire swing out unlocked.
It took the better part of a morning to get this thing off. Tons of screws and exceptionally strong adhesive. It's almost like whoever installed it didn't ever intend for it to come off! We would think we had all the screws out just to find more hidden in random places.


In the image above you can see the donor van in the background with it's roof gone. You can see the extended height doors and the huge gaping hole in the fiberglass topper to accommodate the high doors. The Big White Truck doesn't have extended height doors, which means I have some work to do.
More shots of the top in the backyard, it needs a wash:

And the gaping hole again:

Good thing we are surfers. We are constantly doing board repair so we're comfortable with fiberglass. But I've never fixed a ding this big!
Making the mold and trying to match the body line. 1/4 ply and Liquid Nails:


Only 10 images per post?! Fiberglass and rust remediation coming in the next post...

