Ironman93_SM
New member
Hi guys!
I'll make this quick.
Intro story: Basically want to build a van that I can sleep in and take around the various places that I will be working the next few months. I want this van to be ultra low profile, that way it doesn't draw any attention. The DRZ will be my DD and the van will be just a resting location. Eventually all of this content will be moved to a website that I will build. But I need to figure out how to use/host wordpress first!
With my obligations and time constraints, I only had 5 days to put everything together. It is what it is.
Without further ado..
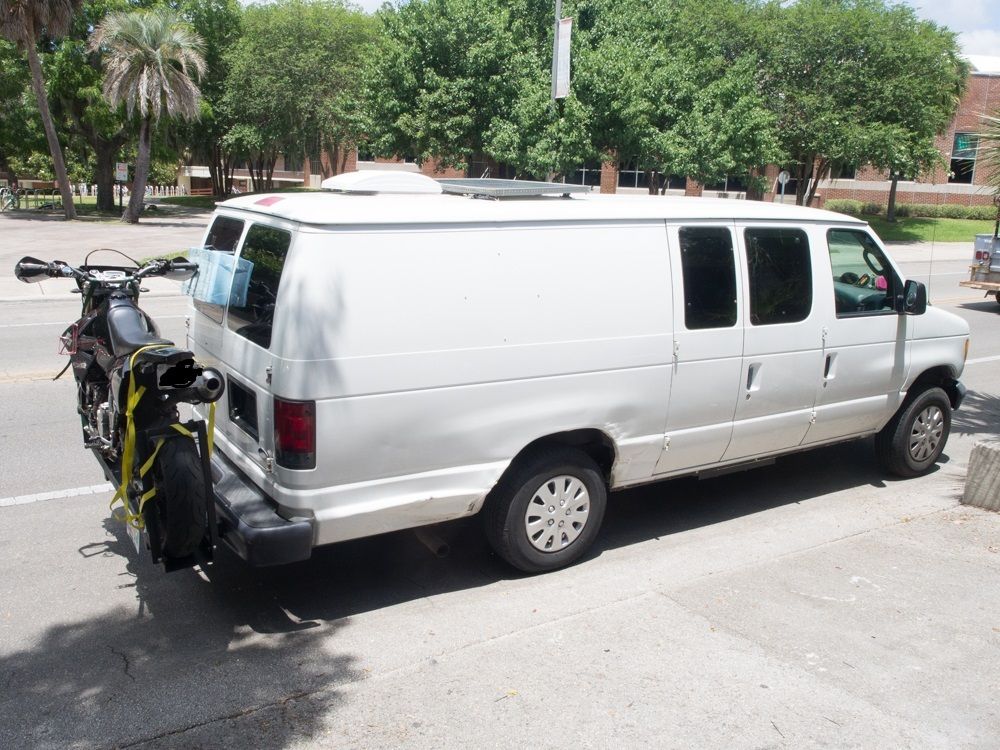
Van:
2006 E250 5.4L V8 Extended Body with 230K miles (Ouch!)
Solar panel mounted on roof
Maxxair RV vent fan
Interior LED lights that are rated for a couple thousand lumens (it has a PWM dimmer attached)
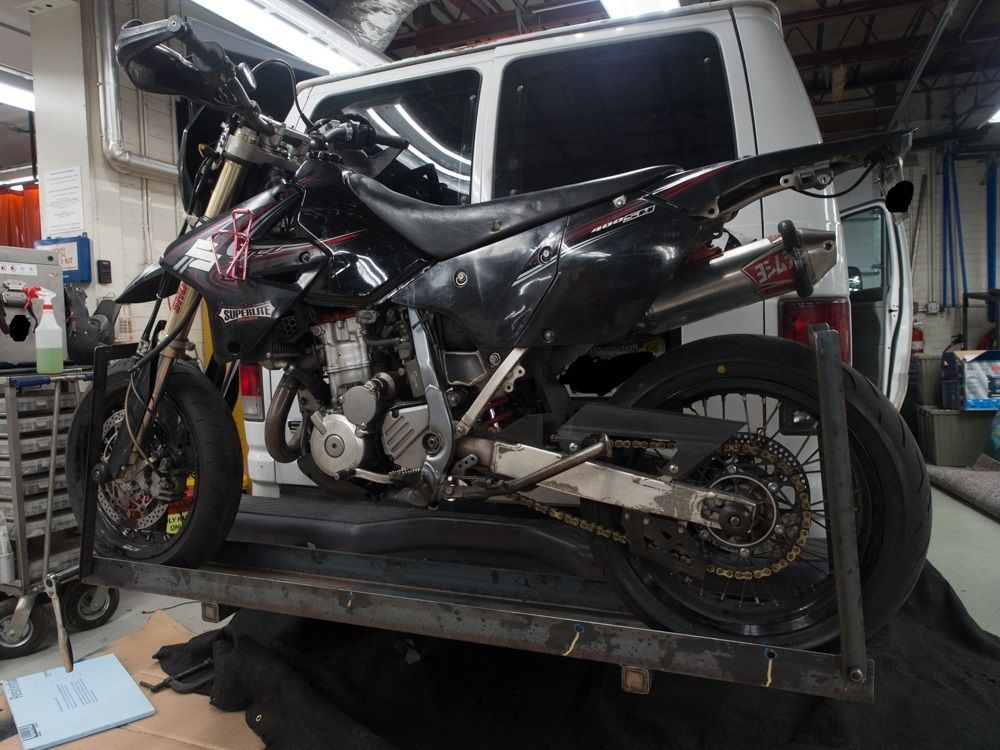
Dual receiver 1000 lb rated motorcycle carrier
Hidden triple battery bank (Holding 1 battery currently)
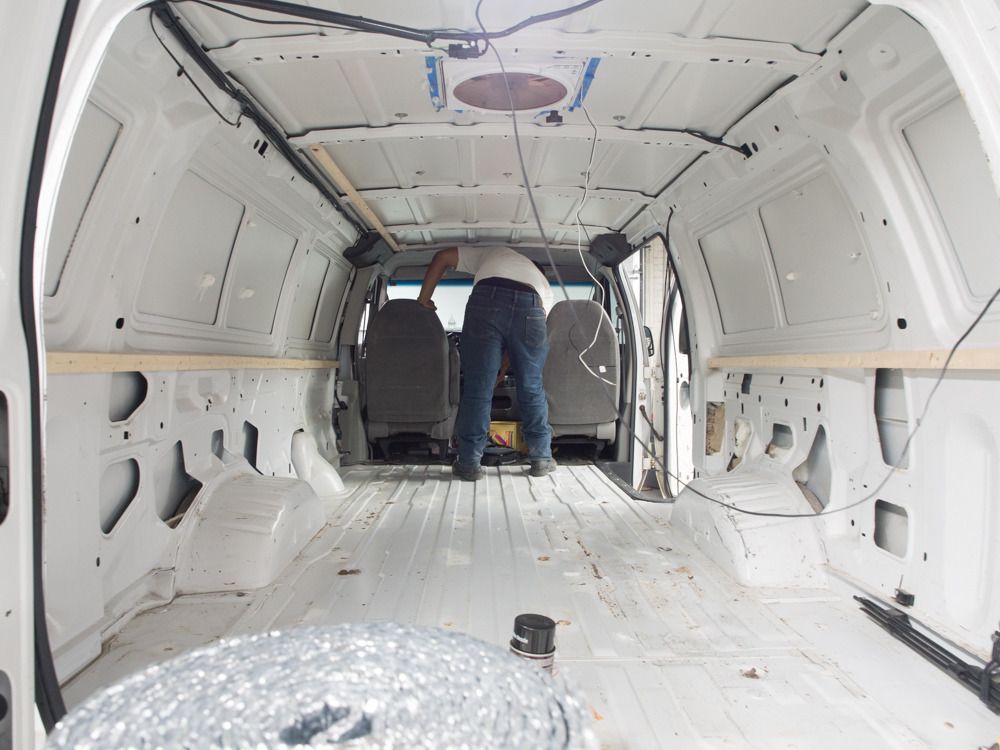
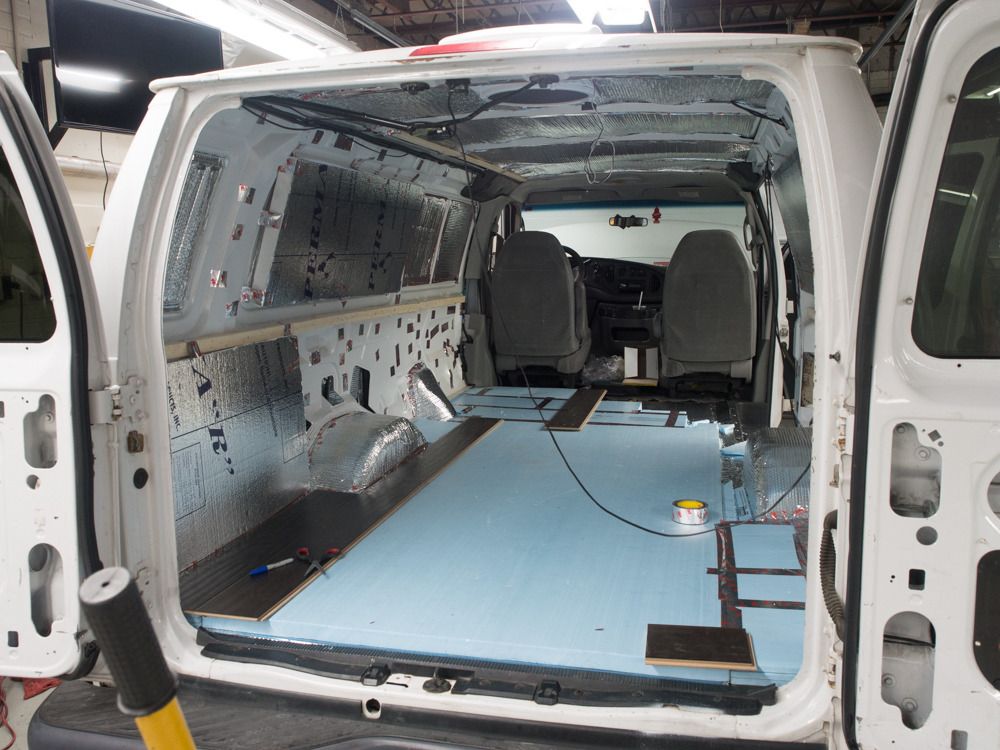
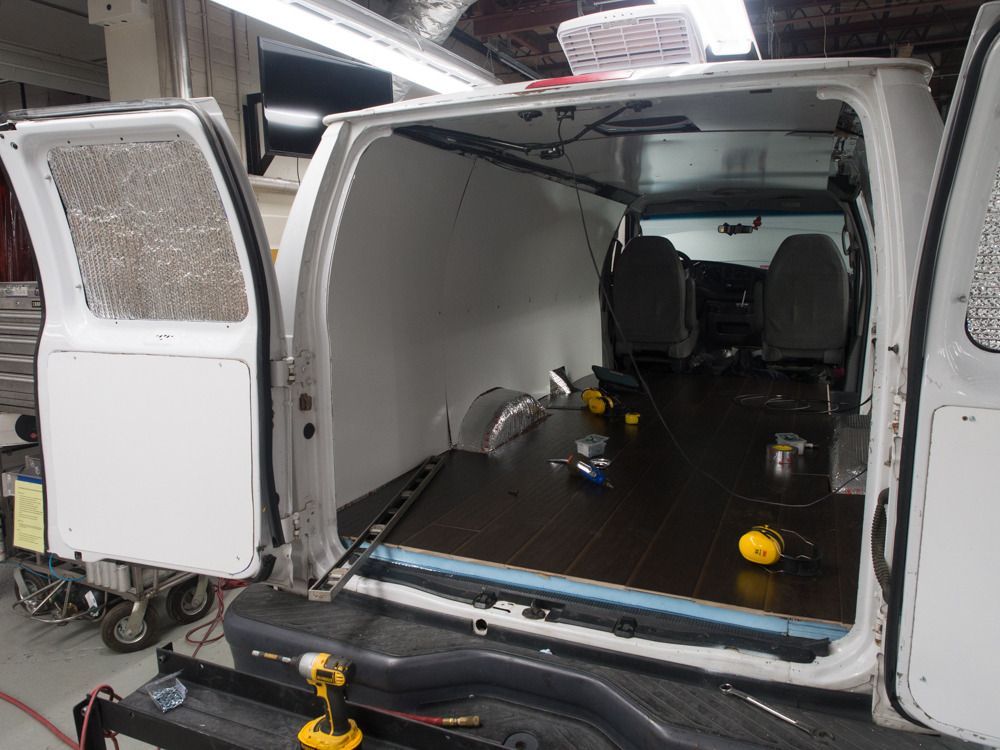
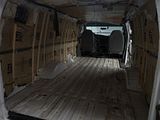
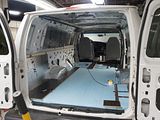
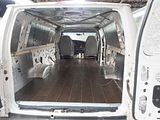
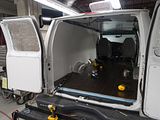
Laminate flooring and white Masonite walls for that IKEA-esque touch
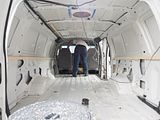
Reflectix on every surface
2" Styrofoam on every surface
Fiberglass stuffed in doors and wheel wheel crevices
Limo Tint for the peepers
Bike:
DRZ400SM w/ usual upgrades
Future Plans:
Steel Partition Barrier: (If anyone is selling one on the West Coast, please let me know!)
Closeouts between ceiling/roof
Custom made cabinets/storage
More batterys/panels
Simple Ladder rack on roof
Small Refrigerator/Sink/Stove setup
Time for the pictures, I will order this chronologically.
Maxxfan Install:
The van already came with an older RV vent installed, meaning that most of the work is already cutout for me. Pun intended.
For sealant: I used three types of sealing methods. Rubber weatherstripping, vaccum bag tape (Don't laugh!), and clear silcone.
Fastening: I used the supplied hardware from the manufacturer. Basically a couple of pan head cap screws.
What to watch out for: The van roof is not perfectly flat. It has stiffening channels stamped into it. What this means is it difficult to seal this area "straight up". The way I fixed it under a time constraint is to take strips of rubber and "stack it" it to create a flat datum. I applied RTV in between every rubber to insure it doesn't leak between the rubber strips. If I had the time to do it properly. I would build a small mold on the van and pour castable RTV to create a custom gasket for it. But....whatever.
Below: Previous Owner Fan Install
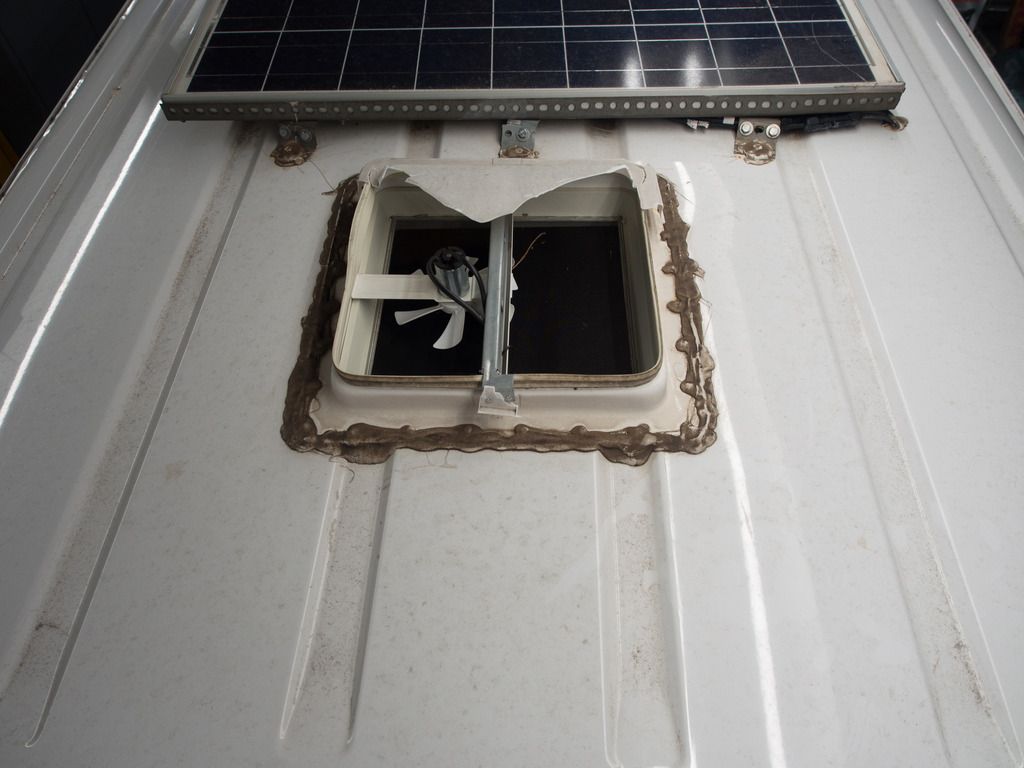
Below: Old install all cleaned up
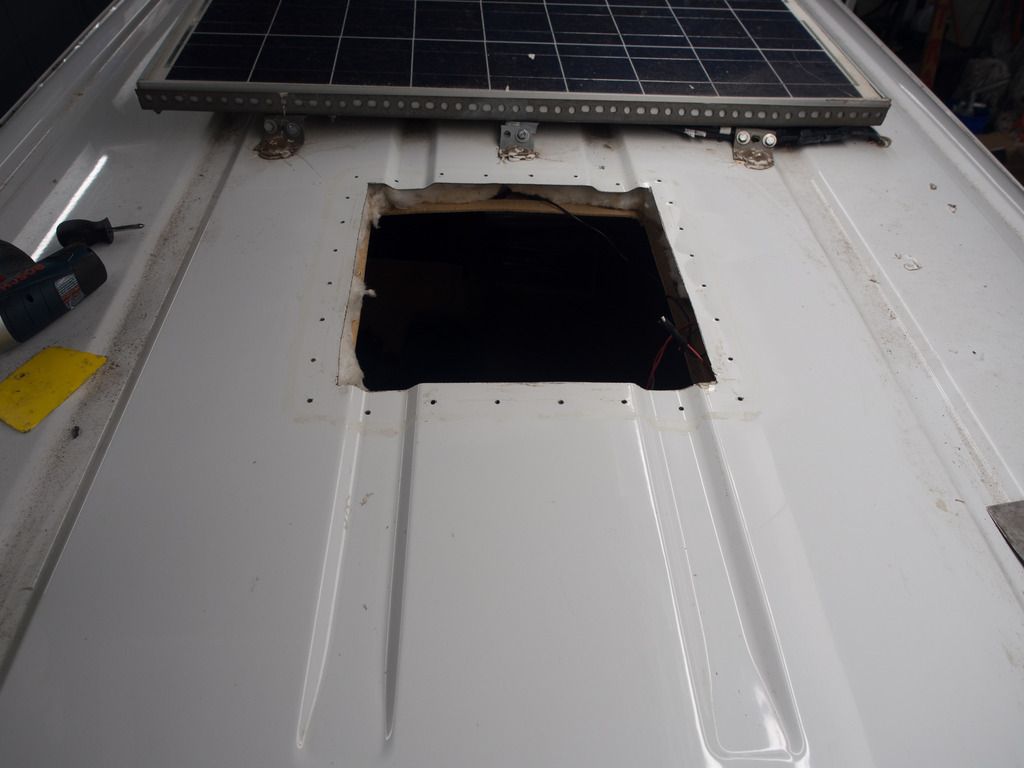
Below: Picture of sealing method
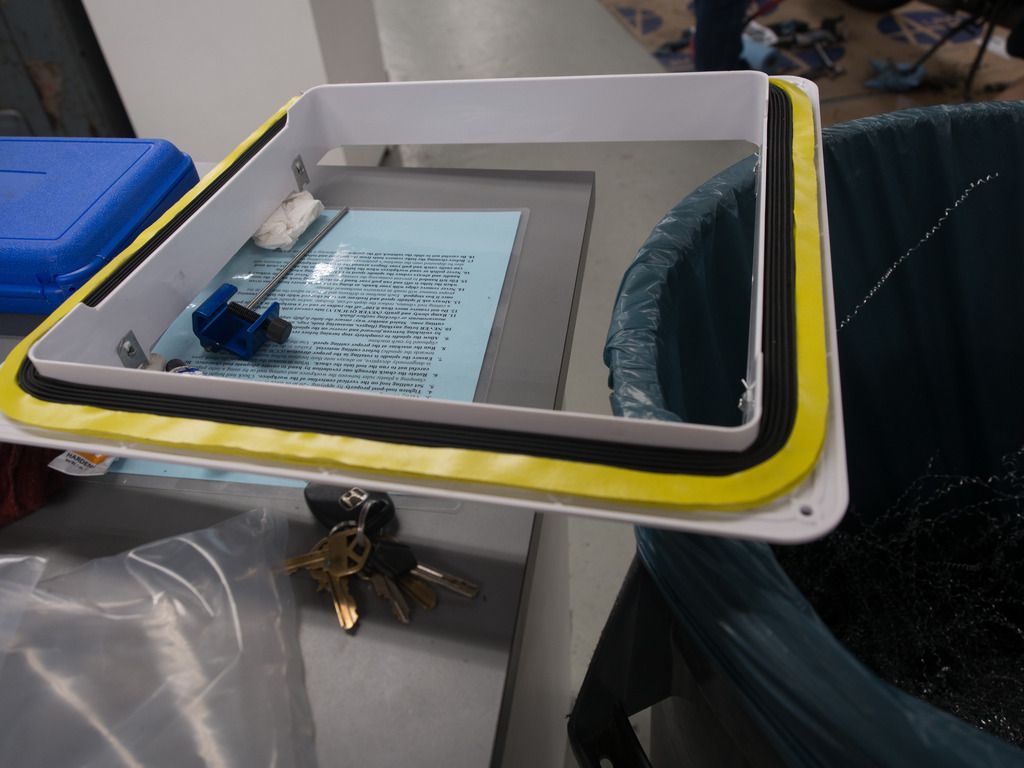
Below: New bezel installed
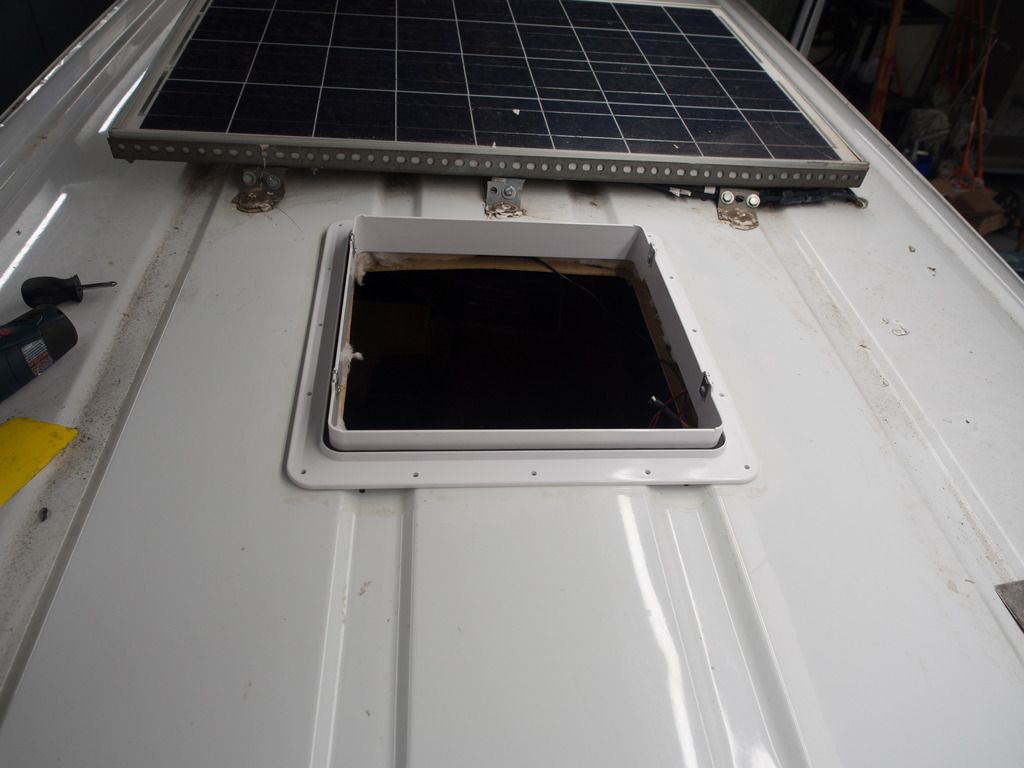
Below: Fan Installed
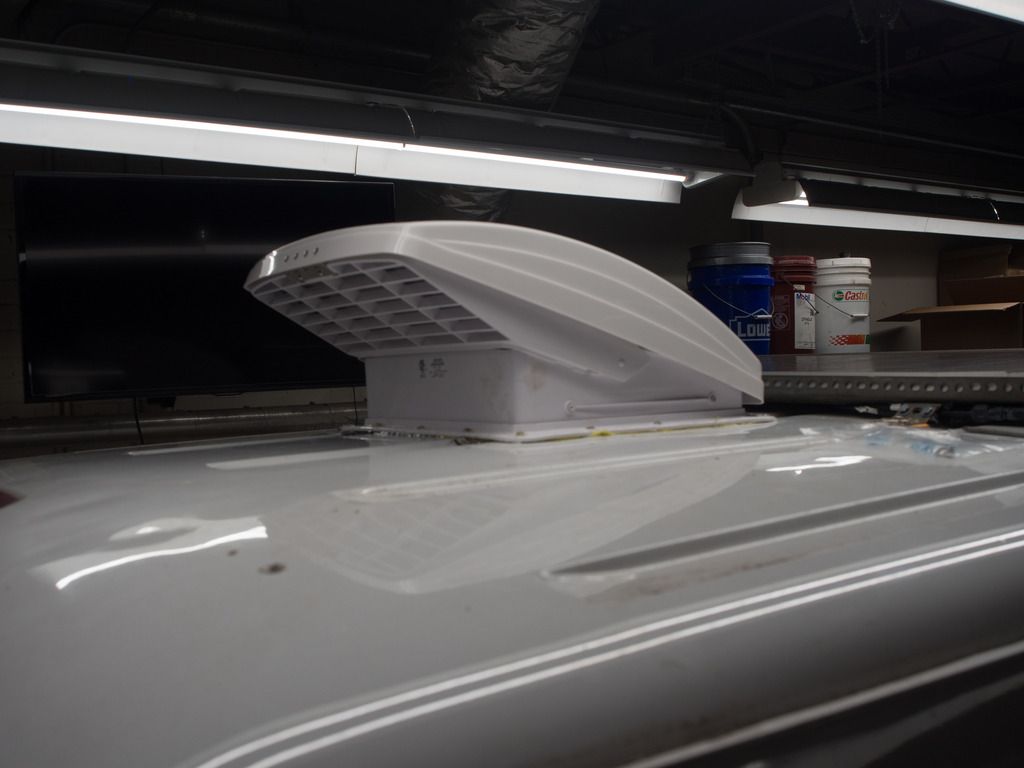
Below: Interior View of new fan
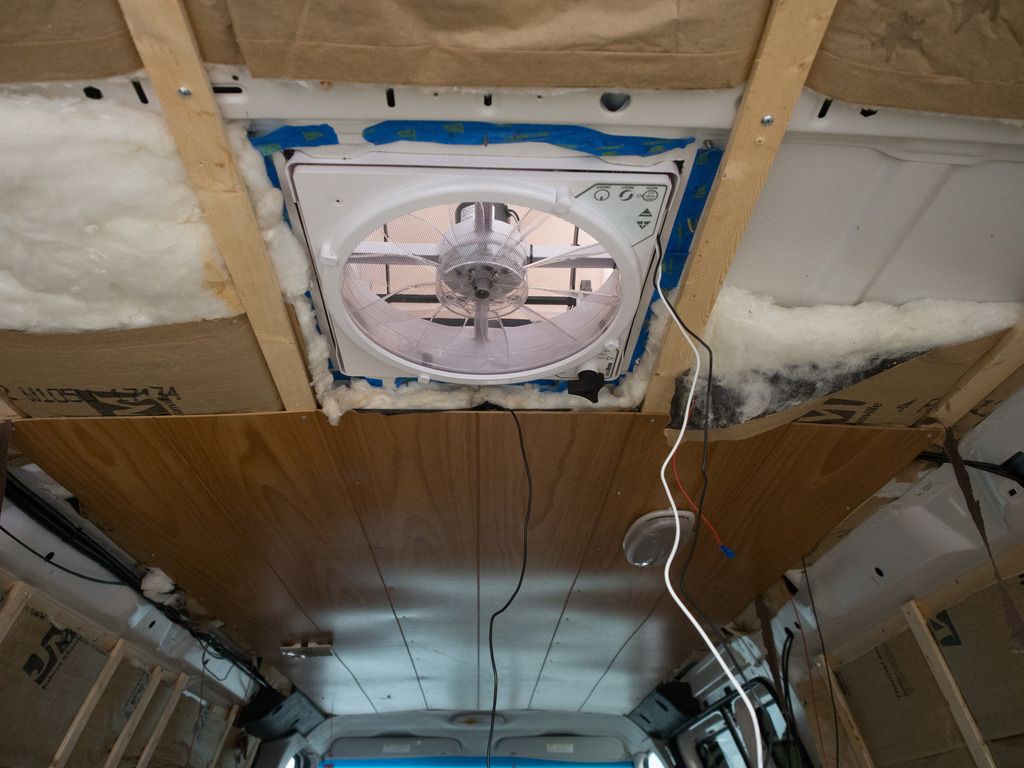
Dual Receiver Hitch Motorcycle Carrier:
Logic:
I was very skeptical of a standard class III motorcycle carrier hitch surviving a 6000+ mi round trip (East coast to the West coat) with a 350 lb bike strapped on it.
A standard hitch carrier, in my opinion, does not safely constrain the bike. A single piece of cantilevered box tube will be going through multiple bending modes( pitch, roll, and yaw). I can already see a fatigue based failure happening with those things.
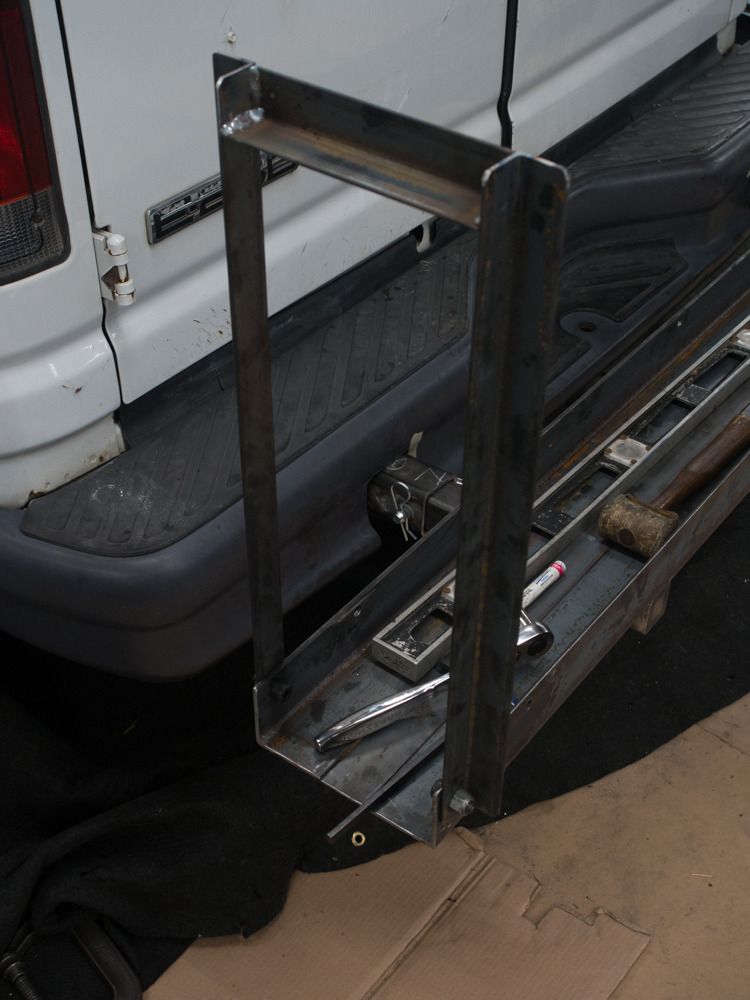
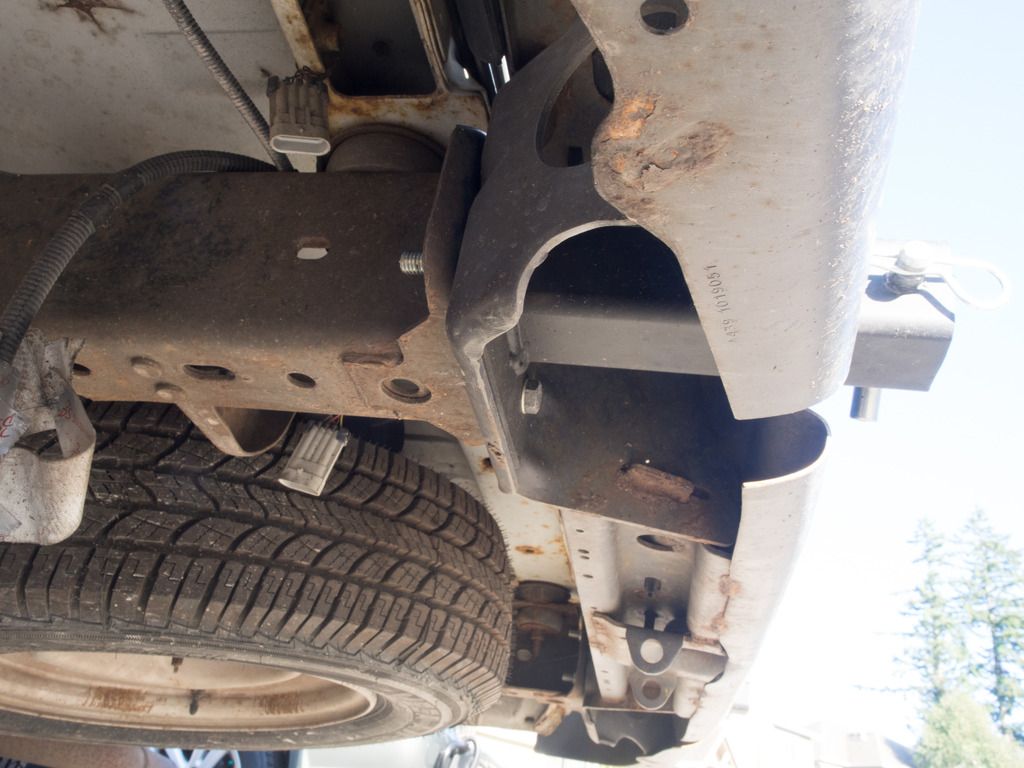
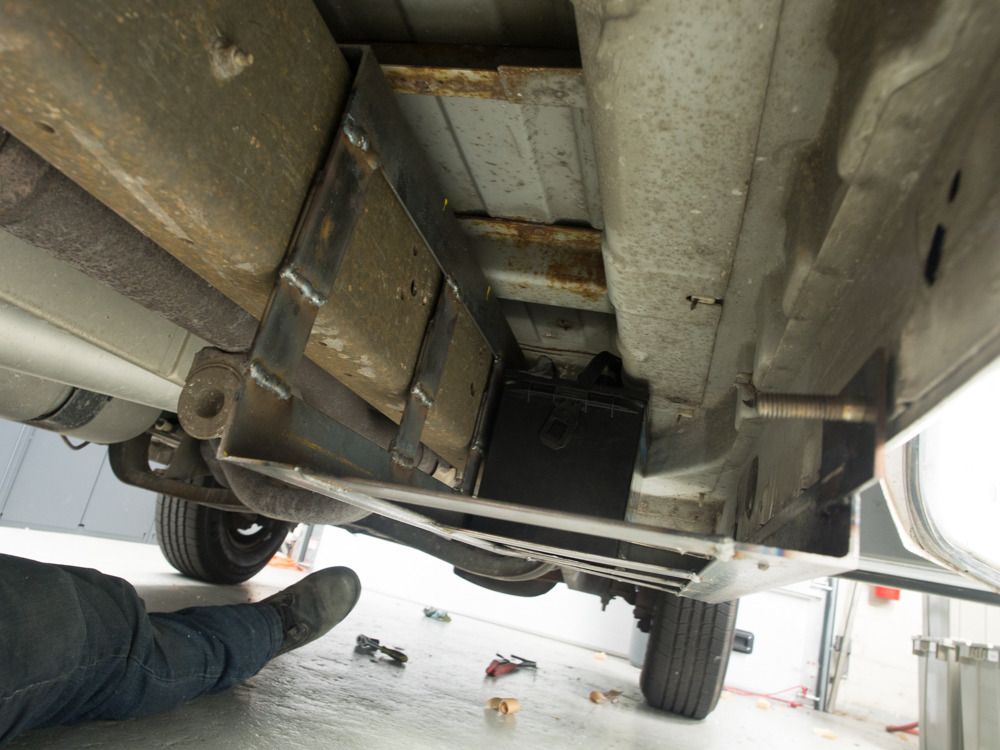
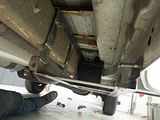
So I fabricated two receiver hitches that bolt on the frame rails. This seriously minimizes the bending stresses seen by the part. It is VERY sturdy and only weighs about 30-40lbs. I have no problems putting a larger bike (500+ lbs) on it, with the exception of it's effect on the van's driving dynamics. I drove this setup loaded for about 1900 miles, and I am very happy with it. I can take the van 85+ mph and not think twice about the supermoto falling off.
Materials:
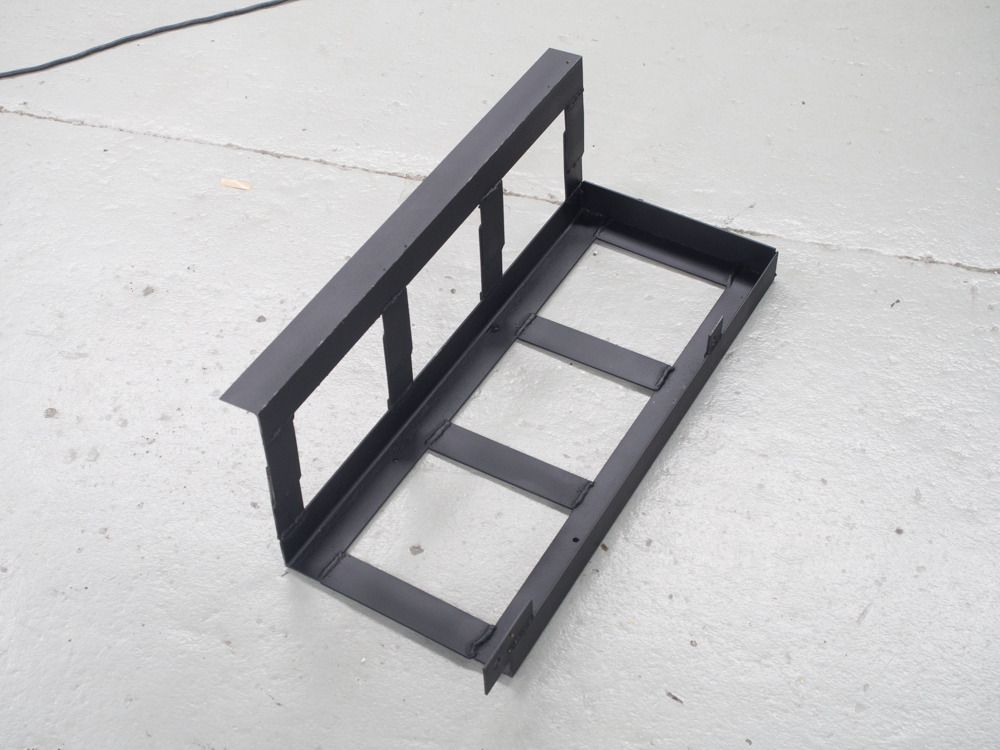
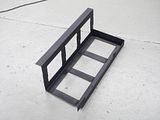
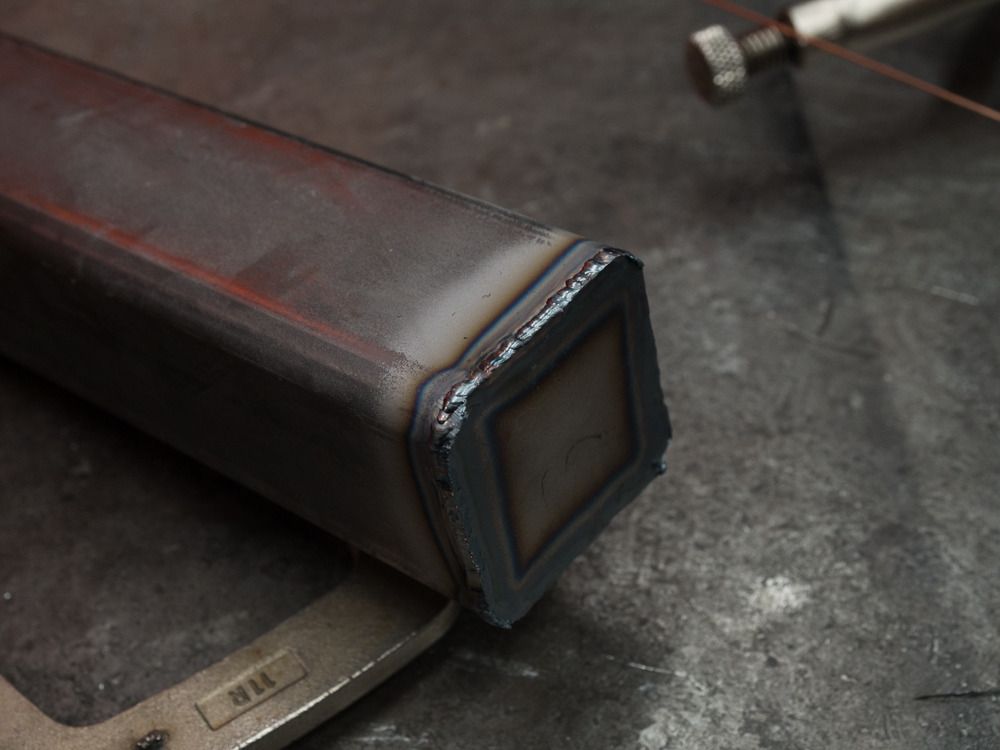
I used 3"x .125" WT Angle and 2" x .125" WT flat bar for the platform. 2.5" x 3/16" WT Box tube for the female receiver hitch material and 2" x .25" WT box for the male hitch material. .25" Plate for the frame rail bolt-in mounts. Everything is MIG welded with the exception of the endcaps, those were TIG. I wanted to ball hard with that part.
Picture time!
Below: Made the drawing for the bolt-on brackets in CAD
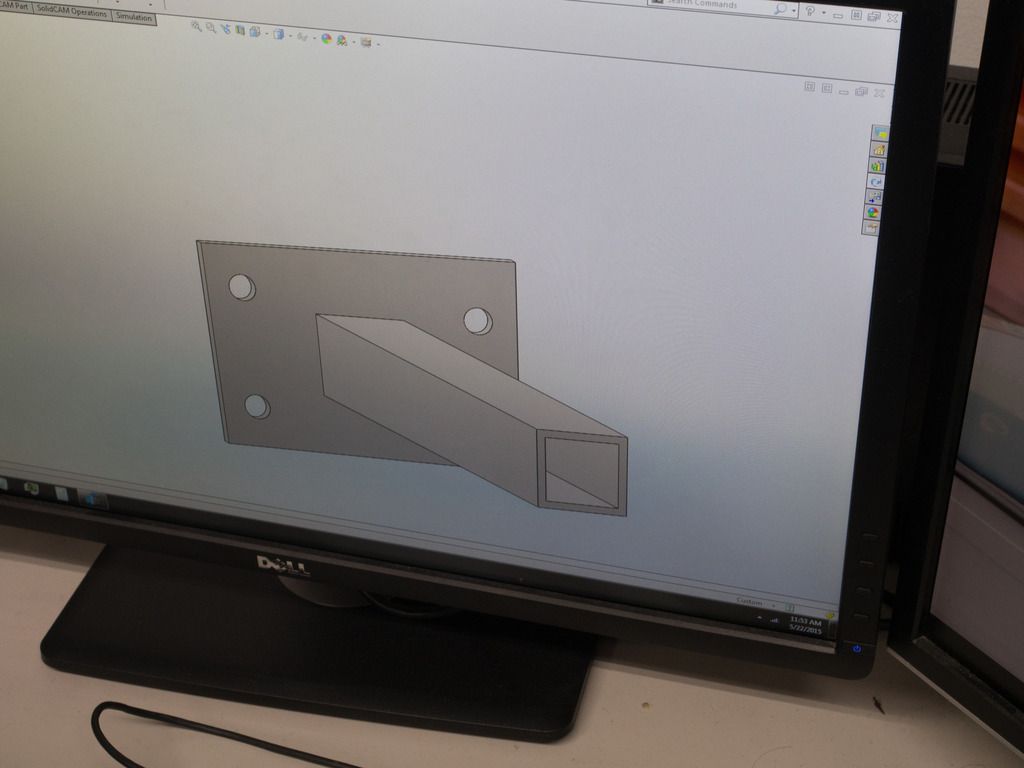
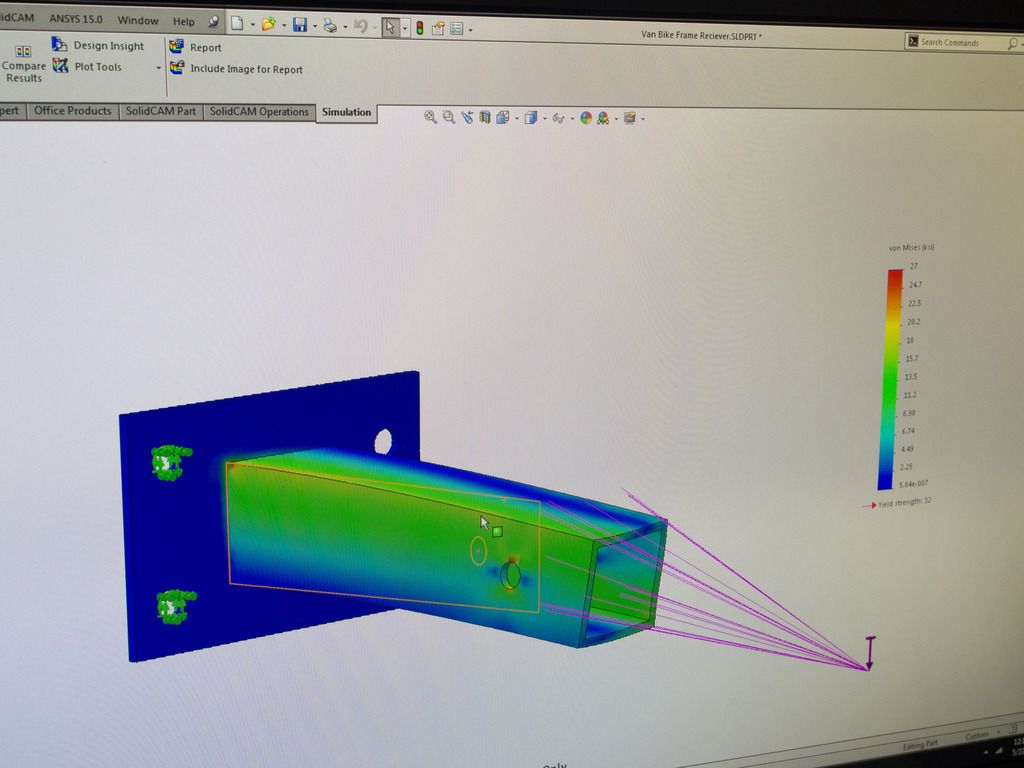
Below: : While I was waiting on my buddy for lunch, I had some extra time on my hands. For shiggles, I did a VERY rough FEA on the part to get a ballpark idea of the stress values. Honestly I should have just done a free body diagram and do some hand calculations.....but whatever.... I like pretty pictures. Should be good to 1000+lbs. I did not do any fatigue hand calcs, but it SHOULD be good enough for my 350 lb bike.
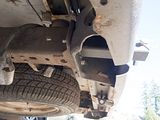
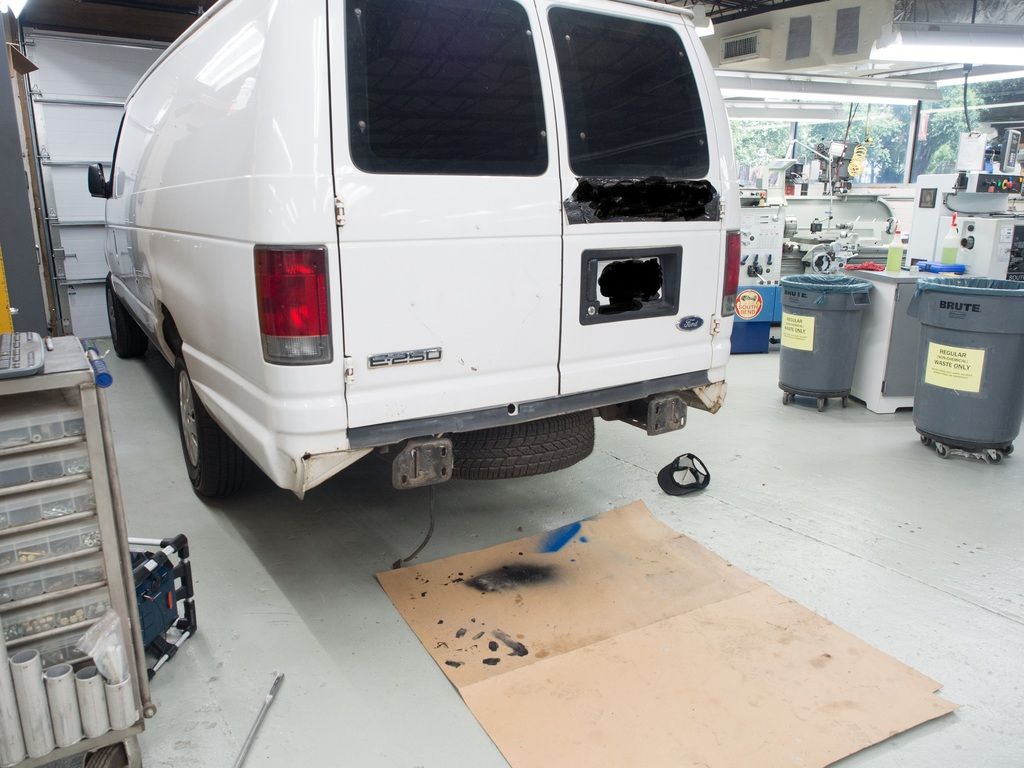
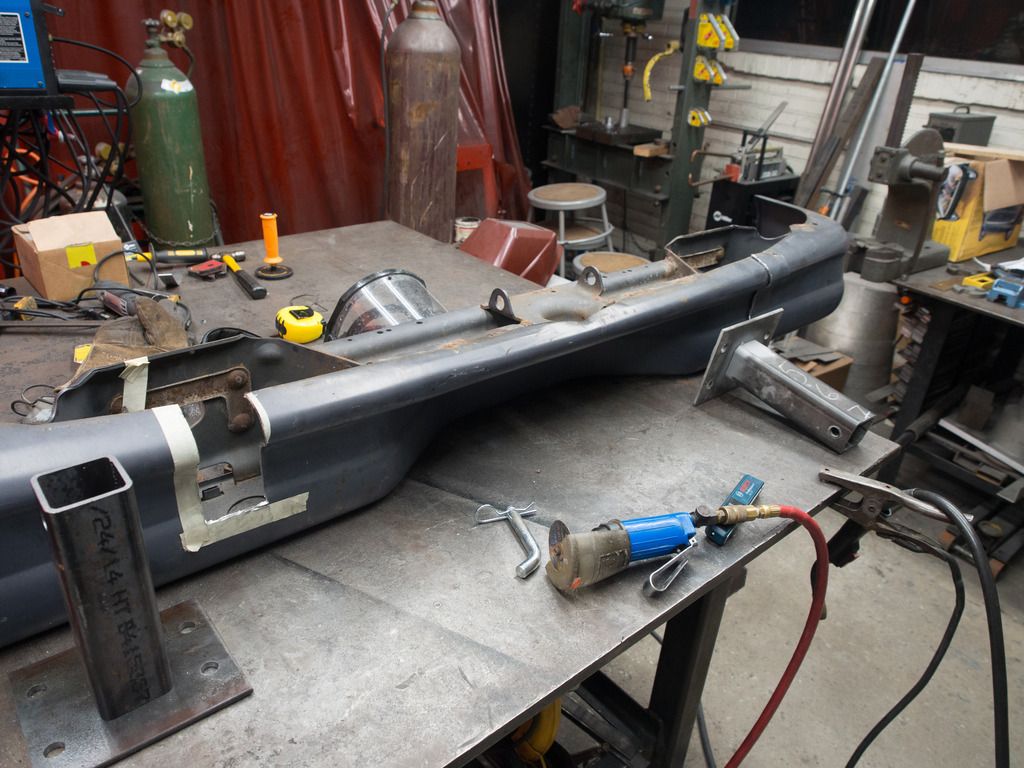
Below: Pulled the bumper
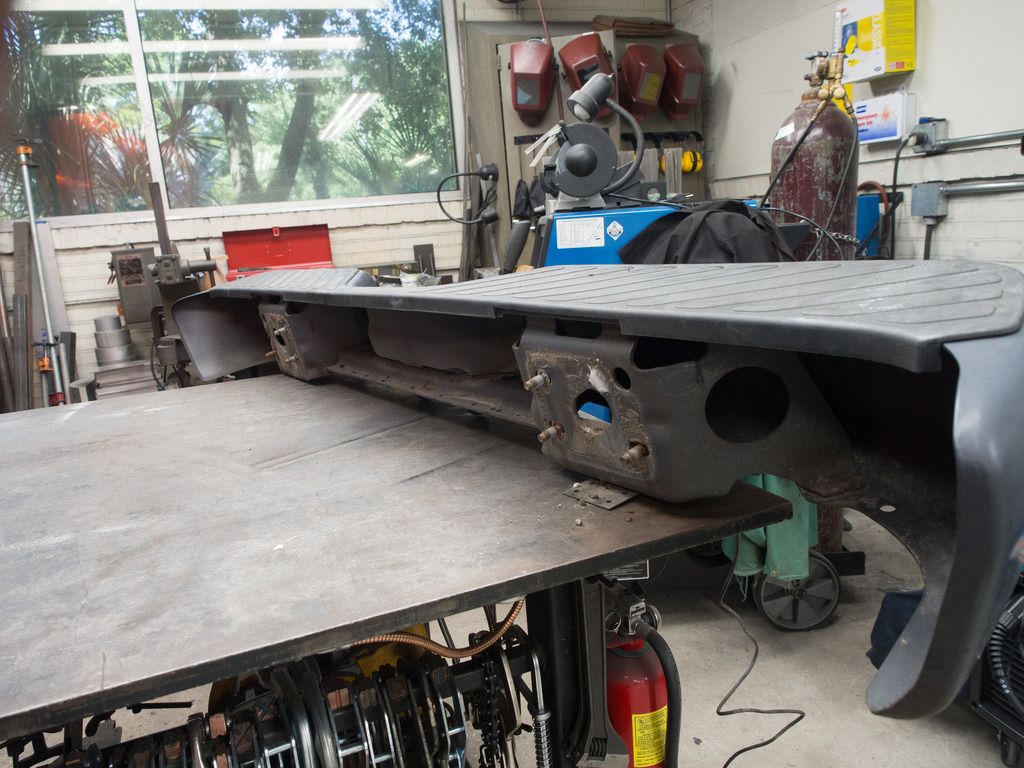
Below: On welding table for measurements/reverse engineering
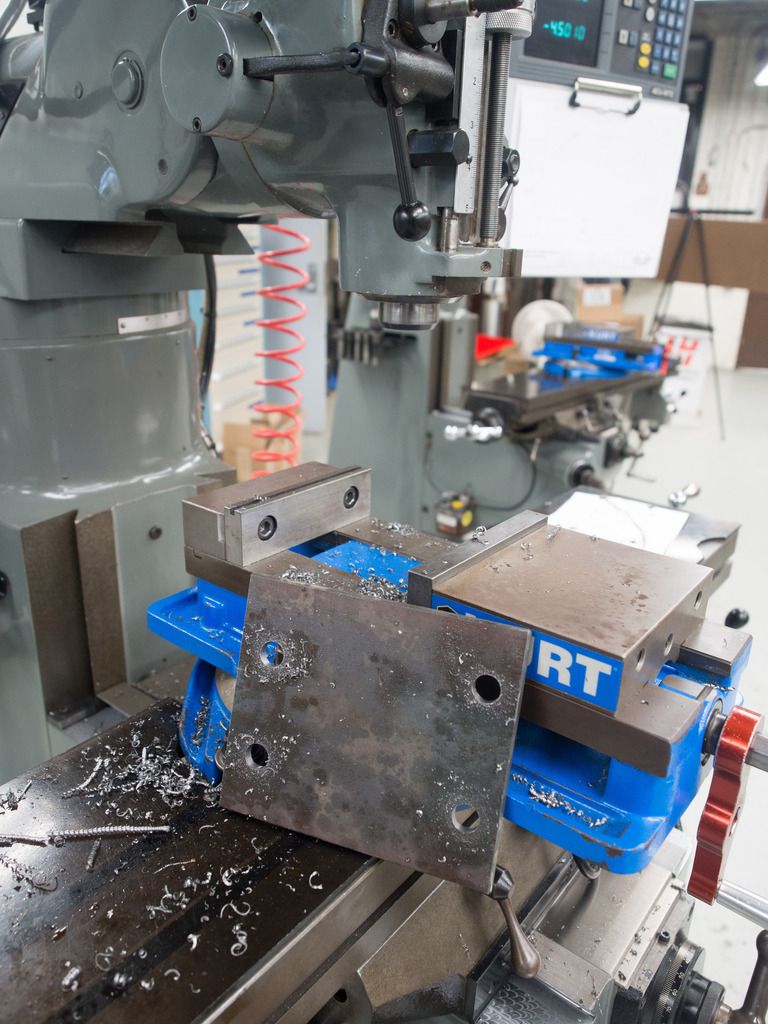
Below: Drilling mounts on Bridgeport
Below: Cut slots into bumper
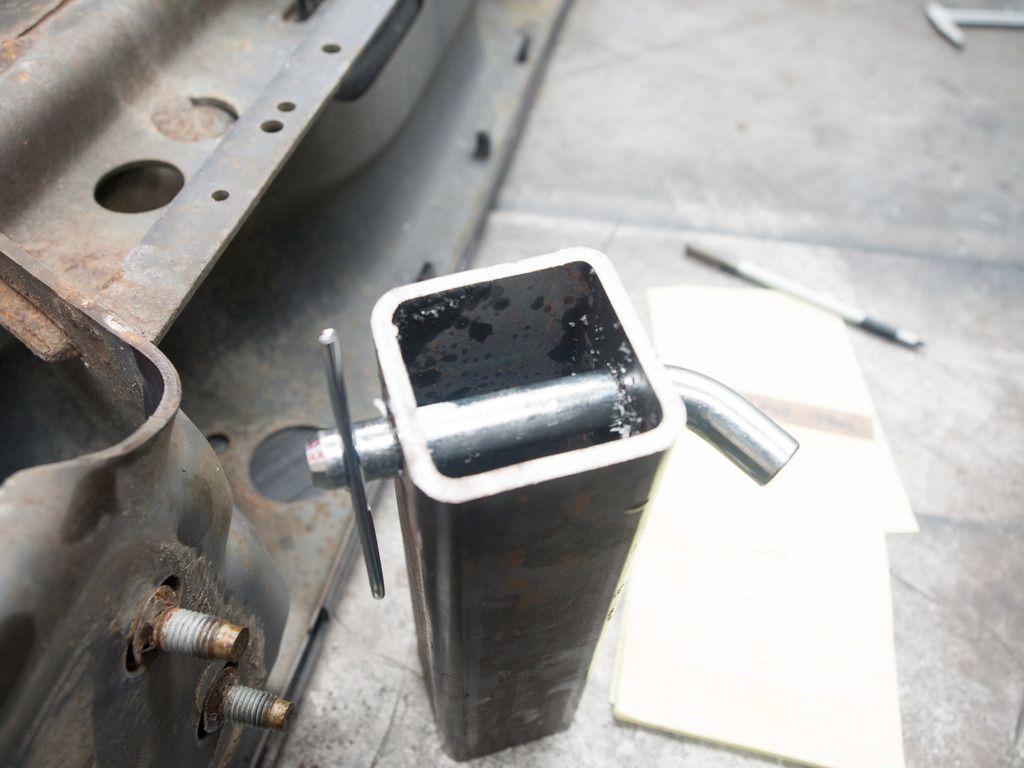
Below: Testing fit of 5/8" OD Hitch Pin. It's Tight!:bigbossHL:
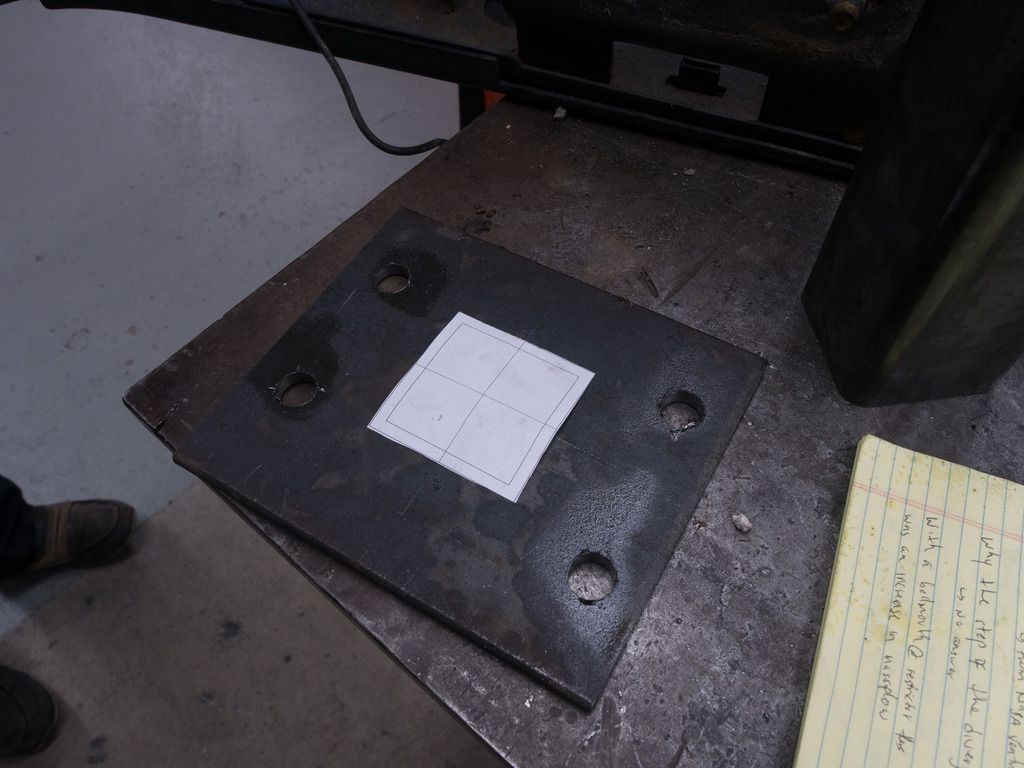
Below: Laying Out the position of tube
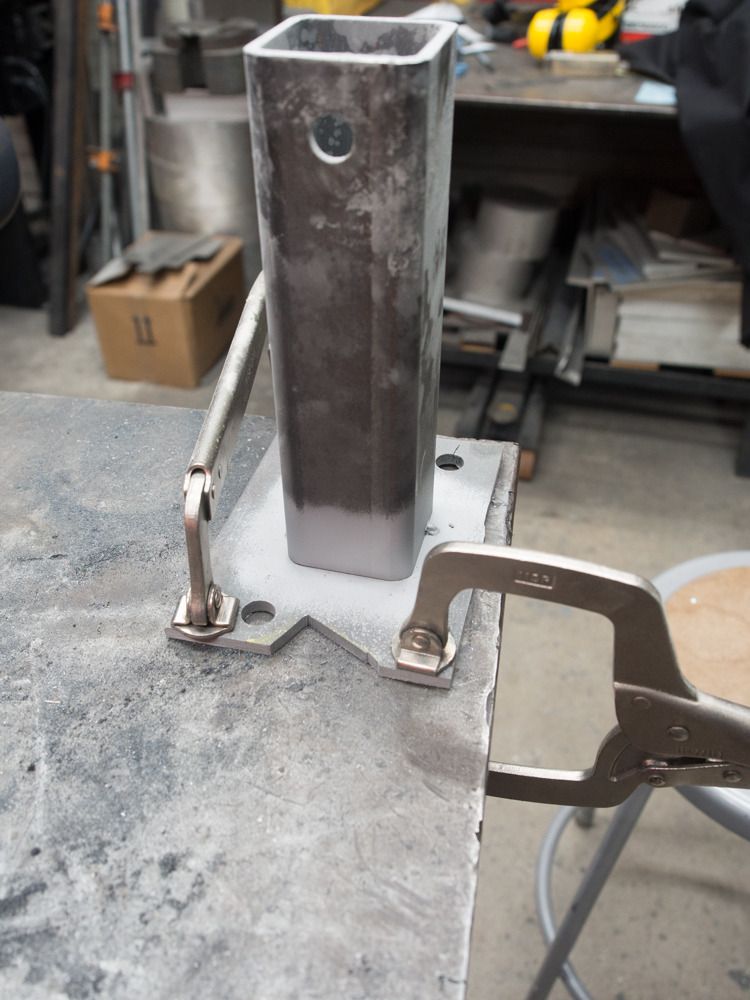
Below: Clamping on workpieces before welding
Below: Post welding..I got a little stupid at the corners:sombrero:
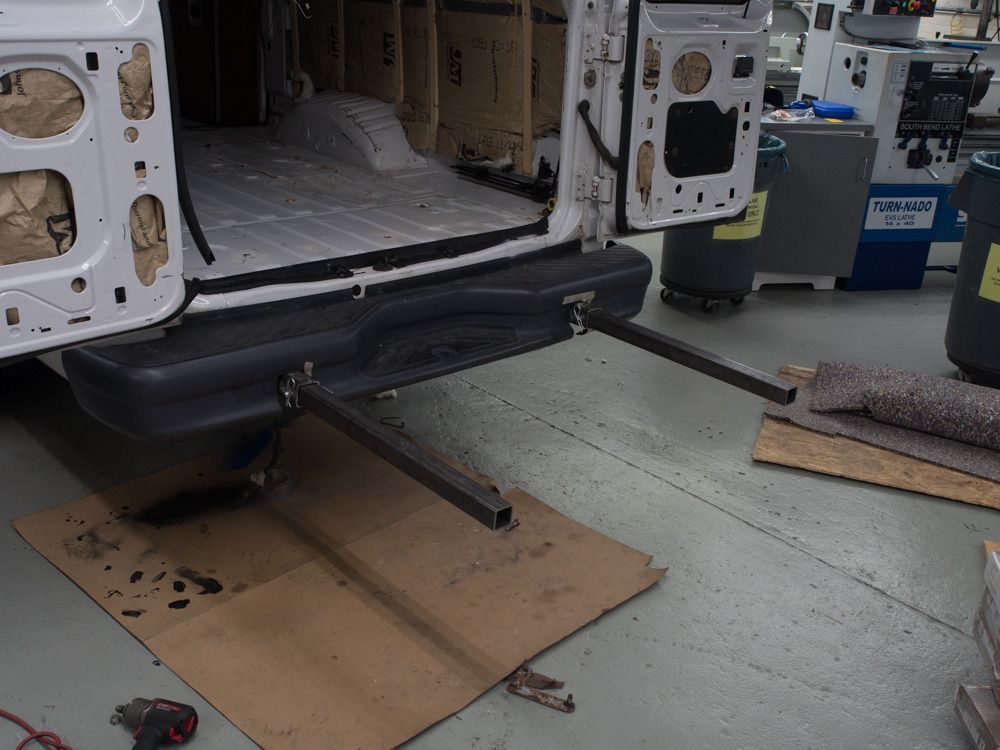
Below:Installed recievers on van and mocked up with male parts
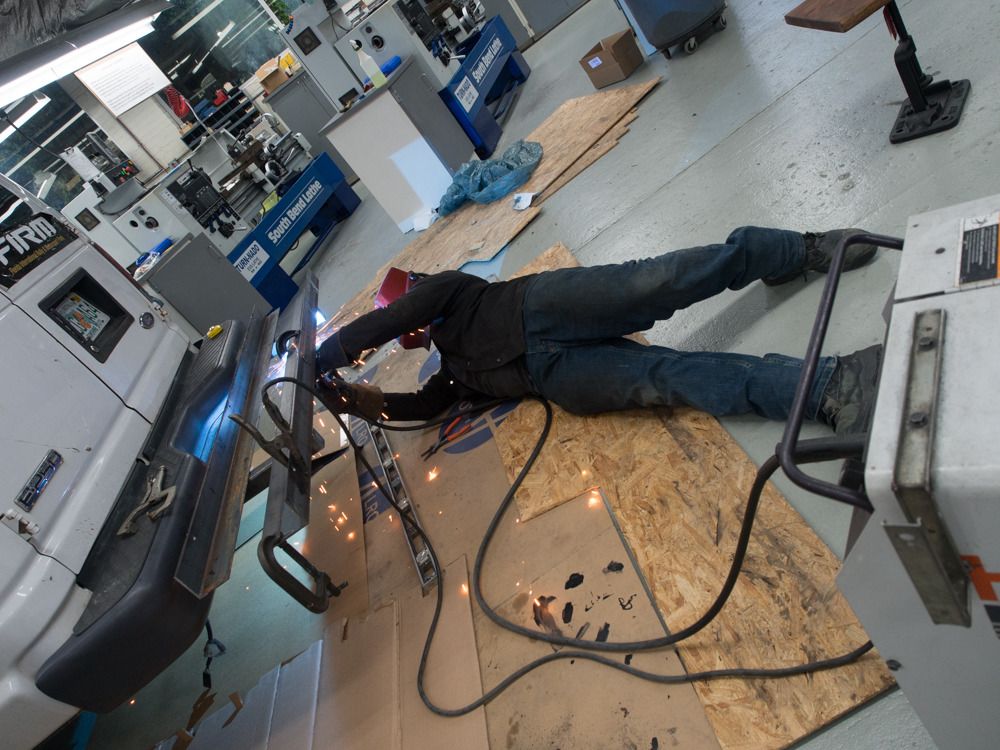
Below: Tack welding stuff in
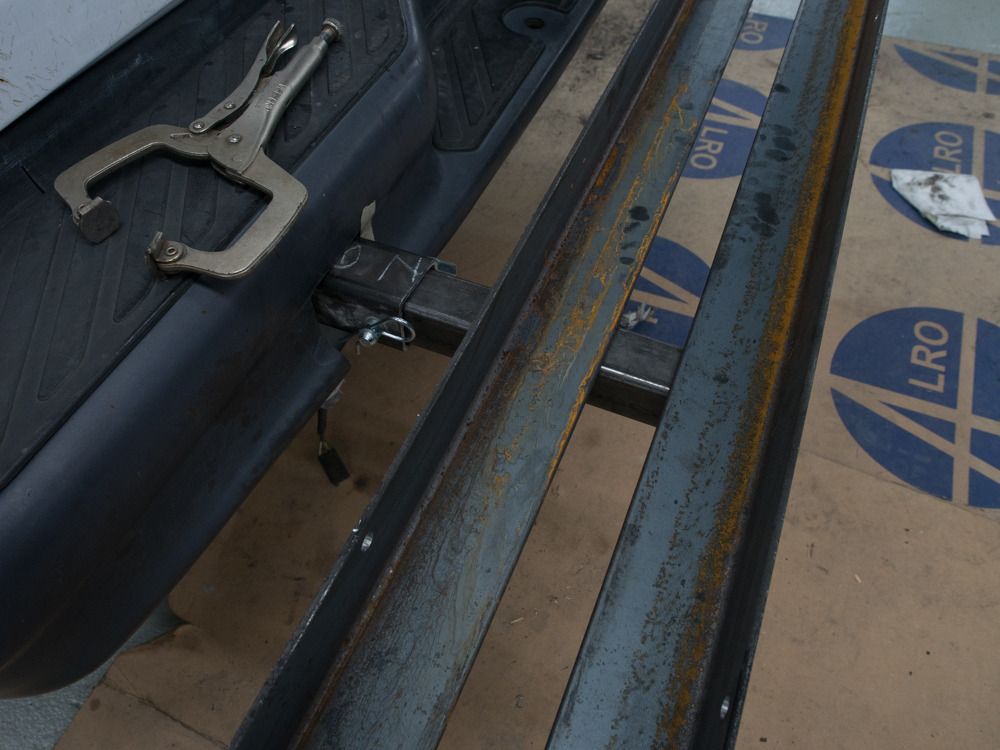
Below: Mocked up
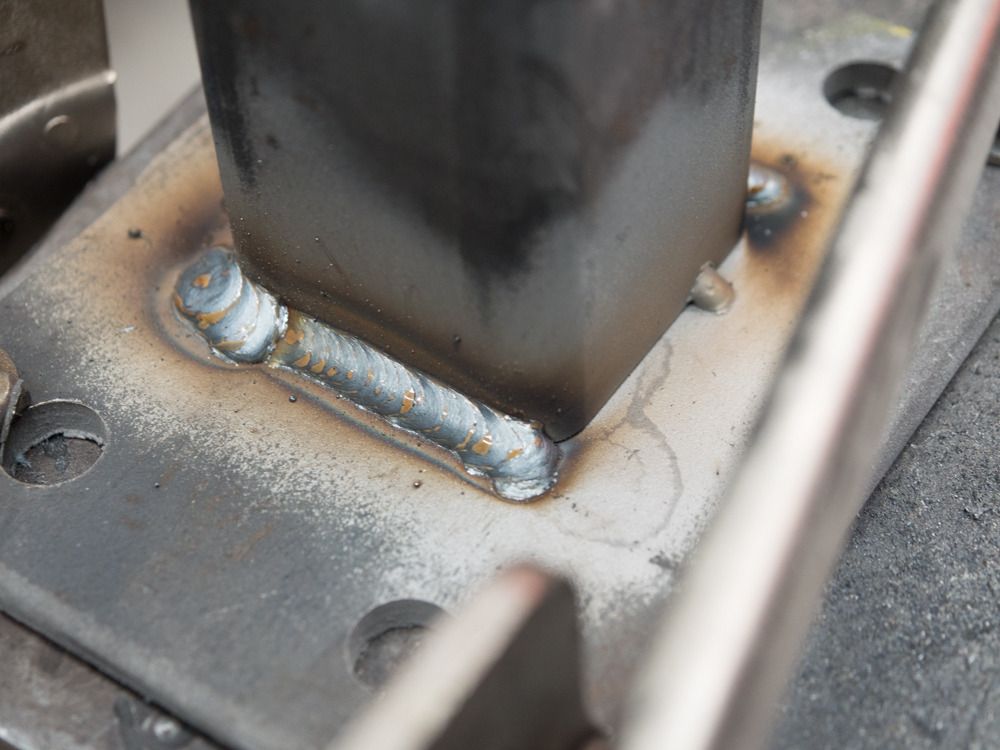
Below: TIG'ed endcaps... Yes they need some better weld work
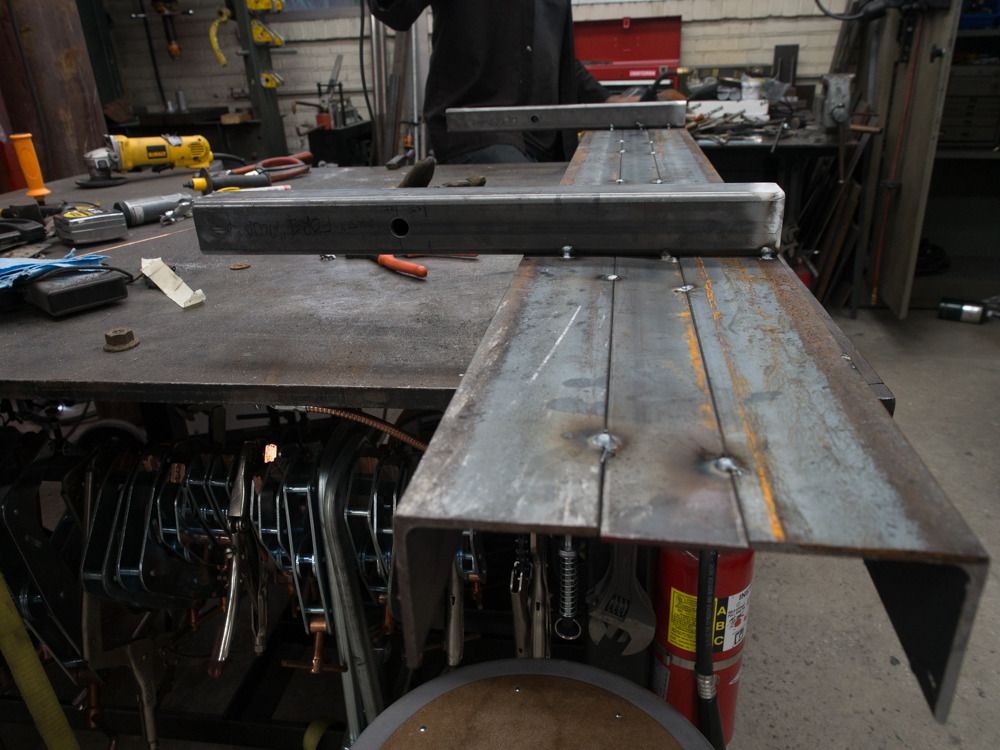
Below: Started tacking and full seaming stuff
I'll make this quick.
Intro story: Basically want to build a van that I can sleep in and take around the various places that I will be working the next few months. I want this van to be ultra low profile, that way it doesn't draw any attention. The DRZ will be my DD and the van will be just a resting location. Eventually all of this content will be moved to a website that I will build. But I need to figure out how to use/host wordpress first!
With my obligations and time constraints, I only had 5 days to put everything together. It is what it is.
Without further ado..

Van:
2006 E250 5.4L V8 Extended Body with 230K miles (Ouch!)
Solar panel mounted on roof
Maxxair RV vent fan
Interior LED lights that are rated for a couple thousand lumens (it has a PWM dimmer attached)
Dual receiver 1000 lb rated motorcycle carrier
Hidden triple battery bank (Holding 1 battery currently)
Laminate flooring and white Masonite walls for that IKEA-esque touch
Reflectix on every surface
2" Styrofoam on every surface
Fiberglass stuffed in doors and wheel wheel crevices
Limo Tint for the peepers
Bike:
DRZ400SM w/ usual upgrades
Future Plans:
Steel Partition Barrier: (If anyone is selling one on the West Coast, please let me know!)
Closeouts between ceiling/roof
Custom made cabinets/storage
More batterys/panels
Simple Ladder rack on roof
Small Refrigerator/Sink/Stove setup
Time for the pictures, I will order this chronologically.
Maxxfan Install:
The van already came with an older RV vent installed, meaning that most of the work is already cutout for me. Pun intended.
For sealant: I used three types of sealing methods. Rubber weatherstripping, vaccum bag tape (Don't laugh!), and clear silcone.
Fastening: I used the supplied hardware from the manufacturer. Basically a couple of pan head cap screws.
What to watch out for: The van roof is not perfectly flat. It has stiffening channels stamped into it. What this means is it difficult to seal this area "straight up". The way I fixed it under a time constraint is to take strips of rubber and "stack it" it to create a flat datum. I applied RTV in between every rubber to insure it doesn't leak between the rubber strips. If I had the time to do it properly. I would build a small mold on the van and pour castable RTV to create a custom gasket for it. But....whatever.
Below: Previous Owner Fan Install

Below: Old install all cleaned up

Below: Picture of sealing method

Below: New bezel installed

Below: Fan Installed

Below: Interior View of new fan

Dual Receiver Hitch Motorcycle Carrier:
Logic:
I was very skeptical of a standard class III motorcycle carrier hitch surviving a 6000+ mi round trip (East coast to the West coat) with a 350 lb bike strapped on it.
A standard hitch carrier, in my opinion, does not safely constrain the bike. A single piece of cantilevered box tube will be going through multiple bending modes( pitch, roll, and yaw). I can already see a fatigue based failure happening with those things.
So I fabricated two receiver hitches that bolt on the frame rails. This seriously minimizes the bending stresses seen by the part. It is VERY sturdy and only weighs about 30-40lbs. I have no problems putting a larger bike (500+ lbs) on it, with the exception of it's effect on the van's driving dynamics. I drove this setup loaded for about 1900 miles, and I am very happy with it. I can take the van 85+ mph and not think twice about the supermoto falling off.
Materials:
I used 3"x .125" WT Angle and 2" x .125" WT flat bar for the platform. 2.5" x 3/16" WT Box tube for the female receiver hitch material and 2" x .25" WT box for the male hitch material. .25" Plate for the frame rail bolt-in mounts. Everything is MIG welded with the exception of the endcaps, those were TIG. I wanted to ball hard with that part.
Picture time!
Below: Made the drawing for the bolt-on brackets in CAD

Below: : While I was waiting on my buddy for lunch, I had some extra time on my hands. For shiggles, I did a VERY rough FEA on the part to get a ballpark idea of the stress values. Honestly I should have just done a free body diagram and do some hand calculations.....but whatever.... I like pretty pictures. Should be good to 1000+lbs. I did not do any fatigue hand calcs, but it SHOULD be good enough for my 350 lb bike.

Below: Pulled the bumper

Below: On welding table for measurements/reverse engineering

Below: Drilling mounts on Bridgeport

Below: Cut slots into bumper

Below: Testing fit of 5/8" OD Hitch Pin. It's Tight!:bigbossHL:

Below: Laying Out the position of tube

Below: Clamping on workpieces before welding

Below: Post welding..I got a little stupid at the corners:sombrero:

Below:Installed recievers on van and mocked up with male parts

Below: Tack welding stuff in

Below: Mocked up

Below: TIG'ed endcaps... Yes they need some better weld work

Below: Started tacking and full seaming stuff

Last edited:

