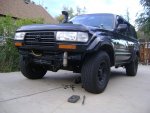
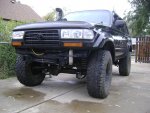
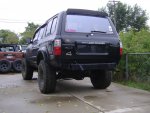
fat bastard build thread

nuclearlemon

Adventurer
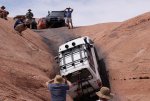
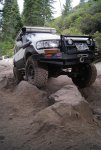
after many years of faithful service, the nuclearmarshmallow started burning oil fast.

the marshmallow was out of the midwest, so everything was rusted, the wiring harness had been butchered by previous owners and had all sorts of gremlins, every panel on it was dented, and now a borescope revealed a deep score down the #6 cylinder wall. the entire rig wasn't worth salvaging, so i didn't bother looking at the other cylinders and instead hit craigslist. i had seven months to find a rig before the plates on the marshmallow were due and that meant having to pass an e-test, which wasn't gonna happen with all the blue smoke pouring out the tailpipe.

my stipulations were that it be a 95 or newer and have a grey interior since i'd done a lot of research with friends and on mud whenever i modded the m.m. and was pretty happy with most of the parts and how they worked. i wanted to reuse as much as possible off the m.m. (except the powertrain as i have plans to someday stuff everything under my pig).

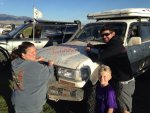
on the last trip, i had a bunch of friends all write stuff on the hood and one of these days, i'll hang it from the rafters in my garage.
 

Attachments

  • DSC02964.JPG
    DSC02964.JPG
    146.4 KB · Views: 56
  • DSC07685.JPG
    DSC07685.JPG
    345.2 KB · Views: 56
  • dan2.jpg
    dan2.jpg
    98.5 KB · Views: 56
  • 10178033_10152331774730743_5947158589304529011_n.jpg
    10178033_10152331774730743_5947158589304529011_n.jpg
    118.1 KB · Views: 62
  • DSC07055 (1).JPG
    DSC07055 (1).JPG
    122.3 KB · Views: 53

nuclearlemon

Adventurer
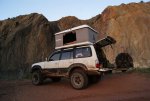
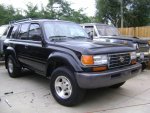
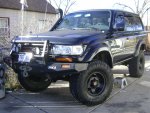
late july 2014, i found a garage kept 96 with high miles, but owned by a suburban couple who loved their toyotas, living in a yuppie neighborhood and it came with a 2" stack of receipts of work done since 1999. it didn't take much convincing. a week later, my buddy steve drove me down to their house to pick it up. the only thing holding me back from going wild on a build right then was was a weeklong expedition to cruiserfest was planned for a couple of months down the road and i couldn't have the new rig ready in time, plus i wanted one last ride in the marshmallow.

the negatives (besides high miles) were that it was black (looks good, but hot as he##) and no lockers.
 

Attachments

  • IMG_20140811_195422_584.jpg
    IMG_20140811_195422_584.jpg
    197.5 KB · Views: 53
  • DSC08517.jpg
    DSC08517.jpg
    546.6 KB · Views: 66
  • IMG_20140811_195200_054.jpg
    IMG_20140811_195200_054.jpg
    518.2 KB · Views: 60

aldenfost

New member
First of all, awesome off road photos. Sorry to hear about the marshmallow. Anyway, cool idea to get the hood signed by your friends.
New black truck looks good, seems you got a good deal. :)
 

nuclearlemon

Adventurer
thanks, yeah, the marshamallow served me fairly well and it was a fun cheap beater. it's soooo nice to work on a rig where all the bolts come off tho ;)

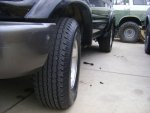
i was able to get a few things done before cruiserfest, first up was to lose the running boards. everyone knows they should do this, but the clearance should show you why.

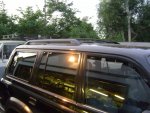
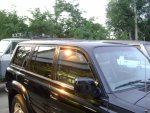
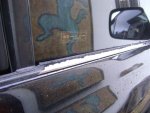
also, as the window visors would fall off the mm, i put new 3m tape on them and installed them on fat bastard. i'm not a fan of heat, and usually have my windows cracked. with a black car it's absolutely necessary, so while the visors are something else to break, they are so worth it for the ventilation aspect.

i have a lot of stuff that stays in the truck and while most of it is locked up, or just empty holders, it's still no ones business what i've got in there, so some cheap tint went on for now. eventually i'll have it done professionally, but that's when the money is more available.
i also had to see if the car was lexi approved. she liked it so well that when i opened the door to get her out, she jumped over the seat into the rear cargo area...a healthy feat for a 16 year old rottie.
the roof rack also came off, along with the gutter trim that, like the door sill trim, was like a serrated edge knife, and the factory underbody tire carrier went to the scrapyard.
 

Attachments

  • 1.jpg
    1.jpg
    526.5 KB · Views: 46
  • 2.jpg
    2.jpg
    522.7 KB · Views: 46
  • 3b.jpg
    3b.jpg
    524.3 KB · Views: 41
  • 3.JPG
    3.JPG
    262.1 KB · Views: 37
  • 6.jpg
    6.jpg
    550.4 KB · Views: 38
  • 7.jpg
    7.jpg
    554.7 KB · Views: 37

nuclearlemon

Adventurer
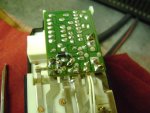
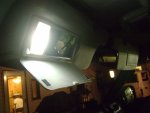
while the door was apart, it was time to do the auto up window mod and to swap leds into the door courtesy lights. i also swapped out the visor lights to leds.

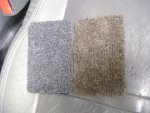
since the carpet for the cubby on the center console is only a buck and a half, i got a new one. wow what a difference.

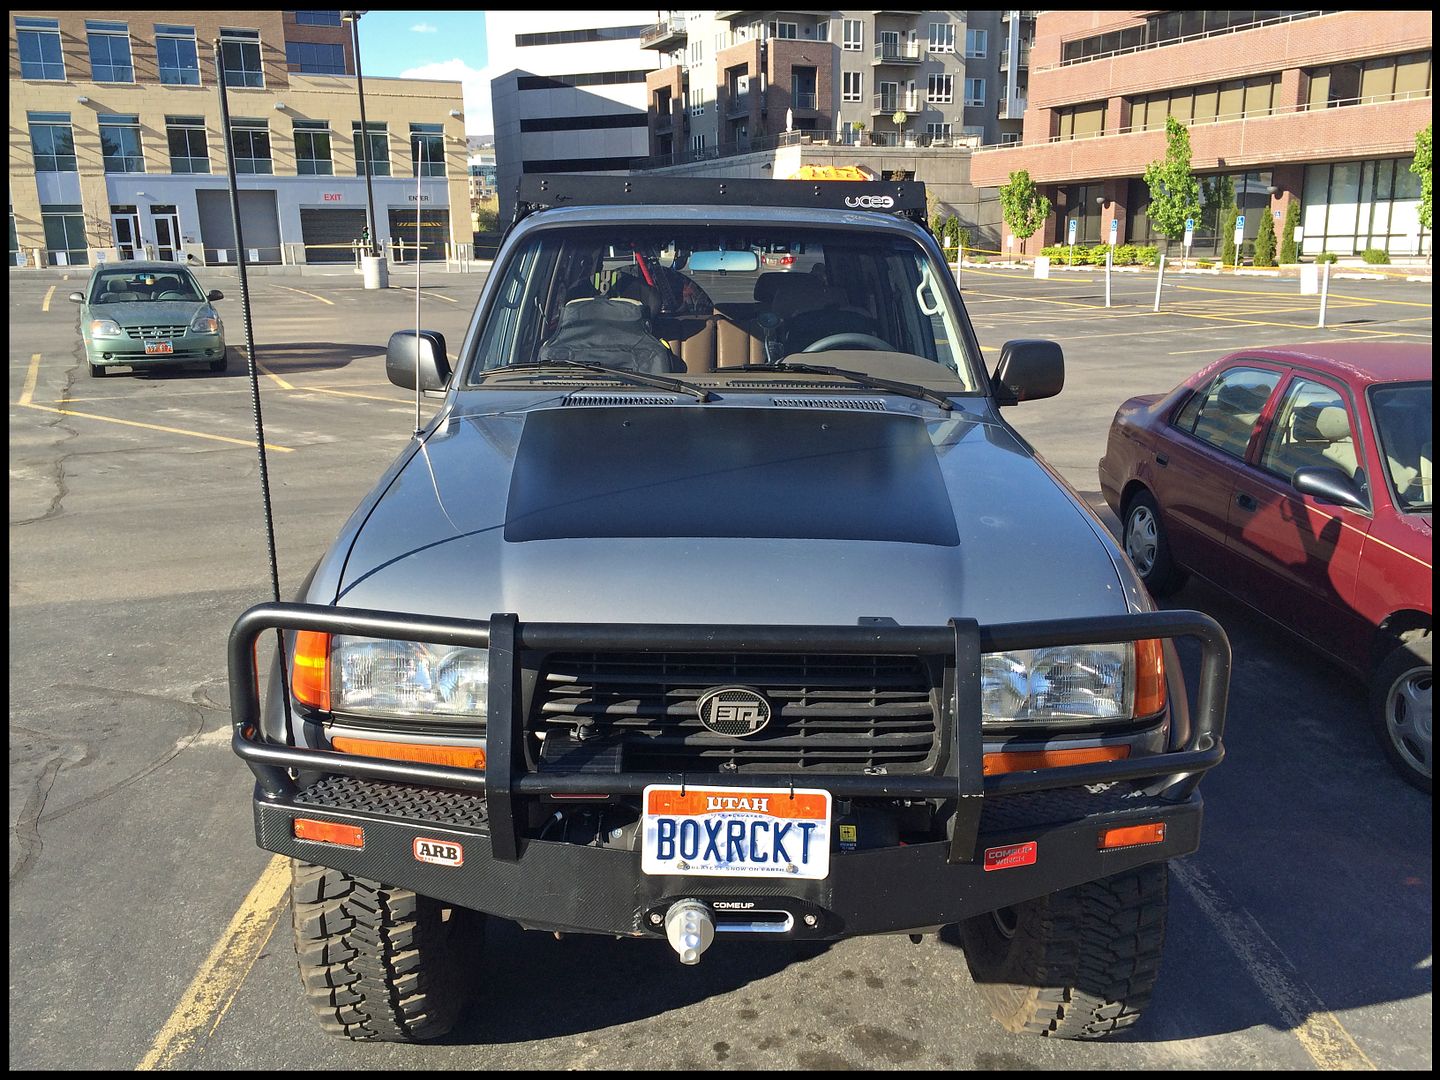
i've never had a rig with real paint, so i've never had to worry about the hood blackout issue, but the shiny paint on this was killing me on my drive to work every morning. i wasn't sure if i'd like the blackout, so i just did it in plastidip for now. it makes a huge difference, so i will eventually get it painted on permanently.

my scanguage was still in use in the mm, but i had an ultragauge, so i made a quick mounting bracket and got it wired in, so i could monitor temps, fuel etc. also, one of the rear over door grab handles from the mm went in the empty spot above the drivers door


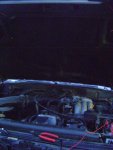
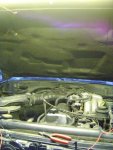
while i was on an led roll, i also bought a cheap underhood led...let there be light. it works off of a toggle switch on the lip on the firewall and while i was working in the passenger fender area, it was a good time to pull apart the antenna and replace the cable...now my antenna goes up and down again....wooohoooo!!!!
 

Attachments

  • 1.JPG
    1.JPG
    207.8 KB · Views: 38
  • 2.jpg
    2.jpg
    529.9 KB · Views: 40
  • 3.JPG
    3.JPG
    307.3 KB · Views: 34
  • 4.jpg
    4.jpg
    514.1 KB · Views: 32
  • 5.jpg
    5.jpg
    428.8 KB · Views: 36
  • 6.jpg
    6.jpg
    562.1 KB · Views: 36
  • 7.JPG
    7.JPG
    266 KB · Views: 33

nuclearlemon

Adventurer
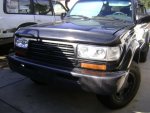
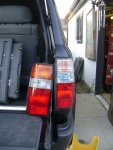
cruiserfest was a blast, but now i was home and it was time to start the destruction of the mm. the depo headlight, marker light and taillights got swapped over, along with the cree led reverse light. everything was looking good on fat bastards grill, which had been blacked out earlier (i had extra plastidip and the original chrome and gold was well worn...and ih8goldtrim).

the struts could barely lift the liftgate and with no lift, even i would hit my head on it, so the good struts got swapped over along with my pulldown strap. the hood is also horrible, until i find new struts there, i put on a prop rod and clip.

i'd had cdan bring me some new door sill plates to cruiserfest, along with some other parts i'd ordered from him, and they made a huge difference over the old worn ones.

i had had homebuilt cubbies in the mm, but never really liked them. they sat up too high and since i'm short, i had a hard time reaching stuff that was all the way in. slee had a blowout on a drawer setup for a 100 series and that was close enough for me. they're a little narrow, but look great! and work even better! i have more stuff in the two drawers than i had in both cubbies and stuffed in the sides.

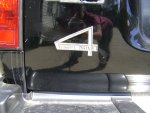
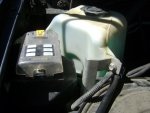
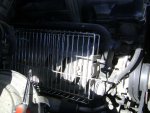
future plans are a part time kit, so the fulltime 4wd plaque had to go (plus it was gold). a new 4wd emblem went on. next to swap over were the slee windshield washer bottle relocation kit, the blue sea fuse block, the bbq grill, pcv filter, gamviti mic holders and cup holder, extra battery tray and national luna dual battery system, 7 pin mod, cdl mod, ham radio...it was getting crazy.

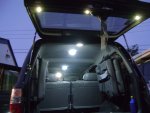
next up was to add the third dome light, pull my liftgate panel with leds and swap all the dome and map light bulbs to led.
 

Attachments

  • 1.jpg
    1.jpg
    537.1 KB · Views: 27
  • 2.jpg
    2.jpg
    535.9 KB · Views: 23
  • 4a.jpg
    4a.jpg
    544.7 KB · Views: 25
  • 5 (2).JPG
    5 (2).JPG
    242 KB · Views: 24
  • 6.JPG
    6.JPG
    249.6 KB · Views: 23
  • 7.JPG
    7.JPG
    478 KB · Views: 23
  • 8.JPG
    8.JPG
    130.3 KB · Views: 22
  • 9.JPG
    9.JPG
    103.9 KB · Views: 22
  • 10.JPG
    10.JPG
    131.1 KB · Views: 23
  • 12.JPG
    12.JPG
    124.2 KB · Views: 21

Box Rocket

Well-known member
Ige, I did the plastidip on the hood a few weeks ago to see how I liked it too. Definitely helps but I hated the finish on the plastidip so I peeled it off and resprayed it with Rustoleum Satin Black. Definitely permanent now, but it sure looks a TON better with a really nice finish to the paint.
 
Last edited:

nuclearlemon

Adventurer
yeah, the plastidip does have a funky finish on the hood. eventually, i'll have the hood painted like you, but until then, it works and it's good for people who like to stack boxes on their hoods ;)

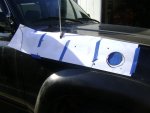
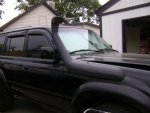
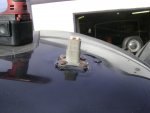
i had gotten most of the easy stuff done, now it was time for the hard part. the snorkle came off the mm and i made a paper template from the old beaten fender and crossed my fingers that it would be correct. i think i'm a hare off, but it looks ok and is done. after cutting that hole, cutting a 1" hole in the roof for my power plug would be nothing. originally it powered lights on a lightbar and my roof rack, now it does the roof top tent light and i will be adding two side work lights after a custom roof rack is built for the tent.

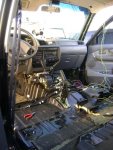
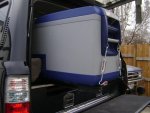
it was also time to pull the interior and run all the wires. i shampood the carpet while it was out, there was at least one full can of soda spilled by the center console. in addition to the roof plug, i added two power outlets up front and a double in the back to power my fridge, which got replaced by a brand new arb 50qt that i won at cruiserfest!!! since it's taller than my old fridge, opening the lid was a challenge, so i picked up a used slider from a friend.
 

Attachments

  • 13.jpg
    13.jpg
    514.7 KB · Views: 10
  • 14.JPG
    14.JPG
    284.1 KB · Views: 11
  • 15.JPG
    15.JPG
    79.1 KB · Views: 13
  • 16.JPG
    16.JPG
    131.2 KB · Views: 9
  • 17.JPG
    17.JPG
    98.2 KB · Views: 10

nuclearlemon

Adventurer
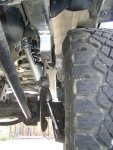
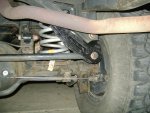
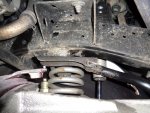
next up was the fun part! time to make it look less like a grocery getter! the coils got swapped with the slee 4" coils on the mm. i didn't want to reuse the shocks since they were ancient and i was sure i wouldn't be able to get the rear shock mount plates off without breaking bolts, so a new set of fox 2.0s was ordered up.

i had tried to get the old caster plates off, but the bolts are one with the sleeves in the control arm bushings and i just proceeded to rip the sleeves from the rubber bushing material. a call to slee got me new plates.

next up was to get my old adjustable rear upper control arms off and cleaned up. one of my "boots" had deteriorated and rusted out one of the arms pretty good, but with a lot of work, they were cleaned up and ready to go in.

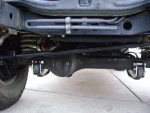
last was the track rods. i had a drop bracket for the rear and after burning though five sawzall blades, i was finally able to cut it out and get it moved over to fat bastard. on the front, i bought a new weld in adjuster.

for the sway bars, i picked up new rear brackets, but already had the old blocks for the front from the mm. i topped it off with the heavy duty slee tie rod and draglink tubes from the marshmallow.

on went the 315s!!!!!
 

Attachments

  • 18.JPG
    18.JPG
    235.9 KB · Views: 12
  • 19.JPG
    19.JPG
    127.2 KB · Views: 14
  • 20.jpg
    20.jpg
    561.9 KB · Views: 11
  • 21.JPG
    21.JPG
    131.8 KB · Views: 10
  • 22.JPG
    22.JPG
    138.5 KB · Views: 10
  • 23.JPG
    23.JPG
    123.9 KB · Views: 10
  • 24.JPG
    24.JPG
    128.3 KB · Views: 12
  • 25.JPG
    25.JPG
    107 KB · Views: 13
  • 26 (2).JPG
    26 (2).JPG
    141.3 KB · Views: 14
  • 27 (2).JPG
    27 (2).JPG
    133 KB · Views: 14

nuclearlemon

Adventurer
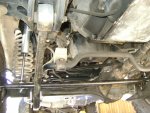
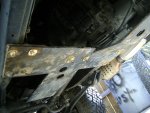
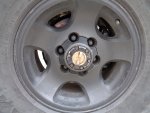
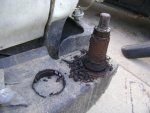
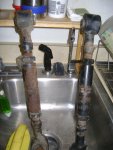
with it up in the air, i could easily get underneath to do a few more things to it. the stock tranny crossmember got swapped with the ipor skid plate. i made block off plates for the abs and removed all of the sensors and wiring. the phh got changed. i notched the birfs for aisan hubs and cut out the center caps to clear the hubs. the new diffs were ordered up. new longer brake lines went in and the abs and lpsv all came out. all four calipers got rebuilt and new stock pads in back and 100 series pads up front. now maybe it would stop.

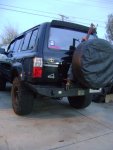
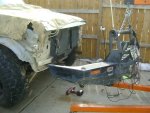
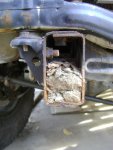
for armor, a diff protector was welded to the front housing. the front and rear bumpers got sold and i broke off most of the bolts holding the rear bumper on the mm. i also figured that after seven years, it might be a good time to replace the bearings on the tire carrier. the front arb on the mm was a little bit more hesitant to come off. the bolts weren't budging and they were not in a good spot to get off. after breaking the heads off, i ground them flat and then started drilling. i found out later why they were so rusted in place...mud.

until then, i needed to get out....snow run!!!!!
 

Attachments

  • 28.JPG
    28.JPG
    132 KB · Views: 14
  • 33.jpg
    33.jpg
    561.8 KB · Views: 11
  • DSC00038.JPG
    DSC00038.JPG
    450.4 KB · Views: 14
  • 34.jpg
    34.jpg
    541 KB · Views: 11
  • 35.JPG
    35.JPG
    98.5 KB · Views: 11
  • 36.JPG
    36.JPG
    116.8 KB · Views: 11
  • 38.jpg
    38.jpg
    567.8 KB · Views: 13
  • 37.JPG
    37.JPG
    103.4 KB · Views: 10
  • 39.jpg
    39.jpg
    170.5 KB · Views: 14

Box Rocket

Well-known member
Did you do a full part-time conversion or just the hubs? What's involved in grinding the birfs to accept the Aisin hubs?
 

nuclearlemon

Adventurer
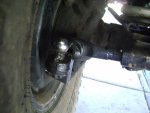
i had never had an adjustable track rod on the front of the mm, the draglink was adjusted for an offset axle, so when i put it on fat bastard, it cocked the wheel, so i needed to adjust it, but it wasn't budging. i had a large pipe wrench on it, with a pipe on that and nothing. so i jumped on it. snap...there goes the end.

i took the rod to work so the mechanics could put some muscle on it and ordered a new end. in the meantime, i threw a stock one back on. they did everything possible but the end flat out won't come out. i had bought it used and had problems then too, so i think there was an issue with the rod. i'll have a ricebilt one made soon.

in the meantime, the new diffs showed up. 4.88s with arbs. i stole the mini arb pump off one of my fj55s and put it where the abs module used to be and checked my parts stash. throughout the years, i had accumulated almost all the parts to completely rebuilt all 4 hubs. so i plotted out a time to get it all done. after much todo (don't ask, it still gets me riled), both diffs were swapped in, both hubs rebuilt with new bearings all the way around.

i'd also come up with some overtime cash so i splurged for the new weathertech digimats, although after most of the winter, so my shampood carpet was already trashed looking :(

i'd been having some slipping issues with the transmission, so a new kickdown cable was ordered up and i installed that last weekend and i did the shift pressure adjust mod and all of the sway bar bushings and the front links were replaced to help with a nasty clunking sound.

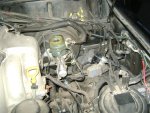
next, i started throwing a p0305, so i took off the egr parts and inspected and rewrapped the harness then, swapped the plugs, wires, cap and rotor with the ones i had just put on the mm a few years back. i also swapped the valve covers since the one off the mm had a new gasket and new spark plug and pcv grommets.

for a while toyota was offering name badges for vehicles and a notice came out that they were doing it again, so a little bit of bling is now on the rear.

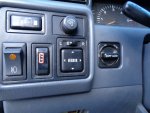
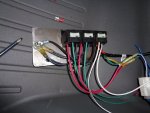
in the evenings after work, i made a bracket and pins for a sway bar disconnect. i originally was going to do a bracket for each side, but one holds everything well enough and it's kind of a pita to do. in just finished making up a relay block that would wire into the factory e locker plug and wiring the arbs and the compressor to stock e locker dial and hazard (iirc) switches.

woooo....now we're all caught up i think.
 

Attachments

  • 40.jpg
    40.jpg
    533.4 KB · Views: 16
  • 41.jpg
    41.jpg
    72.7 KB · Views: 14
  • 42.jpg
    42.jpg
    494.5 KB · Views: 14
  • 44.jpg
    44.jpg
    503.6 KB · Views: 13
  • 45.jpg
    45.jpg
    284.7 KB · Views: 12
  • 47.jpg
    47.jpg
    316.7 KB · Views: 15
  • 48.jpg
    48.jpg
    280.2 KB · Views: 14
  • DSC00036.jpg
    DSC00036.jpg
    275.6 KB · Views: 13

Forum statistics

Threads
188,395
Messages
2,904,144
Members
230,274
Latest member
mbauerus1
Top