Fbksurferjoe's new 5th gen 4Runner build thread

fbksurferjoe

Adventurer
Been working on a few things;

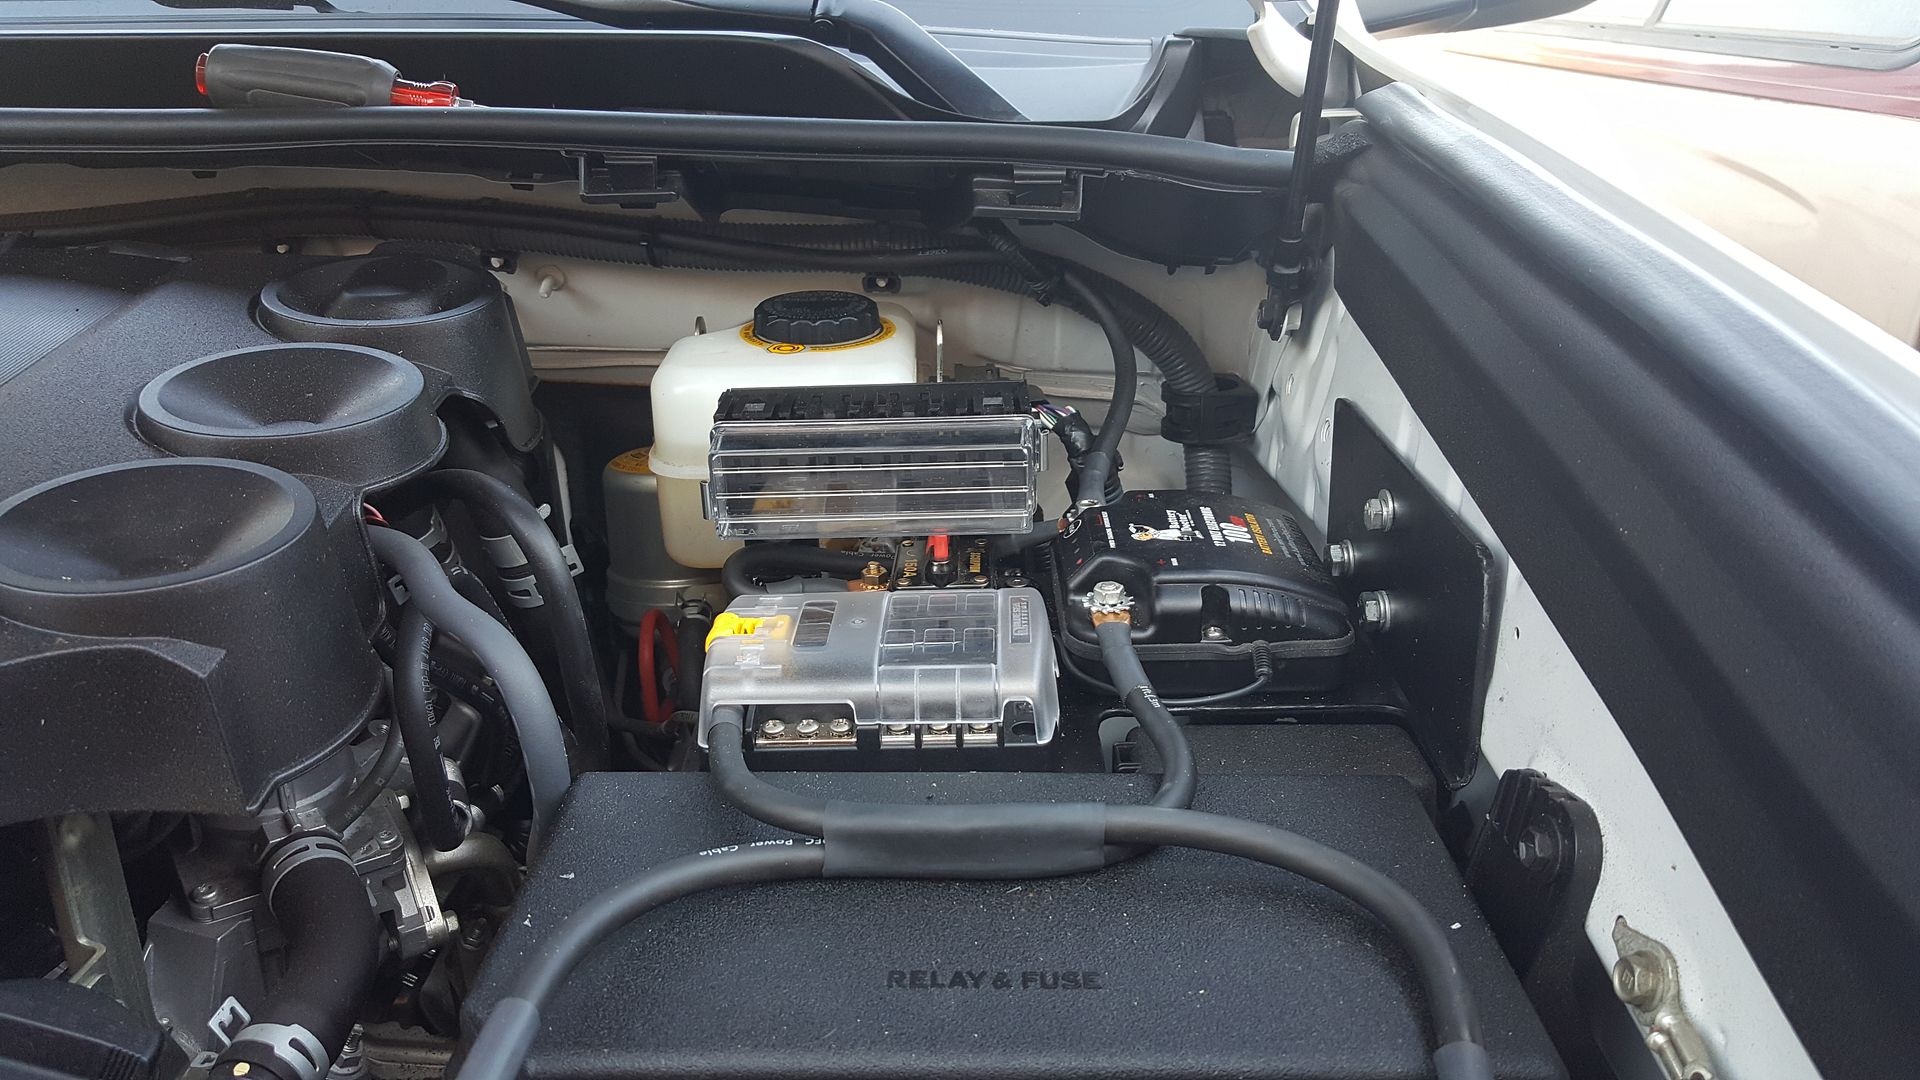
So my optima from my old truck decided not to hold a charge, i tried just about everything to get the thing to work again. I have decided to give up on optima as this will be my 3rd yellow top in about 6 years. I feel like a battery should last longer than that especially at the optima price point. So back to the drawing board.

Here is what i have learned about optima with some research

The Good,
It gave me a non serviceable battery that can be placed in any position without spilling.
It is sealed so it doesnt offgas.
They are in a relatively small package compared to other group 34s.
They have good CCA rating.

The Bad
Well for starters they dont seem to last as long as they claim. I have tried all the known tricks of reviving yellow tops with no luck.
The max AH rating i can find for any optima is somewhere around 70-75ah, this is all across the board from group 31-34.
They are prone to overcharging

Let me tell you what i learned about the last point. Without diving into how alternators work and the way they charge. AGM's are one of the few batteries that require a very specific charge. The charge up to 100% is relatively the same as any flooded battery however once charged the AGM batteries need to be floated at a lower amperage than a standard flooded battery. My theory is that i was overcharging my AGM batteries frequently as i was driving causing my optimas to fail prematurely. This can be remedied by using a ctek dc to dc charger that will provide the right type of charge to an agm but they also cost as much as a new battery.

I may have this wrong but i tried to find multiple sources and talk to battery experts and this is the basic understanding that i got.
 

fbksurferjoe

Adventurer
My solution

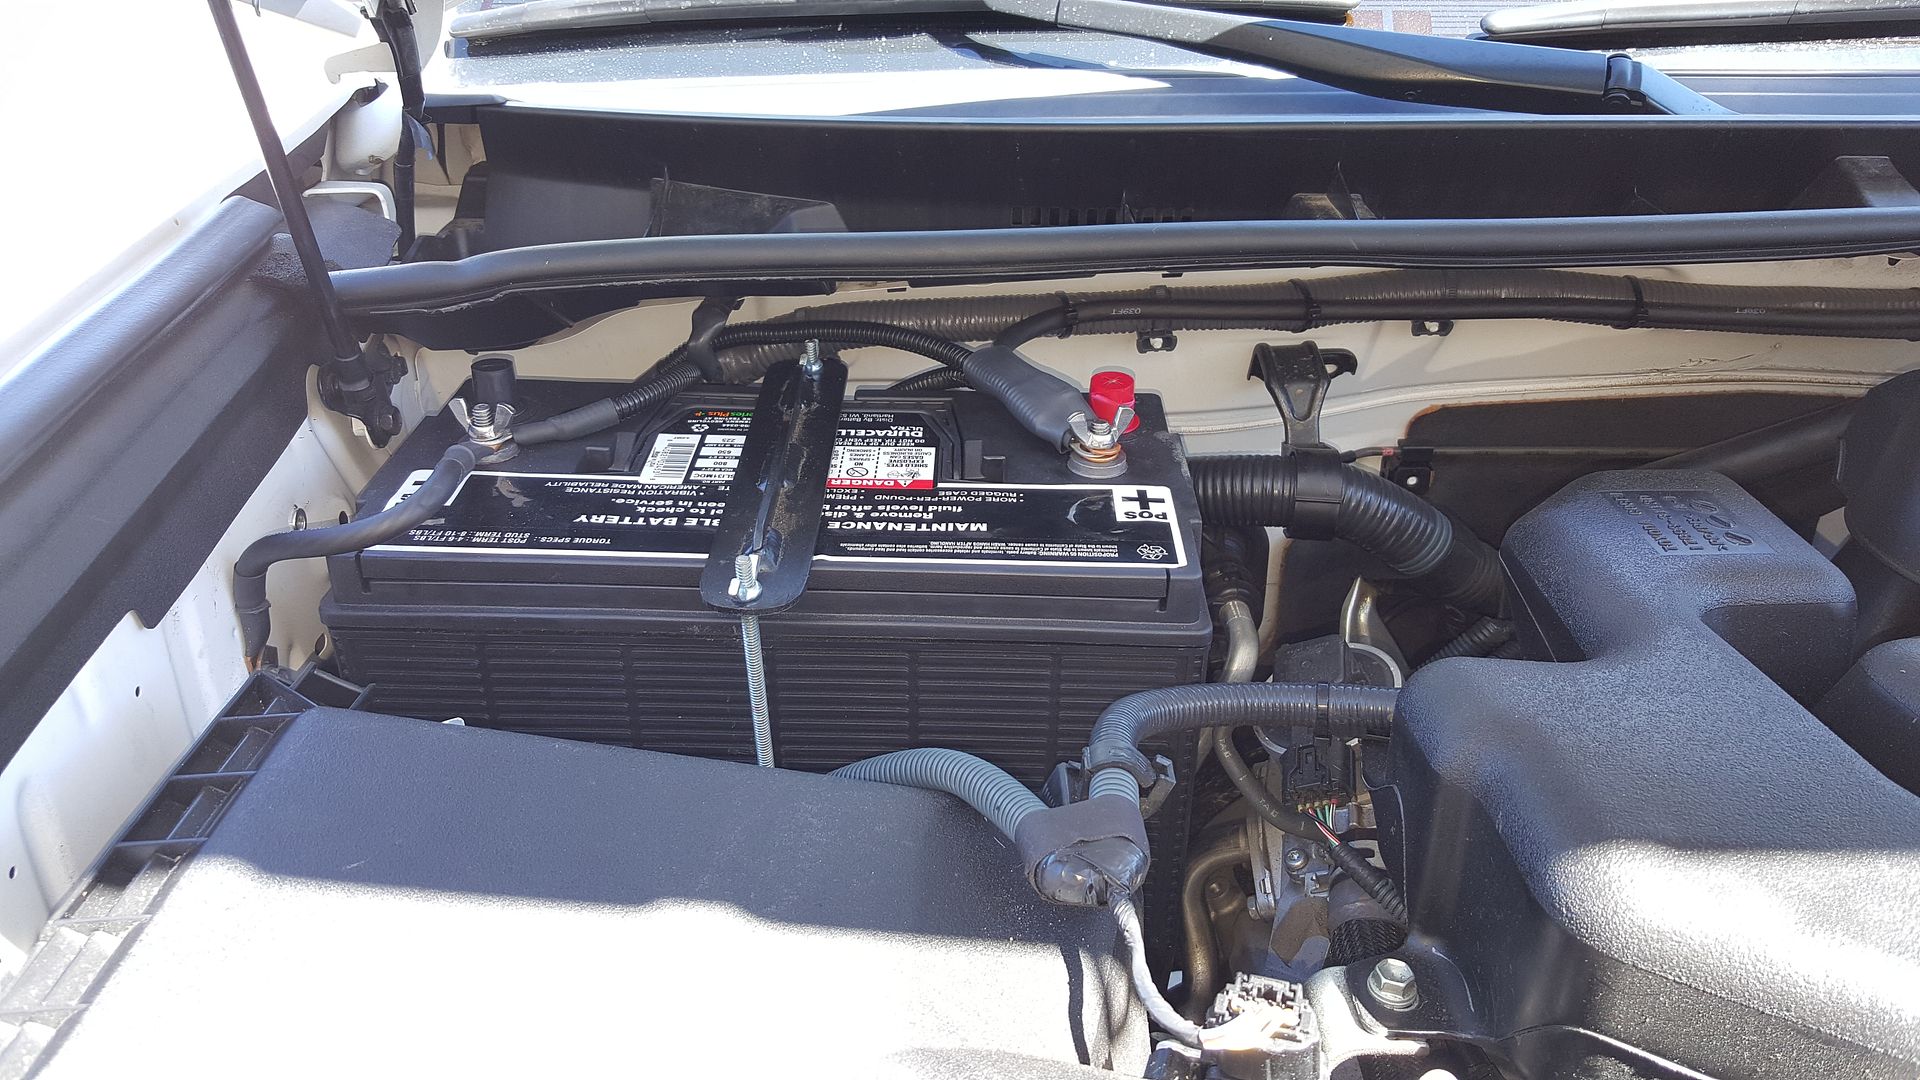
Duracell group 31 Marine
Why?

for starters they are made in east penn and look strikingly similar to the highly rated deka batteries.
They have an AH rating of 105
They are cheap in comparison
Because i havent seen anyone else run that size battery in a 5th gen.

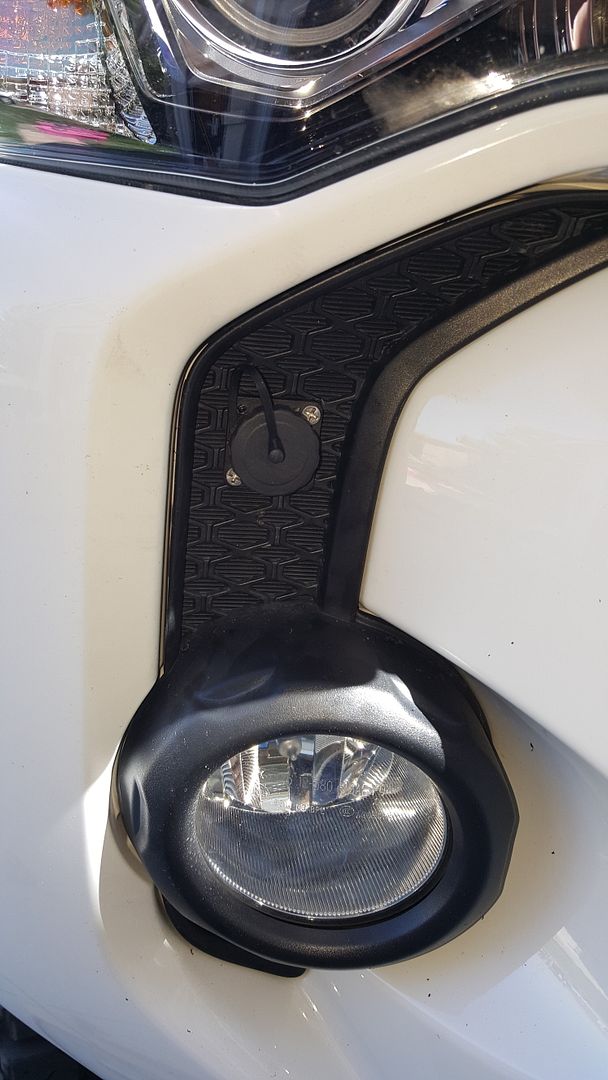
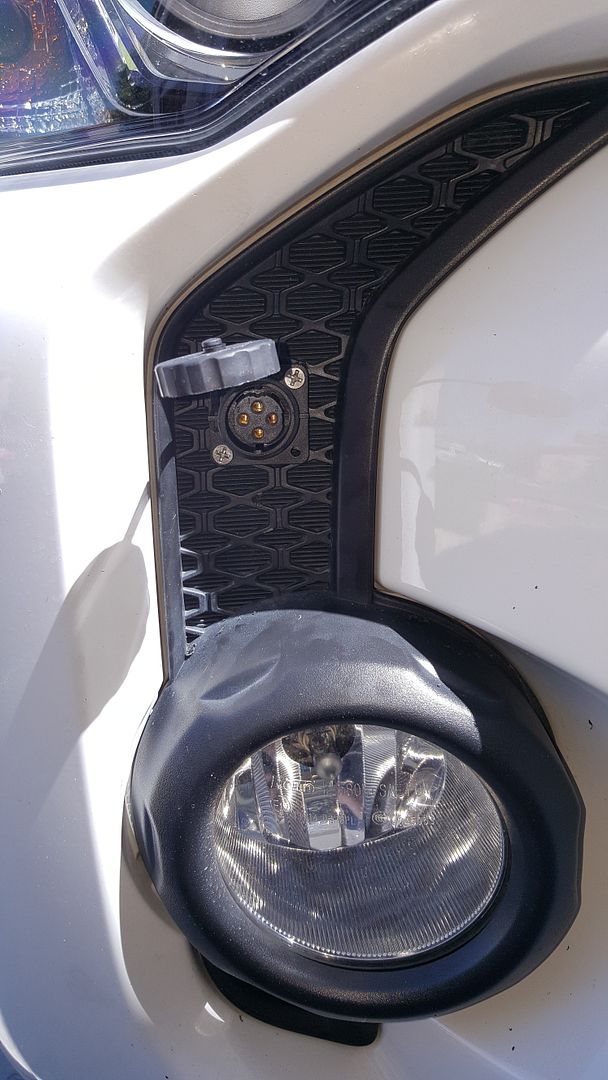
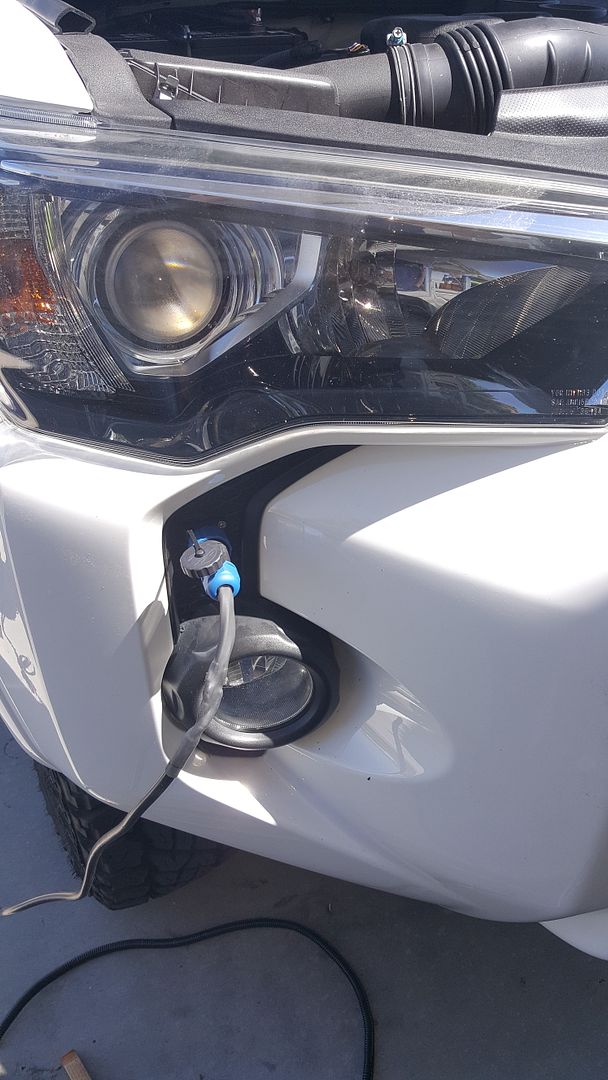
Additionally i changed the location of my solar panel plug and added a relay box to my electronics tray.
Enjoy!

Additionally, thanks again to BajaDent for assisting me once again with another project!


Hltoppr

El Gringo Spectacular!
I'd be interested in seeing more of your cargo floor, and how you've attached it to the factory floor? Using the factory tie down points?

I'm debating bolting directly to those points, or raising it up for additional storage and possibly using turnbuckles to hold it down and for easy removal.
 

fbksurferjoe

Adventurer
Ill see if I can find a picture of it before i removed it. It is something i am currently rethinking. Ill explain what i did though. I took the floor mat out of the back storage area. It conveniently is exactly the shape of the cargo area, tie down holes included. I bought a piece of plywood and laid the mat on it. Took a pencil traced it and cut it out with a jig saw. I then measured the height of my fridge/ storage items etc and determined the height i needed to slide rubbermaid containers in and out. I made a lid to go over it and attached 4 eye bolts to the vertical pieces with turnbuckles to attach to the factory tie down points.

It worked, however i lost a lot of storage space for day to day driving. It was heavy, and it placed my fridge and fridge slide to high.

I am going to look into making one out of 80/20 as there is a distributor pretty close to me.
 

Hltoppr

El Gringo Spectacular!
Height and weight are my two concerns as well. I've got a Tembo Tusk fridge slide that would allow more height, but adds an additional 35 lbs. Tradeoffs.

Thanks!
 

fbksurferjoe

Adventurer
the other part i did not think about was as you lift the fridge higher in that cargo space you run into an issue. The top half of the rear hatch slopes inward so for my fridge i had to set it back a decent distance and then when i would pull it out i could not open the lid to the fridge all the way because i had to put the fridge in so far.

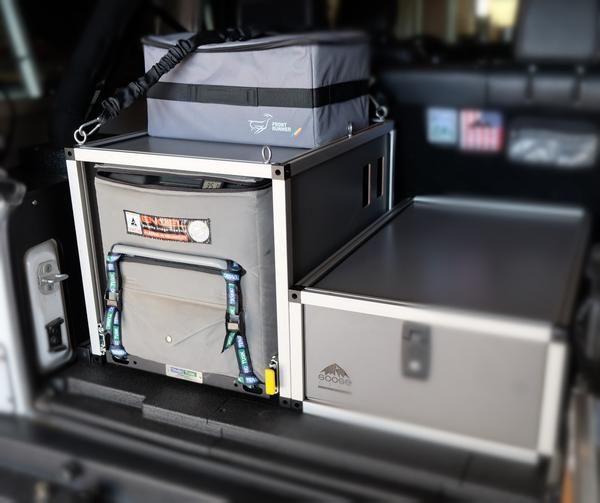
I think the idea i am going with is keep the fridge at the base level and build a thin enlosure around it so that i can store stuff on top of it instead of underneath it. Dont know if that makes sense but the goose gear stuff is what I am eyeballing for my build
 

fbksurferjoe

Adventurer
something like this out of 80/20 minus the cargo drawer because i dont want that extra weight. It would be easy to attach some eyelets on the side and have turnbuckles hold it down.
 

Hltoppr

El Gringo Spectacular!
I'm thinking a simple cargo floor, so that it's easy to remove for daily driving/grocery getter duty.
 

BajaDent

Observer
******? Joe... post some better pics of that group 31 stuffed on your engine compartment!

And while you are at it, the bad @ss fridge slide cage with the L track and storage.

Sent from my SM-G920P using Tapatalk
 

BajaDent

Observer
Next will be my rock slider i built for you...
a467bf8e52c40d076563d9b629010300.jpg


Sent from my SM-G920P using Tapatalk
 

fbksurferjoe

Adventurer
You are right I need to get out the nice camera and snap some pics. I have been slacking. An update is in order. For the individuals that want to retain their 3rd row I finally came up with a cool solution that is removable all while maintaining the 3rd row. Bajadent has worked his *** off for all of us. Super pumped on everything he has made for me and glad he could finally get some of his stuff accomplished. When the sliders go on I will update it for sure.
 

fbksurferjoe

Adventurer
Ok Brent and the rest of the community here it is in order of install.

Rear Storage Area
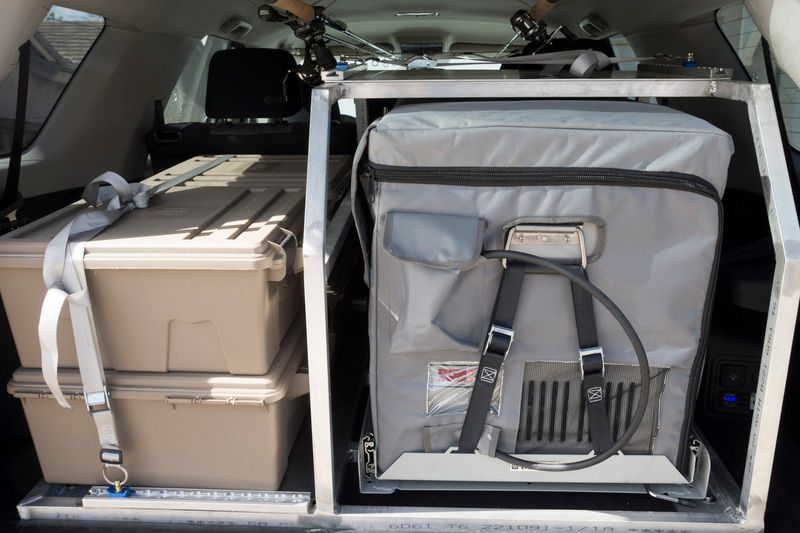
First I came up with an idea consulting BajaDent and my brother who tig welds on how to approach my rear storage/ fridge compartment all while retaining the factory 3rd row.
What I came up with was a floor made of 1" .120 wall aluminum framed out just inside of the wheel wells. Fridge frame with approximately 1 inch of gap between fridge and frame. Needed to have the top third of the frame rake back a little so that you can open the fridge lid. I decided to make it easy and use a 45 degree angle. The Floor for the storage is 1/8 aluminum sheeting, and the top of the fridge is the same. I purchased some T-Slot Tie down track and placed them on the left side and on top of the fridge. Now can secure my bins and tool bags where needed.
For securing the cage to the floor i removed the stock tie down flip up things which was really easy with a screwdriver and a 10mm socket. What remained were threads for me to bolt to. I dont have a good picture of it but we welded a piece of 1/4 inch aluminum plate the the bottom of the frame and drilled a hole in it to allow a bolt to pass through and attach to the threads in the floor. So there you have it no need to remove the 3rd row and now I can bolt this down and remove it whenever I want. It will be heading out to powder coating at some point but I have a trip to go on first.
 

fbksurferjoe

Adventurer
Next up was protection
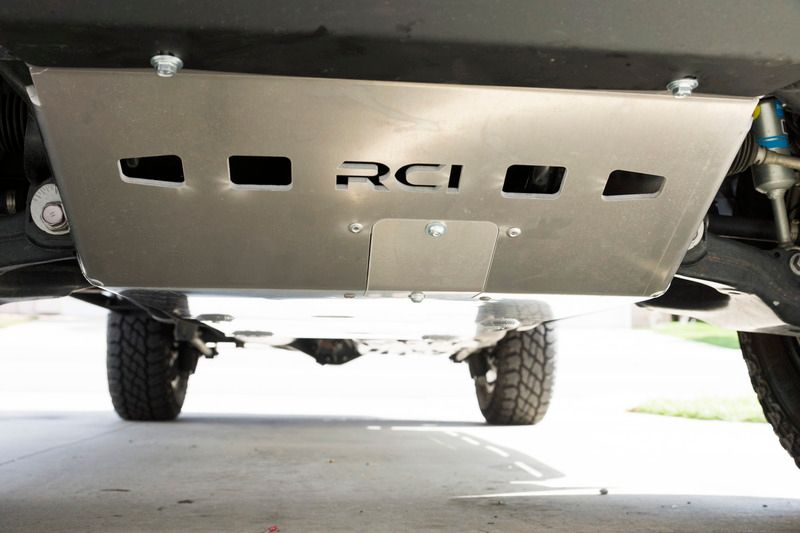
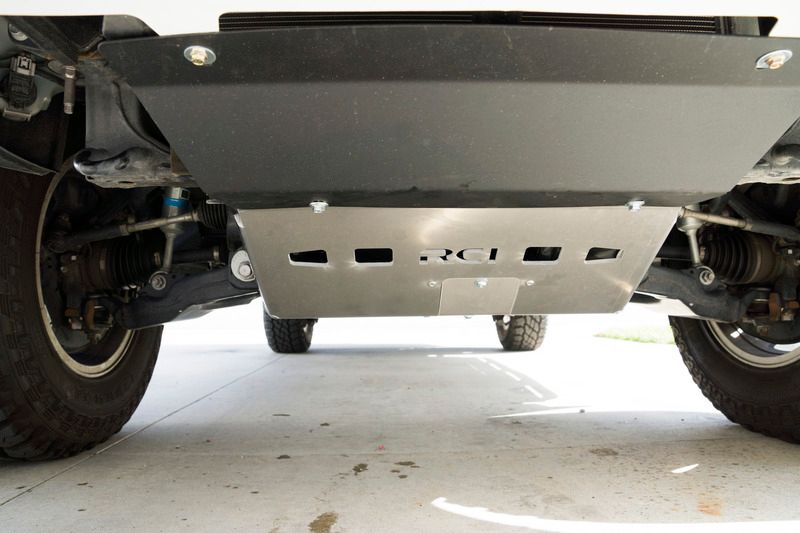
Skidplates
I decided on RCI Metalworks Aluminum skids due to this being a daily driver mostly and didnt want the added weight of steel. Very happy with the product and install was a breeze.


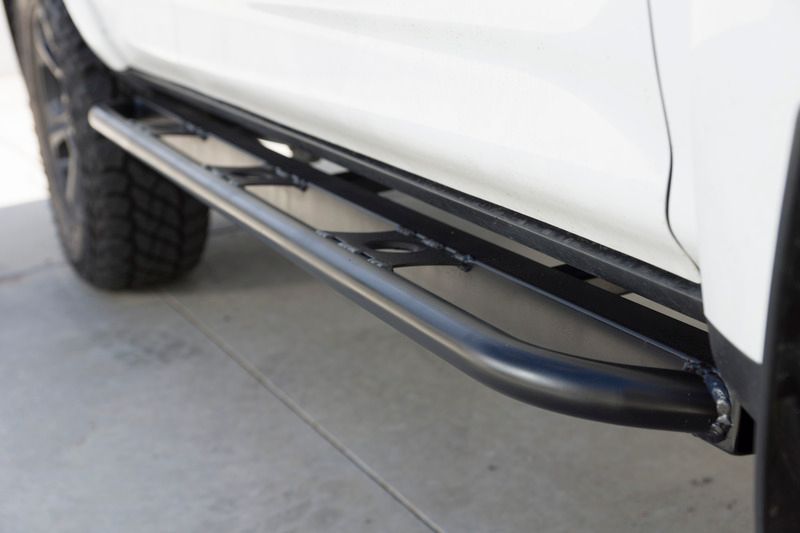
Sliders
I went back and forth whether to buy these or not. BajaDent came through again and we designed these on paper the day before we put them together. 2 full days work and they turned out amazing. He is always good at throwing his own little special touches on it and the dimpled plates were the perfect touch.


fbksurferjoe

Adventurer
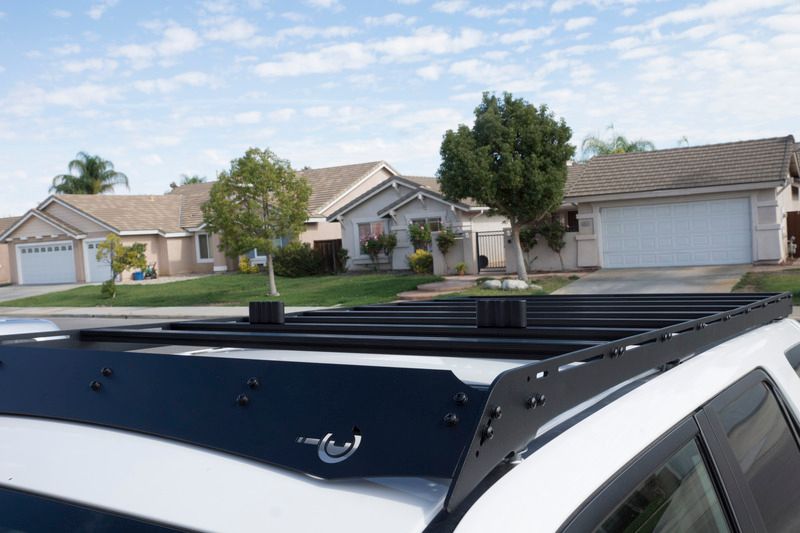
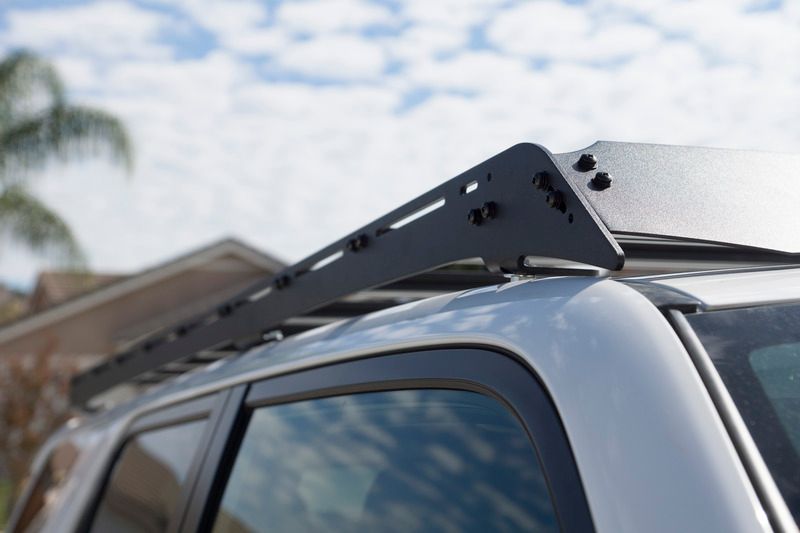
Roof Rack
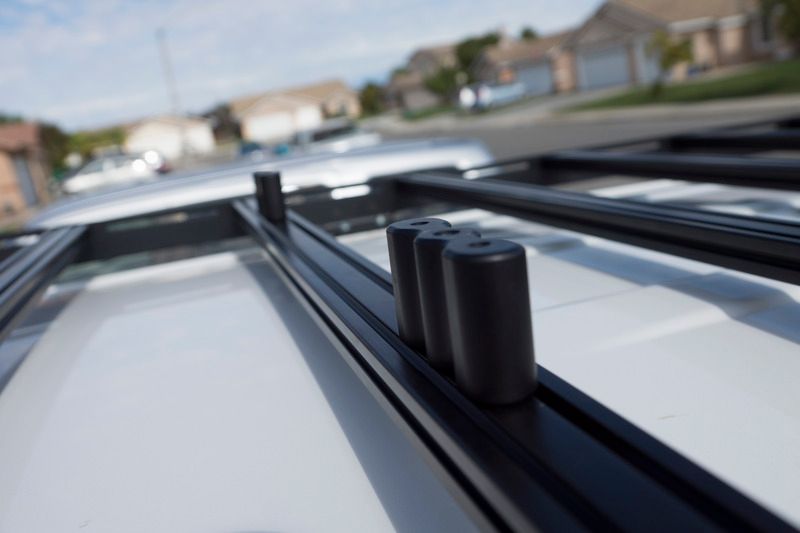
Another one that took me a while to decide. While scouring forum after forum I happened across Prinsu Design's Roofrack. I enjoyed again the idea of aluminum instead of steel. I also wanted it flat and full length. I almost went with the frontrunner before I found this one and I am happy on the decision. BajaDent saved the day again and found me a deal on 3.5 gallon rotopax on ebay. I purchased some mounts and secured them to the rack and think it turned out great.


Forum statistics

Threads
188,255
Messages
2,904,595
Members
229,805
Latest member
Chonker LMTV
Top