Flick's Utility/Offroad Trailer Build

flick

New member
Flick's Offroad/Utility Trailer Build

Since this is the forum that I got the inspiration to start a project like this, with NO welding skills I might add, I thought I'd post up some pictures of the process so far.
I've got to give a big thumbs up to my buddy Jason, for the use of his garage, tools, and expertise. Anytime he needs anything I know I'll be there for him.

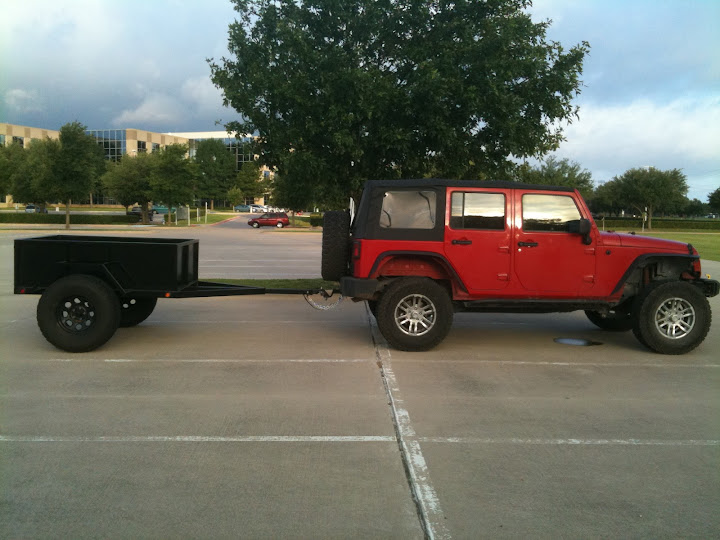
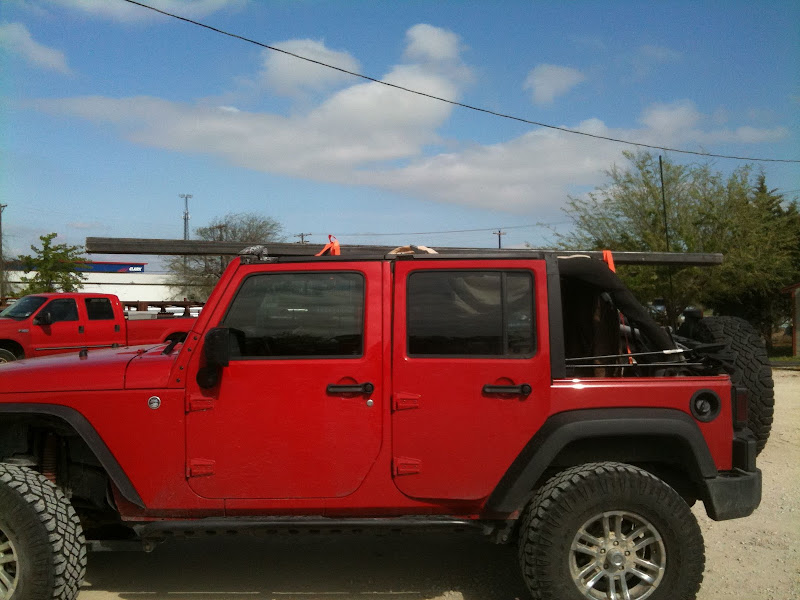
Who knew that the Jeep would haul steel. Guess that is why it is called a "Utility" vehicle :cool:
IMG_0045.jpg


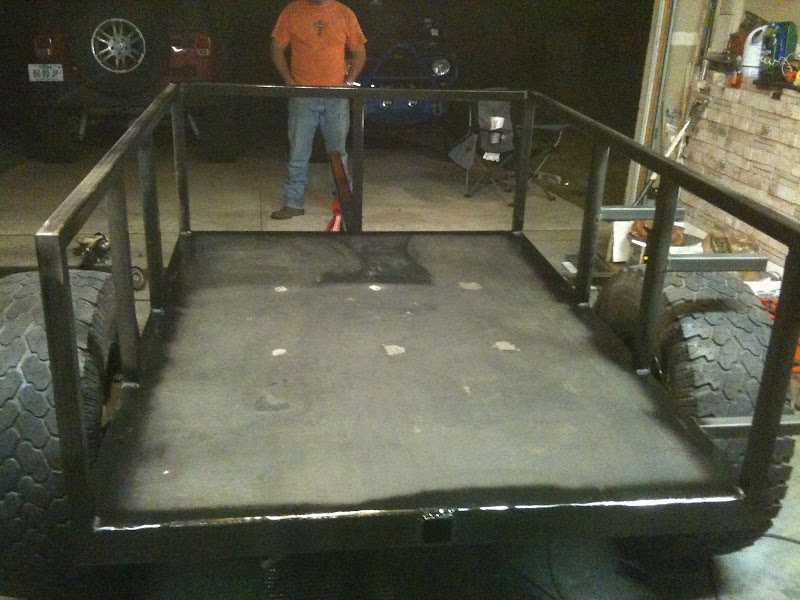
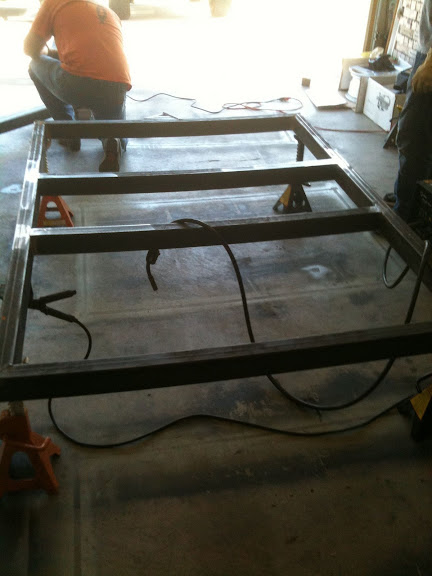
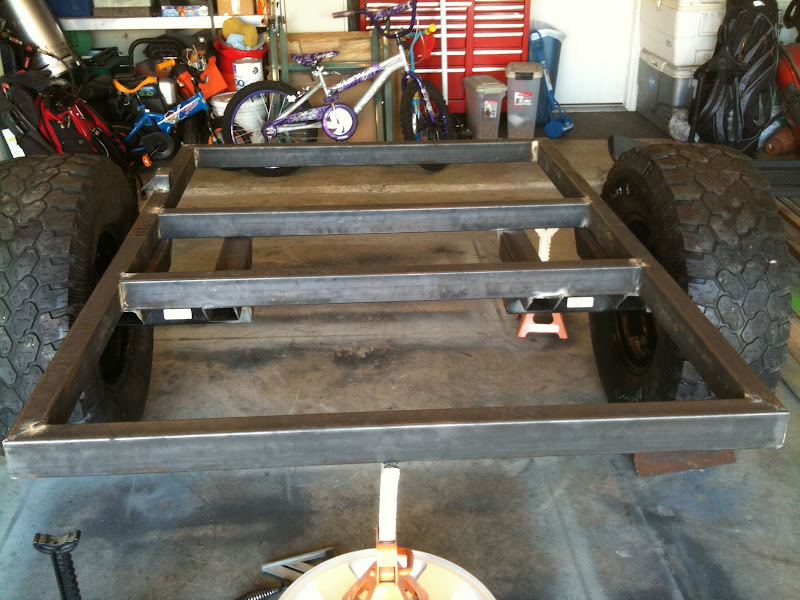
Squared up frame. Using 2x3 14ga
IMG_0046.jpg


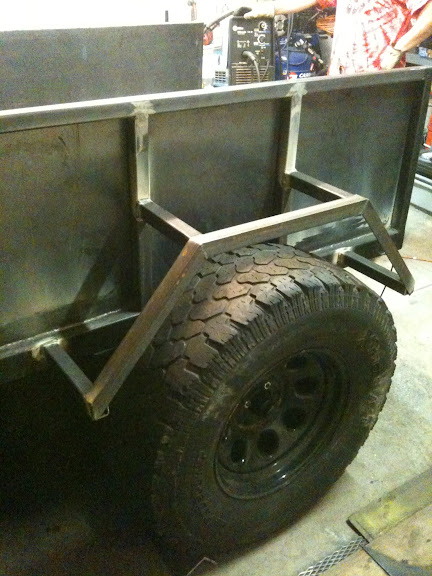
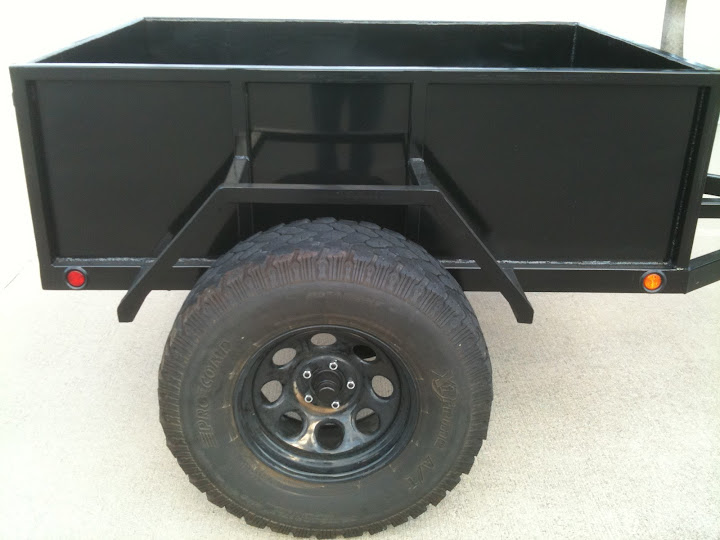
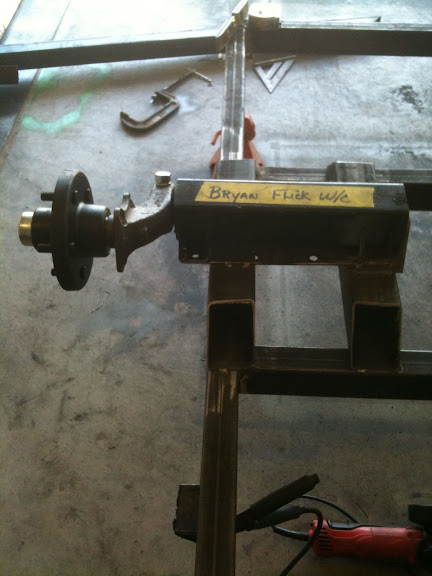
Axle setup (http://goo.gl/k32N) I went with these just to get the 5x5 bolt pattern that my Jeep has, not for the 3500 lbs.
IMG_0047.jpg


IMG_0048.jpg


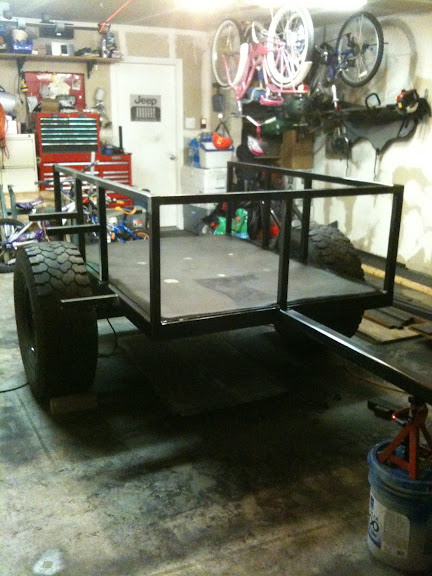
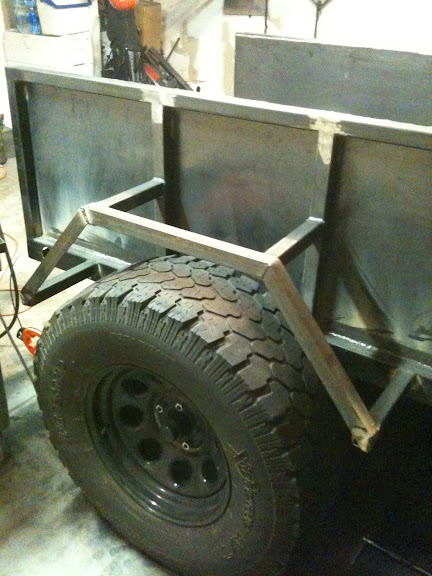
Mocked up with some 35x12.5" tires mounted
IMG_0050.jpg


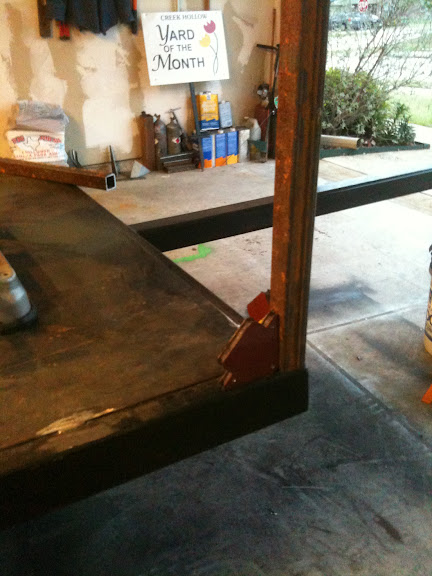
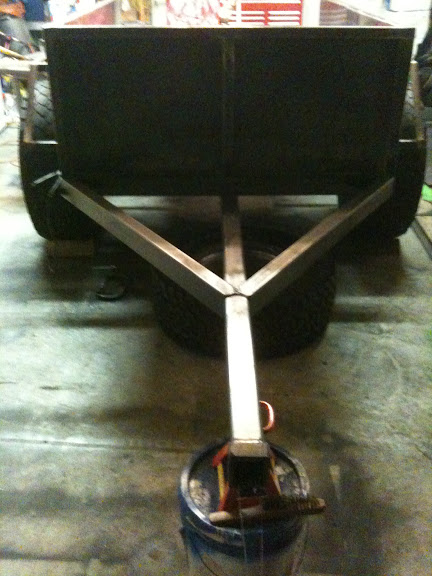
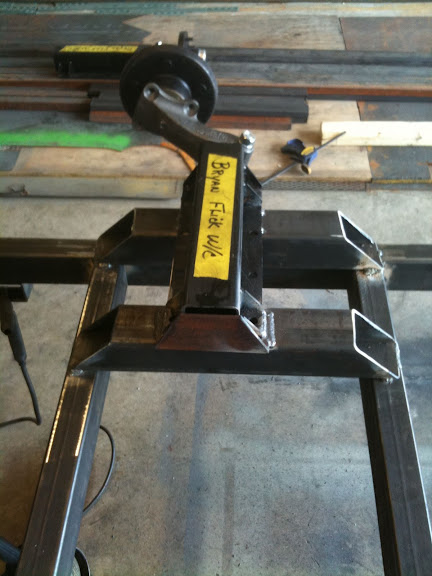
Front tongue started. Installed the receiver stock through the front part of the frame, and tied it to the front cross member.
IMG_0052.jpg

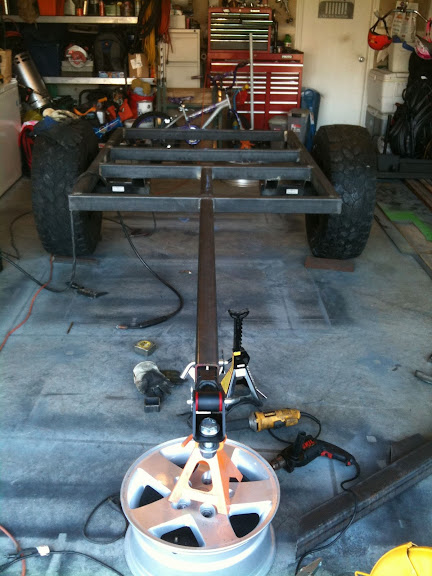
Thanks to Martyn for the coupler. I could not be happier with it, and everyone that sees it just :drool: at the sight.

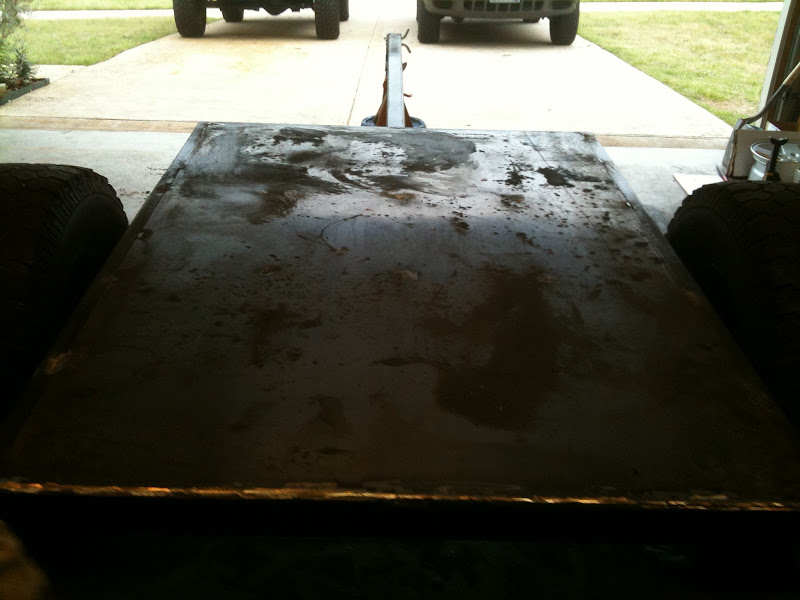
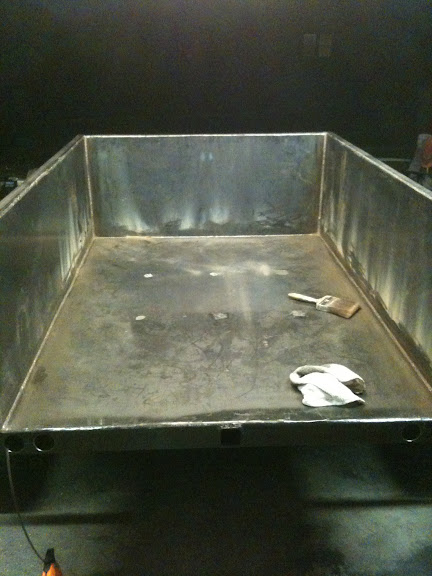
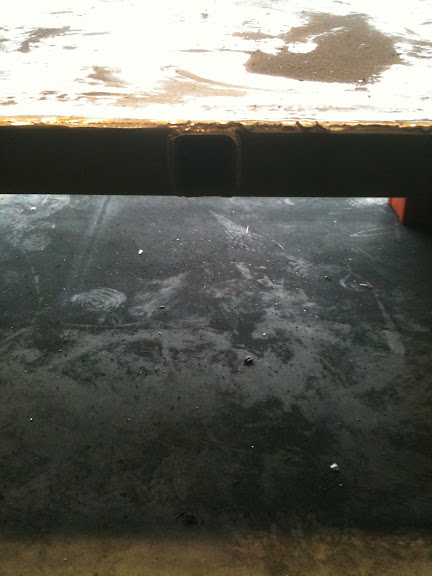
Bottom 14ga going on
IMG_0055.jpg


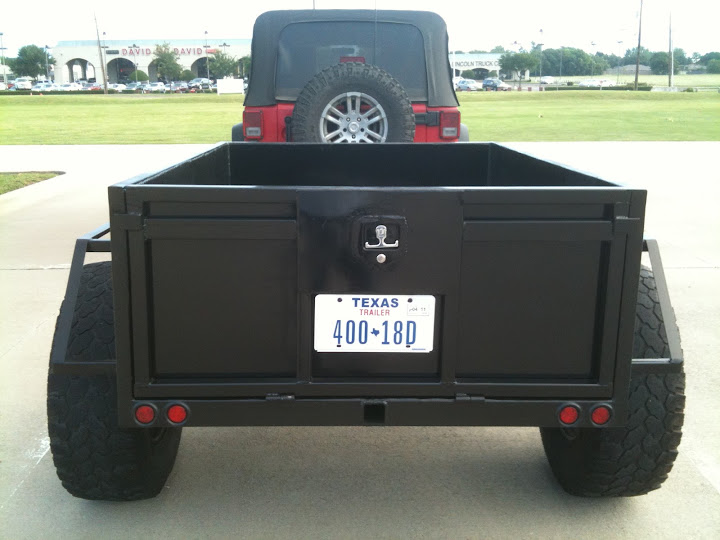
I didn't get any pictures of it, but there is also some receiver stock going through the back of the frame and to the back cross member. It sticks out less than 1/4".
IMG_0057.jpg
 
Last edited:

flick

New member
Flick's Offroad/Utility Trailer Build - Post 2

Floor done. It has 6 plug welds, 3 per cross member.
IMG_0058.jpg


Checking height of wall. The posts are 20", so with the top put on it makes the wall 21.5" high.
IMG_0059.jpg


Side rails up all around
IMG_0064.jpg


Better view of the side rails, and you can really see the plug welds
IMG_0067.jpg


The V for the tongue complete
IMG_0071.jpg


Side skin done
IMG_0074.jpg


Fender support done
IMG_0072.jpg


IMG_0073.jpg


Holes for 2" LED lights drilled (2-1/8" hole size), and fish tape hanging out. Used the fish tape so we could weld on the frame without worrying too much about melting it.
IMG_0075.jpg


So that is where we are to at this point. We pulled the wire last night for the lights. After some finish grinding, some paint, and the lights installed, this trailer will be functional. Now I'm sure the fun begins.

Next big things up will be tail gate, and lid.

Anyone with ideas for some tie downs on the bottom of the box? I'm trying to keep everything as flat as possible, so that it can still be used as a utility trailer to haul things like dirt or wood. I was thinking about something like this http://goo.gl/vzQt or this http://goo.gl/nGwG for along the top, but still think something along the bottom would be nice.

Comments/Ideas/Suggestions? Feel free.
 
Last edited:

stonehenge

Observer
Floor done. It has 6 plug welds, 3 per cross member.
IMG_0058.jpg


Checking height of wall. The posts are 20", so with the top put on it makes the wall 21.5" high.
IMG_0059.jpg


Side rails up all around
IMG_0064.jpg


Better view of the side rails, and you can really see the plug welds
IMG_0067.jpg


The V for the tongue complete
IMG_0071.jpg


Side skin done
IMG_0074.jpg


Fender support done
IMG_0072.jpg


IMG_0073.jpg


Holes for 2" LED lights drilled (2-1/8" hole size), and fish tape hanging out. Used the fish tape so we could weld on the frame without worrying too much about melting it.
IMG_0075.jpg


So that is where we are to at this point. We pulled the wire last night for the lights. After some finish grinding, some paint, and the lights installed, this trailer will be functional. Now I'm sure the fun begins.

Next big things up will be tail gate, and lid.

Anyone with ideas for some tie downs on the bottom of the box? I'm trying to keep everything as flat as possible, so that it can still be used as a utility trailer to haul things like dirt or wood. I was thinking about something like this http://goo.gl/vzQt or this http://goo.gl/nGwG for along the top, but still think something along the bottom would be nice.

Comments/Ideas/Suggestions? Feel free.


LOL, at first glance i thought it was a dual exhaust. looks good!
 

ntsqd

Heretic Car Camper
On the first bed iteration of the C.U.T. we had several pieces of 3/4" pipe welded those spaced up and slightly out from the corners of the bed floor. I welded some large washers onto the pipe about every 10" so that knots and binder straps couldn't slide down them and work loose. the current bed is off of a CUCV and came with tie-down loops already in place.

Were I building from scratch I'd give some thought to using boat cleats. Pick them big enough that strap hooks can fit through the opening in the middle. I'd put one each on a plate set at a 45* to the side and front on the inside of that corner at a couple inches up off the floor. And perhaps a third in the middle of the front.
 

flick

New member
fish plates where the A frame ties to the tongue ?

What are "fish plates?"
The A frame is tied to the tongue with the same 2x3 stock that was used for the frame. We opened up the end of the 2x3 so it would go around the receiver stock, similar to how we opened up the frame to push the receiver stock through to the cross member.
 

ntsqd

Heretic Car Camper
"Fish Plate" example

Fish plate in magenta:

attachment.php


Normal is to use a strap of the same or less thickness as the wall thickness of the tube. Going thicker than the tube will cause problems down the road. Those mitered tips are not accidental. Try to avoid having weld beads that run perpendicularly across any tube or frame member. Can make them either solid like the rear half, or with rosette holes like the front half to increase the weld bead length.
 

Attachments

  • fish plate.jpg
    fish plate.jpg
    30 KB · Views: 1,052

flick

New member
So TacoDell/ntsqd are you saying that I need fish plates on the front of the A frame? Or asking if I had done it?

What does everyone think of a tie down system, like the E-Track cargo control system, http://goo.gl/hyEr? Very similar to the other 2 I originally posted, except that I could weld it in.
 

ntsqd

Heretic Car Camper
With the diagonals essentially butted onto the front of the first cross member there isn't a lot of strength there because there isn't a lot of weld bead length. Adding the plates increases the weld bead length dramatically.

Also, at this point (the front of the first cross member) there is a large bending moment. I would consider adding straps to the bottoms of those joints as well. Adding them to the top won't do much good.
With a heavier trailer good practice is for the tongue diagonals to go under the front cross member and extend out to under the frame rails. This significantly strengthens the tongue to frame junction and adds increased rigidity to that area of large bending moment.

The problem that I see with E-track as you're proposing to use it is cleaning out behind it. Solve how to do that easily and I think that it's one good solution.
 

flick

New member
Thanks for the responses. I think I'm going to go with the E-Track system mounted vertically at the front and rear, and then maybe on the outside, but we'll see.

I've got it painted a basic black for now, and have all of the 2" LED lights wired up. I'll get some pics taken and posted this week.
 

flick

New member
OK, so I have finally taken the time to get some more pics.

The trailer now has lights, a tailgate and a coat of black paint.

The lights, all the way around are the same, 2” Round LED Marker/Clearance Lights. I think they turned out great.
IMG_0092.jpg


IMG_0093.jpg


IMG_0095.jpg


IMG_0091.jpg


Sitting behind the Jeep. Going to get the trailer some new BFG AT KO tires, so (WylieJK) can have his tires and wheels back :D
IMG_0094.jpg


Next up will be to finish out the fenders with some metal, a lid, and probably some expanded metal on the tongue. And after some thought, I think I will be going with the ETrack on the inside mounted horizontally about 1/2 way up the wall. Not sure, but all of this might wait until after my vacation.
 

Forum statistics

Threads
190,061
Messages
2,923,627
Members
233,330
Latest member
flipstick
Top