Front bumper build. Step by step guide...

Matt2K

New member
Ok, I'm sold. Great job. I had been thinking about trying something like this when I stumbled on this thread. I think I have a new winter welding project ahead of me!

-Matt
 

boo471

Adventurer
Ok, I'm sold. Great job. I had been thinking about trying something like this when I stumbled on this thread. I think I have a new winter welding project ahead of me!

-Matt

Thanks! Im glad you like it and that I am able to inspire other people to try something like this for them self!
 

boo471

Adventurer
Front bumper is finally done (for now)

Bumper is done (For now). So yesterday I did the final touches on the bumper and got it mounted on the truck. I also mounted my HIDs on the bumper and did the wiring for does as well.
I’m very happy with the outcome of the bumper. The design and function is spot on what I wanted. I will do some minor updates on the bumper once I have a winch. I will add some gussets. I will also do the final attachment bracket that will mount on the side of the frame. To give some more strength to the design once I have the winch in there.
But for now it’s done.

The first thing I did yesterday was to Spray the exposed bodypanels on the truck satin black and then I added 2 more coats of satin black color. Once that had dried I wanted it to integrate with my skids somehow. The skids are signal orange and the satin black interacting with the signal orange looked kind of weird so I sprayed the expanded metal on the bumper and the nuts holding the bumper in signal orange as well. Kind of looks like a hipster sneaker right now 
DSCF2817_zps4c763435.jpg

DSCF2816_zps52e849fd.jpg

DSCF2814_zps5e399022.jpg

DSCF2818_zpsdbe2c26e.jpg

DSCF2821_zpsf889fd80.jpg

DSCF2815_zpsbd4e1b3a.jpg


Then I mounted the bumper to the truck.
DSCF2822_zpse7182872.jpg


I added the HIDs and did the wiring on does as well. I am very happy I did my cable management bracket a couple of months ago. It makes it much easier adding add-on’s. Just throw in another relay hook it up and then your good to go. I used strips to mount the wiring to the hoops.
DSCF2820_zps97ce910c.jpg

DSCF2826_zpseb456590.jpg


The lights produce a pretty decent amount of lights now. I guess I have to cover my HIDs so the police don’t get mad at me for having too many extra lights. I took it for a test drive yesterday and past 4 troopers and no one stopped me so I’m not sure if they care or not.

Here is the final product:
DSCF2824_zps5c8dc81d.jpg

DSCF2823_zpscdb6d342.jpg

DSCF2825_zpsa48efd7c.jpg

DSCF2827_zps0948c471.jpg

Photo taken in daylight. It hurts my eyes :)
DSCF2828_zps0c3f0f02.jpg


//Marten
 

h4rdflip

Observer
Ready for a stylish zombie appocalypse, it looks awesome. How much those lights go for if you dont mind me asking.
 

boo471

Adventurer
Build summery,

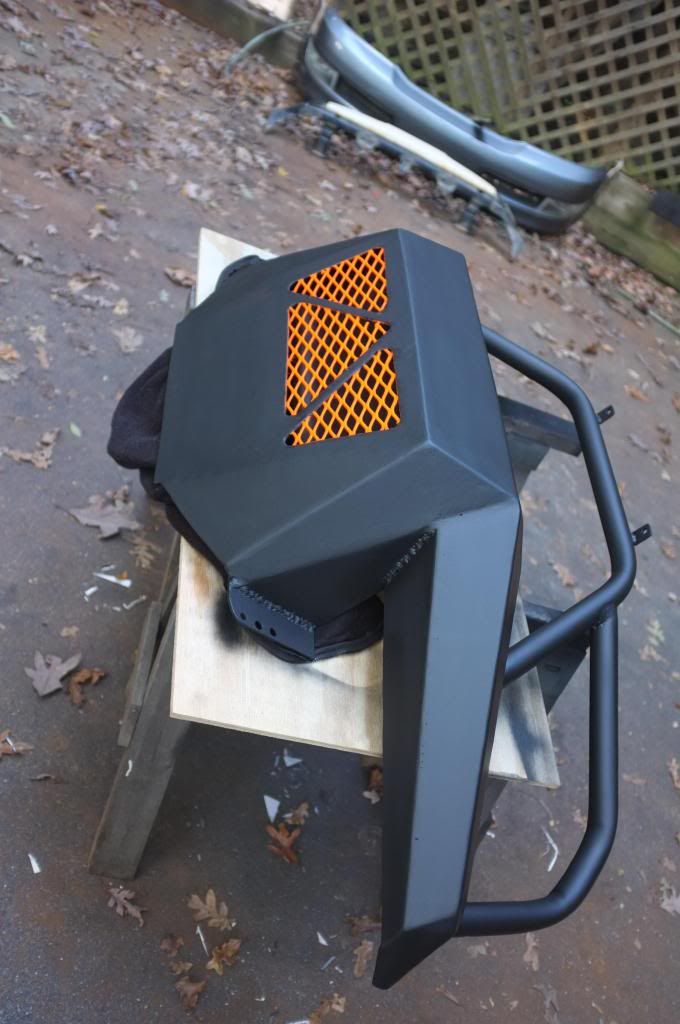
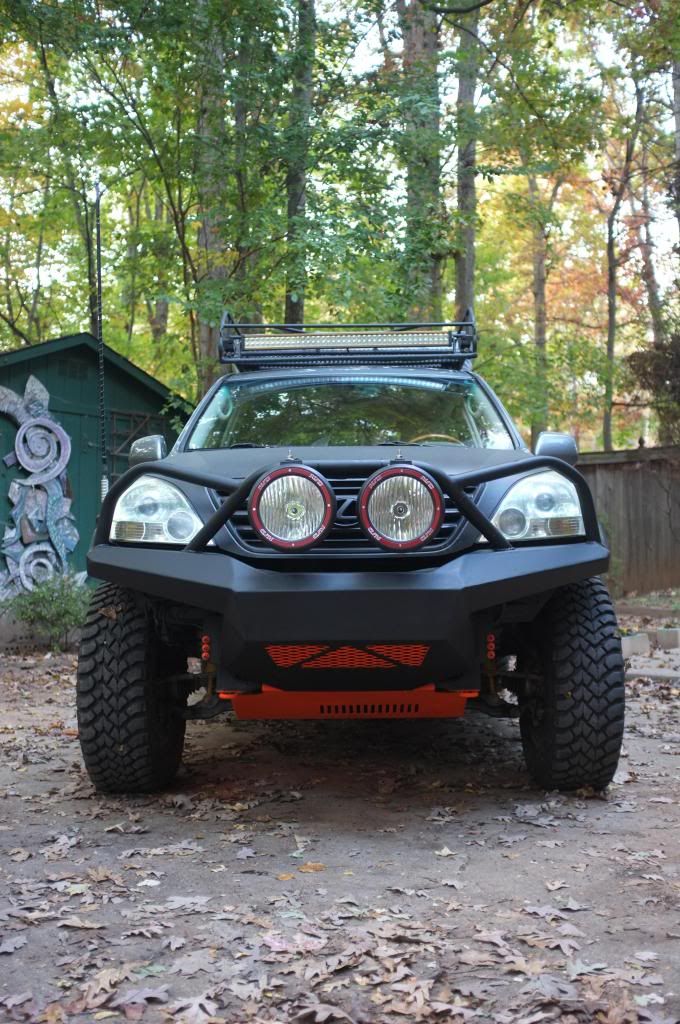
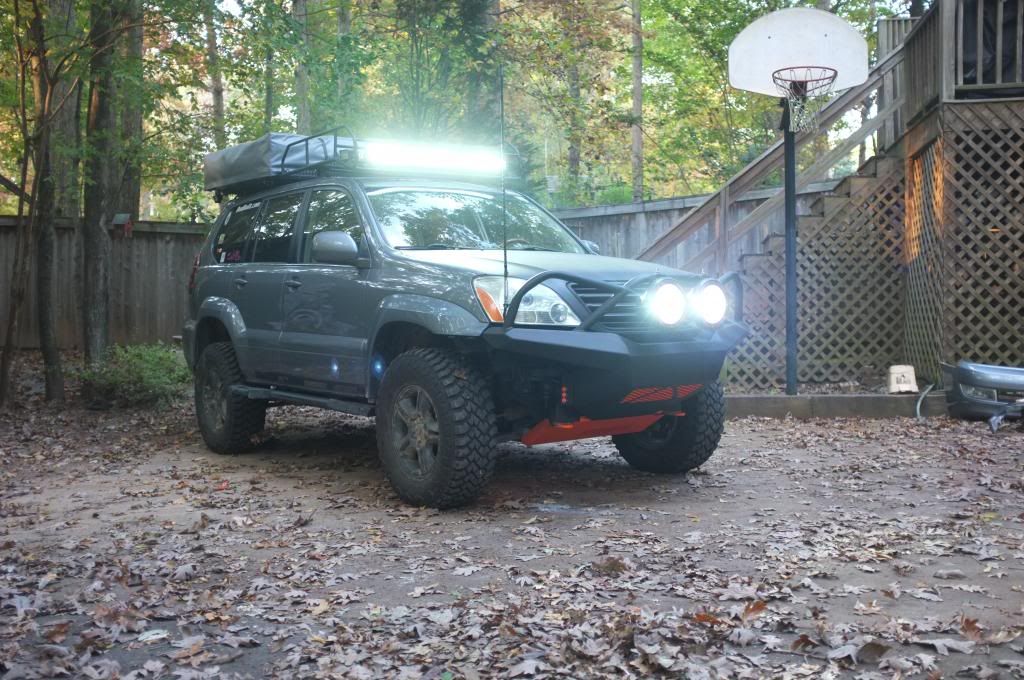
So I thought I would summarize the build of the front bumper. First of all thanks for all the positive response on the bumper. I normally only post in my build thread but figured a lot of people might be interested on the procedure of building a bumper (or something similar). I tried to find some information about this online and couldn’t find a whole lot to go on so I figured I would do a thread for other to use.

I also wanted to show that you don’t need to be an expert metal fabricator to do something like this. I have done some welding before (about 8 years ago was the last time I held a welder before starting building things for this truck) and my background is a mechanical engineer. So I have small advantage knowledge wise but using this thread as a base I think most people should be able to do this.

And doing fabrication work like this can be done in the backyard with simple tools. Sure plasma cutters, a good tube bender and a deluxe welder would help a lot and cut down on time creating it. But most people don’t have that at home and people wanting to try out fabricating probably won’t spend $3-4k on tools if they have never done anything like this before.


My main aim with this project wasn't to save cash (but I don't mind doing that as a bonus). I could have gone out and bought me an ARB bumper. Cut some sheet metal to make it fit and be done with it. But I think this kind of work is too much fun and I like having a unique product that no one else has. I will probably do a similar thread about my rear bumper build as soon as my wife allows me to start building it :)

The tools used to create this were very simple tools that most people have in their garage or can buy for a small amount of money.

4.5” Grinder
Sawzall
Drill
Harbor fright tools Pipe Bender
Harbor freight tools 180 amp MIG welder with Flux wire
The cost for the material used:
3/16 A36 steel plate, 4x8 FT, $185 (I used about ¾ of the plate for the bumper)
1.75” OD x.120 wall 1020 DOM round tube, 10FT, $78 ( I used about 6 FT of it)
Grinding wheels, sawzall blades. Approximate $80
Weld wire, Approximate $40
Spray paint, Approximate $40

So the total cost for the material is about $400 (a little less since you have Sheet metal and tubes left to use for other things)

I built the bumper in about 2 weeks and the hours used to build this is probably around 60-70hrs of work. So it’s been a couple of long weeks for me.

I’ll update the thread when I decide to do updates on the bumper and when I got to do some testing on it to see if it performs as expected.

Keep an eye on my build thread for updates on other stuff on the GX!
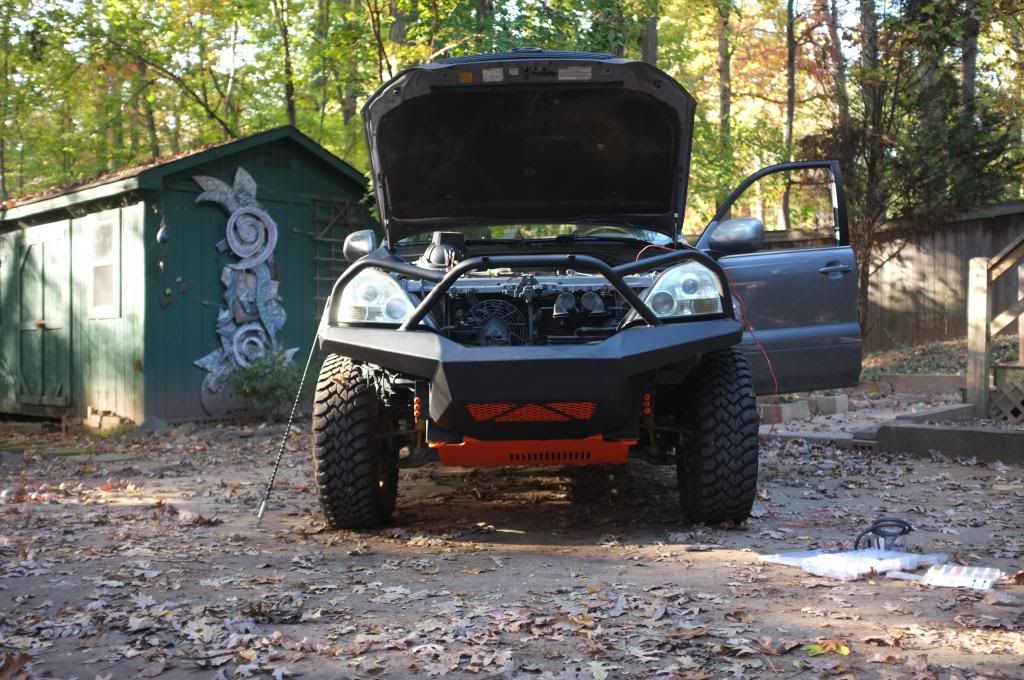
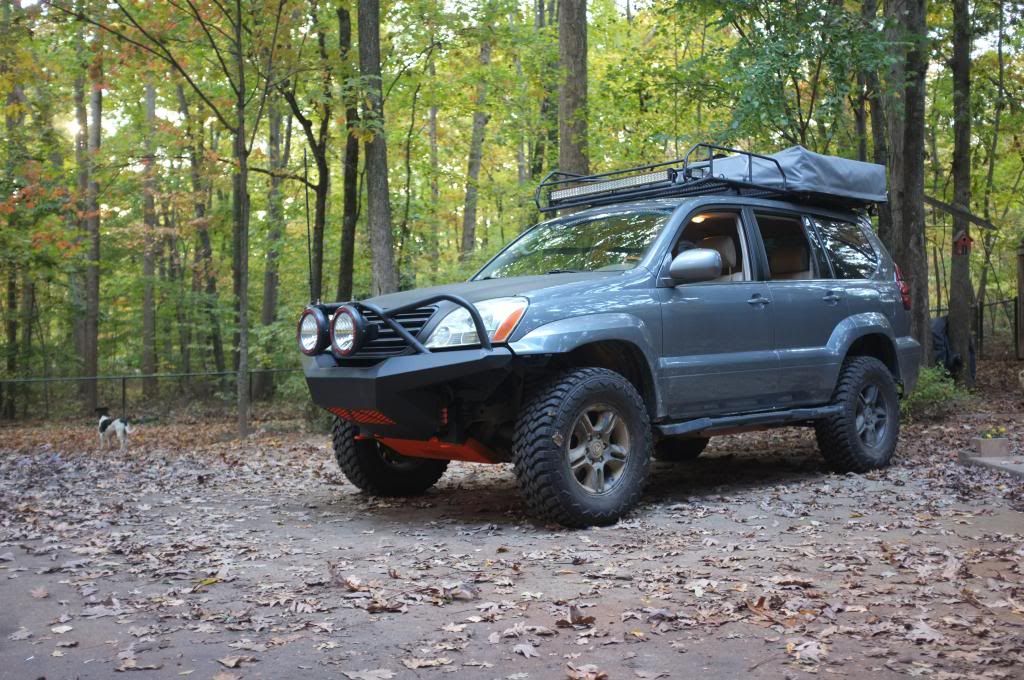
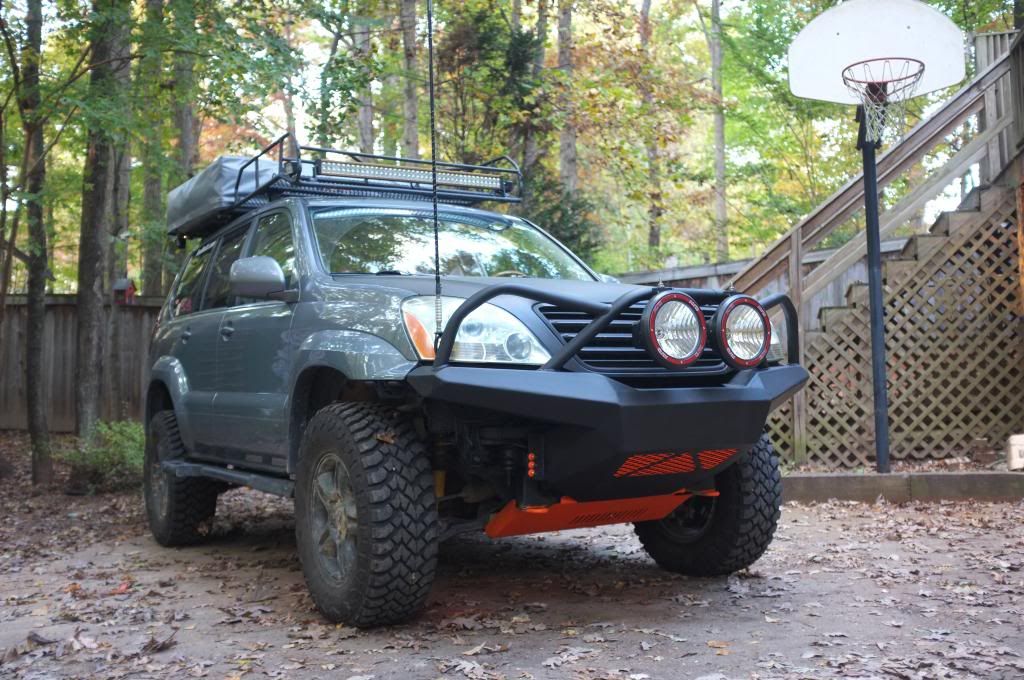
Lexus GX470 expedition build

Thanks for all the feedback and interest in this thread!


BR,
Marten
 
Last edited:

Stitebunny

Adventurer
Nice job! It came out great!

Thanks for detailing the process and the summary at the end!

Can't wait to see what you come up with for the rear bumper!
 

Forum statistics

Threads
187,375
Messages
2,893,962
Members
228,209
Latest member
shazpete
Top