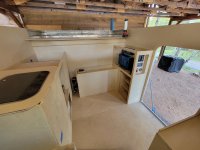
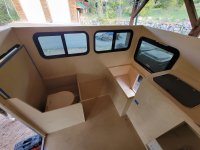
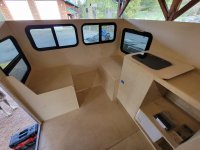
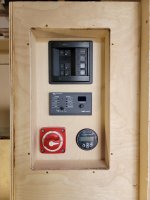
I've spent hours reading and looking at pictures here and Wander the West so I figured I'd post what I've been working on. Maybe it will give others ideas like the site has for me or an opportunity for you to share advice with me.
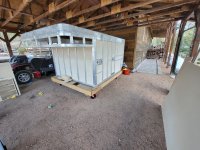
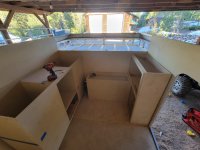
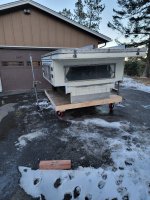
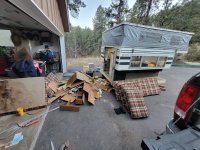
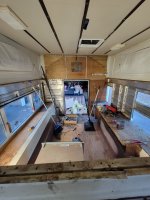
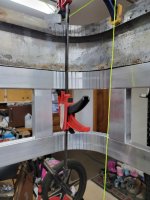
I started with what I think was a mid 80's FWC Grandby. My general plan was to remove the floor pack and build a bottom frame to convert it into a flatbed. Once I stripped the inside and siding, I realized the existing frame was not nearly as stout as I thought it would be. The original joints were only welded on one of four sides. The welds were good but many of them had cracked over the years. When I bought the camper, the frame had two aluminum "runners" down the length of the roof. When I took them off, I realized why they were there. Not sure if someone tried to open the roof while still latched or it had to much snow load at some point but the roof was curved downward in the middle.
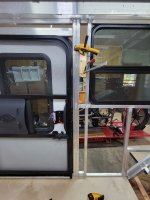
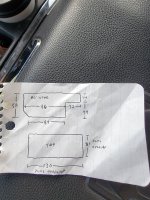
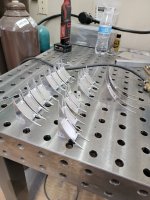
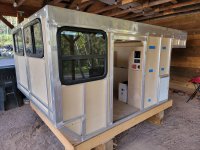
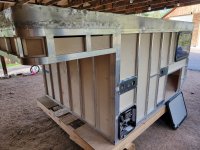
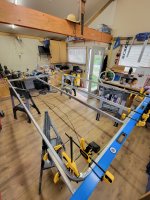
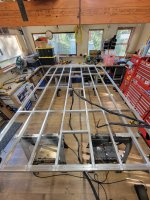
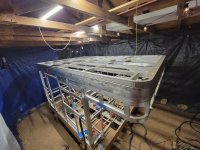
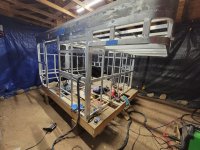
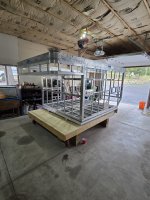
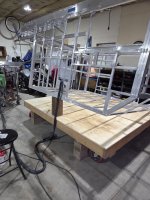
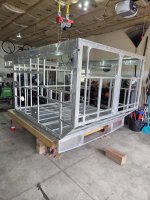
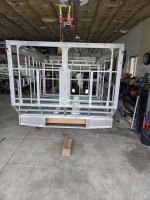
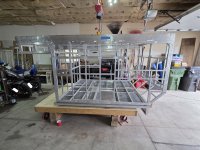
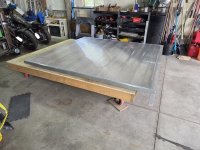
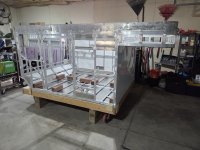
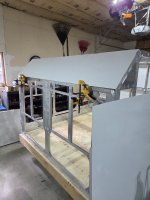
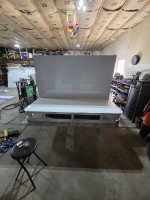
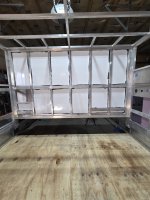
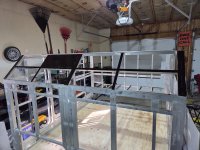
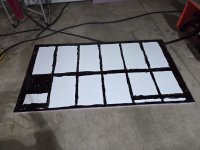
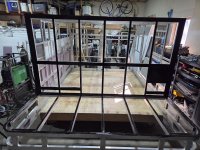
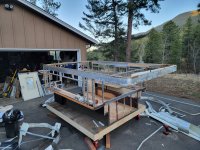
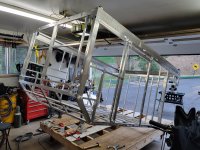
Part of this project for me was learning to tig weld aluminum. That said, I basically started from scratch only keeping the original top "U" shaped extrusion from the original camper. Since I was building a whole new frame, I changed the dimensions. I didn't do much as far as drawings or plans.
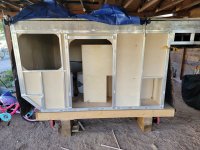
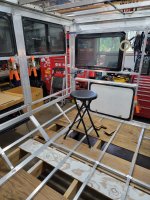
The new frame is made from 1x1 and 1x2 .050" wall aluminum tubing.
List of main parts that will be used:
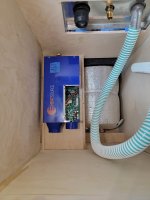
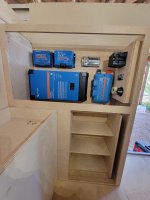
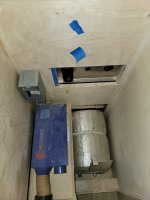
-Victron multiplus inverter, solar charge controller, DC-DC charger, lynx distributor, smart shunt
-300 ah of lithium batteries
-2x 200 watt Rich solar panels
-various other electrical components from blue sea
-Engle SB70 refrigerator
-Propex heater
-Thetford curve toilet
-Bullfinch outdoor shower
-6 gallon hot water heater
-30 gallon fresh water tank
-11 gallon grey water tank
-2 maxxair roof fans
-Custom entry door from Challenger
-Lippert second hand windows
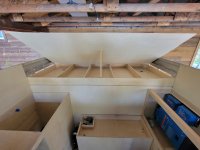
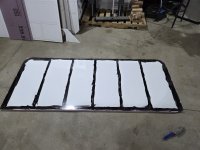
The original roof frame isn't worth trying to save so I'll be building a new one from 1x2 tubing. It will be 2" thick, flat and much stronger than the original.
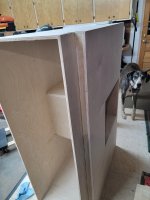
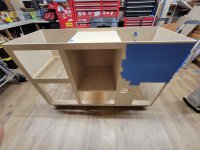
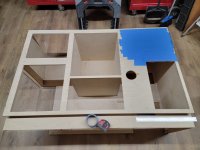
Interior walls will be 1/2" birch plywood and well as all cabinetry.
Outside skin will be one piece aluminum in the .030" to .040" range depending on what I can buy.
Not sure about the canvas yet. I could probably salvage the original (I think it was replaced at some point before) but going to look at options to use new. Might take a leap and learn to sew my own.
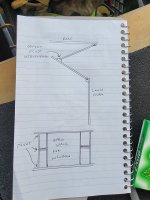
One of the biggest puzzles I haven't tackled yet is a roof lifting means. I want it to be simple so no actuators but I don't really like the design of the fwc lift panels for multiple reasons. Possibly going to design my own style.
I've been keeping track of the weight and thinking the whole thing will be in the 1400 to 1500lbs range not counting water.
As for the truck, it is a 2012 Ram 2500 diesel with full Carli suspension and their long travel airbags.
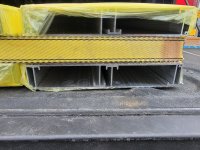
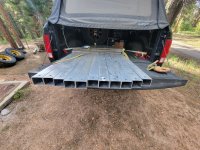
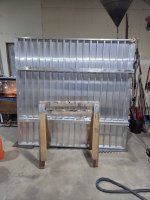
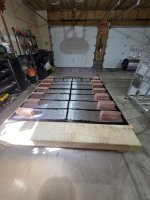
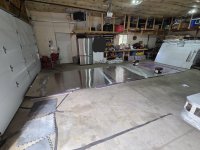
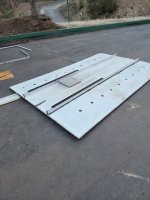
I've looked at a lot of different aluminum flatbeds. There are some very nice ones out there but I can't afford them so I'm going to build my own. After lots of searching, I was able to find and order aluminum extrusion decking from Aluma trailers via one of there dealers in Denver. The rest of it will be aluminum tubing.
This project isn't a rush for me as I have limited time to work on it. The ultimate goal is to take trips with my two young children around the Rocky Mountains and western US.
As I get more done I'll update here and add more pictures.
Attachments
-
 20230406_190408.jpg2.3 MB · Views: 100
 -
 20230410_192453.jpg4.5 MB · Views: 99
 -
 20230410_192545.jpg1.8 MB · Views: 97
 -
 20230411_190133.jpg4.4 MB · Views: 94
 -
 20230411_190143.jpg2 MB · Views: 92
 -
 20230602_144710.jpg6.2 MB · Views: 96
 -
 20230619_203754.jpg3.3 MB · Views: 93
 -
 20230625_201325.jpg1.6 MB · Views: 97
 -
 20230722_190551.jpg2.9 MB · Views: 99
 -
 20230820_125144.jpg1.8 MB · Views: 101

