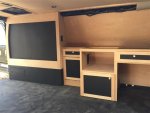
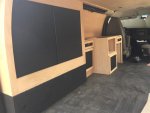
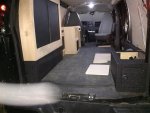
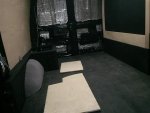
Gnarvan AWD Express build.

wheels5150

Observer
where did you get the lift pucks, I am using 1" pucks and they are not as wide as yours are

now I am going to do another lift on the body to go higher, I already did the steering shaft mod

will the column and cruise mod work on a 05 do you know????

I swapped the Turn Signal arm for one off ebay with the cruise controls, nothing else required - cruise worked after you plug in the cable from the arm into the empty connector on the steering column. Mine is a 2007 Extended Express with a Duramax. Chevy dealer told me it was a $2300 "upgrade".
 

david.lemke

Adventurer
I bought the body lift blocks from zone offroad on ebay.
http://www.ebay.com/itm/261837450467?_trksid=p2057872.m2749.l2649&ssPageName=STRK:MEBIDX:IT
As for the tilt and cruise, I am not certain a lot of things changed after 2007. I think the 2005 had the cruise control buttons in the turn signal switch. When researching this I did find one person who just swapped the turn signal switch and the cruise control worked on a 2006. Here is his build thread:
http://www.sportsmobileforum.com/viewtopic.php?t=10864
I am sure the tilt column would work as long you purchased a 2003-2006 column.

I tried to do the turn signal swap for cruise and its a no go, but I am going to do it anyways but I will have to add some wires to the harness

the swap only works with drive by wire units as drive by cable units require a transducer for the cruise control module, which I am adding, and is not offered in the aftermarket at all, so I grabbed one from a 2000 express van from the local yard and gonna wire it in over the next few days

just a fyi thing guys
 

TeleSteve

Adventurer
I finally made a decision as to the location for the MaxxFan. I wanted it near the rear of the van since I don't have any windows except the front. I chose to offset it to the driver side so there would be more room on the passenger side roof for a cargo box or just general rack storage. If the vent was centered it either had to go all the way too the front (less air movement in the back) or the roof box would need to be far forward on the roof (harder to get to and limits available space if I get solar panels.) Right now I only have a Yakima cross bars a and Thule roof box, but I plan to build a full roof rack down the road with a passenger side mounted ladder.
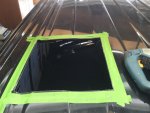
So I carefully marked out the vent location so the edges would hit a high rib of the roof and clear the cross members and drilled four holes at each corner, then I taped around the cutout to prevent scratching the roof:
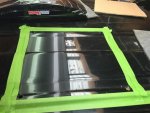
016 (Small).JPG
And cut my lines using a jig saw:
019 (Small).JPG
I then painted the cut edges to limit corrosion and ran butyl tap around the opening doubling it up in the low ribs of the roof:
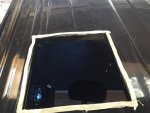
025 (Small).JPG
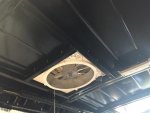
To stiffen the opening and provide a solid backing for the vent screws and the headliner on the bottom I welded a metal frame using 1"x1" tube. The was removed and painted then attached with screws to the roof support and the back roof lip. Then I placed the roof flange in place and drilled all the holes for the mounting screws, and marked the edges for roof sealant.
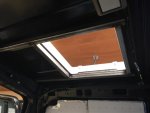
021 (Small).JPG
Black sealant was applied to the roof, the mounting flange was screwed down, and the vent assembly was attached:
026 (Small).JPG
027 (Small).JPG
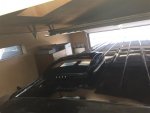
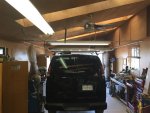
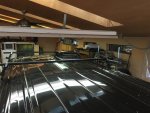
I put my Yakima cross bars on and the vent sits about 1/8" higher than the bars. It also only gives me about 1/4" of clearance to the garage door opening if backed in and about 1" when pulled in forward. The approach to the shop is pretty steep:
029 (Small).JPG
028 (Small).JPG
At this time I just wired it directly to an old week battery I had sitting around for testing, later it will get wired into the house battery system when I get to that point.
 
Last edited:

TeleSteve

Adventurer
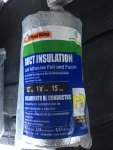
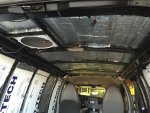
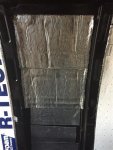
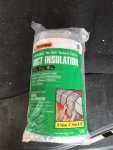
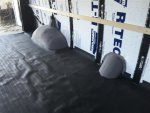
With the fan in I could move onto finishing the insulation. I already had CLC tiles attached to the walls for sound deadening so the first layer of insulation on the floor and walls is Frost King Foil and foam duct insulation from Home Depot. This is a foil backed closed cell foam with a self stick adhesive, it is 1/8" thick with a R value of 3. This stuff also works really well as sound deadner (maybe better than the CLC tiles, had I known I would have skipped those). The foam and foil was also used on the wheel wells and the back of the fuel filler bubble, it conformed nicely to the round pieces:
032 (Small).JPG
033 (Small).JPG
035 (Small).JPG
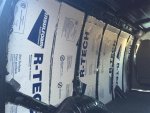
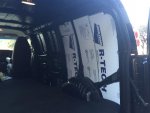
On the walls I covered the foil and foam with 1" ridged foam. The foam was cut tight and squeezes between the wall supports:
005 (Small).JPG
006 (Small).JPG
The edges of the ridged foam were capped with foil duct tape to stop any squeks between the wall braces and the foam and to limit ant small pieces of foam from coming off.
034 (Small).JPG
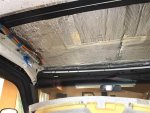
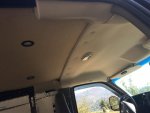
The ceiling got the same foil and foam covered by 5/8" ridged foam squeezed between the roof supports except for the front most section above the factory headliner. The headliner was too close to the roof and the ridged foam would interfere with the side curtain airbags.
041 (Small).JPG
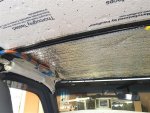
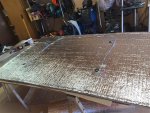
The front section got foil and foam followed by 1" foil backed denim duct insulation, then reflectix. A little 3M spray adhesive was used to help hold the denim insulation and reflectix in place:
046 (Small).JPG
045 (Small).JPG
048 (Small).JPG
The walls and the roof will get a layer of reflectix applied to the back of the panels when installed. This will leave a air gap to hopefully allow the radiant barrier to work more effectively.
 
Last edited:

TeleSteve

Adventurer
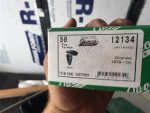
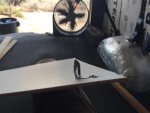
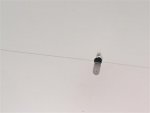
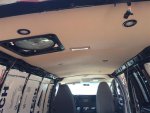
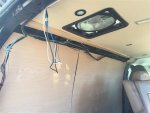
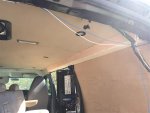
With the ceiling insulation done except for the reflectix layer I started on the headliner. I am using 3/16" Sintra (Foam core PVC board) for the backer and will use standard automotive foam backed headliner to match (as closely as possible) to the factory headliner over the front seats. (Update: I would not use Sintra for this again, it doesn't hold flat with the heat on a roof. I will be redoing this with Luan plywood at some point.) I wanted the headliner to be have hidden fasteners so I am using Au-Ve-Co #12134 Trim panel clips. These require a ~3/8" hole in the Sintra and 5/16" hole in the roof braces to snap into. Because of the clip design the holes need to be offset by ~1/2". To do this I placed the Sintra board on the ceiling shifted back about 1/2", temporally braced it and located and drilled 5/16" holes through the Sintra and into the roof supports. To secure the board I stuck the clips just through the holes to hold each location in place. I then took the Sintra panel down and enlarged those holes to 3/8" and installed the fasteners to the panel. I then reinstalled the panel to test the fit. These fastners sit flush on the finish side and won't telegraph through the headliner fabric, they are also easy to snap in and out, and much more durable than the plastic X-mas tree fasteners.
054 (Small).JPG
This is what the fasteners look like attached to the Sintra panel:
053 (Small).JPG
051 (Small).JPG
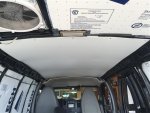
Here is the middle section of the panel test fitted in place, I used 5 panel fasteners at each roof support. I couldn't find Sintra larger than 4'x8' so it will be two panels split at the rear most roof support. The sides are a bit wavy now, but they will be supported by the wall/ceiling trim panels.
050 (Small).JPG
I still have to make the rear most panel. I haven't picked up the headliner fabric yet, but when I do the Sintra panel will be sanded and both the headliner fabric and Sintra will be sprayed with contact adhesive and stuck together. I will glue a layer of reflectix on the top side before installing the completed headliner.
 
Last edited:

TeleSteve

Adventurer
A little more progress on the interior. I finished the headliner and installed and partially wired the interior lights:
019 (Small).JPG
016 (Small).JPG
021 (Small).JPG
I painted the trim ring for the MaxxFan black. I wired the lights to turn on in pairs. I am thinking I will put three switches on the pillar behind the side doors, one for the front lights, one for the middle, and a three way for the back lights. I will have another 3-way near the rear cargo doors for the rear lights.
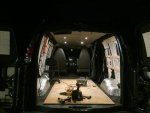
I went with these lights from Amazon. They are 110 lumen 2.75" round lights. They can be snapped into a 2 1/8" hole in panels around 1/4" thick, but also have 3 holes for screw attachment hidden under the covers. They put out plenty of light and I like that they put out a warm white light not too white.
Here are the lights on in the dark.
024 (Small).JPG
The lights:
013 (Small).JPG
014 (Small).JPG
 

TeleSteve

Adventurer
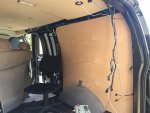
With the headliner in I started on the wall furring strips and cut and fitted the plywood floor. I used 1/2" baltic birch for the floor and wall furring strips.

032 (Small).JPG
I then carpeted the wheel wells and hump for the fuel filler. I am using a VanTred rubber mat under the plywood. I was originally just going to just use the VanTred with some added insulation, but it didn't extend all the way to the walls and didn't stay in place well. It does flatten the floor nicely and has some r-value.

034 (Small).JPG
The plywood was reinstalled and I covered it with a OEM rubber mat after removing the insulation backing. The mat was little wrinkled in the picture after being folded up for a while, but flattened out after sitting for a day. I will eventually glue it to the plywood.

036 (Small).JPG
 

TeleSteve

Adventurer
How did the Bilstein (24-186643) 5100 shocks work out?
I haven't even taken them out of the boxes yet. The little time I have had to work on the van lately has been on the interior.
When I get the shocks on and use it a bit I will post an update.
 

TeleSteve

Adventurer
I made some progress on the van.
Got the wall panels cut and fitted. I am using 1/4" alder plywood.
025 (Small).JPG
036 (Small).JPG
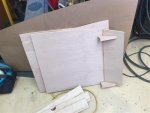
This took some thought and tinkering but came up with a way to transition the walls to the headliner. I used 1/2" Baltic birch on the bottom and 1/4" on the side. The corner is rounded at about a 1" radius. The bottom sits flat and screws into the bottom of the sheet medal wall/roof transition. The side sits at a 60* angle and attaches to a piece of 1x2 with a 60 * bevel on the side. This part has machine screws with a nut on the backside. The 1x2 has holes that they push into., the screw heads will be covered with the tan vinyl that covers the whole piece. The vinyl will match the factory plastic trim pieces at the front. The 4 bottom screws will get tan plastic caps.
035 (Small).JPG
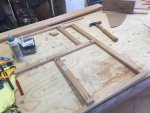
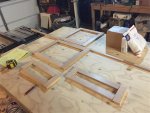
I started work on the cabinets. Here is the beginning of the face frame. All 1x Alder.
037 (Small).JPG
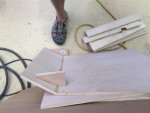
Here are the three dividing panels for the front cabinet out 1/2" Alder ply. The piece with the bend in it is for behind the driver seat.
038 (Small).JPG
039 (Small).JPG
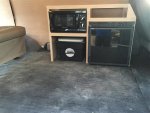
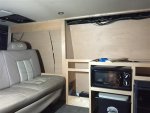
Here is the front cabinet assembled and in the van.
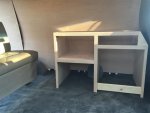
041 (Small).JPG
With the Engel refrigerator, 600w microwave and portapotti in there places. Still need to make a drawer and door and add some ventilation for the fridge. it will get mounted with 90* metal brackets.
044 (Small).JPG
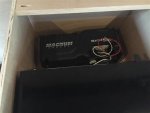
Do you think the free space behind the microwave is a good place for the 1000w inverter/charger? If I put it there it will get some added venting holes added. It has a remote so is this something I will need quick access to? To access it the microwave will have to be unmounted (a few screws from the bottom). This same space will also be part of the fridge and microwave venting think there will be any heat issues? The fridge coils will be 3-4" away through a vent hole.
042 (Small).JPG
Next question, I want to put the Airtop heater on the floor between this cabinet and the wheel well. You can kind of see it in the cabinet picture. To fit there the intake vent will have to poke into the portpotti closet, is that a bad idea. It will be in the bottom of a 12" deep cabinet.
 
Last edited:

TeleSteve

Adventurer
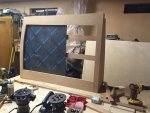
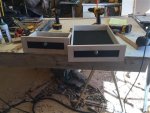
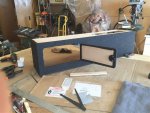
Finally got a weekend to work on the van. Finished the closet and lower cabinets in back. Built the water tank enclosure. And made doors and drawers.
007 (Small).JPG
014 (Small).JPG
027 (Small).JPG
039 (Small).JPG
045 (Small).JPG
052 (Small).JPG
053 (Small).JPG
054 (Small).JPG
048 (Small).JPG
 

Forum statistics

Threads
188,132
Messages
2,902,557
Members
229,582
Latest member
JSKepler
Top