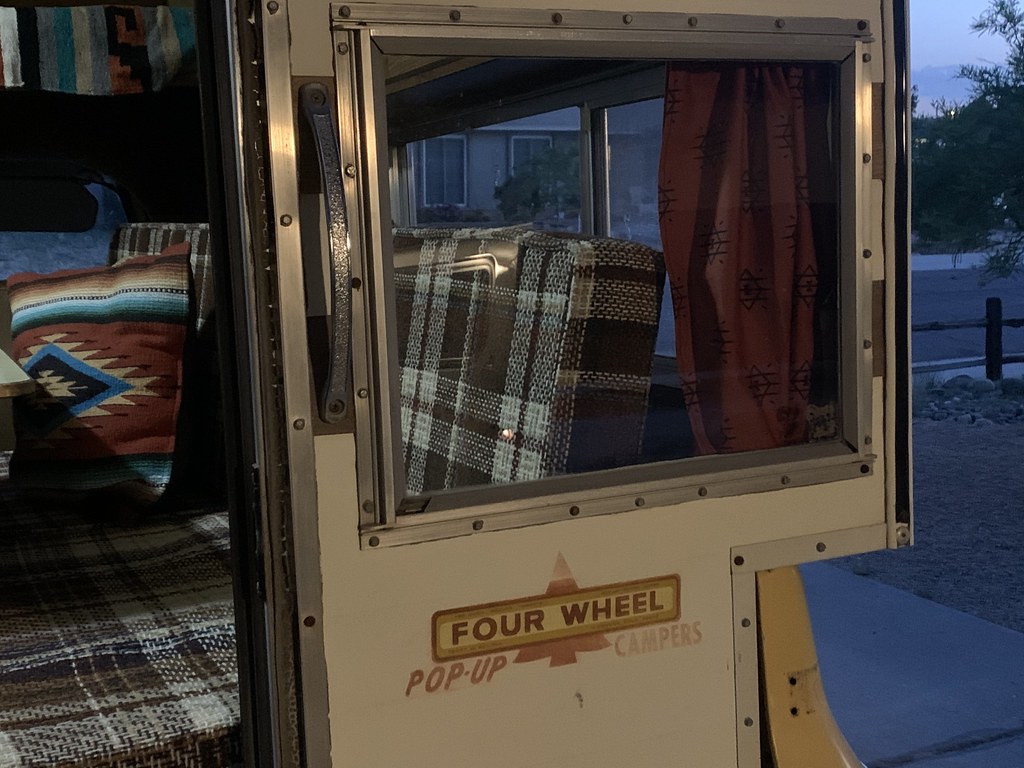
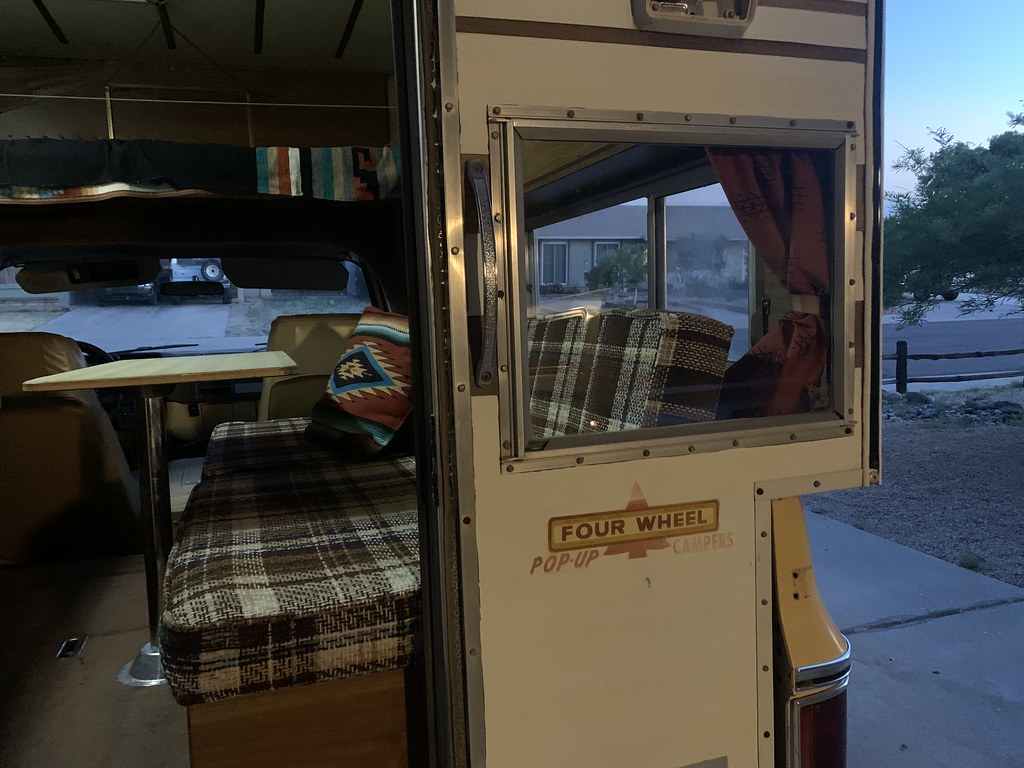
Guess who's back!?! Atl-atl's K5 Blazer + Four Wheel Camper "The Crawlin Cabin" documentation thread!

Atl-atl

Adventurer
On the RV's because there was 30+ feet of fuel line from the tank to the engine we usually kept the mechanical pump in play to aid in pulling fuel up to the carb. But we were also using a high volume hot rod style mechanical pump too. On a much shorter K5 you could omit the mechanical because a good electric pump should be able to push the fuel the distance without requiring help of a mechanical pump. I would however leave a provision in your fuel lines near the mechanical pump to allow it to be put back into service in a pinch if something goes wrong with the electric pump.
if the diaphragm breaks in the stock pump the electric pump will spray fuel around in the engine compartment...

if the electric pump fails the stock pump may not be able to suck fuel through it. you'll have to re route the fuel lines at both ends to switch back to mechanical...


So it sounds like; carry an extra electric pump, bypass the stock mechanical pump, keep enough fittings and rubber line in the truck to make emergency repairs to both.
 

Atl-atl

Adventurer
Well here comes the weekend update motherlode. Last Thursday I decided I was going to get working on fabricating a tire carrier rear bumper. Did a ton of research because it was 105 degrees outside and I couldnt stand to actually work on the truck. Four days later I basically got nowhere hahaha. On the bumper that is. Ive been wanting to learn how to weld basically my whole life. So I started talking to a friend of mine up in Flagstaff about what/how/when for a new rear bumper and decided to go pick up so square stock to get measurements and a better idea of just what will work. Ive landed on using 4x4labs tire carrier swingout setup and also their misc. clamp bracket to make a receiver hitch that swings out with the tire, that I will mount my 1UP bike rack to. A lot of the reason I go camping is to ride bikes and I want a way to leave the bike in the carrier with the ability to swing it out of the way for access to the rear door. A trailer hitch with a swing out accessory just wont cut it.

I watched a bunch of youtube videos so naturally was 100% sure I could buy a $125 flux core welder from Harbor Freight and make myself a tire carrier bumper for $400 instead of paying $3000 to buy one. Boy was I wrong.

49843707436_5be6c3ef0b_b.jpg


Yeesh, I will not be quitting my day job.

49843165898_e0e2abbea5_b.jpg


Cleaned up with a flap wheel it isnt terrible. Especially for this literally being the first time Ive attempted to weld in my life.

49843165918_90ce6d65ee_b.jpg


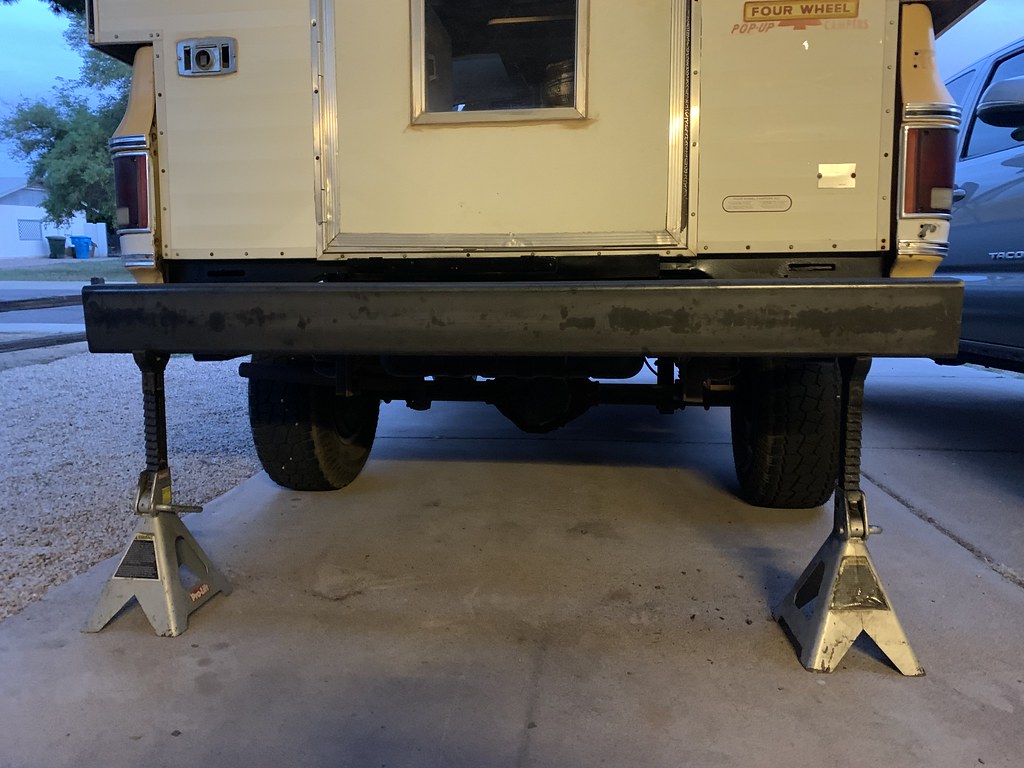
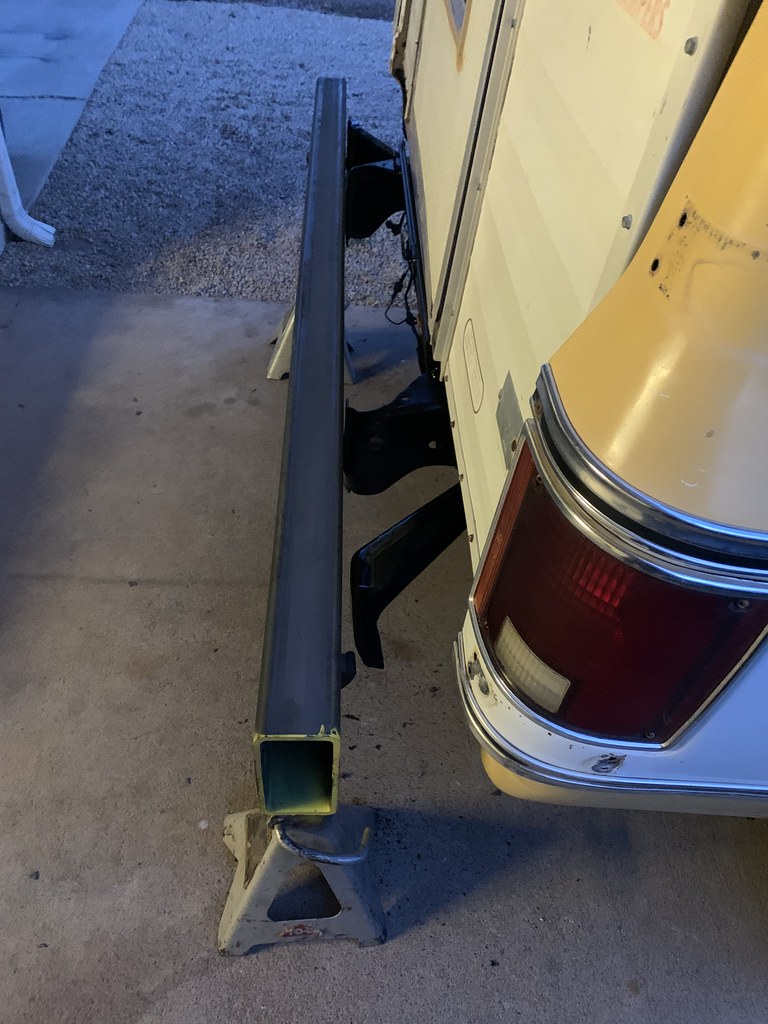
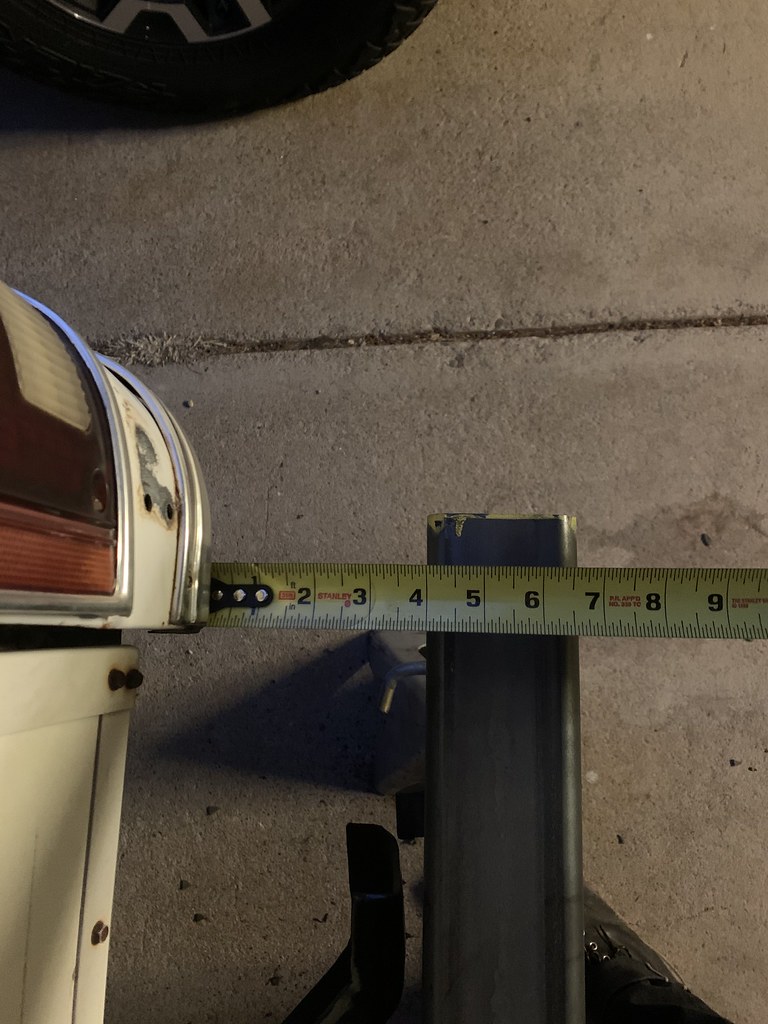
I picked up a 72" piece of 3x6" 1/4" wall steel tubing. I pulled the rear bumper, breaking every bolt except one, cleaned the rust and dirt off, sanded and painted everything. Busted out the jackstands and quickly realized I need to cut down the frame that I just spent a bunch of time cleaning up and painting. The stock bumper is a real clamshell that hides the fact the frame sticks way out behind the truck.

49843709556_7ec35faa04_b.jpg


49844013487_912b6d4dd3_b.jpg


49843708491_470f7f23bd_b.jpg


Looks terrible from this angle but it will get shaped a little and its not as wide as this makes it look.

49844011817_2b00674523_b.jpg


womp womp

49840044586_5c61b466da_b.jpg


Easily can lose 3" of the frame and still fit a spare tire carrier etc.

49840341217_27215d2cfd_b.jpg


49840341087_fd41ae7877_b.jpg


49843166223_1ac31be5df_b.jpg


49843705406_76bf01017e_b.jpg


Still thinking about integrating these folding steps. Im not getting any younger...

49843908092_dd5e7e505c_b.jpg


So after that debacle, I decided to move onto something significantly less annoying...the fuel system, or should I say, the fuel systems issues HAHAHA!!!
 
Last edited:

Atl-atl

Adventurer
Round 2 from the weekend! Put the bumper project on hold and decided to get gassy. My fuel gauge doesnt work, my tank takes 30 minutes to fill with gas, the truck vapor locks like mad when its hot, the truck has saddle tanks that were no longer hooked up and in pretty bad shape. So I went to town. Pulled the filler neck in preparation for dropping the tank and as soon as I got it out I noticed a weird sound, something was inside the filler neck...

!!! Someone had filled the truck with a plastic gas can in the past and the little flexy nozzle popped off inside the filler neck. I bet they had no idea this was causing the slow fill issues. Moral of the story, be careful what you put in your neck!
49848320771_5ca77d9a39_b.jpg


49847788608_0e7d21af56_b.jpg


Since I already had the rear bumper off it made dropping the gas tank easy.

49848323041_bc62f785a5_b.jpg


Strainer sock is torn, couldnt find one locally and since my fuel gauge wasnt working I decided to just buy a whole new sending unit.

49848628677_e380335fed_b.jpg


49848630172_059fe1dfe5_b.jpg


Then I decided to get to work removing the saddle tanks. Crawl under the truck and the first thing I notice is this wire. Its the power for the sending unit. Great work by the last fellow.
:screwy:


49847789003_a94bacf87e_b.jpg


This was the wiring mess for the controls for the tanks. All the yellow wires were just spliced in with vampire connectors.

49848630052_c5c10f5aae_b.jpg


Nothing makes me happier than deleting crap and making things whole again.

49847786523_b2b1f77e59_b.jpg


These were the knobs for switching between the tanks. Required a super thin open end wrench to undo the lockring. Thankfully I had the right size cone wrench in my bike toolbox. Its funny how often I use bike tools on cars/trucks.

49848625272_c802cdfd50_b.jpg


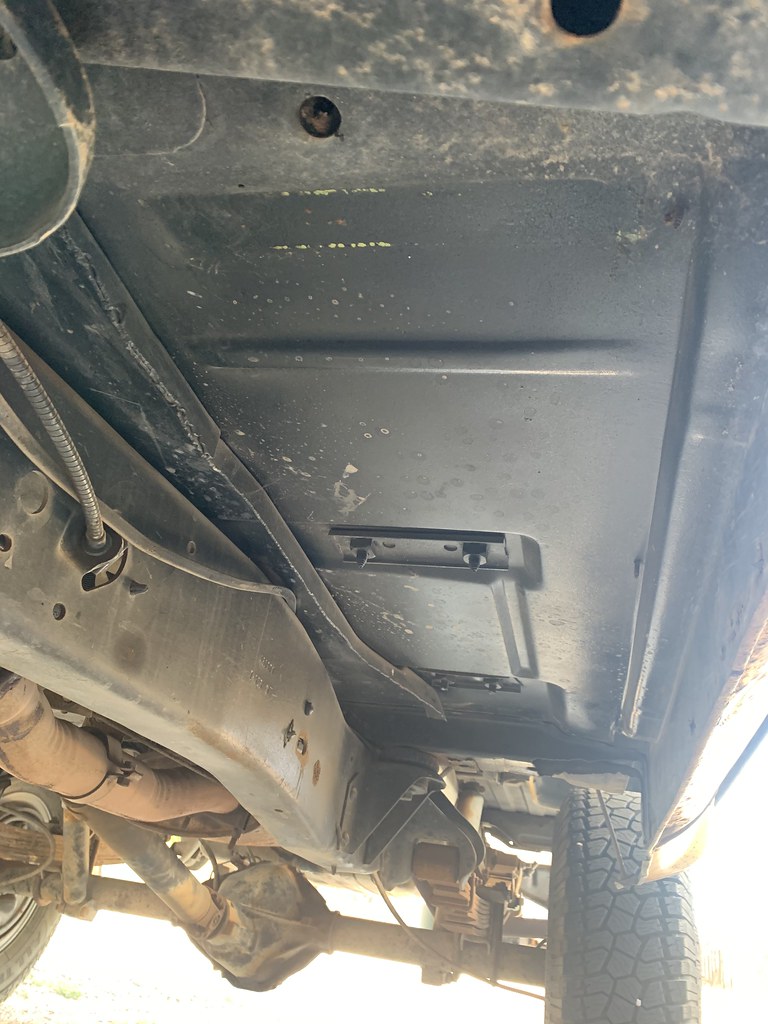
Then I unbolted the tanks. Each one was held up by two huge carriage bolts that went right through the floor. One under each front seat floormat and one just in front of each rear wheel well. Thankfully I was able to remove the rear bolts without cutting them or worse have to pull the camper off the truck ha! Also deleted the wires you see running under the carpet, they were for a broken CB that I removed.

49848630697_aebdf7b1fb_b.jpg


The area above the tanks is remarkably well preserved. They were obviously there for a very long time. Also, looks like some kind of sheet metal pinch weld or something had to be trimmed to accommodate the tanks.

49854871883_6bc21edaa8_b.jpg


Aaand here it is in all its ******king glory. Someone mentioned possibly wanting this but I cant seem to find the comment. Hit me up if you're here. Free for anyone that wants to come to Phoenix and grab it. They are massive, I bet at least 20 gallons each.

49848628852_1d3bd6440b_b.jpg


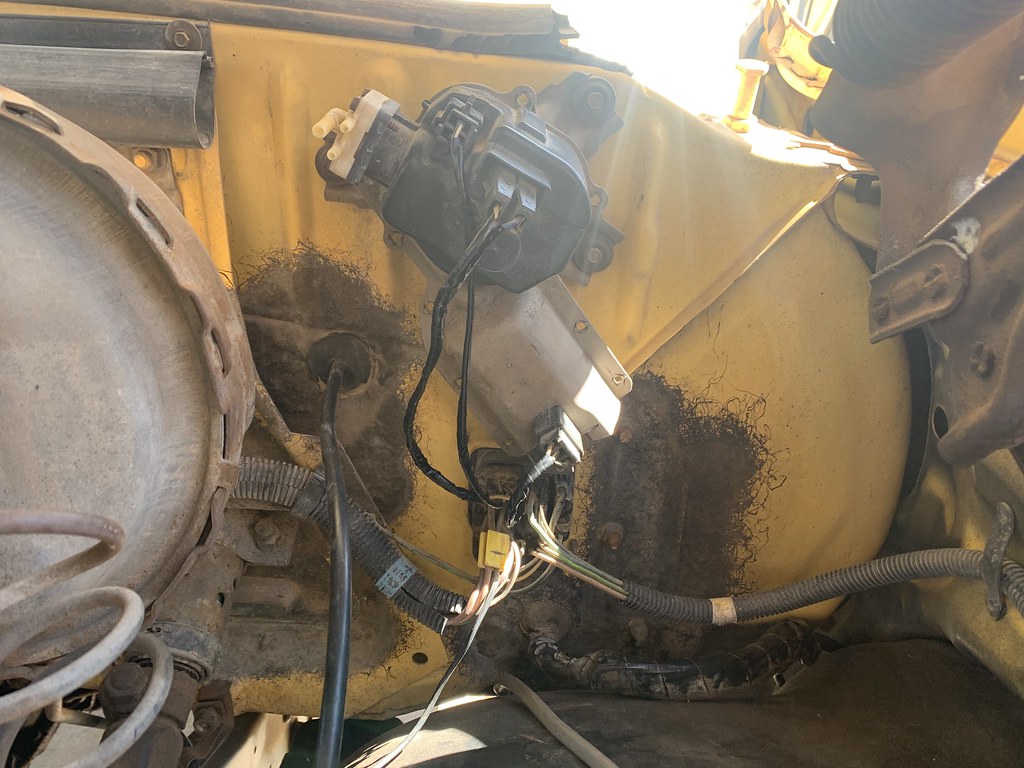
So I buttoned everything back up underneath, replaced a bunch of rubber line for the main and return lines, rewired the power and ground for the sending unit, soldered all the connections, bent a new hard line for the pump-to-carb(which took three attempts btw) and the came across a post where someone mentioned putting fittings in the carb and pump and running soft line. Wish I would have seen that a couple days ago hahaha.

49855654977_1bbdd460c9_b.jpg


49855654917_b7718e3cfa_b.jpg


Drumroll........

FUEL GAUGE WORKS!!!! Fired right up, checked for leaks and everything is dry. Drove over to the gas station and it fills with gas like a normal vehicle WOOHOO!!! Feels so good to make progress. Although it did leak a little from the filler. The soft line between the filler neck and the tank is old and crusty and I think I cracked it when reinstalling the tank so Im going to replace that today but otherwise everything is good. Drove it for a few minutes and it seems to have better throttle response and make a little more power. I wouldnt be surprised at all if the horribly done fuel system was a real strain on the engine.

49855655187_259c0cb439_b.jpg
 

nitro_rat

Lunchbox Lockers
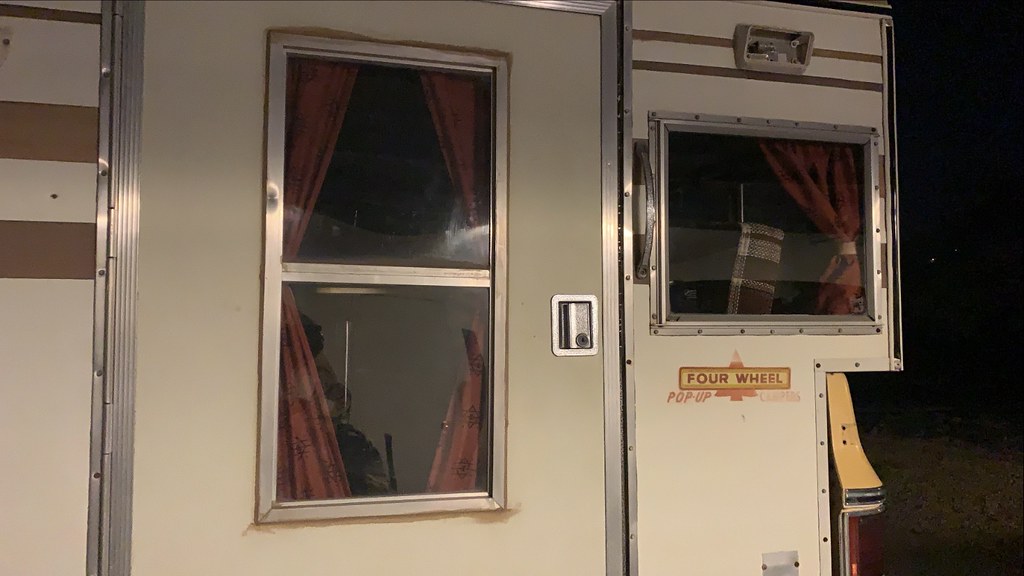
Nice job on the hard line for the carb! If you continue to have an issue with vapor lock you could wrap it with an insulated sleeve like this one:


They're usually commonly available at auto parts stores where the Chinese chrome valve covers and fuzzy dice are.

Also insulate anywhere along the frame that the exhaust is close to the fuel line. A heat shield on the exhaust pipe is another way to skin that cat.
 

nitro_rat

Lunchbox Lockers
The reason for the vapor lock is that the fuel is actually boiling (reaching its vapor point) inside the fuel line or in the carburetor itself. The action of the mechanical fuel pump actually exacerbates the situation as it "sucks" the fuel from the tank.

It's common knowledge that the pressure cap on your radiator raises the boiling point of the water in the cooling system and gelps prevent steam pockets from forming in the engine block and heads. The same applies to your fuel system!

The mechanical fuel pump puts a vacuum on the fuel line coming from the tank which lowers the boiling point of the fuel. The mechanical pump can't suck vapor, so in many cases when the engine is stalling due to vapor lock, the vapor is in the line between the tank and the pump.

An electric pump mounted near the tank is fed by siphon and all of the column of fuel between it and the needle and seat in the carb is under pressure. This pressure raises the vapor point of the fuel and in most cases cures the vapor lock entirely.

At some point Chevy went to a return line mounted on the mechanical fuel pump. It is normally effective as it keeps the fuel in circulation even when the demand from the carb is low. This solution is nearly as good as the bypass filter that Tony talked about in the video I linked earlier because the vapor problem is usually in the line between the tank and the pump.

Even with a mechanical pump, the fuel between the pump and the needle and seat is under pressure and less prone to vapor lock as long as the supply to the pump itself is vapor free!

The last issue that can rear its head in the vaopr lock equation is the fuel vaporizing in the carb body itself. This is the reason that Carter came out with the Thermoquad with its phenolic float bowl section. There are a variety of heat shields and phenolic spacers that are available to mount between your intake manifold and the carb to help resolve this issue.

Sorry for the long post but I think that it gives enough background on the causes of vapor lock that you can figure out your own solution for your application if it continues to occur after the repairs you just made!
 

Buddha.

Finally in expo white.
I'm getting flashbacks. A friend of mine had a '85 blazer with that rear mounted gas tank. There had been a custom made skid plate for it that got packed full of mud and rotted out the tank. That was the biggest pita to change. Had to drop the skid plate, the receiver hitch, and then finally the tank. Every bolt was seized and snapped. I didn't like that truck at all. It was nice shiny paint over tons of bondo, the rear hatch took three guys to close because the rear quarter panels (bedsides?) would flex like crazy. It was lifted 6" on 35's. It was odd being that high off the ground in a truck with that short of a wheelbase.
 

nitro_rat

Lunchbox Lockers
There was a factory skid for the blazer tank. Same skid for 25 and 35 gallon tank. If you had the big tank it fit tight to the skid. If you had the 25 gallon tank the skid hung down below the tank and was prone to packing with mud in that area!

A friend of mine had a K5 that was 6" suspension and 3" body on 38.5's. It wasn't nearly as sketchy as another friend's short bed K-10 with 12" suspension, 3" body and 44's! He eventually rolled that one...
 

Atl-atl

Adventurer
There was a factory skid for the blazer tank. Same skid for 25 and 35 gallon tank. If you had the big tank it fit tight to the skid. If you had the 25 gallon tank the skid hung down below the tank and was prone to packing with mud in that area!

A friend of mine had a K5 that was 6" suspension and 3" body on 38.5's. It wasn't nearly as sketchy as another friend's short bed K-10 with 12" suspension, 3" body and 44's! He eventually rolled that one...

Sounds like I need a trip to the junkyard. Ive been in AZ for two years and not visited a single junkyard yet. Im really missing out. Can you imagine an entire junkyard full of vehicles with no rust!?!
 

Atl-atl

Adventurer
Im happy to report the truck fills with gas with no issue. Fixed the small leak today, the soft line between the filler neck and the tank got jacked up when I reinstalled it yesterday so I replaced it and all is well. Having a functional fuel gauge is WAY more important than you realize! Also, I went for a 30 minute cruise up the mountains today and basically had no issues. It was only about 95 but I was on it pretty hard and had no problem cruising at 70+ up a few extended grades. There might have been a slight hint of hesitation at certain throttle percentages but nothing like before. It had no issue applying power when I put down the pedal. In a couple days the weather is calling for 105+ which is 15 degrees above average for this time of year. Should be a good test for basically what the hottest temps "normally" are around the valley. When it gets to 110+ I simply wont drive the damn thing.


zoomad75

K5 Camper guy
I've got the skid for the fuel tank to install on mine. It's a heavy chunk. However it really only prevents punctures to the tank. On my old '75 I actually got hung up on the fuel tank skid. Rear wheels hanging in the air total stuck. The skid supported the entire weight of the truck, but naturally it did bend some and cave in the tank a little. I used to be able to put 30 gallons in it with the gauge at or below "E", after the most I could force in was 27 gallons.

That was due to me trying to navigate a boulder field with a truck that had no business going into it. The peace of mind you get from the protection point of view is worth it even if you don't plan to do anything stupid like I did.
 

Atl-atl

Adventurer
Alrighty, Ive been super busy, work picked back up and I decided to sell my house so you can imagine where my priorities are. I did manage to get some sewing done last night though! Only thing left to do is the curtains for the partition between the cab and camper.

This is much easier said than done for anyone thats ever attempted to sew
49875183367_40a48a2664_b.jpg


49875184827_d7dbaba090_b.jpg


49874875501_d8b1d20f99_b.jpg


49874344498_b211d9c46e_b.jpg


49875183277_1271731891_b.jpg


49875183407_576fe3f6cb_b.jpg


49874901851_3d4fddf5c1_b.jpg


49875210932_cc90f38c40_b.jpg


49874902171_55b4e77ca9_b.jpg


49874370888_62df0fe035_b.jpg
 

Forum statistics

Threads
188,330
Messages
2,905,488
Members
229,959
Latest member
bdpkauai
Top