Guess who's back!?! Atl-atl's K5 Blazer + Four Wheel Camper "The Crawlin Cabin" documentation thread!

Atl-atl

Adventurer
Nice, that seems to be the consensus over on CK5 also. The choke pull off seems to operate smoothly when I manually push it in and it retracts slowly. Im going to replace all the vacuum lines and check for more vacuum leaks that could have developed in the last couple weeks since I last checked. Im going to be swapping the motor soon so Im not gonna spend money on a new carb but I do want to try to get it running at least slightly reliably until then. It looks like there is a similarly shaped valve if you follow the vacuum line back to the distributor. Does that have a specific name? I should check it for proper function or replace it as well.
 
Last edited:

nitro_rat

Lunchbox Lockers
Yes, the vacuum can on the distributor is for the vacuum ignition timing advance. The only thing that it has in common with the choke pull off is that it's operated by a vacuum diaphragm.

I would recommend to replace any vacuum lines that are dry rotted or "spongy." If they look and feel ok then they probably are.
 

ExpoMike

Well-known member
Yes, the vacuum can on the distributor is for the vacuum ignition timing advance. The only thing that it has in common with the choke pull off is that it's operated by a vacuum diaphragm.

I would recommend to replace any vacuum lines that are dry rotted or "spongy." If they look and feel ok then they probably are.

Yep, agree on this info/recommendation.
 

Atl-atl

Adventurer
Yes, the vacuum can on the distributor is for the vacuum ignition timing advance. The only thing that it has in common with the choke pull off is that it's operated by a vacuum diaphragm.

I would recommend to replace any vacuum lines that are dry rotted or "spongy." If they look and feel ok then they probably are.

I wound up replacing all the old vacuum lines but I havent gotten it out on the highway yet because its been so damn hot and Ive been busy. I will this weekend and we will see how it acts. Ive also messed with the carb a little and picked up an inline electric pump just in case. Still not sure if Im running rich and flooding or experiencing vaporlock. My LS swap deal is getting worked out as we speak so I might just give up on the carb...
 

Atl-atl

Adventurer
Well I havent let the stupid carb issues get in the way of working on other things so I tore into the doors this week. Im trying to get as much done as possible before Im out of my house and dont have anywhere to work on the truck for a while.

40 years worth of dust is residing inside of every panel of this truck.

50039462932_812b3ca8e4_b.jpg


All of the window seals/wipes/trim were completely dry rotted to the point the rubber wasnt rubber any longer, it was plastic. Literally had to chip a bunch of it out with a hammer and chisel/screwdriver. Wound up with a bunch inside the door before I realized I should put something over the window opening so ******** wouldnt fall in. :screwy:

50039200446_2e33a5876b_b.jpg


50038650788_21a47d99a3_b.jpg


New stuff looks good.

50039462652_1de9efde19_b.jpg


50039458397_b07f84bae6_b.jpg


I wound up missing one rubber piece to reset the triangle window glass so I didnt get that done. Hopefully it doesnt come back to bite me since I got it all back together already ha.

50039199166_c6931506d5_b.jpg


I completely cleaned and regreased the tracks and pivots on the regulators and white lithium-ed all the hinges, handles, lock cores, springs and misc. moving parts. Everything works incredibly well!

[video=youtube_share;svcuCKDSbfk]

Reused my crappy door pockets for now because the ones I wanted were out of stock at the time. Same goes for the armrests. Not sure if I want to try finding the matching "buckskin" ones, get black ones or use slightly different saddle colored ones like I have. Everything is brand new except the switches and switch trim.

50038650138_73dd226a90_b.jpg


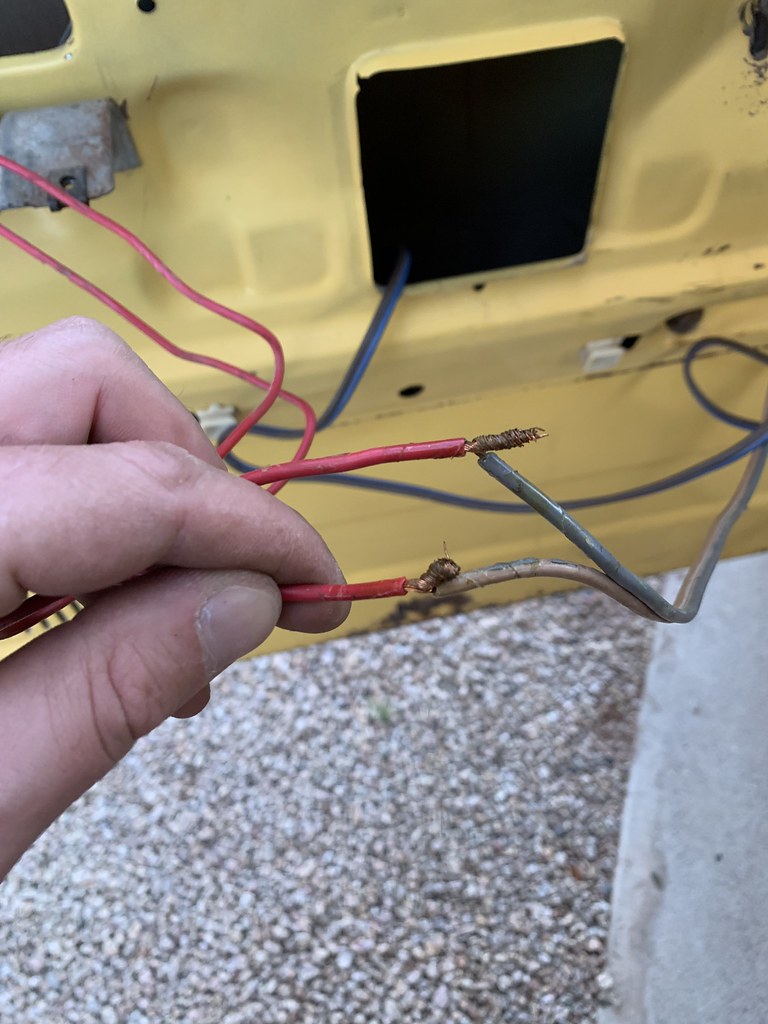
The drivers door for some reason had an extra 18" of wire twist-tied into the window motor. Not sure why, the factory wiring was long enough to reach so I took out the patched in piece and cleaned up/re-taped all the wiring in both doors and reassembled everything.


Driver side

50039200526_64b0ea28a2_b.jpg


50038650263_b46e9325a9_b.jpg


50041972533_20f898260e_b.jpg


50042786182_f614663041_b.jpg


Passenger side

50042527251_1e6093468d_b.jpg


50042785882_5efc5c5580_b.jpg


50042785617_523ee53ec2_b.jpg
 

billiebob

Well-known member
I do love this unit. If I had the balls I'd sell my Rubi and SquareDrop and find one of these. I've been real lucky with all the electronics on th Rubi but I do miss the torque and cold weather performance of a carburetor.
 

billiebob

Well-known member
Your picture threads on all the things you do should be part of an industrial arts secondary school program. Awesome detail and documentation, you should contact your school division and see how to talk to the students.
 

Atl-atl

Adventurer
I may have put a deposit on an LS swap today...I should probably advertise my motor for sale since its in the truck running right now. Thanks to @zoomad75


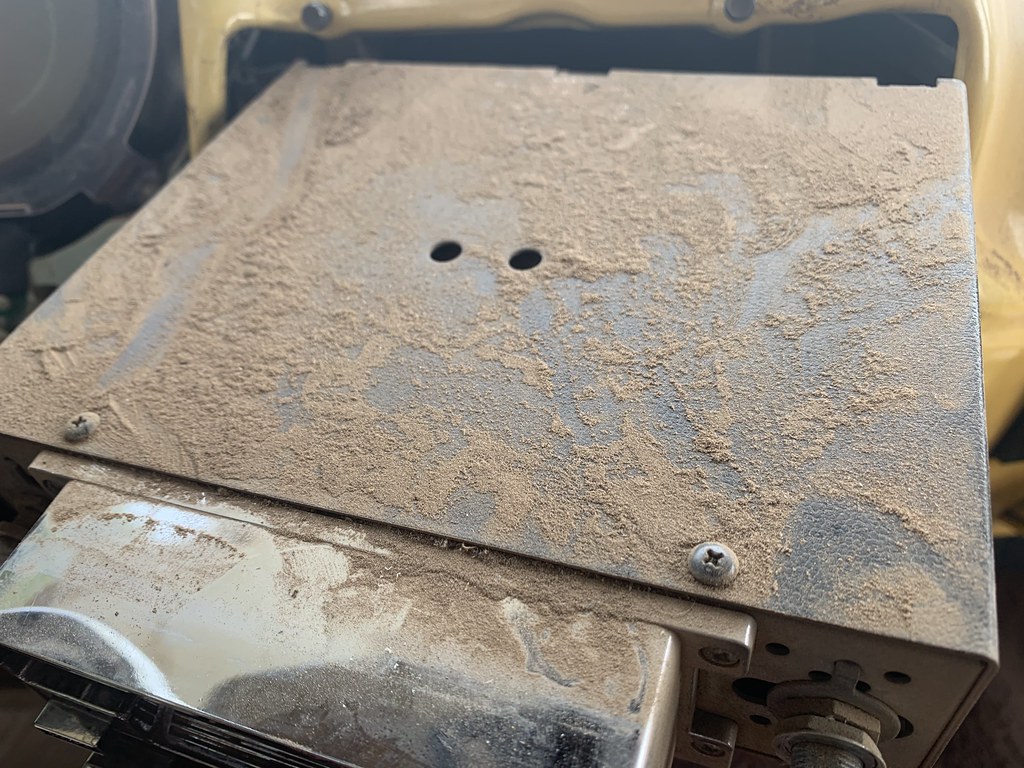
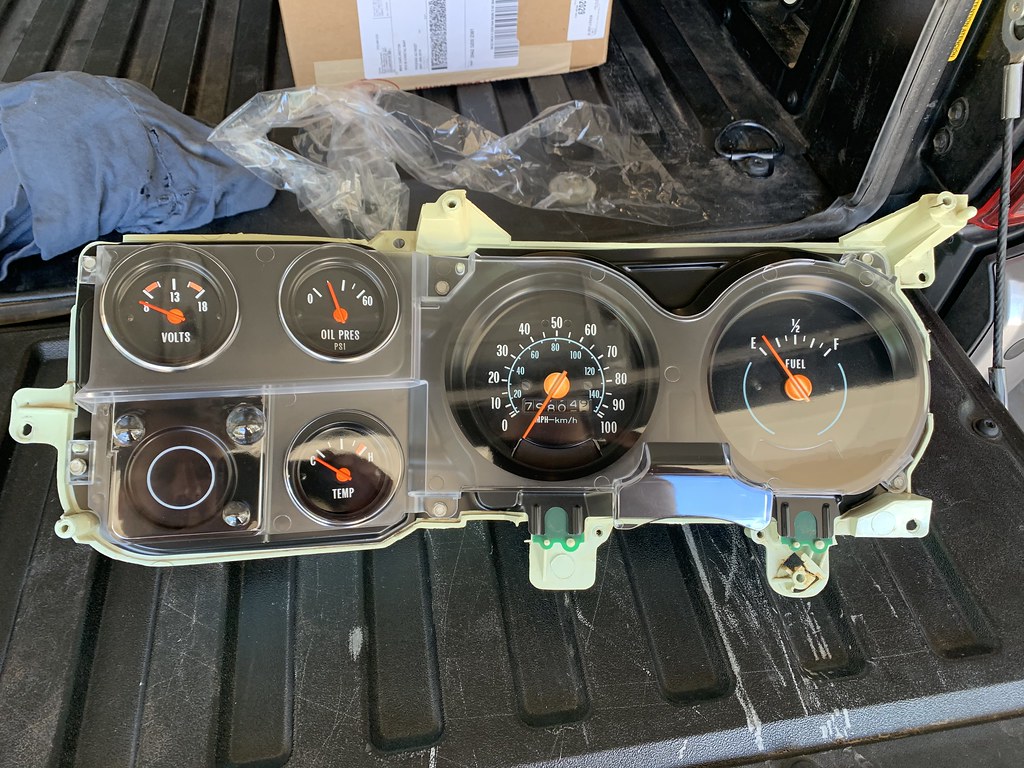
Kept on rollin in the stupid heat again today. Ripped out the dashboard. There was about an inch of dirt/dust everywhere. 40 years worth of living in Arizona, probably with the windows down the whole time ha! I think this is what native Arizonan's lungs look like. I ordered a bunch of new parts but not everything. I cant decide if I want to replace the vents, dash trim and a few other items. I kind of like the patina. I dont want it to be too perfect. I kept my original gauges but got a new surround, bezel and lens. Gauges cleaned up really well, they will eventually be replaced when I get a tach and/or do my engine swap but they look really good for now.

The stock dash is the "buckskin" color which is hard to find. I wound up getting a "signature series" dash pad from LMC. Im not sure how I feel about it for the money but its staying I guess. The white stitching is kinda weird, theres no provision for the center dash speaker, it doesnt use the factory style clips to "mount" the top of it to the metal structure underneath. The stock dash was so beat up and cracked though that anything would be better.

50044906083_6a2271b350_b.jpg


50045723162_2a593f8685_b.jpg


Deteriorating stock bezel.

50045726417_3b047a8b09_b.jpg


50045466961_362f91574e_b.jpg


Dirt, dirt and more dirt.

50045726547_fae2ebbec5_b.jpg


50045466576_eb5972b090_b.jpg


50044904828_39c2266171_b.jpg


50044906263_1b7f52cd08_b.jpg


50045725502_aa145a333b_b.jpg


50045723112_ca32d15b13_b.jpg


I sprayed all the stock sound/heat deadening material with 3M Super 77 and stuck it back into place. Also retaped all the wiring to protect it. For the most part the wiring is minimal and in much better shape than whats under the hood and what was in the camper.

50045467116_feee286d34_b.jpg


50044905193_ae41e311fe_b.jpg


There are some modern modifications that I havent figured out yet.

50044905348_fd331a8e0d_b.jpg


Stereo wiring is very minimal and will be cleaned up when the new radio gets installed.

50045723137_b9a3545888_b.jpg
 

Atl-atl

Adventurer
Too many pictures, had to split up the last post hahaha

This is the HVAC blend controller thingy, it mounts to the back of the temp control assembly, it has one broken vacuum line nipple. I cant seem to find this particular part online anywhere. Anybody have a line on one?

50048651291_da45c4c45e_b.jpg


Gear selector connection broke off the plastic trim piece that moves when you move the shift lever. Didnt realize this or I would have ordered that new piece. I drilled a new hole and remounted it but I dont know how long it will hold up like this.

50048096853_2897534572_b.jpg


50048092033_6151e83e08_b.jpg


Gauges cleaned up really well!

50048654141_cffa04ecbc_b.jpg


New trim

50048658071_a12d647151_b.jpg


New lens

50048653966_7723a07776_b.jpg


Reinstalled

50048657536_c4403fbae6_b.jpg


Test fitting the new bezel and dash pad. I got the silver aluminum trim that you add to the bezel but I kind of like it just black with the thin silver outline.

50048094693_f584e7b2bf_b.jpg


50048912137_3251a9d421_b.jpg


50048602108_167aa77675_b.jpg
 

nitro_rat

Lunchbox Lockers
for your ac controls my local oreillys got me one several years ago. had to look it up in the paper catalogs in the back. i have a good parts guy in the commercial department in the back at one of the local stores!
 

Atl-atl

Adventurer
for your ac controls my local oreillys got me one several years ago. had to look it up in the paper catalogs in the back. i have a good parts guy in the commercial department in the back at one of the local stores!

Nice, ill check them out. Oreillys definitely seems to be the best of the "fast" auto parts stores.
 

Atl-atl

Adventurer
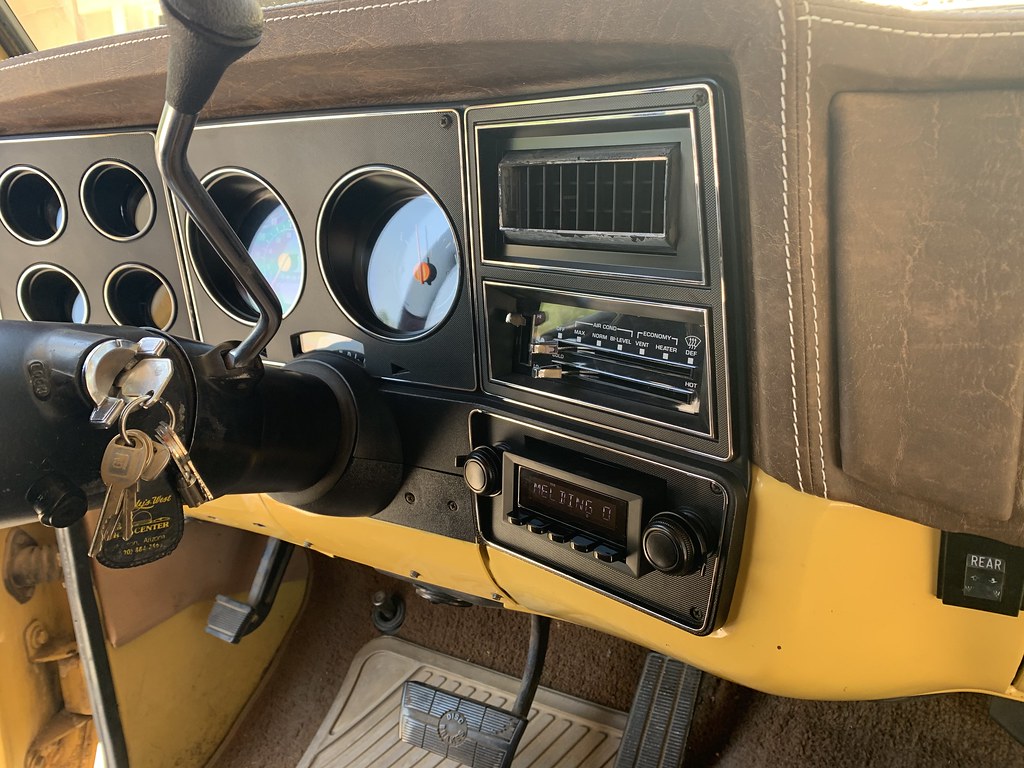
I spent the morning installing a Retrosound "Hermosa Beach" head unit. This is the cheapest one they make that is bluetooth capable. I got it completely blacked out and really like how stealth it is. Its rad having streaming capability, handsfree calling and not losing the look and feel of the original style radio. Its slightly more complicated to install than a typical single DIN head unit but it only took a few hours to figure it all out and hook everything up. When I do new carpet Ill run all new wiring to the rear speakers and replace them (since whatever is in there is ********) and install some kind of speakers in front now that I had to delete my center dash speaker. For now it looks good and it works and thats fine with me! I got the gauge bezel and all accompanying trim installed in a somewhat permanent manner, it came out really good. Now the melting steering wheel with a horrible cover is sticking out like a seriously sore thumb...

50051634456_fe6584fde3_b.jpg


Crappy pic, sorry.

50051883152_919abcf508_b.jpg


50051634626_b20e52ba0d_b.jpg


50051636351_7f5da6f7a5_b.jpg


Ran the handsfree mic up the a-pillar to the visor. I dont have the trim on the a-pillar right now because the headliner is out. Once its done Ill reinstall it in a more discreet way.

50051122003_bfb4551151_b.jpg


Ran the USB plug to the cigarette lighter/ash tray door. Tucks in nicely and the door still opens and closes just fine.

50051693001_1b7ec7d993_b.jpg


50051633836_aeda25b4fa_b.jpg


50051062928_a86f1eb7c7_b.jpg
 

Forum statistics

Threads
188,324
Messages
2,905,436
Members
229,959
Latest member
bdpkauai
Top