improving and repairing my 110 travel vehicle

CTMike

New member
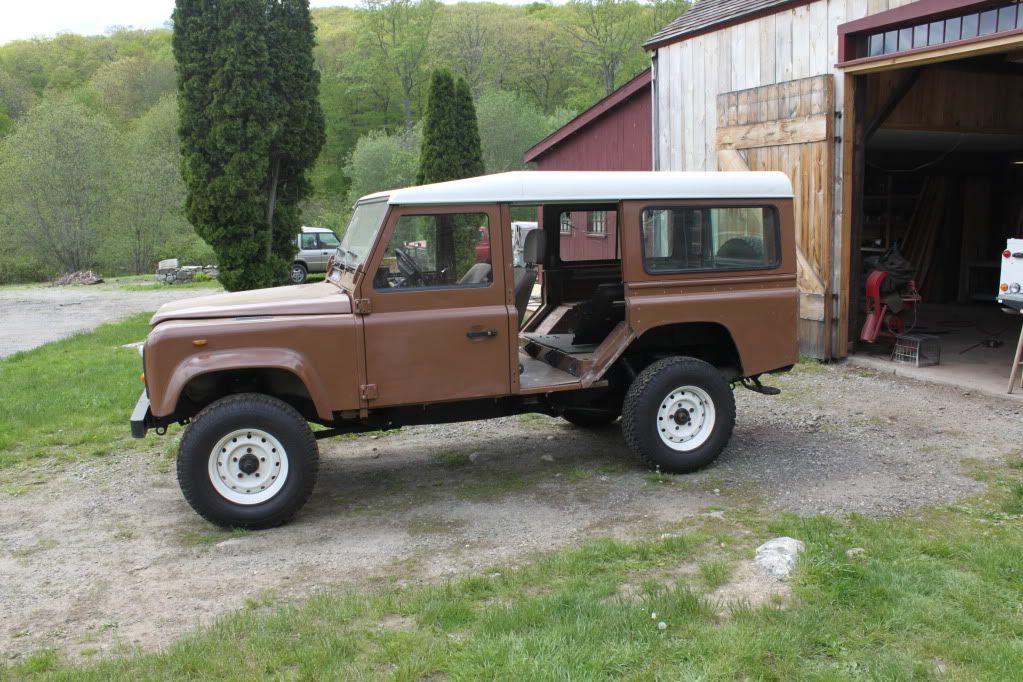
Hi, I wanted to introduce myself my name is Mike I live in Connecticut. I've been using this 84 defender as a travel vehicle for the last few years and it has been reliable, comfortable and capable. Its main purpose has been to get out to abandoned mine sites for exploring (hauling up to 5 people and gear on overgrown trails) or for long distance travel where much of the payload is camping gear, like last years trip to Labrador and Newfoundland. The 110 is the perfect vehicle for my needs, I wish I could buy a newer one but I can't legally, so I made this list of repairs, preventative maintenance and improvements to make it more like a new truck!
-swap V8 for 300TDI diesel
-replace all bushings with genuine Land Rover
-replace rear ball joint and get rid of faulty load leveler
-replace 4 speed trans with 5 speed and 1.2 ratio lt230q transfer case
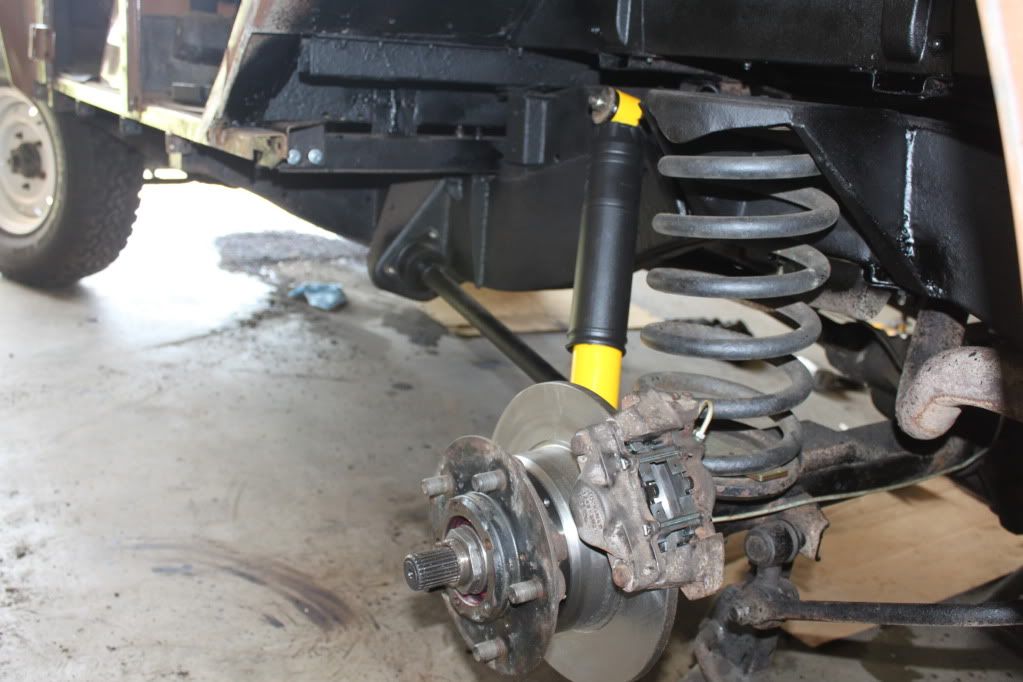
-rear disc brake conversion
-new master cylinder and brake booster
-new clutch master cylinder
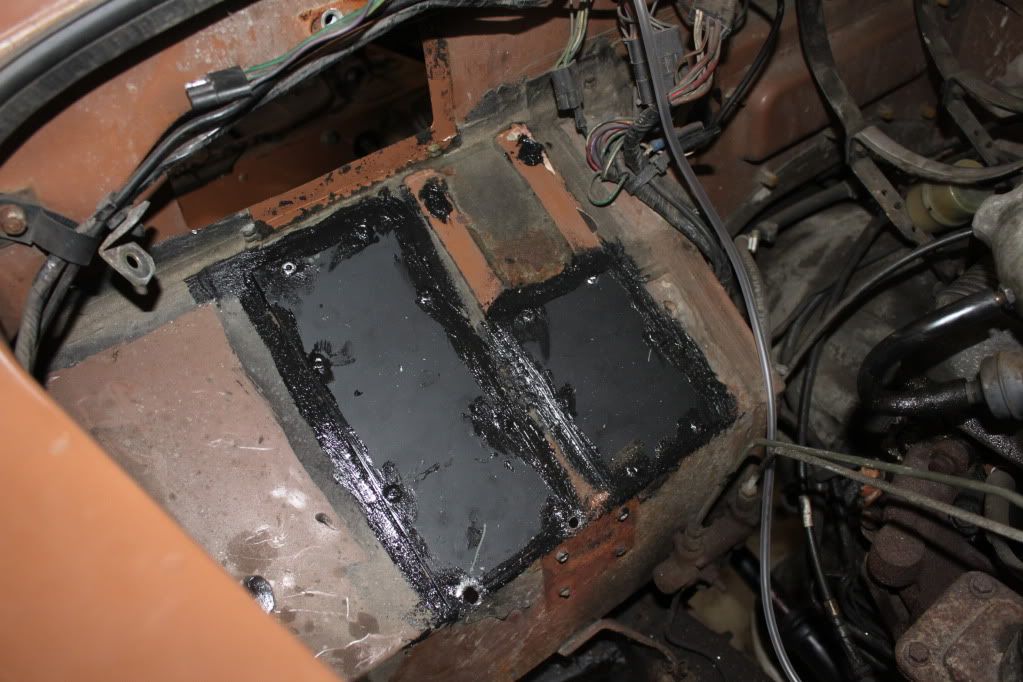
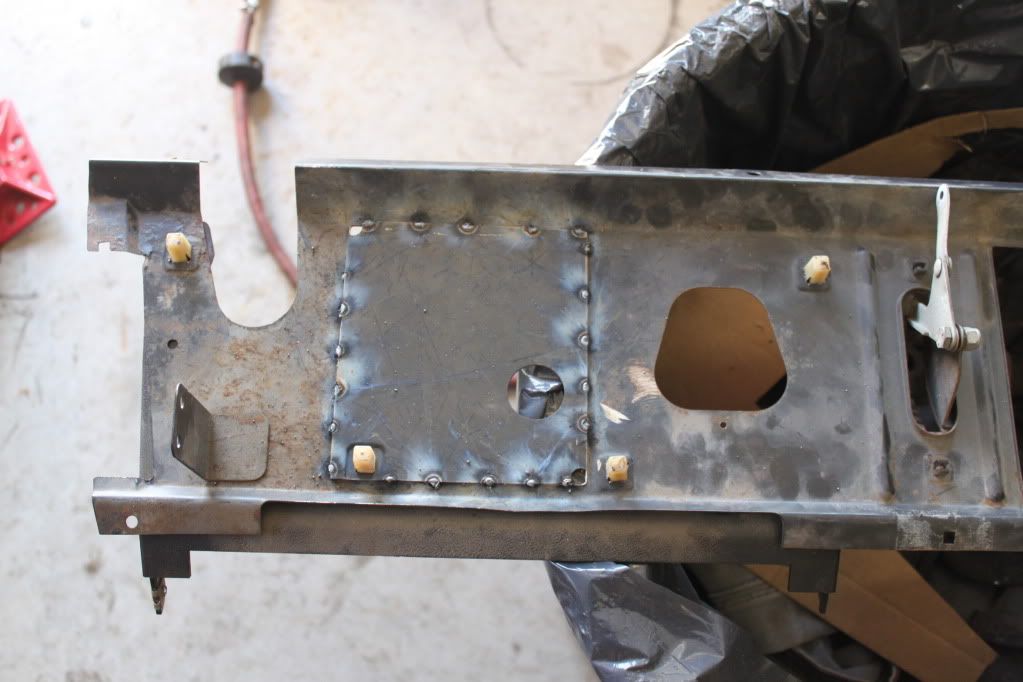
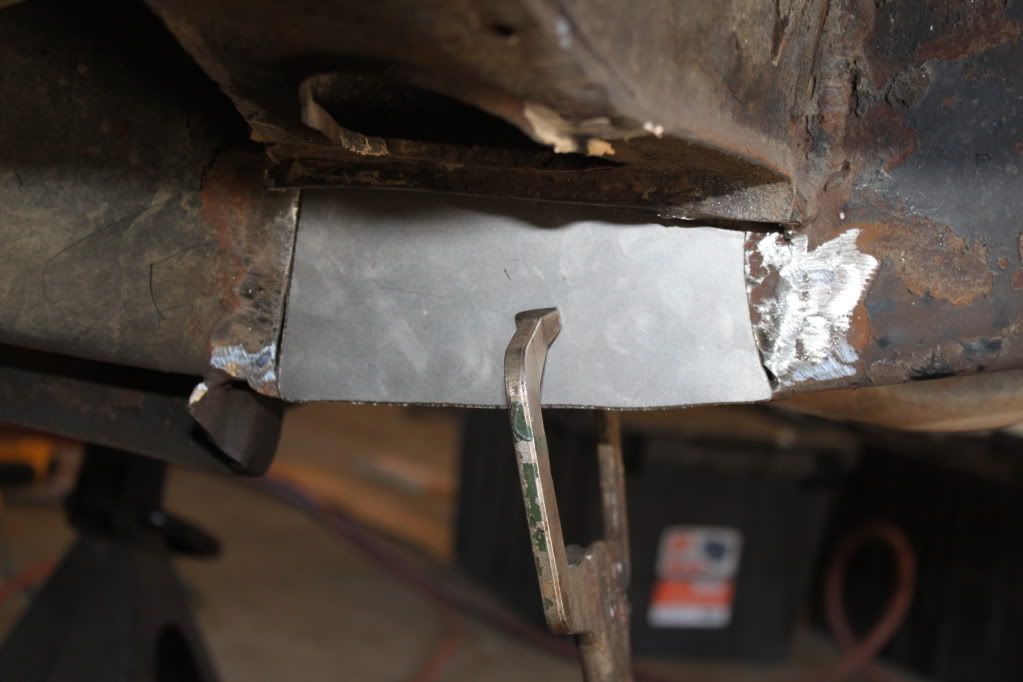
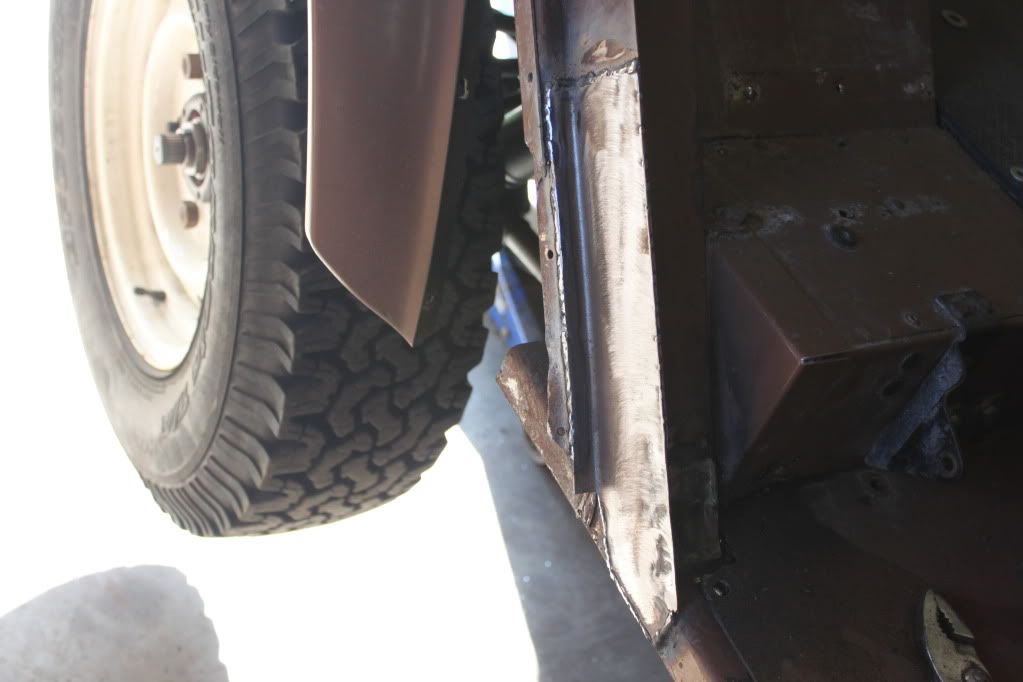
-make repairs to rot on frame
-repair rust on bulkhead
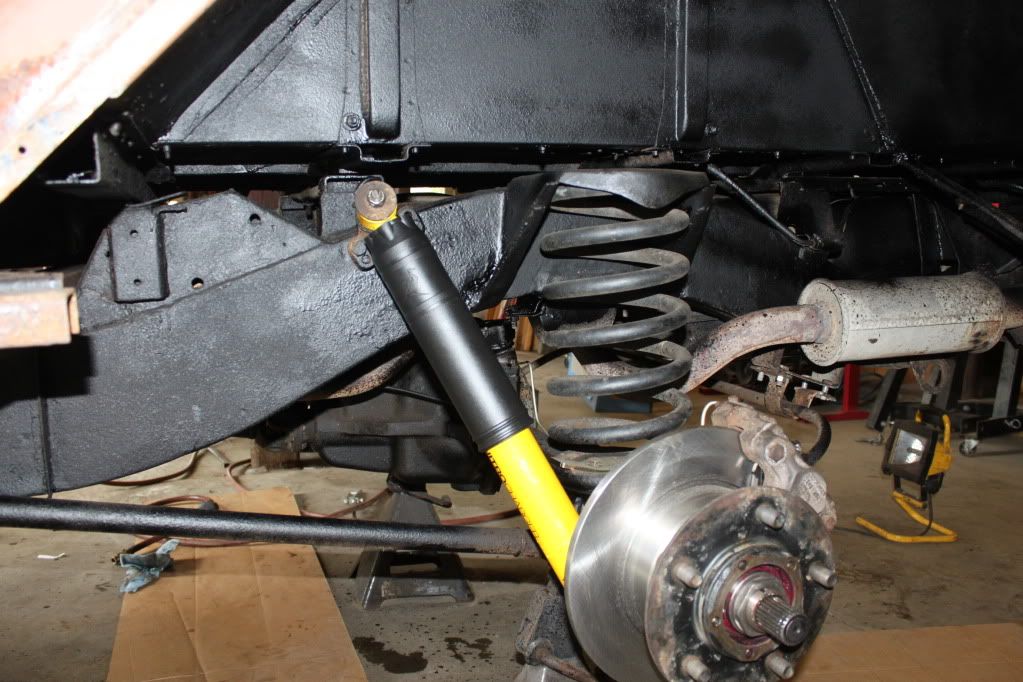
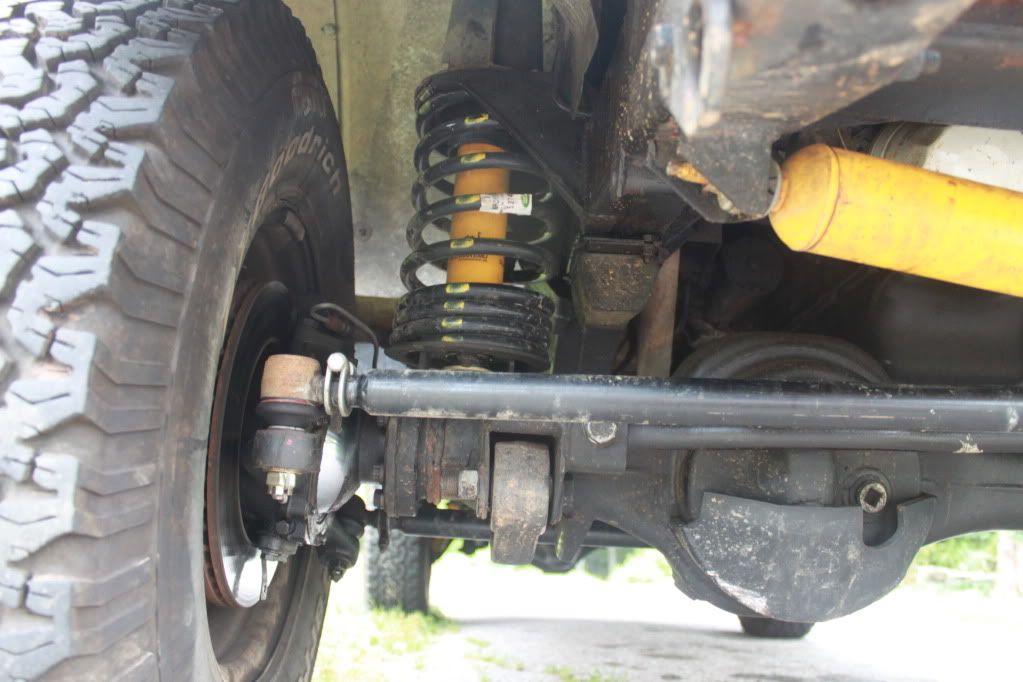
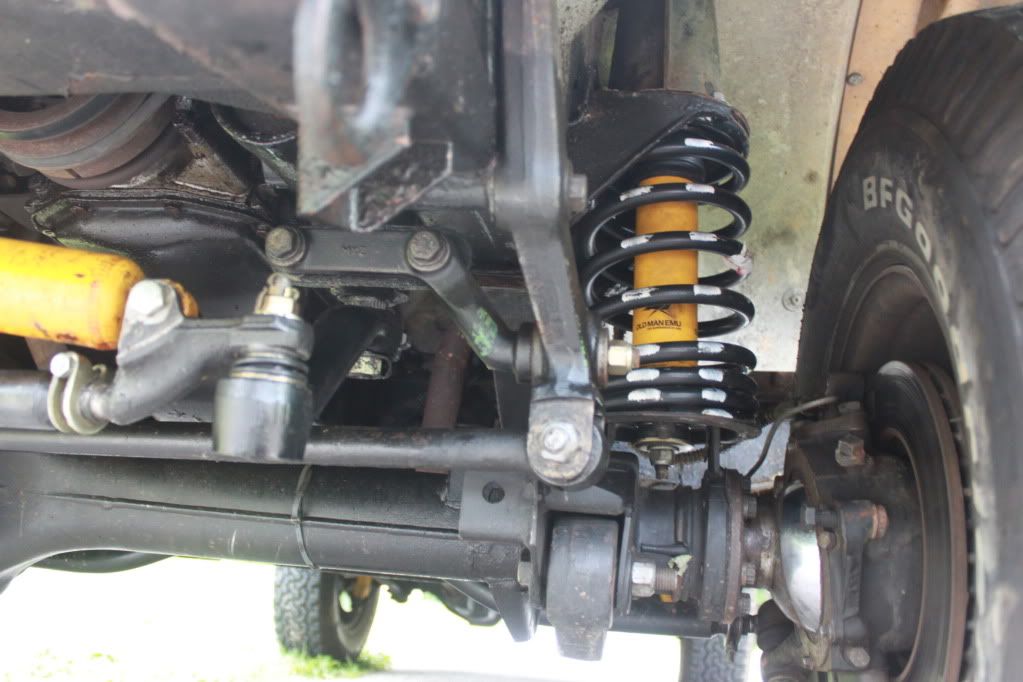
-new genuine Land Rover springs front and rear
-Old Man Emu shocks
-footwell rubber soundproofing and dynamat
-left hand drive conversion
-Waxoyl frame for corrosion resistance
-Hella E-code headlights
-VDO gauges
-front differential skid plate welded on
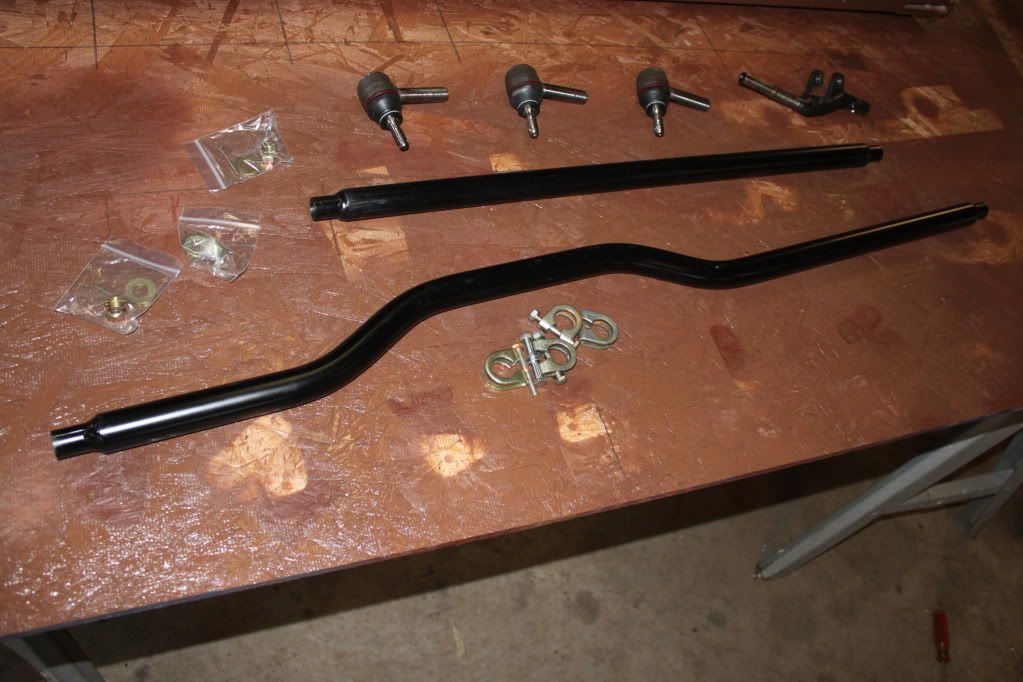
-heavy duty steering rods, new tie rod ends
-rebuilt steering box and drop arm
-front brakes converted from solid disc to vented disc
-replace rusty brake lines
-genuine Land Rover brake pads
-locking lug nuts
-New style roll up window doors
-Newer style side windows
-New windshield and windshield frame
-newer roof
-G4 challenge roof rack
-Hannibal awning
-Mantec steering skidplate
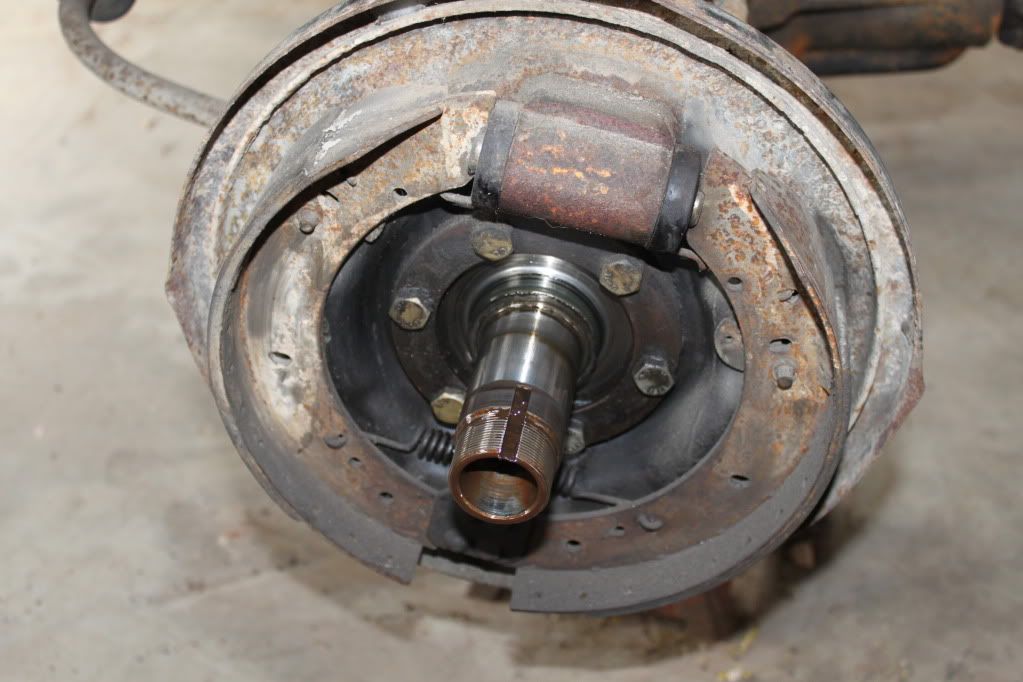
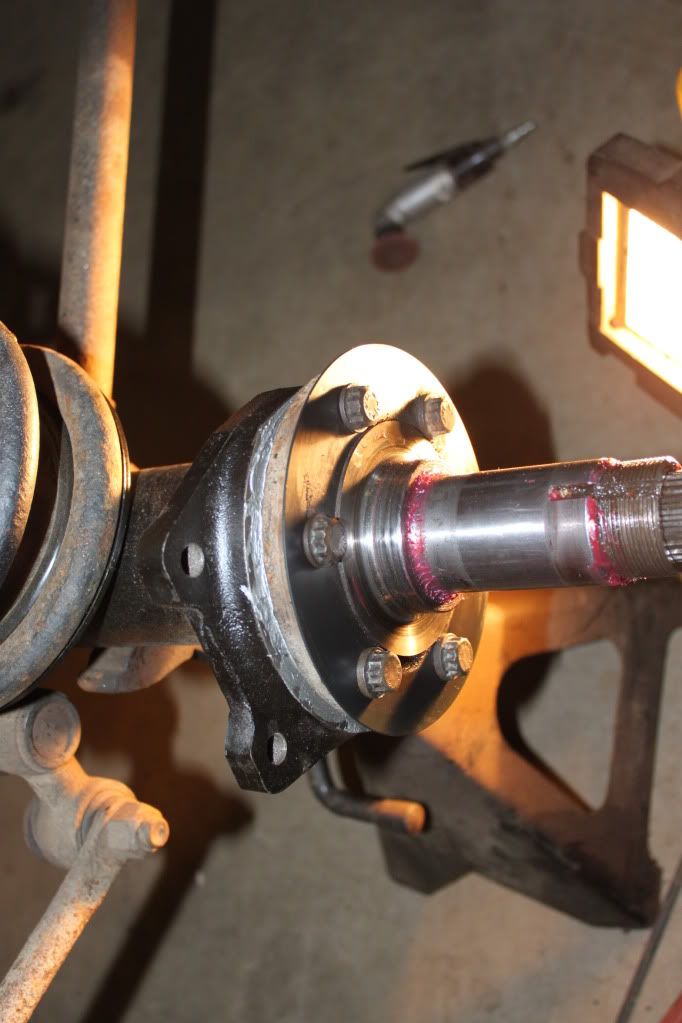
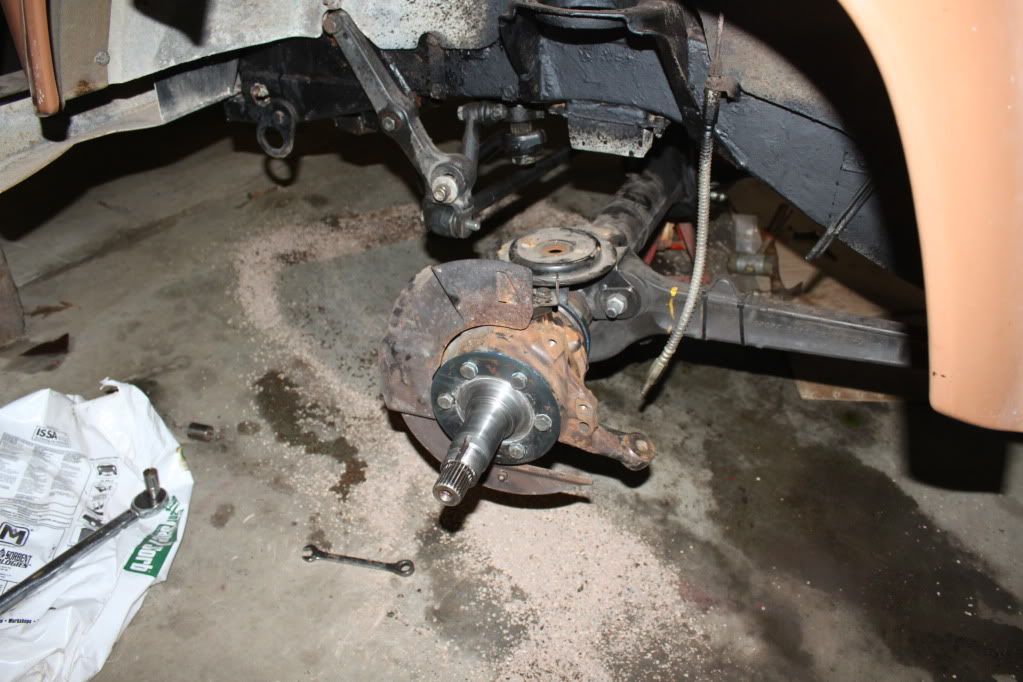
-rebuilt front axle swivels
-new Timken wheel bearings and rtc3511 seals
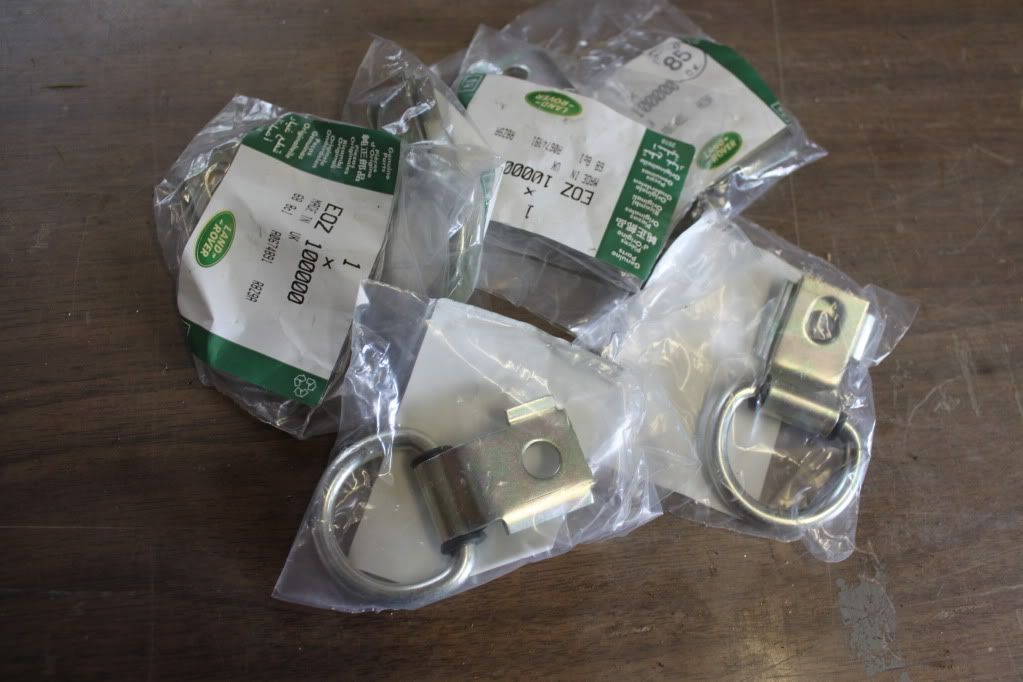
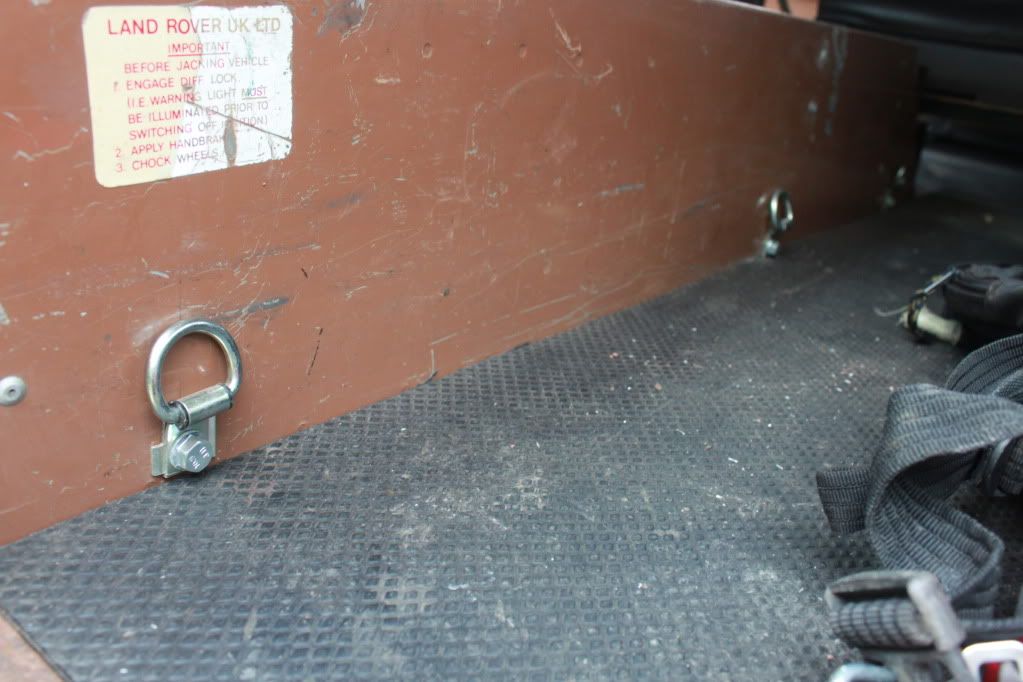
-genuine Land Rover rear tie down points
-2 Sears Diehard Platinum batteries

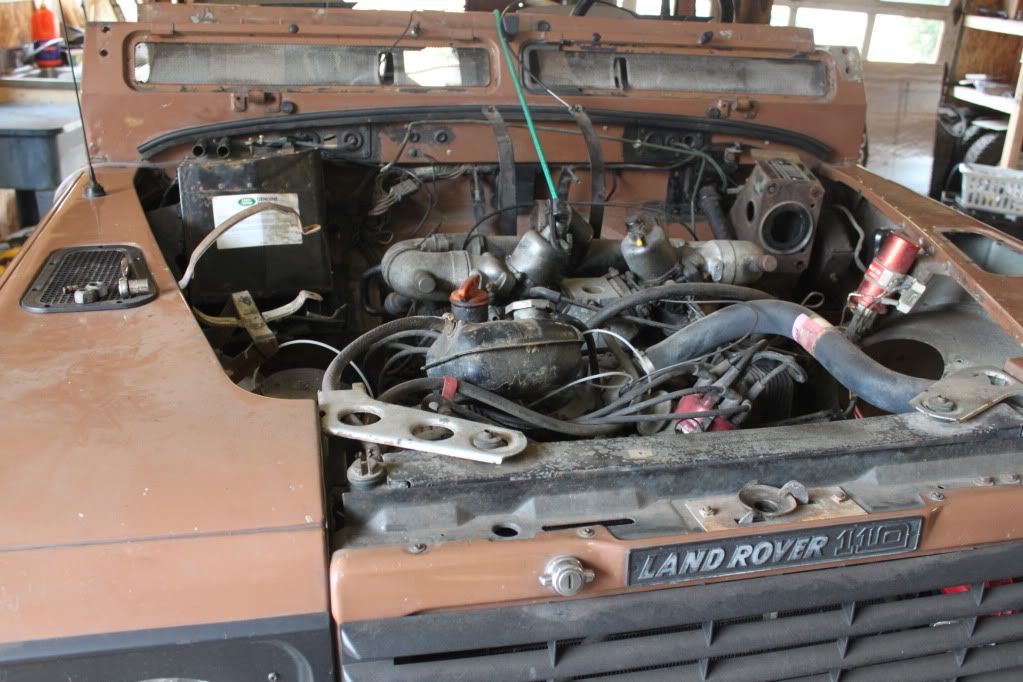
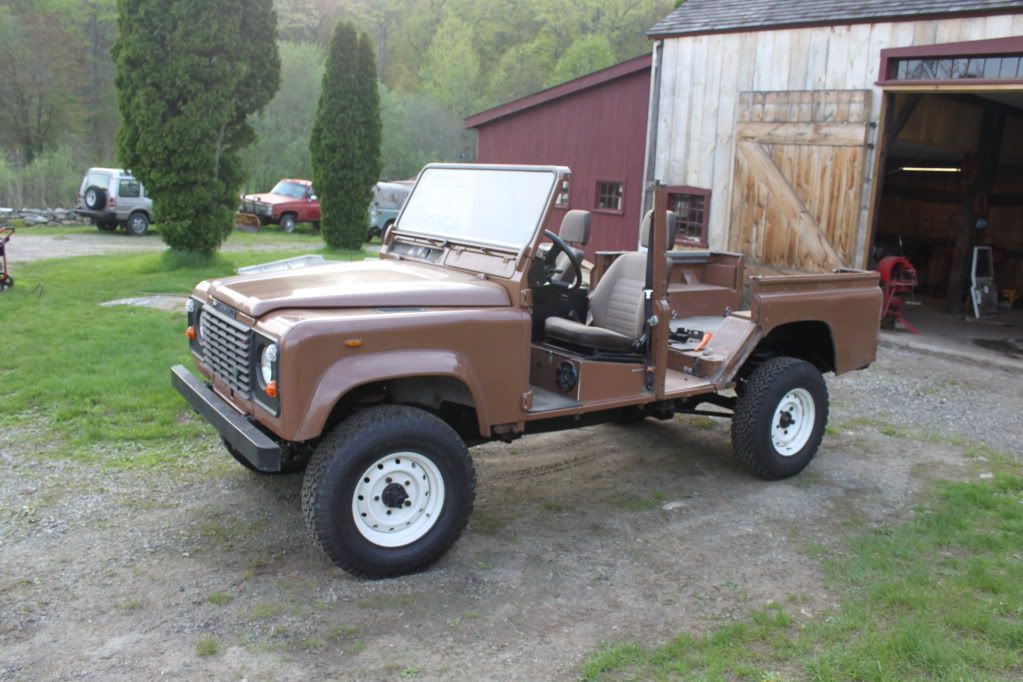
here are some pics so far:

IMG_8220.jpg

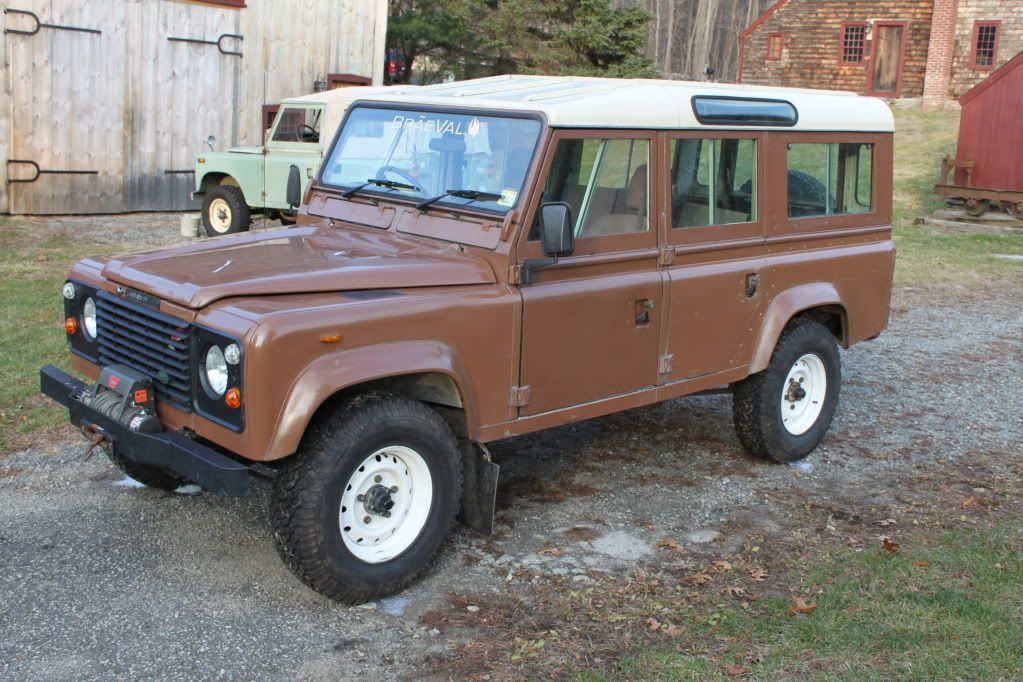
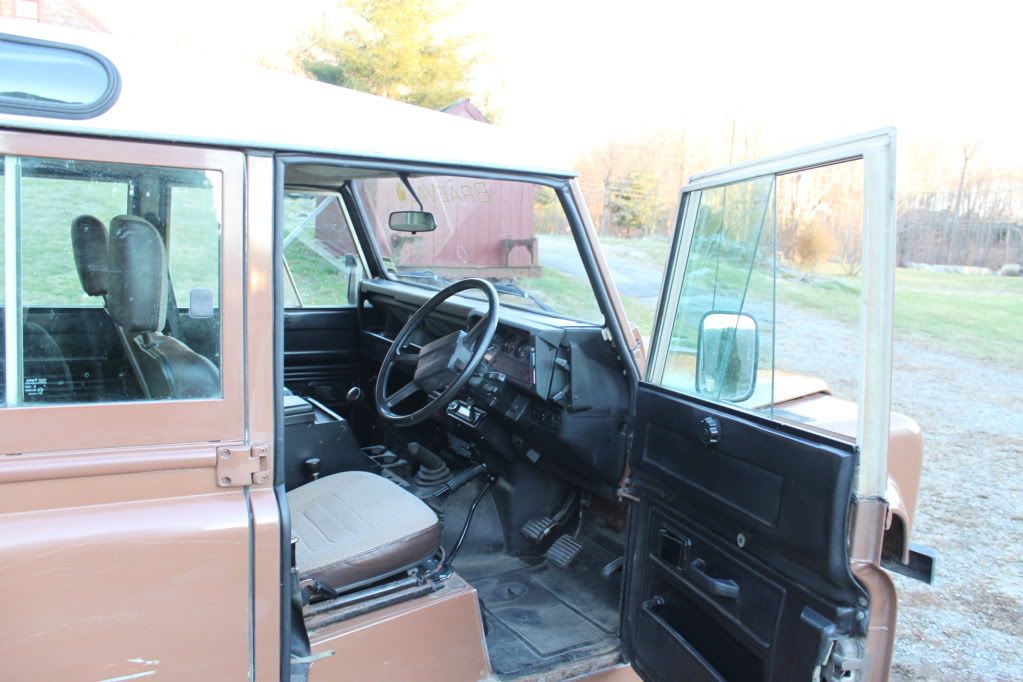
here it is last winter looks good but lots of rust lurks underneath
IMG_9571.jpg

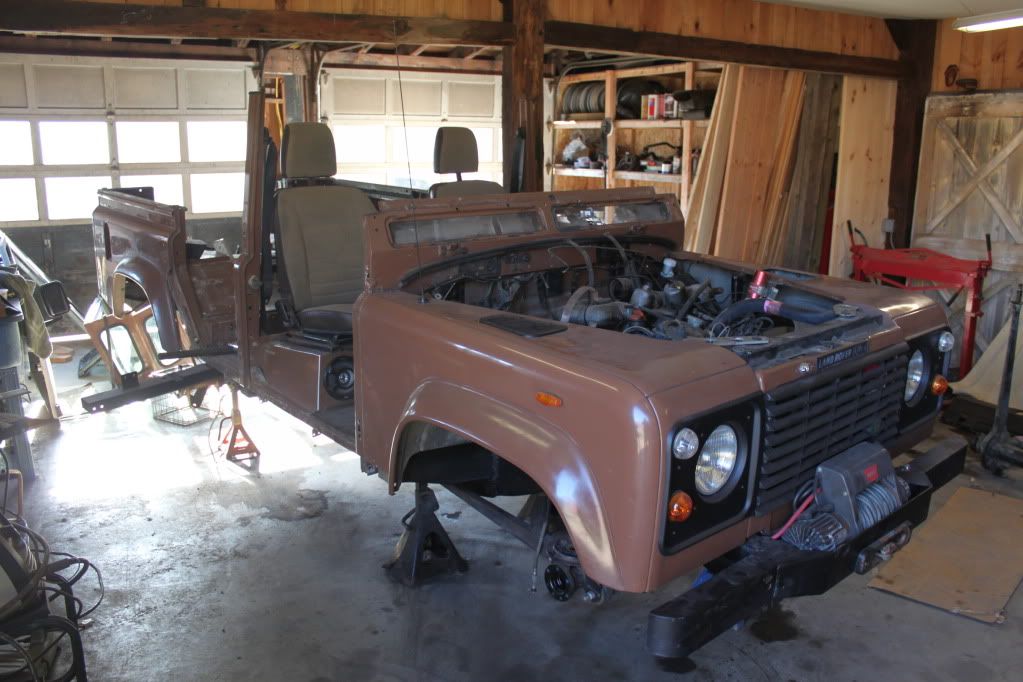
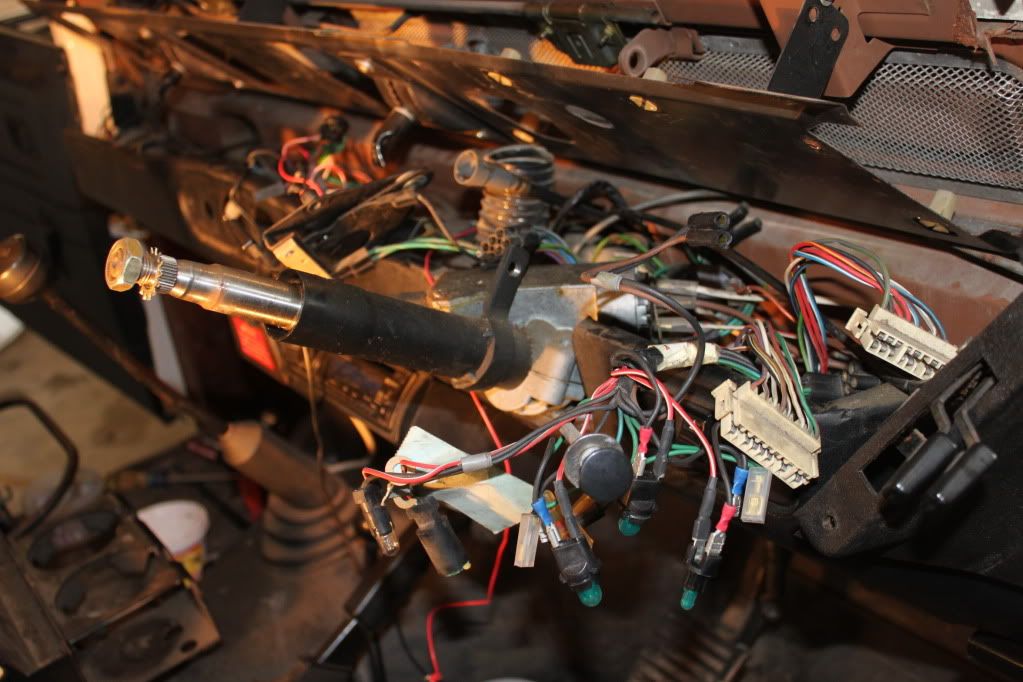
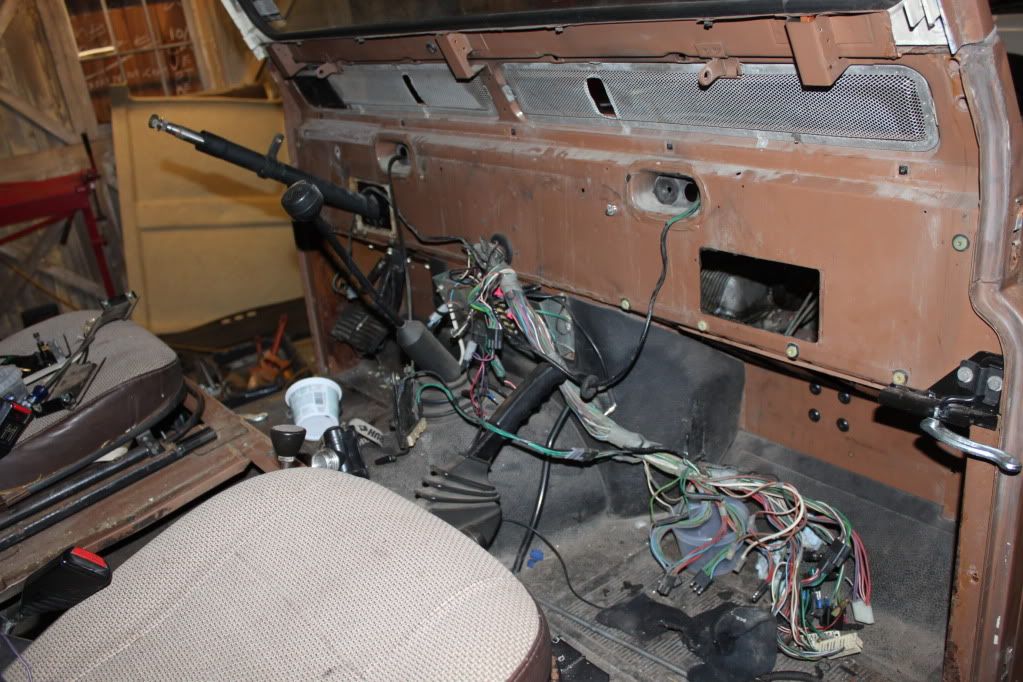
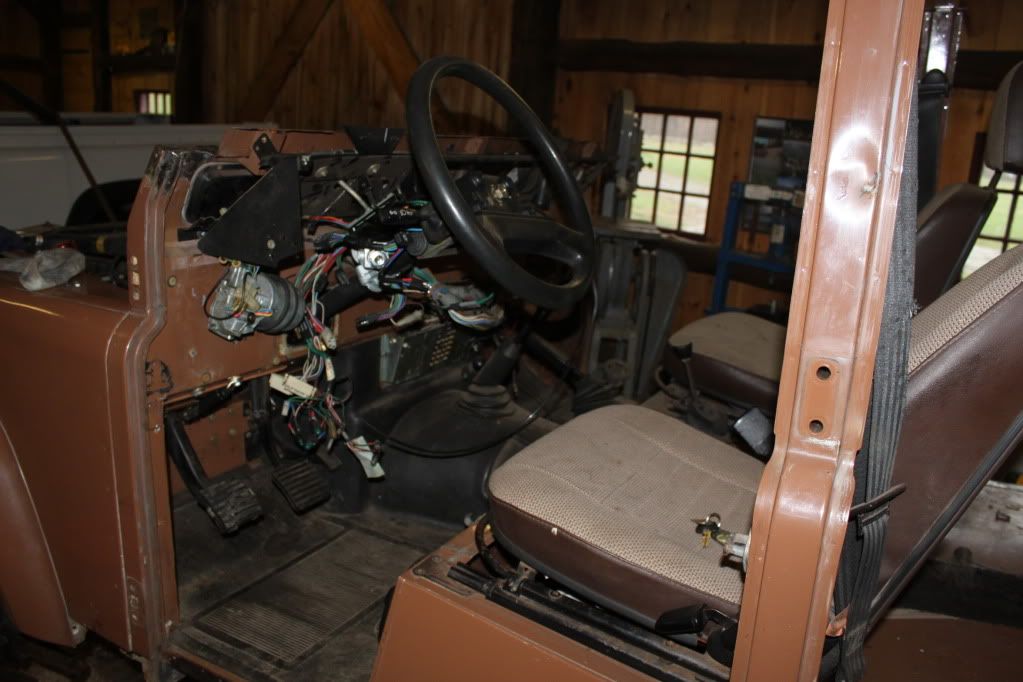
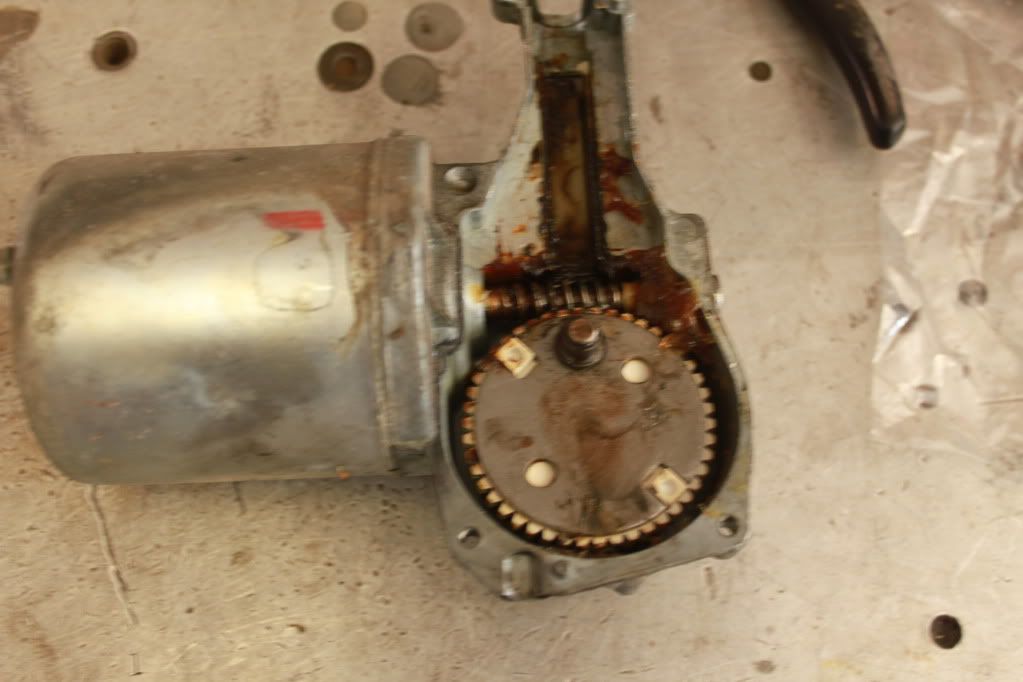
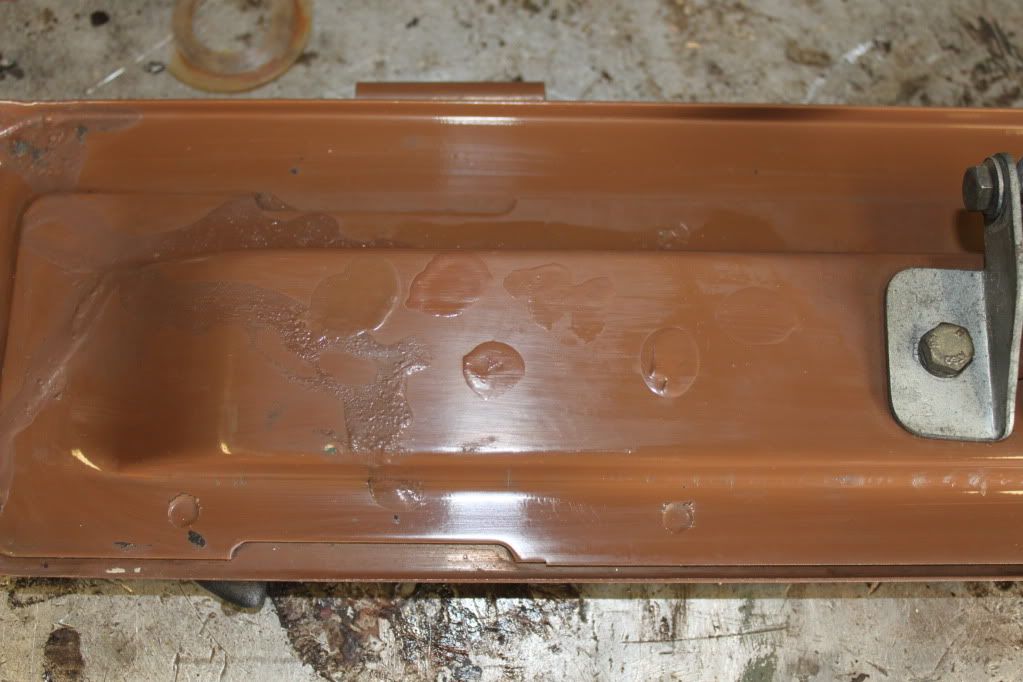
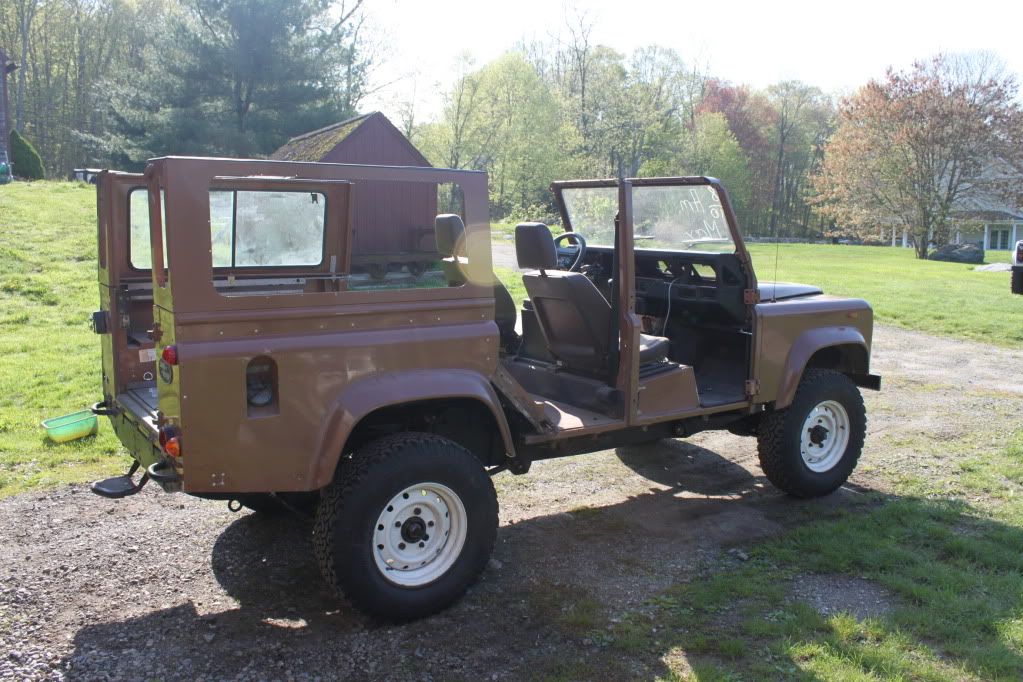
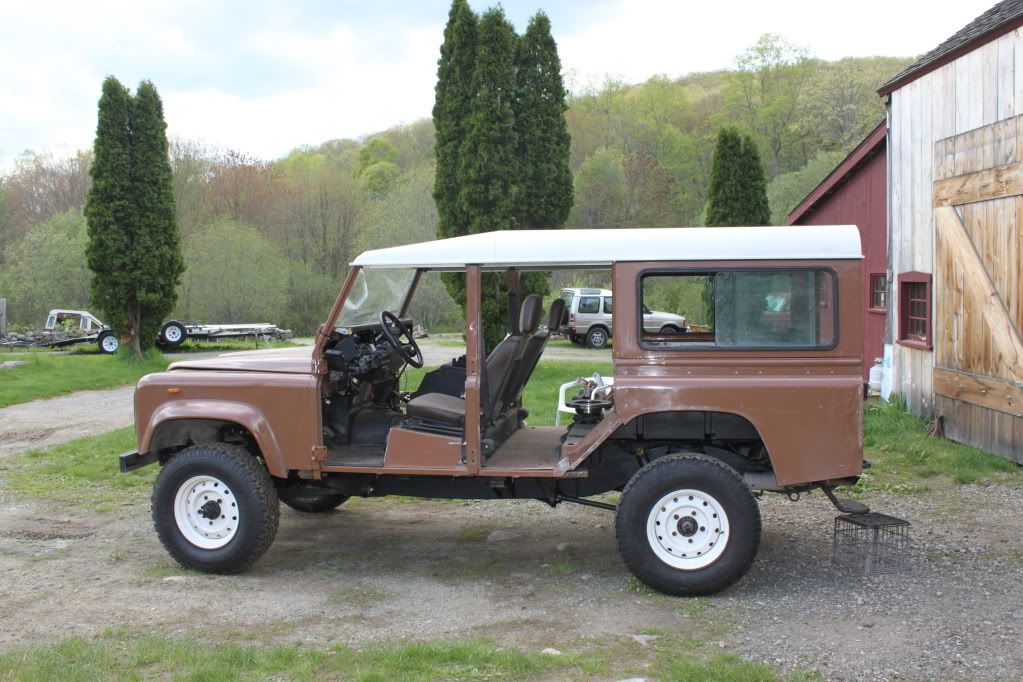
so I pulled it apart and began to check off things from the list
IMG_9444.jpg

IMG_9574.jpg

IMG_9569.jpg

IMG_0139.jpg

IMG_9655.jpg

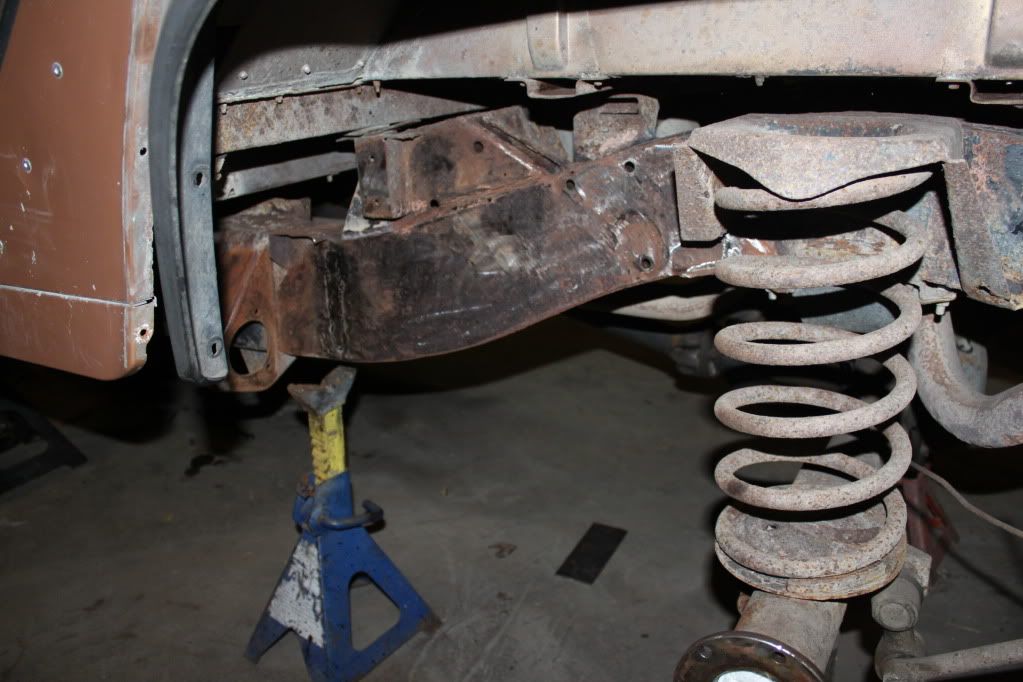
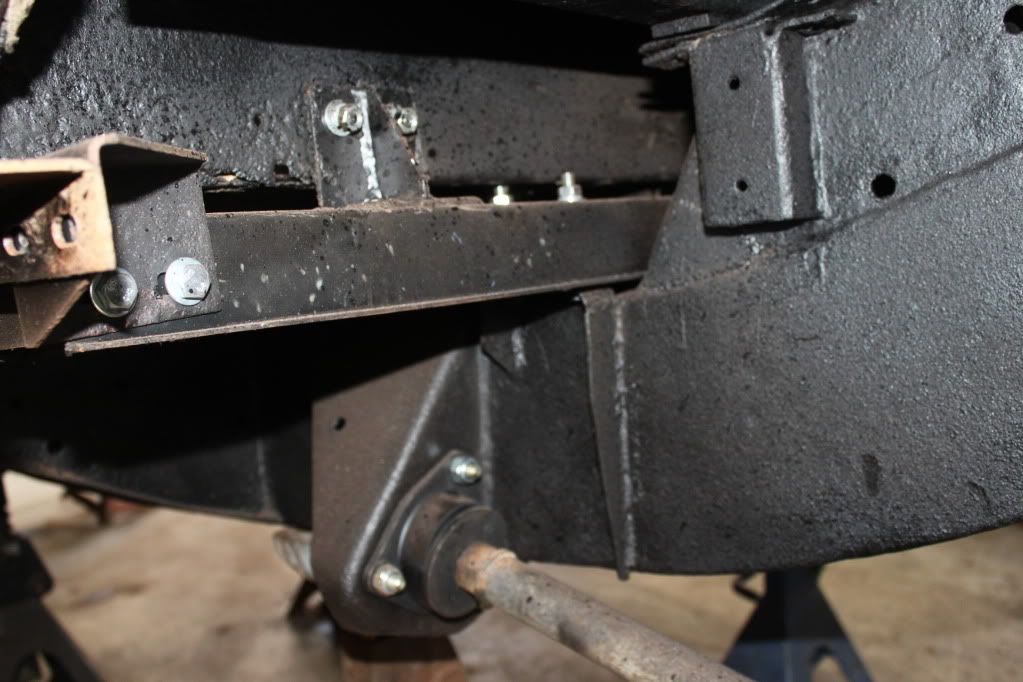
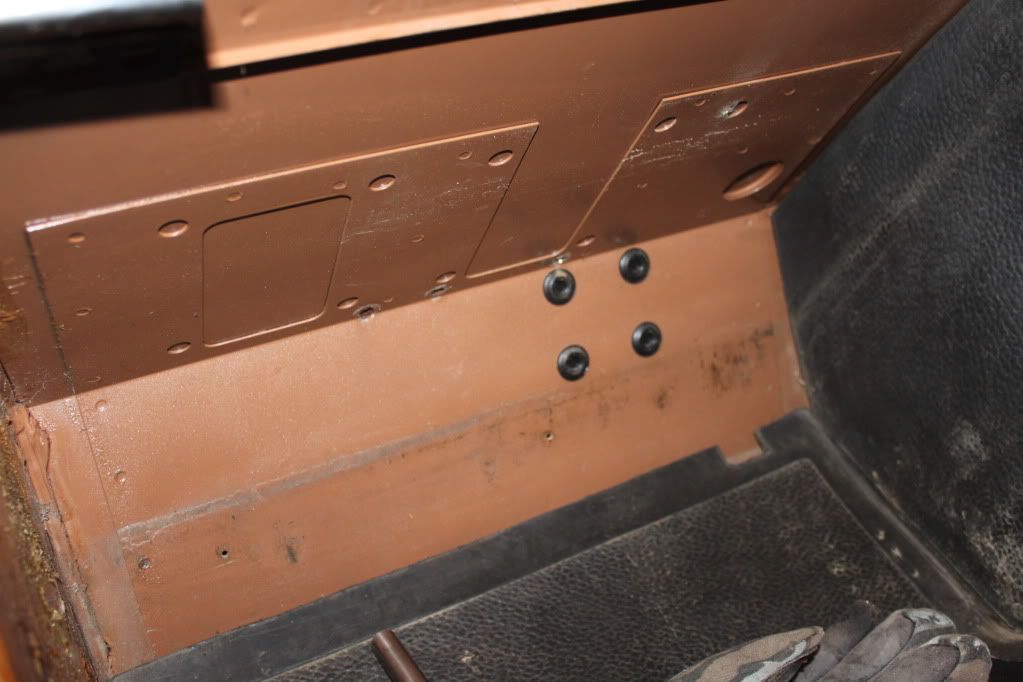
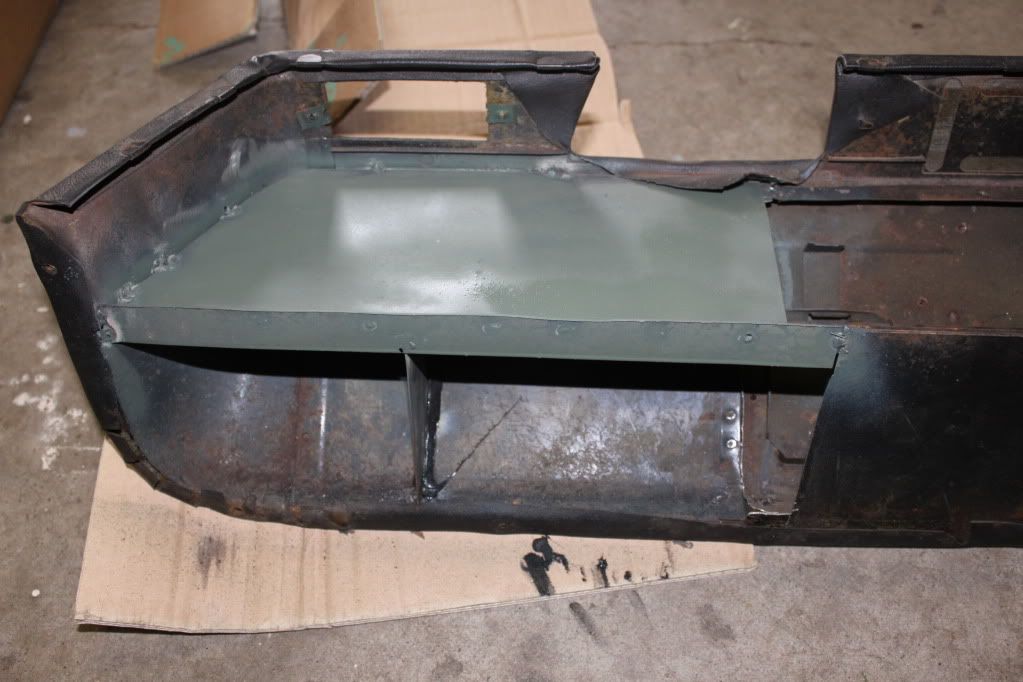
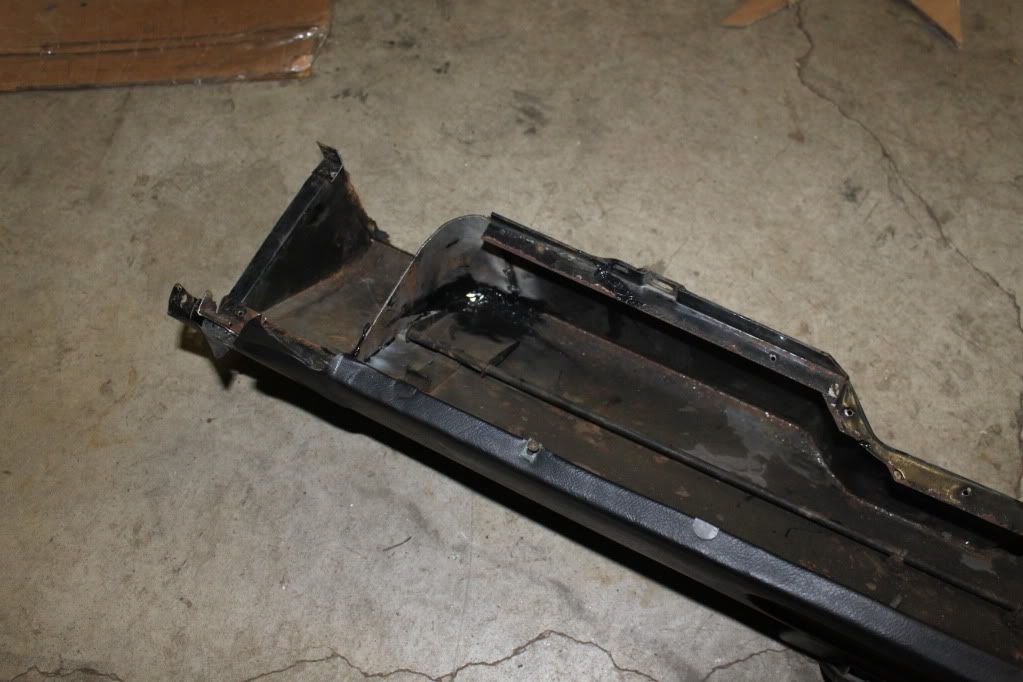
repaired and waxoyled

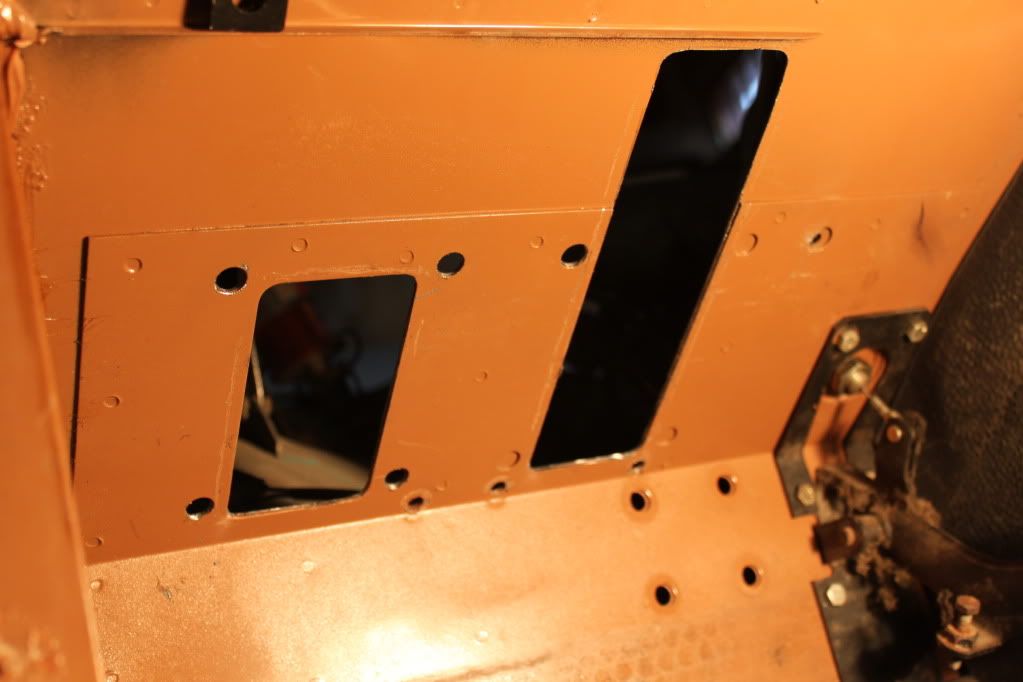
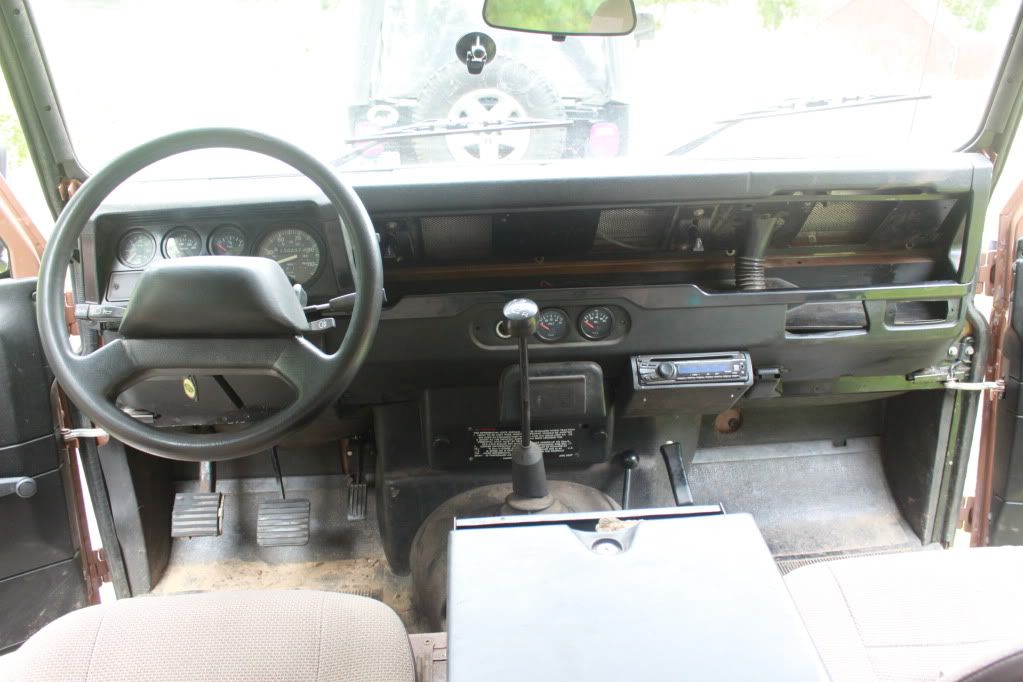
next is the left hand drive conversion....
 

CTMike

New member
Right hand drive is novel and easy to get used to but I wanted my car to be as normal as possible
IMG_8361.jpg

IMG_9087.jpg

started to carefully disassemble
IMG_9076.jpg

see the outline of where the pedals should go on the left side of bulkhead
IMG_9441.jpg

steering moved to opposite side
IMG_9170.jpg

cut outs for pedals made
IMG_9771.jpg

Wiring harness is flopped over to other side
IMG_1365.jpg
 

Nonimouse

Cynical old bastard
Nice vehicle, nice work. I do like that unmessed about dash... Makes me feel guilty about mine!
 

LR Max

Local Oaf
Nice! I'll be following close since I'm looking at upgrading my 109 to a 5 speed and LT230q.

I will say that I would not recommend locking lug nuts. First off, it always seems like they never want to come off. Second, if someone really wants to steal your wheels and you have locking lug nuts, they will break your window, find the key and help themselves to whatever else they want while they are in there. Seen it twice here in the big city.

Sorry to be a Debbie Downer, but I'm just letting you know so it doesn't cause you similar problems.
 

CTMike

New member
Advice considered on the lug nuts, thanks

Here are a few modifications to reuse some rhd dash parts
IMG_9853.jpg

IMG_9850.jpg

IMG_9185.jpg

IMG_9181.jpg

wiper motor wheel and park position flipped 180degrees
 

CTMike

New member
Rear disc brake conversion on Salisbury axle:
Most of my drum brake parts needed to be replaced anyway so I instead changed to discs. There is really no noticeable stopping power advantage.
IMG_9280.jpg

IMG_0002.jpg

New caliper brackets added I needed to shave down the brackets until the caliper was centered on the disc.
IMG_0016.jpg

Disco calipers and genuine Land Rover pads. Hubs were from a Range Rover.
 

CTMike

New member
Genuine Land Rover tie downs used in load area.
IMG_9859.jpg


IMG_1367.jpg

These were installed on the reinforcing ribs on tub just like they did from the factory.
 

I Leak Oil

Expedition Leader
Looks like a fun project. You'll appreciate those discs when they get wet....much better than drums.
 

CTMike

New member
I went with Old Man Emu shocks and genuine Land Rover springs and rubber bushings. Standard rate springs in the front and heavy duty in the back.
IMG_0011.jpg

IMG_9772.jpg

Since I converted to LHD I used disco swivels but all other parts were 110 including the original 1 ton CVs and heavy duty drive flanges. I replaced the seals and adjusted the swivel pin preload to 16lbs using a fish scale. I immediately noticed a difference on the trail as the steering wheel no longer has a tendancy to kick back and forth violently as well as nice straight tracking on the highway and not the slightest wobble over bumps. The old swivel pins were probably worn badly.
IMG_0005.jpg

I replaced my bent up tie rods with these heavy duty units. I really appreciate this improvement on the trail with the higher clearance.
IMG_1370.jpg

I welded on this diff guard which is a neccesity. I used 80w-90 in the swivels.
IMG_1371-1.jpg

you can really see the clearance provided by the new drag link!
 

CTMike

New member
I wanted to replace as many corroded body parts I could with new, so I got a new take off windshield and frame painted it and installed. Newer corrosion resitant door hinges and galvanized harware as well.
IMG_0028.jpg

IMG_9984.jpg

I had to tint the brown paint for the new body parts to get it to match the faded original rowan brown paint, this took alot of time to get right.
IMG_0039.jpg

The side panels go on
IMG_0041.jpg

The top goes on. This one does not have the 3 ribs that the older ones do, this way I can use a G4 challange roof rack which is a very low profile rack.
IMG_0130.jpg

The new-take-off doors go on. One of the biggest improvements so far are the newer check straps that hold the doors open, 84s did not have these for some reason and I was really sick of the doors slamming closed on me when off-camber.
 
beautiful truck! how long did it take you to do the LHD conversion? i want to do that to my truck when i pick it up! how much did it all cost? if you dont mine me asking.
also can we see some pictures of the white defender and the two door disco?
 

CTMike

New member
The LHD conversion was surprising straight forward but I also did alot of other repairs at the same time, so I can't say how long it really took. As for cost I would say I bought everything for LHD for under $1000 because I did not buy the lower dash and I found a used heater box for $200.
The white defender is a customer car so I have to ask if I can post pics, but it is a TDI 110 that I converted from a van to a soft top pickup. The 2 door disco I no longer have.
 

Ronct110

Adventurer
Very nice CTMike. Enjoying your post and work in progress. If you are looking to add rock sliders, Rovers North has one reasonable priced pair for 110s; about $422; looks OEM (I paid much less a few year ago, but not much less today price considering inflation and price of metal today - IMO not bad price); direct bolt on: http://www.roversnorth.com/store/p-5244-rock-sliders-pair-defender-110.aspx

I like the holes for a Jackall; able to lift and change tires faster/easier with hi-lift jack/jackall.

The pic on RN's site does not show the nice powder coat finish it comes wtih - see attached pic of the RN sliders on my 110.

Keep posting; thanks!
 

Attachments

  • DSC_0091 - Copy.JPG
    DSC_0091 - Copy.JPG
    82.5 KB · Views: 49

Forum statistics

Threads
188,502
Messages
2,905,905
Members
230,501
Latest member
Sophia Lopez
Top