Intro and 4bt FJ60/camper rig

bahndo

Supporting Sponsor: Bahn Camper Works
Well not too much to update this week as far as progress goes but I did spend the better part of the w/e working on the truck.
First I wanted to get the brake closer to hooked up so I started there. I had to enlarge the hole in the firewall to accept the M10 all thread pieces on the adapter I made. Next I cut the old plunger off of the FJ60 brake booster so I could reuse the clevis on the pedal side. The hydroboost unit looks like it originally used a ball/socket arrangement for the plunger but the ball (and attached rod) are MIA. The FJ60 plunger fits the socket loosely but because the hydroboost has an internal spring it seems that it should be fine. Basically the clevis is attached to the pedal on one end and inserted into the socket of the hydroboost on the other end. with about 3/8" of the rod inside the hydroboost socket. This makes it so the rod cannot come out do the fit. For those that have more experience with this is it alright to have it set up this way or should the plunger be fixed to the hydroboost? Next I painted the GM MC to inhibit the rust that was already forming. It looks pretty good in glossy black.

While the paint was out and the temperature was up I went ahead and caught up on some parts that were in need of a coating to prevent rust. They included:
-Tie rod/relay rod
-High steer arms
-Tranny x-member
I want to go ahead and paint the front and rear axle but despite power washing them both and hosing them down with degreaser they are still not quite ready for paint.

Next on the was to pull the engine/tranny/tcase. I know this may seem counter productive but they were installed just to get motor mounts and tranny x-member mounting points in place. After they were out of the truck I separated the engine so I could bolt on the flywheel clutch and starter. This is where I ran into a snag. The adapter that the engine came with was from 1992 and originally had an auto bolted to the engine. When I picked up my flywheel I also grabbed the adapter that went with it just to be safe. It appears as though there was a spacer used on some of the adapters and on others it was in the original casting. It seems as though the adapter I have now should use a 1/2" spacer to stand the starter off of the adapter. So I need to either order a spacer or fab one up myself. Should be pretty simple to make so I will most likely take that route.

As far as the rest of the motor I figured since I had it out I might as well make sure it is still in good running condition before I stuff it back in. I began cleaning it up with easy-off oven cleaner which works pretty good but for the heavily soiled areas it takes a few applications. The next step is to re-install the injectors, get the starter situation fixed and turn this thing over a few times. Then paint and stick it back in.

Sorry for no pic's this week but I forgot the camera at home and it's a 45 min. drive so I will have to update this next time I get out to work on the truck. I'm off for Missoula and San Francisco for back to back weddings so it looks like progress will be halted until Dec. That will at least give me some time to read up on the engine a bit before I start working on it.
 

bahndo

Supporting Sponsor: Bahn Camper Works
Well I finally got back out and put a half day in measuring, cleaning, and taking inventory. I got the spacer made for the starter, the flywheel bolts came in the mail, I pulled the exhaust manifold/turbo, and installed the injectors and new lines. Looks like I have a lot of cleaning to do on the engine before I can paint it so hopefully I can get on that tomorrow. Anyway here are some progress pic's, not too much but I got to keep moving!

Empty engine bay, lots of room with out the engine in there!
DSCN1214.jpg


Hydroboost/MC in place and painted:
DSCN1215.jpg


Engine on stand sans exhaust/turbo:
DSCN1218.jpg


New injector lines:
DSCN1221.jpg


Cross member smoothed and painted:
DSCN1213.jpg

That's all for tonight, maybe I'll get some more up tomorrow if I get anything done tomorrow.
 

Gifu

Observer
H55F and the 4BT

are you already sold on the H55F? the 5th gear makes it a little sketchy behind a 4BT. It will work (uh, especially if it's already in there), but an NV4500 would hold up longer and net a lower cruising RPM. But, with 35's and 3.73 gears, it will net out ok. Especially if you put a 3200 RPM spring (these springs, often called the 366 spring, make the 4BT sooo much more drivable.).

one other piece of advice... I'd use a mechanical fan over an electric fan. I just went through this with two 4BT80's that were running electric fans. Both were running really hot on long grades. We swapped out both electric fans for mechanical (after trying the Taurus and the Contour fan, both of which people rave about)... the mechanical was the answer. I used a 17" flex-a-lite (which I normally don't like, but the all metal ones are good) bolted to the stock 4BT idler pulley.

good build so far, nice work.
 

Gifu

Observer
oh, one more thing... I put my 4BT into an 80 with only a 1" body lift. I had to slice and dice the oil pan, and customize the oil pickup, but it wasn't so bad. It can be done.
 

bahndo

Supporting Sponsor: Bahn Camper Works
gifu-
I struggled with the NV4500/H55 decision for a while and in the end I went with the H55 b/c I wanted to stay as much toyota as possible and I had heard that it had been done before and had worked well. I have no intention of cranking up the pump and the rig will not be wheeled real hard so I am going to see how it goes. I hear you on the 5th gear thing but as long as I am not pulling anything uphill on the highway I should be alright.

I dig the 1" body lift 80, I am thinking I will go closer to that height on my 80 when I finish this rig and find a suitable 6bt. Thanks for inquiring, it keeps me on top of my decisions.
 

cumminscruiser

Adventurer
hydroboost

Bahndo,

Can you post some pictures on the inside of how the hydrboost connected to the brake pedal and did you make an adapter for the firewall? I am going to install one on my 60 as well.
 

bahndo

Supporting Sponsor: Bahn Camper Works
Cumminscruiser- As far as pictures of how teh HB is connected to the pedal I'll snap a few this w/e. Basically I took the FJ60 brake booster and cut off the plunger with the clevis (left me with a few inches to work with). The plunger fit inside the plunger (about a 1/4" of overlap) of the HB. So the plunger is sandwiched between the pedal and the HB. The HB has an internal return spring so when pressure is released from the pedal, the pedal is returned to the rest position by the HB. Because of the clevis/pin attachment on one end and the overlap on the other end the plunger stays put. I know... a picture is worth a thousand words.. I get on it asap.
 

cumminscruiser

Adventurer
hydroboost

Nice, thanks, that helps alot, look forward to the clevis picts.

I'll try to do the install around xmas. What motor mounts are you using? I used the stock '89 mounts and tore a couple every year then I converted the mounts using 2000 dodge mounts they are the doughnut style and that fixed the problem.

Thanks
 

bahndo

Supporting Sponsor: Bahn Camper Works
The motor mounts I am using are the early/mid 90's ford inline 6 cyl. hydraulic ones. I have heard mixed things about them but I really wanted Hydraulic mounts and these were pretty cheap. One thing to note is that one of them needs to be mount upside down, as per specifications. When I get this thing on the road I will be sure to post up damping impressions and durability.
 

davegonz

Explorer
Have you looked into how you're going to mount the AC compressor? I've seen several iterations of how to mount it and was not really impressed with any of them. My old truck had it cantilevered off of the thermostat housing. I can't tell you how many times I had to replace broken 10mm bolts because of the extra load and vibration.
 

bahndo

Supporting Sponsor: Bahn Camper Works
I haven't got to the AC compressor as of yet. I am hoping to at least get some ideas and maybe some measurements this w/e. I am helping a buddy pick up a suby wagon tomorrow so I will only get sunday to work on my rig. On the plus side I think I am going to be trying to fire the motor so that should be pretty fun. Today I replaced the seals in the steering box, about a 2 hour job b/c I un-screwed the piston all the way and had to repack all of the little recirculating balls, needless to say it took me a few tries to get them all in there;).
 

bahndo

Supporting Sponsor: Bahn Camper Works
Not much to report for this w/e, as the holidays approach I find my self getting roped into doing other things. But I at least got all of my stuff organized at the shop and ordered a new oil filter, valve cover gaskets, and exhaust gaskets so I can run the motor this Thurs. (if everything comes in by then).
As promised here is a picture of the inside of the pedal-->HB coneection:
DSCN1222.jpg
 

bahndo

Supporting Sponsor: Bahn Camper Works
Happy New Year, and an update on the build

Well as I stated in my last post I have been trying to get the motor to fire since new years or so. I initially had to free the pistons b/c the motor had been sitting for almost 3 years (that is when I pick it up and started this project.....). I had the injectors out so I sprayed some PB blaster into the cylinders, along with a little ATF for good measure, and began rocking the crank back and forth very gently. It took 5-10 minutes but my patience paid off as the lube got a chance to do its thing and the pistons freed up and the crank spun smoothly. Next I bolted up the starter, ran a hose from a can of diesel, and hooked up the wires needed to make this thing run (power to the starter, 12 Vdc to the shut off solenoid, and a wire to the starter solenoid. Now all I needed was a battery with some serious juice. I have been looking at batteries for a while and was pretty set on the odyssey PC1700T but was not to fired up about the price. I had read recently that the Die Hard Platinum is a rebadged odyssey for about a hundred bucks less so I dropped by the local Sears and sure enough there it was. This is a pretty big marine battery that can serve as a starting battery as well. I may end up getting another purely starting battery once the build is done if I move this one to the back for camper electronics.
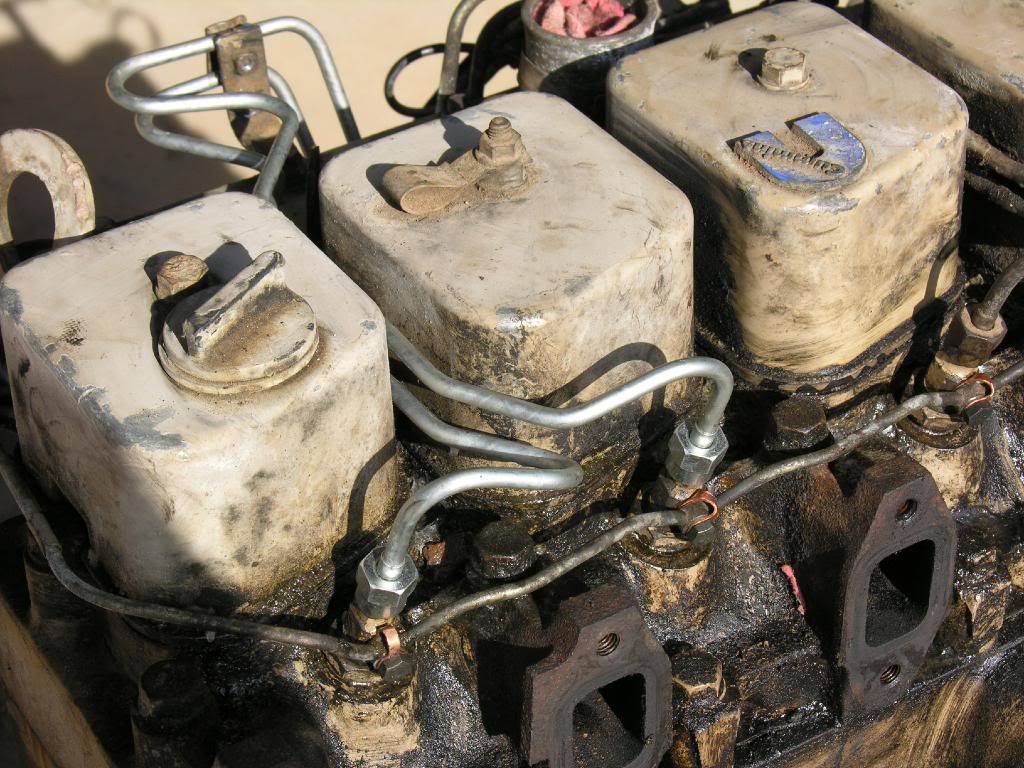
With the new battery hooked up I bled the lines and cranked away...... After the second day of bleeding the lines and cranking it finally puffed black smoke and rattled for all of 5 seconds. I could not get it run any longer then that and I had to continually bleed the lines. Air was leaking in somewhere so I began replace sealing washers to get this thing purring. No dice. I researched the possibilities over on the 4btswaps board and decided to have my injectors tested for proper poping (opening) pressure. Not only were they firing about 1000 psi below spec, they had dirt and metal flakes in them. Uh-oh..... the shop told me I could easily be $1200 into the pump and injectors when all said and done.
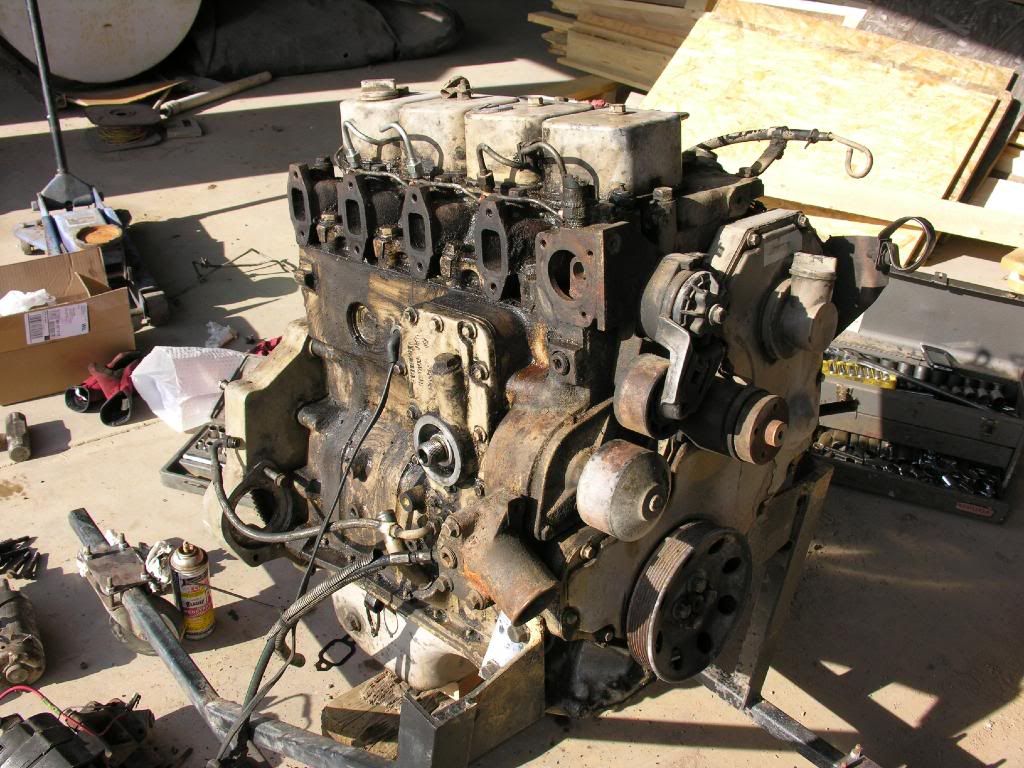
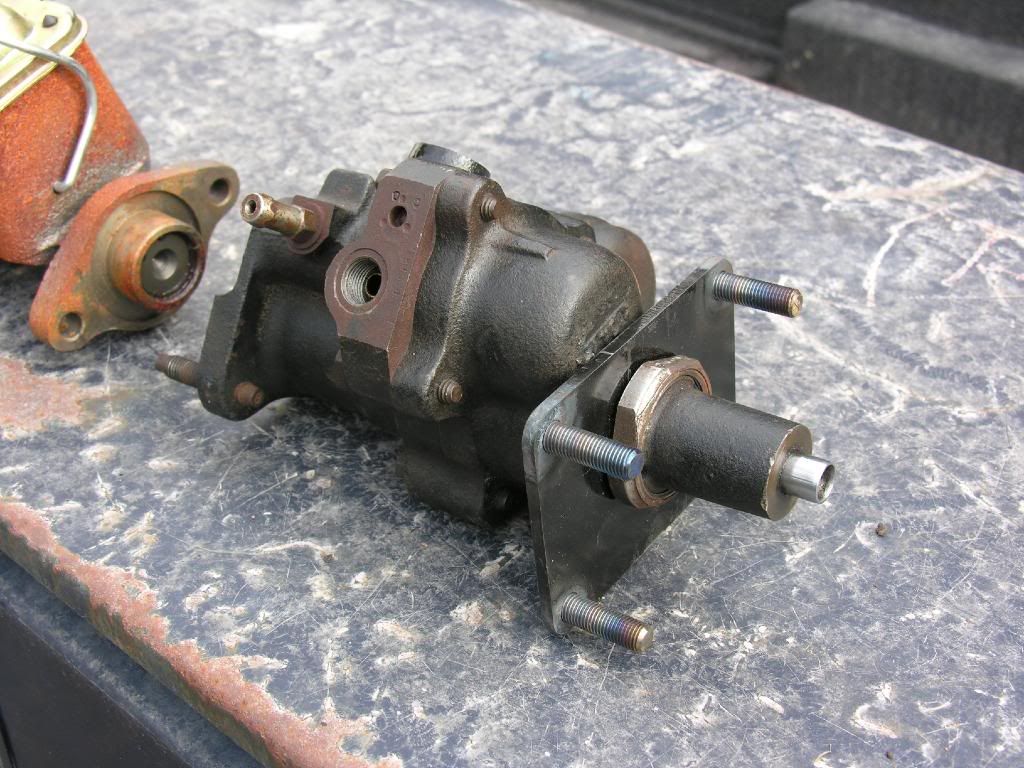
Fortunately I did not end up here by accident. I basically have learned everything about this project from the internet and sure enough the internet would inspire me to take this on myself. So I order a rebuild tutorial for the bosch VE pump, a seal kit, and started prepping myself to do what I had always been told not to...open up the injection pump. And this is where I stand today. I pulled the pump off the motor in the 20* weather today, I have watched the dvd twice and read the manual a few times as well. Tomorrow I crack it open and see where the metal is coming from. Hopefully it is nothing major and I can clean it up, seal it up and re-install. I also ordered a rebuilt set of injectors for the cost of what I can get mine rebuilt for so I may try to rebuild mine at a later date.
I am also getting ready to swap the open diff. for a toyota factory limited slip diff. This will be my first time setting up the ring and pinion so I am excited about this little step as well. Needless to say I have a lot ahead of me but I feel like I am making some progress and more importantly learning about my rig at a more complete level. I will try to remember my camera tomorrow so I can post some pictures of the mayhem.
On a side note my class this semester is a distance learning program so if I can get this rig up and running the little lady and I will get to really put some miles on it running around skiing, surfing, and boating this spring. My new goal is to have it running and driving by Feb. 14th, and then build the pop-up by the end of March. Maybe I can finish earlier but I am trying to be reasonable....
-Bahndo
 

Forum statistics

Threads
188,446
Messages
2,905,069
Members
230,360
Latest member
TNielson-18
Top