Jonnys_Tundra Build Thread - 2017 Tundra

JNewton99

Member
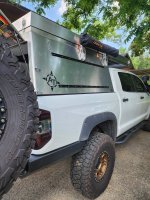
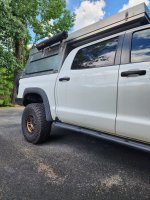
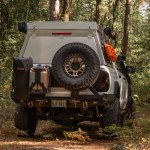
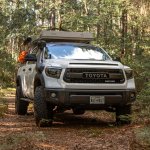
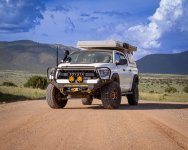
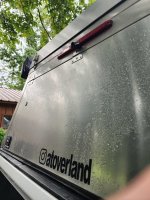
At this point I was essentially starting over and knew I had a lot of work to do and a few trips planned coming up in the near future. So I reached out to AT Overland, super helpful and knowledgeable people btw, and ordered some brackets to mount my 270 driver side and to mount my shower room passenger side.

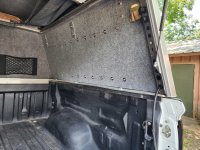
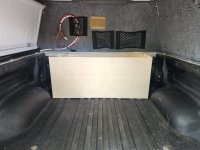
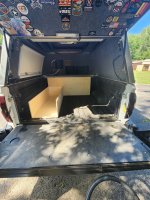
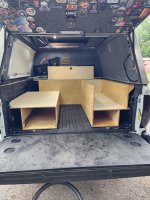
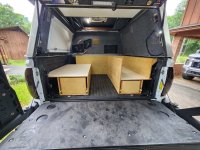
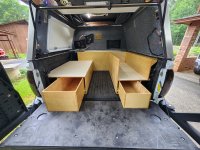
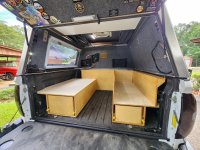
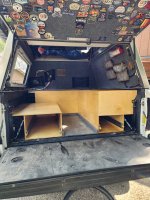
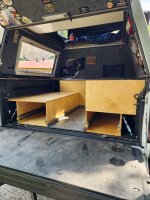
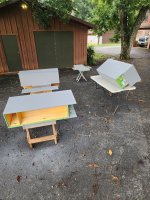
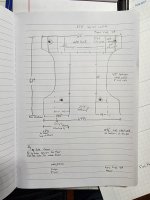
I also began brain storming an interior layout. I decided to remove the Decked drawers in leu of a full bed build out for customizability and due to the fact that I had to duck down to get into the topper while stepping up onto a 12" tall platform, the drawers, and being 6' tall that wasn't the com comfortable thing to do. So I set off designing a cabinet system with a center walkway for easy access into and out of the topper.
1.jpg
 

JNewton99

Member
Well I began tinkering away at the build as work permitted. Here's a few updates on the progress.

5.jpg

6.jpg

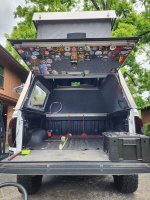
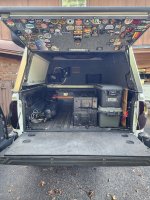
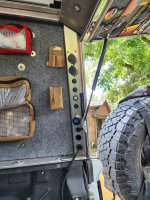
Finally have a good spot to keep all those patches I had been collecting!

7.jpg

8.jpg
 

JNewton99

Member
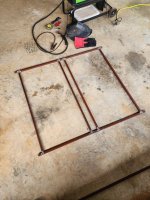
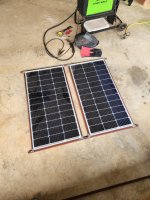
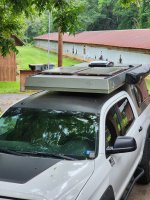
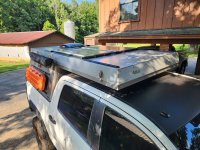
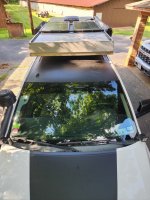
While working on the interior I was also working on a better and lower profile solar mounting solution for 2 100W Renogy rigid panels.

1.jpg

2.jpg

3.jpg

4.jpg

Pretty happy with how it all turned out!

5.jpg
 

JNewton99

Member
I also got the new awning brackets mounted, shower room hung and the L track mounted. I wasn't super excited about drilling 20 1/4" holes in the side of the topper but it's done now! LOL

6.jpg

7.jpg

8.jpg
 

JNewton99

Member
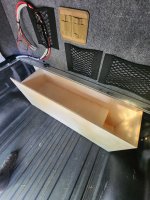
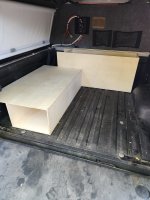
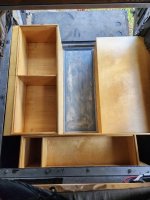
About half way through the drawer build with the metal square tubing I decided I didn't like it. So instead I started all over using 1/2" baltic birch plywood. Here is my front cross box which will hold a 20 gallon water tank underneath the storage area, which will have a hinged lid and compartment above. The tank is removable by an access door on the end, which will require removal of the whole box from the truck but hopefully I won't be removing it much once it's installed. I haven't yet, but am considering cutting out areas from underneath the water tank for weight savings and to allow water to run out as a sign in the event of the tank leaking.

9.jpg

10.jpg

11.jpg
 

JNewton99

Member
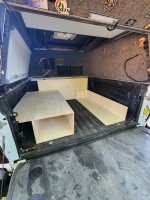
Driver side box is going to consist of a 44" pull out drawer. This box is also going to be short to allow me to mount a fridge and slide on top of it.

12.jpg

13.jpg

Passenger side will end up being the height of the front cross box and will have a 44" pull out drawer on bottom and a hinged top box to allow me to access those items with the tailgate closed.

14.jpg

At this point I was waiting on my slides so I could mount them and get the tops of my boxes permanently secured and start building my passenger side box upwards.
 

JNewton99

Member
Spent the weekend in the shop and made some headway on the bed buildout. Everything is being coated with spar urethane to seal the wood and once all is complete I'll spray raptor liner on the outside surfaces for a more durable finish.

Overall I'm pretty happy with it so far. Ready to get out and use it though!

1.jpg

2.jpg

3.jpg

4.jpg
 

JNewton99

Member
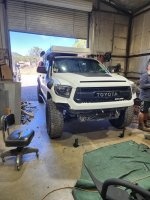
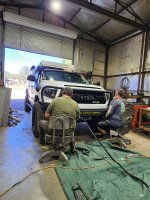
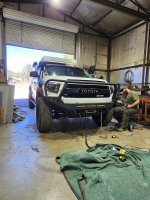
Well during the interior build out I had to go meet up with @STravis for a new SOB Fab front bumper. WooHoo!!!! For that trip I took all the incomplete cabinetry out and loaded up my old trusty totes and Waterport for a quick 3 day trip, 12hr drive each way but so worth the awesome work! While it worked out, I have got to get the cabinetry completed! It was so hard going back to camping out of totes after having the drawers with the Decked.
20240716_175106.jpg

20240716_175111.jpg


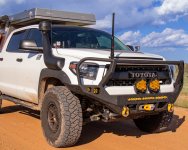
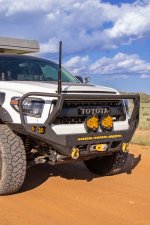
Yall dont care about that though! So here is a picture of the new high clearance front bumper! I am super pleased with how it turned out. I am just waiting on my other 2 LP9s to show up and get them installed.

5.jpg
 
Last edited:

JNewton99

Member
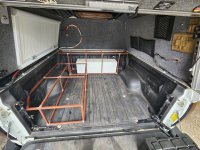
Well the trip out in the truck motivated me to get out and work a little harder on the interior. All prepped for the outer coating of bedliner.
6.jpg

7.jpg

8.jpg

The "center" floor section will bolt all the boxes together for stability. I will also have some vinyl flooring I am going to put on the floor section to dress it up.

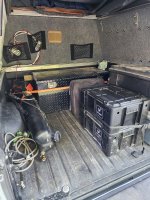
I also managed to clean up some wiring and install a Blue Sea temp gauge, shown and a tank level gauge, not shown.

9.jpg
 

JNewton99

Member
August 2024:
Well boy oh boy were the last few weeks BUSY!!!
Once I got back from Travis' it was crunch time!
With a Colorado trip planned after that trip, which at the time I originally typed this I was back from, and no cabinetry in the bed I was working my day job then coming home and wrenching on the truck all through the night! The Colorado trip, which was planned just 2 short weeks after coming back from New Mexico, was done so that my daughter and I could go out on a trip before she started back to school. What I hadn't completely thought through is just how much work was needed to have the build out camping ready.

For the Trip to New Mexico all of the cabinets had been removed for final coats of urethane and bedliner. I just packed up totes and an old WaterPort for the short 3 day turnaround trip to Travis' shop. The Colorado trip however was different, we planned on being out for 9 days and would need water for showers, better organization, etc, etc......
So off I went, trying to get to everything!

First things first! I knew the Raptor Liner I had planned on coating the outside of the cabinets with would need to cure before install. So I drug everything out and went to spraying! I opted for tintable liner since I wanted a gray'ish color to go with the interior carpet of the AT Atlas. I ended up going with "Dove Gray" or as I call it, Primer Gray. I went with this lighter shade over the charcoal, which I really liked, because I wanted to "lighten" up the interior as I felt a darker color would soak up the light inside the camper.

18.jpg
 

JNewton99

Member
While waiting on the bed liner to cure I went on to installing the Wolfbox G900 dash camera I have had sitting for months!
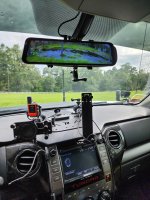
This is a mod I had been looking forward to! As I began to hang more off of my rear swing out, my factory camera field of view became narrower and narrower. Then I threw the Atlas on and my rearview mirror became useless! With the Wolfbox though I now have a useable rear camera, with better picture quality, as well as the added benefit of a forward facing dash camera.

For the rear camera, I mounted it by one of the hinge screws on the Atlas, Dremeled a notch in the bottom of the Atlas 3rd brake light and ran the cord down through the Atlas channel to the front of the truck. For a reverse signal I made and plug in pigtail that plugs into my Baja Design S2 reverse bumper lights and connects to the signal wire in the camera harness.

1.jpg

I then moved on to mounting the front camera. Originally, I had planned on strapping the front camera/mirror unit to the factory mirror in the Tundra but once installed it was apparent the Tundra mirror was way too bulky and just didn't look good to me, as seen in the picture. I went on to order the model 118 bracket from Wolfbox which I would later replace my factory mirror with. As far as wiring, I purchased the Wolfbox Add-A-Fuse kit and plugged into 12V constant, Acc and ground in the fuse box below the hood release latch. I then stuck my GPS module on the dash and it was ready to use!

2.jpg
 

Forum statistics

Threads
189,824
Messages
2,921,324
Members
232,931
Latest member
Northandfree
Top