K5 Camper. My offroad home away from home.

nitro_rat

Lunchbox Lockers
Bump. Looks like the 8.1 swap is underway since it appears that the 5.3 is sold. Time for an update...
 

zoomad75

K5 Camper guy
Bump. Looks like the 8.1 swap is underway since it appears that the 5.3 is sold. Time for an update...
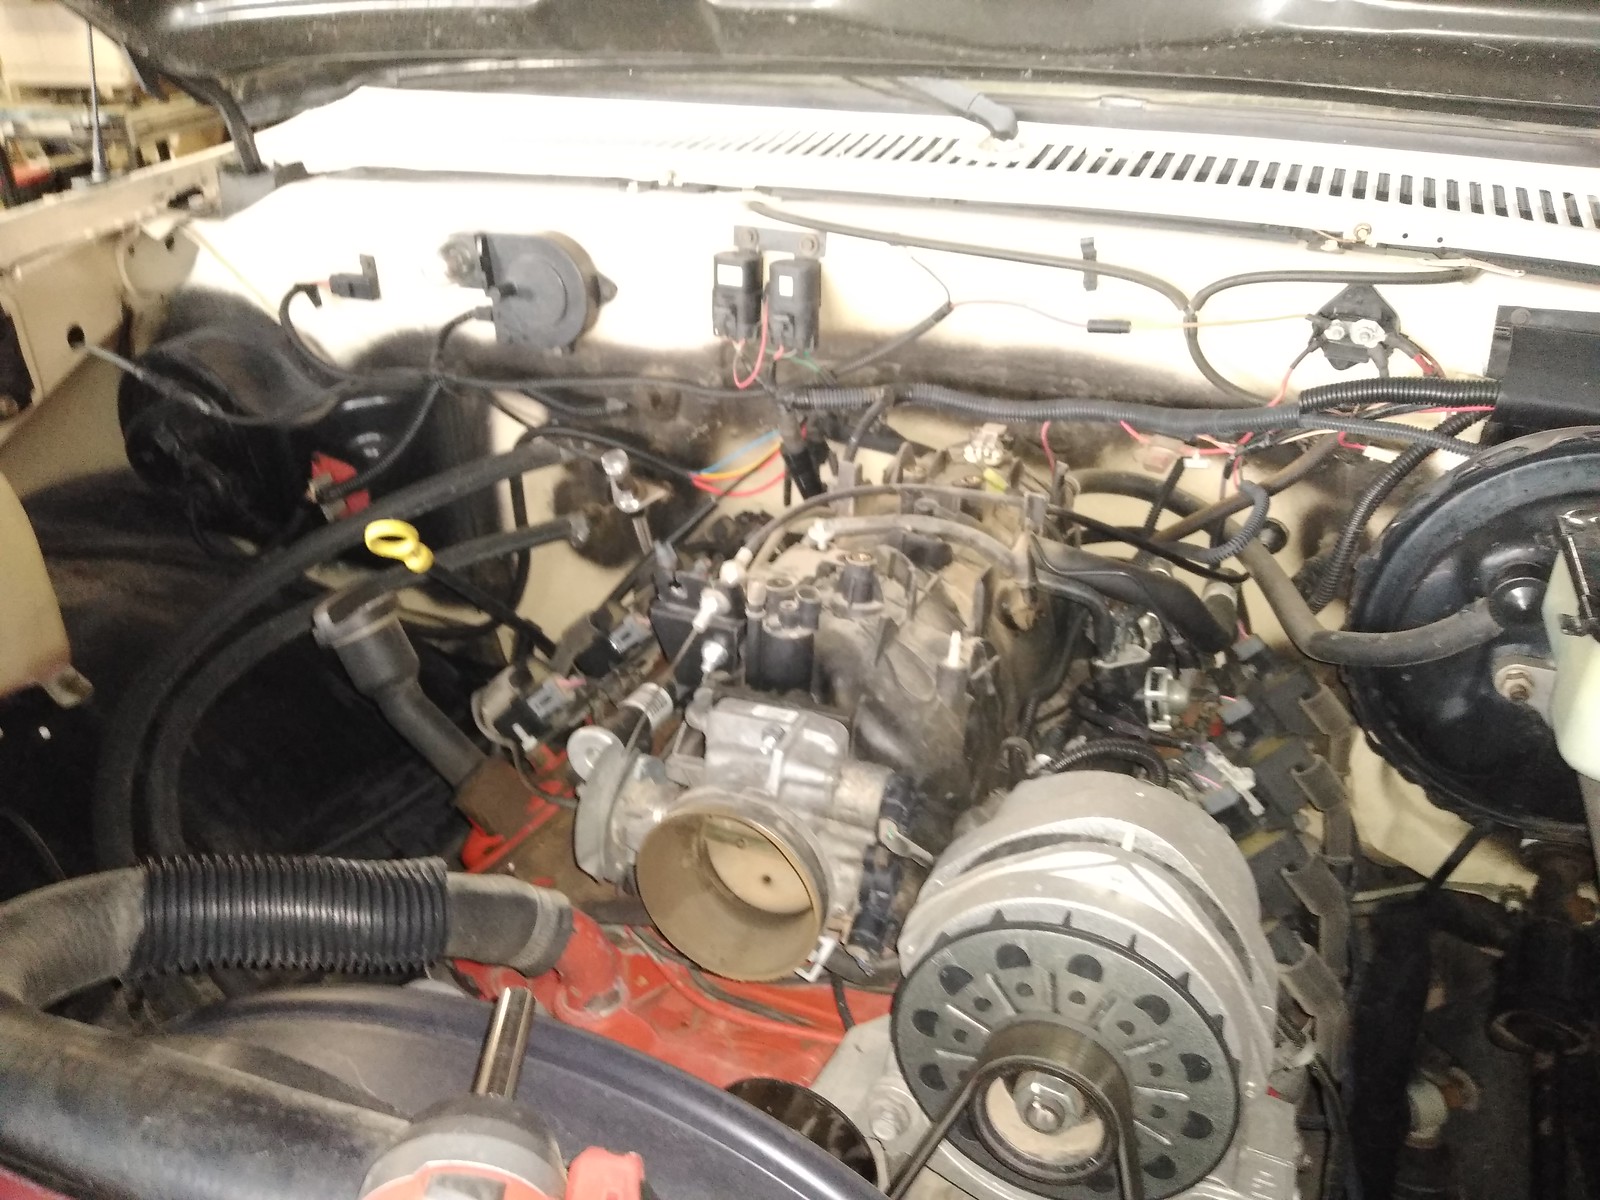
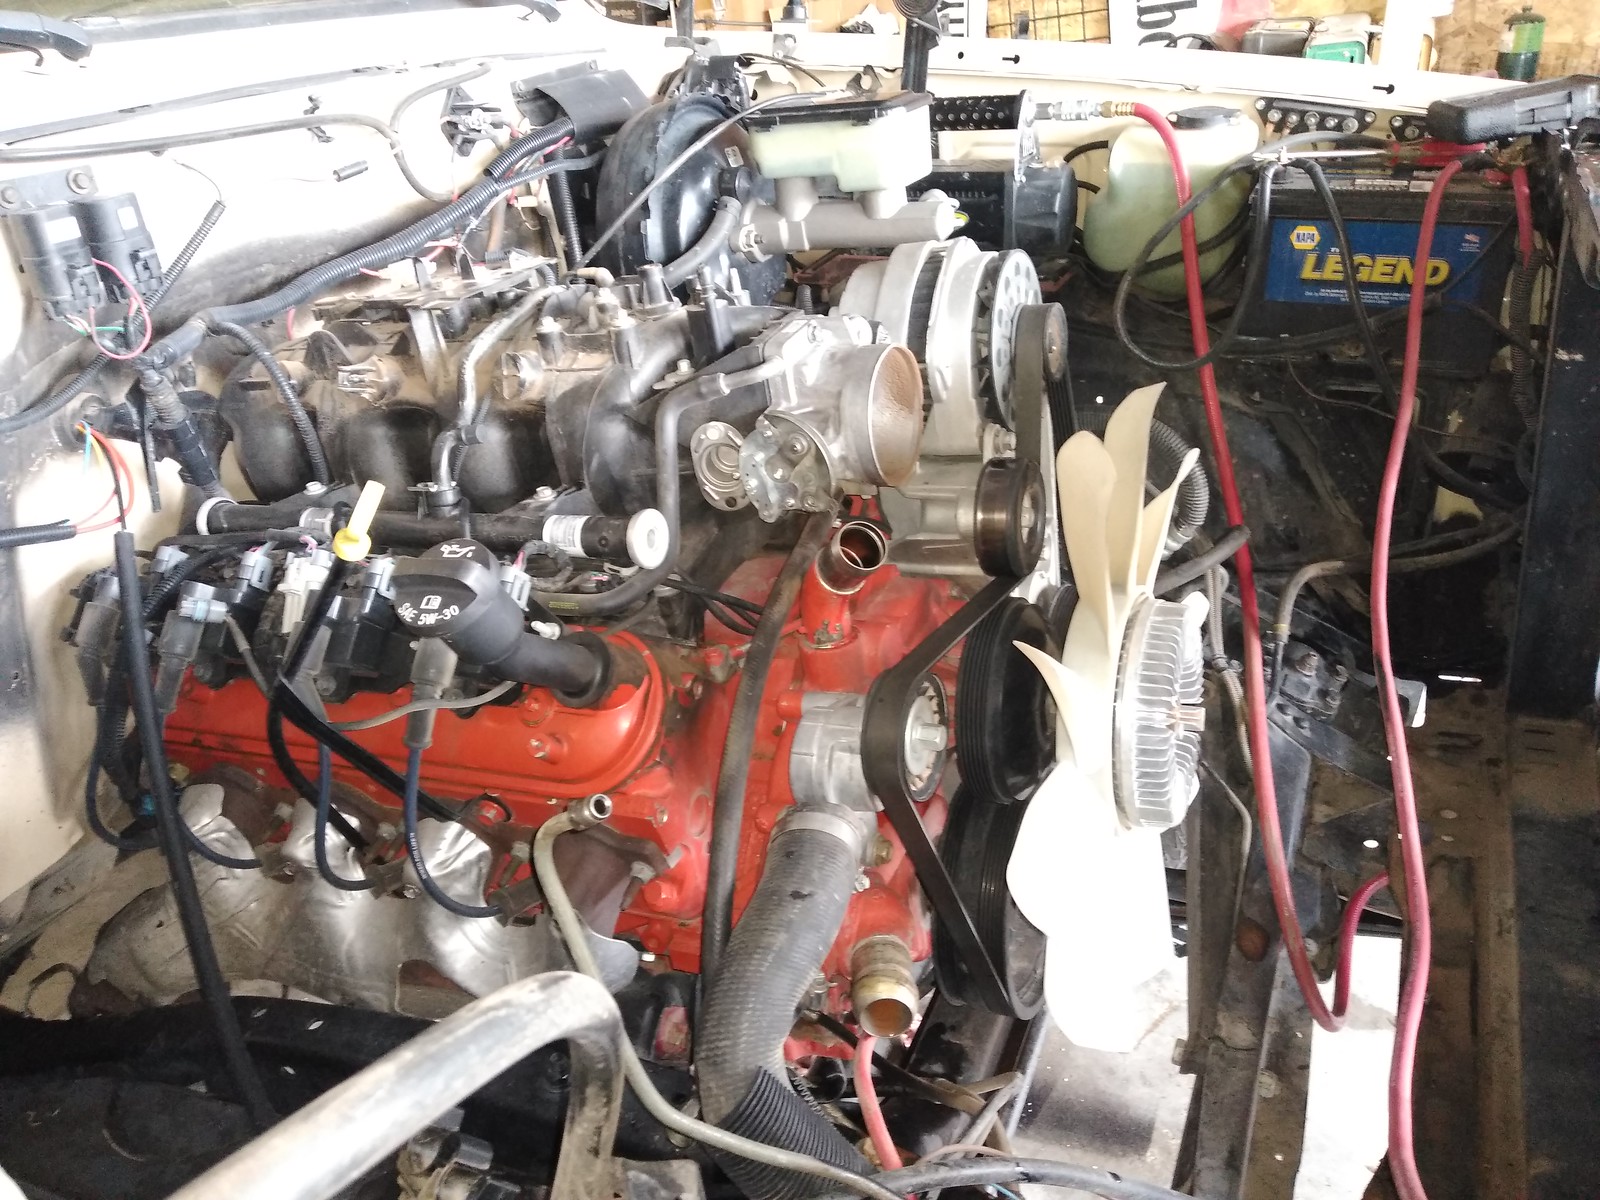
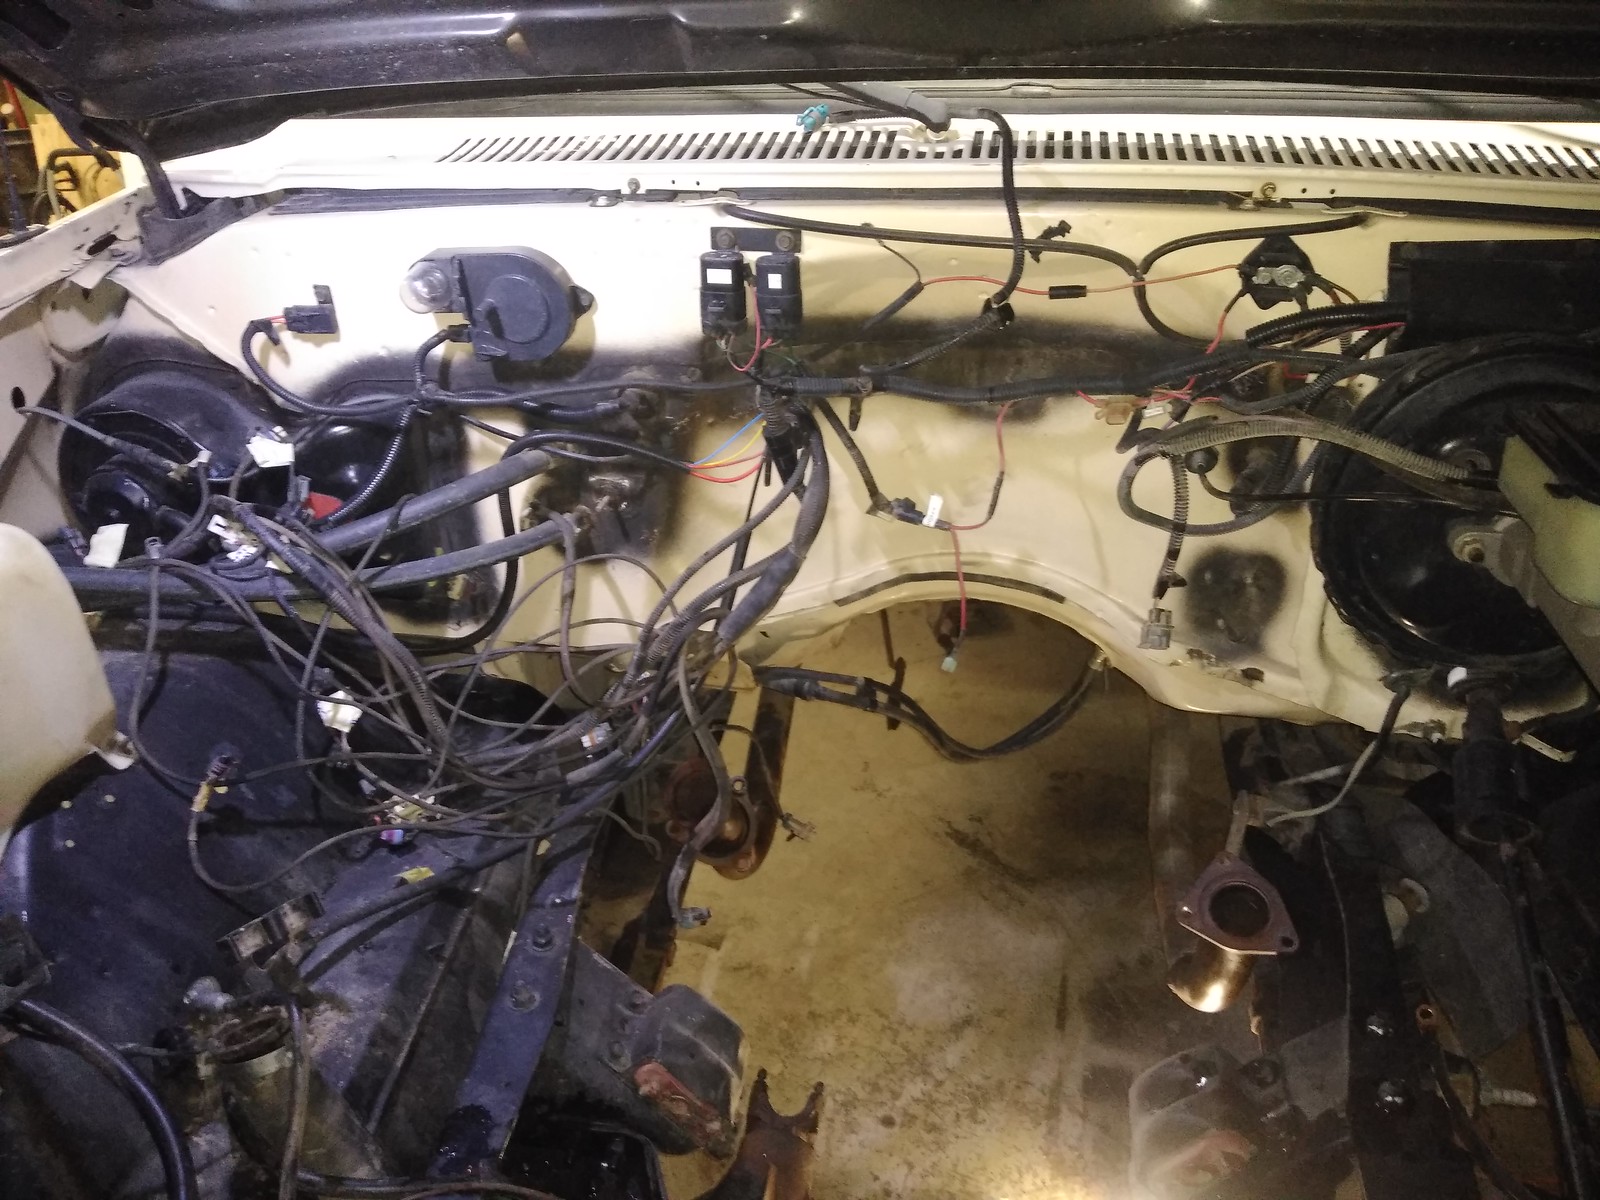
Yep, an update is due. The cliff notes version is, Mike @Atl-atl approached me on CK5 about my pending 8.1 swap and if I was ready to switch yet as he wanted a proven setup to swap into his. We discussed it and agreed on a price. I rallied the boys here in Pueblo to figure a place to get the removal done quickly. My buddy Bill has shop space at his sister's place out in the county and we yanked it out over the next weekend. I pulled the rest of the wiring and such the following weekend. He's on his way this weekend to grab the goods.

I've got the engine at Larry's, trans is at my place. I've got to pull the dash apart to swap out the automatic pedal box for the manual pedal box assembly. I have an add on a/c unit to mock up for fitment while I have the dash pulled apart. While I'm prepping the truck at my place Larry will be resealing the engine and getting it ready for the swap. Since this is going to be the third swap of an 8.1 at his place it should be pretty routine. I've got a ton of stuff to get coming from various vendors to make it happen.

I'm really excited to take the truck to the next phase with big block/5-speed goodness. The timing wasn't planned at all, but I needed the kick in the ass to get moving. The 5.3 was just so darn reliable and easy to drive it really had me dragging my heels to get moving on the 8.1. In the long run the proceeds are allowing me to get what I need sooner and Mike gets a very reliable package to replace the vintage small block with a carb and non-od trans. Say what you will about keeping an original truck original if they are useless to drive when you want to what's the point? He's made the right choice. There is a reason the OEM's dropped carbs in the 80's. Moving to modern power is going to keep the otherwise original K5 still moving down the road and exploring. Call it a resto-mod if it makes people feel better. I had a very well running 350/q-jet and even on it's best day couldn't hold a candle to the little 5.3.

Rant off...

Getting back to the 5.3 having worked flawlessly on the desert trip. 1260 miles with at least 250 of those miles deep into the Utah backcountry and it averaged 12mpg over the trip with the highest tank coming in at 15mpg. Once we hit I-70 and finally started heading west we did so at the speed limit and slightly above including a headwind for a good chunk into Green River. It's 80mph in Utah BTW. We still were getting passed too. But the 5.3 just kept humming along. It didn't use a drop of oil or run any hotter than 190 degrees in the Utah desert. I'm going to miss it. But probably not as much when I make the 8.1 growl from a stop.

A new phase is coming soon. Since Larry is holding off taking the K10 apart right away he's said my slot in the Bigassgas Garage is open. I can't miss the opportunity to get in there when I can. It's going to be pretty fun.
 

zoomad75

K5 Camper guy
So let's get caught up on the action, shall we?

After Mike and I set the deal straight the following weekend I drove the K5Camper over to my Buddy Bill's shop for quick extraction of the engine and transmission.

I should have drove it more as I tore it apart with a full tank of fuel. That ought to make swapping the fuel pump fun. But here it is ready for removal.
50127421573_9e9589807e_h.jpg


Fresh Utah dirt on there too. I did hit the car wash and gave it a rinse before heading over to Bill's place.
50127421373_d0629db9e4_h.jpg


So while Bill worked under the truck I went after the tedious task of disconnecting the wiring. He made quick work with the trans jack I borrowed from Larry.
50127990066_1932807332_h.jpg


I waited until Bill was done under the truck before I unleashed the river of Dex-cool from the radiator.
50127421098_8e8b08c0c1_h.jpg


I kept plugging away, getting the huge by large radiator out of the way and the hoses.
50127990086_611b7bc21c_h.jpg


We called it a night and decided to hit it hard the next morning before it got hot again.
Like that it was out. Well, not really we got crossed up on the way out that required some swear words and letting the air out of the tires to gain enough reach with the sky hook.
50127989441_172b4415ab_h.jpg


The 5.3 out of its home. It was a reliable engine that I'm happy it's going right back into another K5 Camper with Mike. Should be a different animal with the manual trans behind it.
50128208927_2cfd7e3627_h.jpg


So as to not overstay my welcome at Bill's place his brother in law hauled it over to my place so I could continue the prep on the truck before going to Larry's for the main swap job.
50127989596_fa08e113d9_h.jpg


While at my house I pulled the rest of the harness and ECM for Mike and chopped the matching head pipes off of the exhaust to go with the 5.3.

I also dropped off my hard to find Hydro clutch/hydroboost brake pedal set to Larry for some TLC and rebuilding. He put them through his blast cabinet and fogged them down with the tractor satin paint he keeps in stock. I dropped off fresh pedal bushings so he could put them in on during the reassembly. It took both of us to wrestle the clutch return spring into the right place and then lock in the position of the clutch master cylinder support struts. As usual he knocked it out of the park. It's a shame nobody is going to be looking under the dash to see it.
50127484248_abdd3ce88d_b.jpg


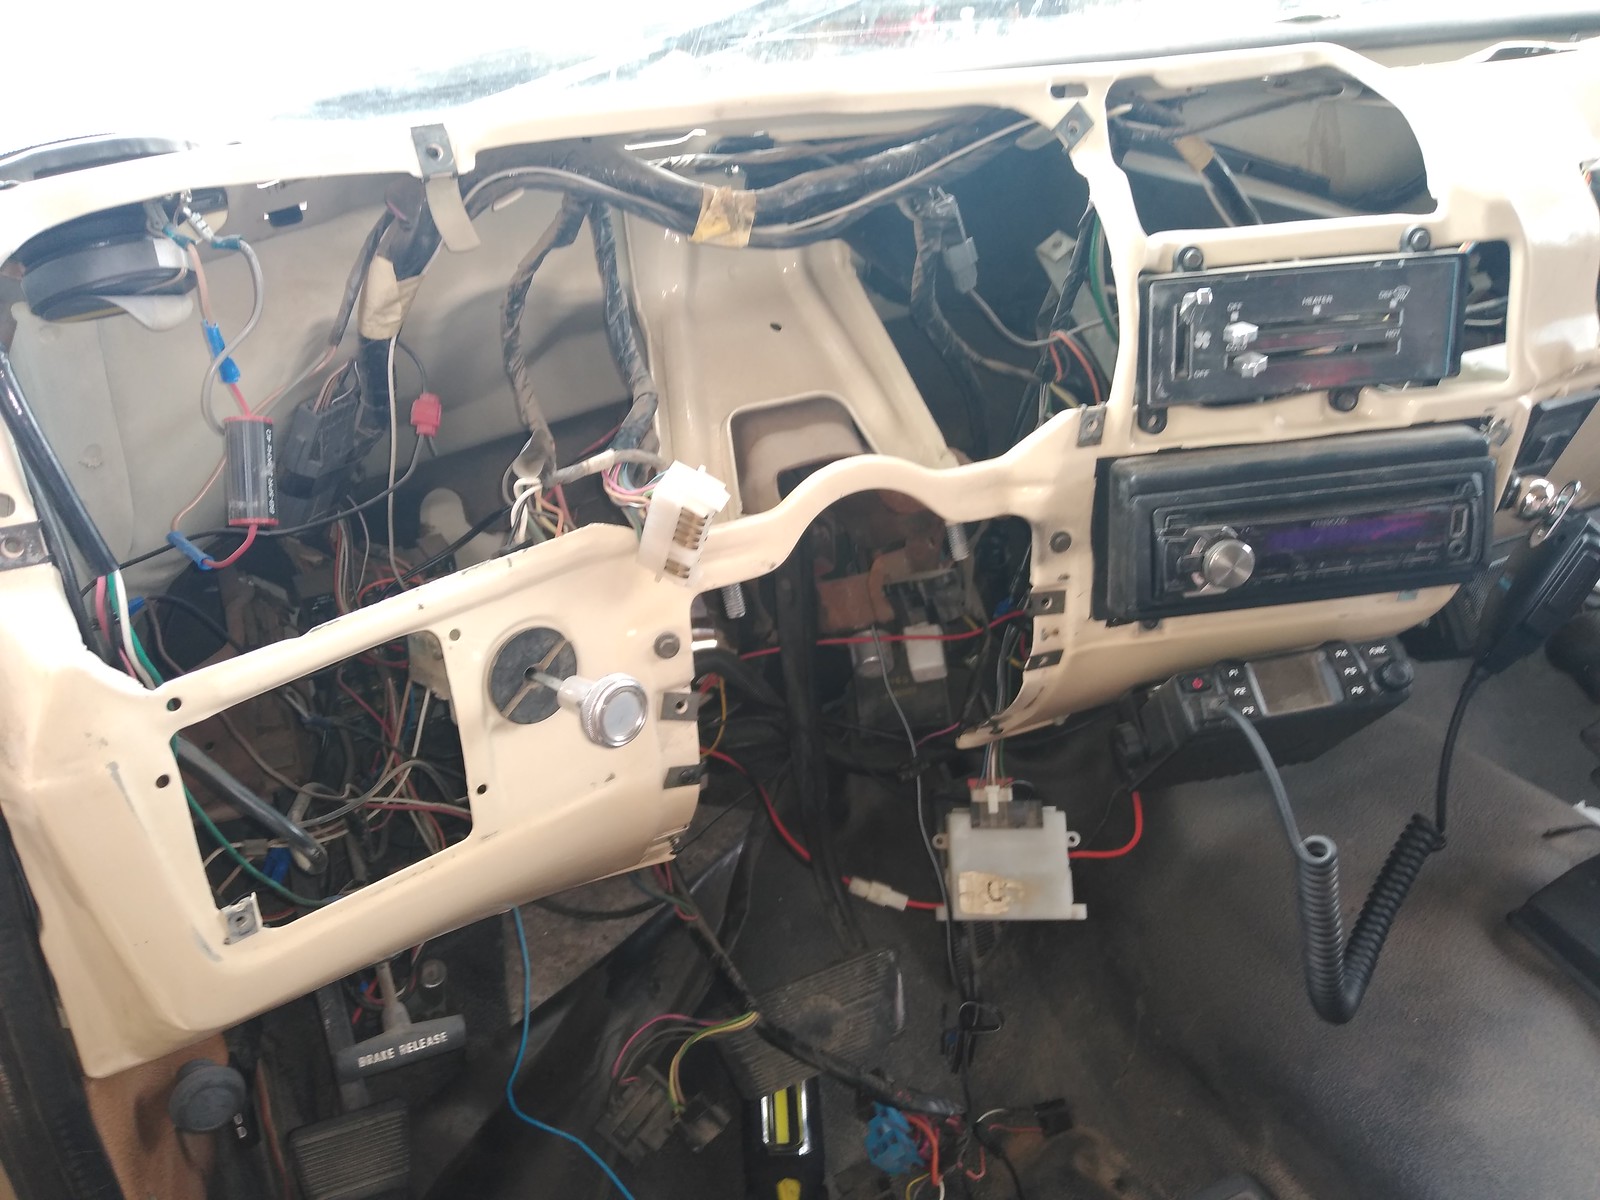
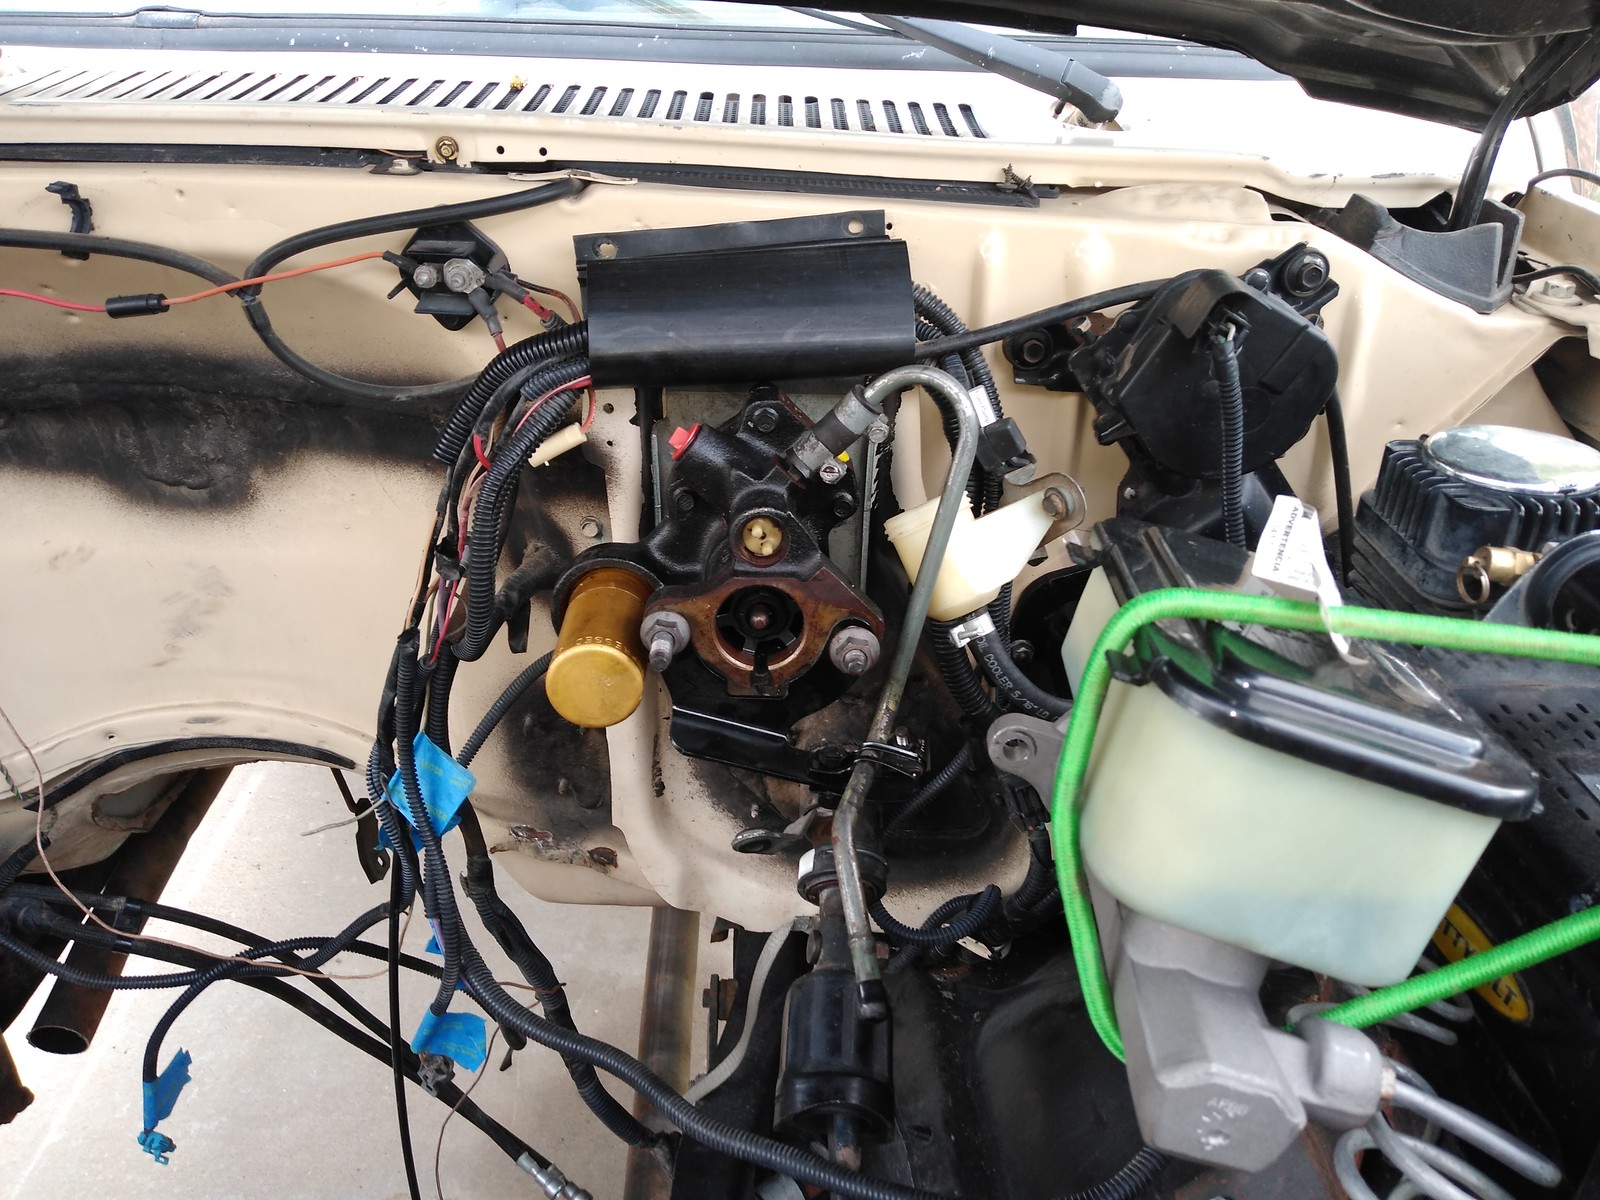
Today I got to work with the beginning of the sex change operation as Larry calls it. The dash has to come apart almost completely to facilitate the pedal removal. Out comes the steering column, dash bezel and cluster.

50127437116_0bcbdc56fe_h.jpg


50127760357_1229d77d68_h.jpg


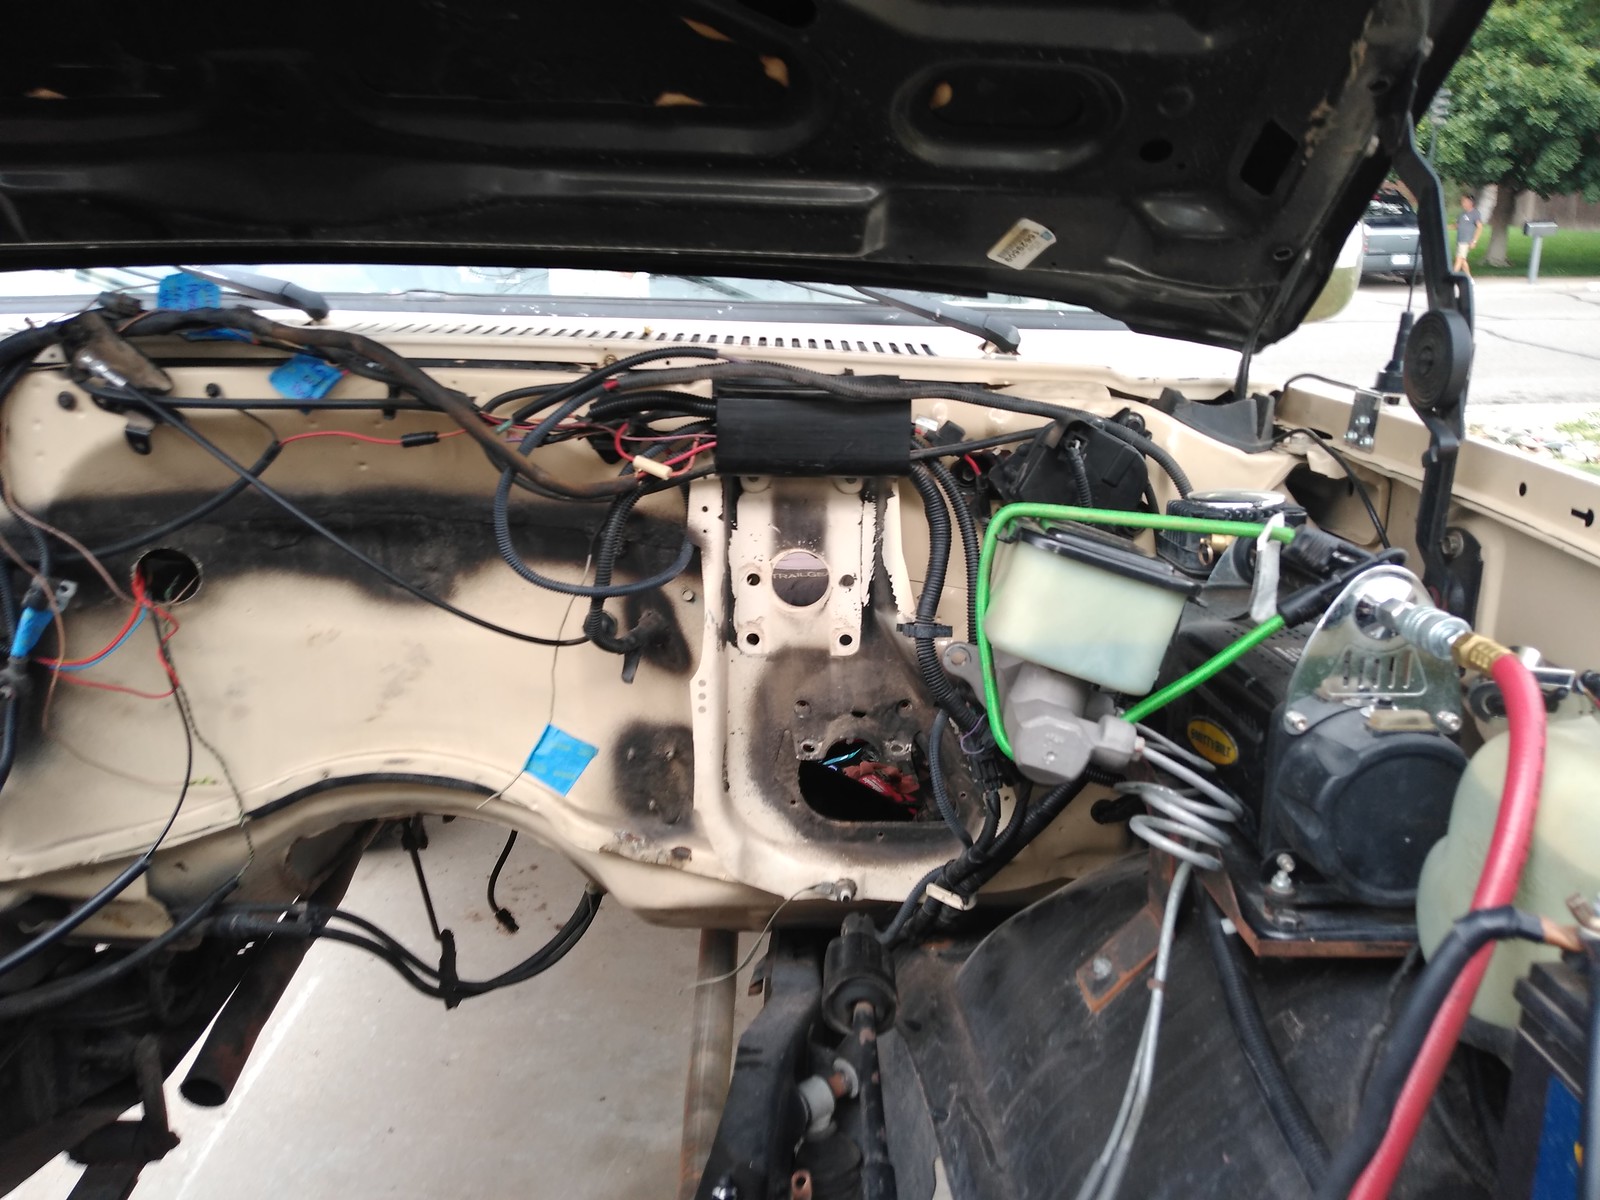
I crawled into the empty engine bay to remove the brake master cylinder from the vacuum booster and the booster completely. Then the pedal assembly could be removed. After a few cuss words, it was out.
50127656887_bdf7a0ab94_h.jpg


I would not want to do this with the engine in there. That was it a fight.
50127436986_39ee9cc24e_h.jpg


One nice thing about a '91 is the GM engineers put dimples on the firewall for the position of the factory hydraulic clutch.
50127656482_325851ee2e_h.jpg


So it's a matter of punching two outer holes with a 5/16" bit and then the center hole with a 1 1/4" hole saw.
50127436466_92c5f3acf6_h.jpg


I went right back into reassembly mode to install the new clutch and brake pedal assembly. Then the rain came. So I came inside with the new goodies brown Santa left me today from Summit.

50126866428_411c8ba6ce_h.jpg


Most of the stuff in here is all the parts for the air intake setup, but there is a lot of other items in there to make the swap happen. The flywheel was in the second box.
50127436526_fd00d3e027_h.jpg


Once the rain subsided, I got back after it. It's a knife fight to shove one of these in under the dash. My arms show it. It took a lot of twisting and pushing and even still I had to take the outer strut off the clutch pivot bolt. I was able to wrestle it into position and get some nuts installed to lock it in place. From there I installed the clutch master cylinder. I did have to finesse the center hole a little with a file and it slid into place like it was supposed to.
50128122117_84e68a1ae3_h.jpg


50127333503_bcff00bb3d_h.jpg


As a step to make it feel like new I also threw on the new pedal pads I picked up. Forgive the mess underneath. The wiring cleanup is tomorrow's project before the column and dash go back in.

50128122257_04e841b7a6_h.jpg


The hard part is done at least. It's just cleanup of the wiring now. I'll pull the seats and console to pull the flooring so we can cut the hole for the NV4500 at Larry's place.

Once major hurdle down. More parts are inbound. I've got a Centerforce clutch coming, new starter, power steering pump, and a bunch of seals/gaskets/bolts from work.
 

zoomad75

K5 Camper guy
Dana 60 time...

Unless one falls in my lap, that's unlikely. The budget is solely focused on getting the swap done. I thought about a/c if I could swing it, but that isn't in the cards. The 44 will live with smart driving. Larry's lasted for years under two different big blocks without any issue before he fell into his 60.

As far as today goes the wiring got cleaned up. I even broke out the label maker and added tags to the wires I had tapped in the fuse block. Next was getting the hydroboost unit mounted and attached to the pedals. The steering column went back in and I bounced from under the dash to under the hood a dozen times getting stuff into position. I'm sure my neighbors must think I'm crazy crawling in and out of the engine compartment so many times. I only made engine noises a couple of times while I was under the hood, I swear.
It took a while but everything is back in. Cluster, dash pad, bezel, and steering column.
50131013328_8403ca7f56_h.jpg


The hydro boost is in place. I need to get the correct master cylinder for it too.
50131577561_17b6c4c16f_h.jpg


Check that one off the list.
 

zoomad75

K5 Camper guy
Time to get caught up on the action over at the Bigassgas garage. Just like before I deliver parts and he picks away at the smaller stuff as he can. I dropped off the lion's share of parts that came in last weekend. Larry's been busy.

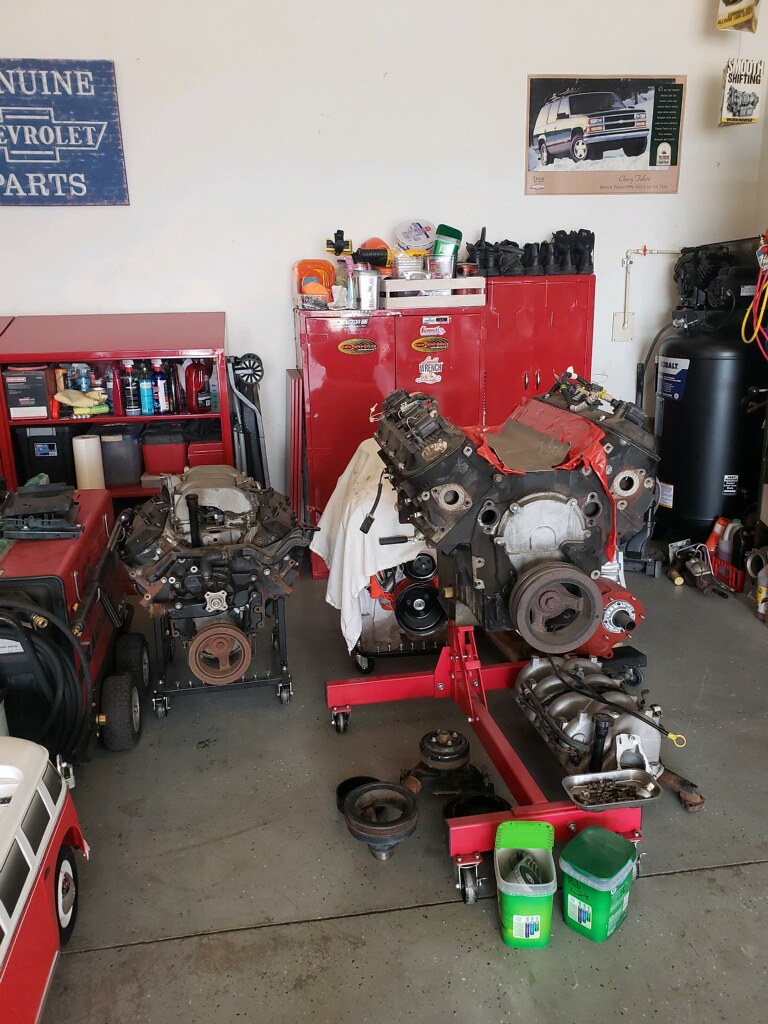
Cleanup for the rattle can rebuild has begun. The engine itself is a known entity from a buddy's Yukon with only 80k on the clock so digging deeper into the engine isn't required. It's clean as a whistle inside.
50135737046_a59bceb1db_b.jpg


The power wash unit came out for a workout.
50164380033_343f3b4440_b.jpg


Then he dove into the fuel rail and injectors. These came from the 2nd 8.1 we have in the back of the first pic. The injectors are garbage. Full of congealed ethanol laden gunk. New injectors are inbound.
50164917286_933e066897_b.jpg


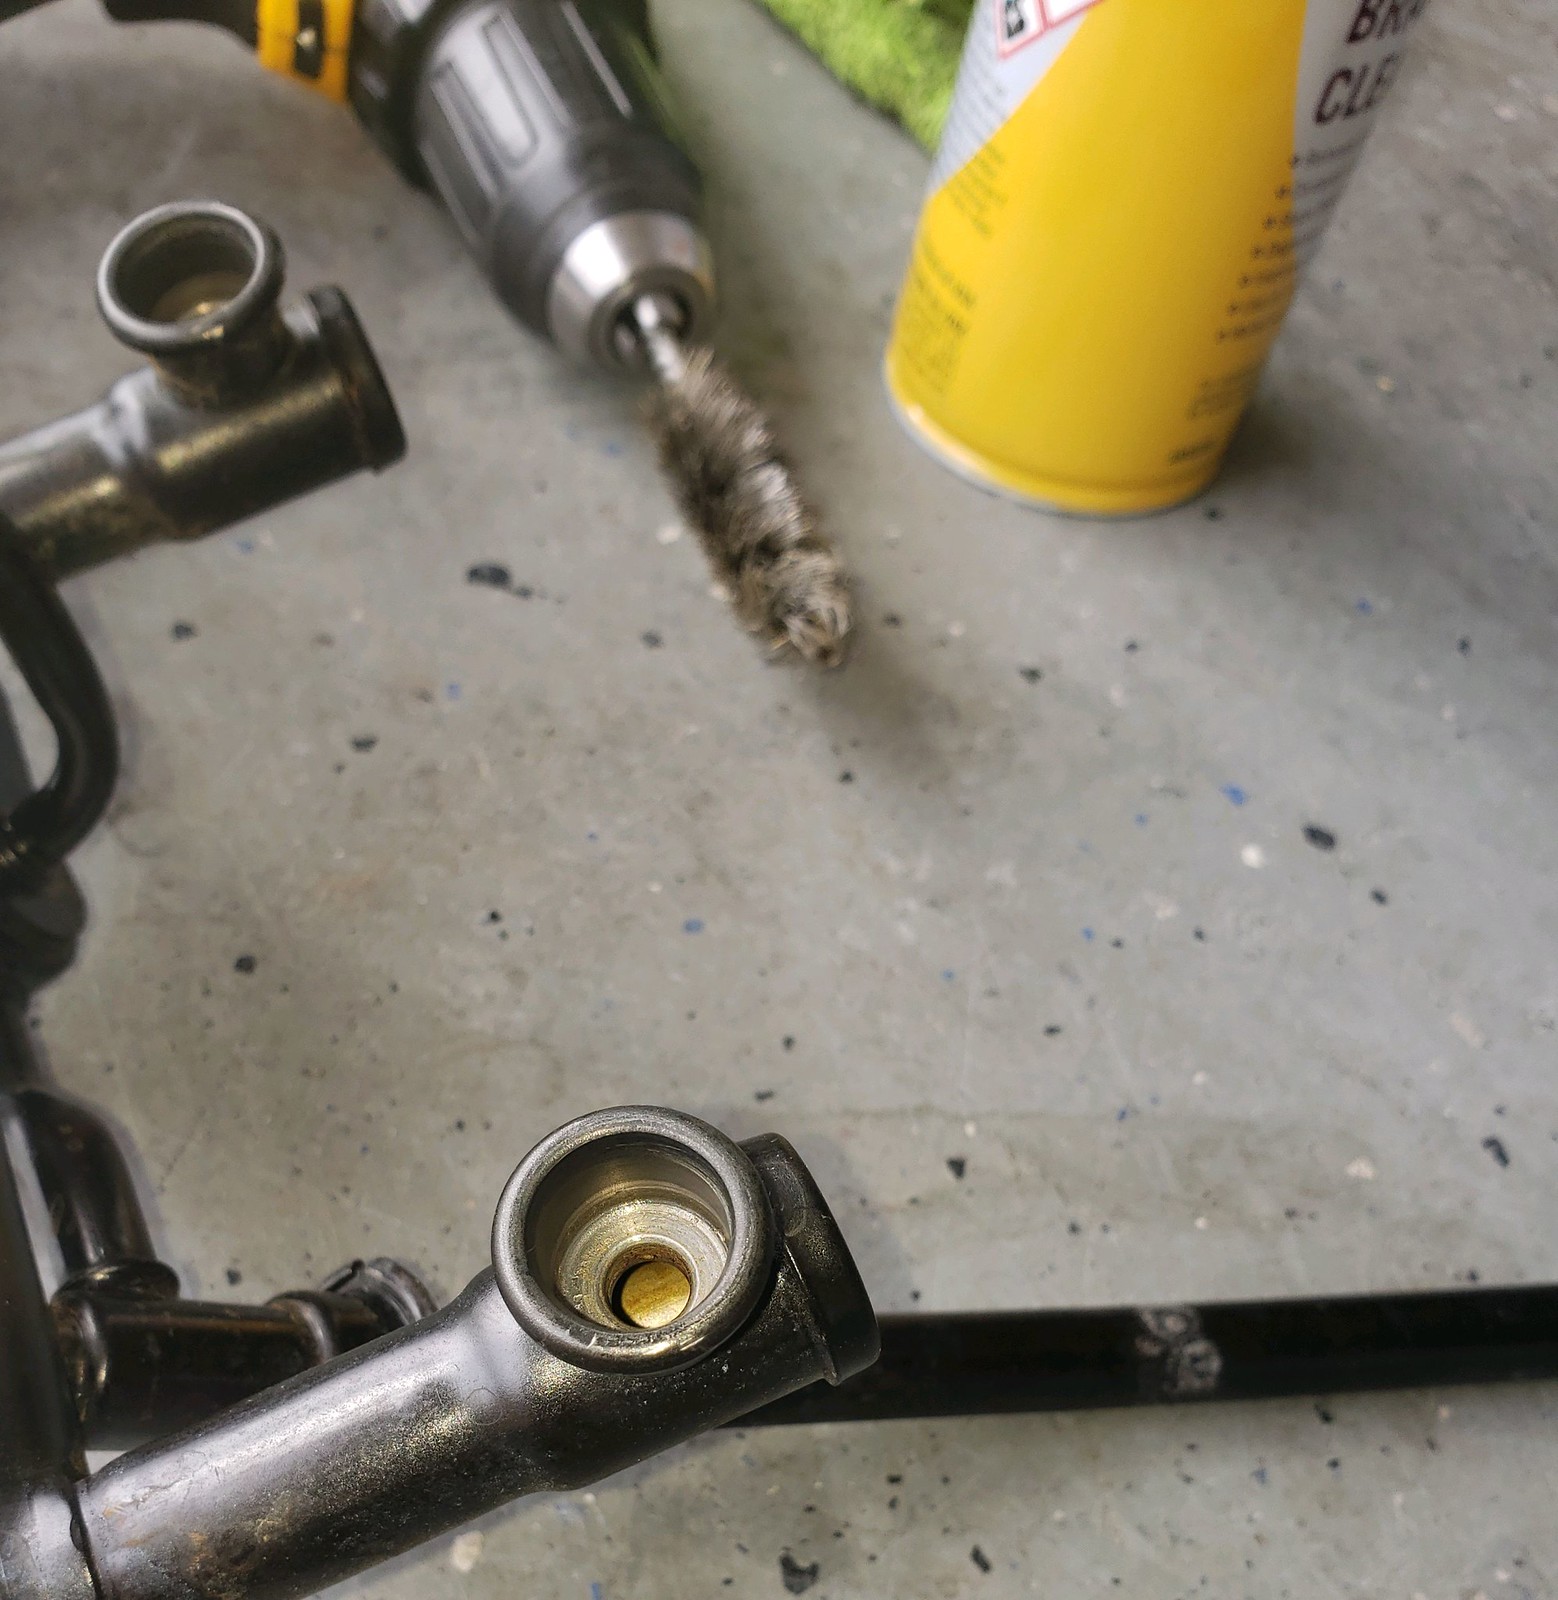
Even the fuel rail was not immune to the gunk.
50165173182_e6b47e8891_b.jpg


50165173262_d13f304cd6_b.jpg


It got flushed, flushed again, and flushed some more. A little work with a wire brush finished it off.
50164917291_23f7bbed0b_h.jpg


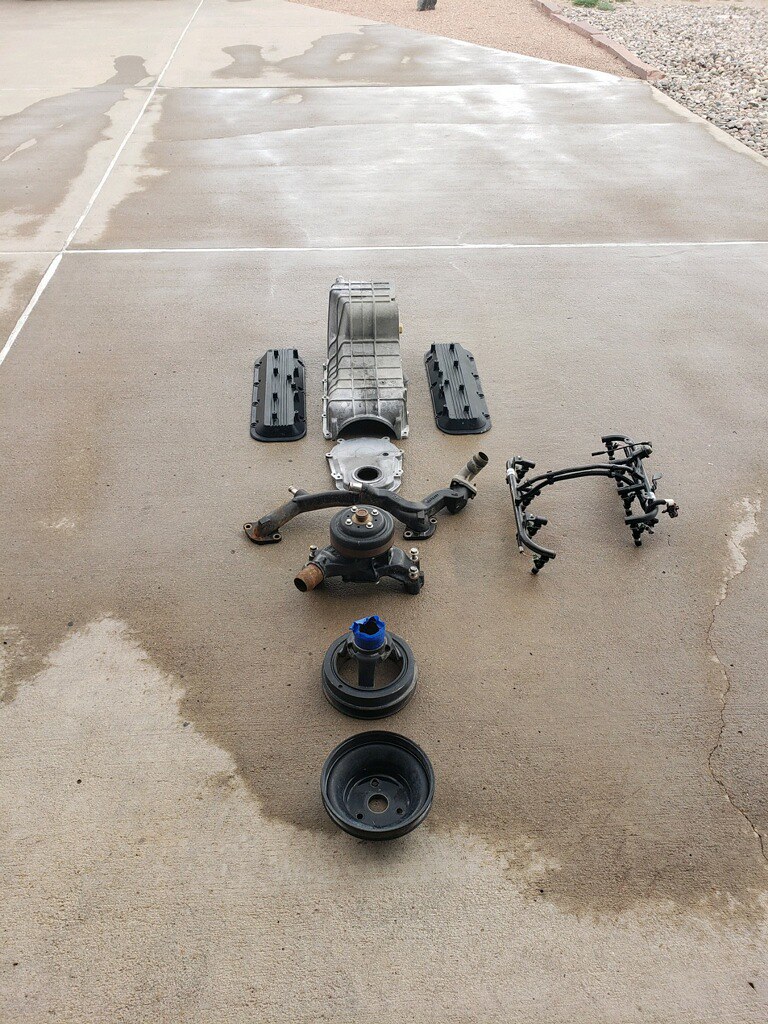
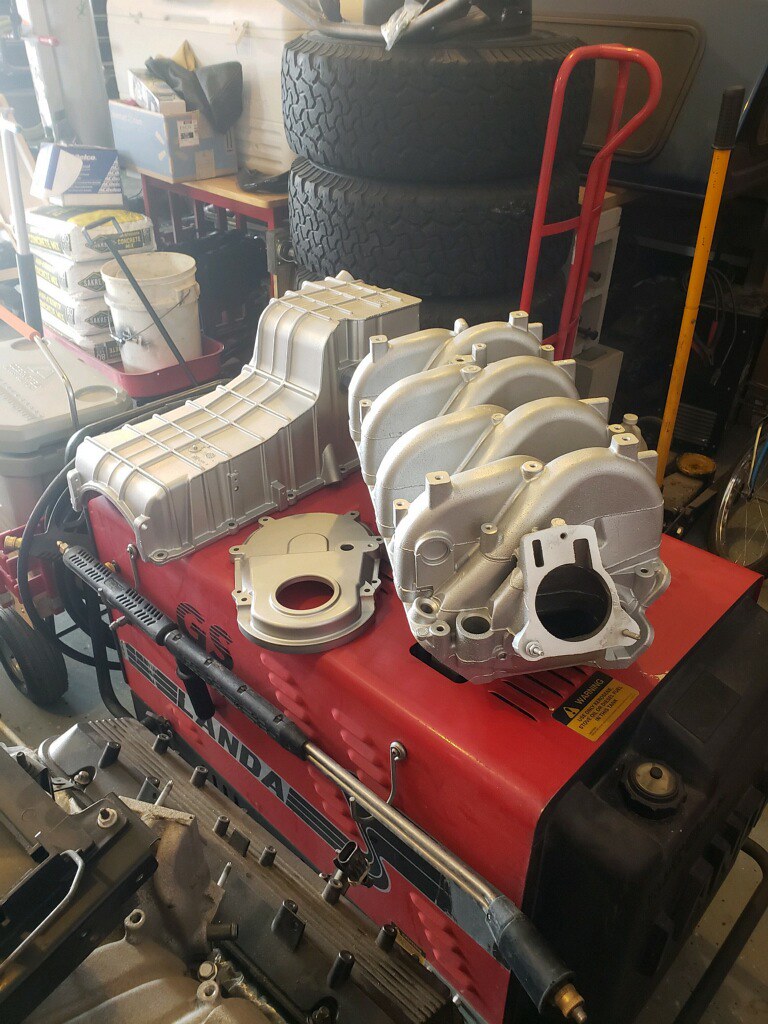
The aluminum parts got fogged with fresh paint.
50164917126_5fdf4fede4_b.jpg


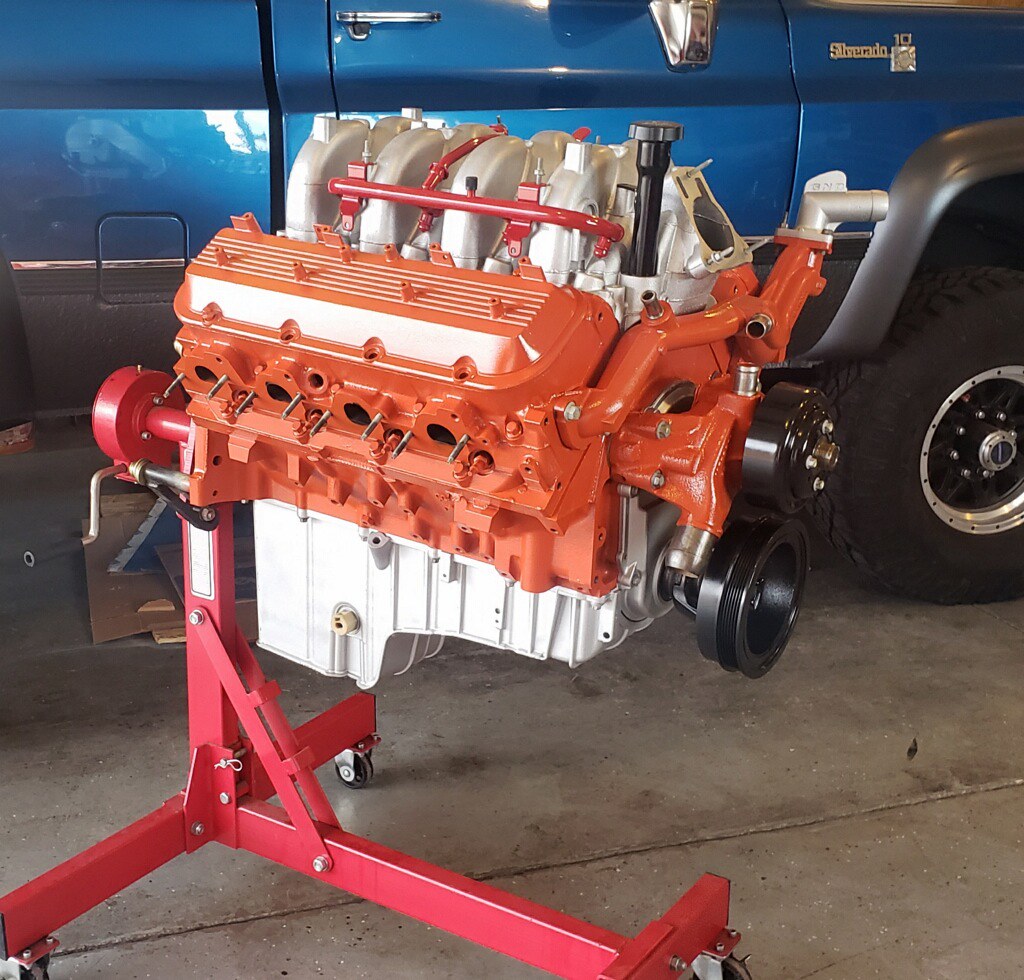
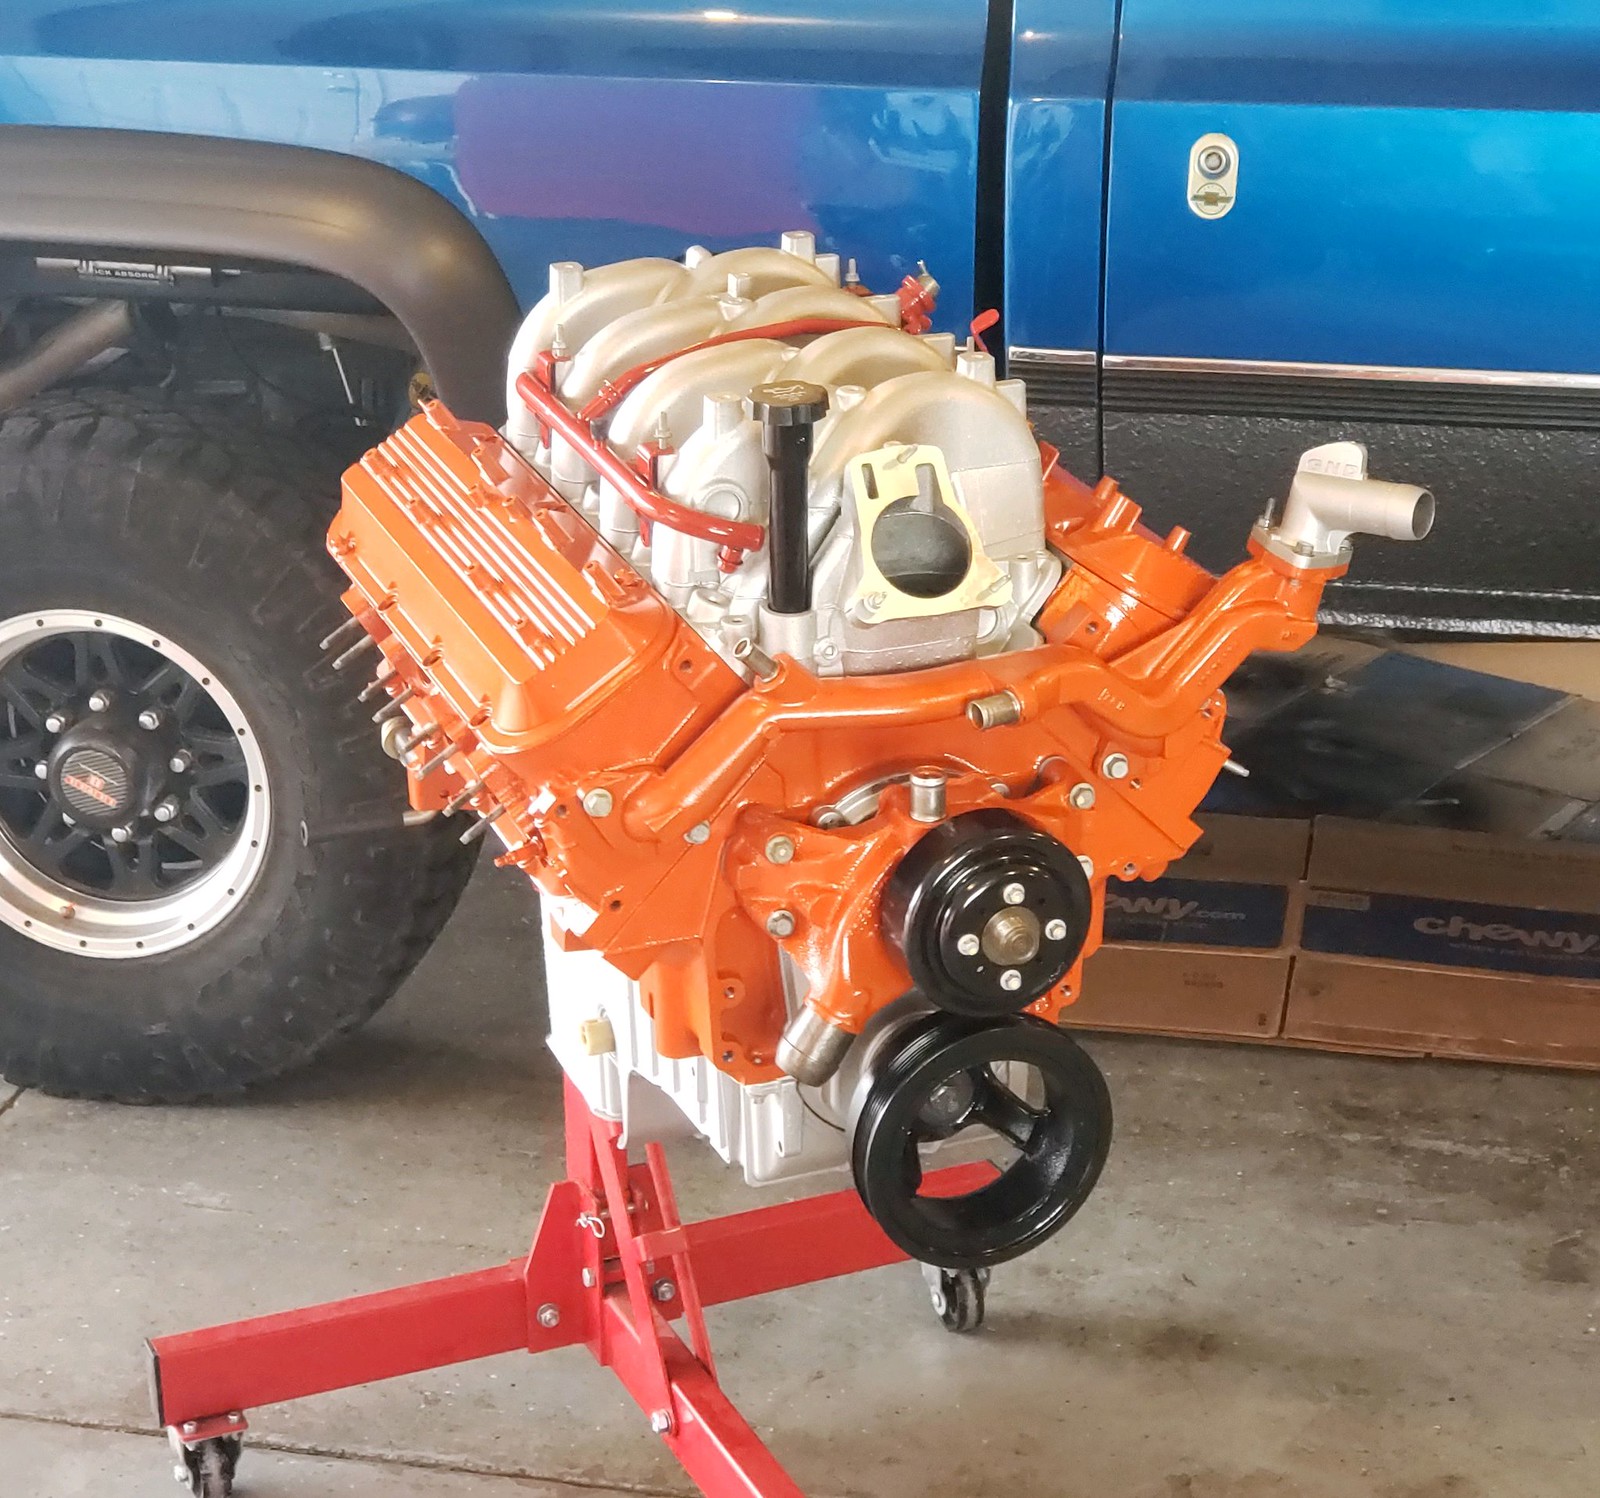
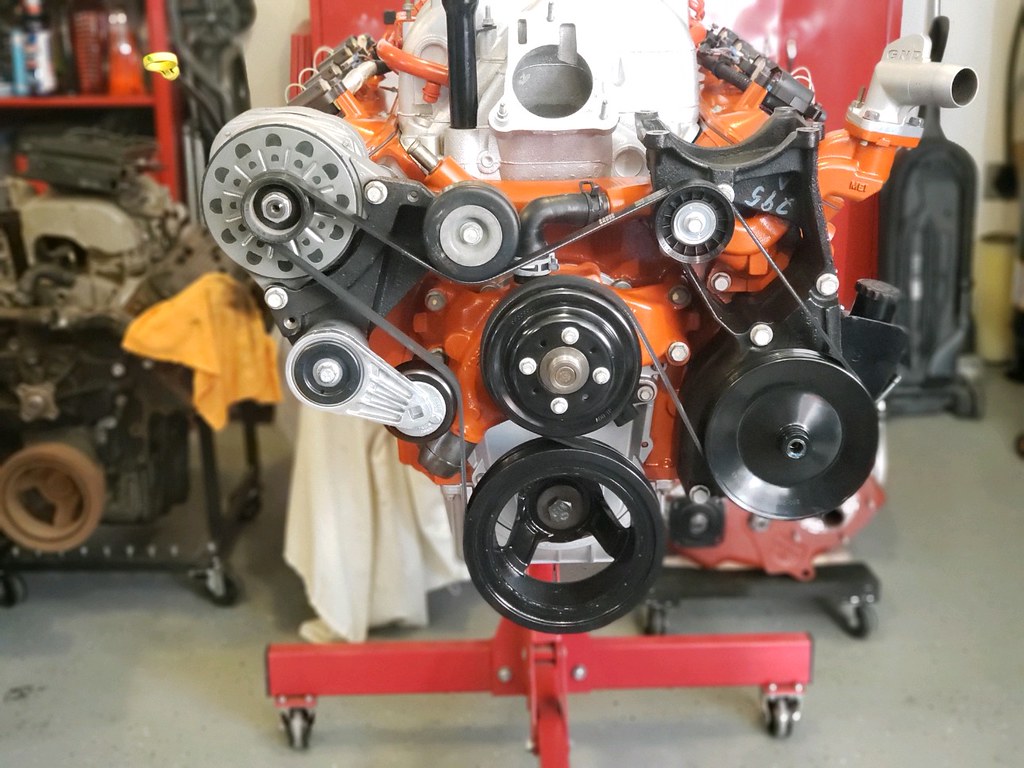
Then the long block was covered in traditional Chevy orange. Behold the great pumpkin.
50174786318_1f5c8cf732_b.jpg


Shaping up. The red on the fuel rail is temporary. We were trying something out. It's going orange. But it is going in the right direction.
50175323931_403ed4f30f_b.jpg

Larry is letting his attention to detail go nuts as usual.
50175581572_43c415b23c_h.jpg
 

zoomad75

K5 Camper guy
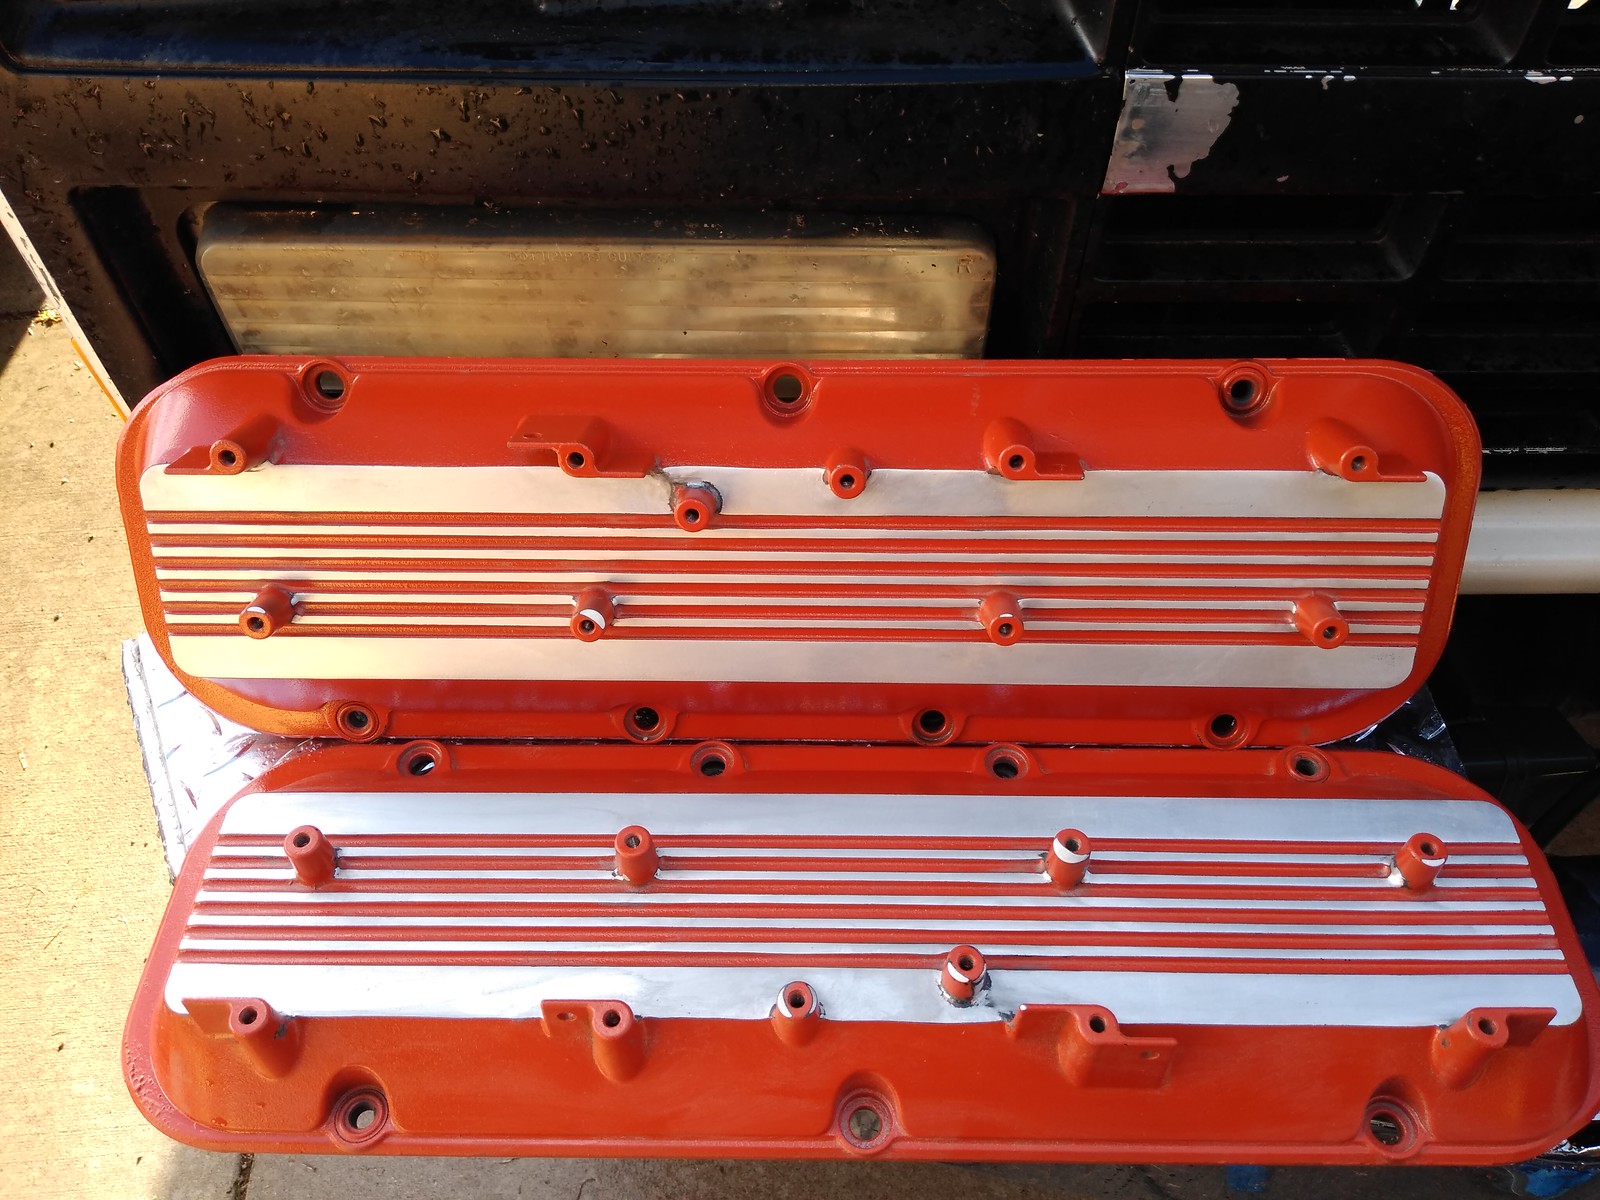
I stopped by Larry's place to drop off some oil and pick up the valve covers to detail. I think the feeling is coming back to my fingers now. If they were for a 454 I'd have been done in an hour. Not so much with these ones.

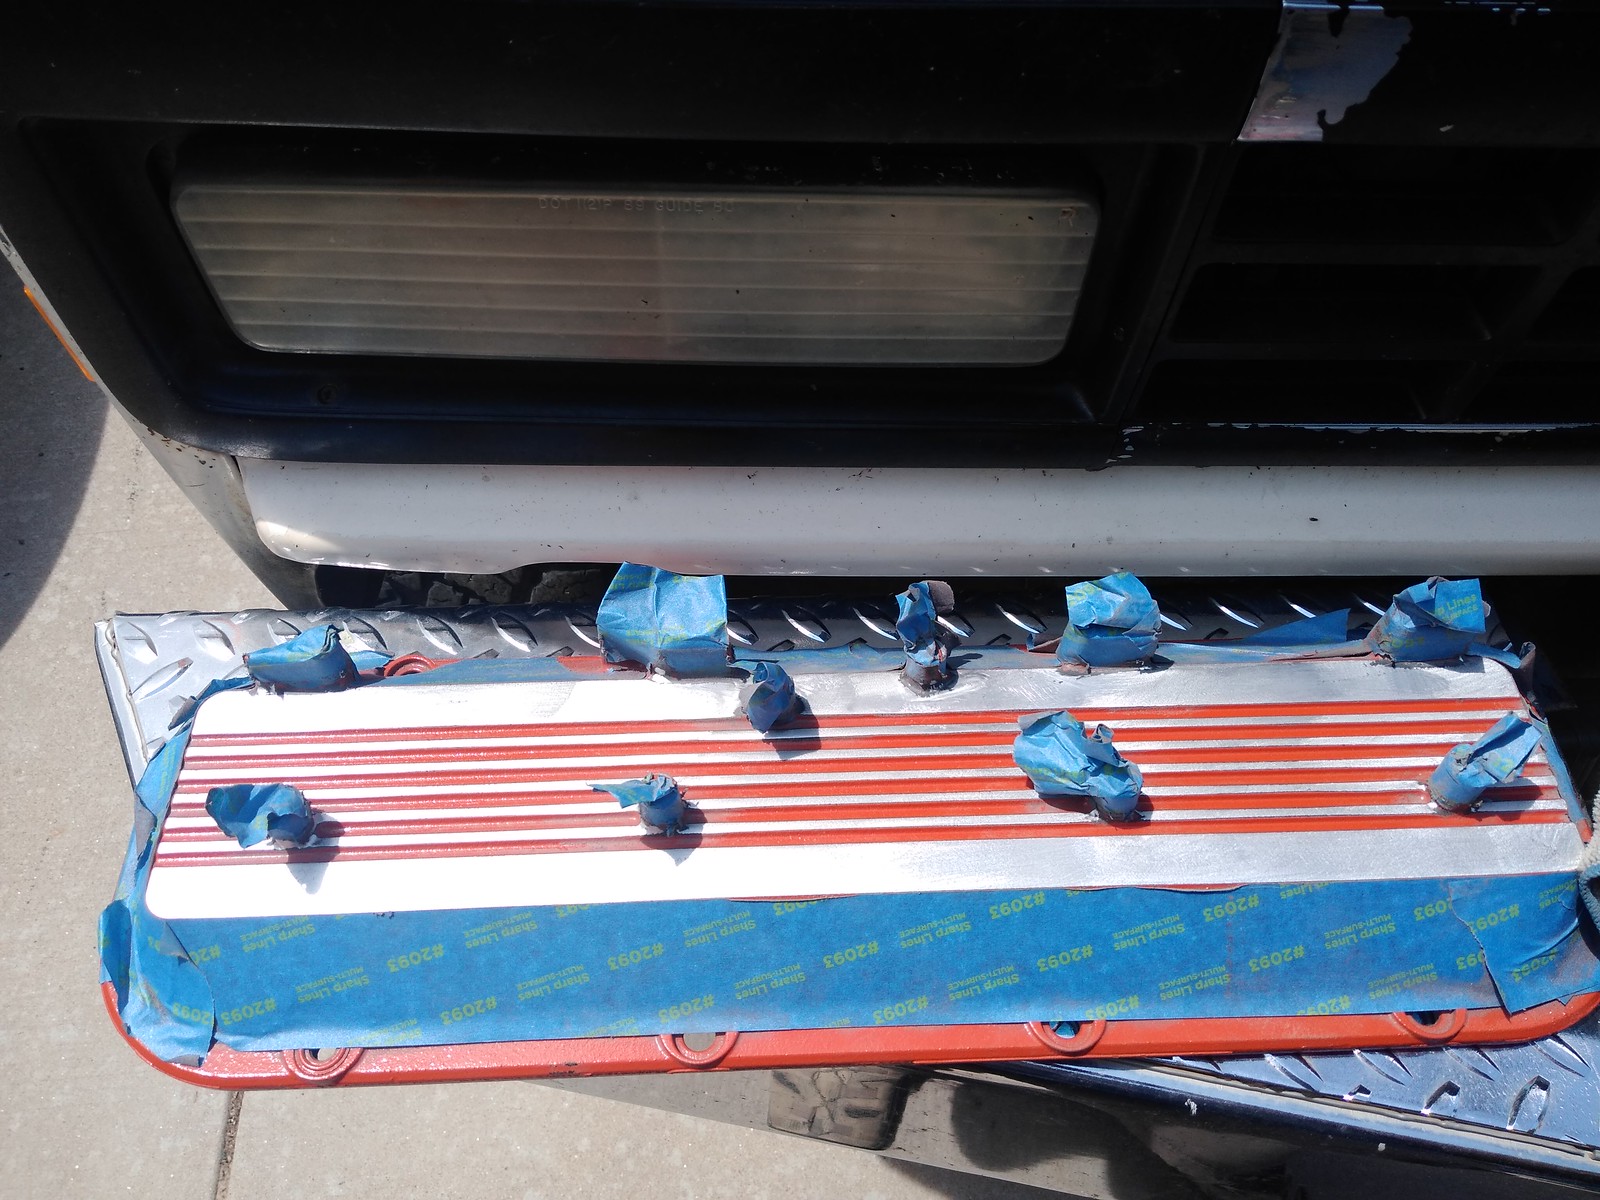
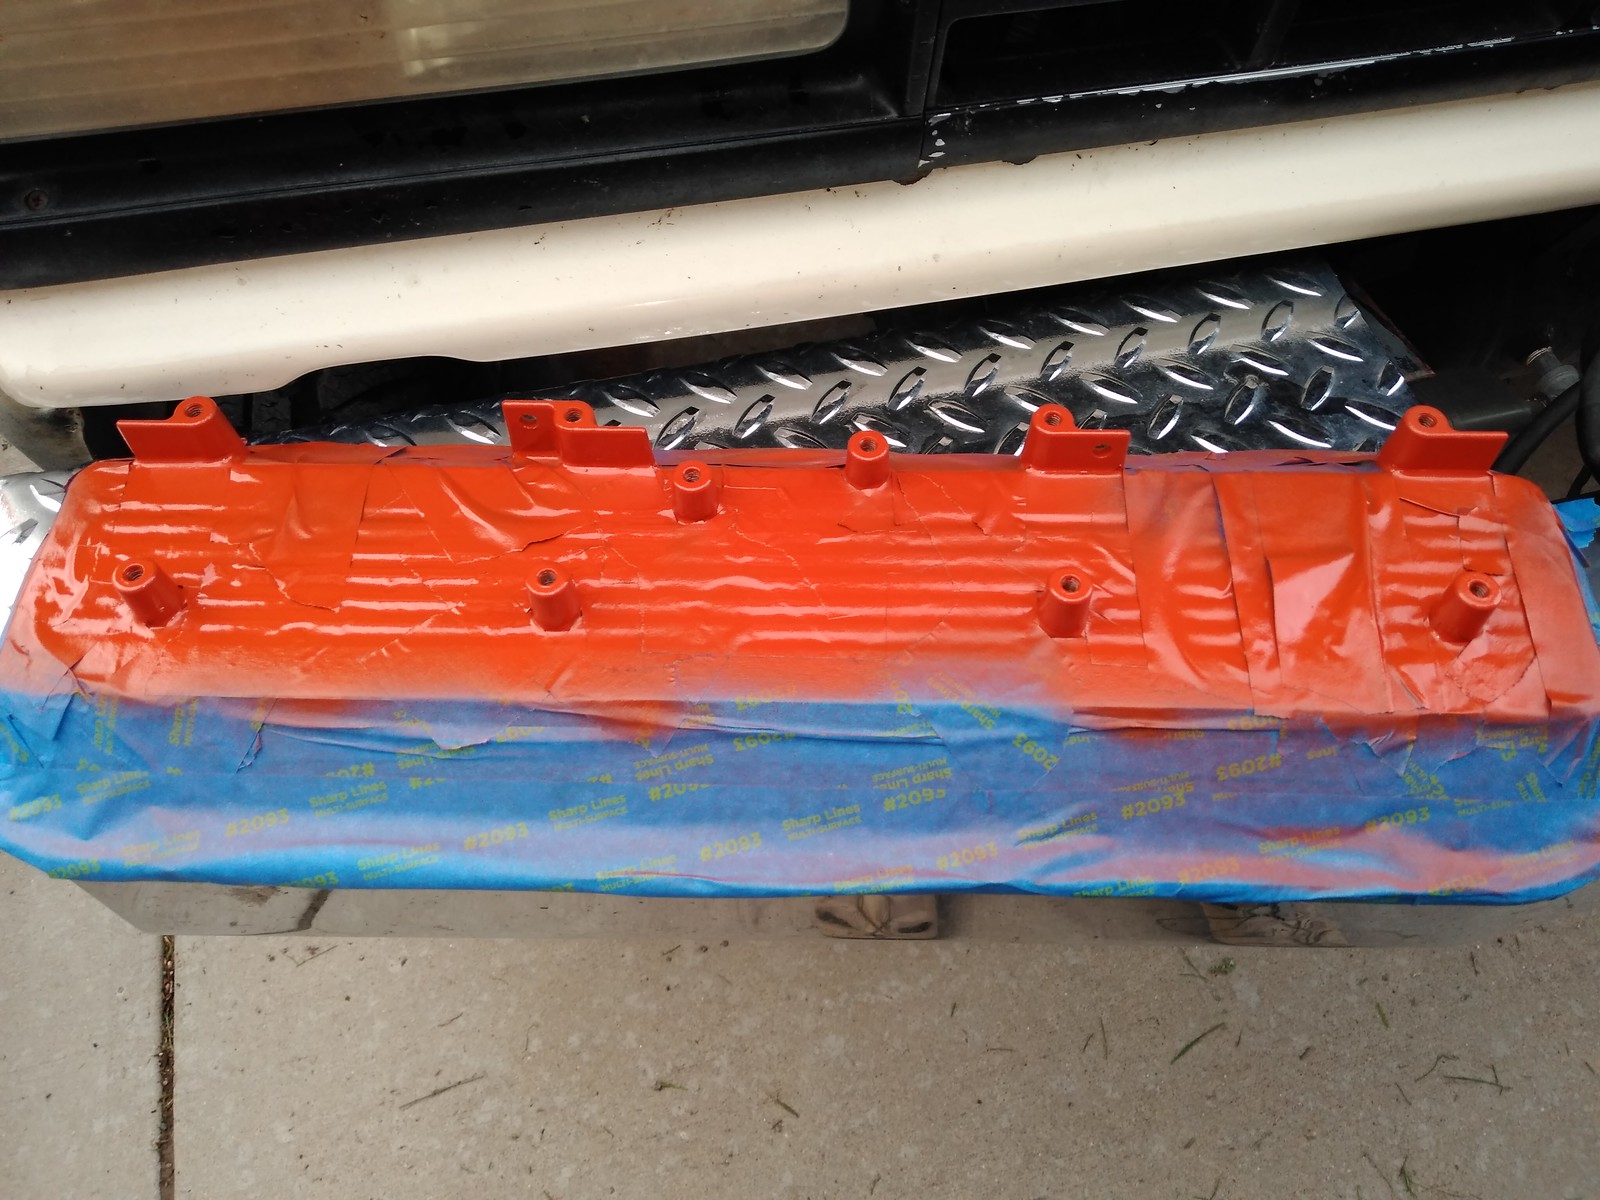
First I masked off the areas I didn't want to possibly sand the paint off of.
50182989506_97e6e14794_h.jpg


Then I got going with my palm sander and some 80 grit. I had to get creative to get into the tight areas for the coil mounts.
50183245997_acbfa8580e_h.jpg


I cleaned up with some 220 grit to smooth it out and limit the coarse sanding marks. Some of the coil mounts got buzzed with the sander requiring some touch up.
50182989071_95e77423bc_h.jpg


All in all, they look good. Major pain in the ass, but it was worth it.
50182445678_ee9446c6f1_h.jpg


Another round of masking to touch up the coil mounts. I'll peel off the tape and throw a coat of clear on it tomorrow.
50183244987_3ffba8d856_h.jpg
 

zoomad75

K5 Camper guy
I finished up the valve covers yesterday. Just before laying down the clear I took more 220 grit and hand sanded all the bare sections to take out the swirly marks from the palm sander. Plus I noticed the raw aluminum soaked up any of the oils on my skin and left a dark spot when I touched it. The hand sanding took all of the marks out and I cleaned it up quick and shot the clear on it.

The baked in the front seat of my truck all day before I stopped by Larry's house on the way home tonight. He mocked up the coils really quick with a harness and it gives one an idea of how much of the work I did will be visible when assembled.
50190537231_af31af2eca_h.jpg


It still shows quite well and the little bits I couldn't get into the corners of are hidden by the coils and the harness.
50190537251_60780467e1_h.jpg


I love how it looks. It reminded both of us of some of the GM performance crate engines.
 

zoomad75

K5 Camper guy
Larry got some small details done buttoning up the engine. The serpentine drive is complete. Since A/C isn't in the plans currently, we went with an idler pulley and shorter belt.
50207503828_2554194f5d_b.jpg


The dipstick tube was crusty so it got cleaned up and painted.
50208306692_a6236fc2ce_h.jpg


Fresh crank sensor installed now because once the engine is in it won't be as easy to change.
50208030786_f939743263_h.jpg


I spent the day pulling apart the interior. Seats came out along with the console. I used the shop vac to clean up and then wiped down the rubber floor. With everything out of the way, I labeled all the wires going to the console so I can remember where they went when I reassemble. I pulled the rubber floor and jute backing and sucked out the rest of the dirt that was under it. I put the driver seat back in with a couple of bolts so we can move it without having to sit on a bucket. The seat covers are in the washing machine for a much-needed cleaning.
50208309232_13e61afe94_h.jpg


I need to still bleed the brakes since I installed the master cylinder, but other than that its ready for a ride on the trailer to the Bigassgas garage.
 

zoomad75

K5 Camper guy
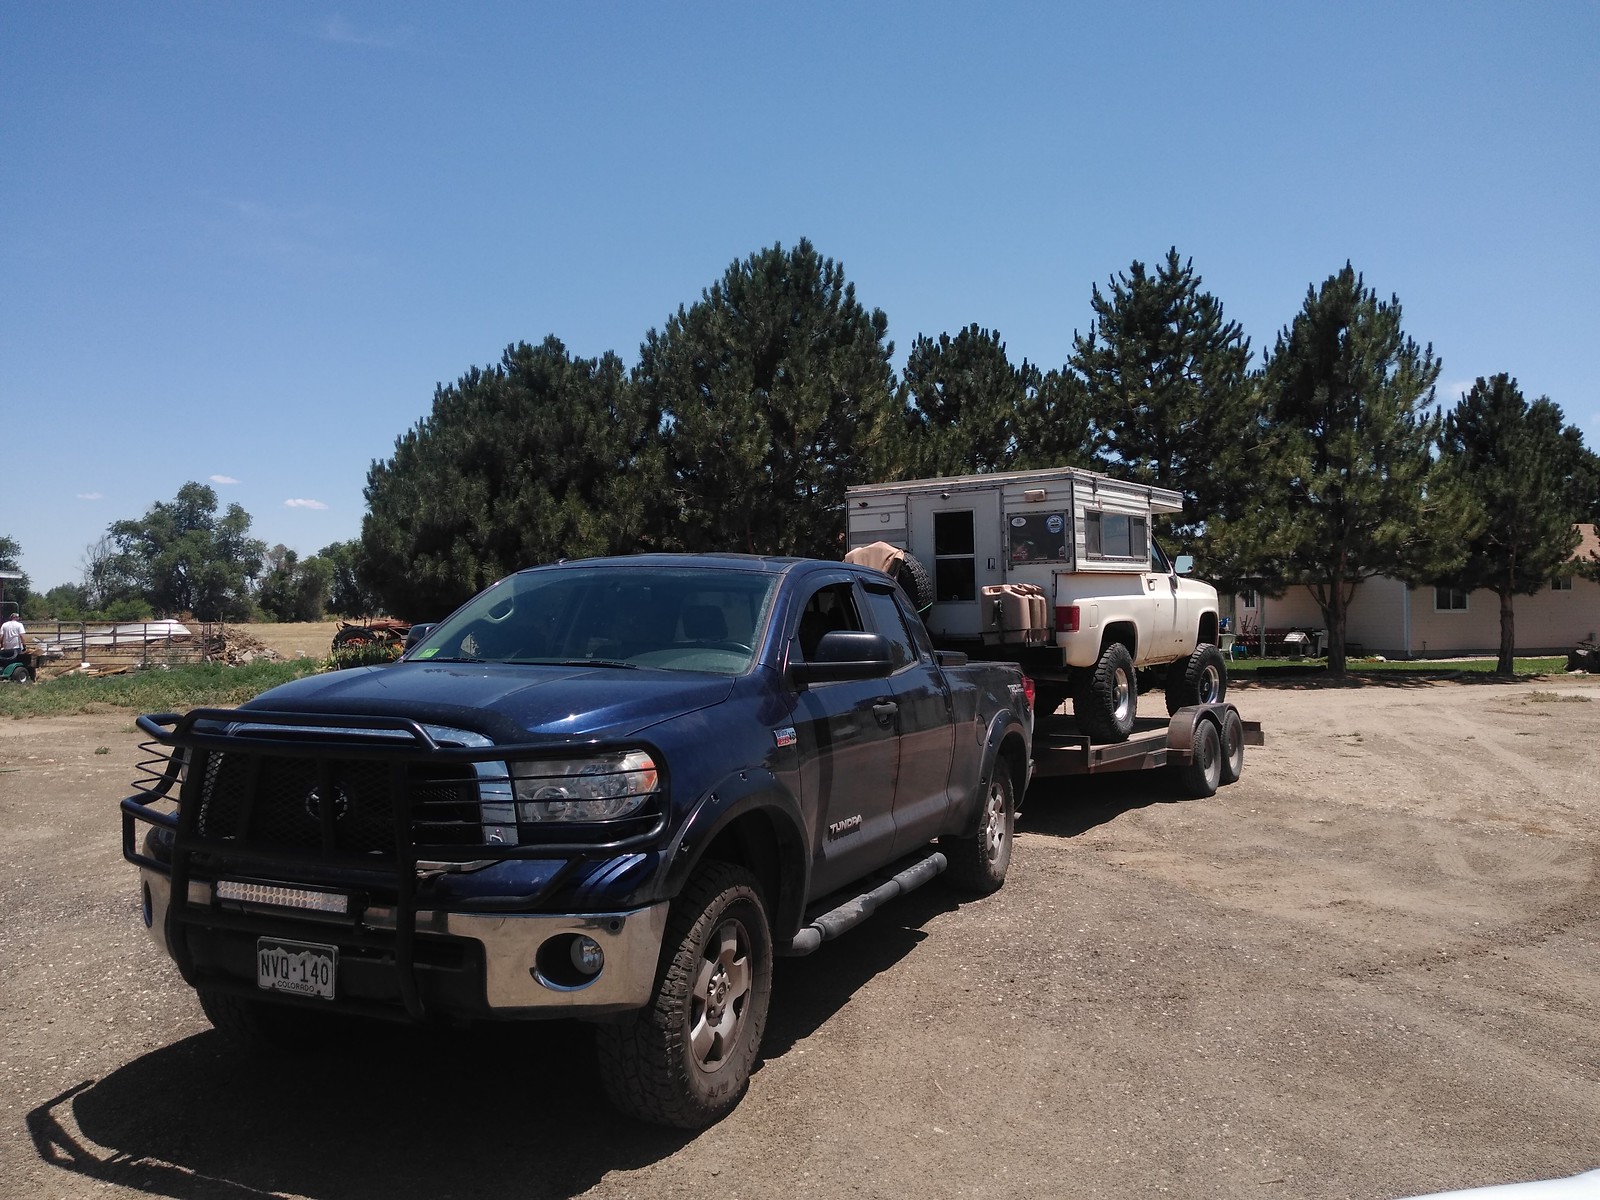
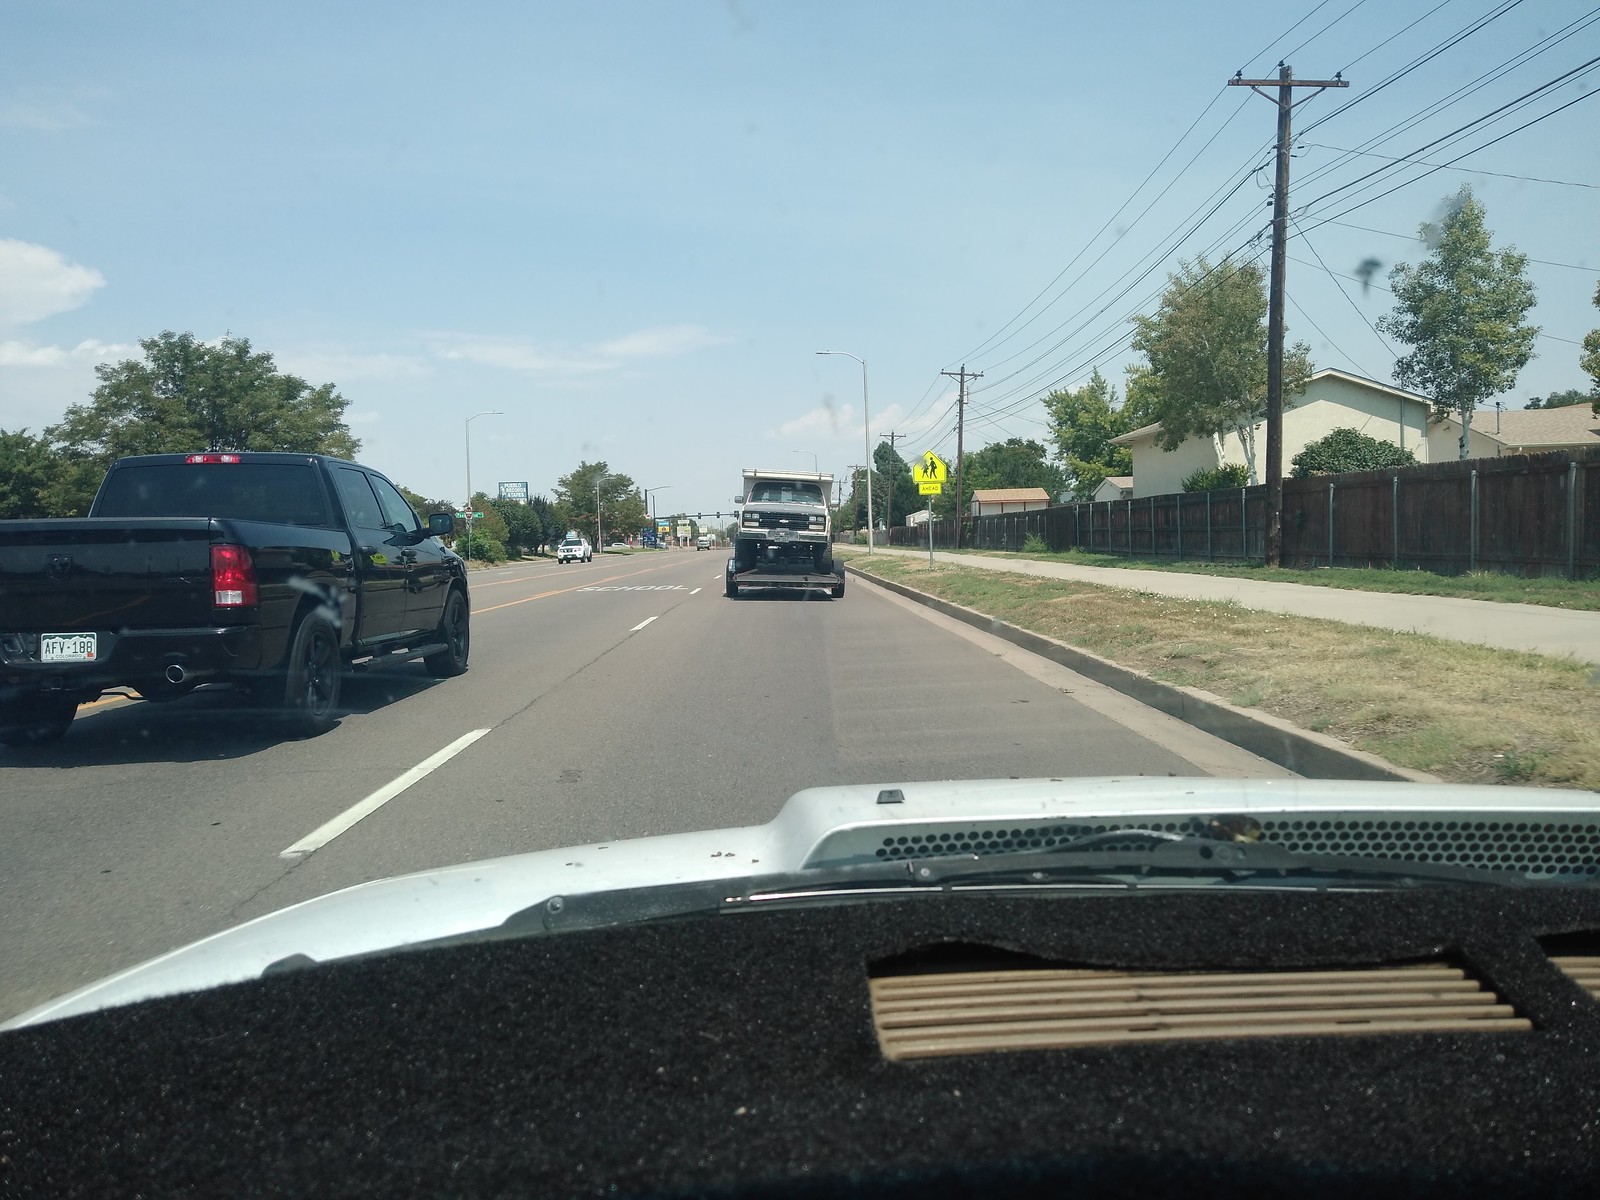
Moving day. Time for the K5 Camper to head over to Larry's Bigassgas garage. The Rescue Waggy was put into tow mode and we got it loaded and brought back over to his place.
50234192928_90df28af50_h.jpg


It's odd seeing your once running and driving truck on a trailer. That being said, it's about the only time you'll see it on a trailer as it's built to be driven.
50234849421_9381d33985_h.jpg


Before it got dropped in the garage we took the opportunity with it on the trailer to hose off some dirt and grime off while it was easy.
50234849301_9cfb48dfa8_h.jpg


50234192773_78a99a00a3_h.jpg


We got it loaded into the garage and called it a day. It's ready for the swap.
 

zoomad75

K5 Camper guy
Update time. Lots of movement since my last post. Lets get on with it.

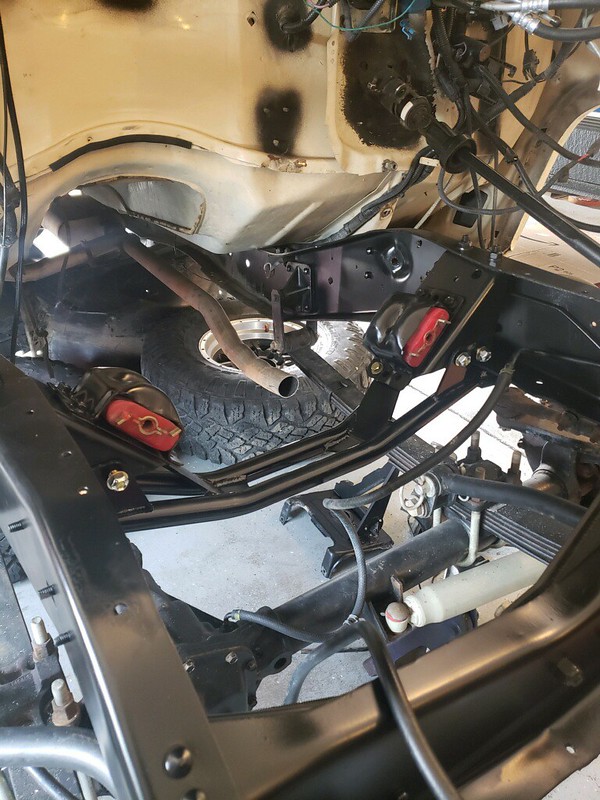
Factory engine crossmember pruned from the truck. ORD unit in place. Not without a fight that will reoccur later.
50265951877_6cf4004f47_c.jpg


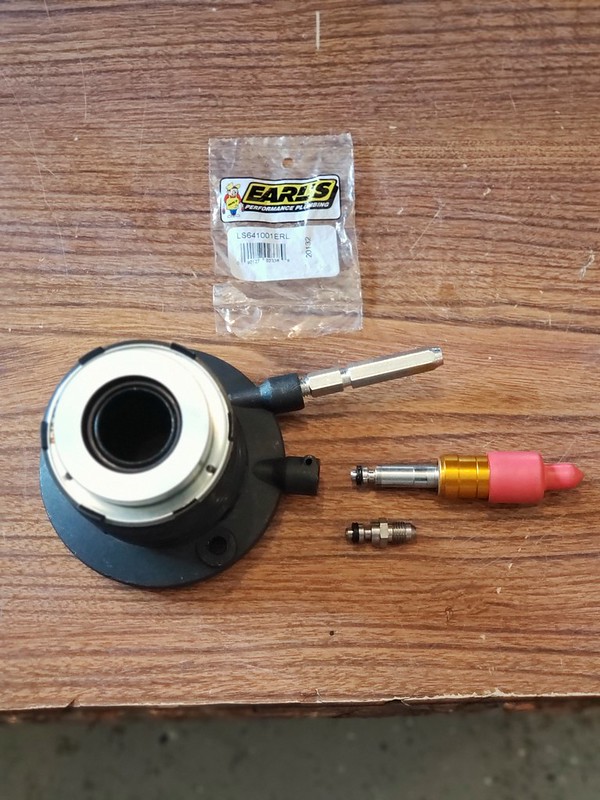
Trans was cleaned up. PTO removed and plate reinstalled. Sealed up tight and ready for the GM special 4500 sauce at $35 a bottle. This is '98 trans so it has the integral slave/throwout bearing. Using an adapter from Earl's we removed the quick disconnect fitting and it allowed us to use a -6 braided brake line to match up to the stock squarebody master cylinder with another Earl's 12mm bubble flare to -6 an adapter.
50275241968_6a273d4332_c.jpg

50275923681_694f2879b2_c.jpg


Larry then turned his attention to the 241 transfer case. We had to switch it back to 32 spline input (long story) to fit the 4500 from the 27 spline we had to use on the 700r4. Larry's meticulous eye looked over everything while he had it apart and did find an output bearing with an odd rough spot to it. So I picked up another bearing to install on reassembly. Other than the one bearing, everything was nice and tight and free of any issues inside.
50302560251_2e72e6be08_c.jpg

The trans and t-case are ready for install now.
50302716457_babfa92ffc_c.jpg


The engine was ready for install last week. He got rolling on it Friday and it should have been his easiest 8.1 install yet. Except it was the opposite. No front clip, no trans the engine should have fallen into place. 3 hours into it, I'm getting texts at work where he's so pissed even spellcheck on his phone can't fix his words. Basically it's not fitting. He could get one mount bolt in place but the other was right at an inch off. Too wide. It didn't make sense. He did have the spacers between the mount saddles and the block, but at a 1/4" thickness it's really only adding a 1/2" overall, but mostly those push the engine up and away from the cross member. He took them out anyway, still no go. He loosened up the mounts on the frame to let them "float" a little and still can't get them to line up. Keep in mind both of Larry's 8.1's got swung into his trucks with all the front sheet metal in place and he was by himself and they dropped right in the hole. So with mine having the most optimum scenario really made it all the more frustrating. He cut bait and walked away for the day. On Labor day the following Monday, I came over as did our buddies Bill and Ian for help. Bill and Larry determined it looked like the mount saddles I had picked up seem to be a 1/2" taller than both of his trucks. Well, 1/2" per side would add up to the inch we were off by. Larry happened to have two more sets of saddles and one of the two sets were indeed shorter by the 1/2" we needed.

Quickly cleaned up and painted we went back and attempted to install the engine again and like before we were thwarted in our efforts. Turns out my urethane motor mount inserts were for a small block too. The locking tabs to the saddles were not matching up to the saddles. A quick adjustment to the tabs and we were swinging the engine over the bumper again. This time it stayed. We still had to fight it in place, but eventually we got both mount bolts in and torqued down. The engine was in, finally.
50320837173_7e0cf1a8f4_c.jpg


With the engine in place he could start sliding the rest of the drivetrain in.
Flywheel with artwork provided by Larry himself.
50320832598_8eed7d8aeb_c.jpg


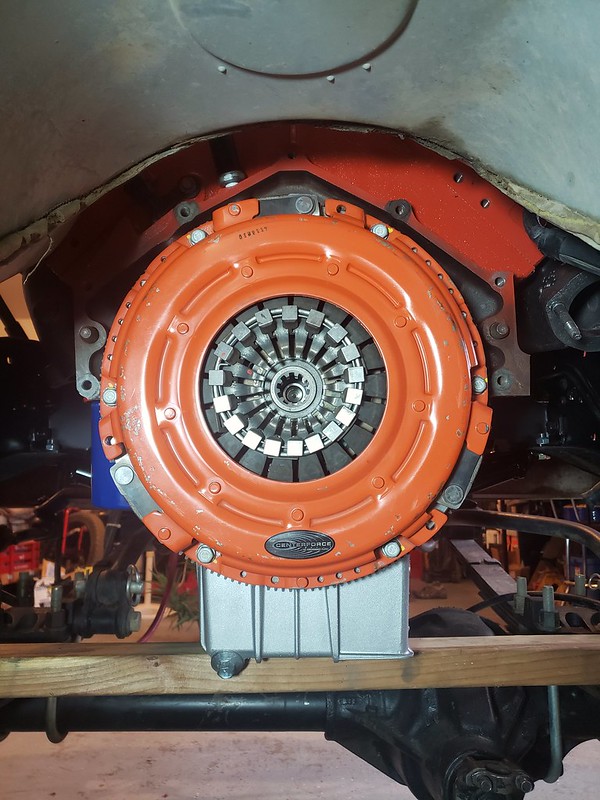
Centerforce in.
50321684027_748c10b89d_c.jpg


Bellhousing on.
50320835093_c66f07b4ec_c.jpg


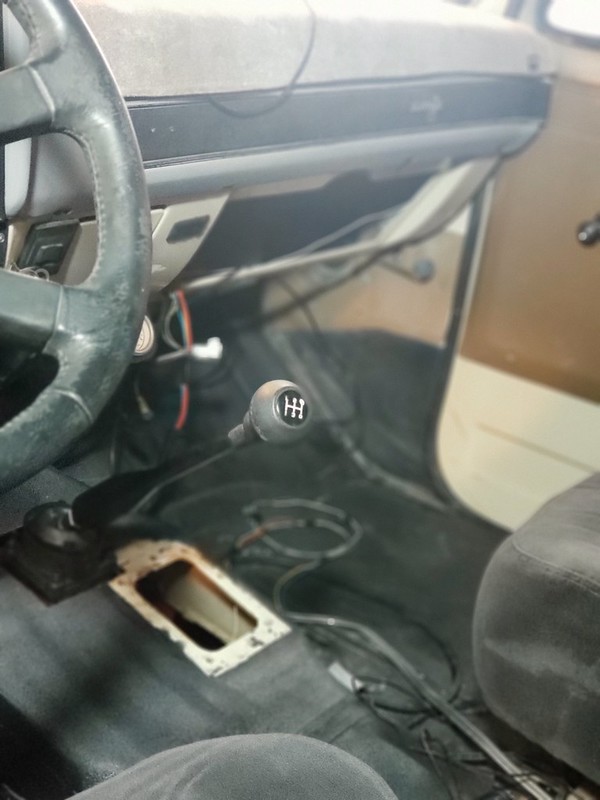
Today Larry mapped out where the shifter was going to poke through the floor.
50328741152_8e2cc62d29_c.jpg


Larry sent me a text with this pic. The caption was "congratulations it's a boy!"
50328741542_be6ae92d36_c.jpg


The next text had this pic and indicated our frame problem was bigger than we thought. As the holes for the trans cross member were pushed in as much as 1/2" to 3/4". He has to break out his porta-power to push the rail back in line to allow the bolt holes to line up.
50328741767_23605c07fc_c.jpg


The fight we had with the engine and now trans cross member probably had a little to do with the engine cross member install as he had to make more adjustments than normal to bolt it in. He had noticed the driver side spring had a damaged shackle, bent spring bolt, and obvious signs I got it airborne where that spring smacked the frame. There was one time I got it airborne on a trail ride with the truck loaded to the gills. It was a trip prior to the camper going on. The truck has been leaning to the left slightly for a while now and seeing all the misalignment it all adds up. I'm probably going to have to get some time on our frame bench at work once we get it on the road to make sure it's straight again.

But now the drivetrain is in. Now for the tedious details that Larry loves.

I
 

Forum statistics

Threads
188,043
Messages
2,901,556
Members
229,411
Latest member
IvaBru
Top