rayra
Expedition Leader
Well I finally got around to re-doing things. The problem area was the tight-radius 90deg corners at the bottom of the hatch. It's too tight for this LED product. You have to basically pinch the inner edge of the curve to make the turn. That could be problematic with repeated flexing, or too sharp a pinch-crease.
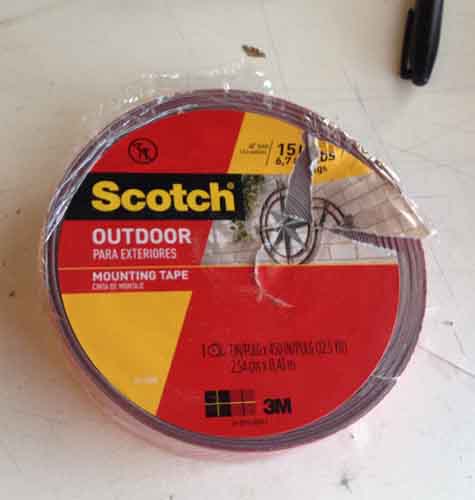
I got some Scott's 'Outdoor' double-stick. It's a denser thinner foam, a stickier adhesive. It comes in '15 pound' and '30 pound' and rather optimistically features a metal compass rose seemingly stuck to a brick wall with this wundertape. I went with the 15-lb, because as mentioned previously, I'm cheap.
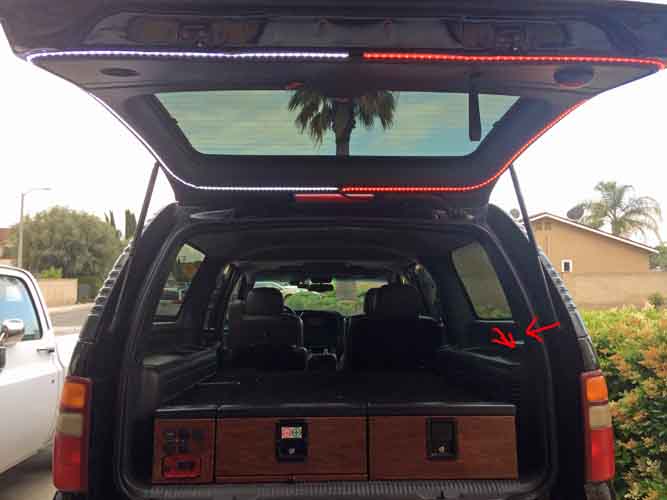
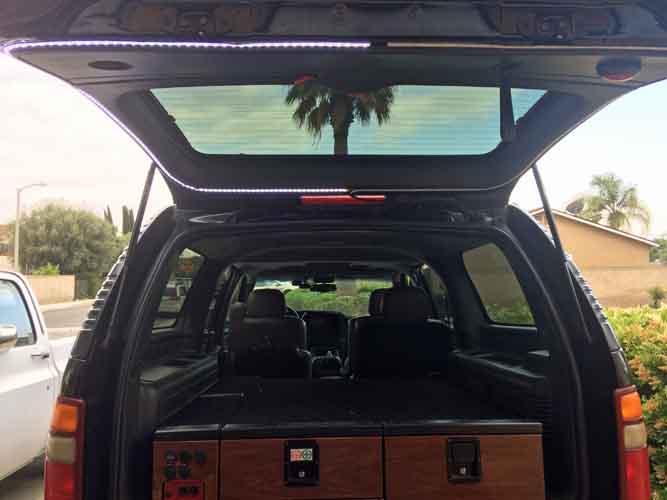
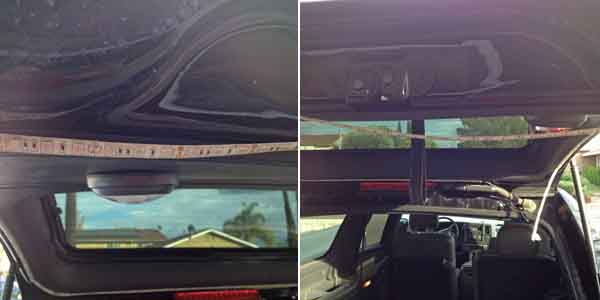
Here's a couple images of the LED strip drooping loose from the hatch in the open position. These are on the bottom edges near the hatch latch mechanisms. I think the hoops are rubbing the strips in this area but I see no damage. And the sheet metal of the latch indentation on the hatch is very narrow there, so the original bonding was pretty poor too. And the corners were popping loose.
I started off by unpeeling the strip. Turned it on just to function test, after doing this. Not really being familiar with how fragile this stuff might be.
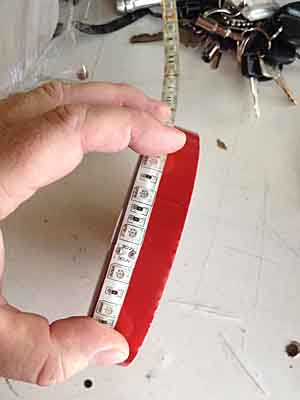
I bought the tape in a 1" wide roll, for use in other projects. The big roll was only twice the very short roll, 2x the price for ~5x as much tape. The light strip is about 3/8" / 1cm wide. So I started off working with 2'L strips, intending to scissor-cut thin strips. Bzzzt. Wrong answer. Of course the super sticky tape can't / won't be cut that way, just sticks to my scissors. So I cleaned a section of my workbench and laid the tape down lightly and cut it with a razor blade. I aimed to make it slightly more narrow than the LED strip so it wouldn't show after the install. And I did it in 18-24" strips for ease of handling.
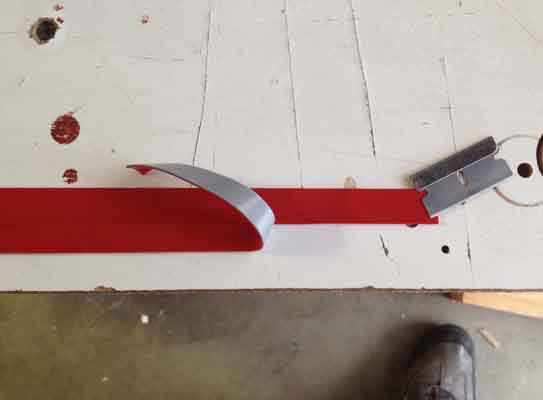
Then I applied a couple sections at a time, laying my unevenly razor-cut edge against the plastic interior trim to hide it. I'm deliberately laying the strip on the bare metal of the hatch that mates to the weather gasket on the body. It's the only spot that orients the light the way I want it. And barring a ridiculous El Nino season, water infiltration is not typically an issue in my area. Anyway, I firmly pressed and worked the new tape in place, before peeling off the red protective layer and re-applying the LED strip.
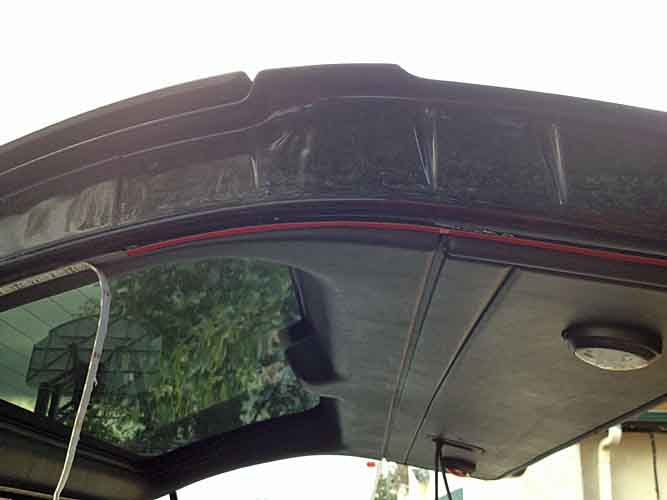
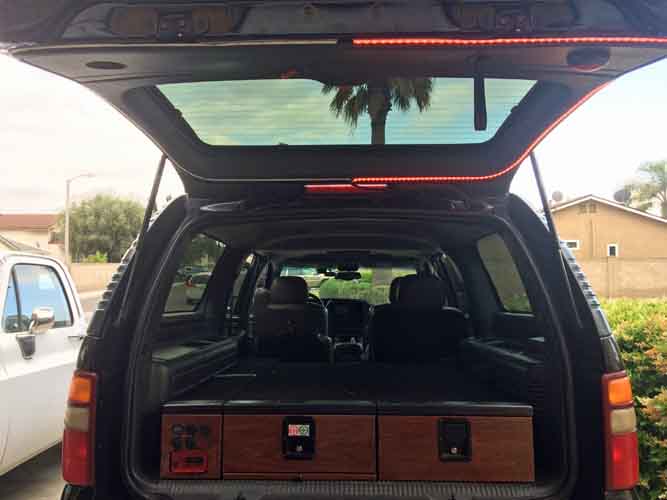
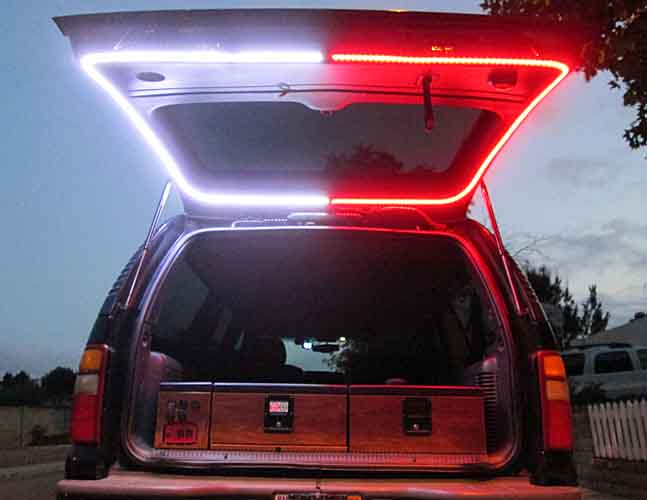
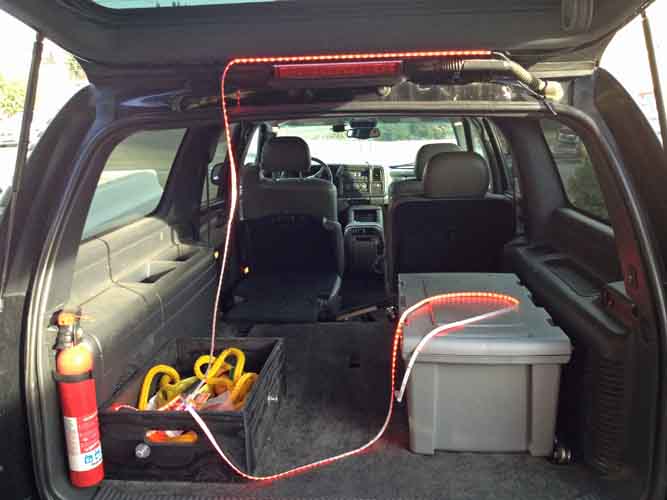
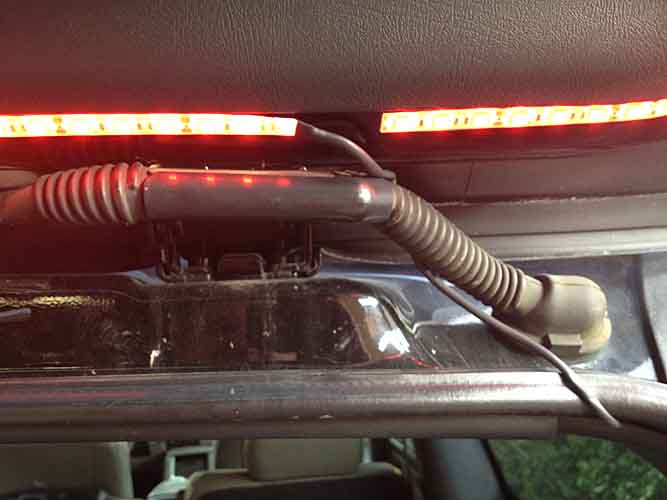
And a last function check after everything is back in place. And a bit of the detail, showing how I chose to route the wires. Again there's little water issue around here, I went right over the gasket, in a terrible place. I put some heatshrink over the exposed wires that come pre-attached to the strip. I added some simple in-line connectors, which are hidden behind the D-pillar trim enroute to the added switch in the cargo sidewall next to the factory PowerPort. At a later date I'll rout it properly, drill into the body and use a bulkhead grommet, or cut it into that bellows/boot on the factory wiring routing.
Fin
.
.
.
.
.
.
...or is it?
I got some Scott's 'Outdoor' double-stick. It's a denser thinner foam, a stickier adhesive. It comes in '15 pound' and '30 pound' and rather optimistically features a metal compass rose seemingly stuck to a brick wall with this wundertape. I went with the 15-lb, because as mentioned previously, I'm cheap.

Here's a couple images of the LED strip drooping loose from the hatch in the open position. These are on the bottom edges near the hatch latch mechanisms. I think the hoops are rubbing the strips in this area but I see no damage. And the sheet metal of the latch indentation on the hatch is very narrow there, so the original bonding was pretty poor too. And the corners were popping loose.

I started off by unpeeling the strip. Turned it on just to function test, after doing this. Not really being familiar with how fragile this stuff might be.

I bought the tape in a 1" wide roll, for use in other projects. The big roll was only twice the very short roll, 2x the price for ~5x as much tape. The light strip is about 3/8" / 1cm wide. So I started off working with 2'L strips, intending to scissor-cut thin strips. Bzzzt. Wrong answer. Of course the super sticky tape can't / won't be cut that way, just sticks to my scissors. So I cleaned a section of my workbench and laid the tape down lightly and cut it with a razor blade. I aimed to make it slightly more narrow than the LED strip so it wouldn't show after the install. And I did it in 18-24" strips for ease of handling.


Then I applied a couple sections at a time, laying my unevenly razor-cut edge against the plastic interior trim to hide it. I'm deliberately laying the strip on the bare metal of the hatch that mates to the weather gasket on the body. It's the only spot that orients the light the way I want it. And barring a ridiculous El Nino season, water infiltration is not typically an issue in my area. Anyway, I firmly pressed and worked the new tape in place, before peeling off the red protective layer and re-applying the LED strip.

And a last function check after everything is back in place. And a bit of the detail, showing how I chose to route the wires. Again there's little water issue around here, I went right over the gasket, in a terrible place. I put some heatshrink over the exposed wires that come pre-attached to the strip. I added some simple in-line connectors, which are hidden behind the D-pillar trim enroute to the added switch in the cargo sidewall next to the factory PowerPort. At a later date I'll rout it properly, drill into the body and use a bulkhead grommet, or cut it into that bellows/boot on the factory wiring routing.

Fin
.
.
.
.
.
.
...or is it?
Last edited:

