MojaveMadMan
Observer
First of all thanks for checkin out my build. I have been a lurker on here for a while, finally time to share. As is customary I will give a little background about myself, plans for the build, and then you know what follows. I also have a build thread on Toyota-4runner.org, but that site is geared more towards 4runner tech and not expo type stuff, so I thought I would share here too.
I have been in a Toyota since I was 16. Long story short I have had six Toyota trucks or SUV's over the last 15 years. Drove a 95 civic around for the last 2 years (80 mile a day commute), and now we are here!!! I got me a 97 4runner, 4wd limited!!! I am very excited about this one. I was looking at LC's, Tundras and 4runner's, and decided this will meet my needs the best. I wanted something I wouldn't feel bad about building and using, and it needed to fit my growing family in it. Besides my wife we have a 2 year old boy who is crazy and loves the outdoors already so I knew this was the right fit of comfort and performance at a very nice price!!!
I am in the US Air Force, been in for 7 years now. Before that I was a welder and fabricator, working 10 years professionally in San Diego building high performance/luxury sand cars and off road race cars all the way from class 5 VW's to Class 1 unlimited cars, Trophy Trucks, and short course trucks. I have worked for some big and small shops, and my favorite build was definitely this sand car below. Not only was the thing a beast, but the owner is a top notch guy, drove the piss out of it and never hesitated to let us take it for a hot lap around the desert! Sand Rail canal jump - YouTube
Ok so onto the build. I am building my 4runner to be what I would consider being a jack of all trades, but an expo focus in the end. It isn't a rock lobster, but I want it to be able to handle the rocks. It isn't a pre-runner, but I want it to be able to handle some speed. It isn't an expo rig, but I want to be able to go the distance. It isn't a dooms day machine, but I want to be able to mow down some zombies (haha). I want this thing to have a bit of everything. Ultimately I want this thing to be suited for long multi day camping trips that encompass everything from fire roads, to some rock sections. I want it to be able to do a good job handling moderate terrain of all kinds, but not a pro at anything if that makes sense. Coming from the baja racing back ground I like to drive fast when I can, but I don't expect to hit the whoop sections at 80 mph in this thing. I also want to consider this a good get out of dodge vehicle, able to handle multiple scenarios if needed. Yes I do believe in being prepared, not like the guys on TV though, haha. But most important, is safety. I want to have my wife and son in this rig alongside with me and not have to worry about their safety when in this thing.
So here is what I got
-1997 Toyota 4runner
-Limited Edition with Tan Interior
-4wd, Auto w/ factory E-Locker
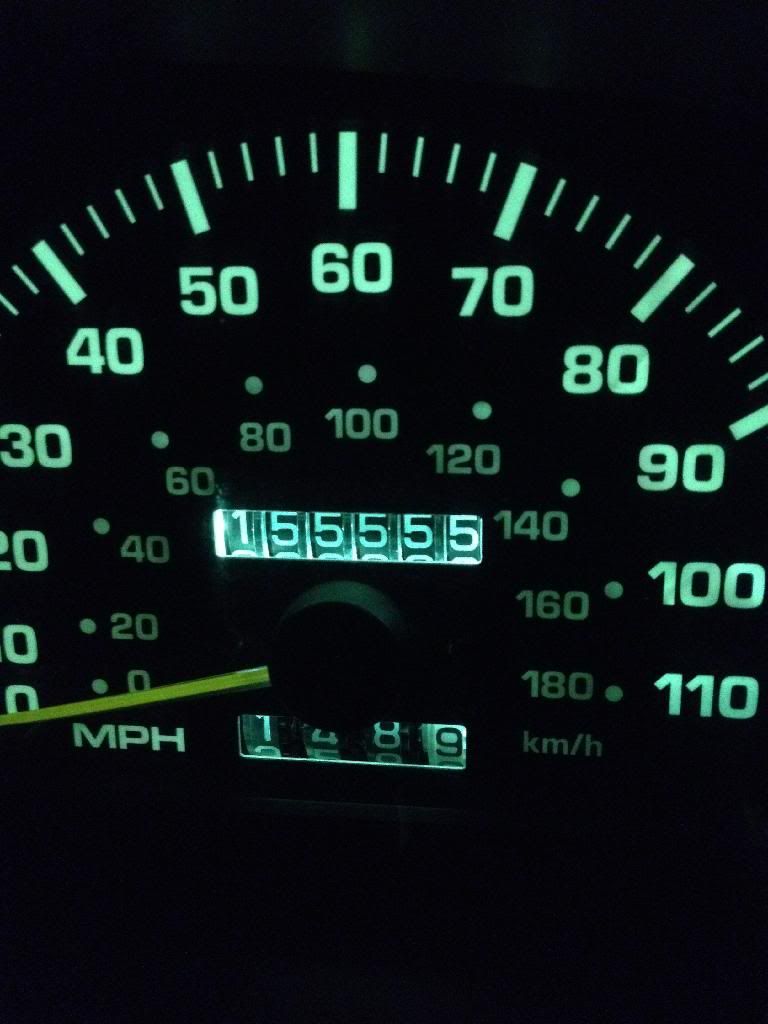
-150K on the clock when I picked it up
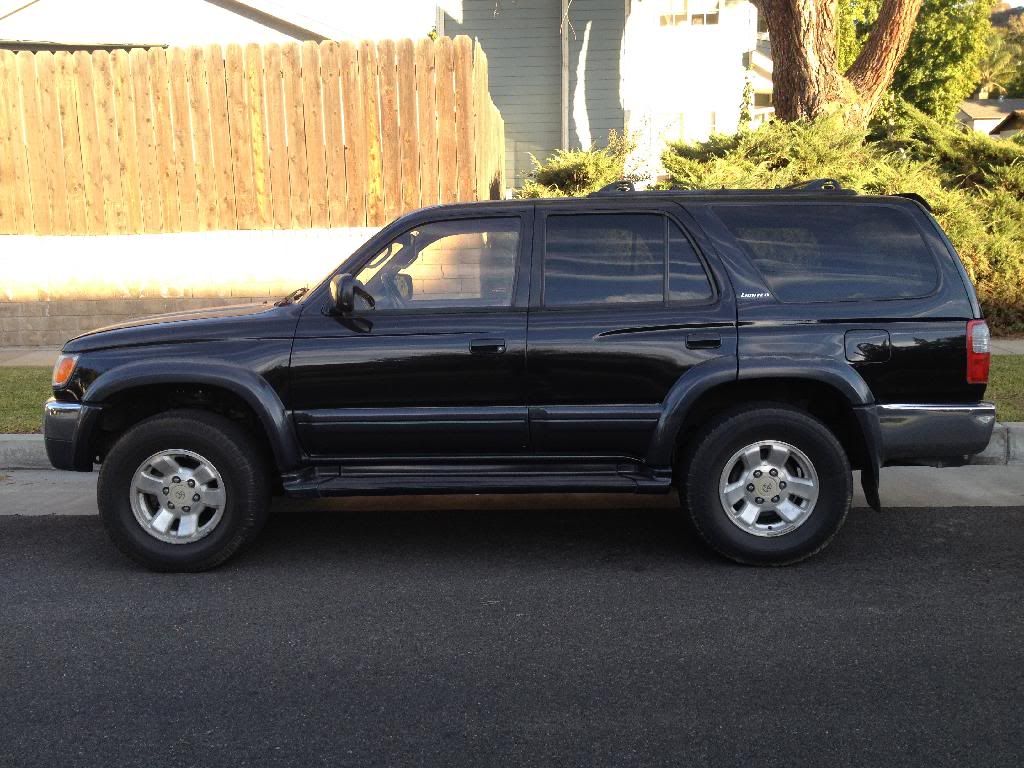
So here is the obligatory stock picture:
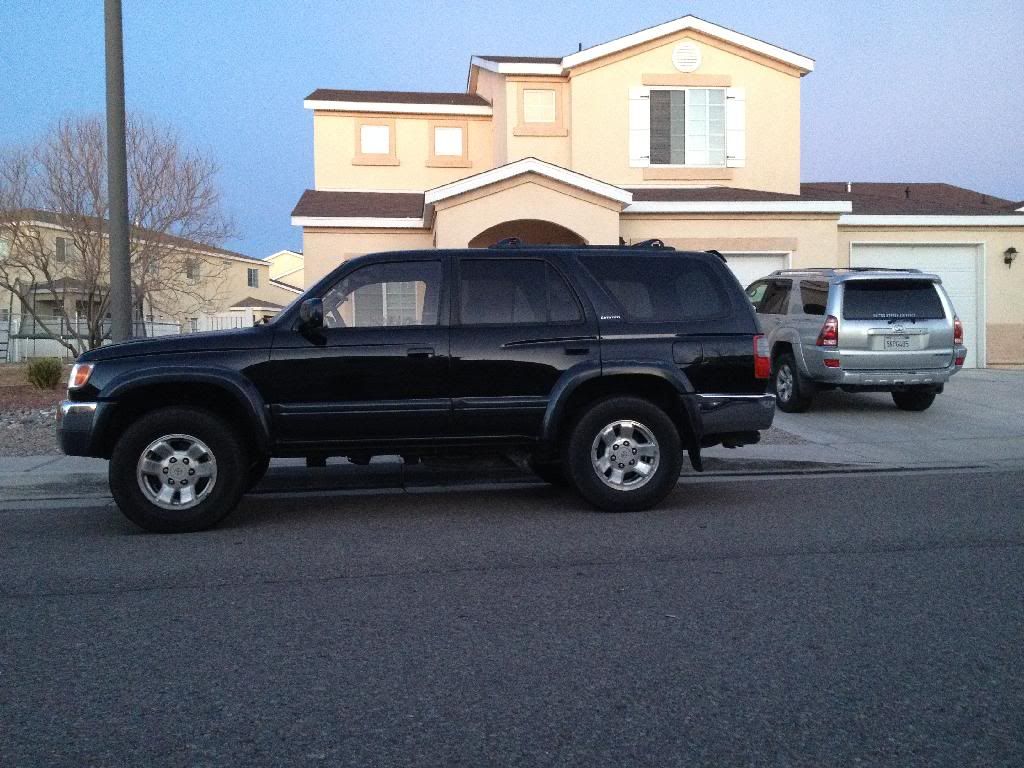
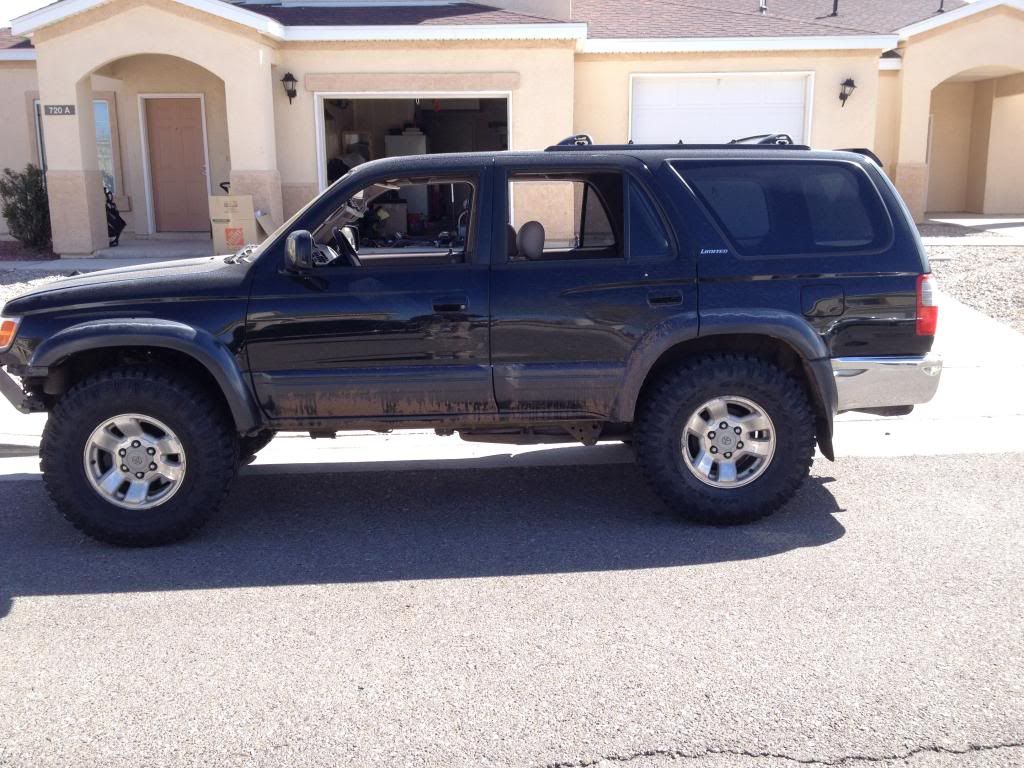
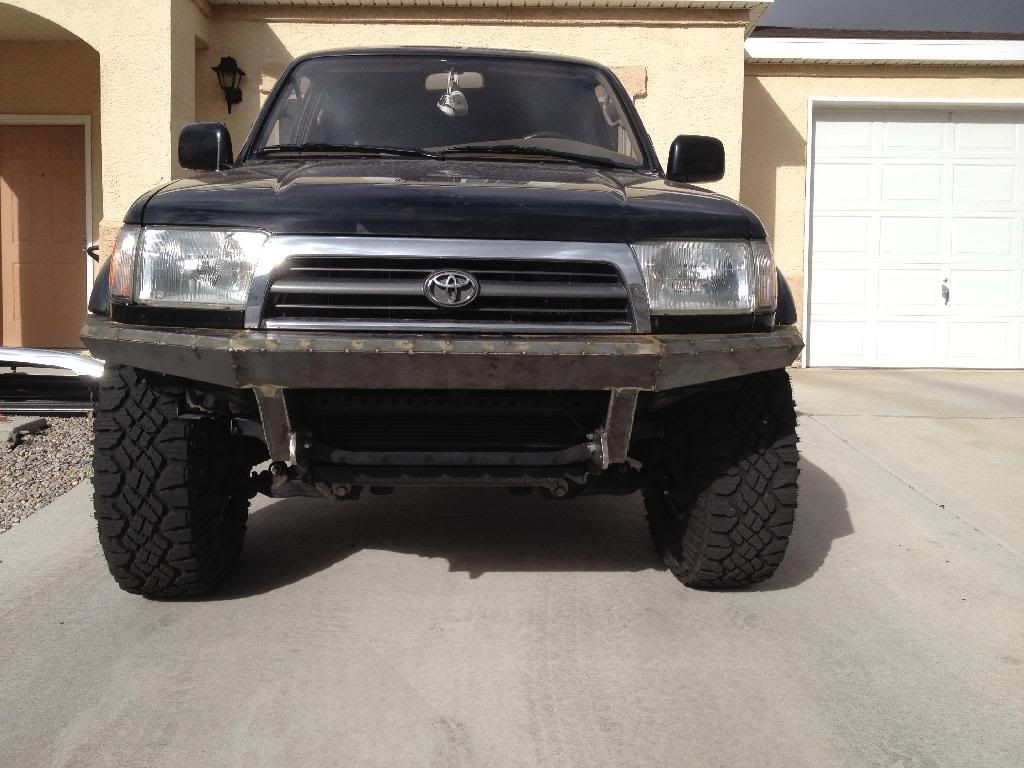
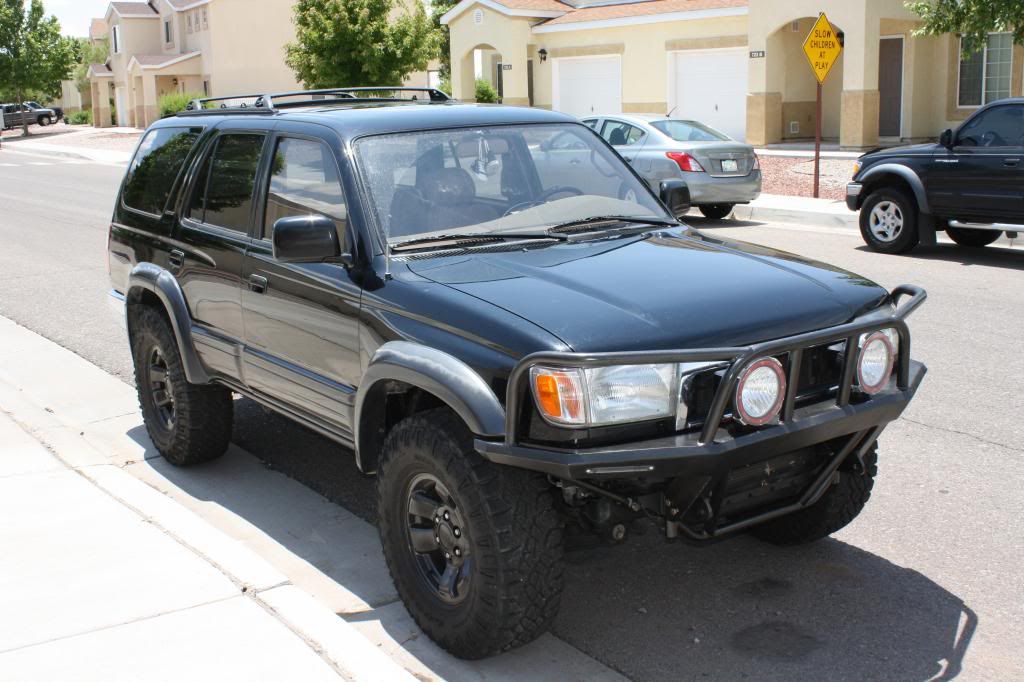
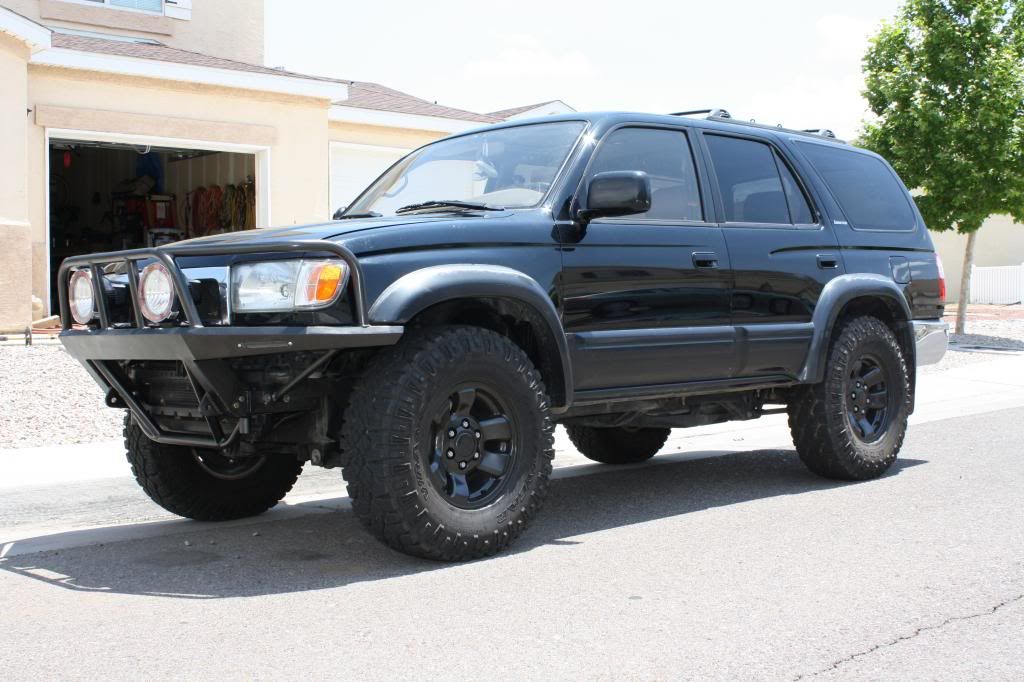
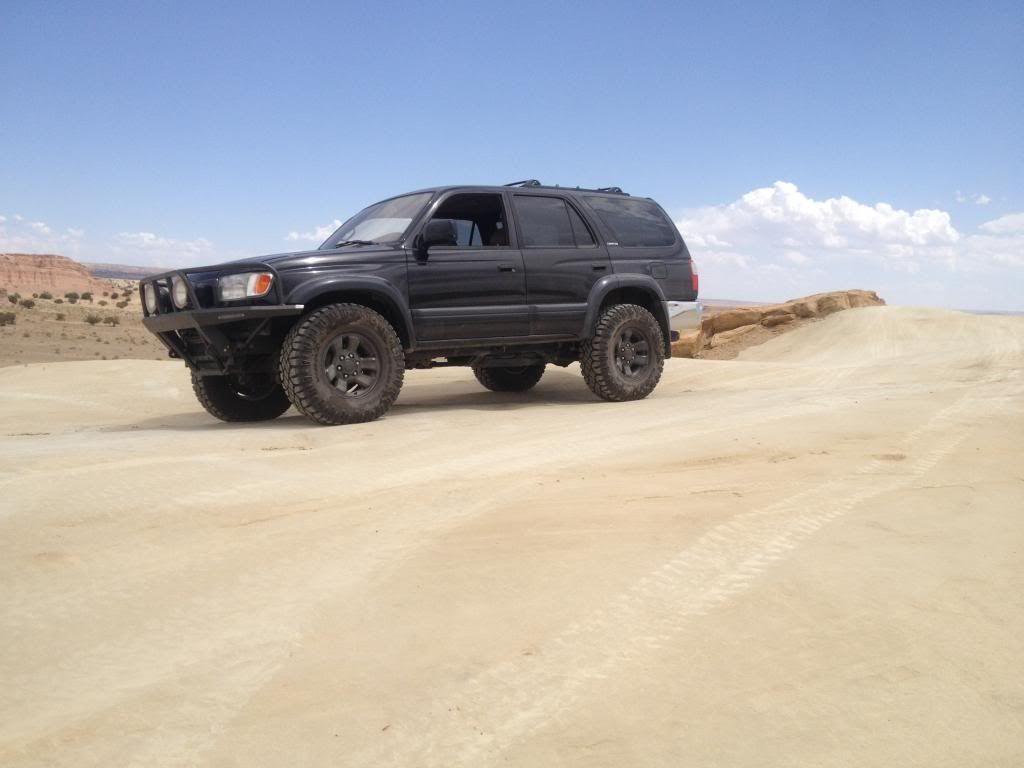
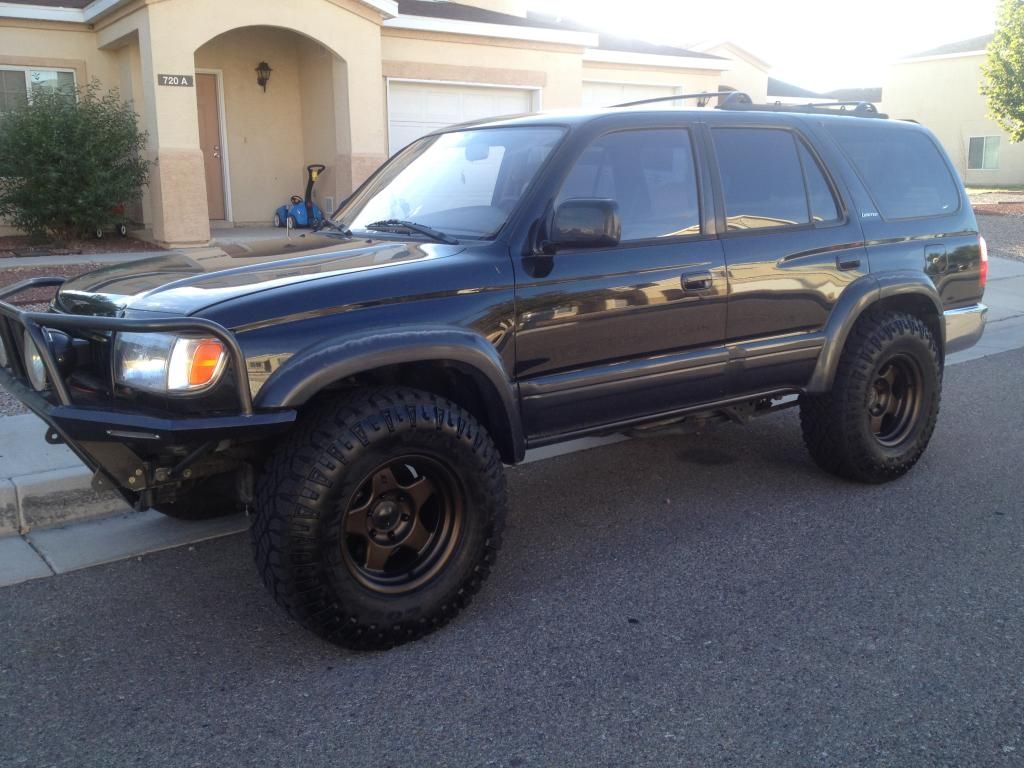
And the current picture.
Here are the current and future build specs:
Maintenance:
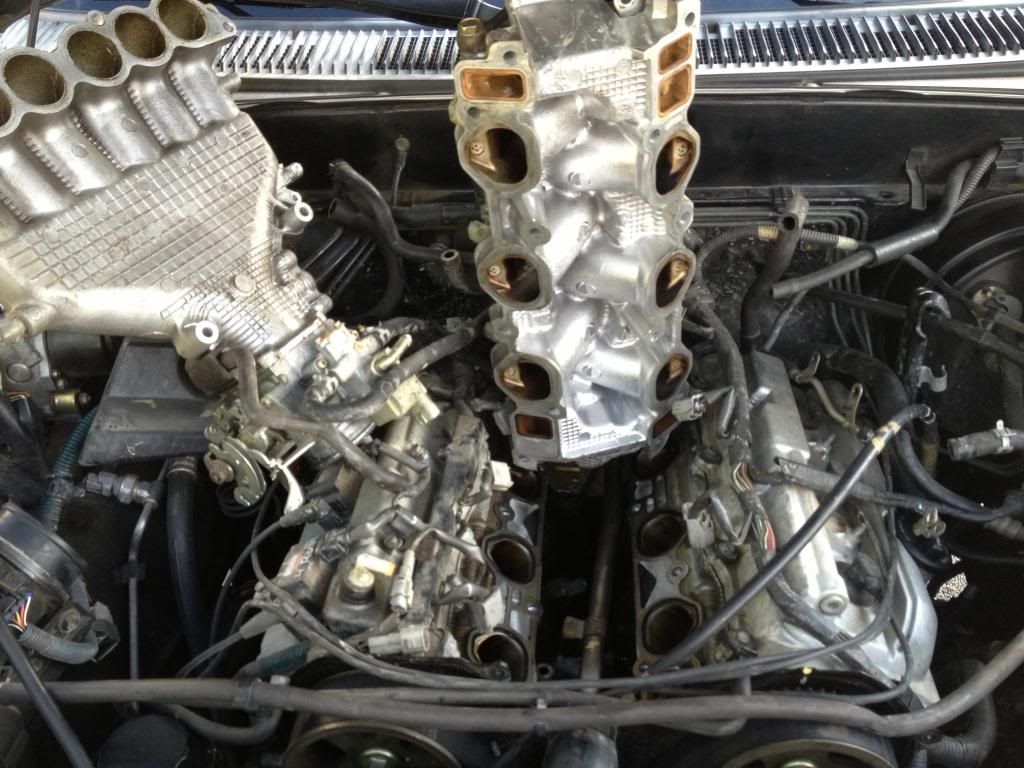
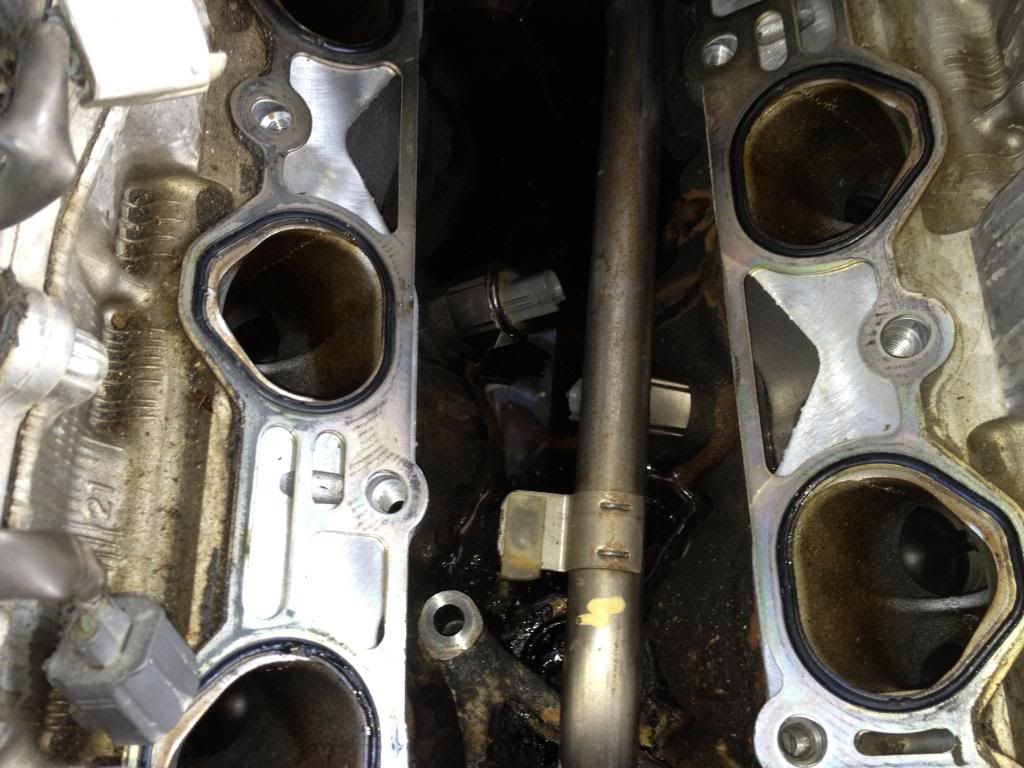
- Knock Sensors – Autozone
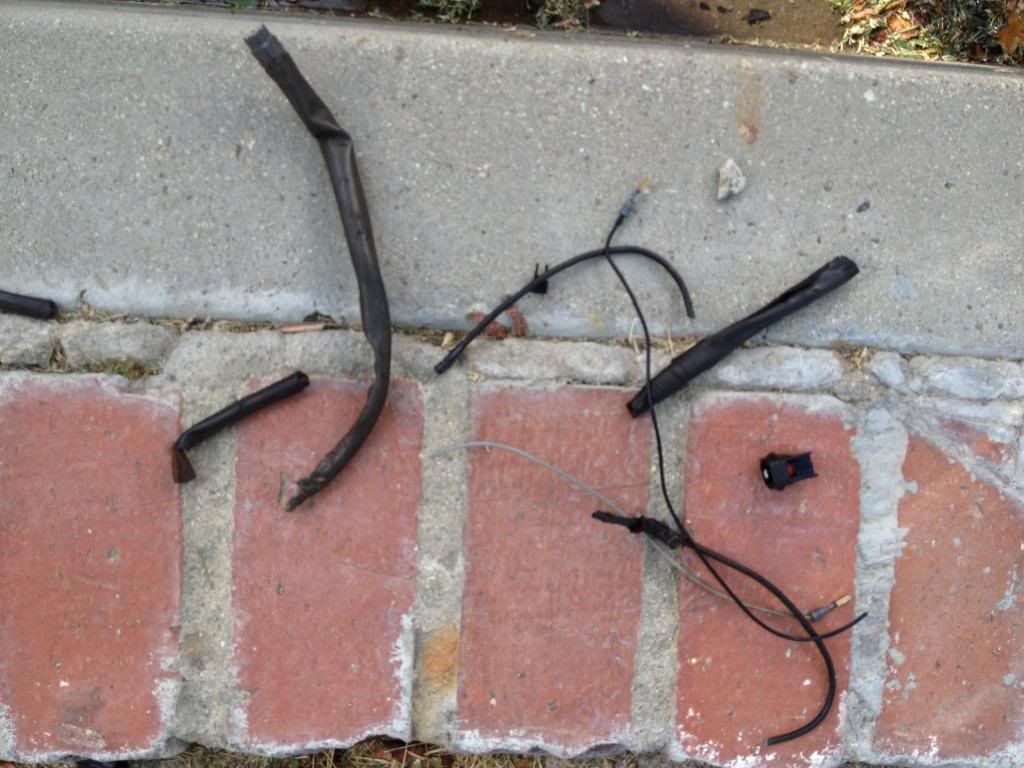
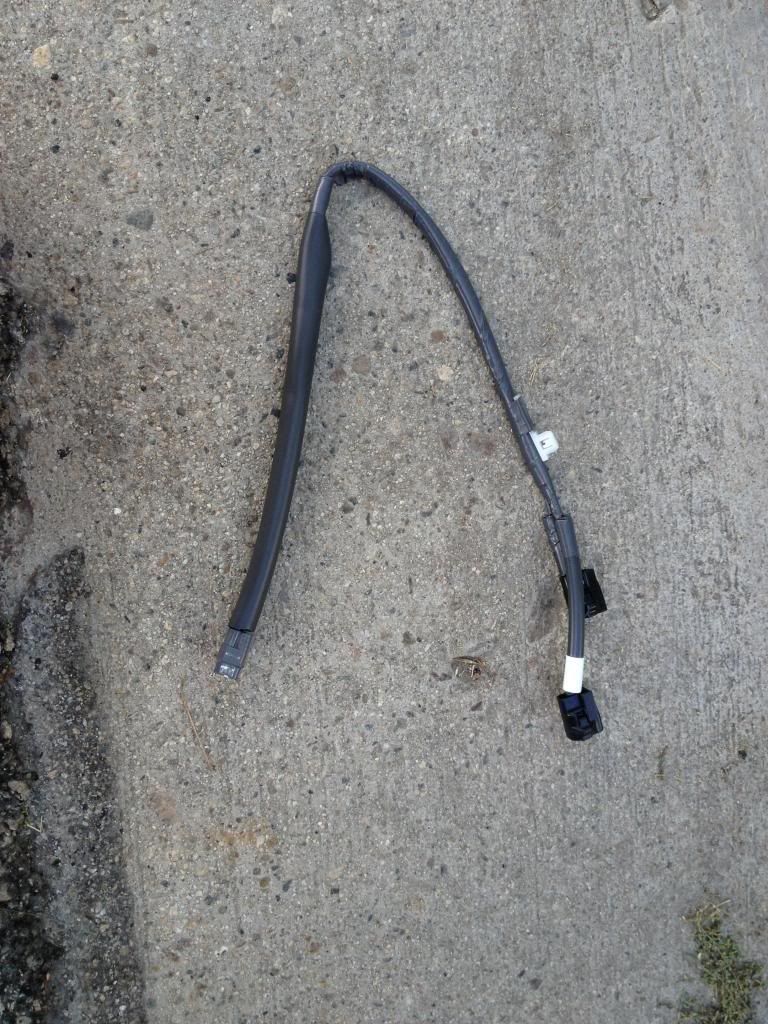
- Knock Sensor Harness – Toyota
- Bottom intake Gaskets – Toyota
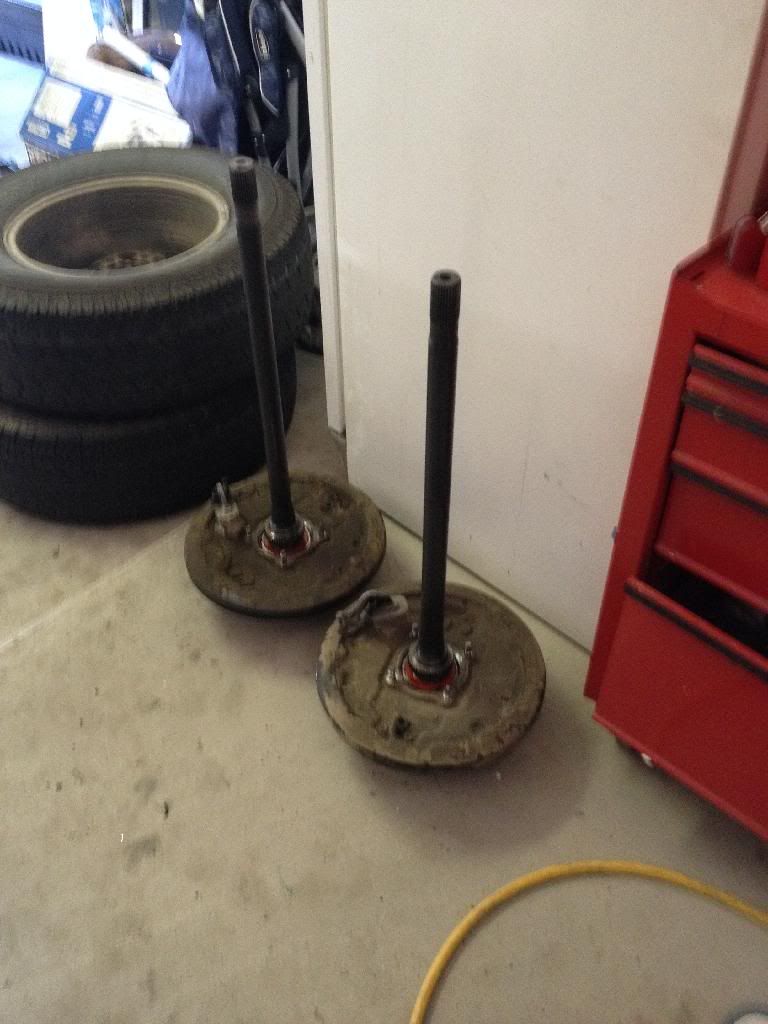
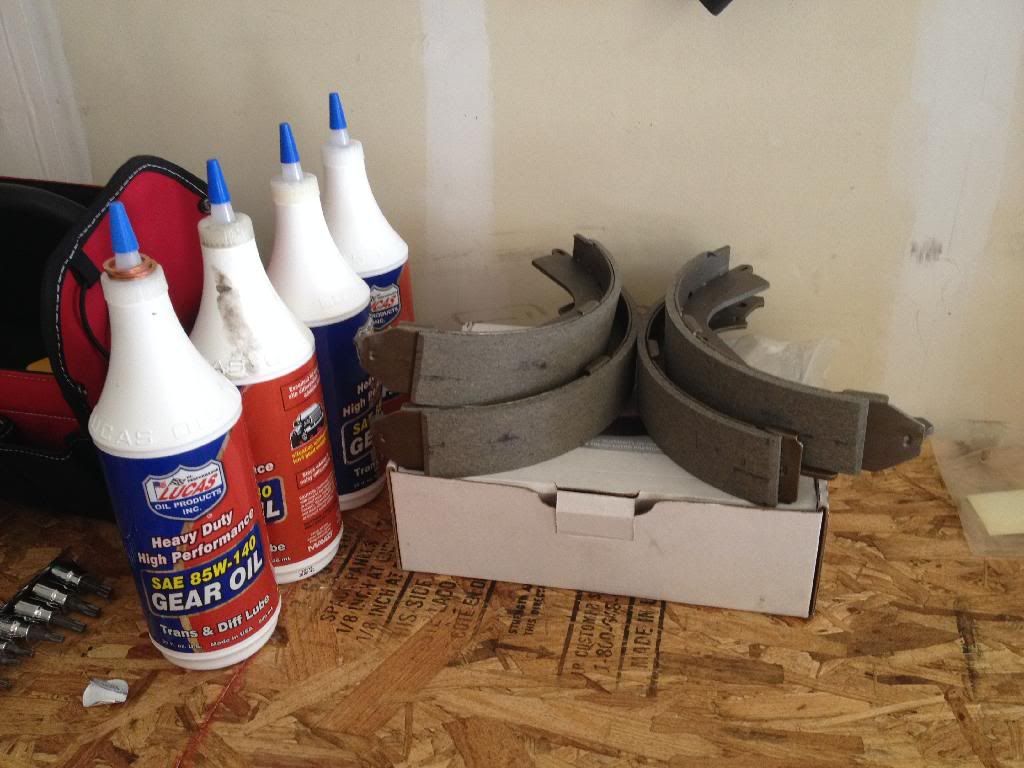
- Rear Brake Shoes – NAPA
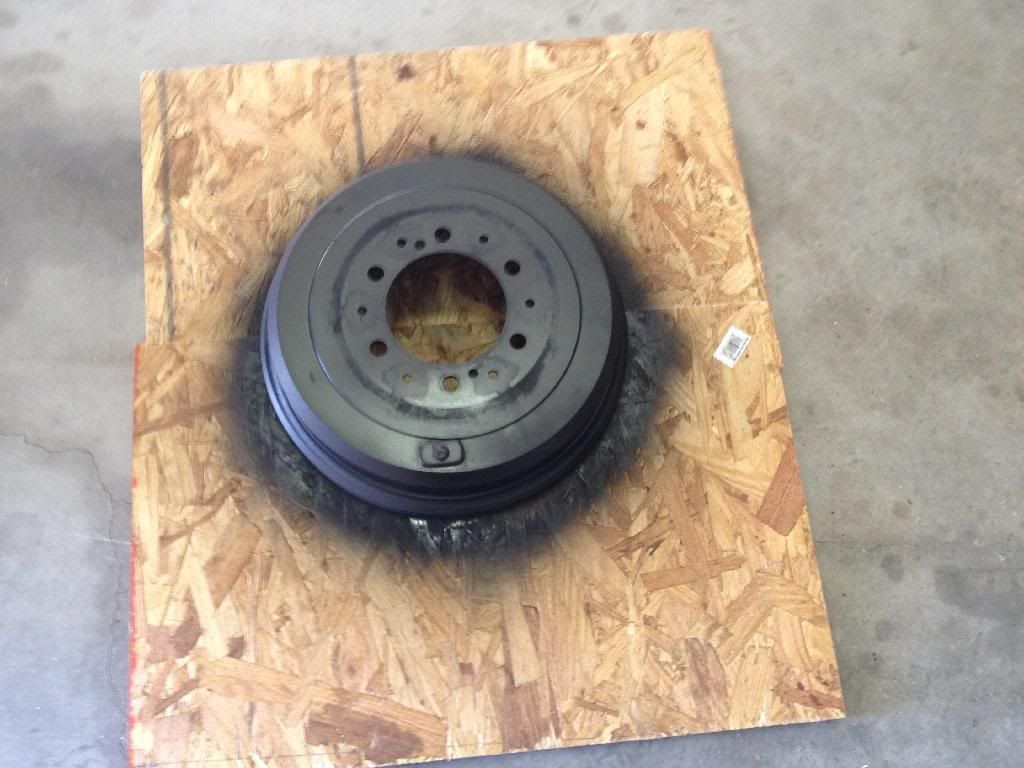
- Rear Break Drum Turning – NAPA
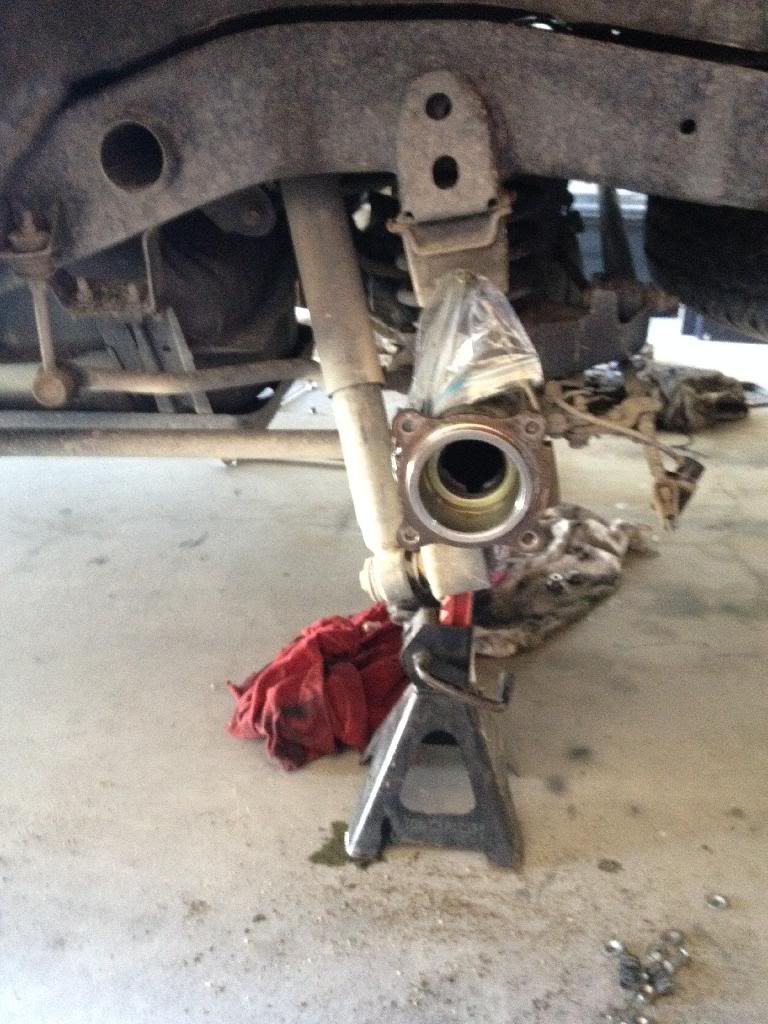
- Rear Inner Axle Seals – NAPA
- Rear Outer Axle Seals – NAPA
- Rear Wheel Bearings – NAPA
- Rear Wheel Bearing Pressing – NAPA
- PCV Valve – Toyota
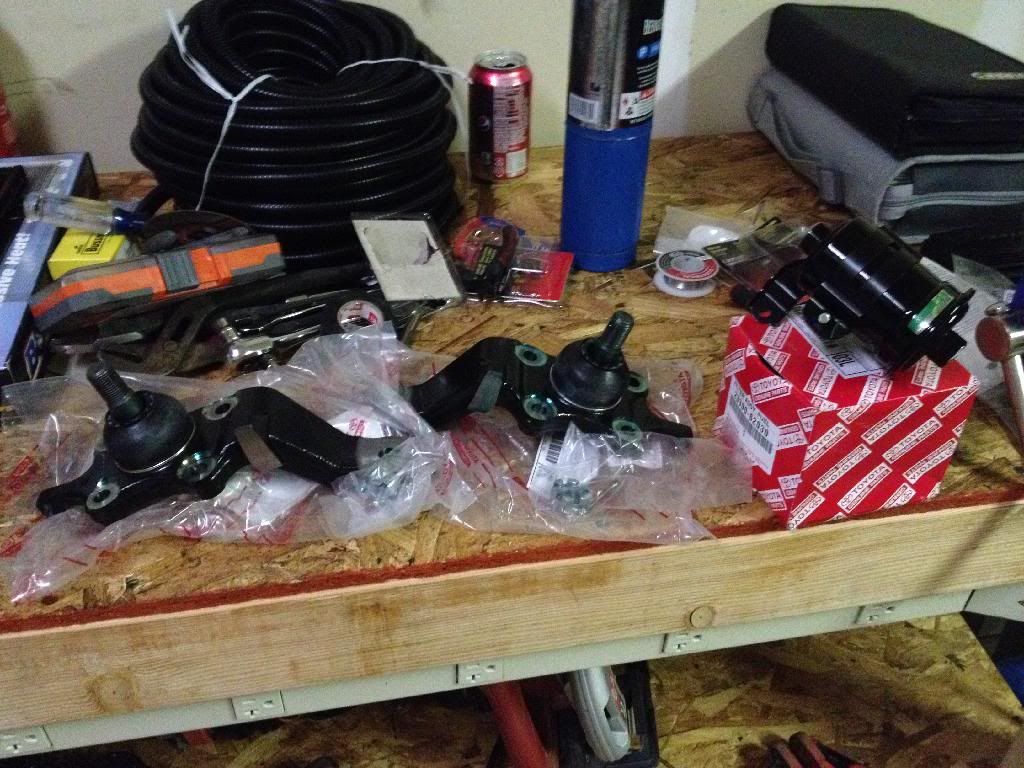
- Fuel Filter – Toyota
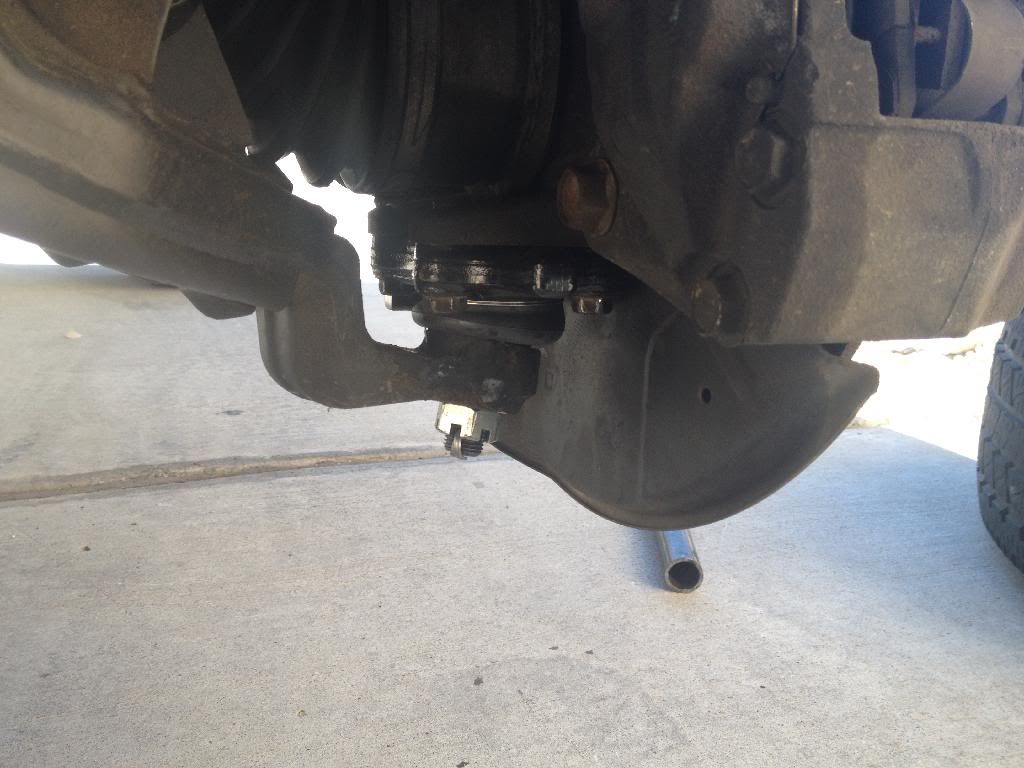
- L/R Lower Ball Joints – Toyota
- Plugs and wires – Amazon
- Transfer case fluid replaced – Mobile One
- Diff Fluid Replaced Front and Rear – Lucas
Engine:
- Stock
- Might add a super charger, this will be one of the last mods
Transmission/Transfer Case:
- Stock Transmission
- Want to upgraded the valve body if I do a super charger
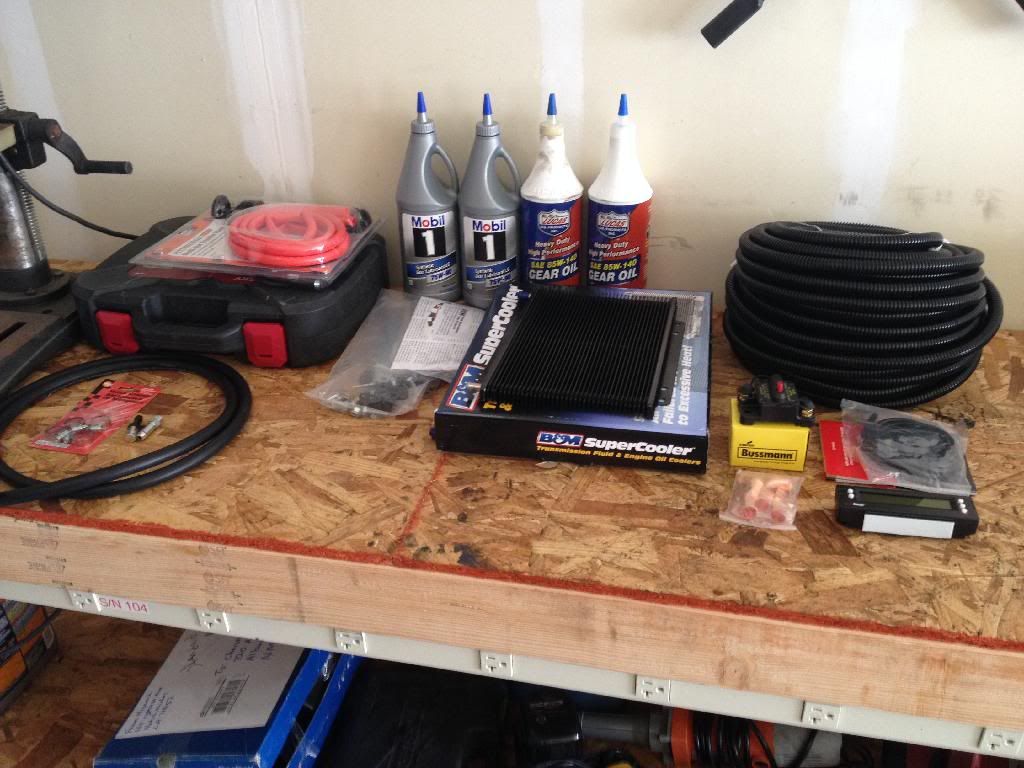
- B&M Transmission Cooler 70268 – Amazon
- Mobil One 75W-90 Gear Oil Swap in Transfer Case – Amazon
Front and Rear Differentials:
- Lucas 85W-140 Gear Oil Front and Rear – NAPA
- Stock Front Diff
- Want to add an ARB Air Locker
- Stock Rear Diff
- Will be doing the Blue Wire Mod any day now
- Diff Breather Extension Mod – Various
- Will re-gear to match new tire size
Front Suspension:
- Stock
- Want Sonoran Steel 1.2 Kit
- Tundra 13WL brake upgrade - Toyota and NAPA parts
Rear Suspension:
- Stock
- Want Sonoran Steel 1.2 Kit
- Want custom made upper and lower links with hiems and OEM bushings
- Want custom track bar with heims on both sides, and custom mounts on the frame
Interior
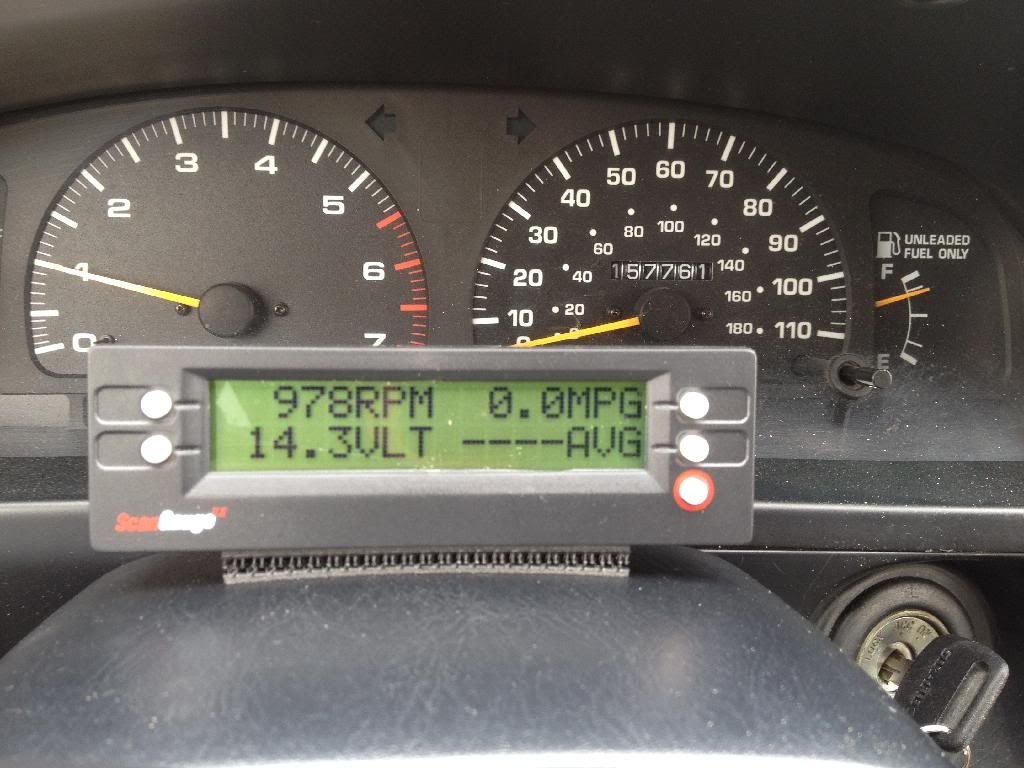
- Scan Gauge II – Amazon
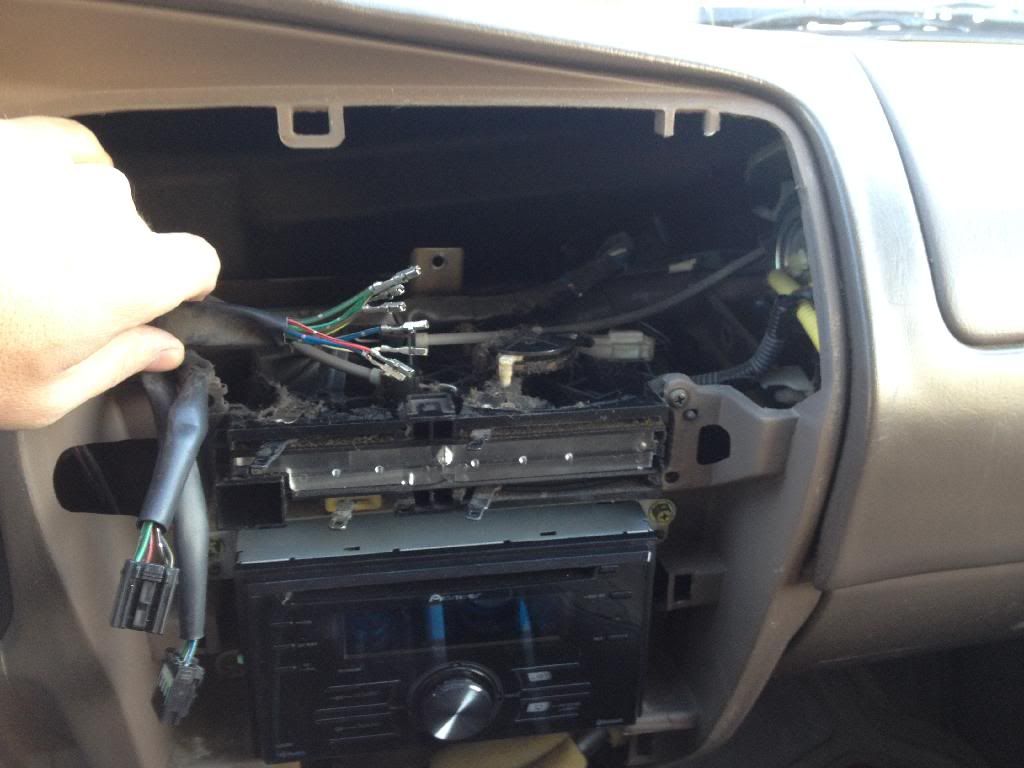
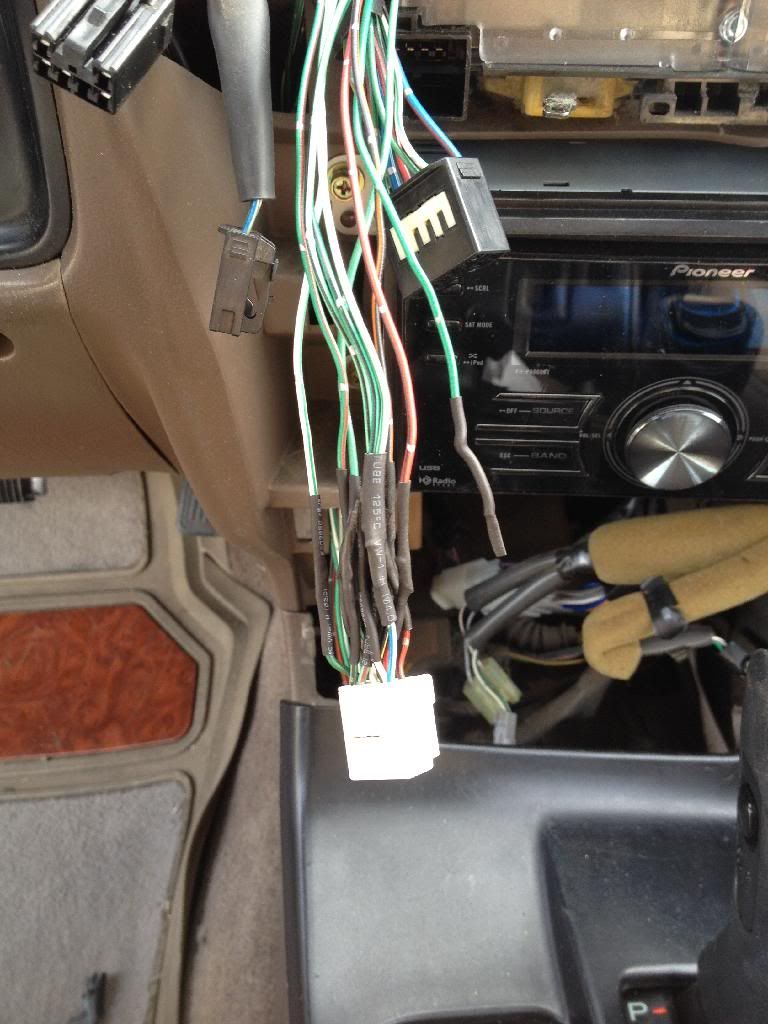
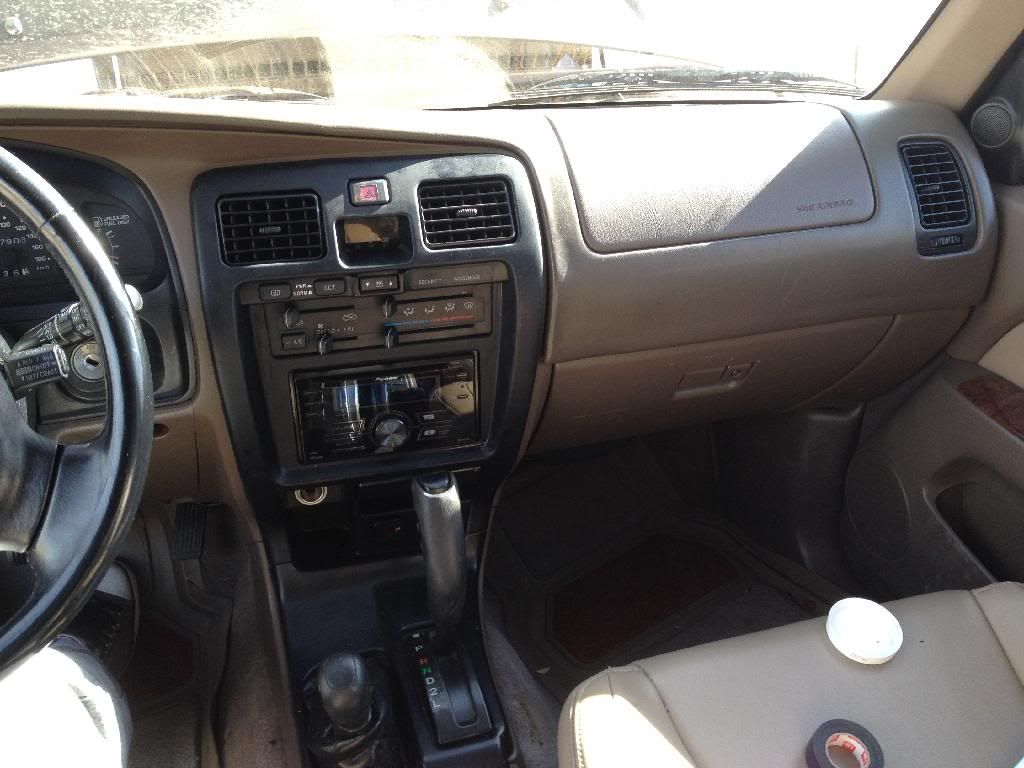
- 99+ Radio Bezel – Nissanh @T4R
- Want 99+ Center Console
- Want to make my own seat covers
- Want Weather Tech Floor Liners
Electrical:
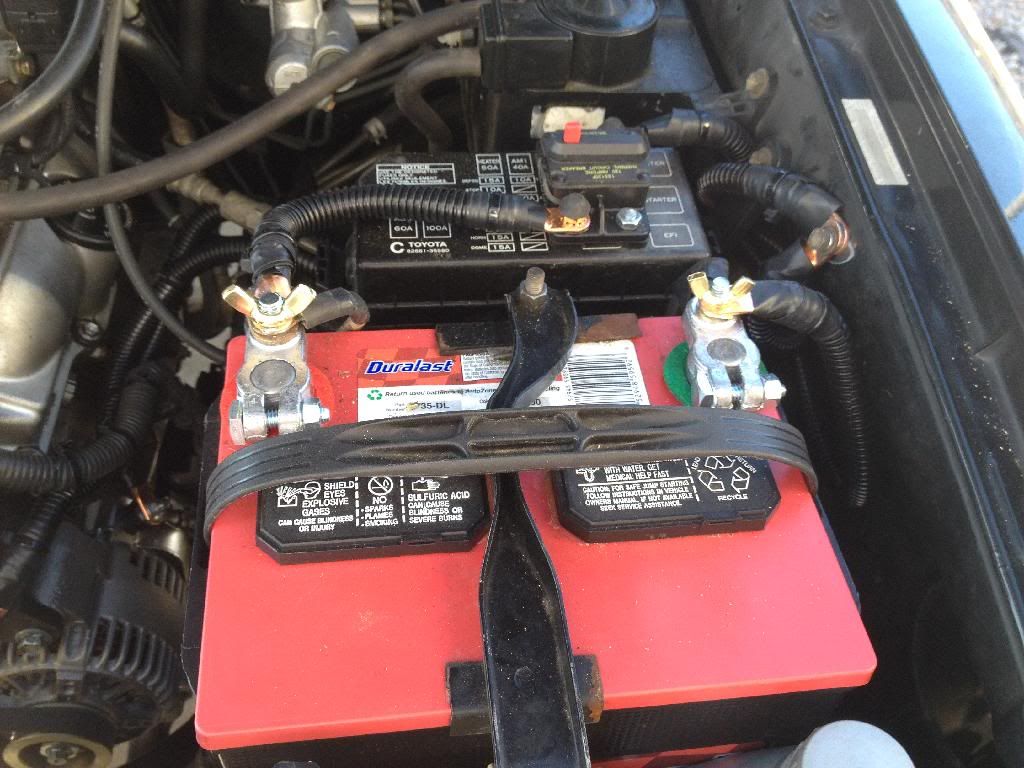
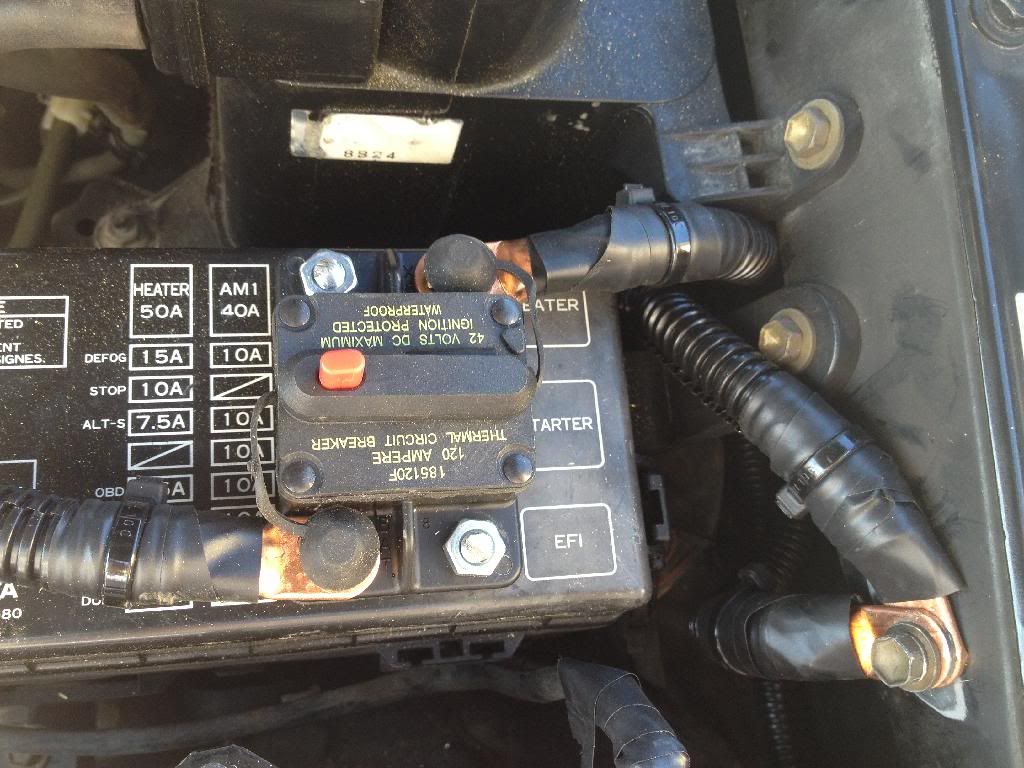
- Big 3 Mod – Various
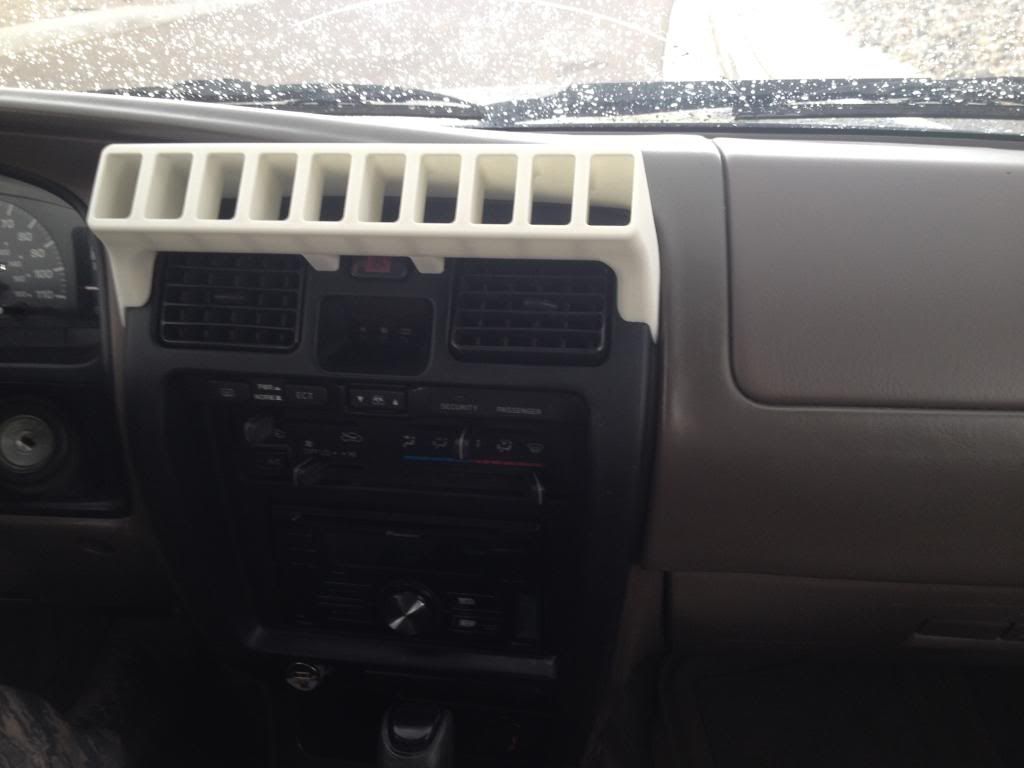
- Custom 3D Printed Switch Panel (file from Bandit Runner @T4R, not installed)
- Want Blue See Fuse Block for accessory wiring
- Want Die Hard deep cell battery
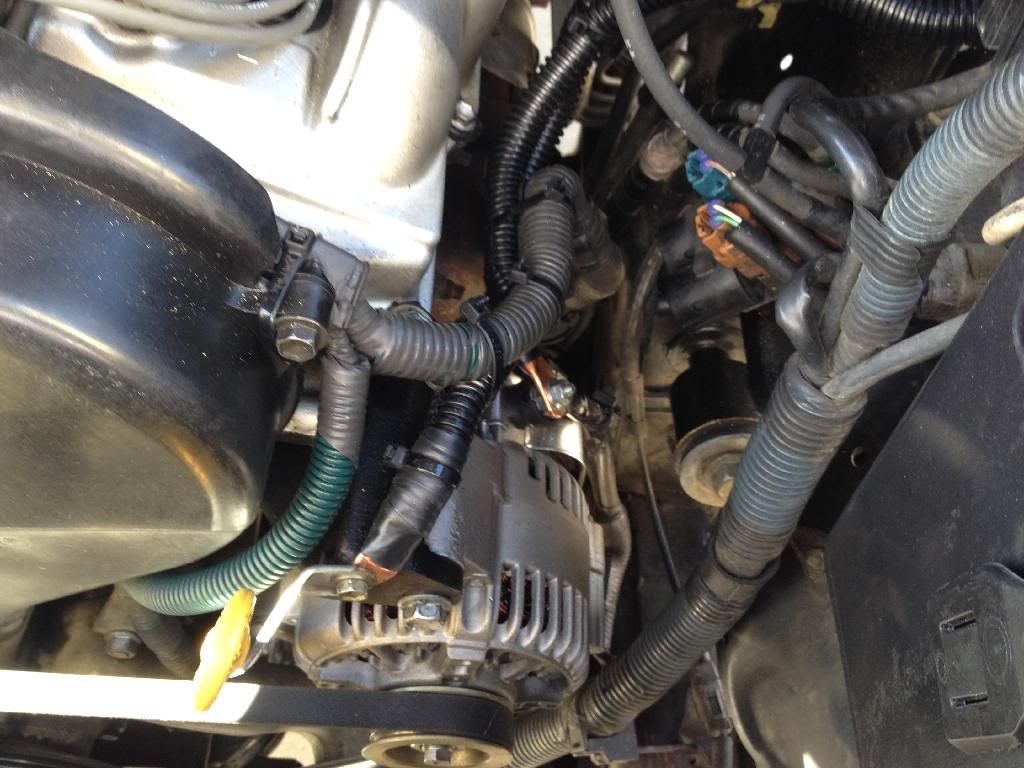
- Cadillac Alternator Upgrade - NAPA
Tires and Wheels:
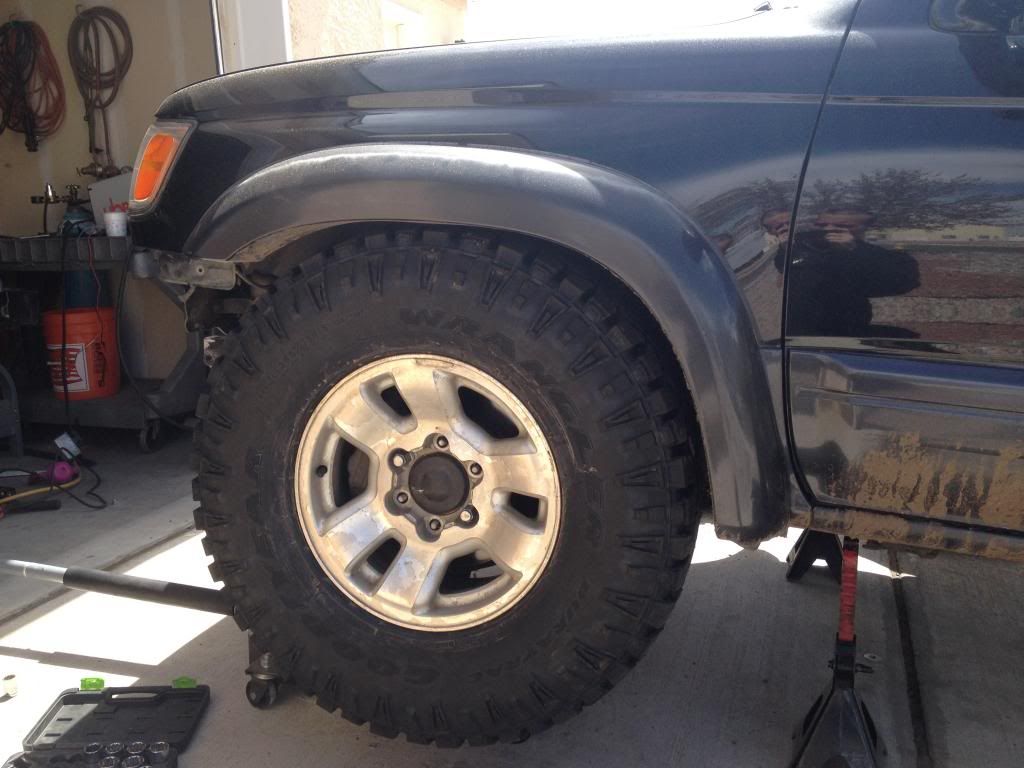
- 285/75R16 Goodyear Duratracs - Discount Tire
- SRS F5 Matte Bronze Wheels - 16" x 8" w/ 3.5" back spacing
Recovery/Armor:
- No recovery gear yet, but I am collecting gear and putting together a plan
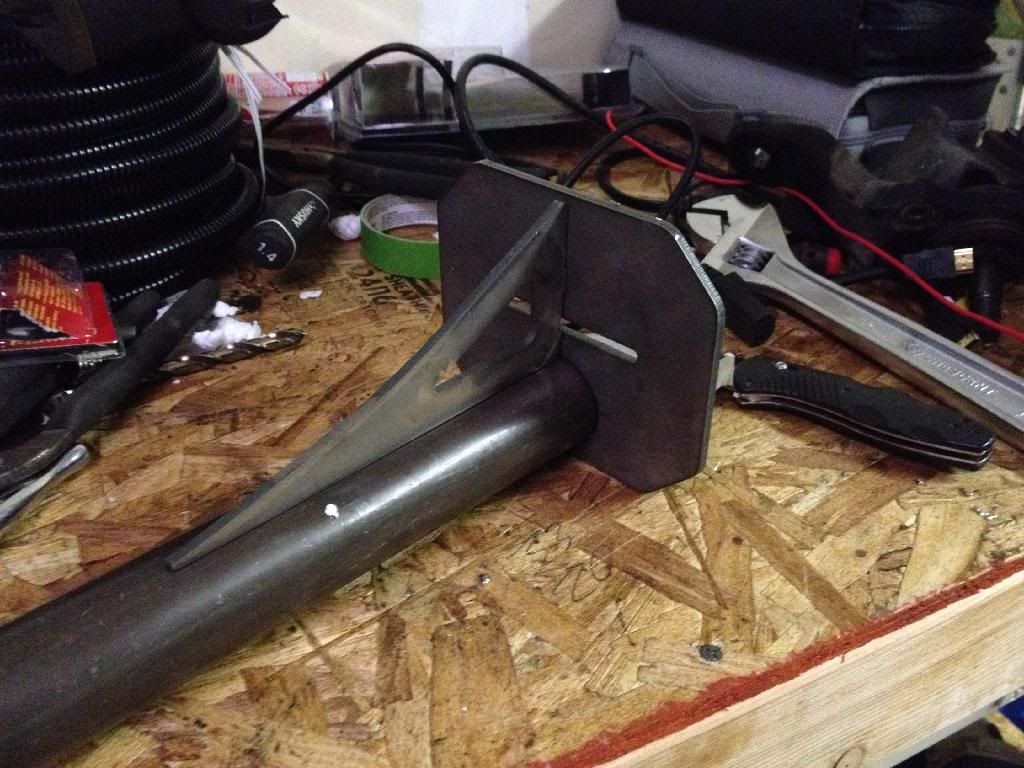
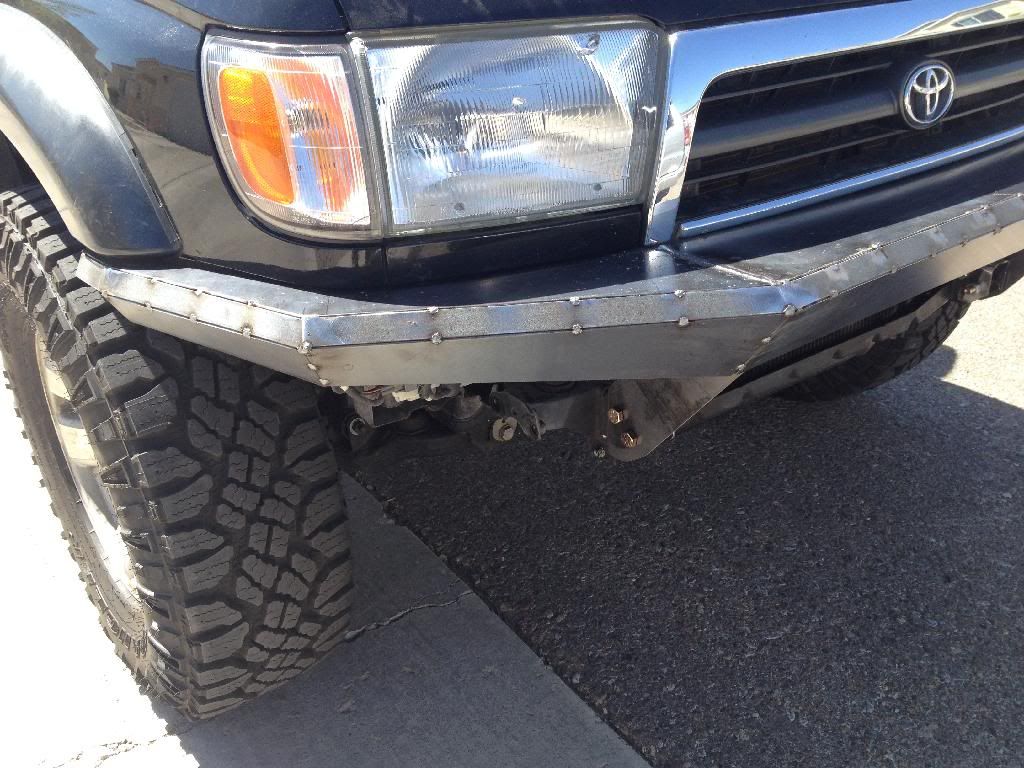
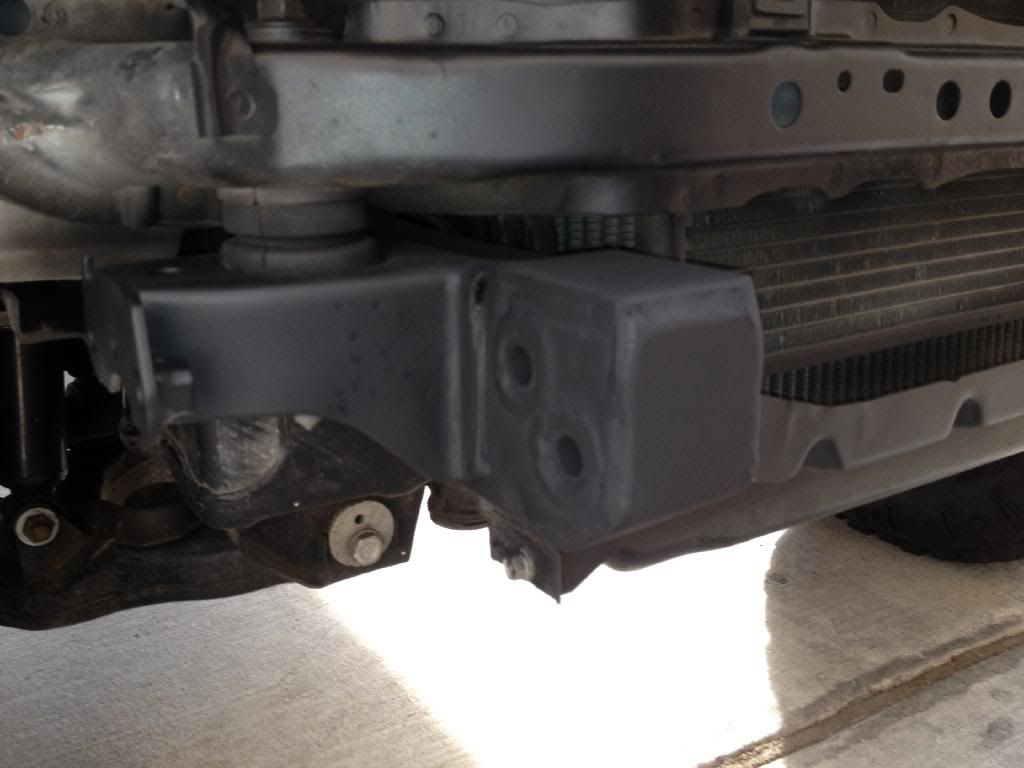
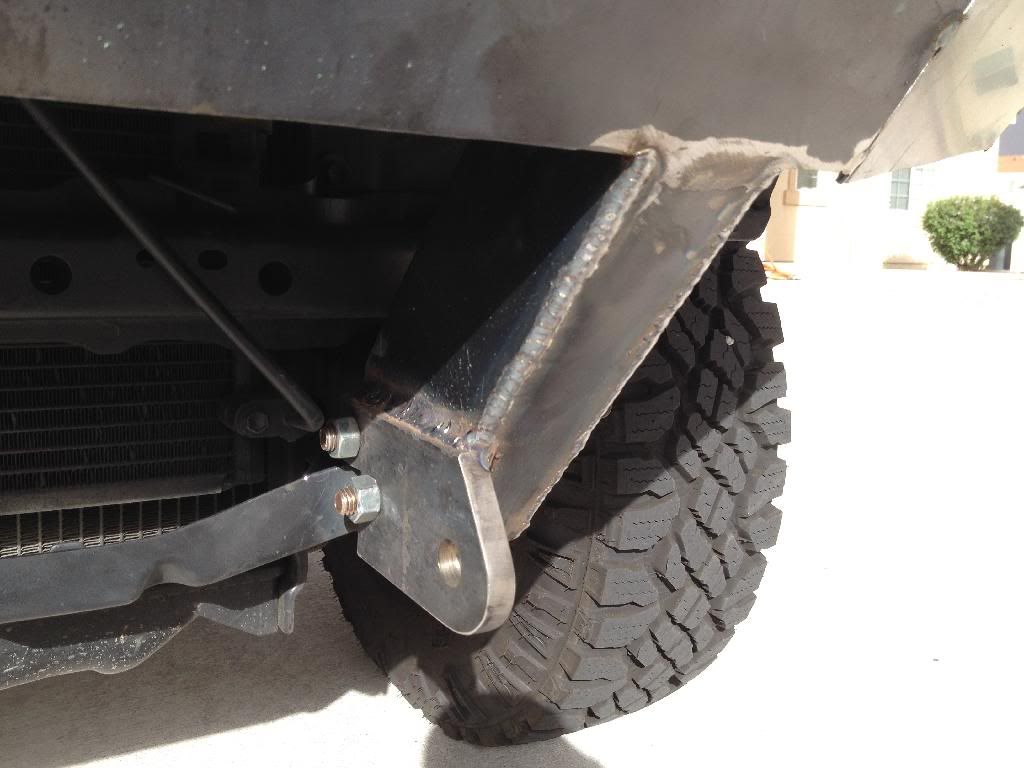
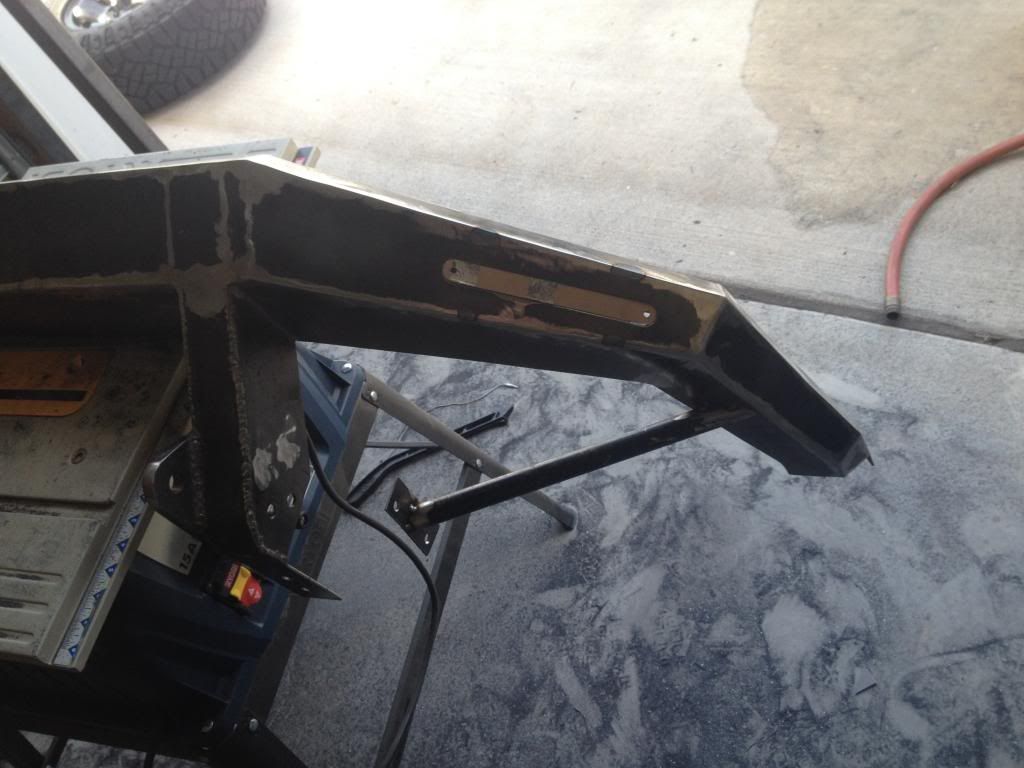
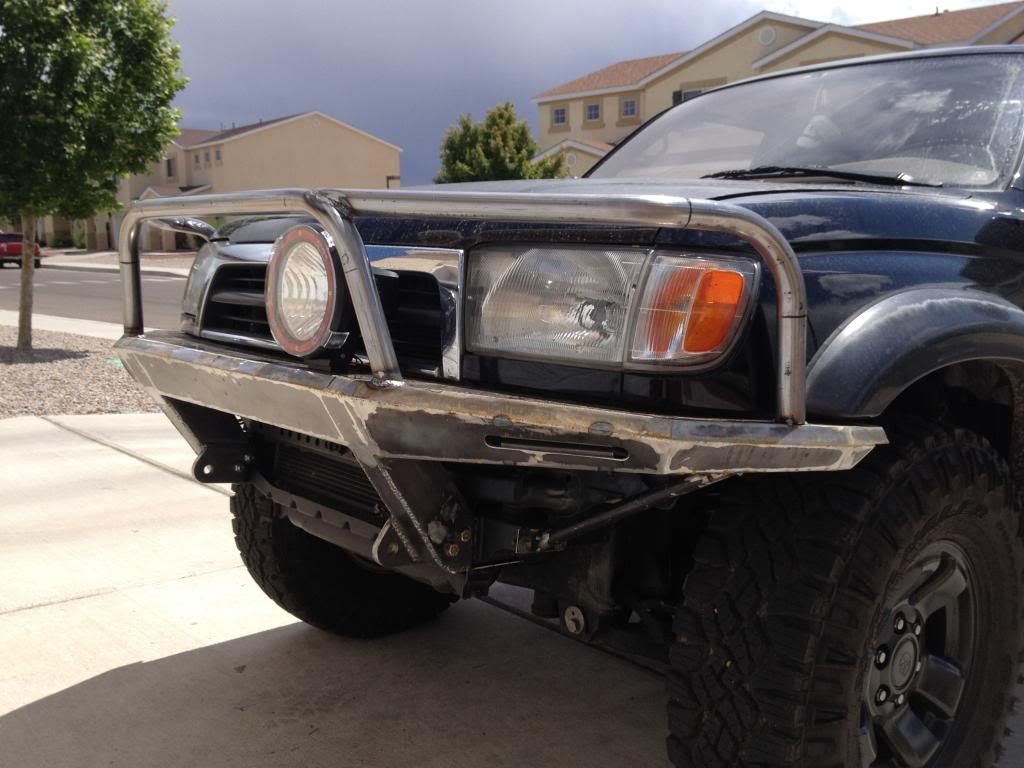
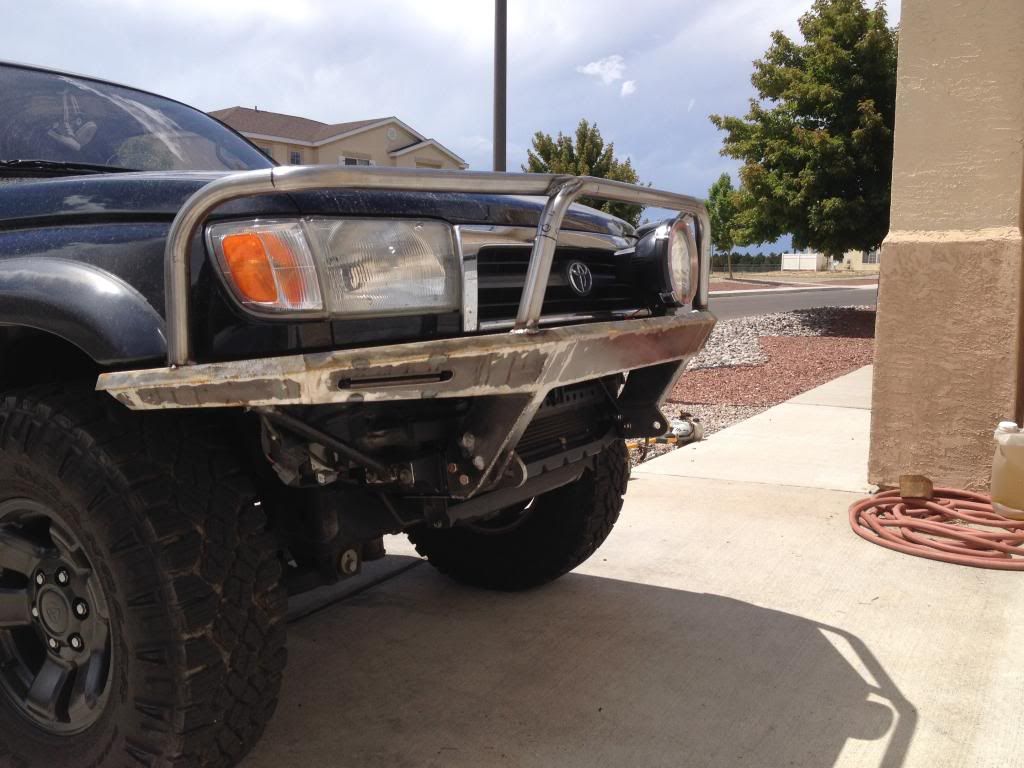
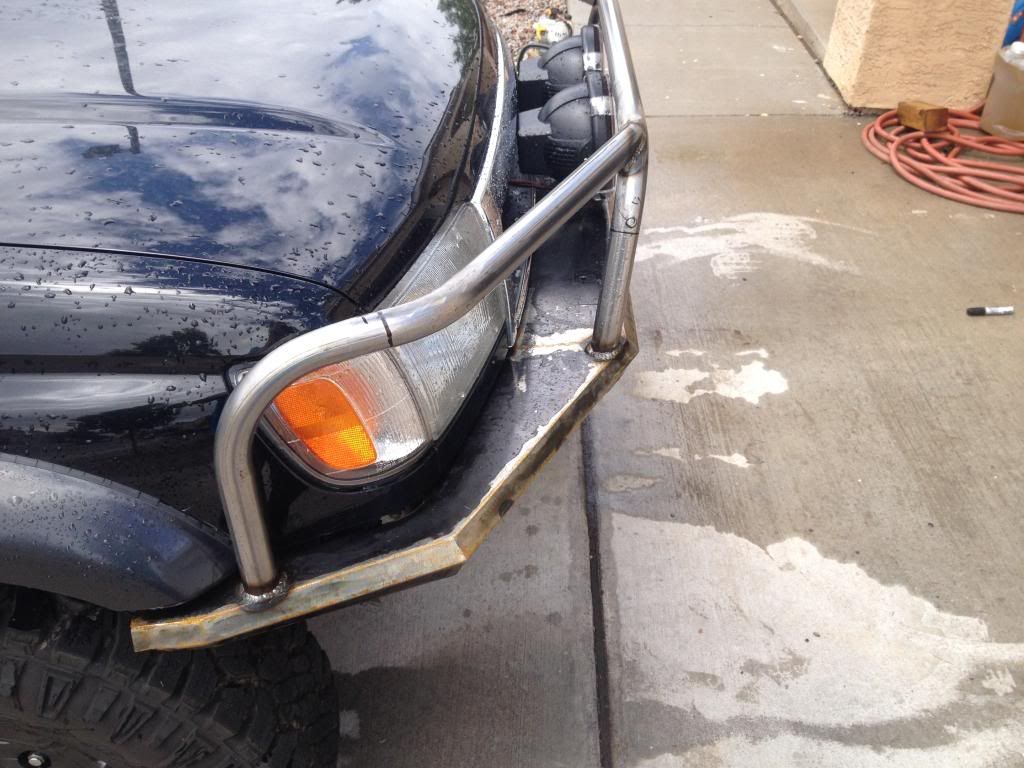
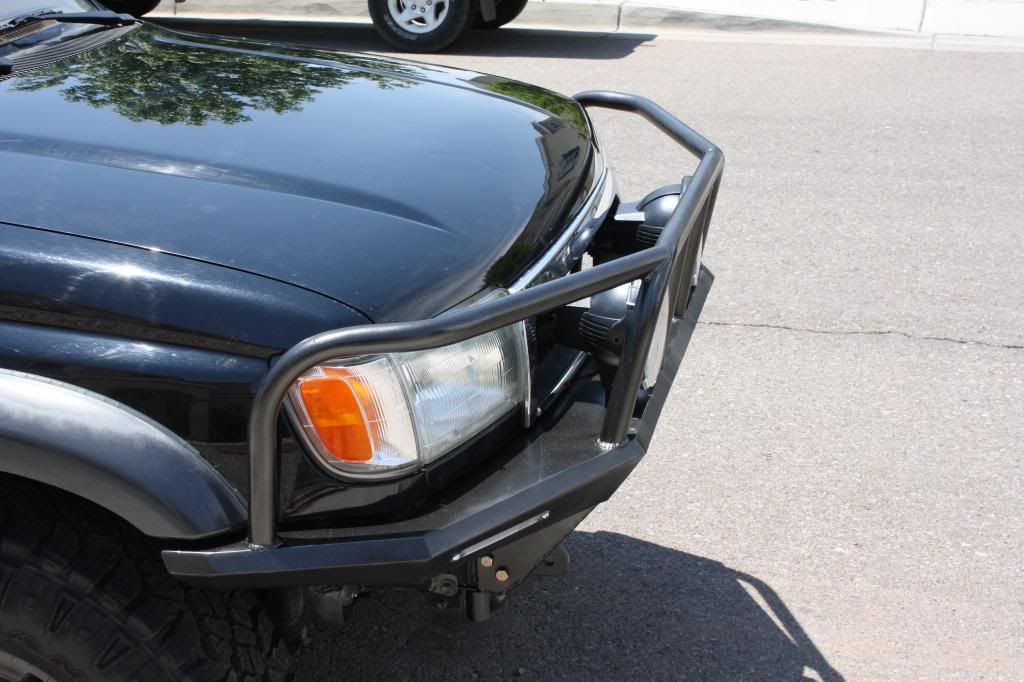
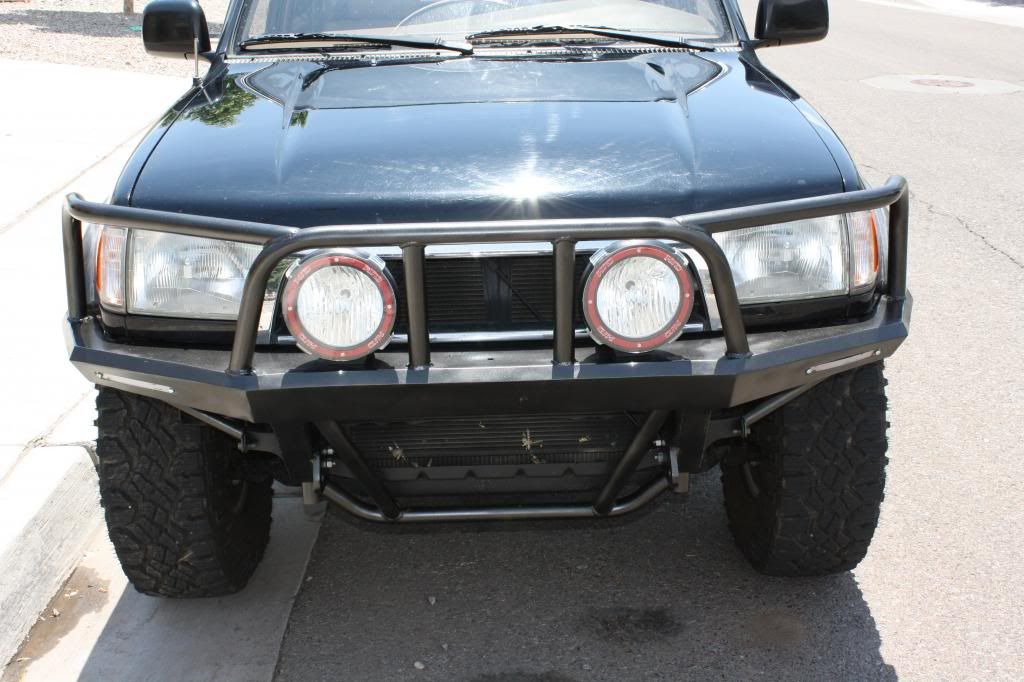
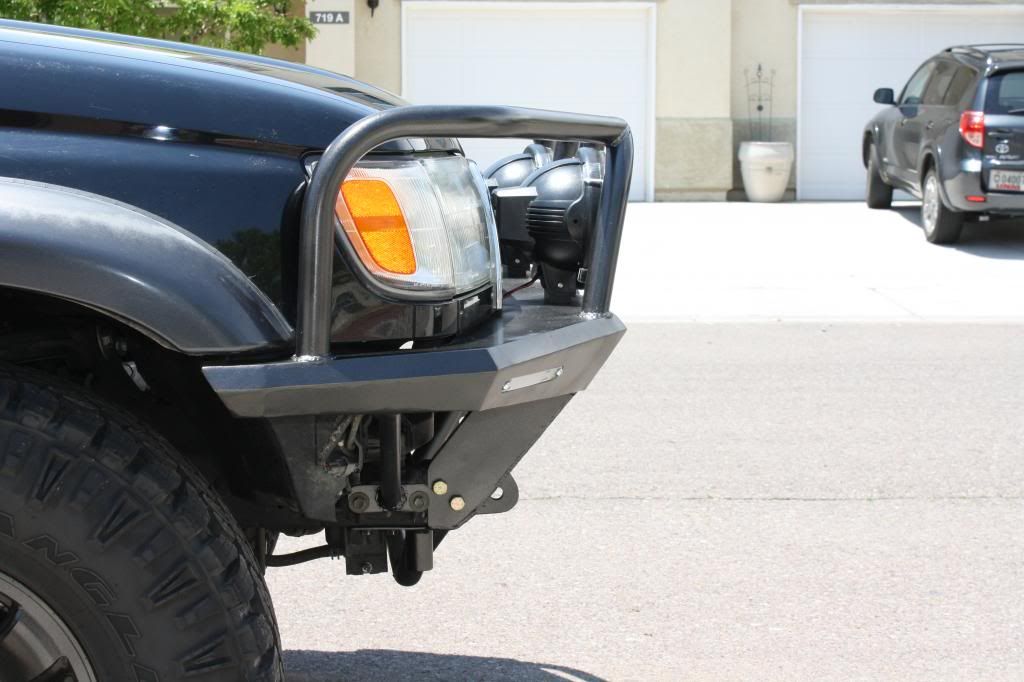
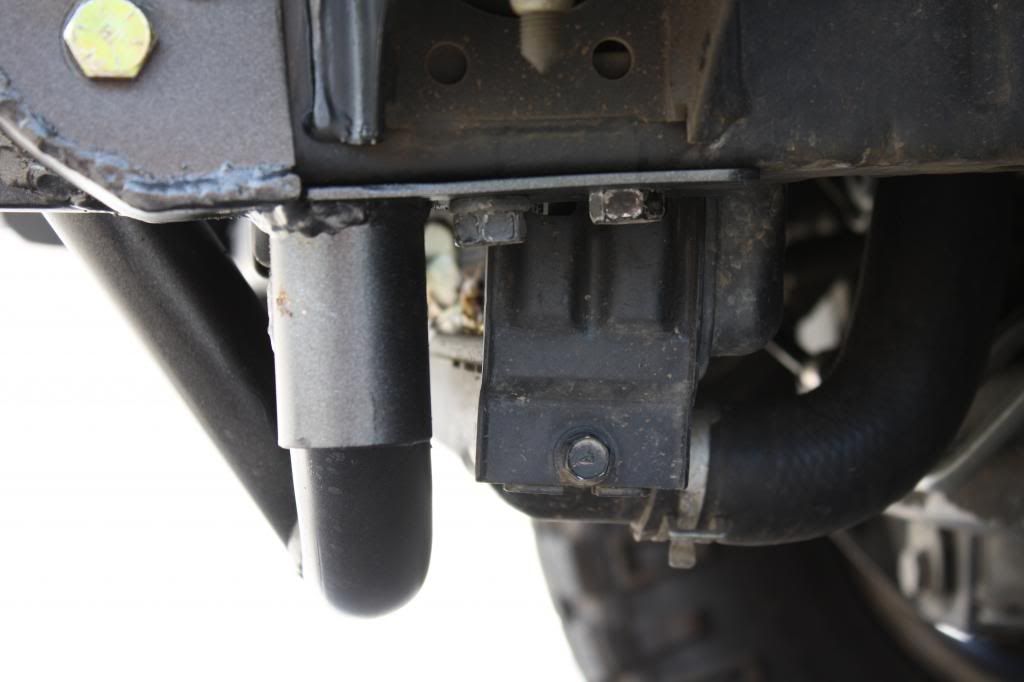
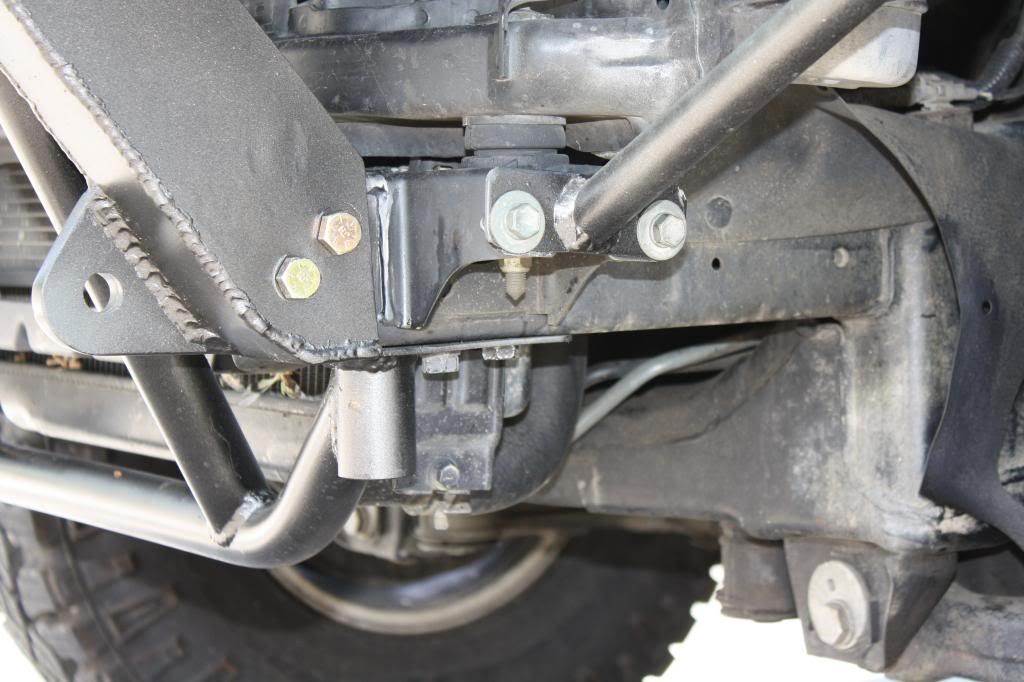
- Custom front plate/tube hybrid bumper (this is the build thread)
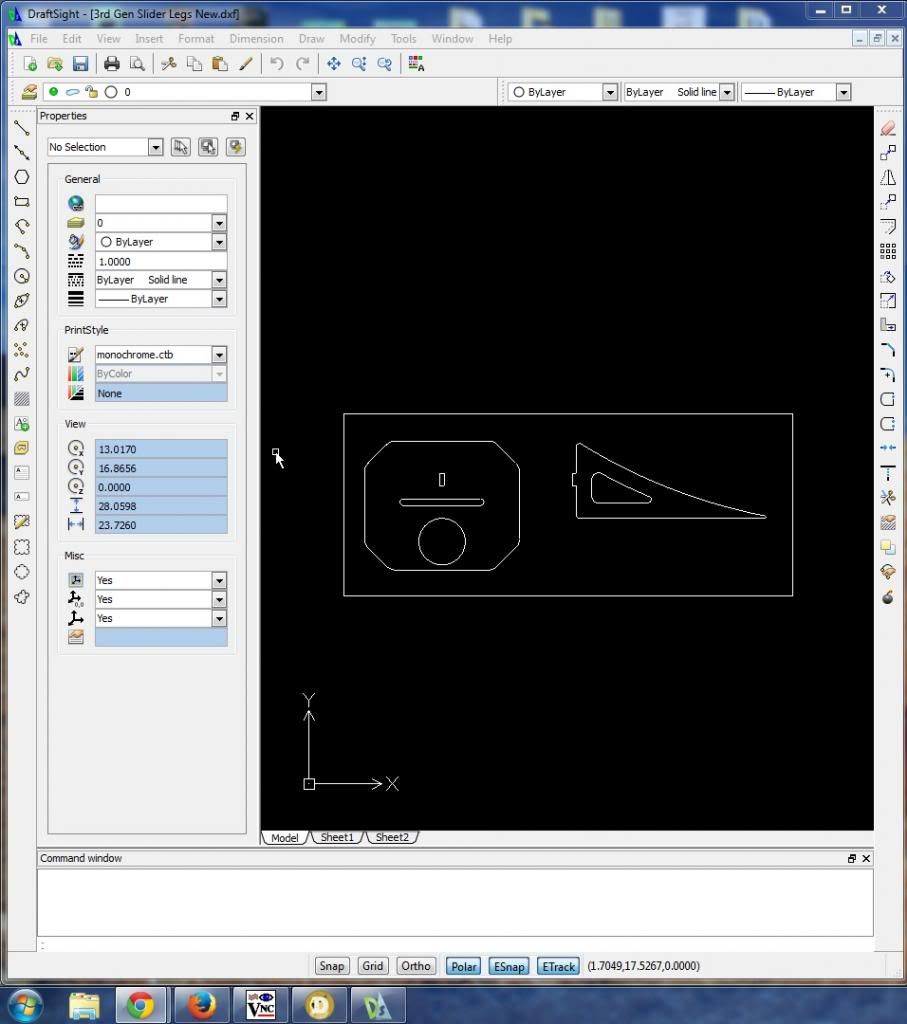
- Currently building rock sliders. I had some parts plasma cut, I just need to get the tubing and build these things already.
Storage:
- None yet, but I have plans for a low profile drawer system
I have been in a Toyota since I was 16. Long story short I have had six Toyota trucks or SUV's over the last 15 years. Drove a 95 civic around for the last 2 years (80 mile a day commute), and now we are here!!! I got me a 97 4runner, 4wd limited!!! I am very excited about this one. I was looking at LC's, Tundras and 4runner's, and decided this will meet my needs the best. I wanted something I wouldn't feel bad about building and using, and it needed to fit my growing family in it. Besides my wife we have a 2 year old boy who is crazy and loves the outdoors already so I knew this was the right fit of comfort and performance at a very nice price!!!
I am in the US Air Force, been in for 7 years now. Before that I was a welder and fabricator, working 10 years professionally in San Diego building high performance/luxury sand cars and off road race cars all the way from class 5 VW's to Class 1 unlimited cars, Trophy Trucks, and short course trucks. I have worked for some big and small shops, and my favorite build was definitely this sand car below. Not only was the thing a beast, but the owner is a top notch guy, drove the piss out of it and never hesitated to let us take it for a hot lap around the desert! Sand Rail canal jump - YouTube
Ok so onto the build. I am building my 4runner to be what I would consider being a jack of all trades, but an expo focus in the end. It isn't a rock lobster, but I want it to be able to handle the rocks. It isn't a pre-runner, but I want it to be able to handle some speed. It isn't an expo rig, but I want to be able to go the distance. It isn't a dooms day machine, but I want to be able to mow down some zombies (haha). I want this thing to have a bit of everything. Ultimately I want this thing to be suited for long multi day camping trips that encompass everything from fire roads, to some rock sections. I want it to be able to do a good job handling moderate terrain of all kinds, but not a pro at anything if that makes sense. Coming from the baja racing back ground I like to drive fast when I can, but I don't expect to hit the whoop sections at 80 mph in this thing. I also want to consider this a good get out of dodge vehicle, able to handle multiple scenarios if needed. Yes I do believe in being prepared, not like the guys on TV though, haha. But most important, is safety. I want to have my wife and son in this rig alongside with me and not have to worry about their safety when in this thing.
So here is what I got
-1997 Toyota 4runner
-Limited Edition with Tan Interior
-4wd, Auto w/ factory E-Locker
-150K on the clock when I picked it up
So here is the obligatory stock picture:

And the current picture.

Here are the current and future build specs:
Maintenance:
- Knock Sensors – Autozone
- Knock Sensor Harness – Toyota
- Bottom intake Gaskets – Toyota
- Rear Brake Shoes – NAPA
- Rear Break Drum Turning – NAPA
- Rear Inner Axle Seals – NAPA
- Rear Outer Axle Seals – NAPA
- Rear Wheel Bearings – NAPA
- Rear Wheel Bearing Pressing – NAPA
- PCV Valve – Toyota
- Fuel Filter – Toyota
- L/R Lower Ball Joints – Toyota
- Plugs and wires – Amazon
- Transfer case fluid replaced – Mobile One
- Diff Fluid Replaced Front and Rear – Lucas
Engine:
- Stock
- Might add a super charger, this will be one of the last mods
Transmission/Transfer Case:
- Stock Transmission
- Want to upgraded the valve body if I do a super charger
- B&M Transmission Cooler 70268 – Amazon
- Mobil One 75W-90 Gear Oil Swap in Transfer Case – Amazon
Front and Rear Differentials:
- Lucas 85W-140 Gear Oil Front and Rear – NAPA
- Stock Front Diff
- Want to add an ARB Air Locker
- Stock Rear Diff
- Will be doing the Blue Wire Mod any day now
- Diff Breather Extension Mod – Various
- Will re-gear to match new tire size
Front Suspension:
- Stock
- Want Sonoran Steel 1.2 Kit
- Tundra 13WL brake upgrade - Toyota and NAPA parts
Rear Suspension:
- Stock
- Want Sonoran Steel 1.2 Kit
- Want custom made upper and lower links with hiems and OEM bushings
- Want custom track bar with heims on both sides, and custom mounts on the frame
Interior
- Scan Gauge II – Amazon
- 99+ Radio Bezel – Nissanh @T4R
- Want 99+ Center Console
- Want to make my own seat covers
- Want Weather Tech Floor Liners
Electrical:
- Big 3 Mod – Various
- Custom 3D Printed Switch Panel (file from Bandit Runner @T4R, not installed)
- Want Blue See Fuse Block for accessory wiring
- Want Die Hard deep cell battery
- Cadillac Alternator Upgrade - NAPA
Tires and Wheels:
- 285/75R16 Goodyear Duratracs - Discount Tire
- SRS F5 Matte Bronze Wheels - 16" x 8" w/ 3.5" back spacing
Recovery/Armor:
- No recovery gear yet, but I am collecting gear and putting together a plan
- Custom front plate/tube hybrid bumper (this is the build thread)
- Currently building rock sliders. I had some parts plasma cut, I just need to get the tubing and build these things already.
Storage:
- None yet, but I have plans for a low profile drawer system
Last edited:

