shedlock2000
Observer
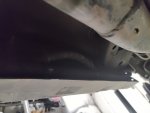
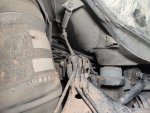
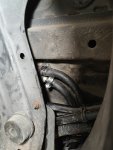
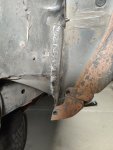
Over the weekend I completed the passenger side rear heater line relocation. I am running 285/65/18 which is an almost 33" tire. This was a pretty simple process and I can state the heater works and there is no leaking. Below are the photos and the steps I took to relocate the lines. Big thanks to DiscoNels for finding the old LRRF post from internet archives. I can understand after completing the operation why there is not more information on it, it is really that simple. The only challenge IMO is the heater line is no longer supported by the brackets that are originally intended to support them, the soft heater hose is being held up by zip ties
Items I required to complete the install:
12' of 5/8'' ID heater hose
1/8'' to 7/8'' tubing cutter
Slotted & Philips screw driver
Angle grinder
Primer, paint, clear coat (to cover newly exposed metal)
1. Remove the fender liner and exterior trim, make sure to remove all the screws for the siemens sensor
2. Remove the lower rocker trim
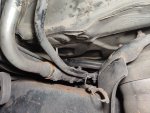
3. You should now be looking at the heater lines and the fin that is the culprit.
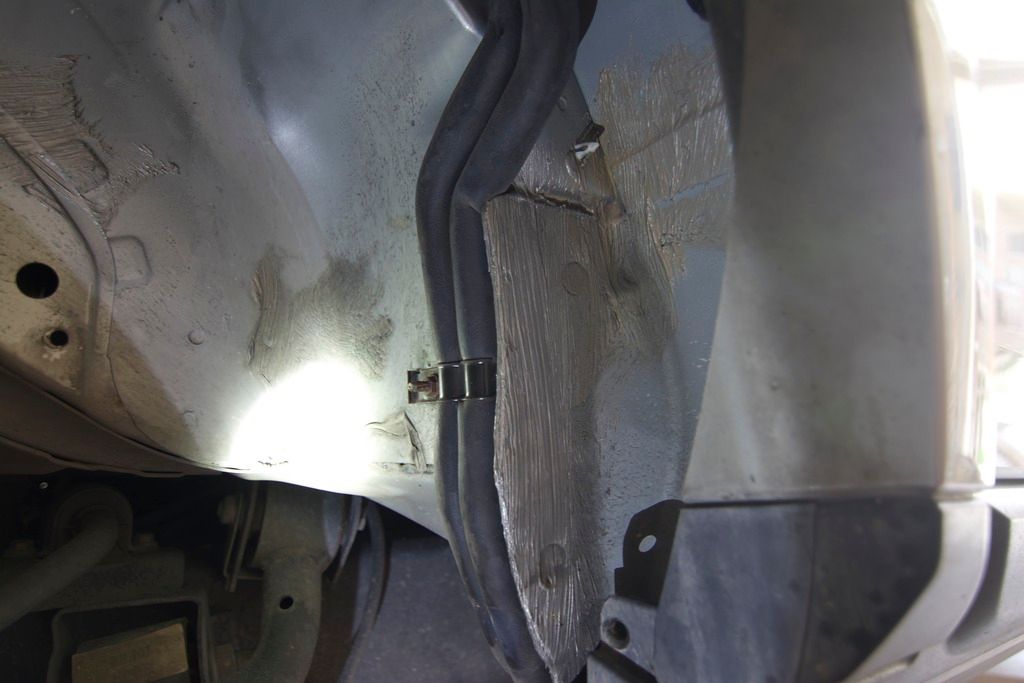
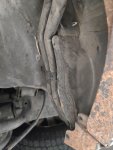
4. I then pulled the lines out of the way and used an angle grinder to create a notch in an attempt to get the existing heater lines through. I was unsuccessful (or unwilling) to bend the heater lines enough to get the existing lines to fit. Below is the photo of the notch before and after.
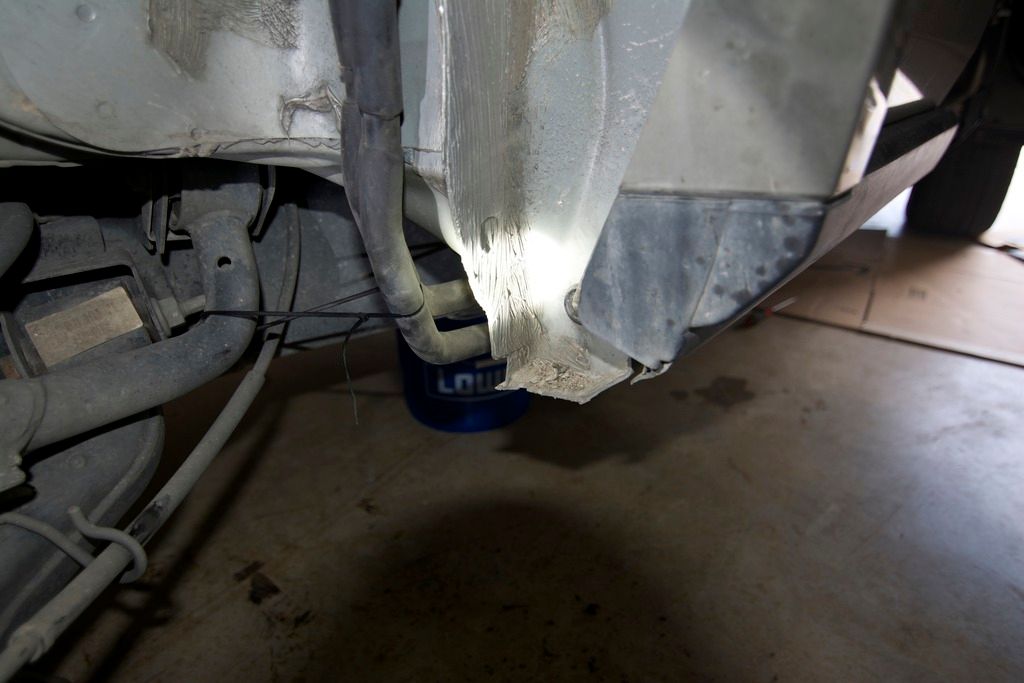
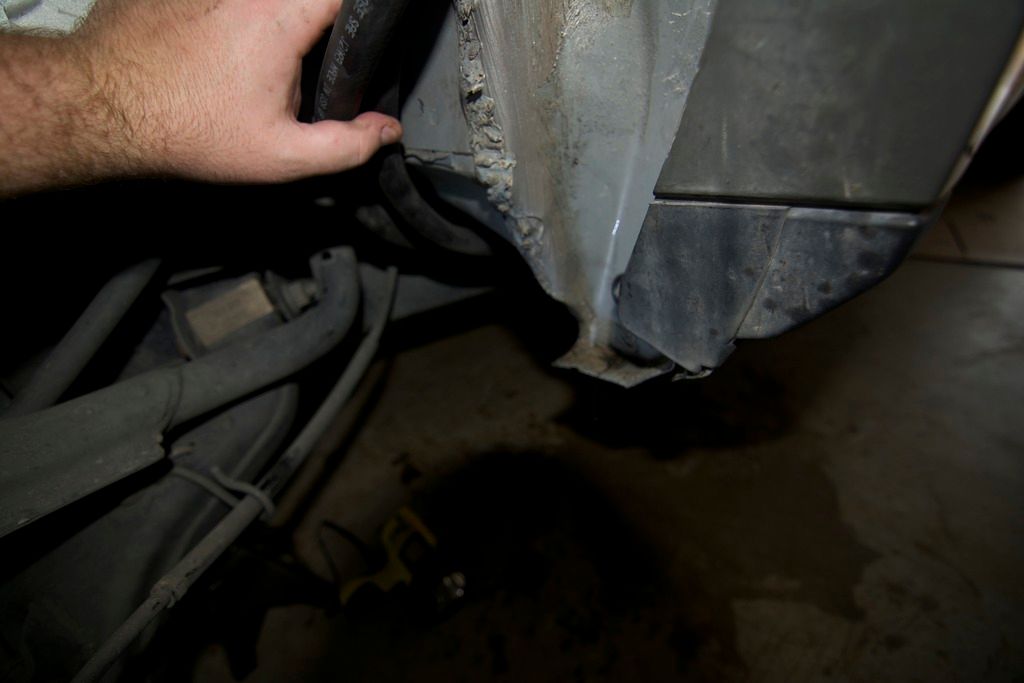
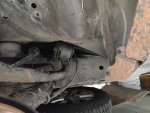
5. After giving up on bending the lines I then went to the "In Line Connections" and disconnected both hard lines from the rubber and patched with the 5/8'' ID hoses between the existing rubber line to the hard lines on the outside portion of the wheel well where there is ample room to run the lines in a protected fashion, the upper wheel arch on the interior of the wheel well will be the limiting factor of travel now which IMO is better than the OEM configuration. Photo of the union and heater diagram.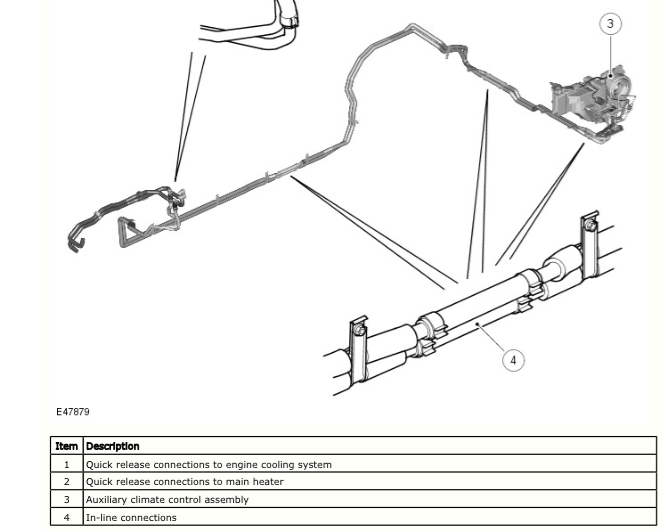
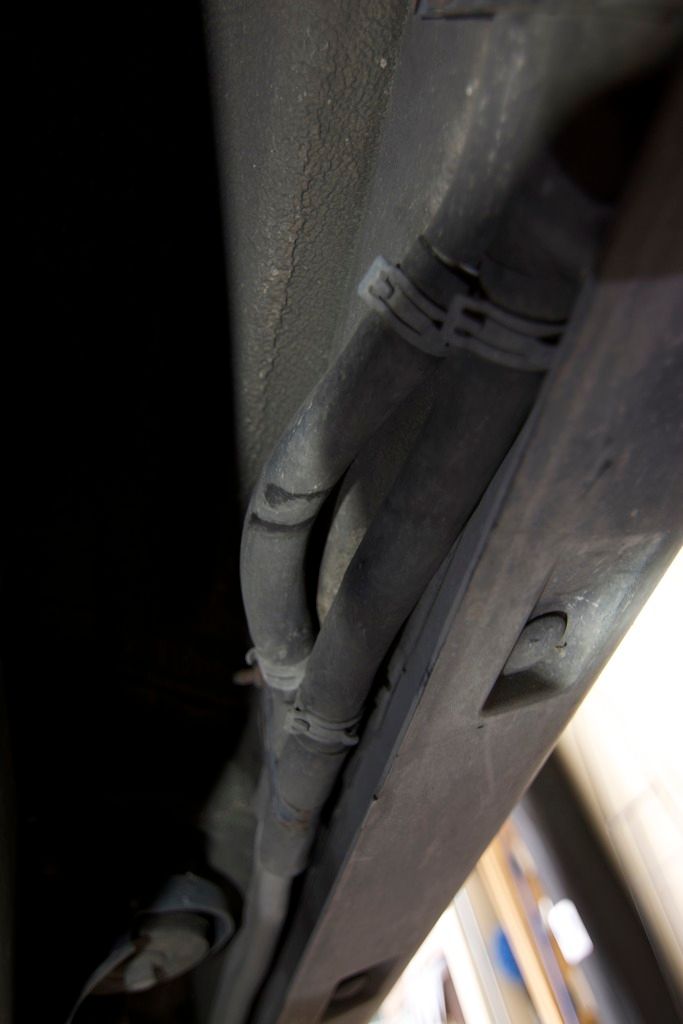
6. I painted the areas I pounded flat, I also ground off the stud that previous held the clamp for the hard lines running to the left of the fin.
7. I patched the 5/8'' hose to where the existing hard lines run completely vertical in the wheel well. I used the existing crimp clamps from the in line unions and an additional clamp for peace of mind.
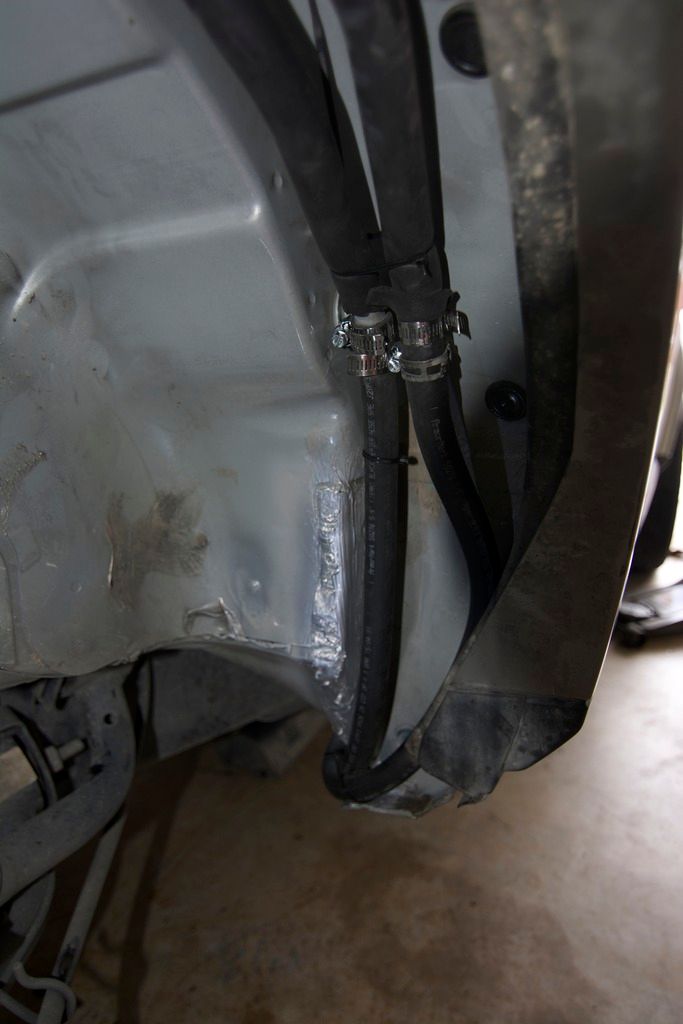
8. The biggest flaw in the relocation is that there is no support for the lines, I do not have a welder but in the future I may deal with the heater lines once I have nothing else to do. This is a photo of the finished product, I used zip ties and tucked one of the lines behind the lip that is formed by the fender. Everything is tucked neatly and is out of danger of rubbing.

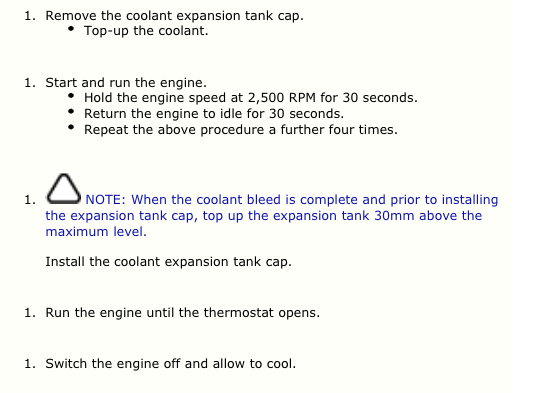
9. Refill the coolant that leaks out of the lines once you open them up. The instructions per Land Rover are as follows:
The LR4 uses Pentosin coolant, its the pink stuff.
I will have to deal with the driver side seam this weekend but the process is the same. Final food for thought is there is another "in line connection" over the spare tire in the back of the truck, based on spending 4.5 hours under the truck (I know, I work slow) it seems like you can safely run the soft line directly back to the second "in line connection" and avoid the issue of supporting the lines in the wheel well or the lack thereof.
These are probably really helpful photos, but Photobucket's current maximum fail is not helping here. Can you post them to this forum directly, so we have a good resource for them? I'd love some photographic assistance, but the original post is gone and Photobucket seems to be withholding photos these days!


