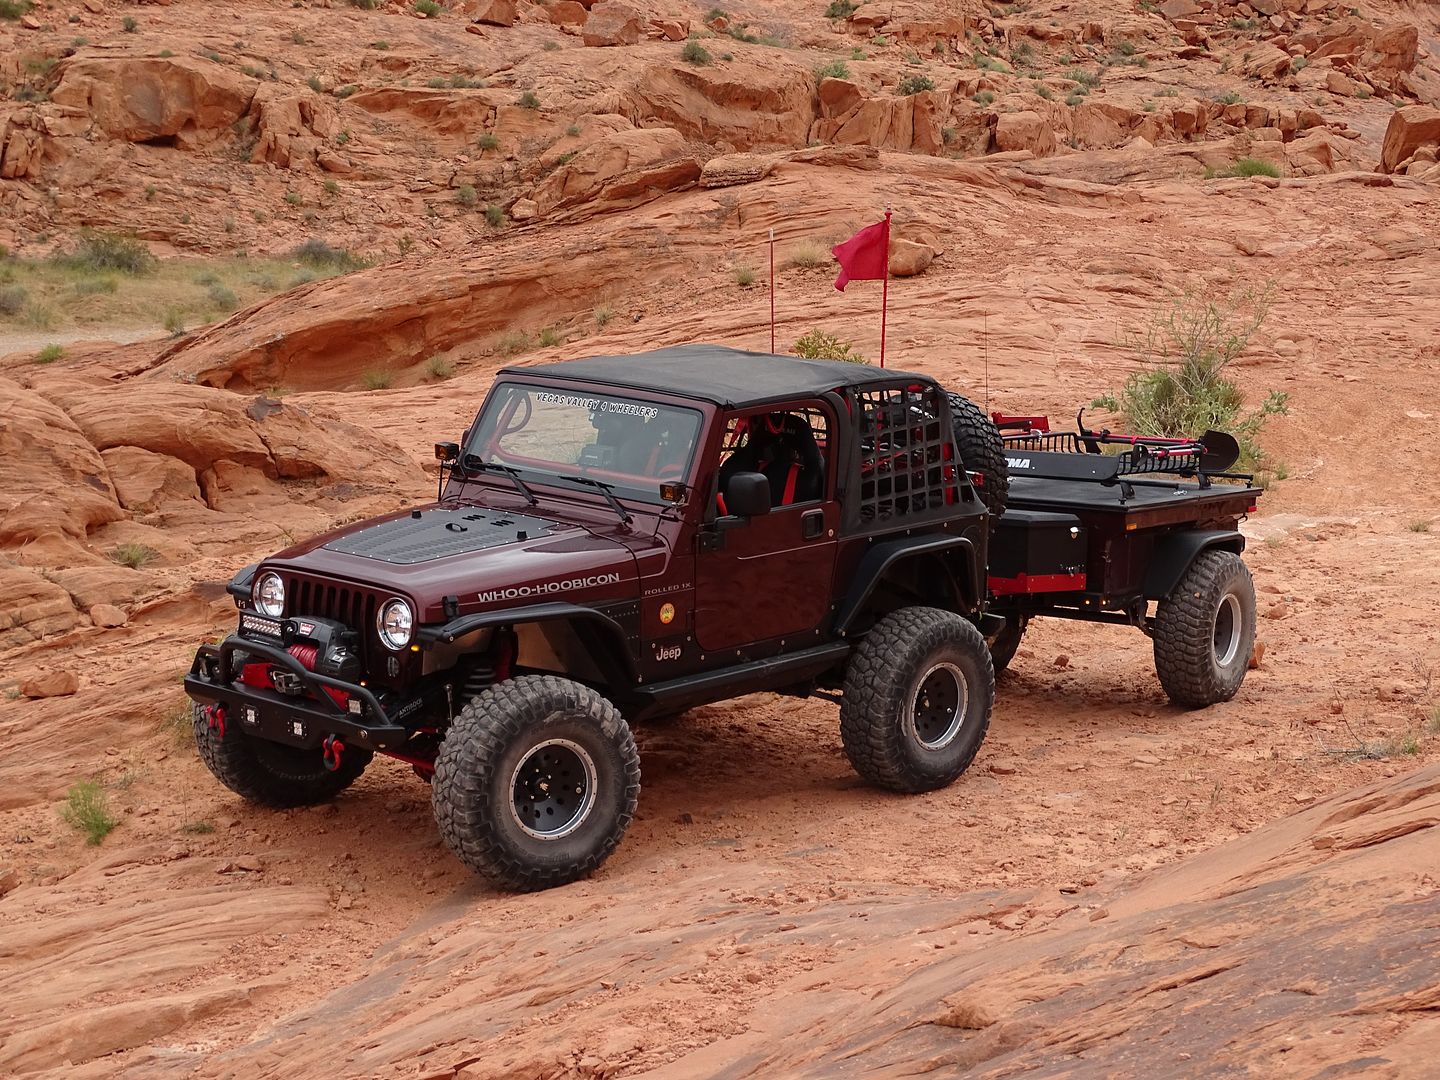
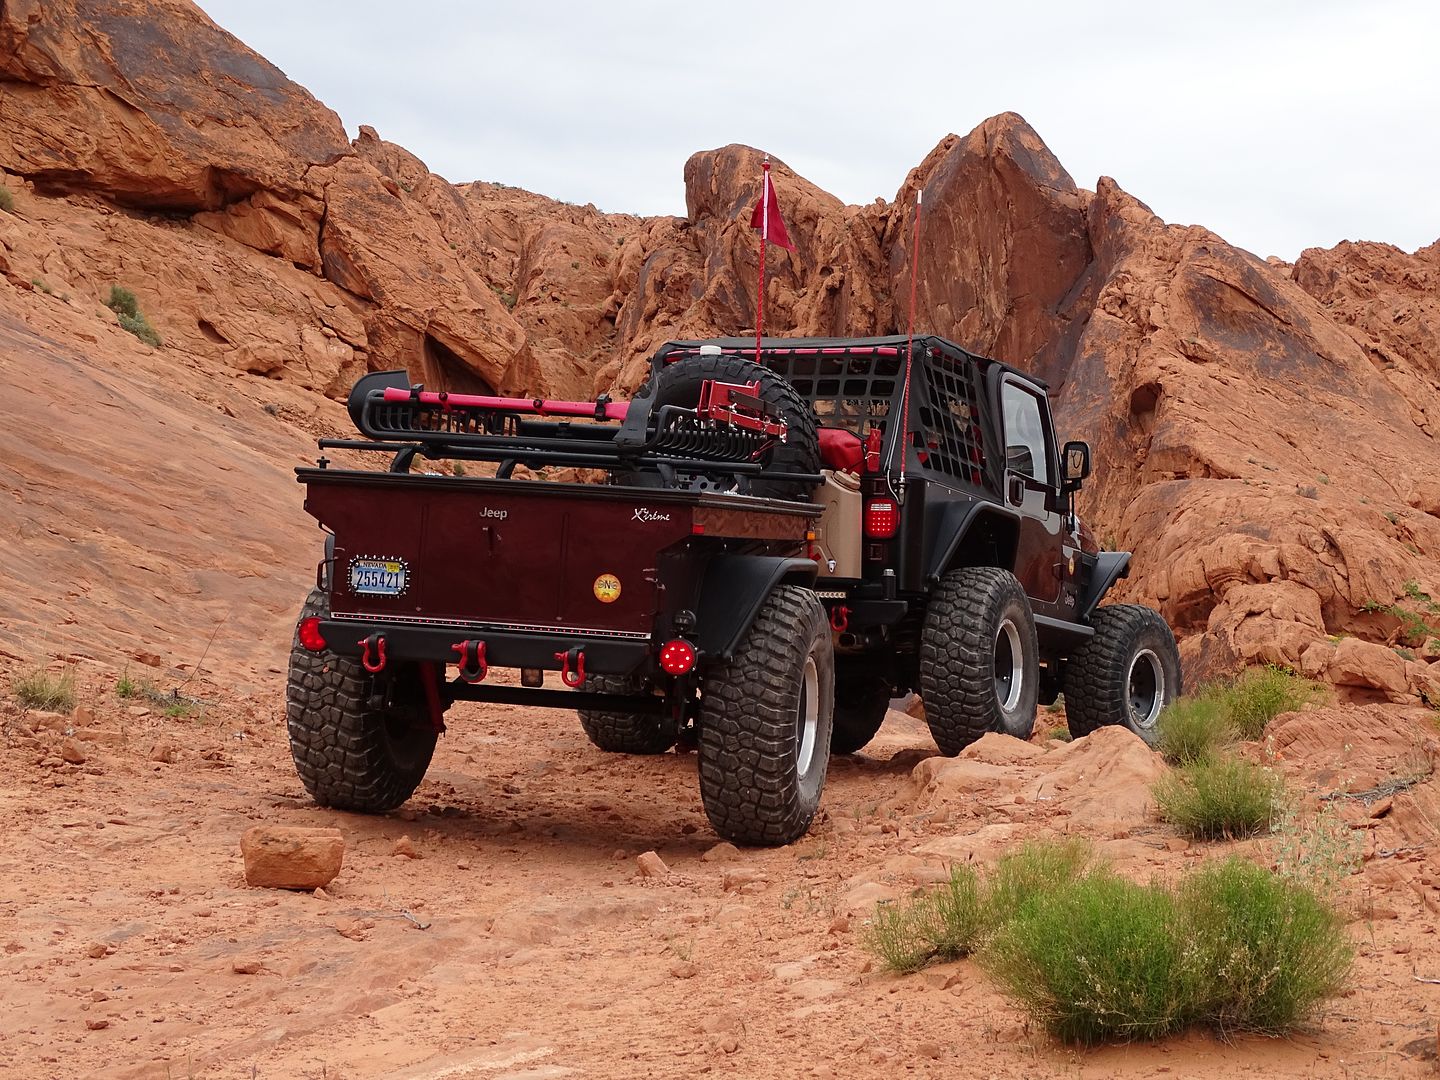
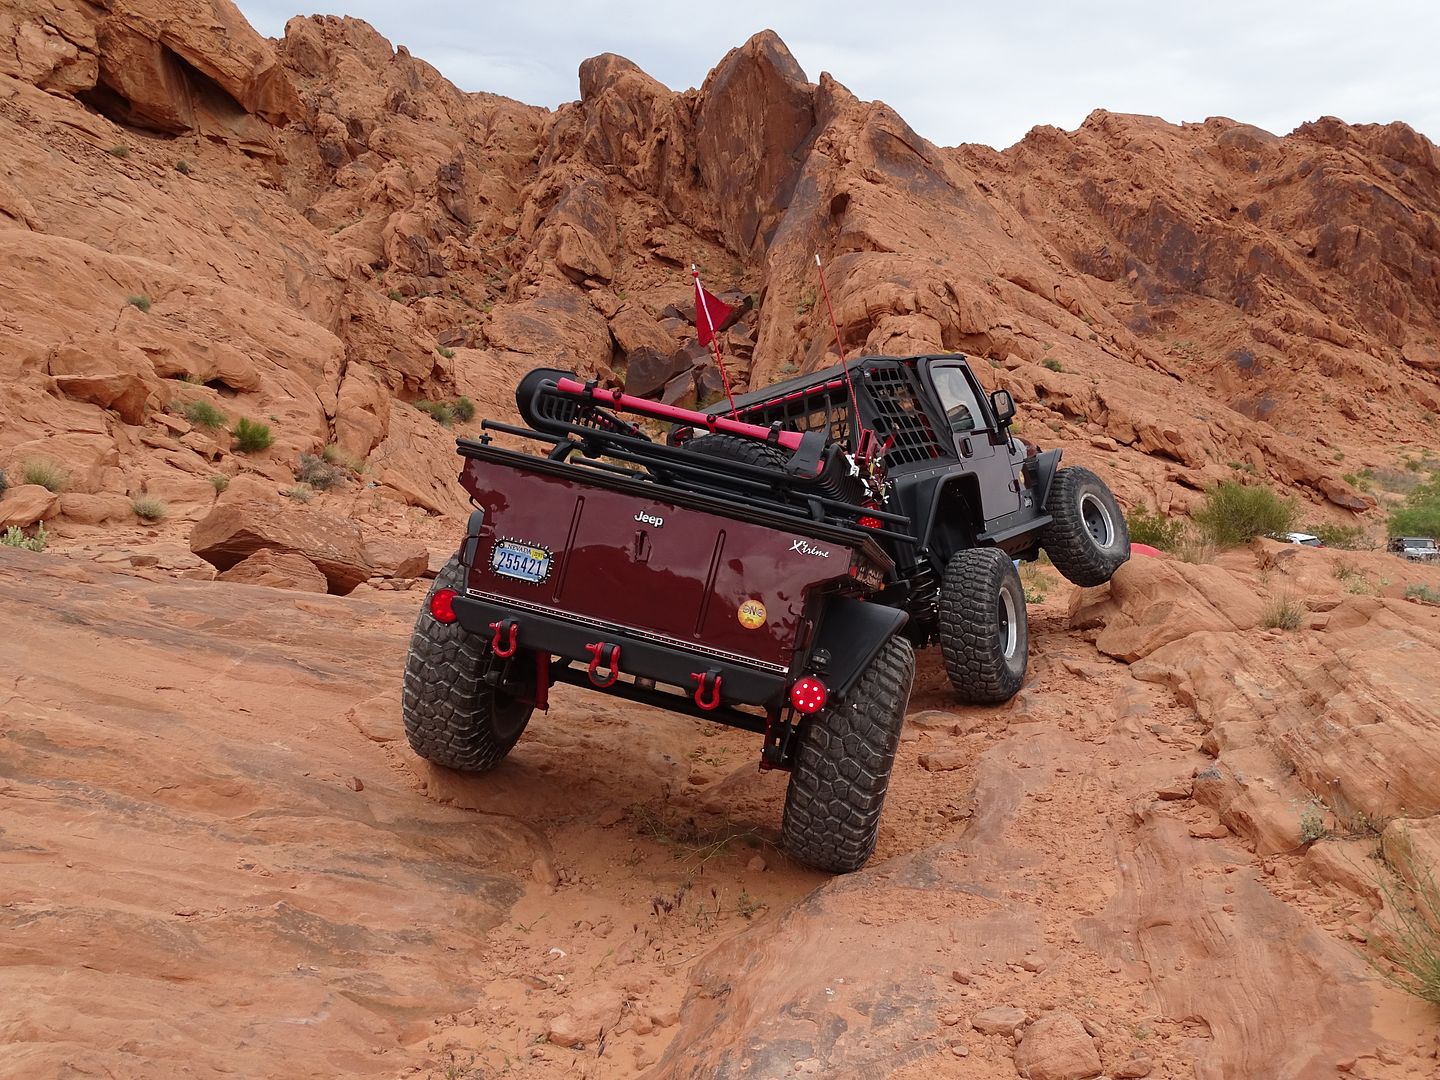
M416 Based Off-road Trailer build with Lock-N-Roll Trailer Hitch

Bonofied Suiter

Bonofied Suiter
Very impressive design and execution. I'm looking forward to seeing the completed trailer. You gonna put a RTT on it? Kitchen chuck box in it?

Thanks for the compliments. I've seen quite a few M416 conversions with roof top tents. I'd love to have one but the cost is a bit of a put off. Besides that I already have at least three other really nice tents and we are quite comfortable sleeping at ground level. We also own a portable camp kitchen and multiple camp stoves.

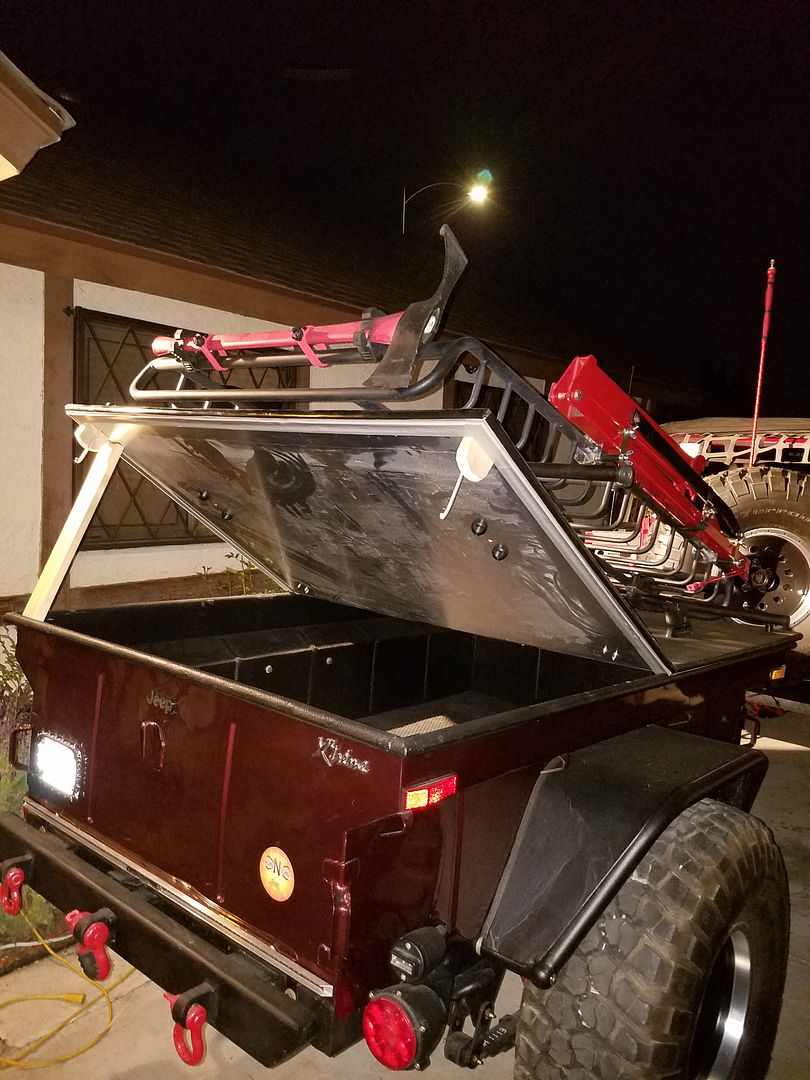
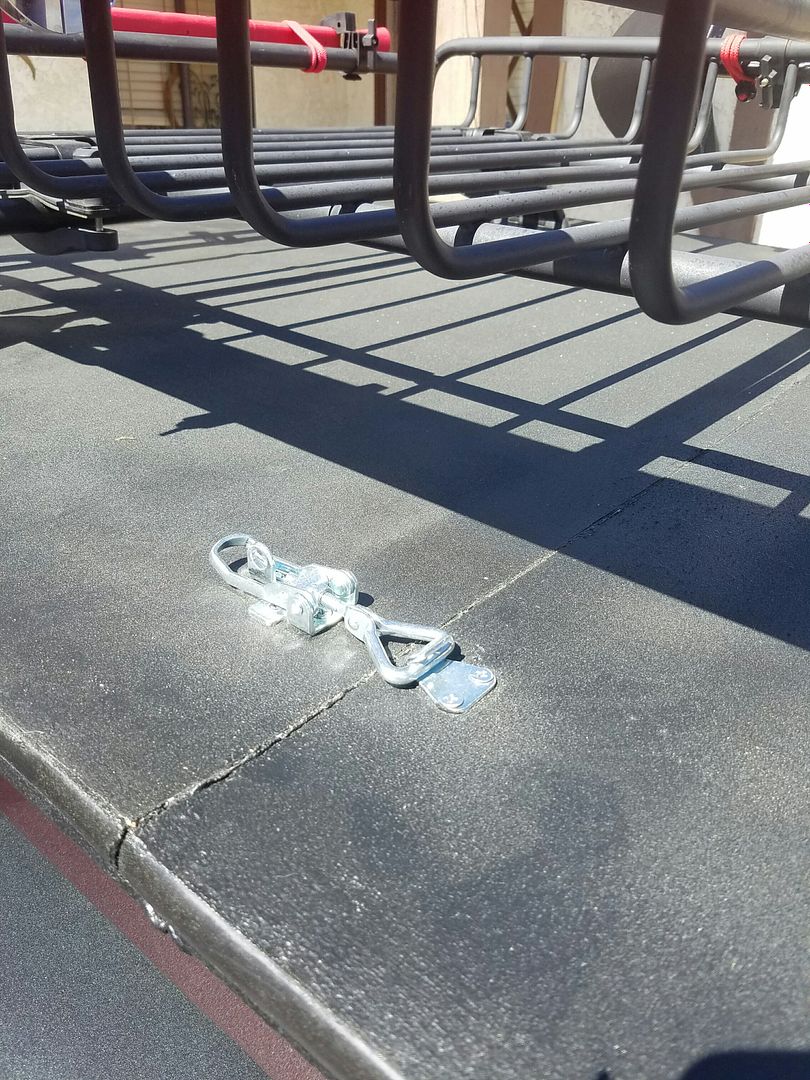
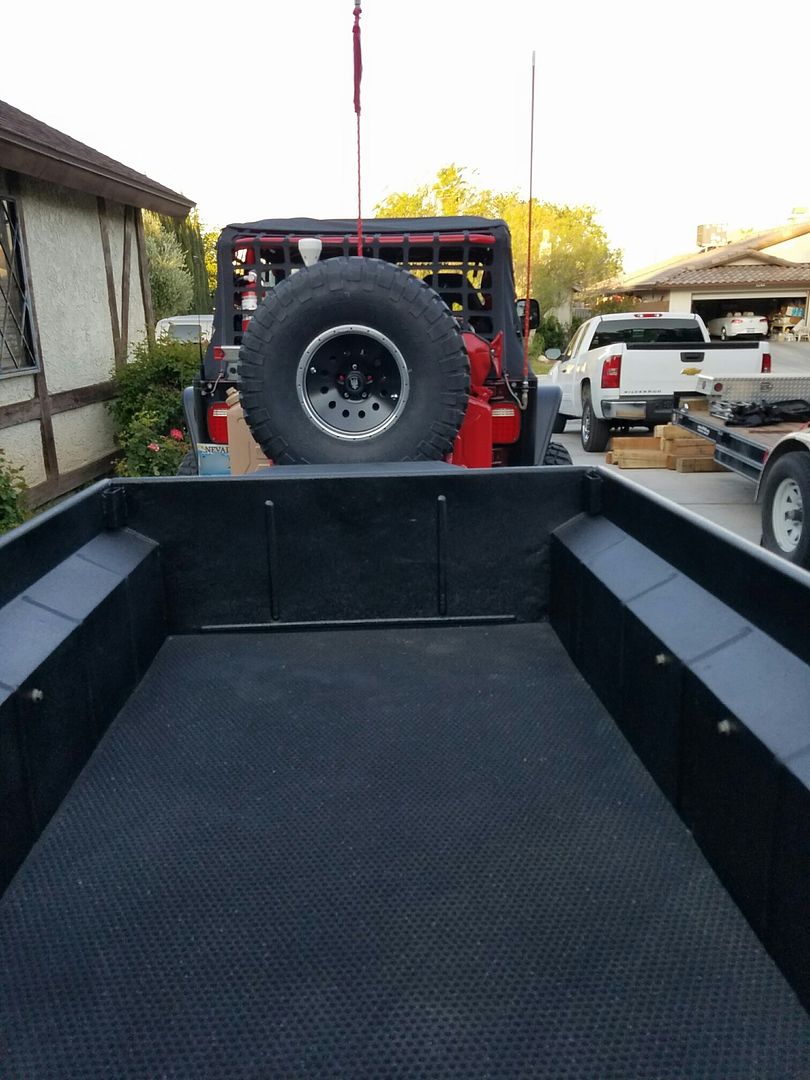
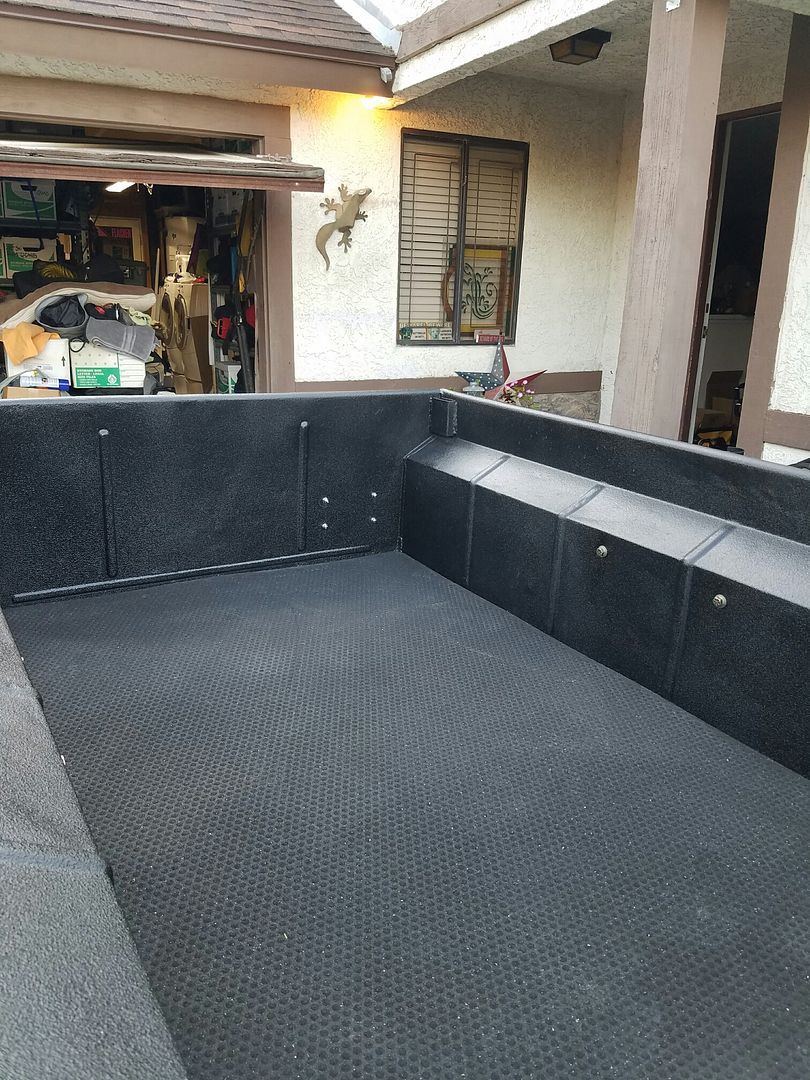
The plan is to have an aluminum top that can be easily removed. The top will fit into the existing stake pockets and latch down using the rolled rim of the tub. The top will have a cargo rack to secure folding chairs and perhaps a popup canopy. The rack will incorporate mounting provisions for my Pull-Pal, Axe and Shovel. Keeping the tub in one piece without a tail gate or other structural changes will keep the body strong. I intend to use it for a number of things including trail clean-ups
 

croix

Observer
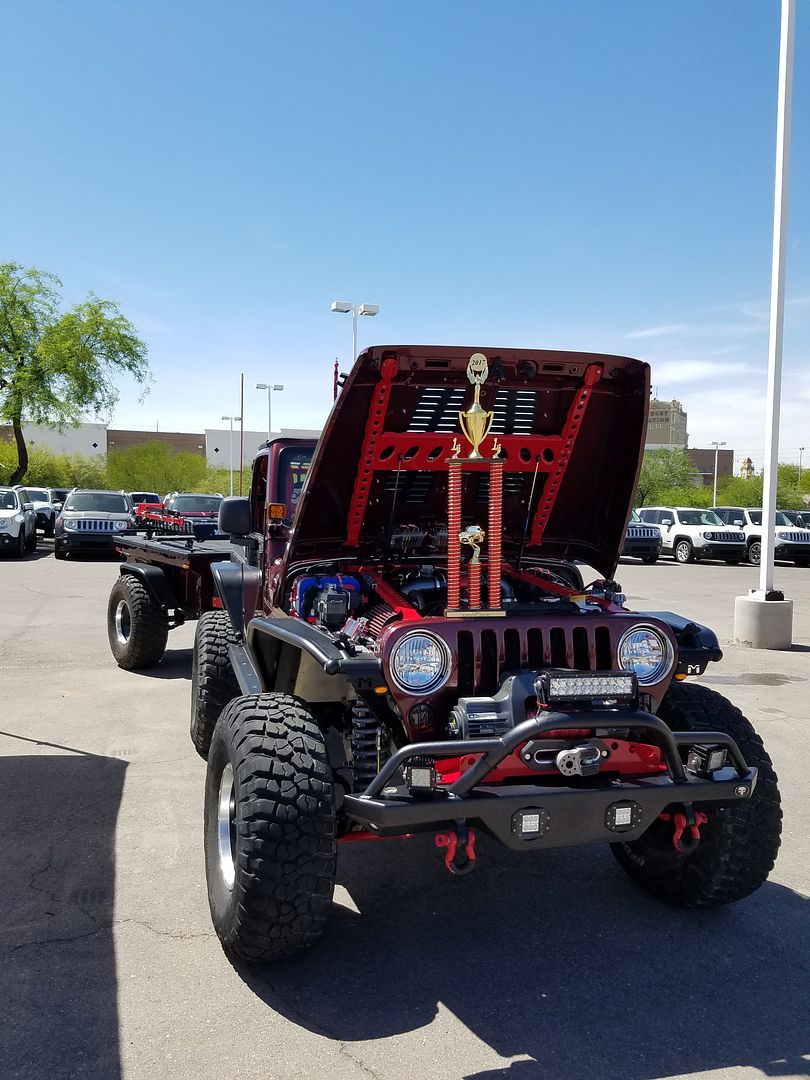
I replaced the stock military trailer axle with one that I bought from a guy on Craigslist that never finished his project. I don't have spacers on the trailer but I do have them on the Jeep as I wanted it to have a wider stance. I needed to have the same bolt pattern on the trailer as the Jeep so I can use the same spare for both. As far as I know the width of the original axle was the same as the new one. The first wheels that I had on this project trailer came off my Jeep and with the same size tires (35X12.50R15 BFG KM2) and they only left about 1/2" between the tire and the frame. The new Bird Dog wheels on our Jeep have less offset so now there is about 1-1/4" of clearance.

That's good news. I was afraid the center bore of the birddogs wouldn't be big enough for the trailer axle but sounds like they will work. Thanks.

-croix
 

1Louder

Explorer
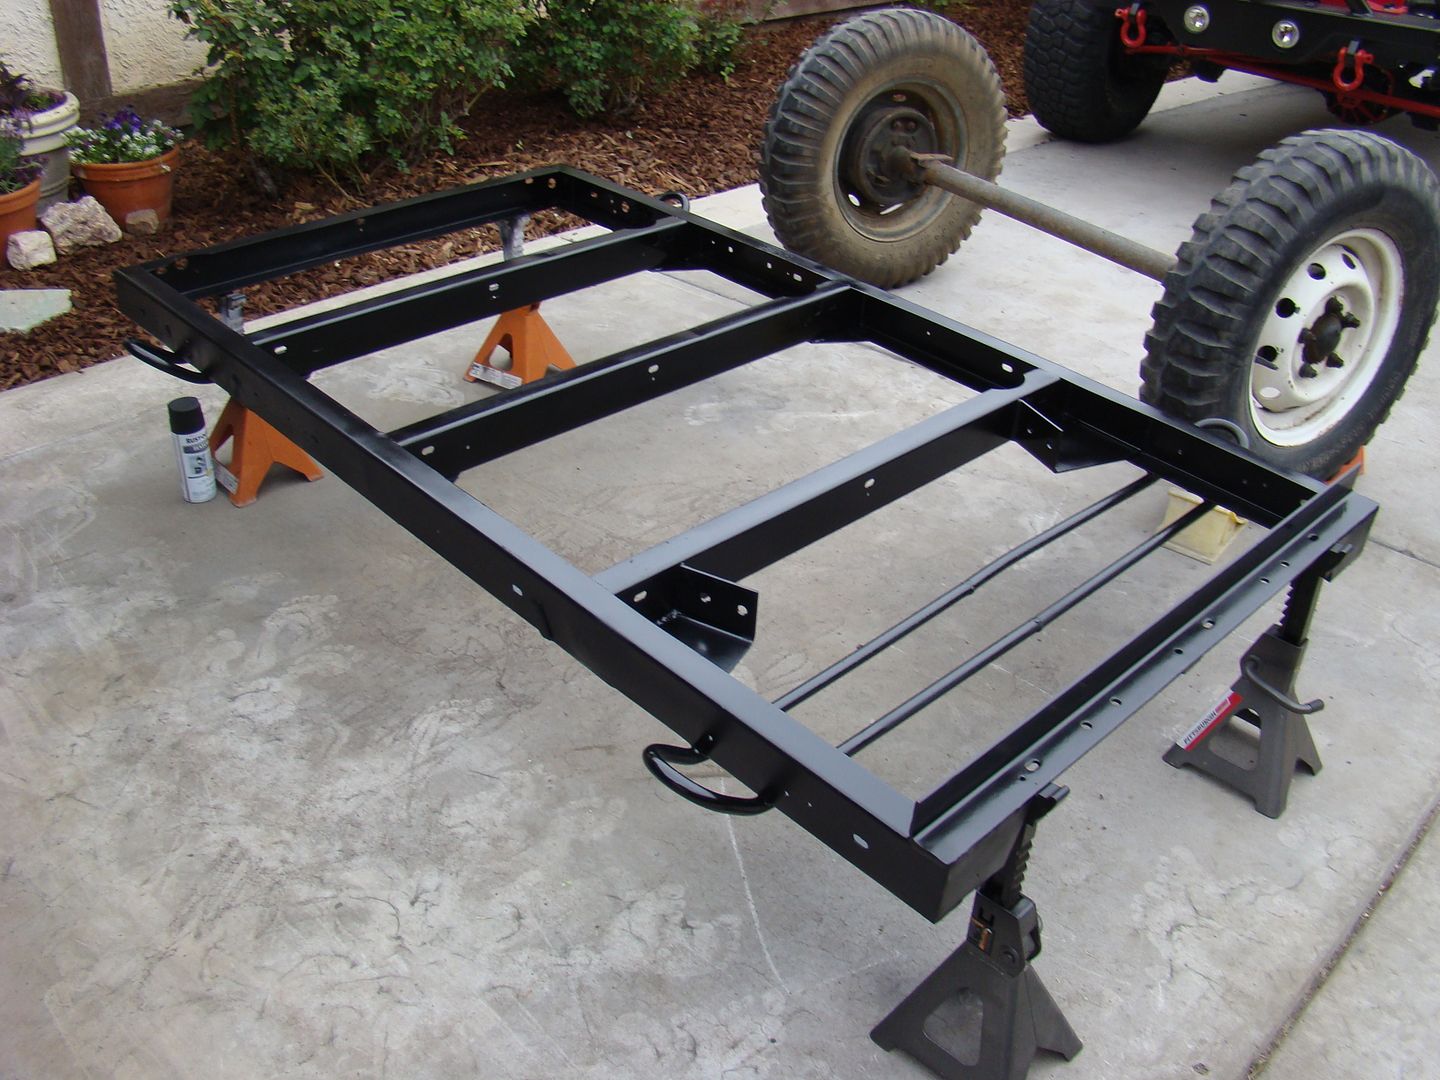
Here is a photo of the trailer frame after paint. I fell behind schedule waiting for the tub and brackets to come back from the bead blaster.


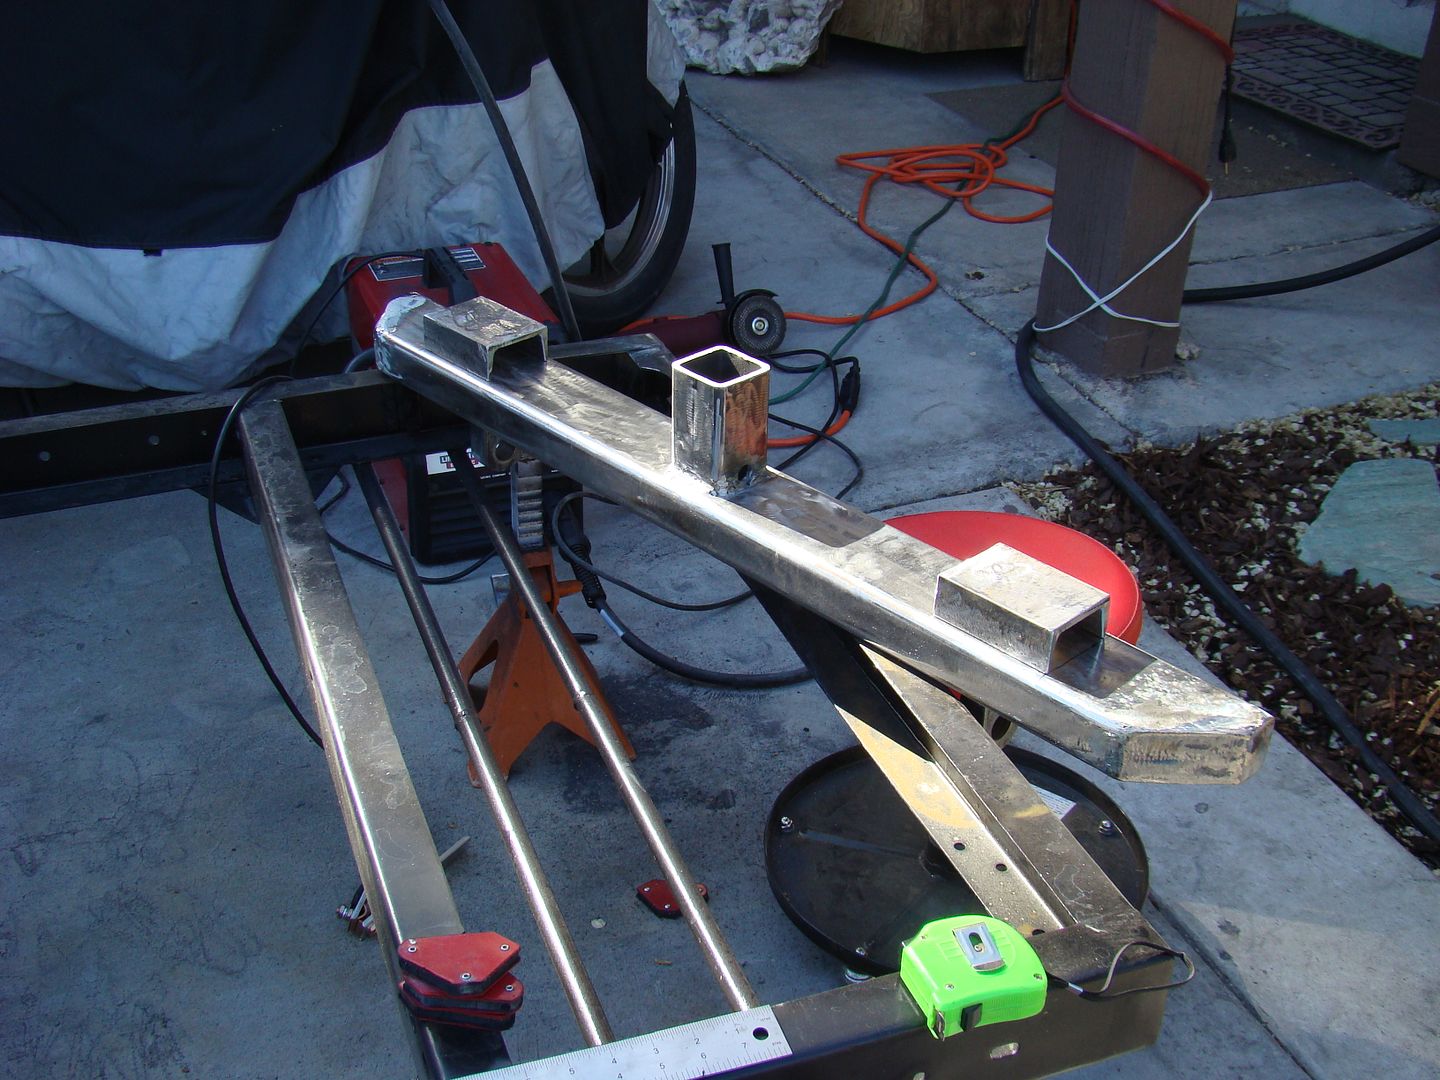
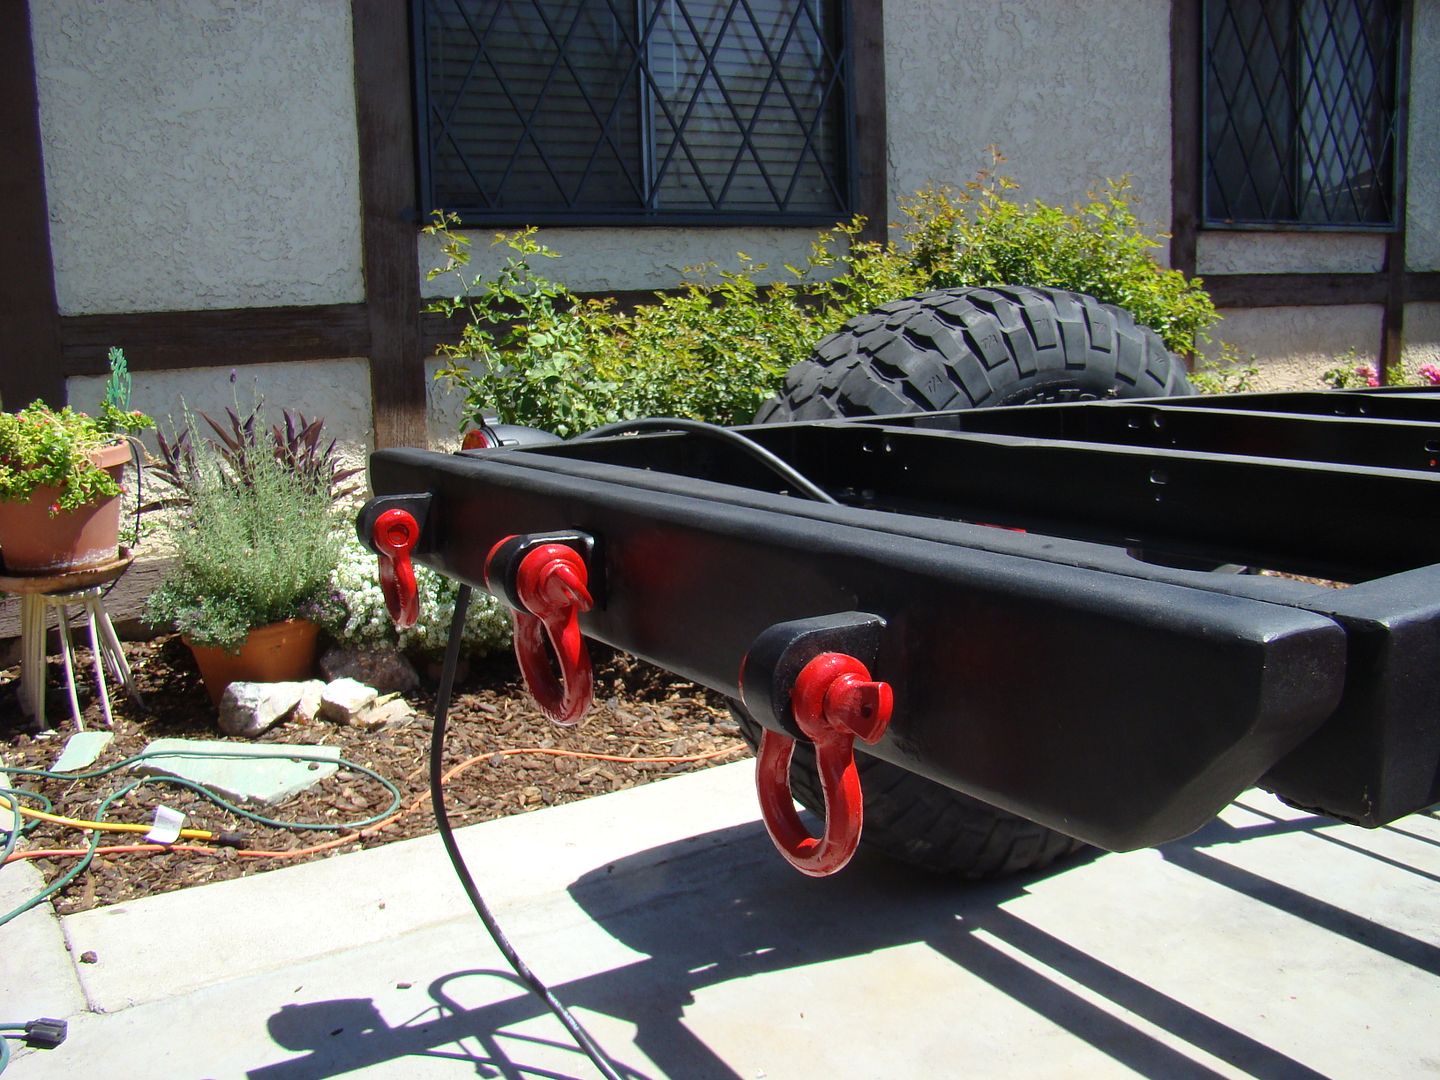
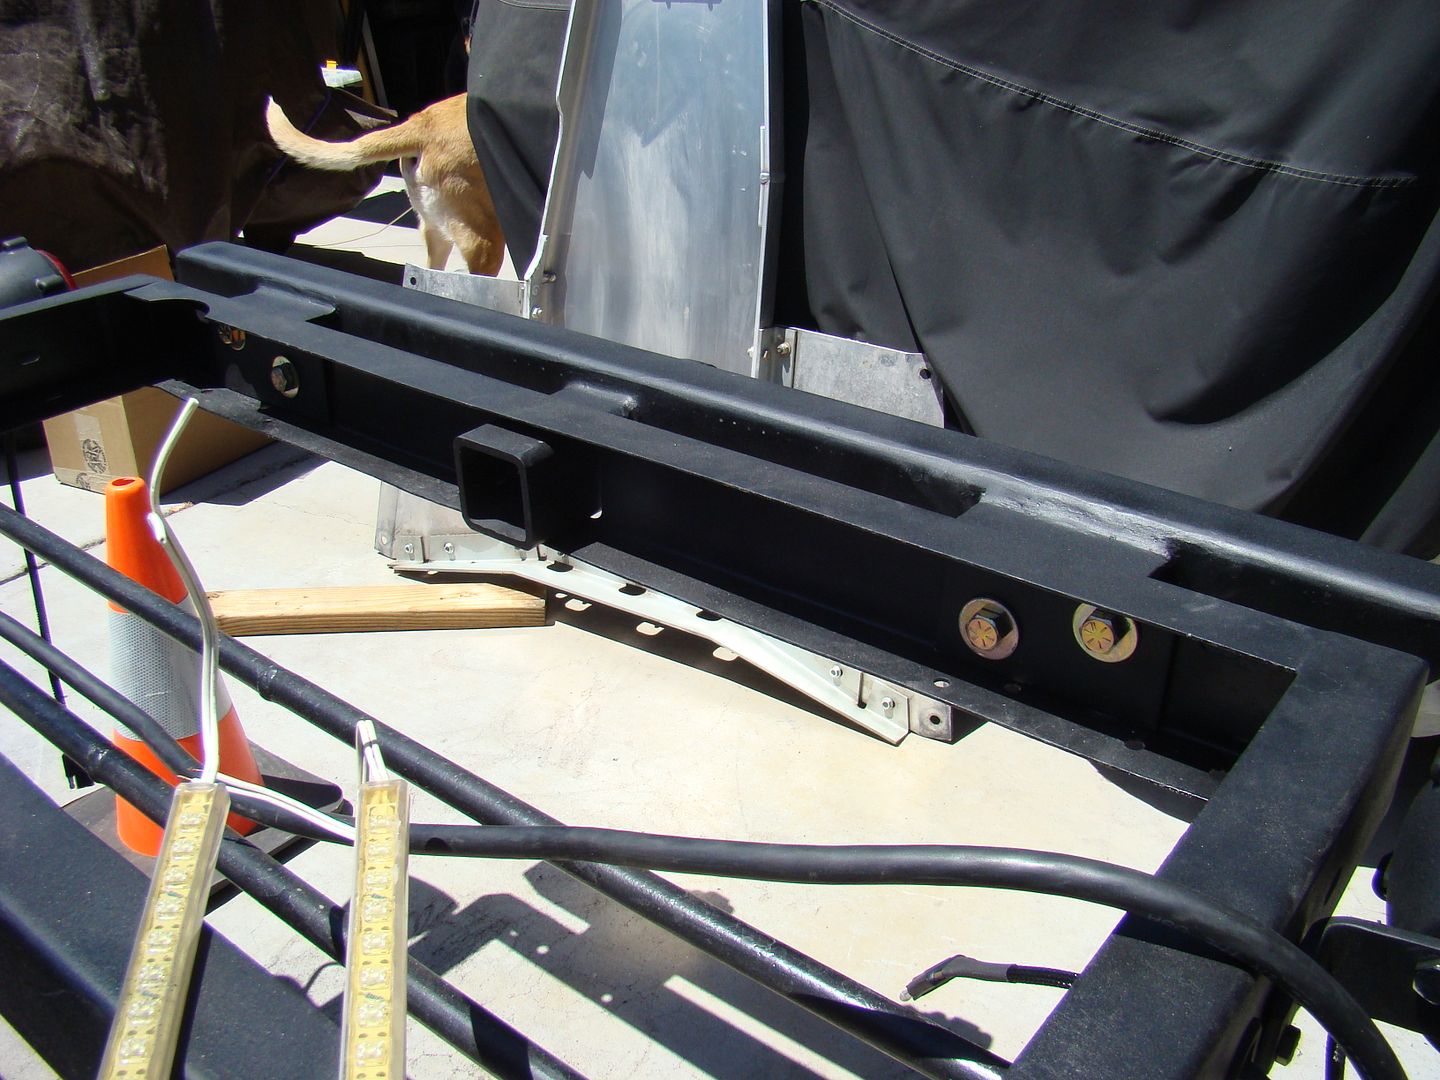
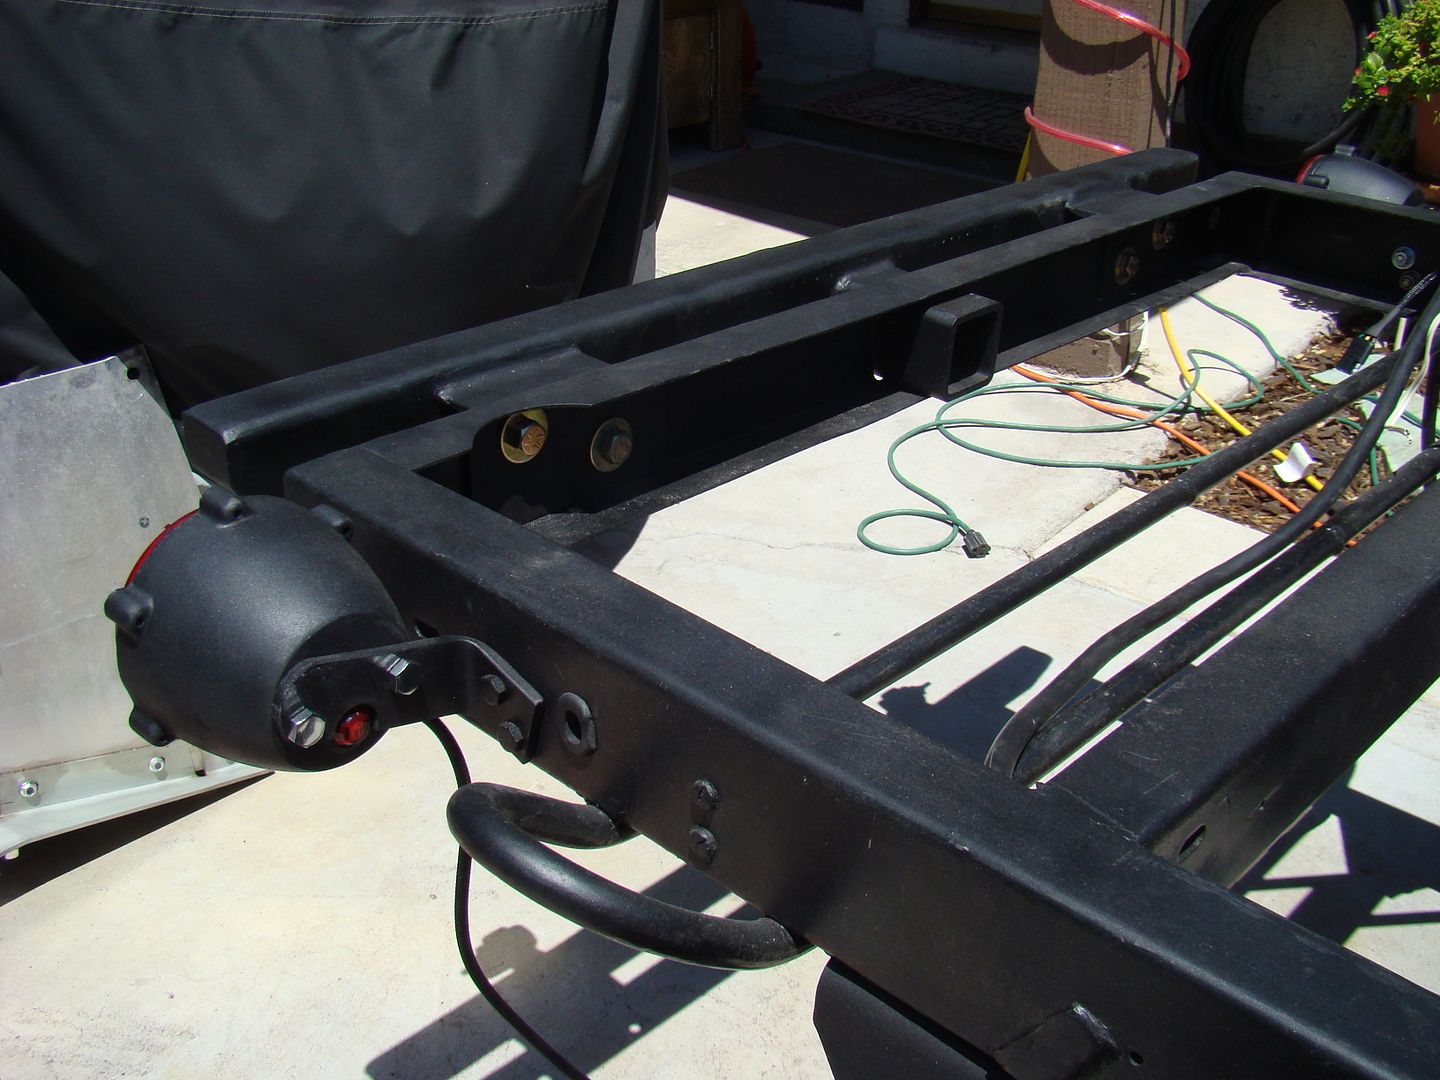
While I waited for the bead blaster I fabricated a rear bumper that resembles the bumper on the Jeep. I found the shackle mounts on Ebay and added a receiver that I bought at Harbor Freight. The rear receiver opens up a few options such a table, BBQ mount or bike rack. I reinforced the rear frame with 1/4" plates to make it stronger.


Here's the finished bumper


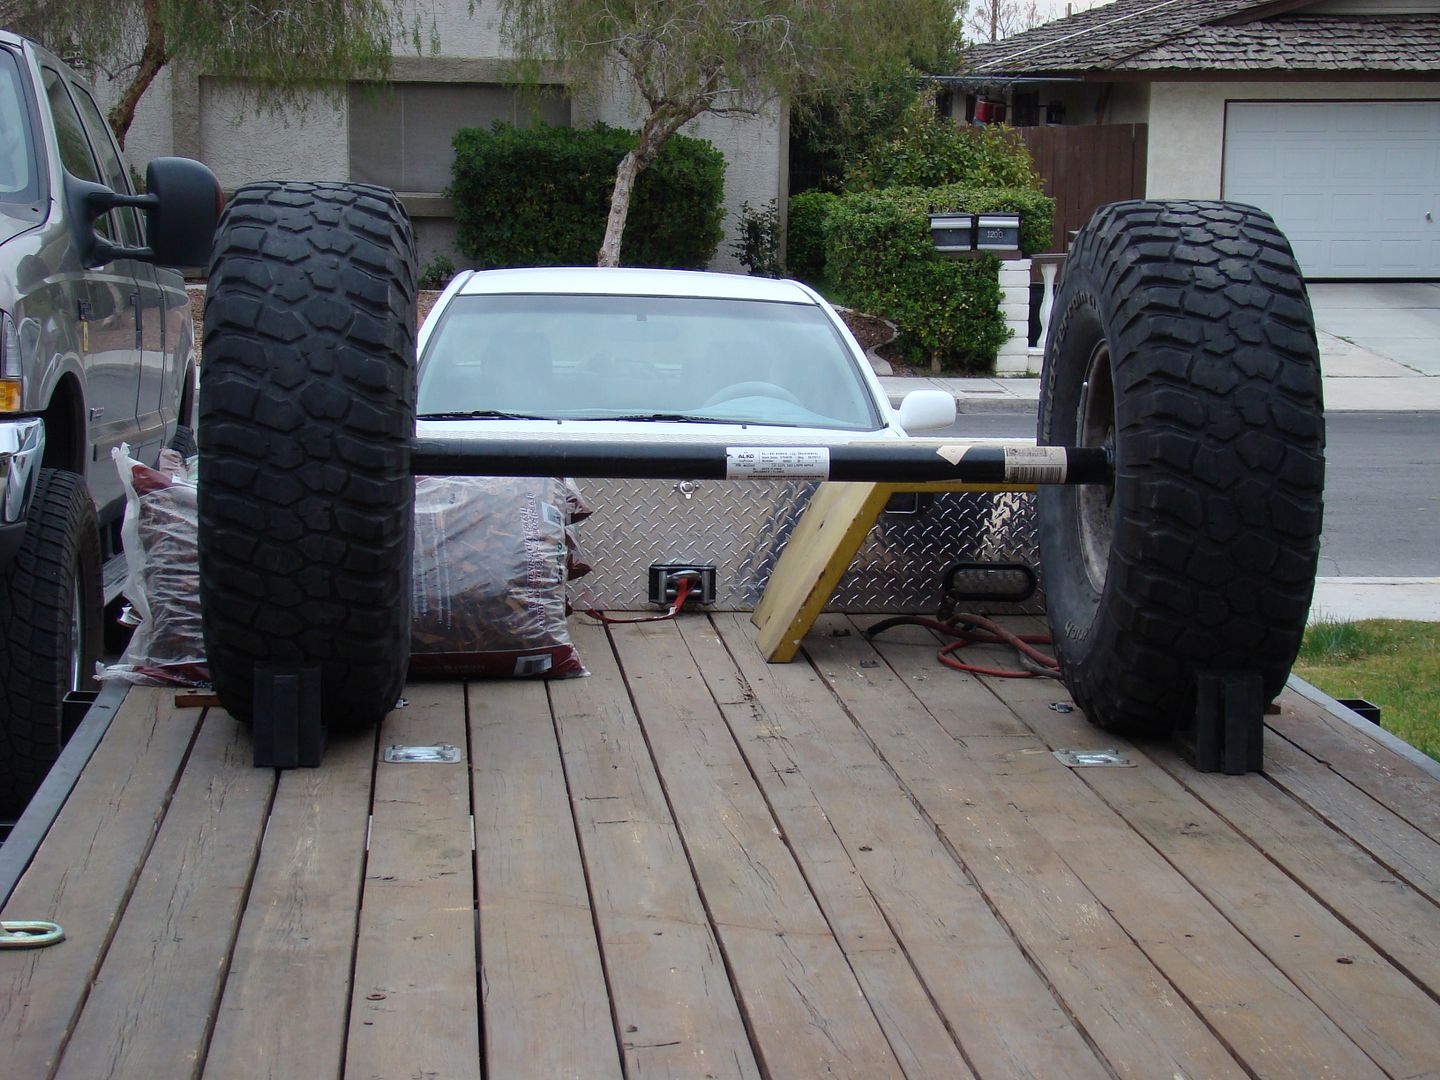
Here's a photo of the new axle and the 35X12.5R15 BFG KM2 tires that match the tires on the Jeep I was able to find a good used set with some life left in them for $50.00 I intend to buy a pair of Interco Bird Dog Wheels to match the ones on the Jeep. The wheels will have more inset and provide more space between the frame and the tires.


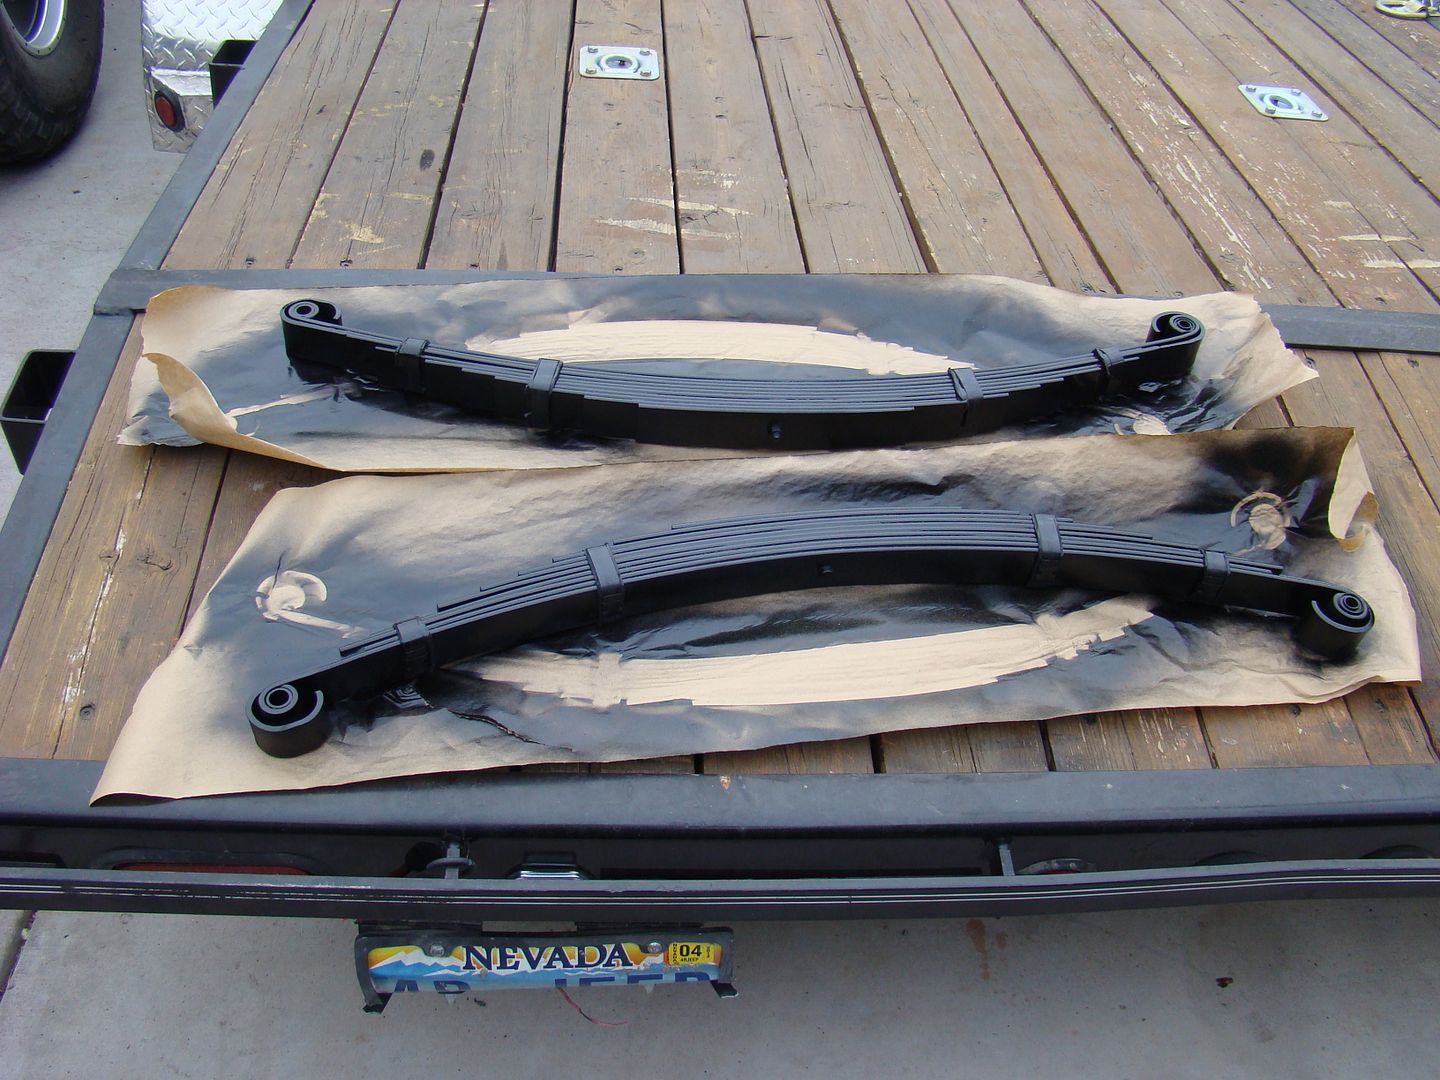
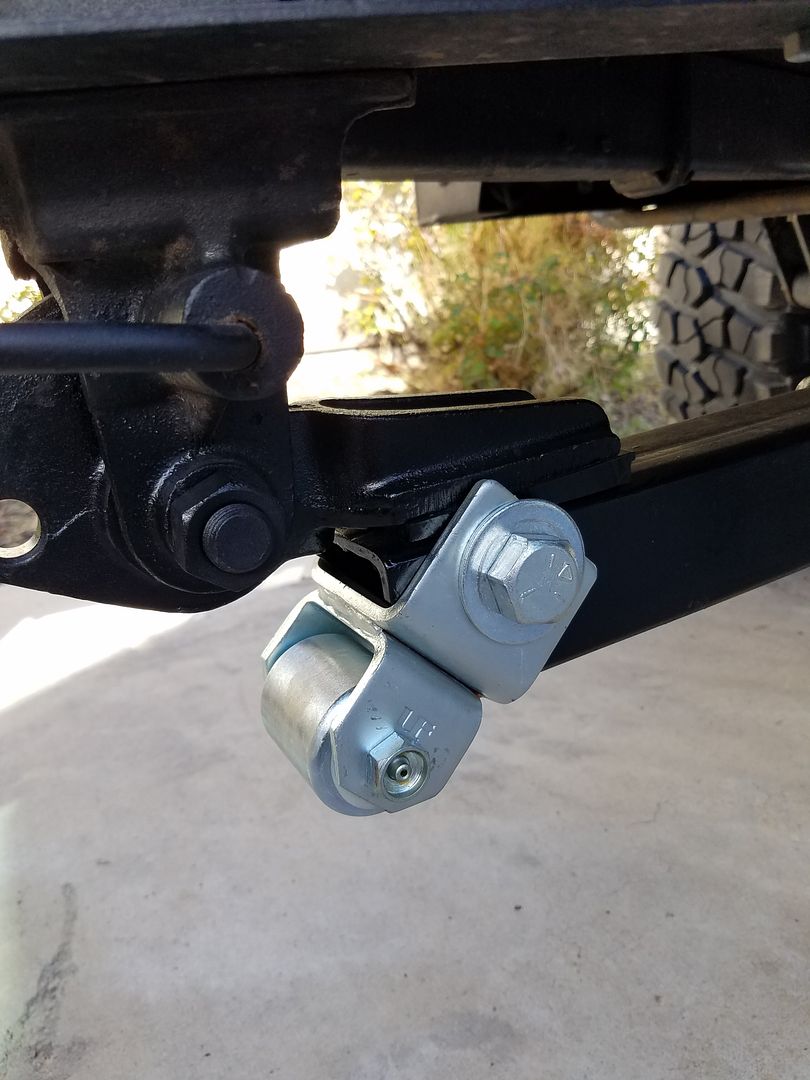
The new springs that I bought online from a surplus warehouse needed some TLC and required that I removed the bushings from one end but they worked perfectly. I did remove one of the leaves to soften up the rate a bit. With the tub and brackets back from the bead blaster I was able to paint and install the hangers draw bar and the lunette casting with folding front leg.


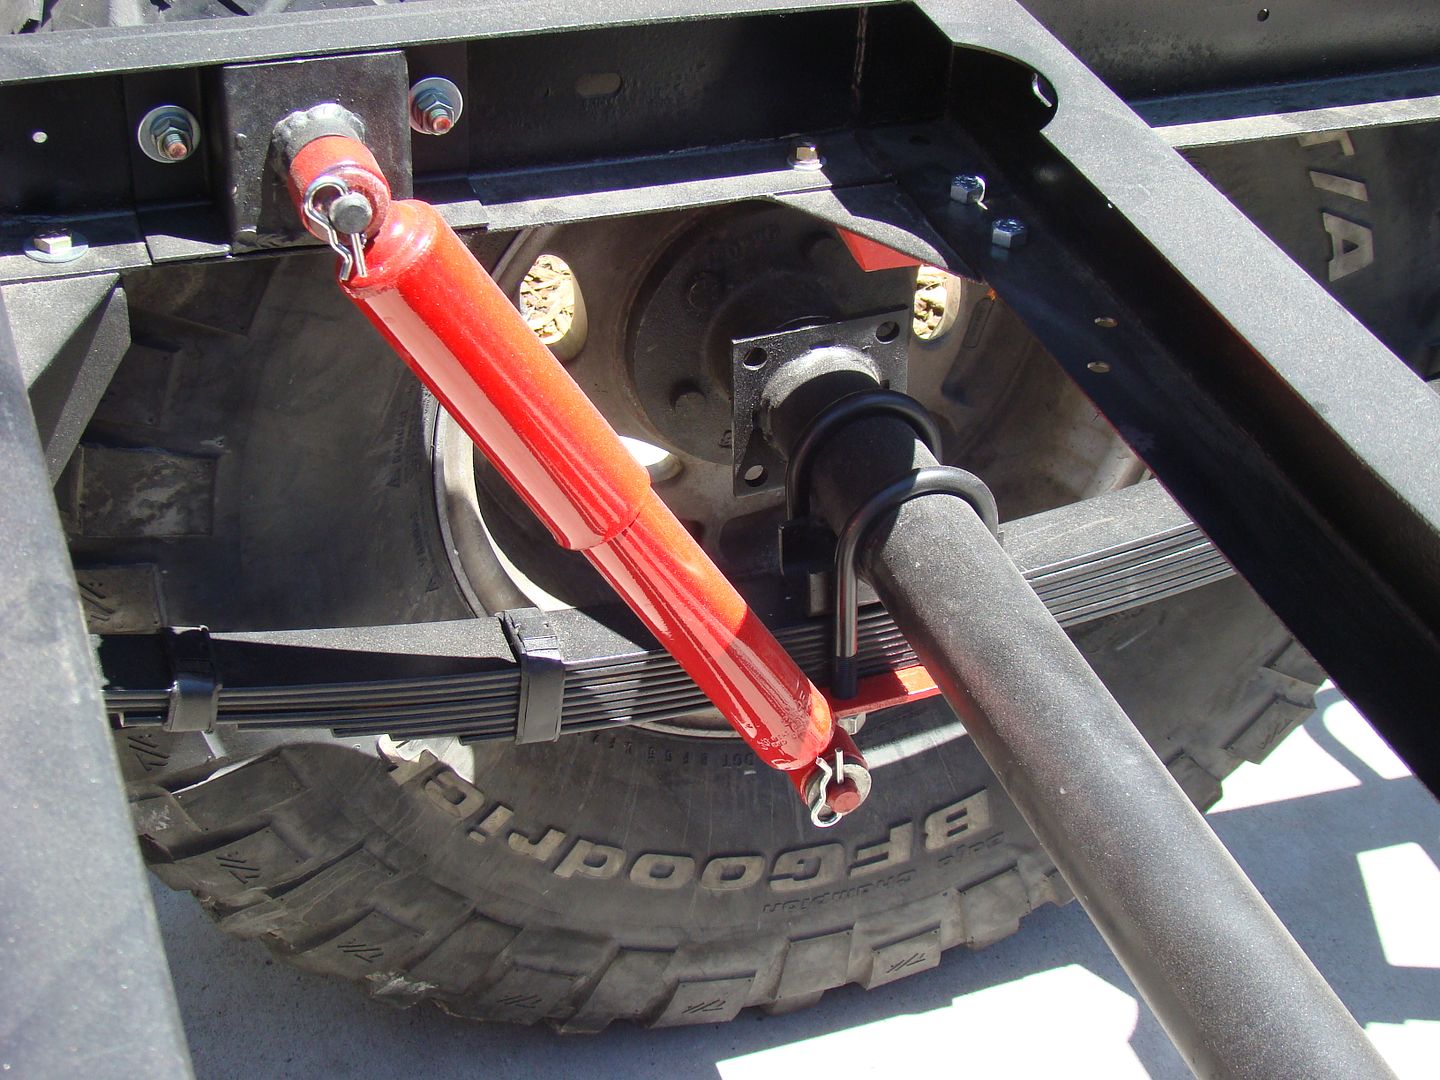
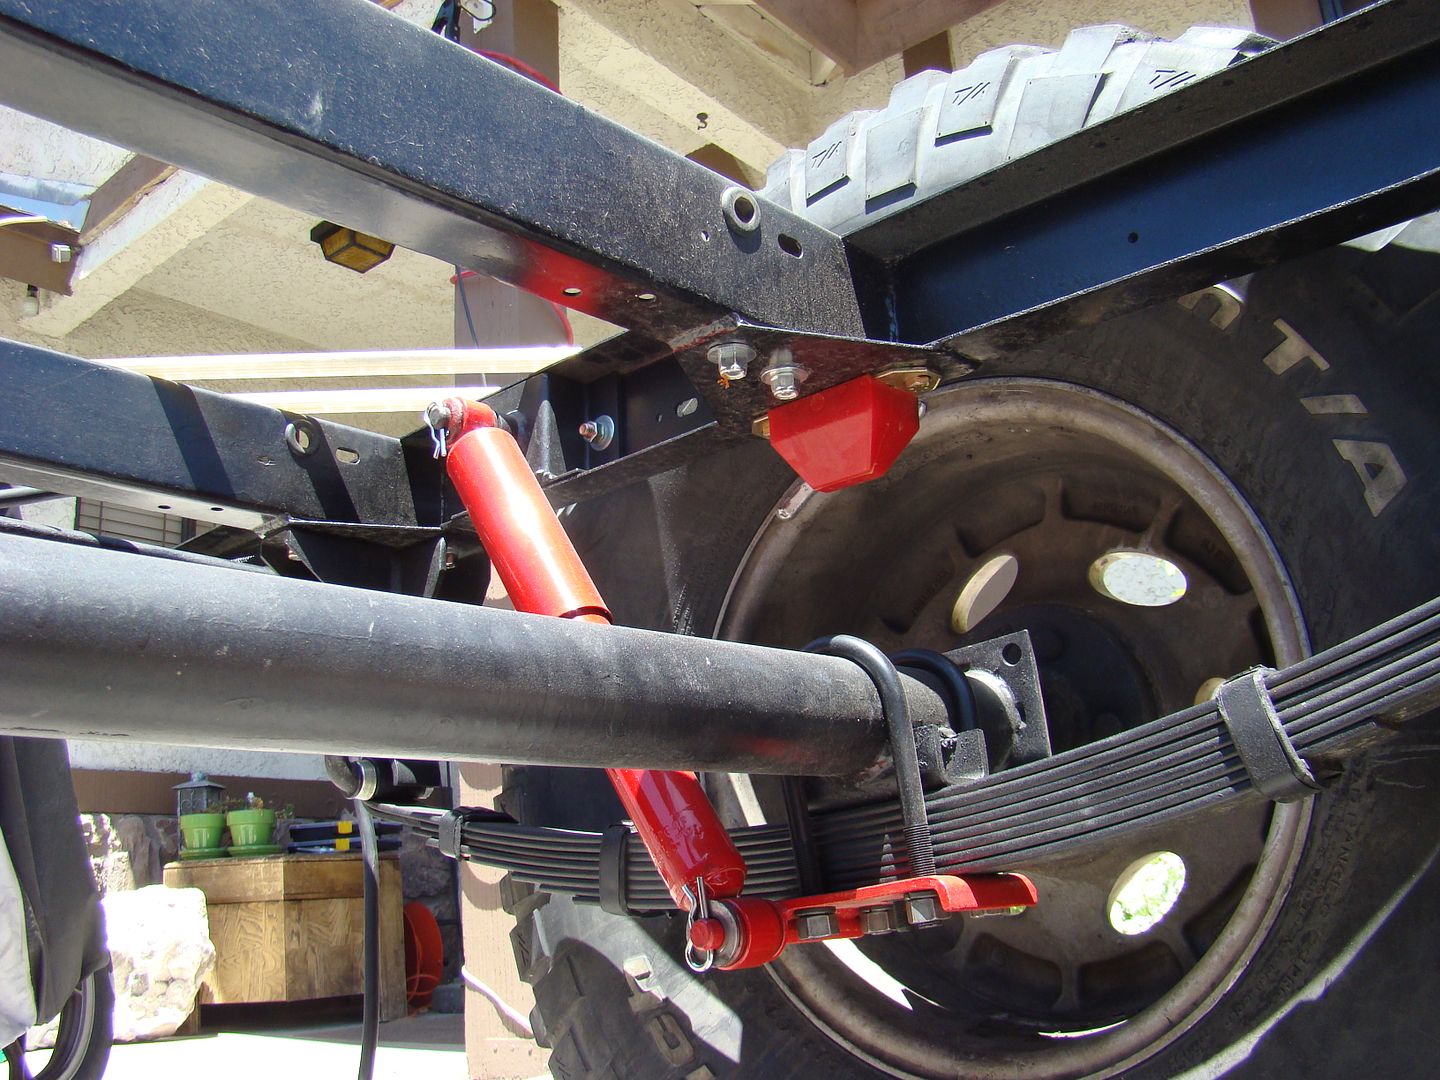
Here's the new spring, shock, spring stop ect installed. All the hardware including the nuts and bolts are new.


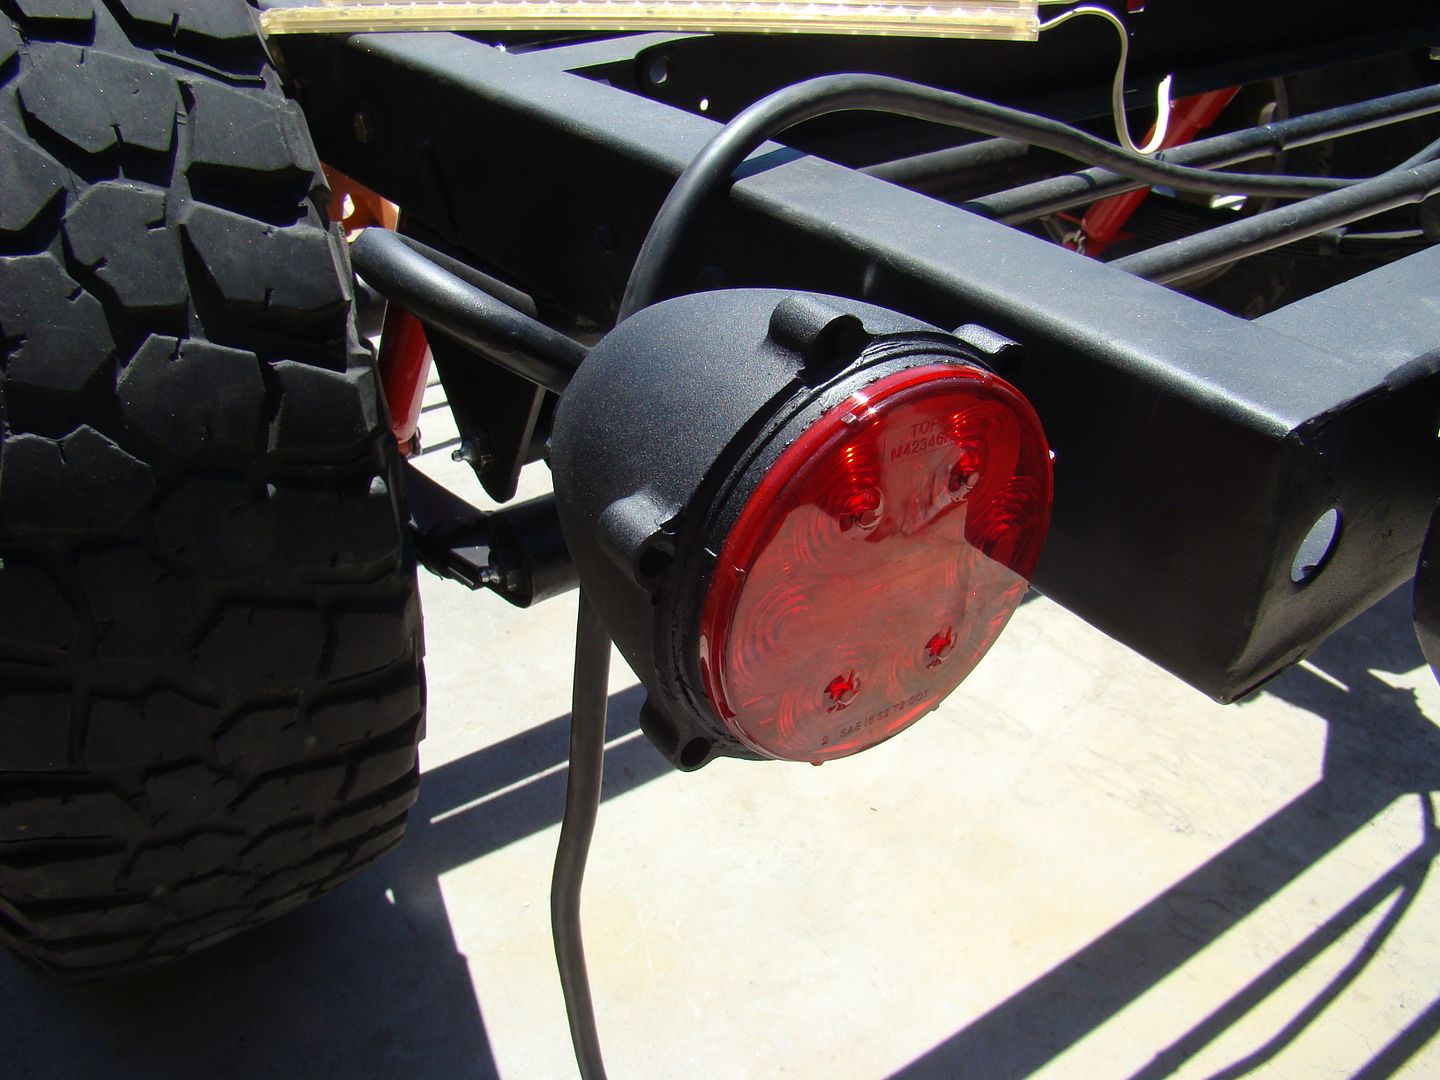
One of my coolest mods is the changes I made to the original tail lamps. I loved the aluminum housings but wanted a more modern look. I was able to remove the guts and grind out the areas near the lens to allow for an LED stop,turn, tail lamp. The LED lamp is held in with silicone. There is a 3/4" hole in the back where the original wires came in. This hole allowed me to easily install a 3/4" red marker lamp made by Maxxima. This marker lamp is very bright and has a lifetime warranty. I drilled a 1/4" hole in the side of the housing for the wires to come in from and sealed it with silicone. The whole assembly is water tight and solid. I have added additional amber marker lamps in the front corners of the frame.


Besides the LED tail lamps and marker lamps I will be installing these sealed LED strips to the underside of the crossmembers directly in front and behind of the axle for rock lights. I will also be adding an LED stop lamp across the back of the tub near the bumper. This tail lamp is a combination stop, tail, turn signal and has backup lamps built in. It will be mounted inside a channel to protect it from impacts.

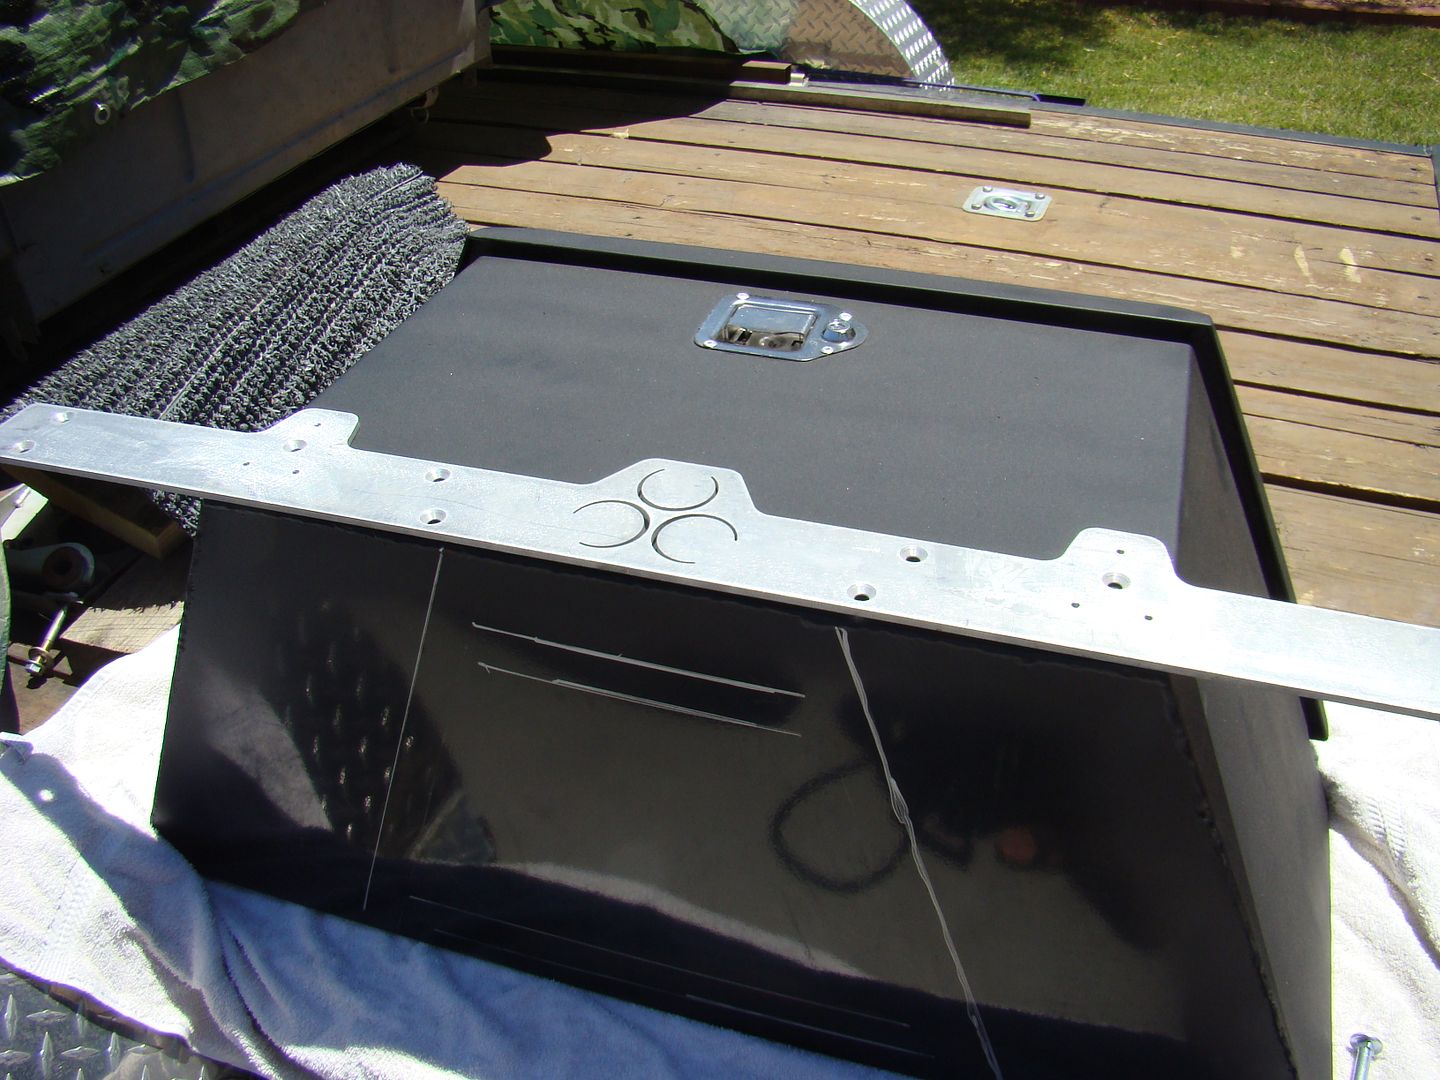
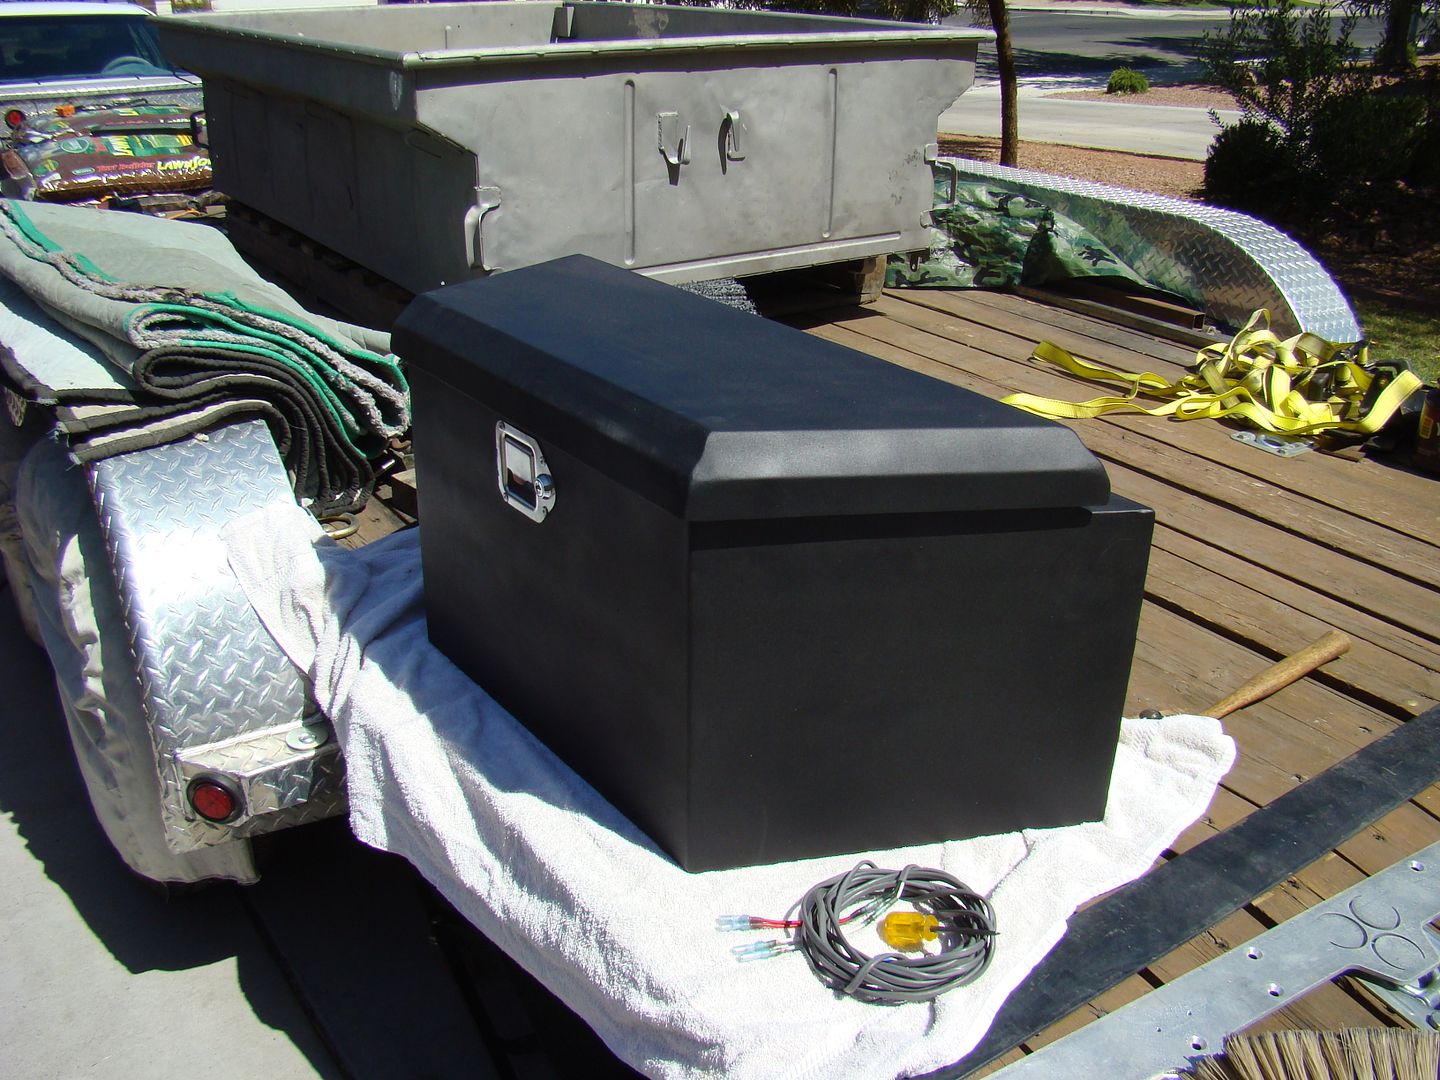
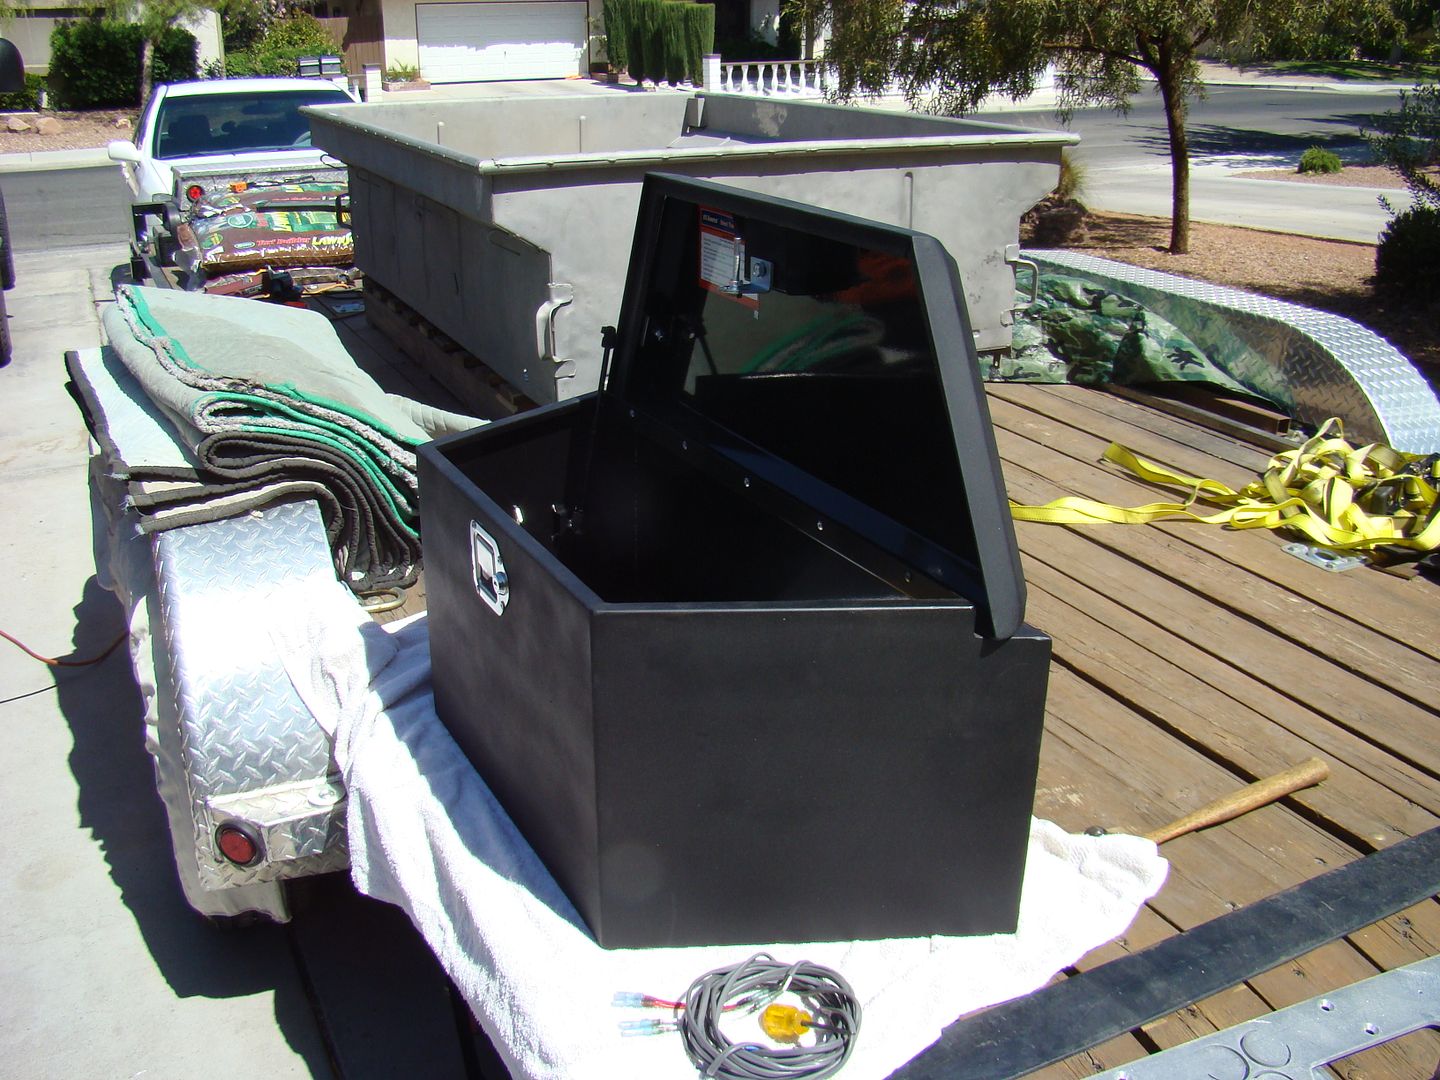
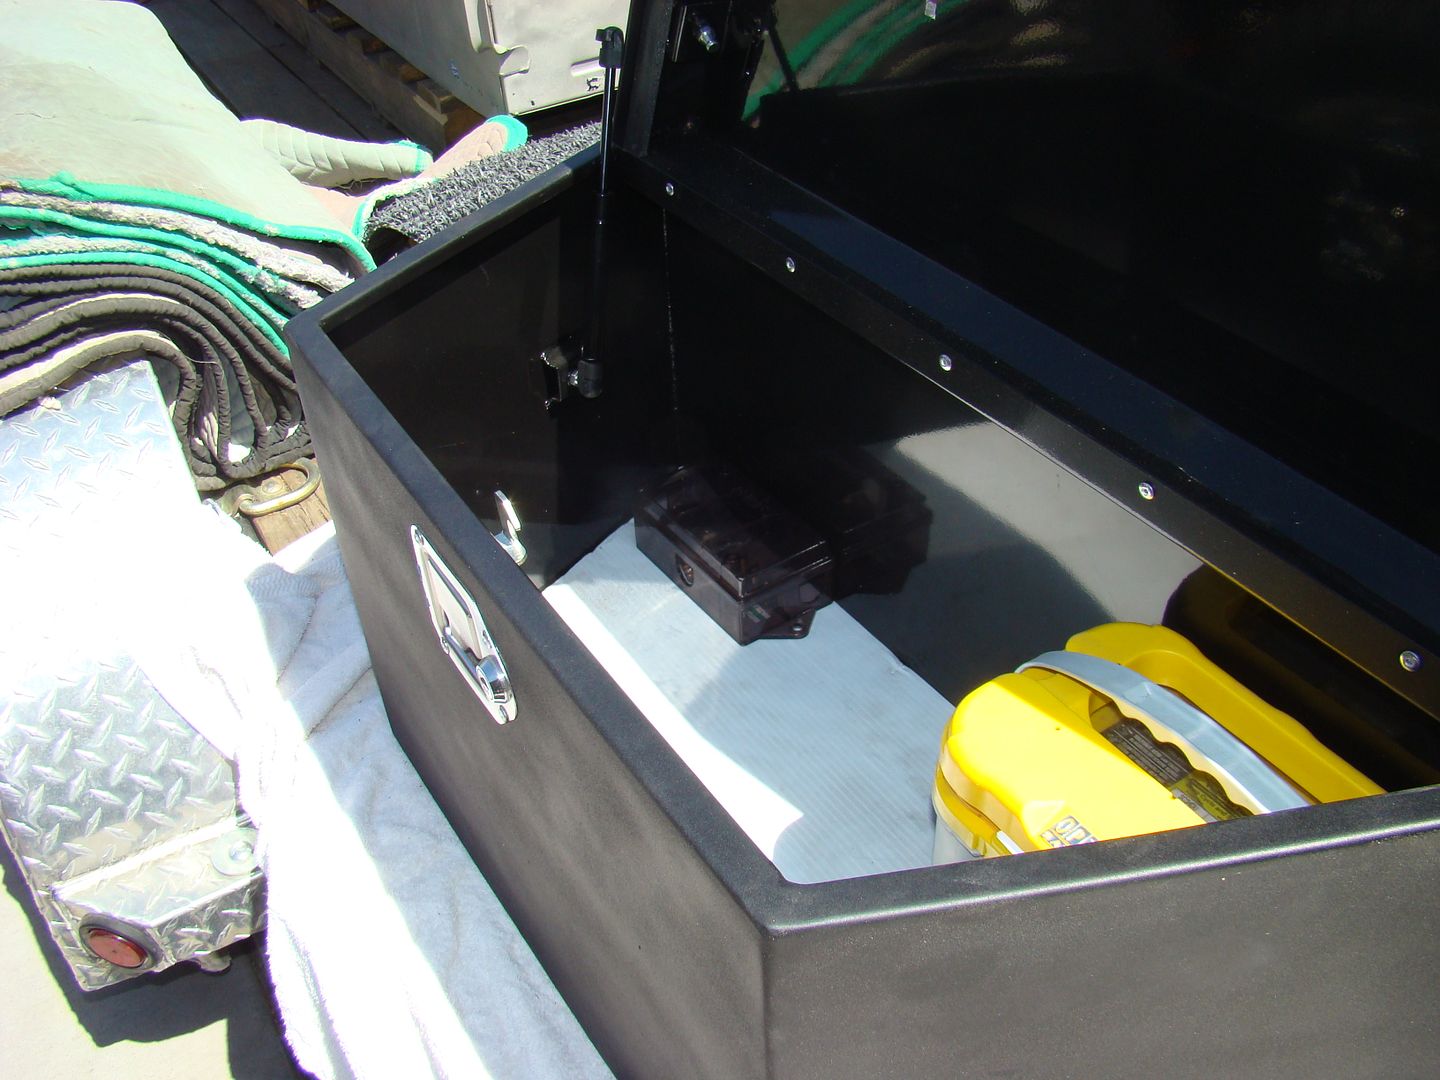
Forward of the tub will be this tool box that was purchased from Harbor Freight and painted texture black to match the frame. The tool box will be mounted over a 1" square tube frame so that it clears the forward casting. Electrical from the Jeep and to the lights will be routed into the box where all the connections will be made. I have an Optima yellow top battery for the box that will be charged by the Jeep and feed an Inverter and external 12V connections for things like our ARB fridge freezer. This box is popular on these trailers and fits like it was designed for a M416.


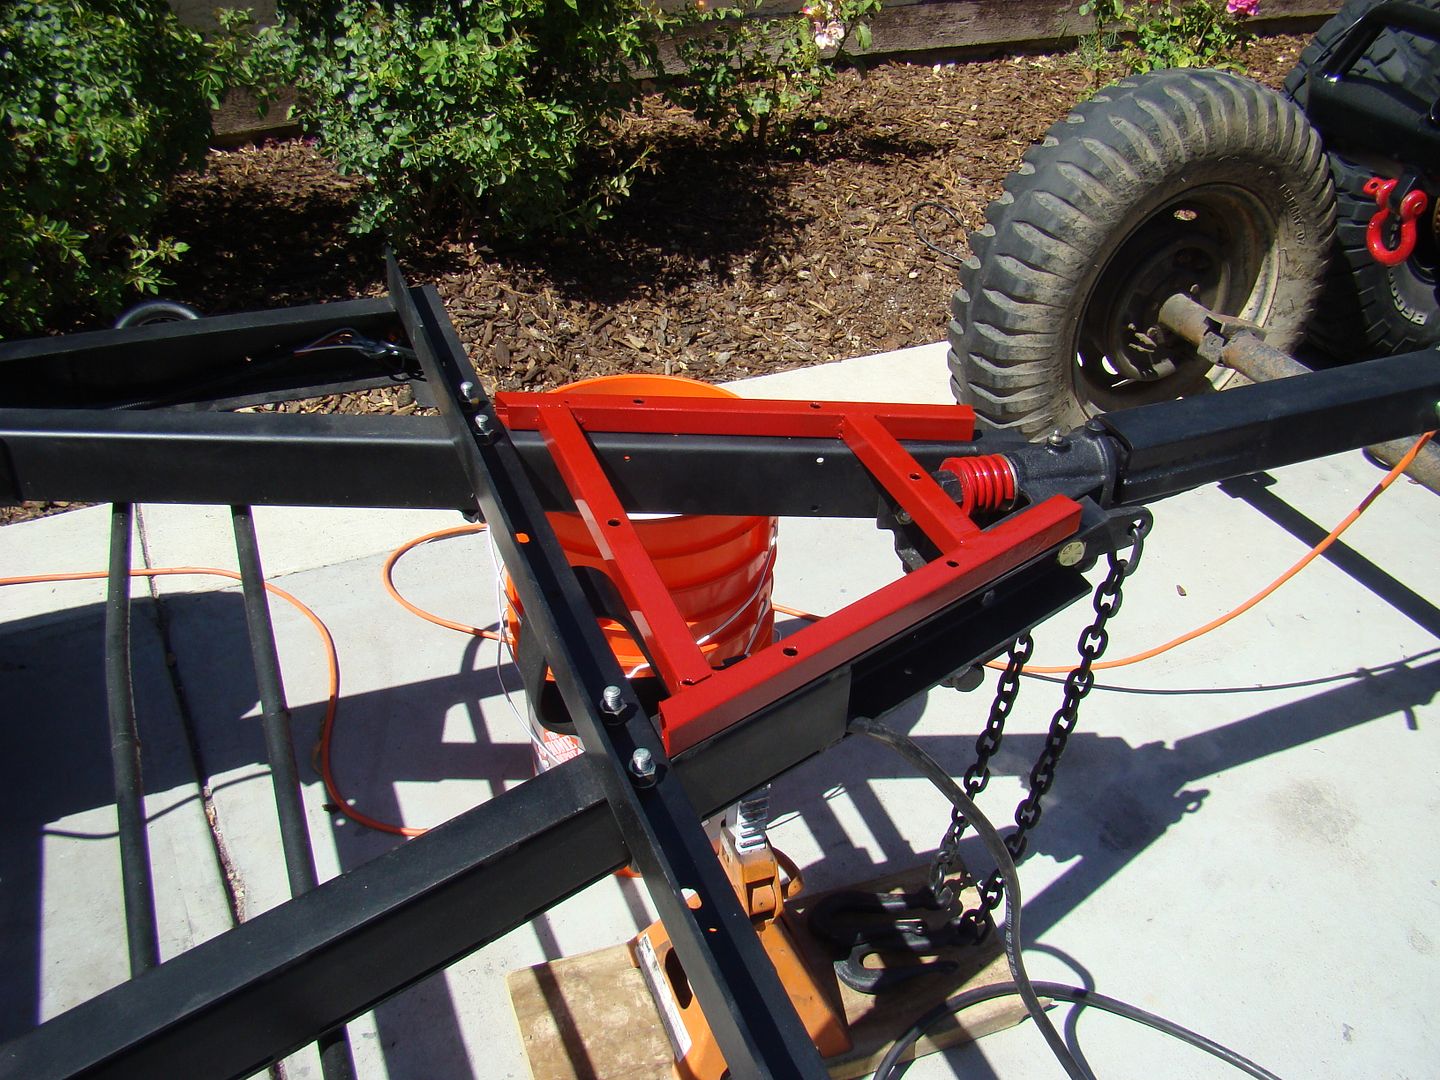
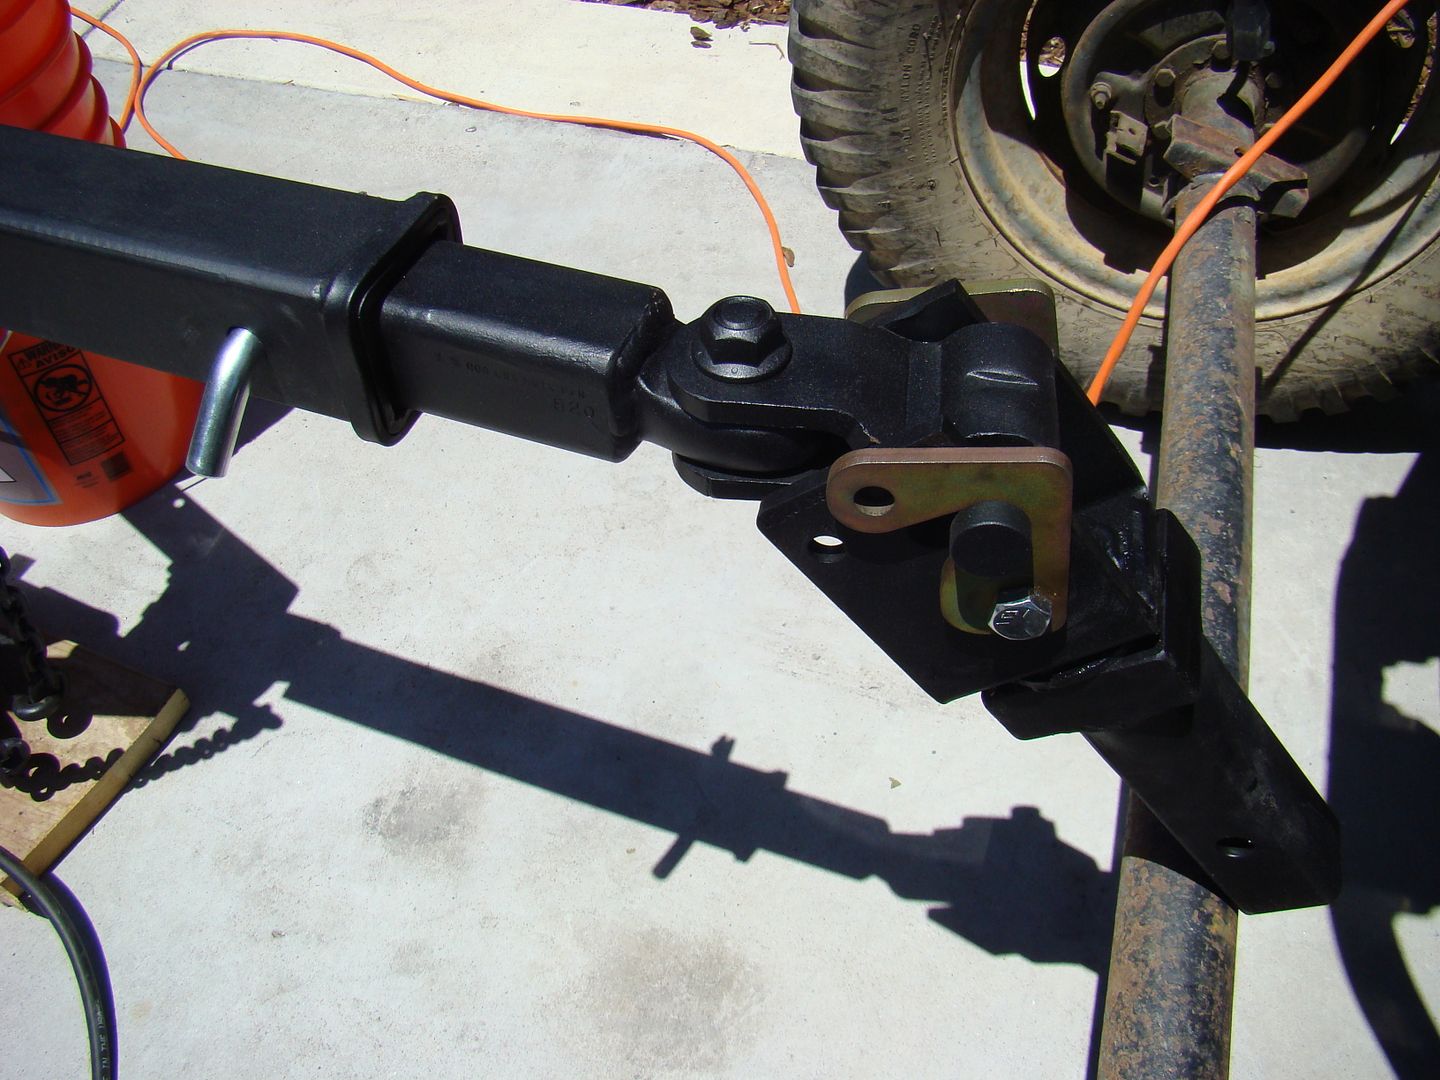
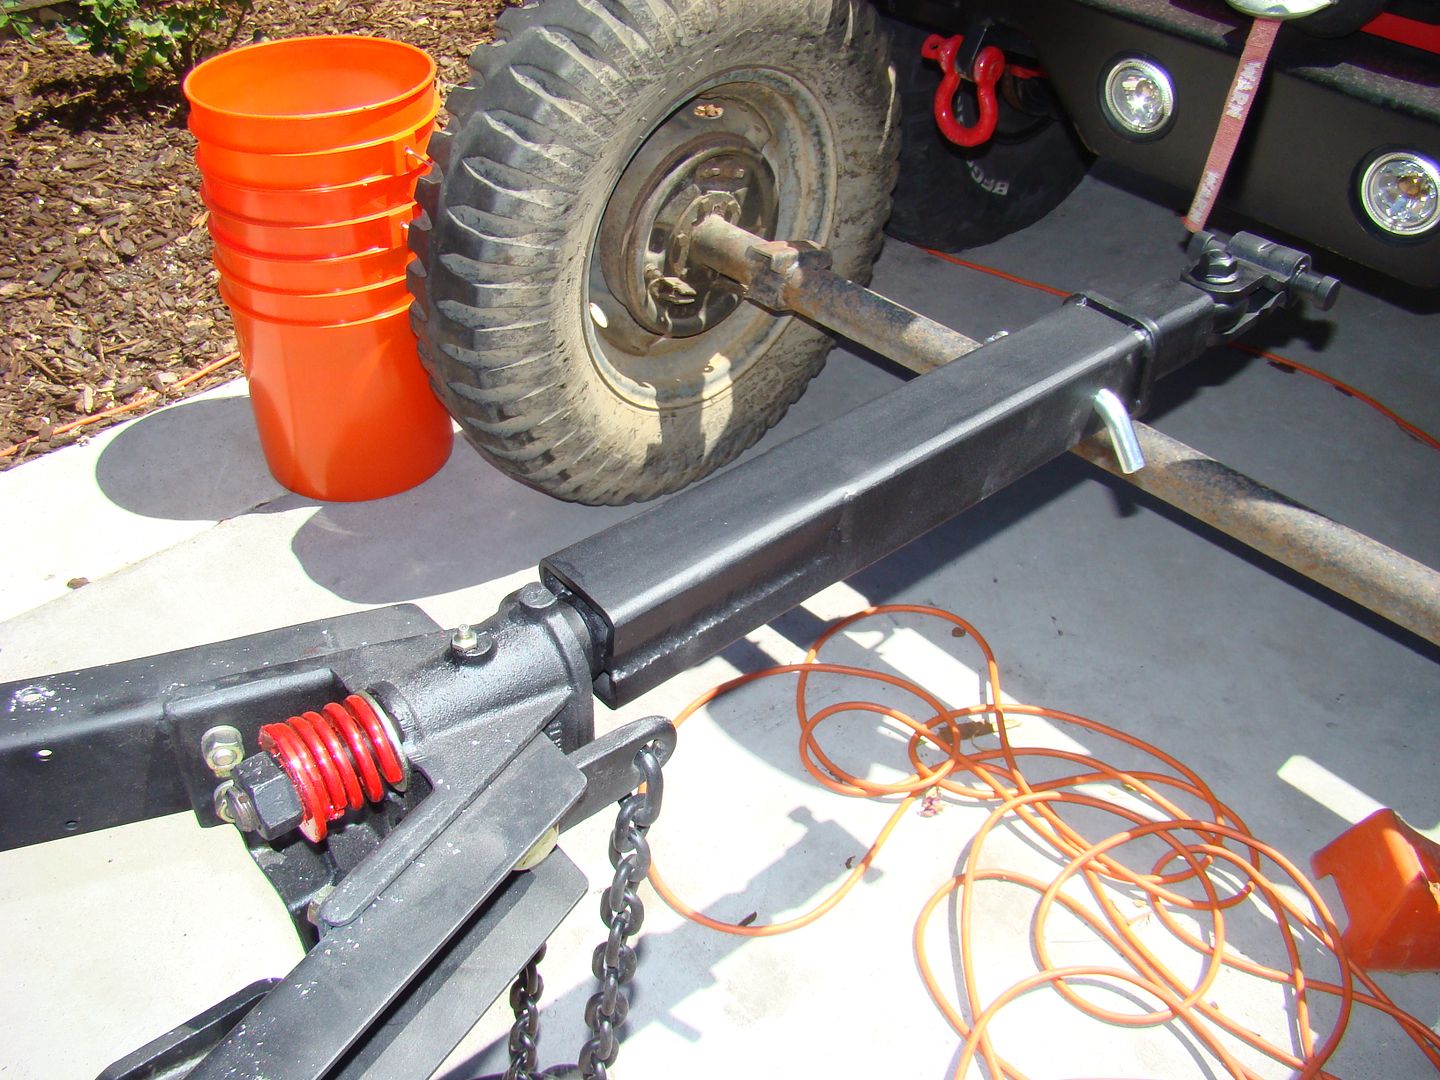
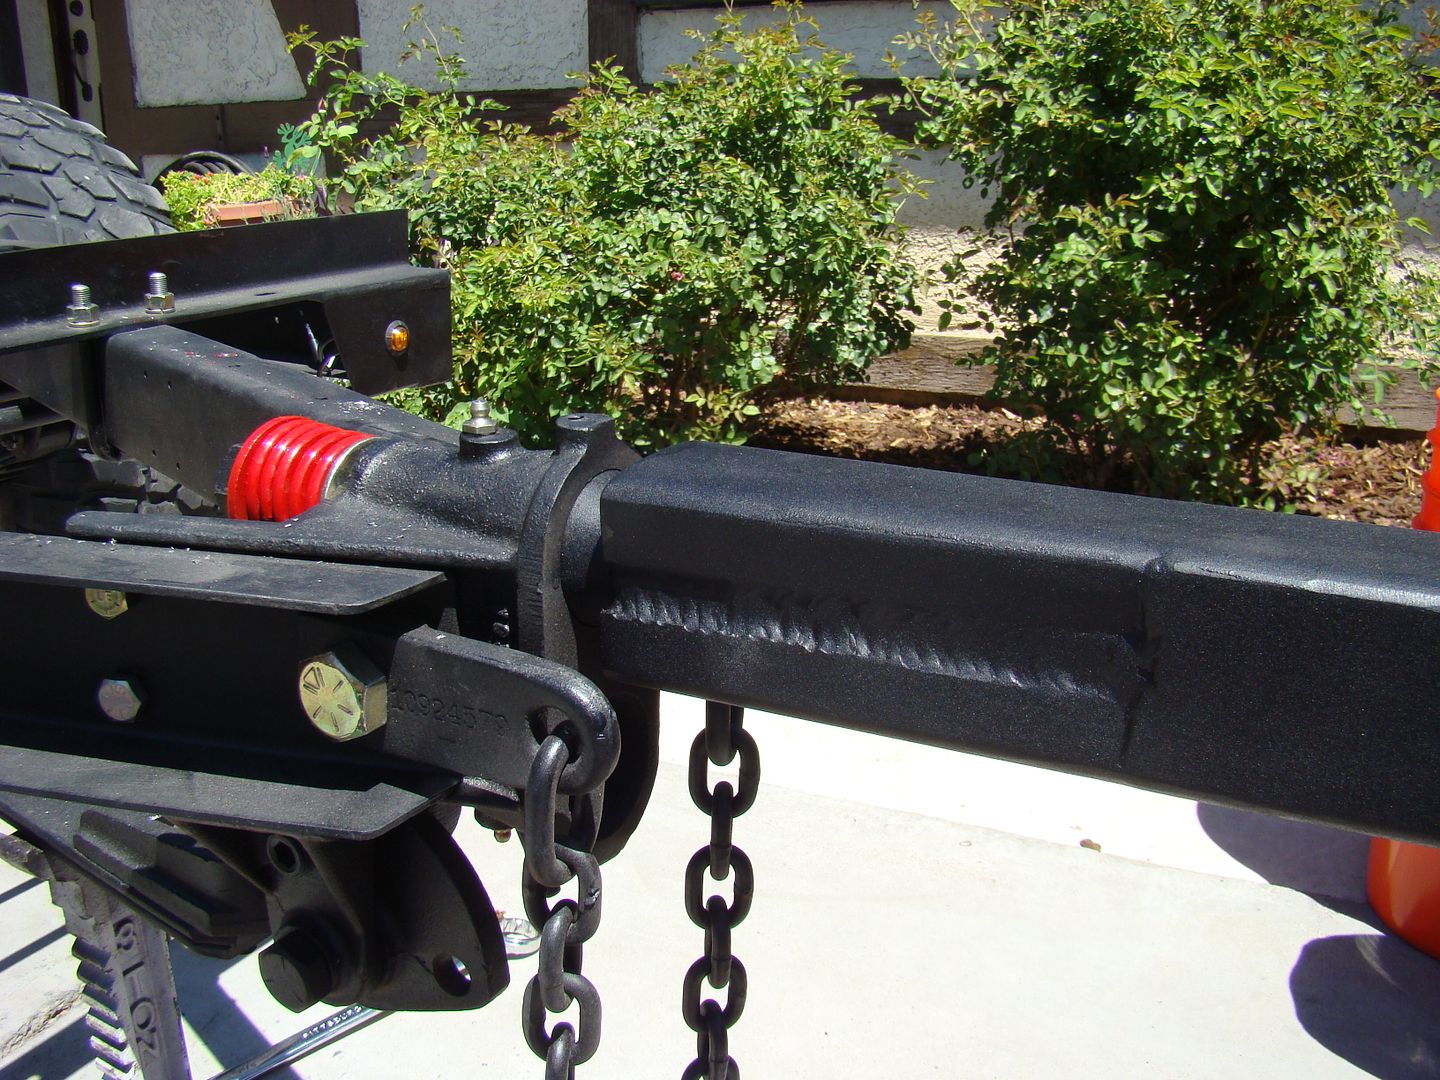
One of the things I wanted to retain was the front casting for the original Lunette eye setup. We were able to cut and grind off the standard trailer hitch that was on the trailer when I purchased it. The Lunette shaft had been cut directly behind the eye. My friend and professional welder Eddie Nez adapted the Lunette shaft to a receiver tube in such a way as to provide a strong setup without any shear points. The reciever tube allows me to extend or retract the hitch roughly 12". Everybody knows that the hot hitch setup for serious off-road trailers is the Lock-N-Roll hitch. This setup allows the trailer to twist and turn without binding and avoids the banging, squeaking and popping of the 1940's pintle hitch design. Thanks to the folks at Lock and Roll for helping me select the best hitch for this project. I'm impressed with the design and I'm excited to put it to work.


Bump on an old thread. Thank you for the idea and feedback. I am just waiting for a new chains, spring, and castle nut to finish things up.

X14fapG0f6gqqSO5E9Z-5p852NhtY0wru_RAtgTLuz88BqDy1phCdNPW8OnS3hKoTYxbRKbyju3SB5JC9BBSDQ2x_WEMWHmG1-En8zOVYF0E9NDZgRqJiMH3LQNqTbg5MCAzH_hY4o1i7JuAreaVdsjSQ5zfnVns2JNgG2L7Wh9r16LPMkIN0Vf2SjY3ac7vmNN4Cb-dgqMpomu8YpYdBhQ1vKJ9y7b5KBwPmBdK02S7-zaGhPThggenSwJ9gHF8k64tRYq1B7JsZwEHCwZZqVX-TNzo5NFUXerUX7XqRYIt60fUeILHZylOCWm526V9TT4MJXiLtoQzTKb_1Us6rNEQwy14Uu30D86uXbn-UQ_H8Li-IocgzWAkJSzlOlGv3dPxVqB0zlEU-mZY231lHqYGQJ1lnsvHNj4lq1inSBCeQAdl2H0G3F8dreGCObSb775egLJFogJj-YQuEU3jEBjtgKBbt7KfY39w2cdIdbpEQhvR50yA30Mn2a2nSR9Iw2wPwy7OQFKYRTeNi1czluK7s7eaPA60woZnQYWuXOUM4KzGqFMoQrXSHrstqW0fG6ps9ugiE0rupuQxml1odGXxm4FIrpymDhIK6hjNSeyLZVV9J6zy4ucuFiQrcDf-ezzlgnQx3NzS_b-PqJbCKxrlLgAB35a4=w1912-h1434-no
 

Bonofied Suiter

Bonofied Suiter
Nice! Make sure that the Pintle shaft is welded securely into the receiver tube. If you look at the photos of mine you will see two the sides of the square tubing are pressed in and then cut and welded to the pin along two of the sides rather than just at the back of the square tubing. It's always better to error on the side of overkill.
 

1Louder

Explorer
Nice! Make sure that the Pintle shaft is welded securely into the receiver tube. If you look at the photos of mine you will see two the sides of the square tubing are pressed in and then cut and welded to the pin along two of the sides rather than just at the back of the square tubing. It's always better to error on the side of overkill.

It was seam welded on the sides and plug welded. It isn't going anywhere. Sadly when I went to install a new top bolt to keep this from rotating the Grade 8 Bolt head sheared off. I am having a heck of a time getting it out and may have to drill the entire thing out and rethread. I wanted this to be easily removable so it would take up a bit less space in the garage.
 

Bonofied Suiter

Bonofied Suiter
Hi Guys,
A few people have asked about where to find original M416 suspension replacement parts. It's not an easy find but the springs are the same as a Willy's Jeep from (1941 - 1953) Here are some of the part numbers for what you will need.

Supplier: Vintage Jeeps Inc. (888) 503-JEEP

18201.02 Front Spring 10-Leaf (1941-1953)
18270.17 Pivot Eye Bushing (2)
18270.01 Pivot Eye Bolt (2)
18265.03 Leaf Spring Shackles (1)
 

mep1811

Gentleman Adventurer
Nice build. I'd watch where your tongue is welded to the round luroke nette piece. That is a weak point. I had something similar done and it broke.
 

Bonofied Suiter

Bonofied Suiter
Nice build. I'd watch where your tongue is welded to the round lunette piece. That is a weak point. I had something similar done and it broke.

Thanks, I appreciate any feedback and especially when people have experiences that we can all learn from. One thing I've learned from my years on the trails and the process of upgrading components on my Jeep is that regardless of what you beef up you will never eliminate the possibility of failure and you create or move the weak points to somewhere else. Sometimes the new weak point is more problematic like beefing up your drive lines only to have your axle fail.
I'm fortunate to have a close friend (Eddie) who is a professional welder. The guy is amazing and fabricates and repairs components on trucks and trailers used in heavy haul. The way he welded the original lunette shaft (less the ring) to the square tube was along the long axis on both sides rather than at both ends which are not welded. According to Eddie, if he welded at the ends where the round shaft meets the square he would weaken the shaft at the weld and create possible failure points. At this point the closest thing to a torture test my trailer draw bar has seen is running around base camp at the Hump N Bump with 6-8 adult men in the trailer with their beers.
 

Bonofied Suiter

Bonofied Suiter
OP, what are you using for a water tank to pump water from when using the pump? Nice build.
I like to carry at least one square 5-gallon water jug with us in the trailer tub. Not much water to be found in Southern Nevada in the summer months so it's good to bring extra. On the left side of the tool box are two water connections the first one is the pickup side where I attach a 6' hose that has a screen filter on it which drops into the water supply (jug) the other connection has a quick connect for a RV shower hose. The pump allows for a nice 4-GPM military type shower. If I want the water heated up we use a Zodi propane water heater. I've found the best way to have a hot shower is to put the pickup and return from the heater into the water jug and let it circulate until all of the water is up to temp.
 

jeepers29

Active member
I like to carry at least one square 5-gallon water jug with us in the trailer tub. Not much water to be found in Southern Nevada in the summer months so it's good to bring extra. On the left side of the tool box are two water connections the first one is the pickup side where I attach a 6' hose that has a screen filter on it which drops into the water supply (jug) the other connection has a quick connect for a RV shower hose. The pump allows for a nice 4-GPM military type shower. If I want the water heated up we use a Zodi propane water heater. I've found the best way to have a hot shower is to put the pickup and return from the heater into the water jug and let it circulate until all of the water is up to temp.
Thank you. That helps a bunch.
 

Forum statistics

Threads
188,215
Messages
2,903,928
Members
229,665
Latest member
SANelson
Top