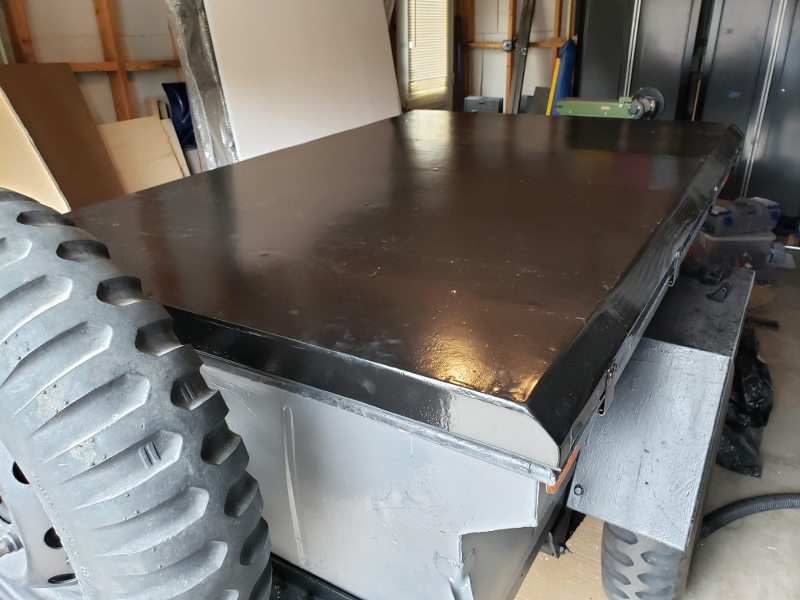
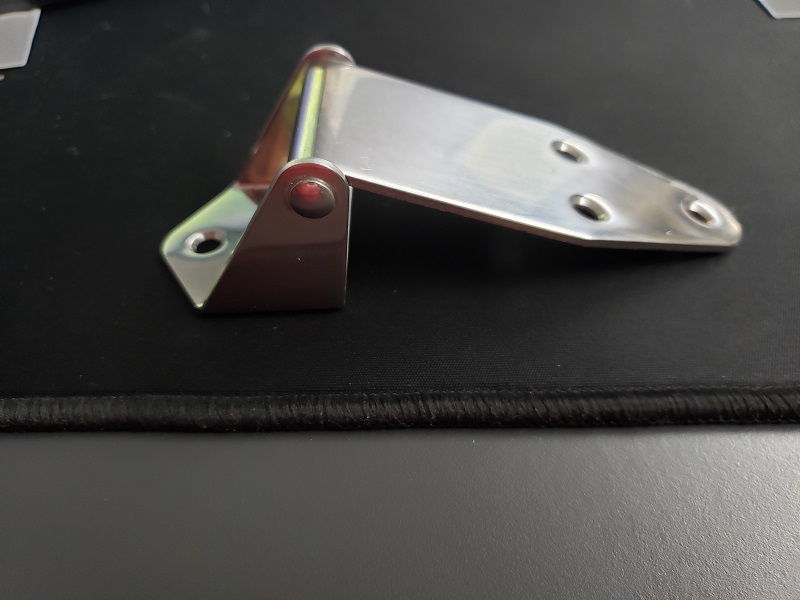
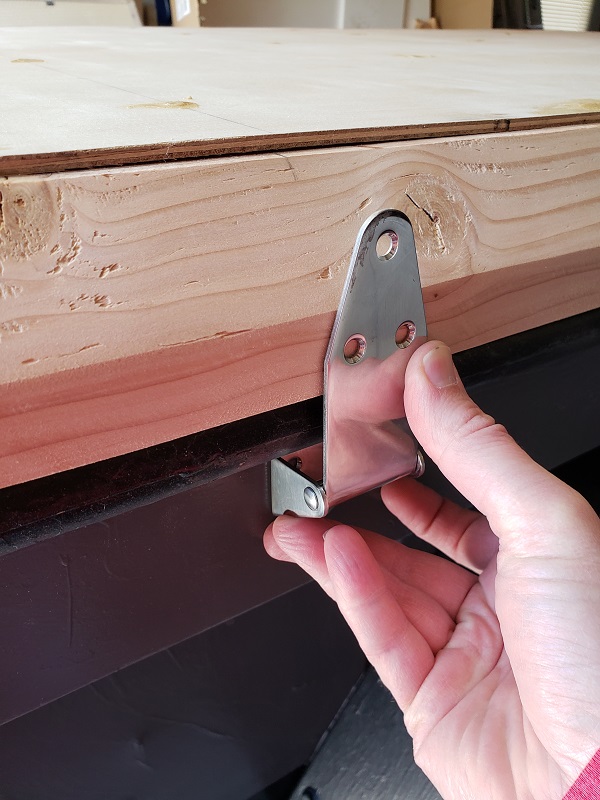
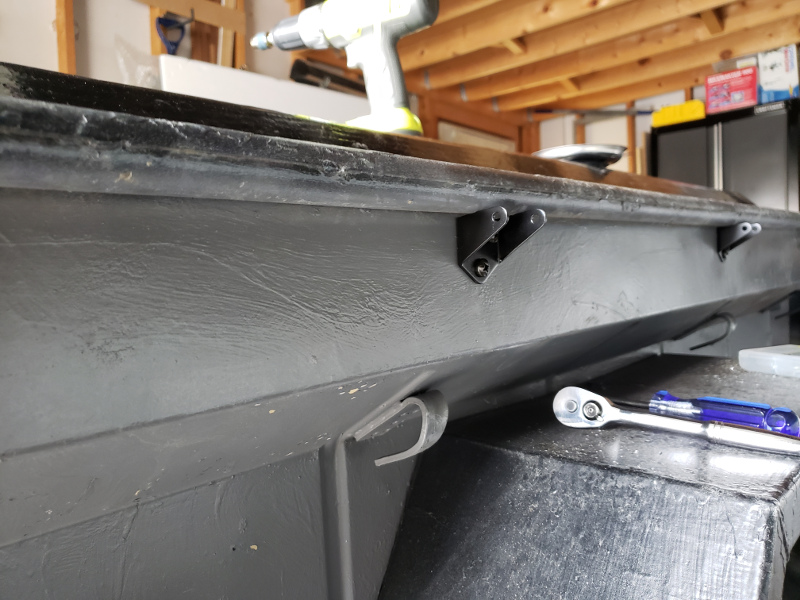
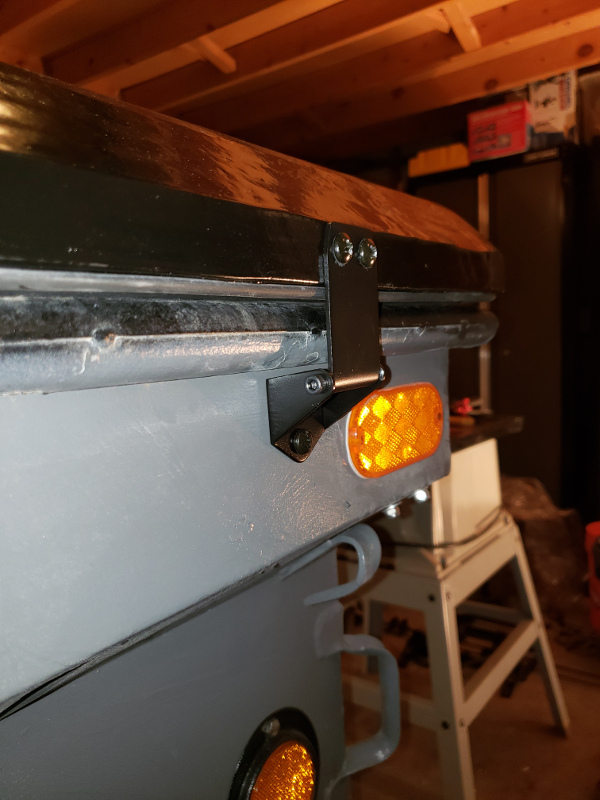
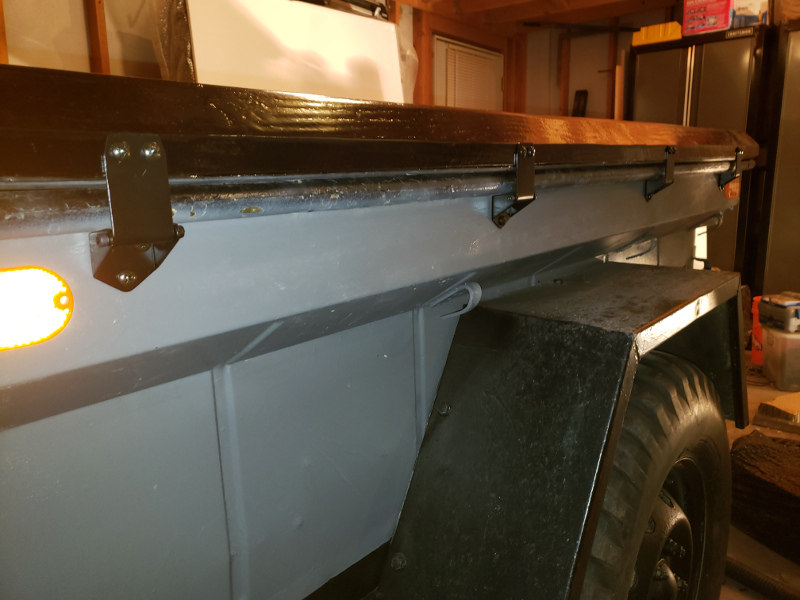
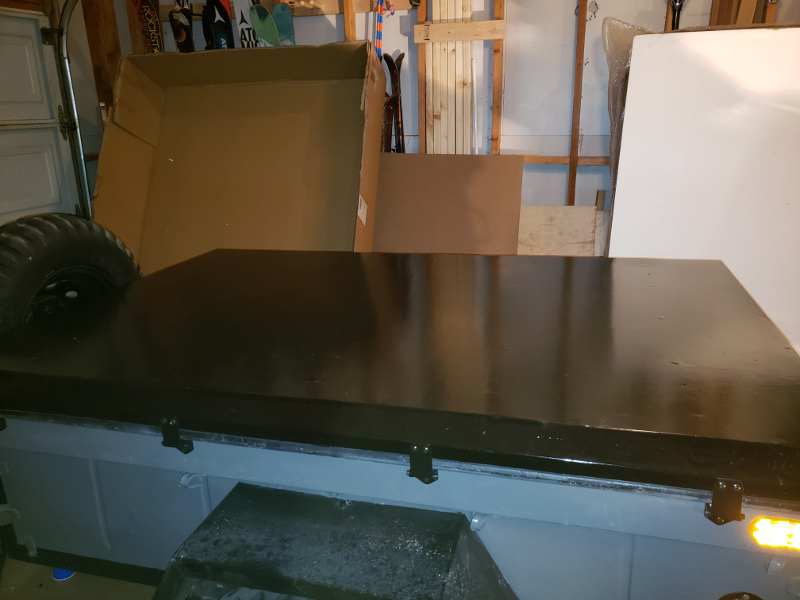
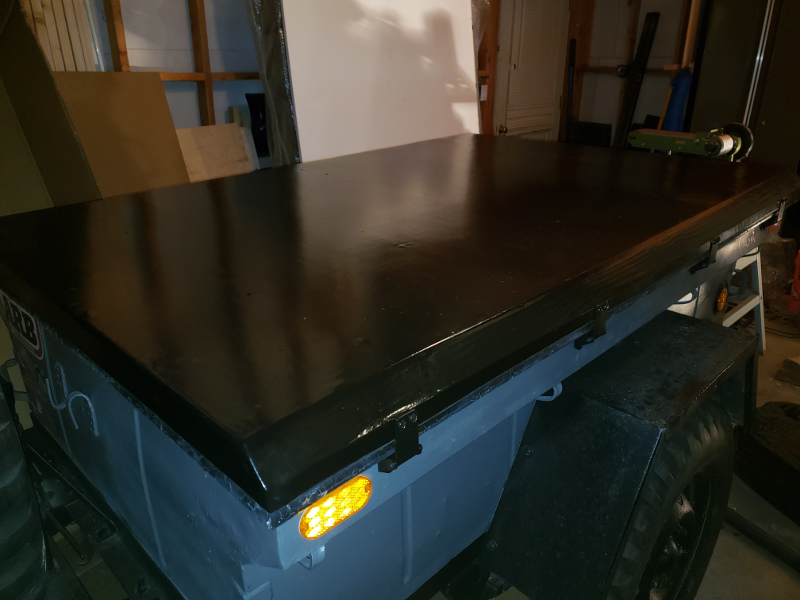
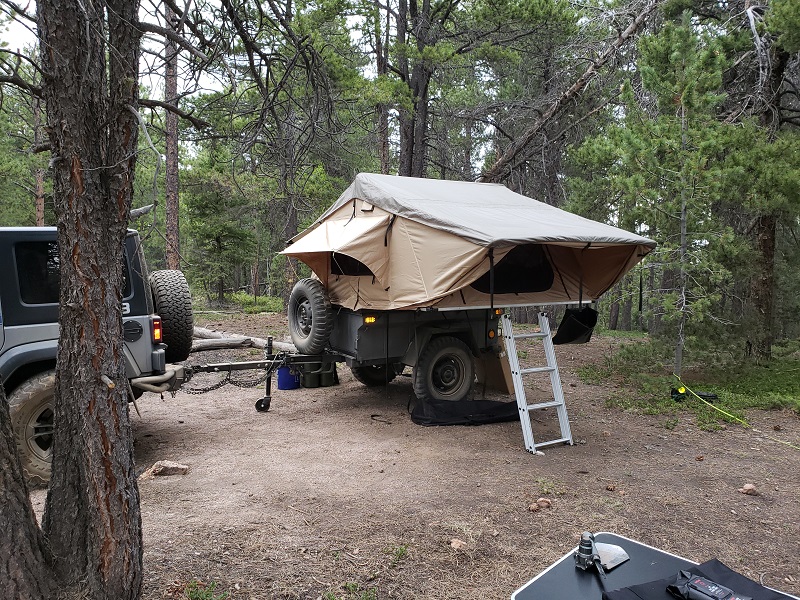
I've been wanting a trailer for some time (5/6 years).. had been debating various options out there... was always leaning towards a Building Dinoot, but I have always thought the M416's looked so good behind a jeep. I wanted to be able to pull it with my YJ, or my JK so I didnt really want too massive a trailer. My plan was always a small gear trailer with a RTT mounted on top. I was close last year, as there was a good one within a 2 hr drive, but the seller wanted too much... I was randomly searching craigslist in February and found an M416 within driving distance (6hrs) that was reasonable. I'm in Denver, and I was able to break away an schedule pickup March 13. March 14 Colorado went into Covid Lockdown, so I picked it up in the nick of time! There was an m100 here in Denver on at the same time for about the same price, but I like the angled fenders better...
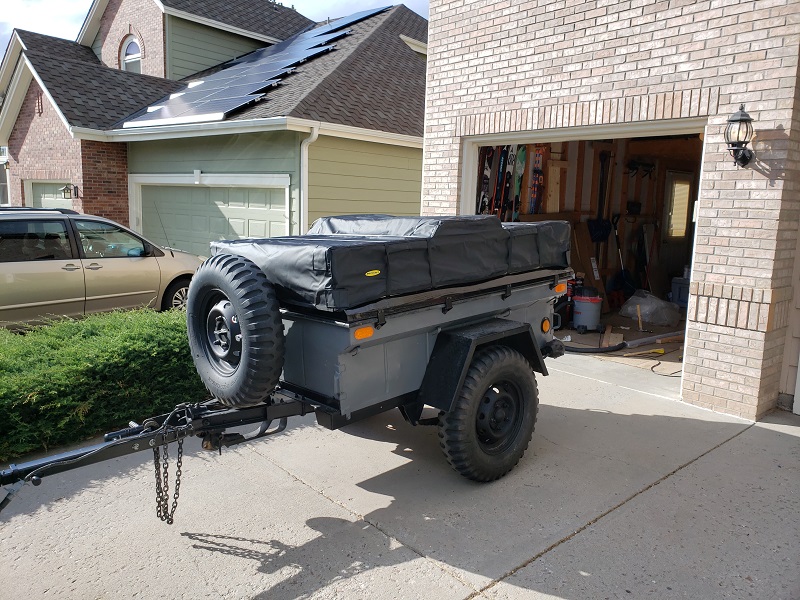
Here it is when I picked it up:
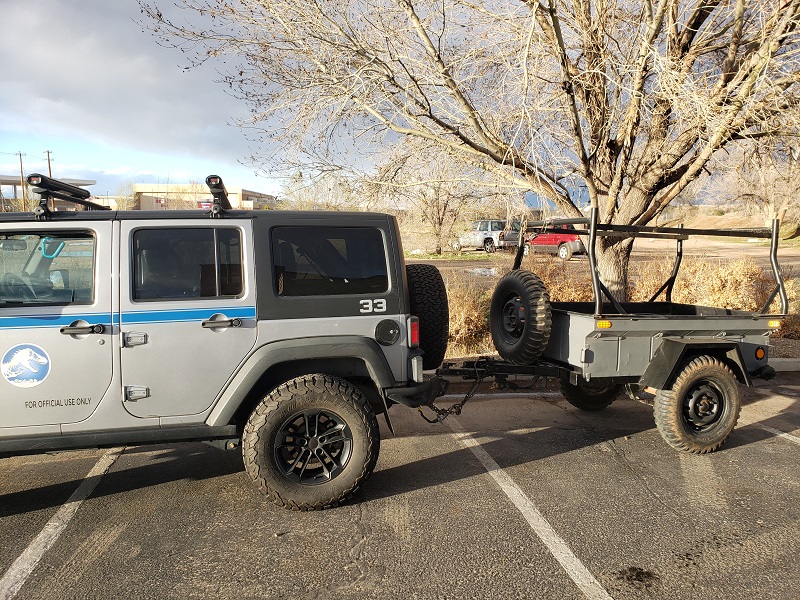
Between the fact it was a reasonable price, and that it was the flat fenders and basically the same color as my Jeep I had to do it! (My Jeep is kitted out in Jurassic World livery in case you're wondering about the stickers).
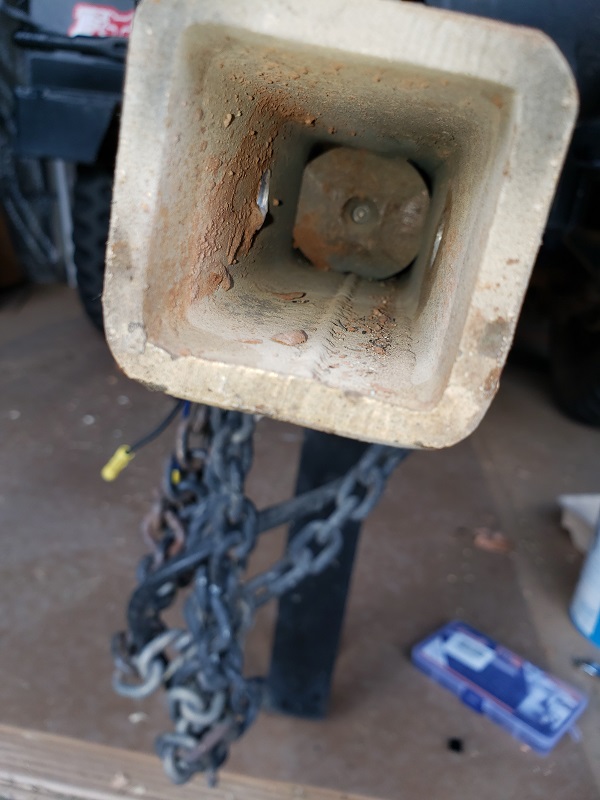
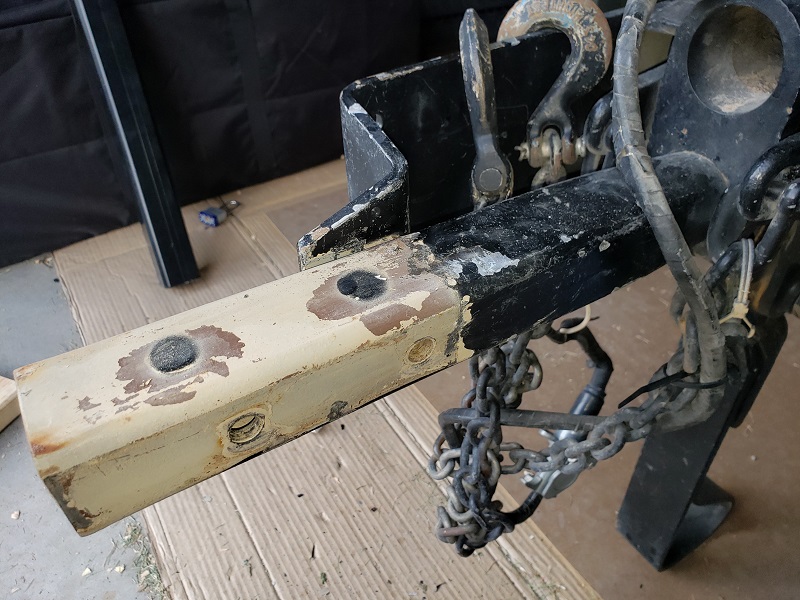
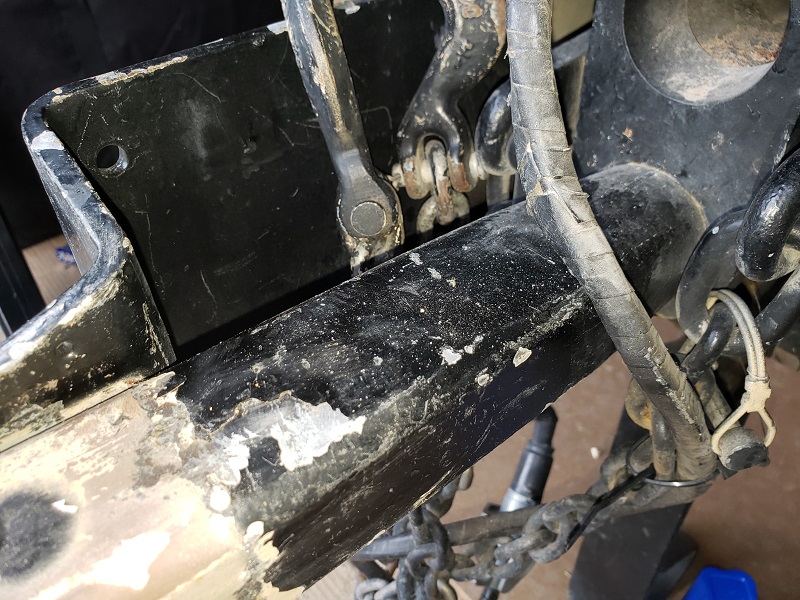
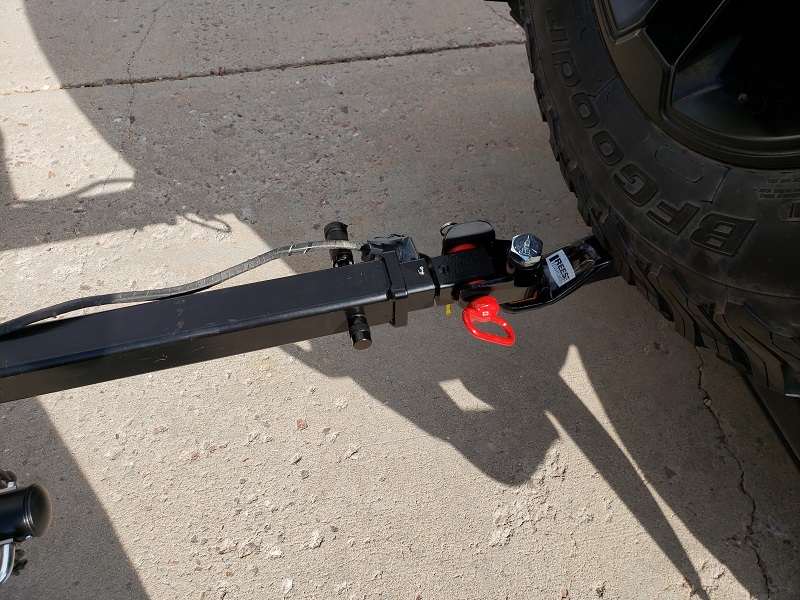
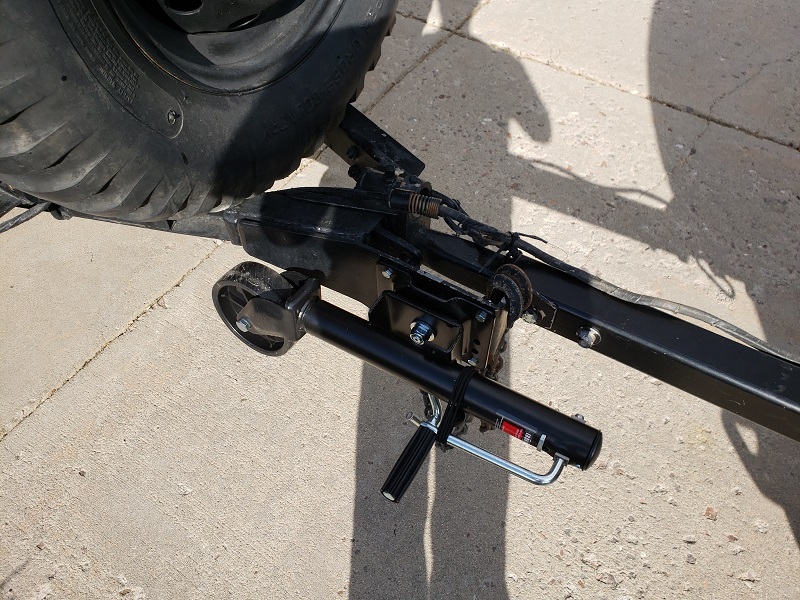
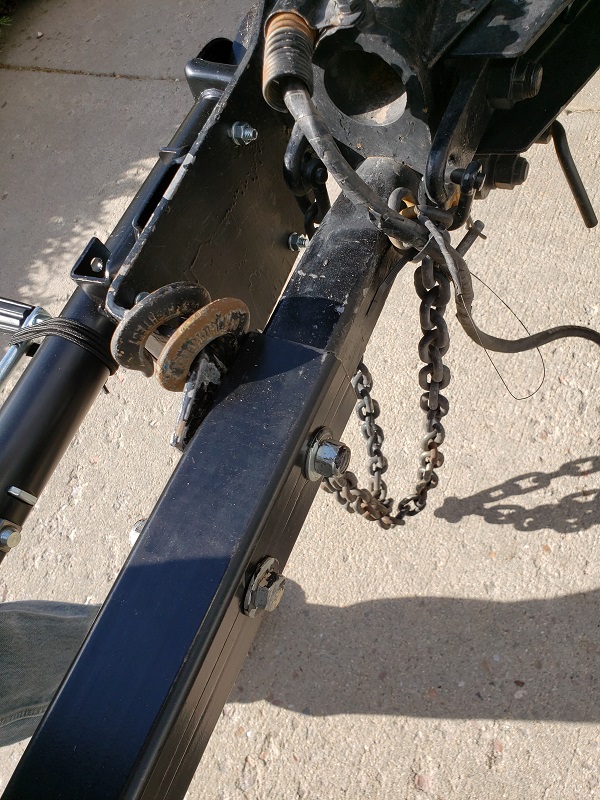
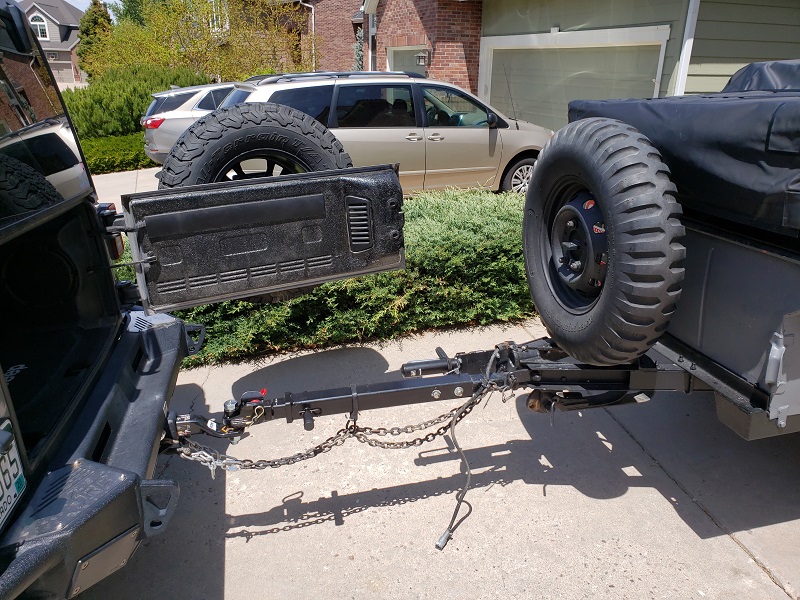
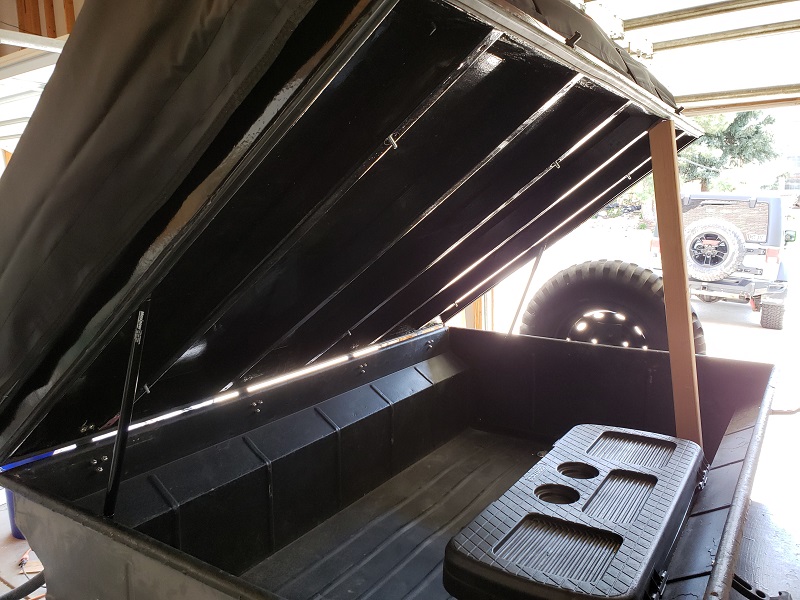
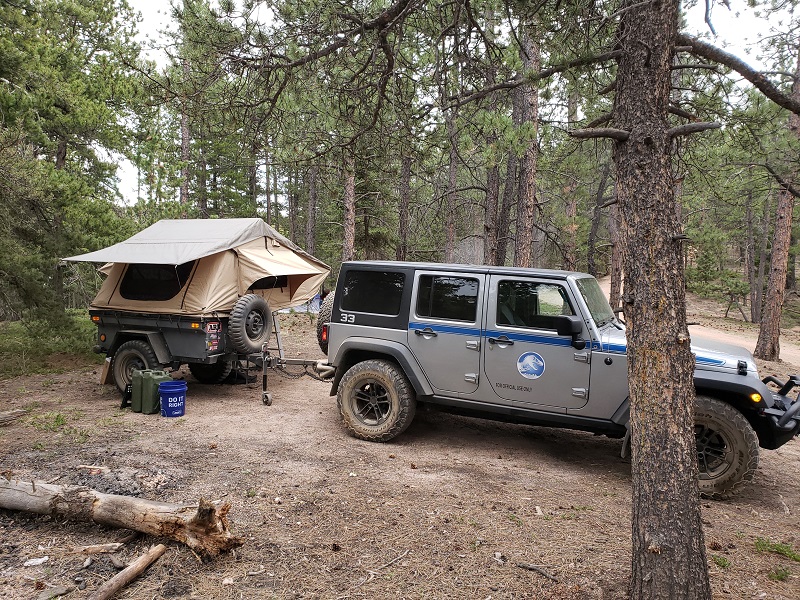
Plans: I'm putting a smittybilt XL on this, but I didn't want the high center of gravity for the rack, and I don't really think I need the annex room... So Remove the rack, make a hard cover, mount tent to that. Extend tongue slightly to clear tailgate, and use a multiaxis hitch (its 2" ball now). Trail tools. Gas/Water - Maybe just do inside... Other as need/wants dictate...
Starting off of course the lid is first, so I have been working on that over Covid isolation, Minimizing trips to hardware stores, and ordering parts online has probably slowed my progress, but you know.. trying to follow the stay at home guidance....
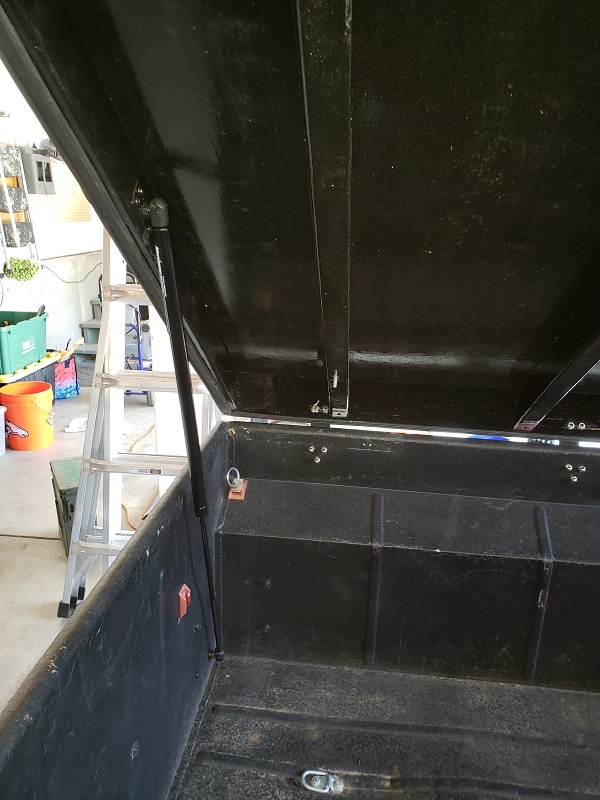
I don't have tools/welding gear, so I decided to go the wood cover route. I followed what guidance I could from Tventuring/dinoot on making a "plywood" cover. With the M416 measuring out at 49.25" x 74. 25" a standard 4x8 wouldn't cover the whole top without either 2 sheets and 1 seem, or multiple seams. Based on what I realized as I worked through this all I think well done seams, epoxied and coated, probably could have been fine.. but hindsight is 20/20. Instead I came up with a design that takes the angles of the m416 and mirrors them into the lid.
By using a 2x6 laid at a 45 degree angle, running it through my table saw 3 times to cut angles into it at the ends, and then 2x3 ribs, I could create the top and only need a single sheet of plywood in standard 4x8. Here is some of my math/drawings on how this works out:
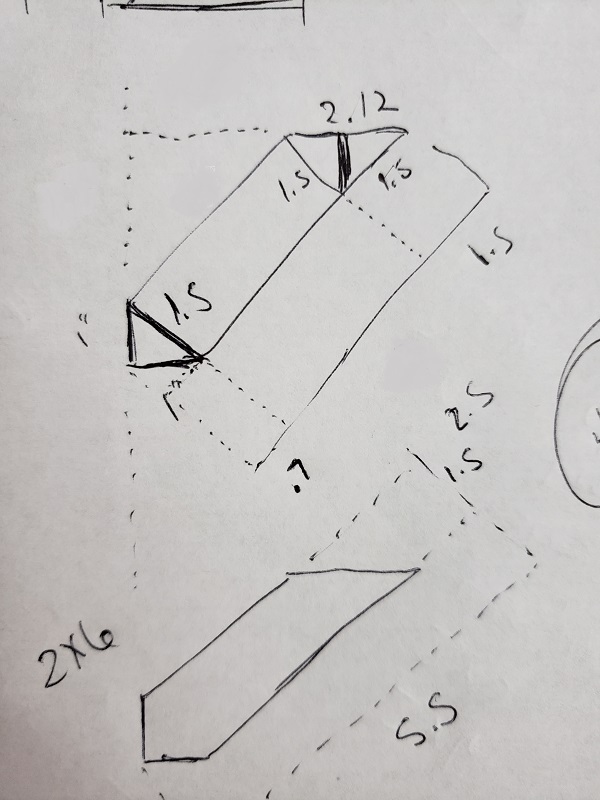
The math here was made to align the size of the 2x6 to the 2x3 ribs (a 2x6 on angle is not long enough for 2x4 rib) . Really brushed off those geometry skills
Here is the completed framework:
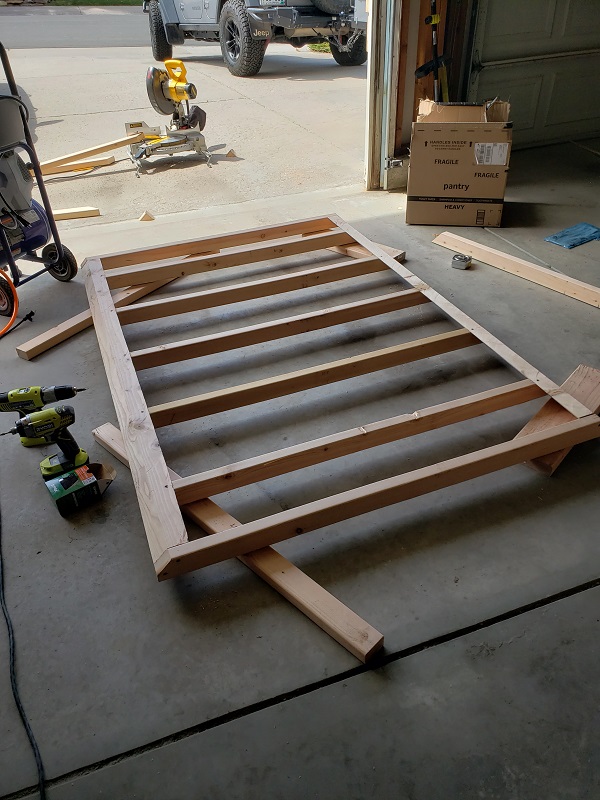
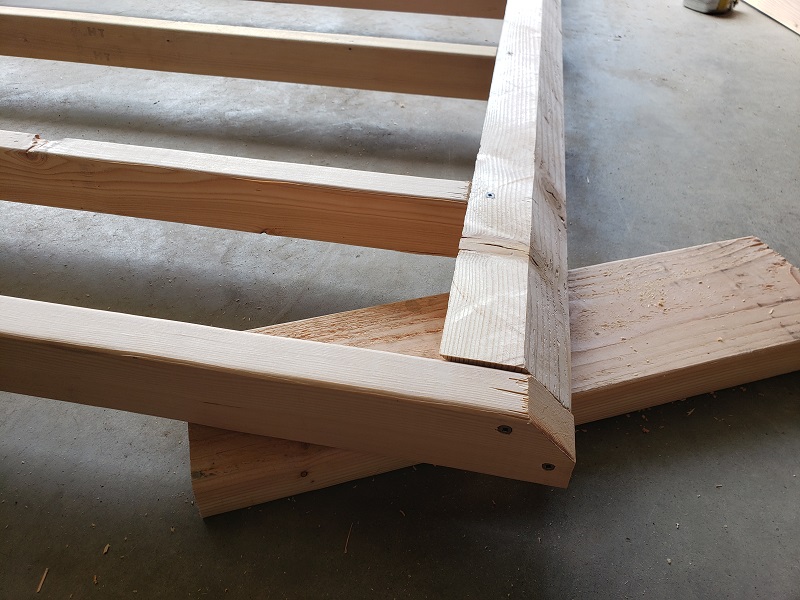
The 2x3s are end caps, and then ribs, I did it this way as I felt the connection would be better, and I didn't want seams in the front or rear. Here is a closeup of a corner (it looks like the 2x6 and 2x3 do not align, but it is a trick of the fact that dimensional lumber has rounded corners...
Next installed the plywood top:
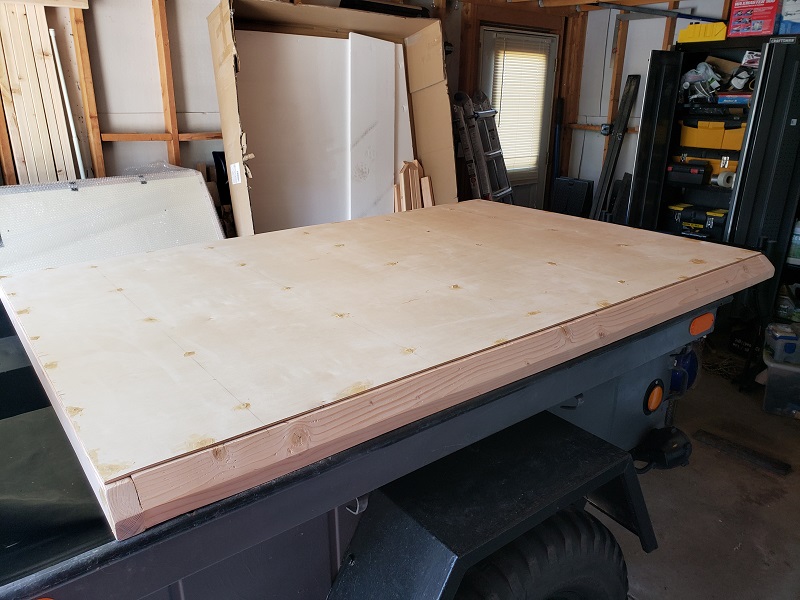
I spaced the ribs so that when I mount the RTT, the bolts will go through the ribs, so I wasn't worried to much about thickness on the plywood, it wont hold any weight, and is really just a shell. So I used 1/4" plywood. I think this would be too thin unless you have plenty of ribs like I do. Even with 5 ribs + ends and sides, I almost thought I needed to go to 3/8. I was trying to minimize unnecessary weight. I was committed by this point though so I kept with it. I glued and screwed the plywood down, and started using various epoxies to finish the top.
I used 2 different epoxies: JBWeld - Wood Weld. I used this epoxy to fill/smooth out the countersunk screws. Very hard stuff once set. Sanding this down took some doing, and a few places I was almost going through the plywood veneer trying to get the epoxy to sand down.... It was a bit difficult to work with, as it was very thick & sticky, so spreading it over these screws was tricky. But I have no doubt it will fail long after the wood has issues. The second Wood Epoxy I used is a product called WoodEpox, its by Abatron. It is an indoor/outdoor wood filler epoxy. Its designed to fill holes/gaps in rotted wood. It is sandable and holds screws etc... This product is really light weight, mixing it was interesting since its not like a liquid its a putty, but a really light weight one. It was very dry as well. Once I figured out the best way to get it to stay where I wanted it, I liked it, but that took a bit of trial and error, since it was so dry it didn't exactly want to stay if you dragged your putty knife over it wrong. Once it was on it was great to shape/sand. So i really like that side of it.
In Progress:
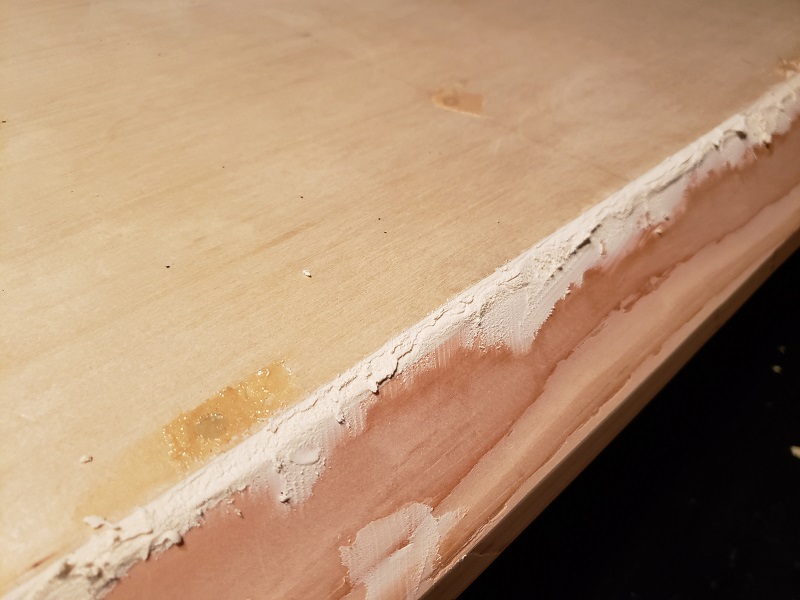
The Yellow is the JBWeld, the Light tan is the Wood Epox. Here is the sanded look:
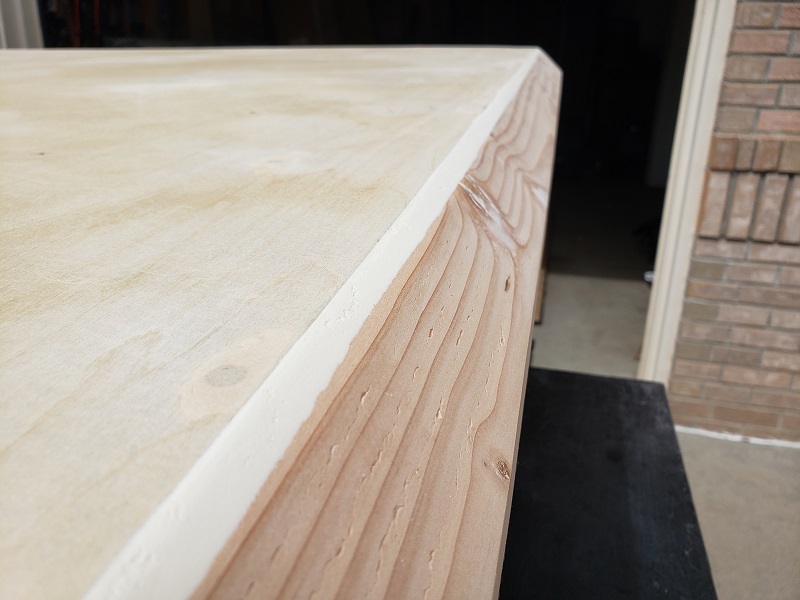
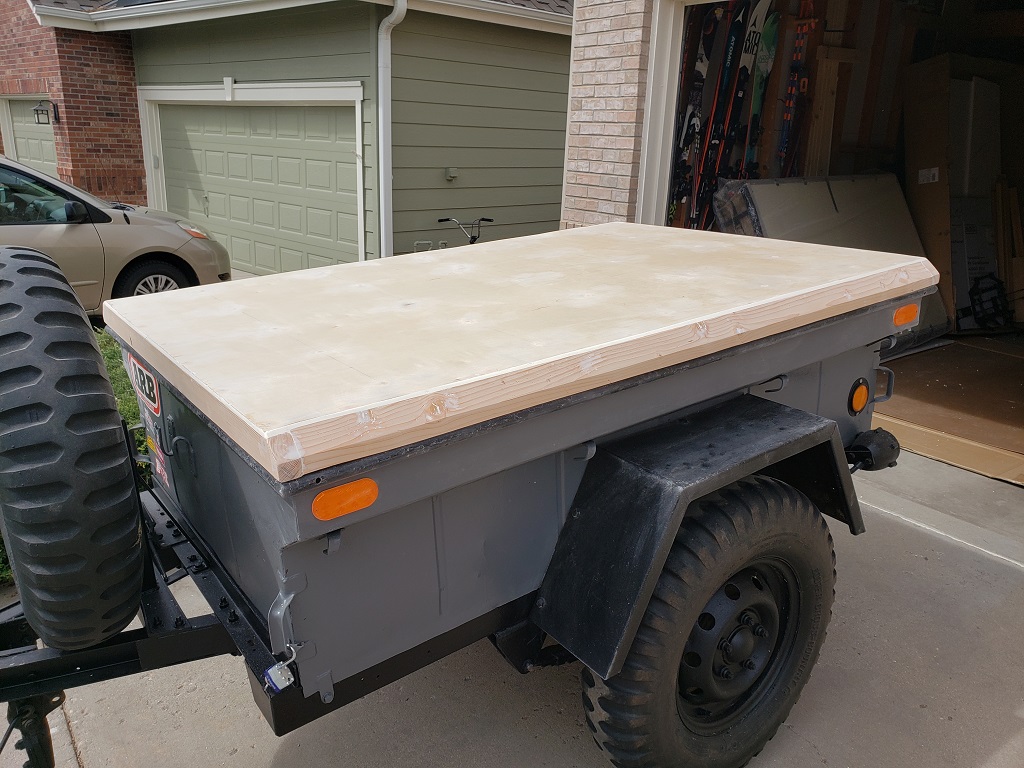
Since dimensional lumber isn't dried/finished like finish lumber, I went back over the 2x6 shown here with additional wood epox to minimize those imperfections.(not pictured)
Here it is when I picked it up:

Between the fact it was a reasonable price, and that it was the flat fenders and basically the same color as my Jeep I had to do it! (My Jeep is kitted out in Jurassic World livery in case you're wondering about the stickers).
Plans: I'm putting a smittybilt XL on this, but I didn't want the high center of gravity for the rack, and I don't really think I need the annex room... So Remove the rack, make a hard cover, mount tent to that. Extend tongue slightly to clear tailgate, and use a multiaxis hitch (its 2" ball now). Trail tools. Gas/Water - Maybe just do inside... Other as need/wants dictate...
Starting off of course the lid is first, so I have been working on that over Covid isolation, Minimizing trips to hardware stores, and ordering parts online has probably slowed my progress, but you know.. trying to follow the stay at home guidance....
I don't have tools/welding gear, so I decided to go the wood cover route. I followed what guidance I could from Tventuring/dinoot on making a "plywood" cover. With the M416 measuring out at 49.25" x 74. 25" a standard 4x8 wouldn't cover the whole top without either 2 sheets and 1 seem, or multiple seams. Based on what I realized as I worked through this all I think well done seams, epoxied and coated, probably could have been fine.. but hindsight is 20/20. Instead I came up with a design that takes the angles of the m416 and mirrors them into the lid.
By using a 2x6 laid at a 45 degree angle, running it through my table saw 3 times to cut angles into it at the ends, and then 2x3 ribs, I could create the top and only need a single sheet of plywood in standard 4x8. Here is some of my math/drawings on how this works out:

The math here was made to align the size of the 2x6 to the 2x3 ribs (a 2x6 on angle is not long enough for 2x4 rib) . Really brushed off those geometry skills
Here is the completed framework:

The 2x3s are end caps, and then ribs, I did it this way as I felt the connection would be better, and I didn't want seams in the front or rear. Here is a closeup of a corner (it looks like the 2x6 and 2x3 do not align, but it is a trick of the fact that dimensional lumber has rounded corners...

Next installed the plywood top:

I spaced the ribs so that when I mount the RTT, the bolts will go through the ribs, so I wasn't worried to much about thickness on the plywood, it wont hold any weight, and is really just a shell. So I used 1/4" plywood. I think this would be too thin unless you have plenty of ribs like I do. Even with 5 ribs + ends and sides, I almost thought I needed to go to 3/8. I was trying to minimize unnecessary weight. I was committed by this point though so I kept with it. I glued and screwed the plywood down, and started using various epoxies to finish the top.
I used 2 different epoxies: JBWeld - Wood Weld. I used this epoxy to fill/smooth out the countersunk screws. Very hard stuff once set. Sanding this down took some doing, and a few places I was almost going through the plywood veneer trying to get the epoxy to sand down.... It was a bit difficult to work with, as it was very thick & sticky, so spreading it over these screws was tricky. But I have no doubt it will fail long after the wood has issues. The second Wood Epoxy I used is a product called WoodEpox, its by Abatron. It is an indoor/outdoor wood filler epoxy. Its designed to fill holes/gaps in rotted wood. It is sandable and holds screws etc... This product is really light weight, mixing it was interesting since its not like a liquid its a putty, but a really light weight one. It was very dry as well. Once I figured out the best way to get it to stay where I wanted it, I liked it, but that took a bit of trial and error, since it was so dry it didn't exactly want to stay if you dragged your putty knife over it wrong. Once it was on it was great to shape/sand. So i really like that side of it.
In Progress:

The Yellow is the JBWeld, the Light tan is the Wood Epox. Here is the sanded look:


Since dimensional lumber isn't dried/finished like finish lumber, I went back over the 2x6 shown here with additional wood epox to minimize those imperfections.(not pictured)

