Fadeagray
Member
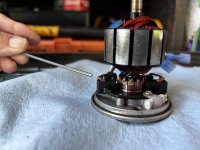
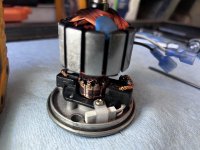
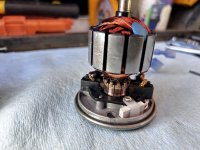
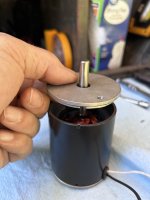
The bearings are identical to the Maxfan bearings. The part number stamped on the bearing is the same as well.Thanks — that’s very helpful. I’ve been wondering about whether a rebuild could be functional. Maybe you could say a bit more about the cleaning and re-assembly procedure you find works best? I had real trouble getting my old fan back together. I still need to try it on a 12v source to see if it works at all.
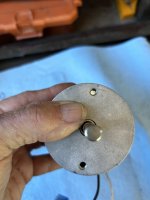
Also, are those bearings sealed on both sides or open on one side as shown in the Amazon picture. I have a ton of old high end, serviceable bearings that would work well, but are unshielded on one side. Been wondering if they’d work with the open side in the cups and not exposed to the debris in-side.
Great info!
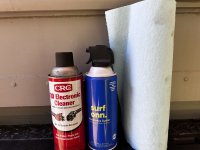
I’ll post up additional detail on cleaning and assembly in the next few days.