You are using an out of date browser. It may not display this or other websites correctly.
You should upgrade or use an alternative browser.
You should upgrade or use an alternative browser.
Meet the Trot'n Turtle - Unimog U1300L Build
- Thread starter Hodakaguy
- Start date
Sitec
Adventurer
Looking good so far. Are you guys required to run a rear crash bar at the rear over there? If so, make it hinged from a point just behind the rear axle, and hang it off the tray on two chains.. Then when off road, it rides up over the ground and you get to retain your departure angle. 
thebigblue
Adventurer
I dig the design and toughness on those light brackets, great work!
Seems those lights are more or less universal on MB´s, got the same ones on my 1979 MB L608D
Seems those lights are more or less universal on MB´s, got the same ones on my 1979 MB L608D
Hodakaguy
Adventurer
Thanks guys, I really like the way the brackets came out. I thought about removing them again and adding bars on the back to protect the lenses but since I'll be upgrading lights at some time I'll add those when I fabricate the new mounts.
No rear bumper required where I'm at as long as the vehicle didn't come that way from the factory. I may eventually build a short bumper to protect the winch if someone decides to slam into it. Good ideal on the swing mount bumper, that would be handy if you had to have a full size unit.
Hodakaguy
No rear bumper required where I'm at as long as the vehicle didn't come that way from the factory. I may eventually build a short bumper to protect the winch if someone decides to slam into it. Good ideal on the swing mount bumper, that would be handy if you had to have a full size unit.
Hodakaguy
Hodakaguy
Adventurer
Got up this morning and installed the tail lights on both sides. Had to extend both wiring harnesses to reach the new taillight locations. I rolled up the wiring for the license plate lights and reverse lights and secured them out of the way for now, I'll be adding upgraded units down the road and will fabricate some mounts after I buy the lights. I used pre-tinned marine wire for the extensions and marine heat shrink tubing for reliable waterproof connections.
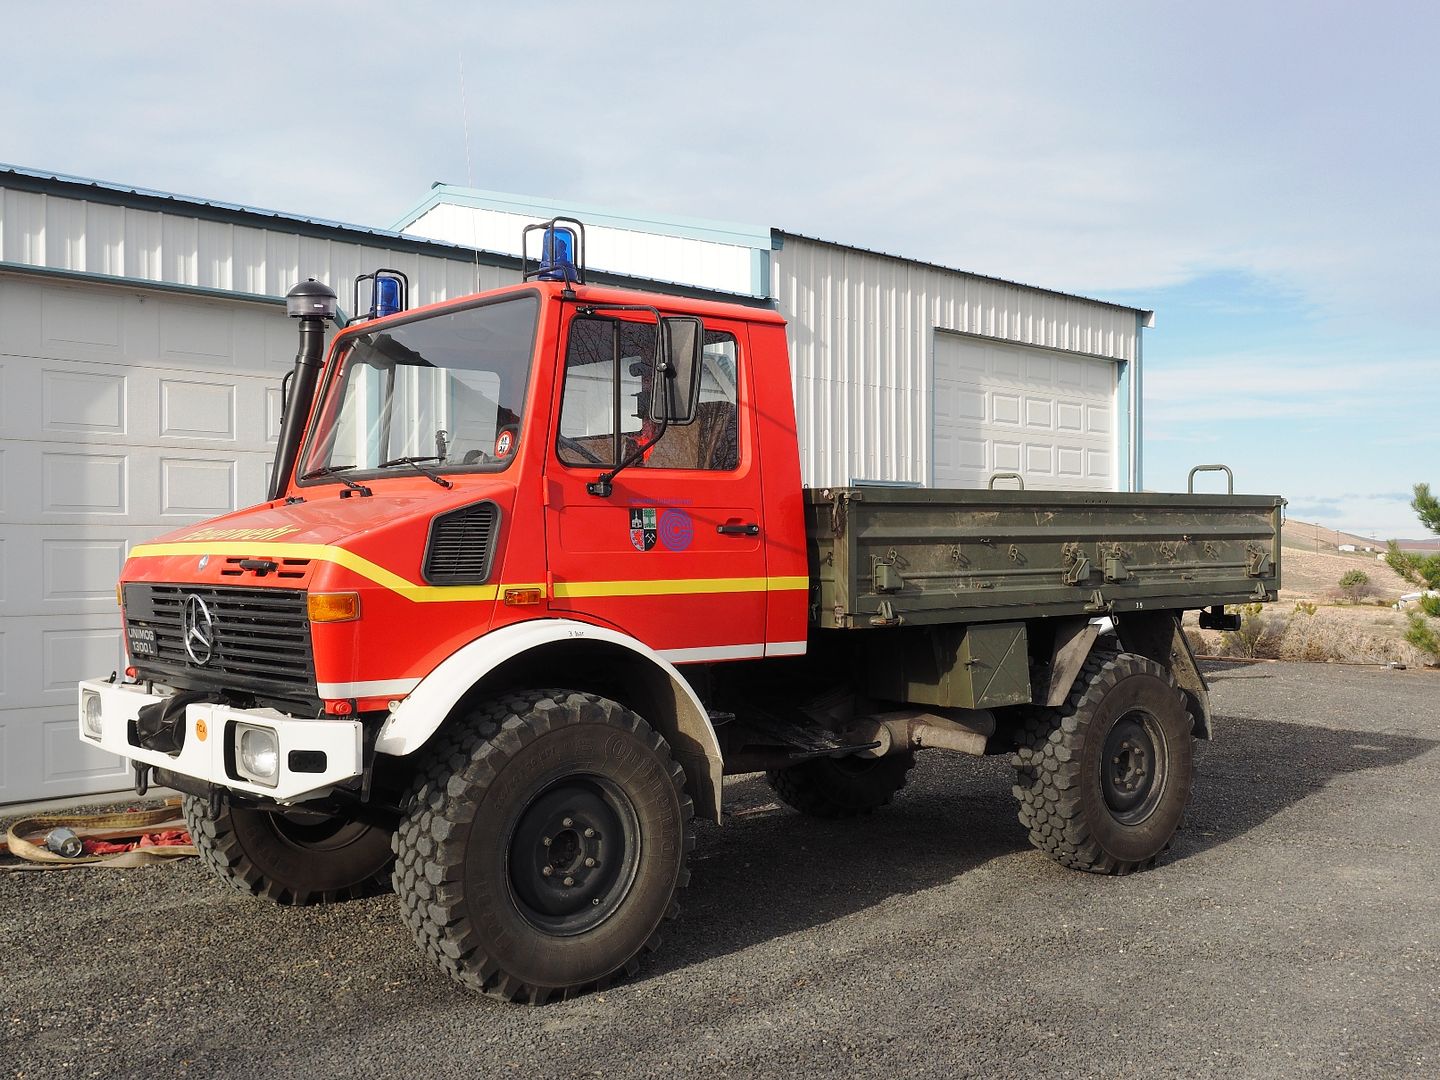
Sorry didn't take many pictures during today's work...to busy trying to get it finished up this morning. After the lights were mounted and wired we pulled the truck outside and installed the drop gates. Came out looking pretty good! Spent the next several hrs running errands in the mog and trying out the new bed. Driving with the troop bed is great, It's nice having rear windows to look out of! The truck also feels like it got a good boost in HP compared to the RW1 bed as the troop bed is quite a bit lighter.
Troop bed (complete with dirt from storage lol) with gates.
Painted tail light brackets and wiring.
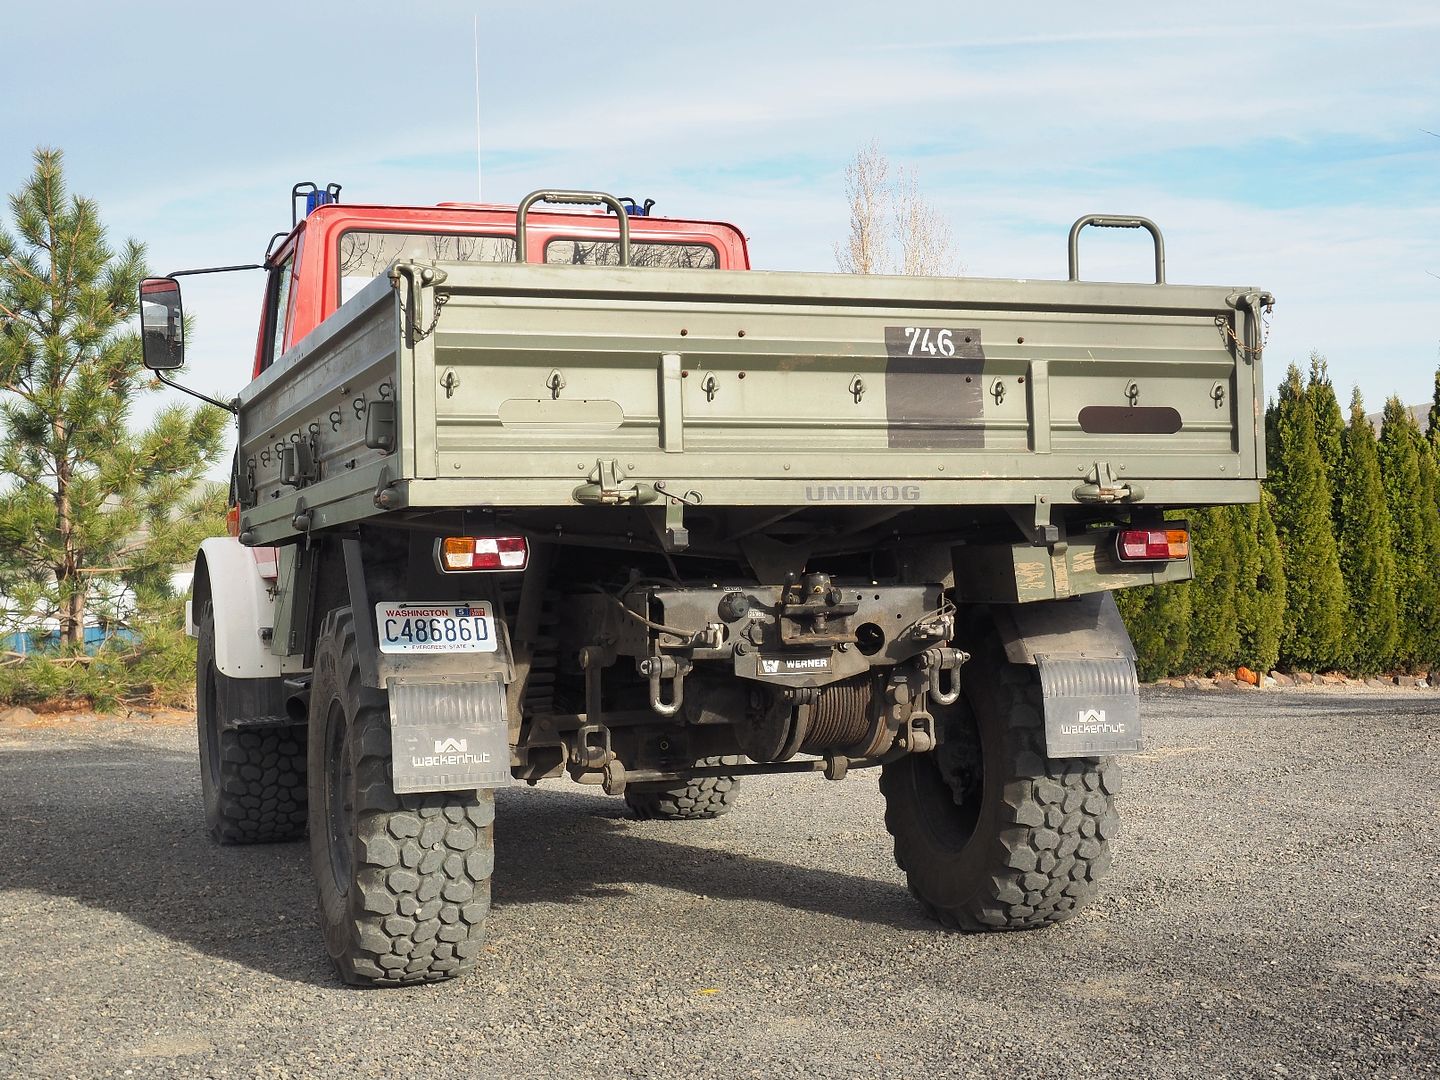
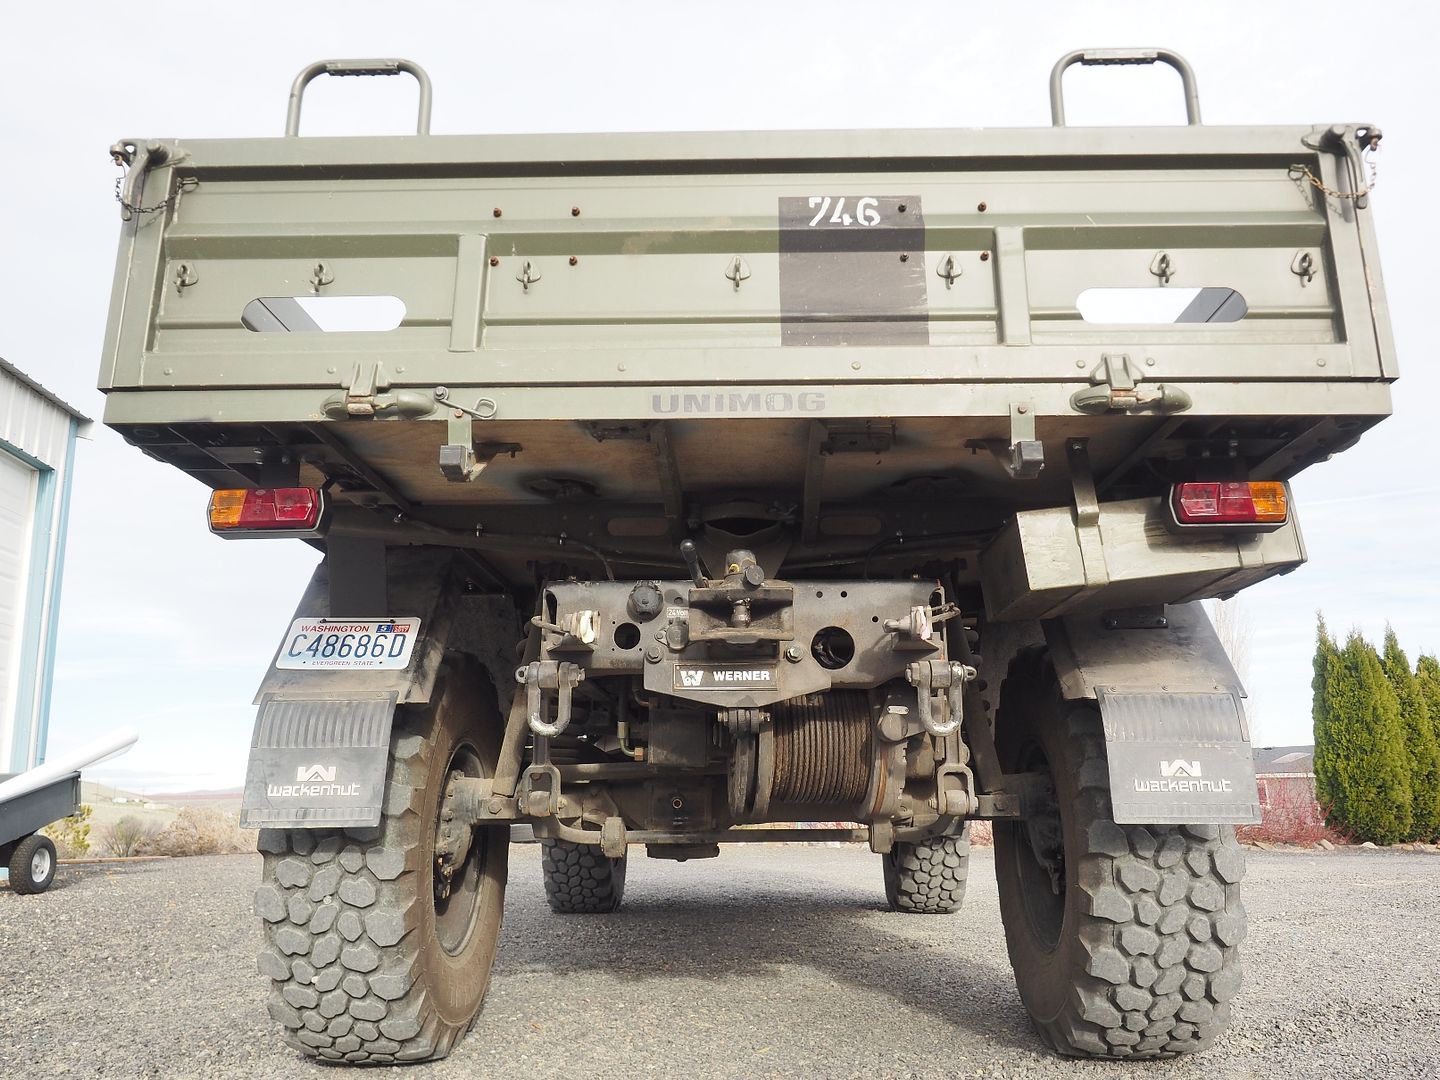
I left a loop on each light harness to allow for articulation of the bed.
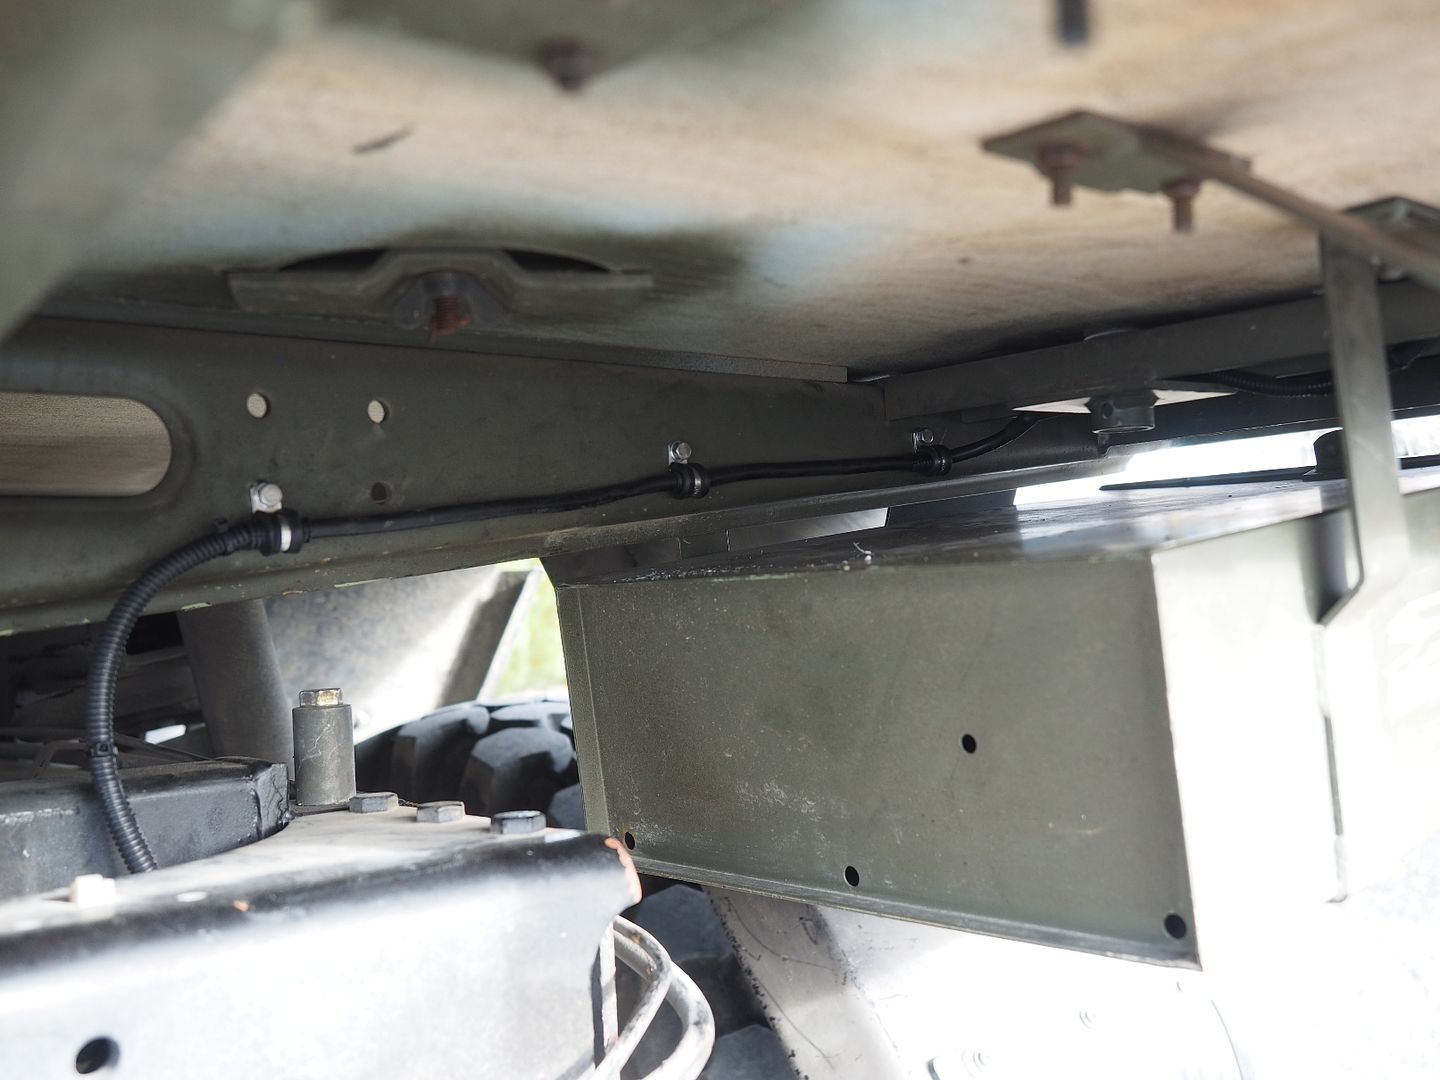
More to come.
Hodakaguy
Sorry didn't take many pictures during today's work...to busy trying to get it finished up this morning. After the lights were mounted and wired we pulled the truck outside and installed the drop gates. Came out looking pretty good! Spent the next several hrs running errands in the mog and trying out the new bed. Driving with the troop bed is great, It's nice having rear windows to look out of! The truck also feels like it got a good boost in HP compared to the RW1 bed as the troop bed is quite a bit lighter.
Troop bed (complete with dirt from storage lol) with gates.

Painted tail light brackets and wiring.


I left a loop on each light harness to allow for articulation of the bed.

More to come.
Hodakaguy
Burma Shave
New member
WOWOWOWOWOWOW!!!! Great thread about a cool Mog! I really love how three generations are working together on a common project! You guys really rock! Kudos!
Coachgeo
Explorer
What good is that as a crash bar if it is hanging on chains? Someone rear ends you and their car will just push it up as the bumper bar portion decapitates them. I assume though there is a solid mount section that is removed when offroading and only part of it remains hanging on the chains. Not a bad idea except possibly when backing up in some situations.Looking good so far. Are you guys required to run a rear crash bar at the rear over there? If so, make it hinged from a point just behind the rear axle, and hang it off the tray on two chains.. Then when off road, it rides up over the ground and you get to retain your departure angle.
Was thinking designing one that flips. In normal position it is crash bar/bumper with tow ball. Whole thing sits at downward angle. Offroading- Un plug it from say three receiver tubes and flip it over and now it angles up out of the way.
Hodakaguy
Adventurer
There wasn't a real convenient way to center the lights to the holes in the gate with the way I wanted to mount the lights. I don't see a big need to drive with the gate down (would be nice if parked at night with the gate down while loading etc), I can always pull the gate and throw it in the truck if needed. I have the red foglamp off the RW1 box, just haven't mounted it back up yet. Thanks for the part numbers though!
Hodakaguy
Hodakaguy
patoz
Expedition Leader
This is an awesome build with a great truck! The work quality is very good and looks professional. Your attention to detail really shows.
As a retired Fire Chief and EMT, I appreciate the fact you removed the RW1 body intact and installed a replacement instead of destroying it just to salvage the bed piece. It kills me to see guys ripping ambulance equipment and components apart, rather that take the time to remove them correctly. Like you said, that body is an work of art, and if I had something to put it on I'd be talking to you about it. I even thought maybe I could put it on a trailer and use it that way, but I'm supposed to be looking for a new house and the last thing I need right now is another project.
Good luck, and I'm looking forward to seeing where this goes!
Last edited:
Sitec
Adventurer
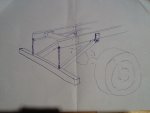
What good is that as a crash bar if it is hanging on chains? Someone rear ends you and their car will just push it up as the bumper bar portion decapitates them.
The bar is 100mm tube or 100 x 100 x 6 RHS which is vehicle width.. Welded to the tube/RHS at chassis width are two legs that are approx 1 to 1.5m long.. These are hinged on a plate which is chassis mounted somewhere just behind the rear axle near to the bump stops. There are two chains also in line with the chassis legs that are fixed to the top of the tube/rhs and bolted to the chassis ends, which are set to carry the bar at whatever height suits the vehicle... Quick sketch attached tells 1000 words!!! As the support bars run @ 30 - 40 deg up to the chassis, if hit from behind the bar can only be forced down.. The chains can't allow that and may help absorb impact from the object that's causing the impact. They work well when going forward... and ride over pretty well everything, and can be setup with stoppers so they act as a ground/slider plate rather than wrecking the tail of your coach built body.. (and so long as you don't drive into/get stuck in something you shouldn't be in, then you should never need to lift the bar!)
Last edited:
Hodakaguy
Adventurer
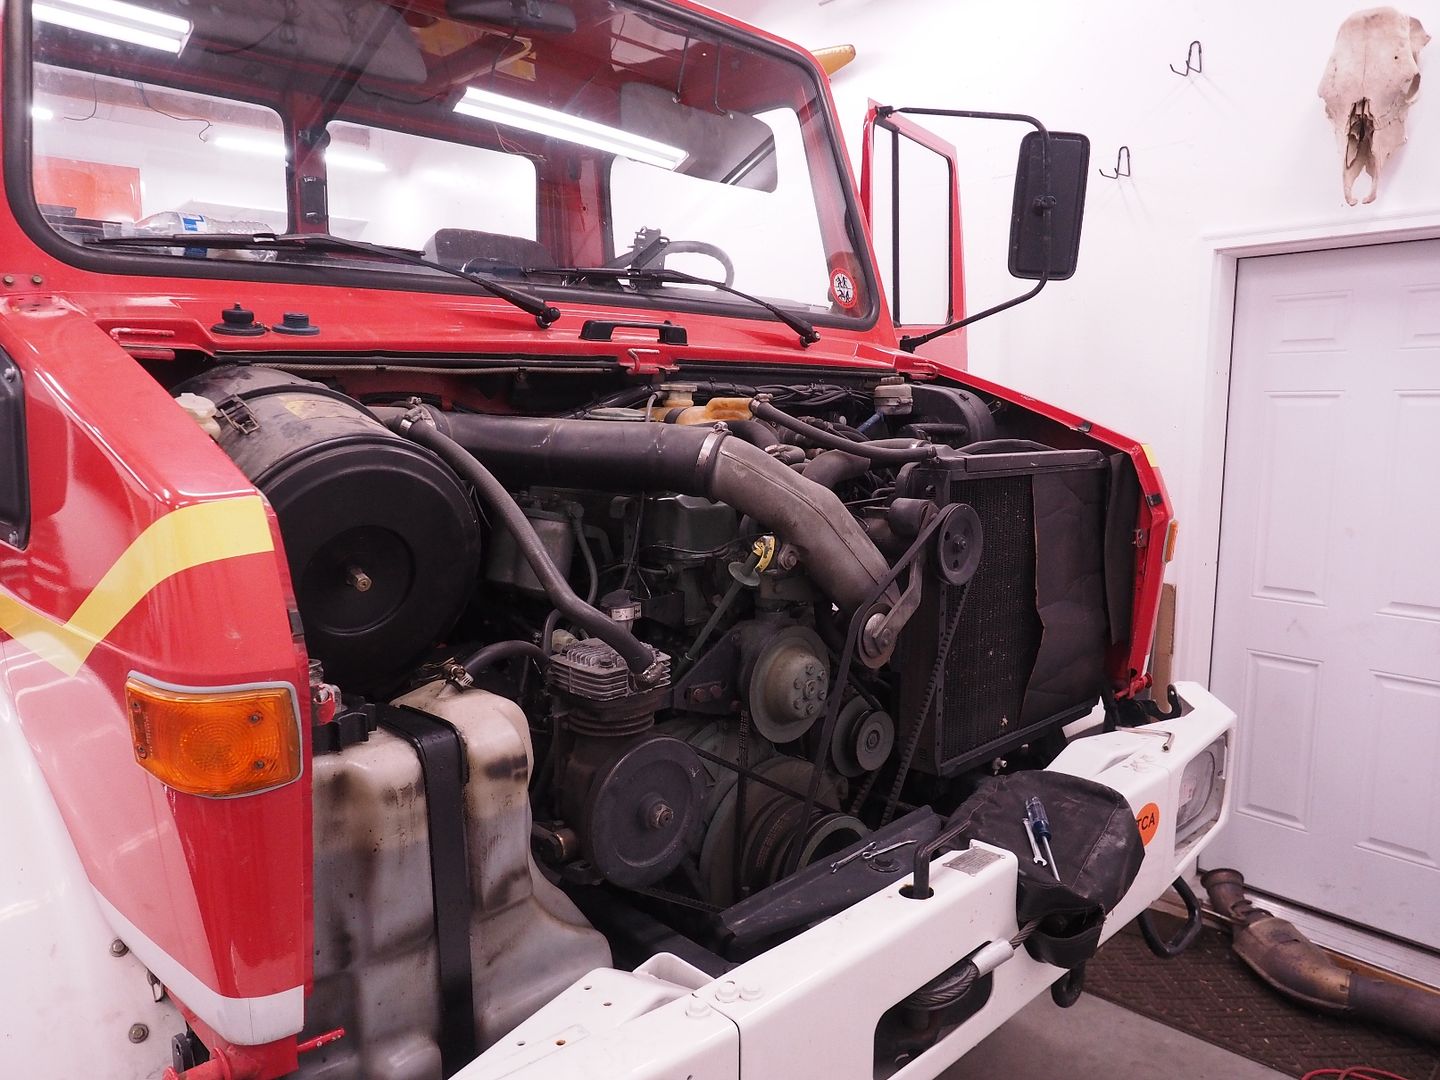
Removing the headliner, the headliner is stained and I'll be fabricating new units when I re-install.
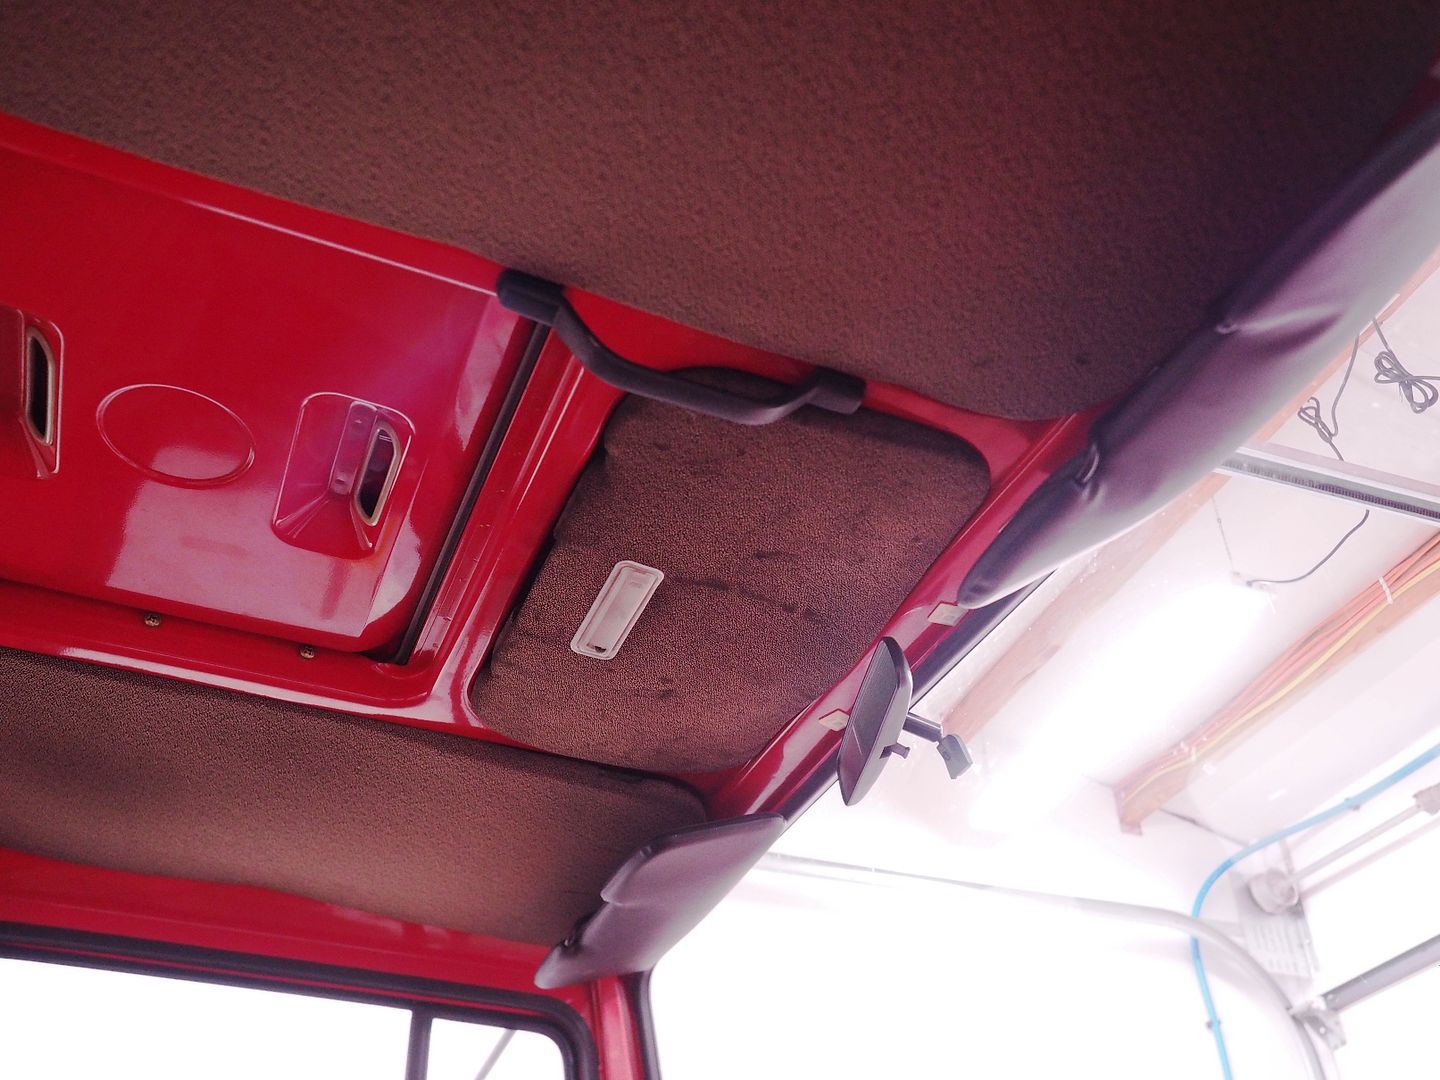
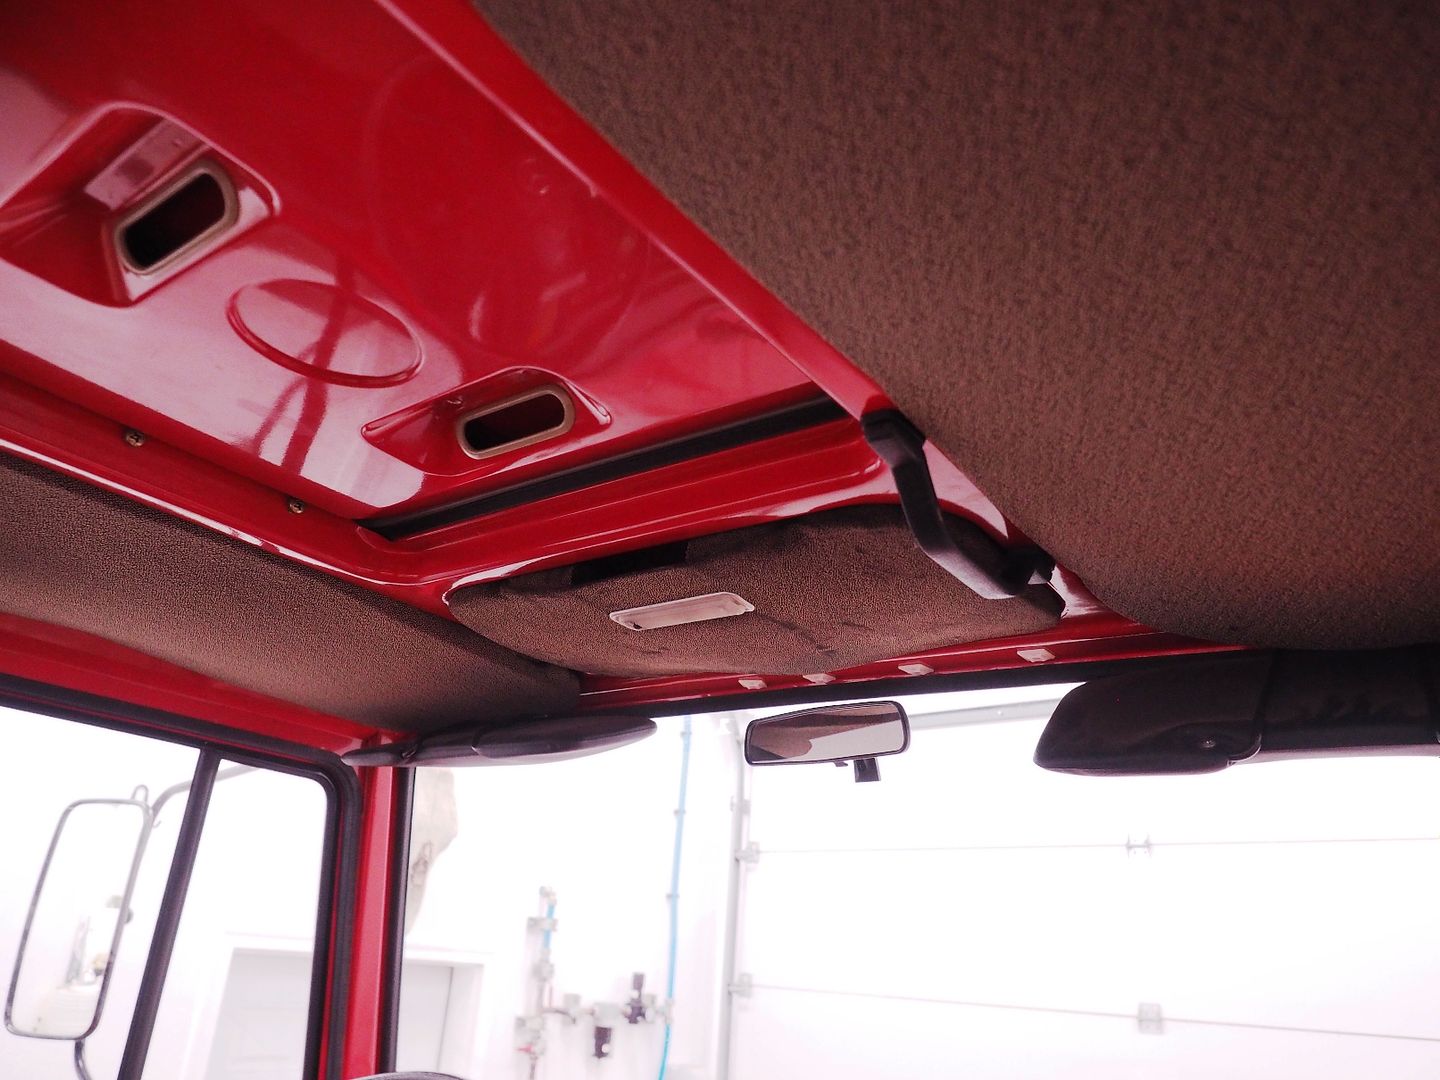
Lots of holes to fill from old radio antennas, will be starting on that soon.
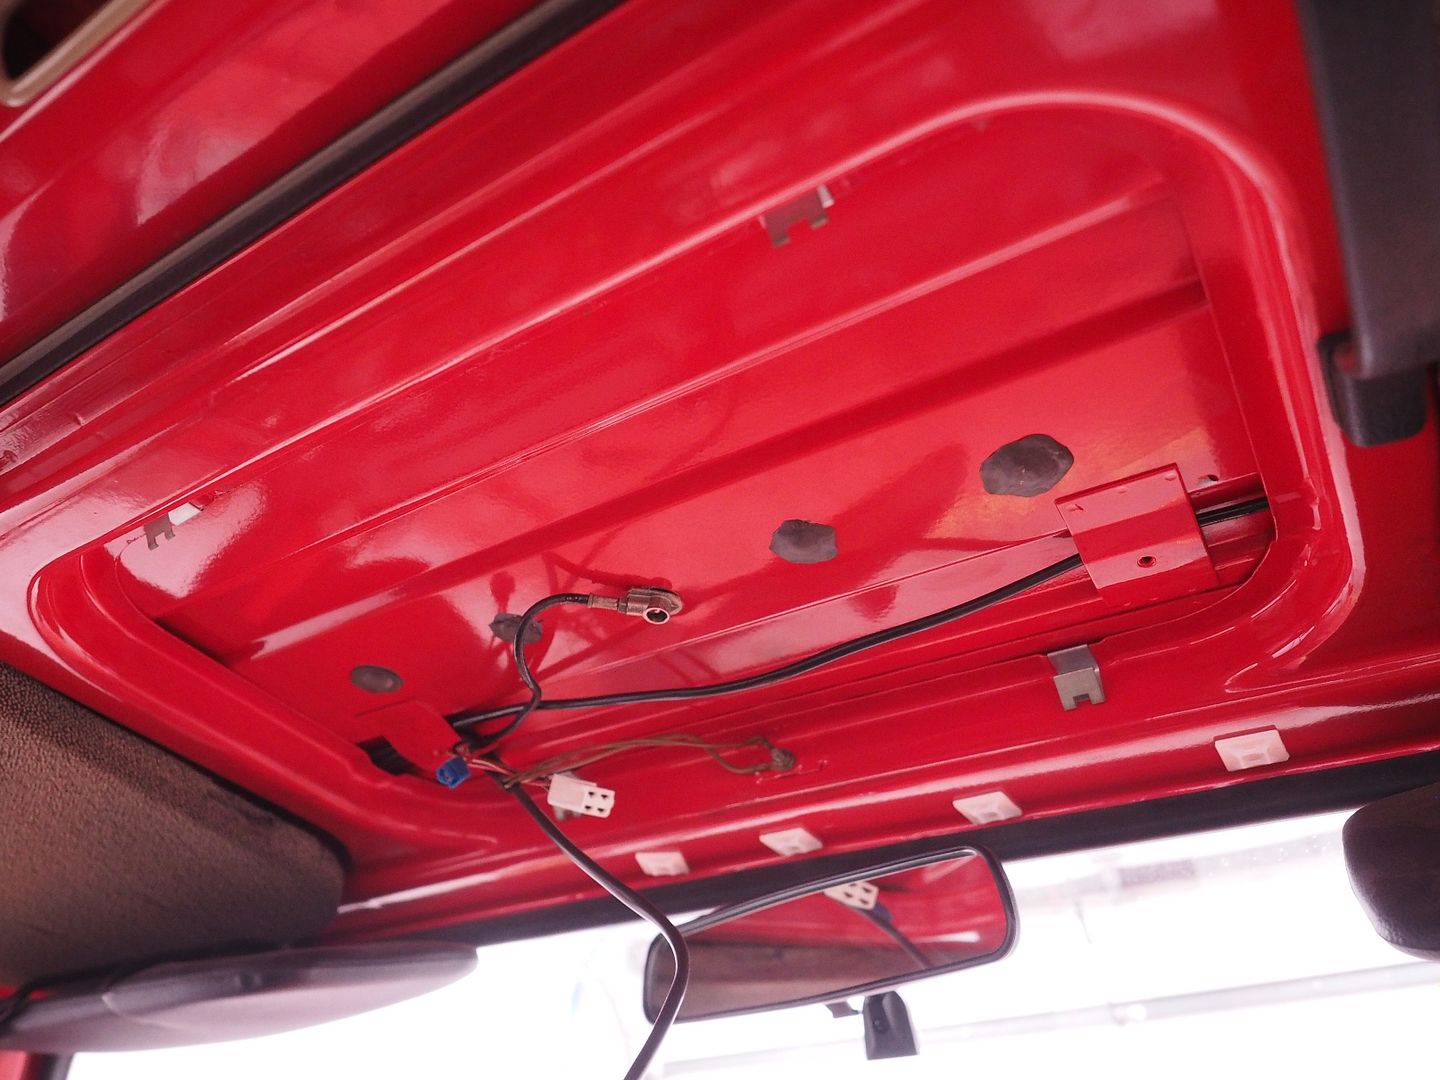
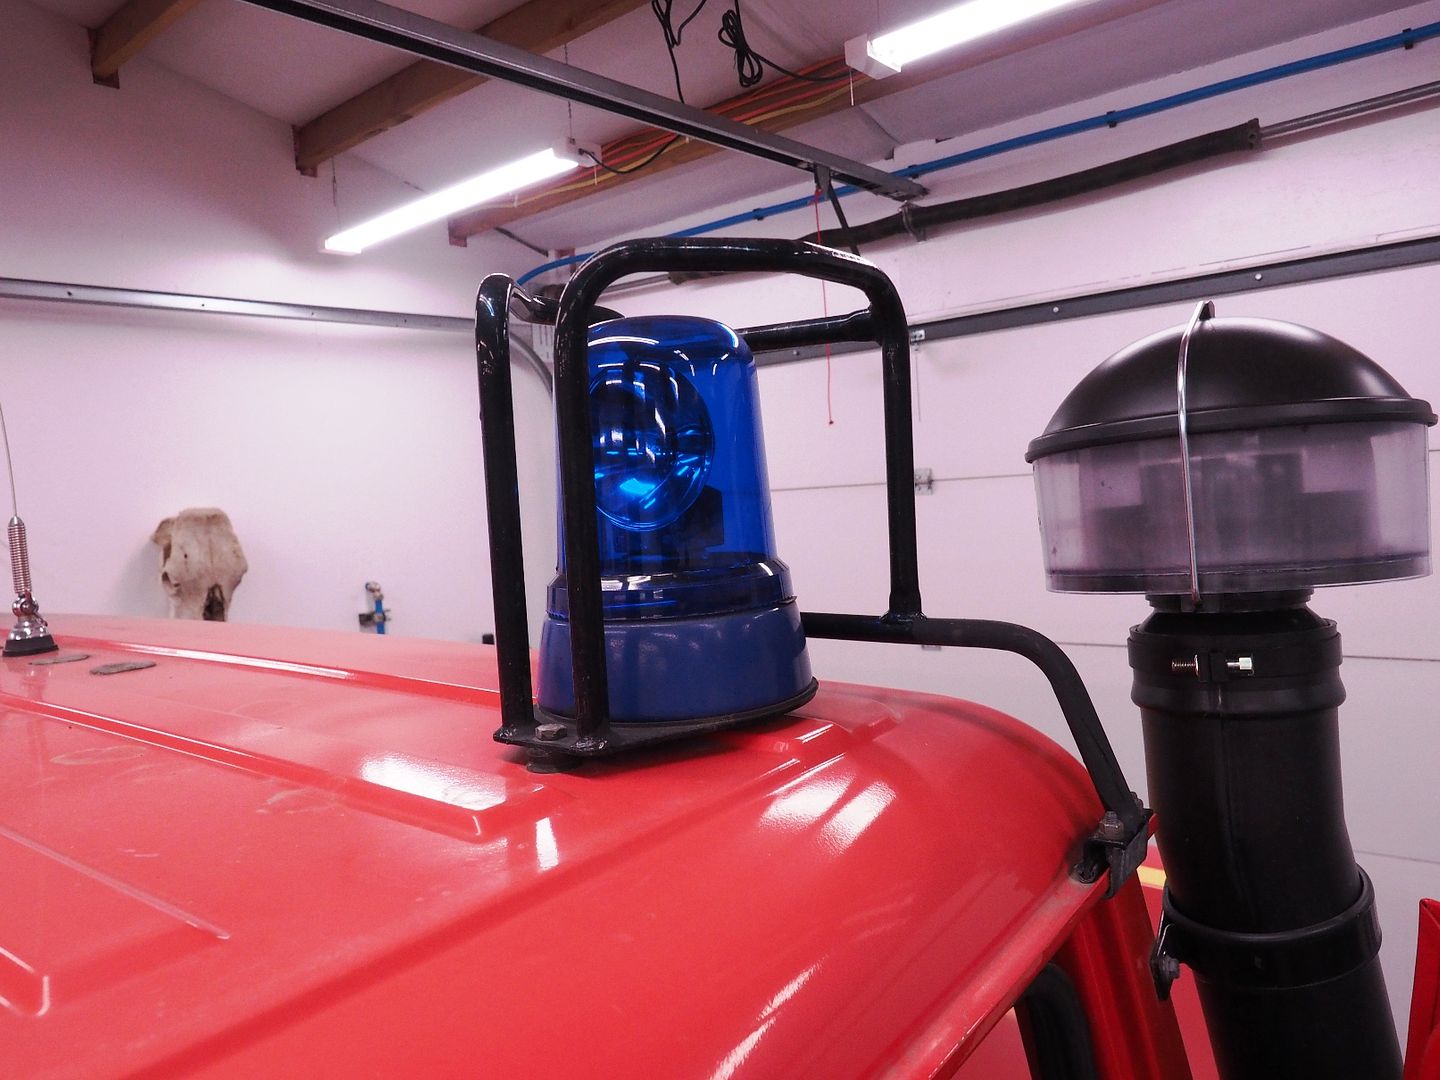
Time to remove the blue rescue lights.
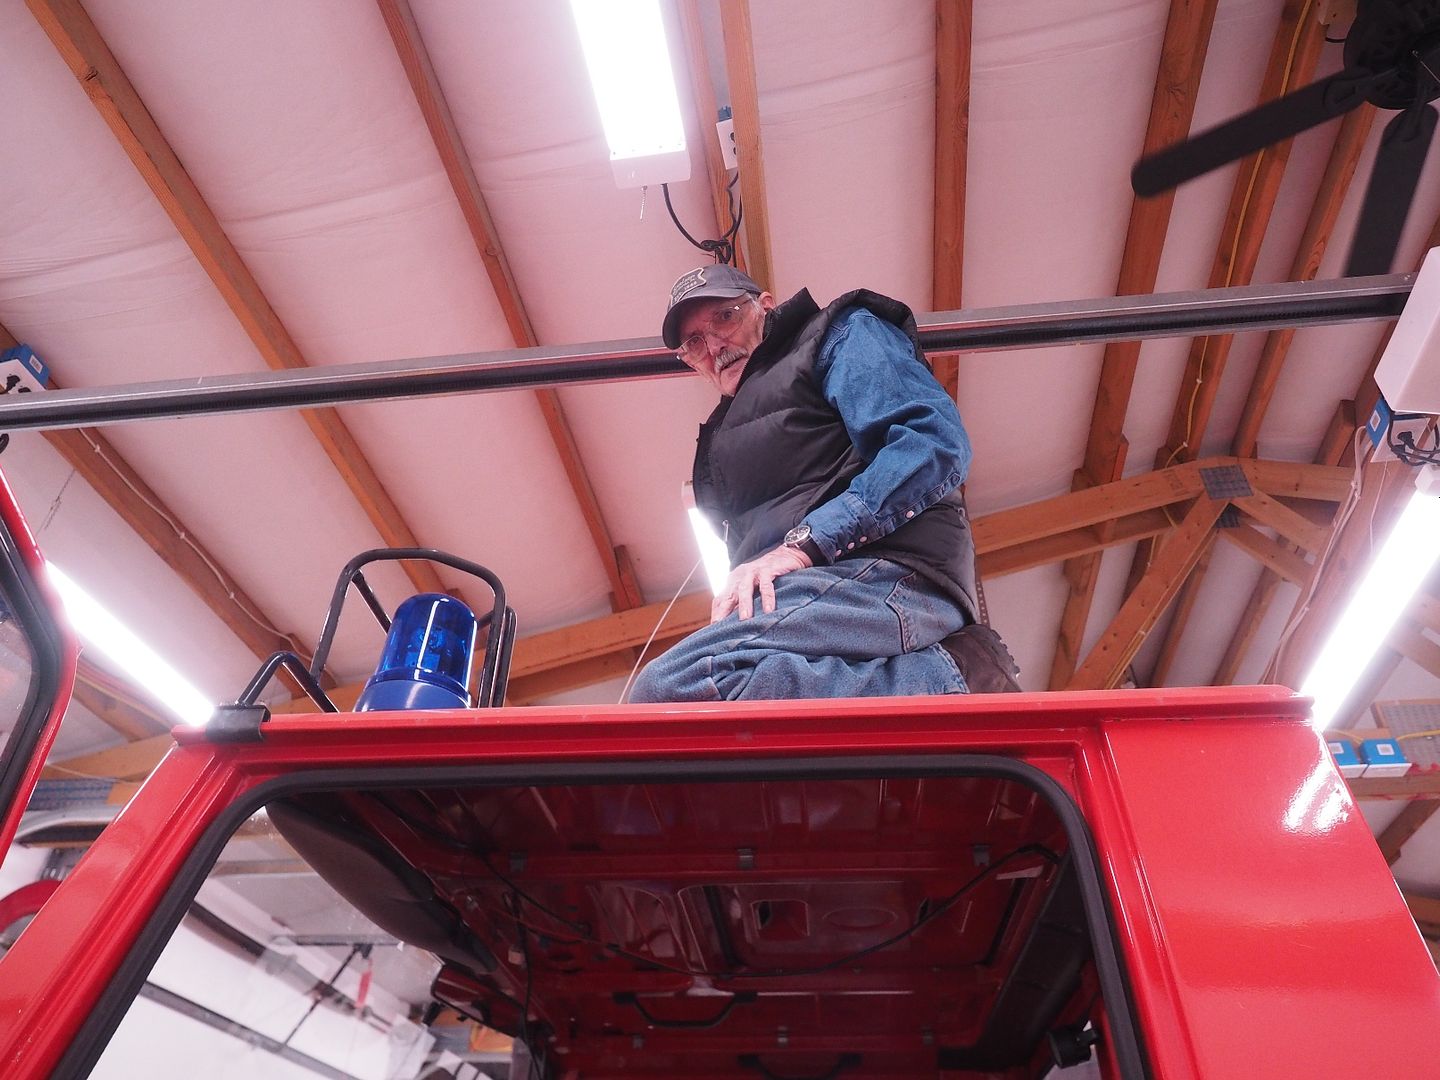
Dad backing up the bolts from the top side.
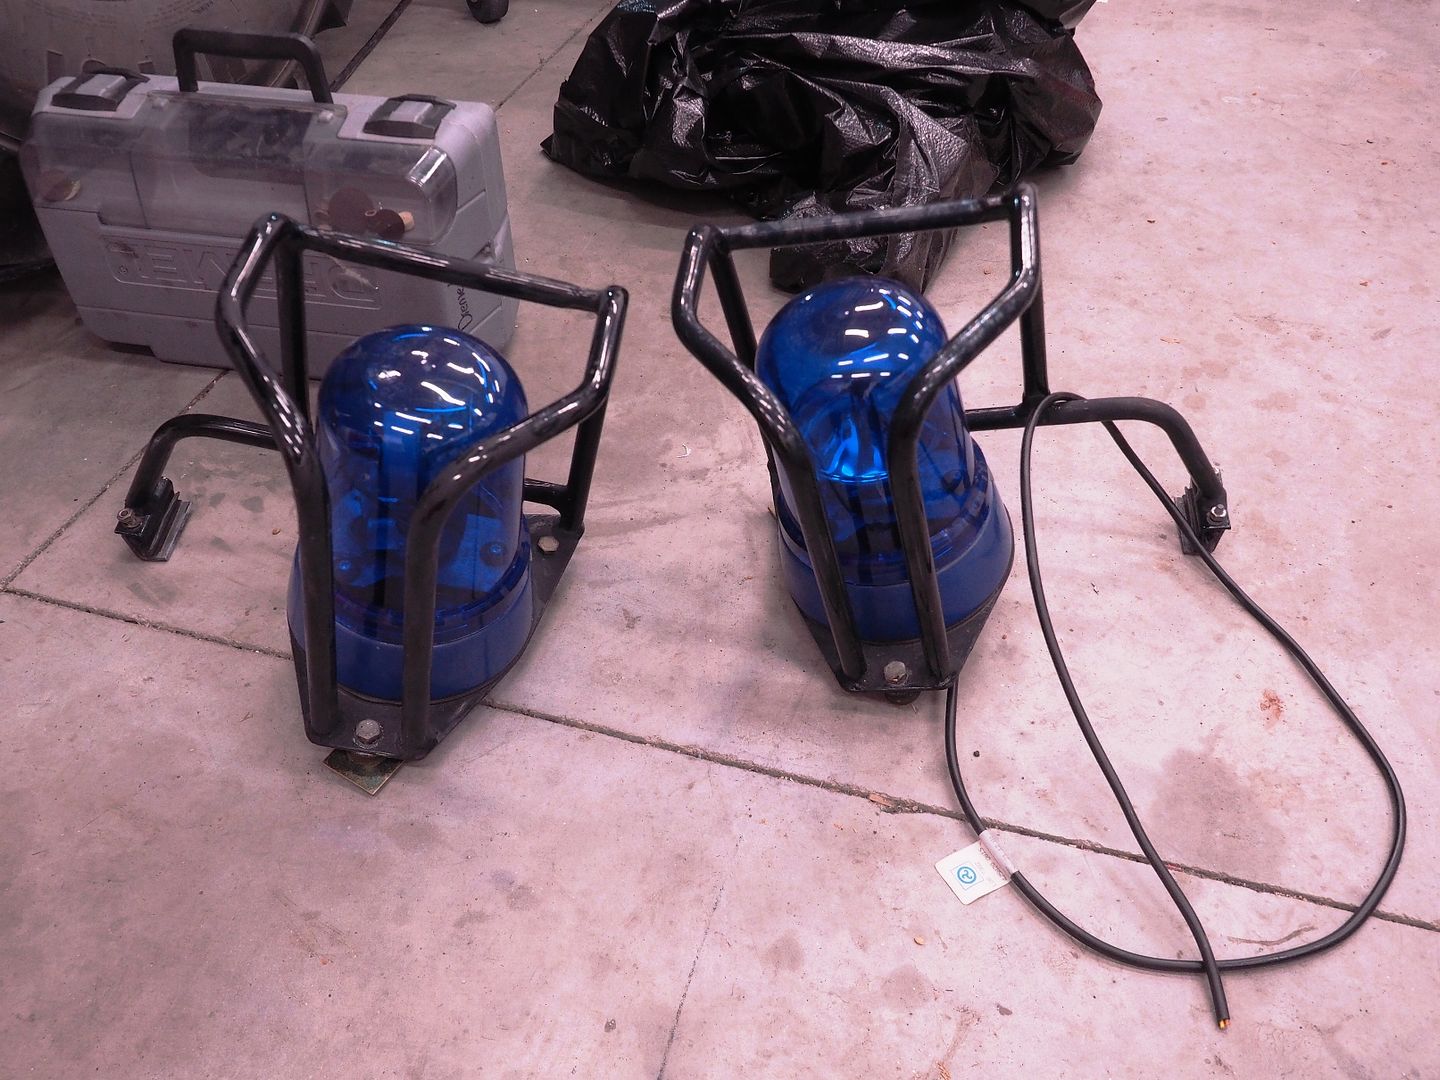
And removed.
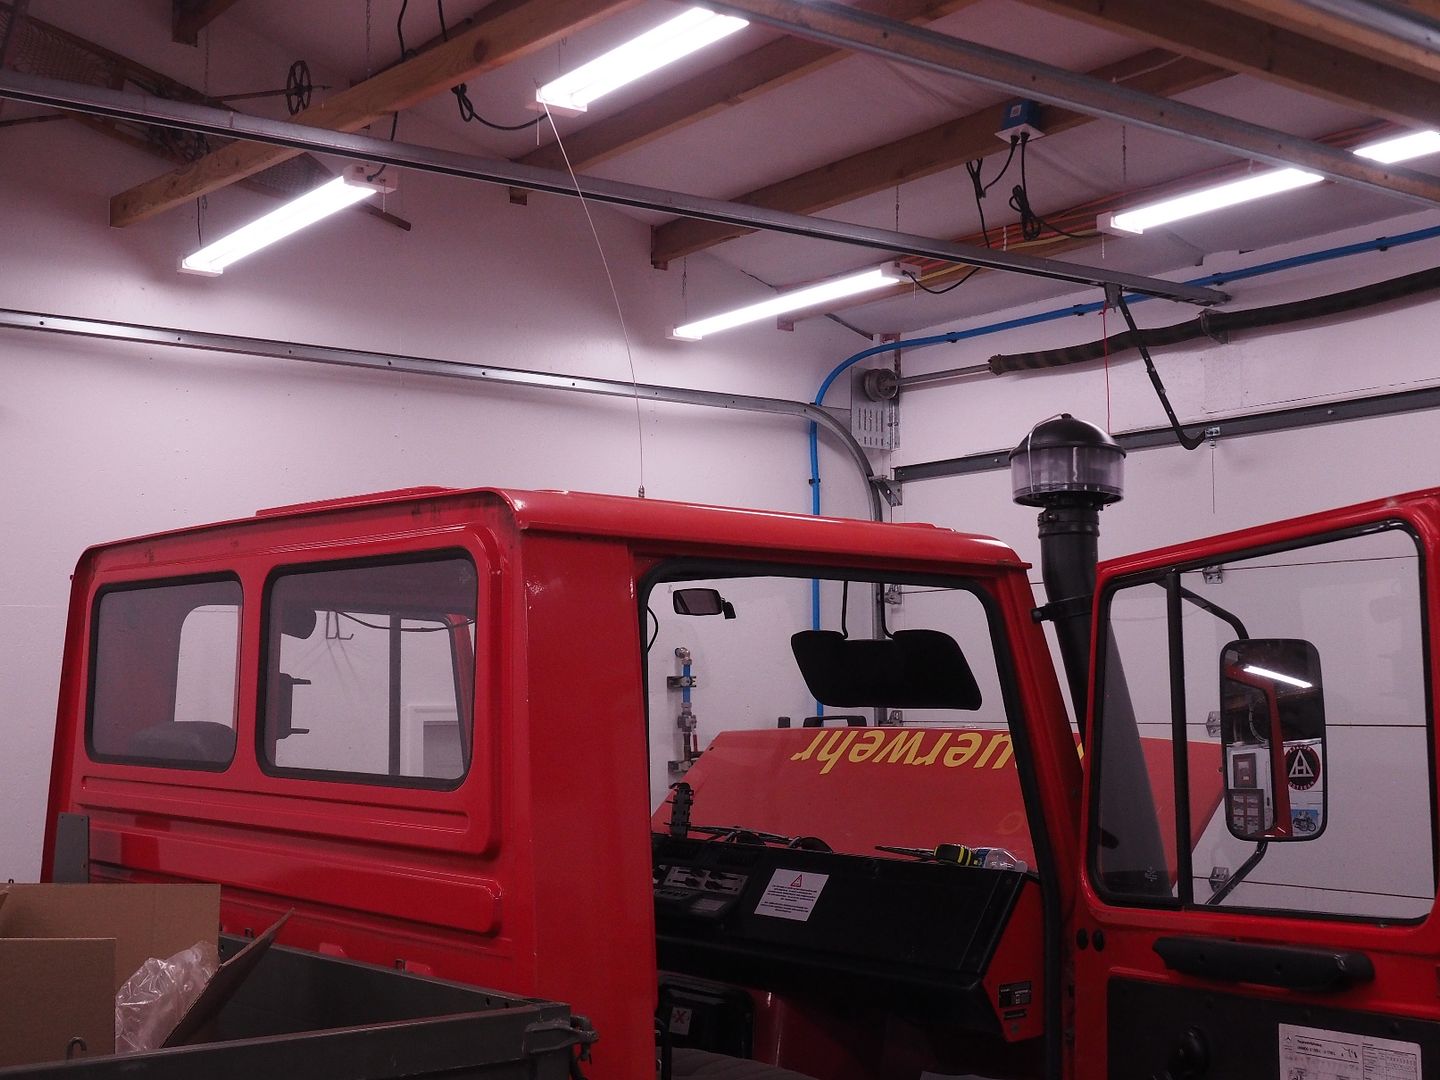
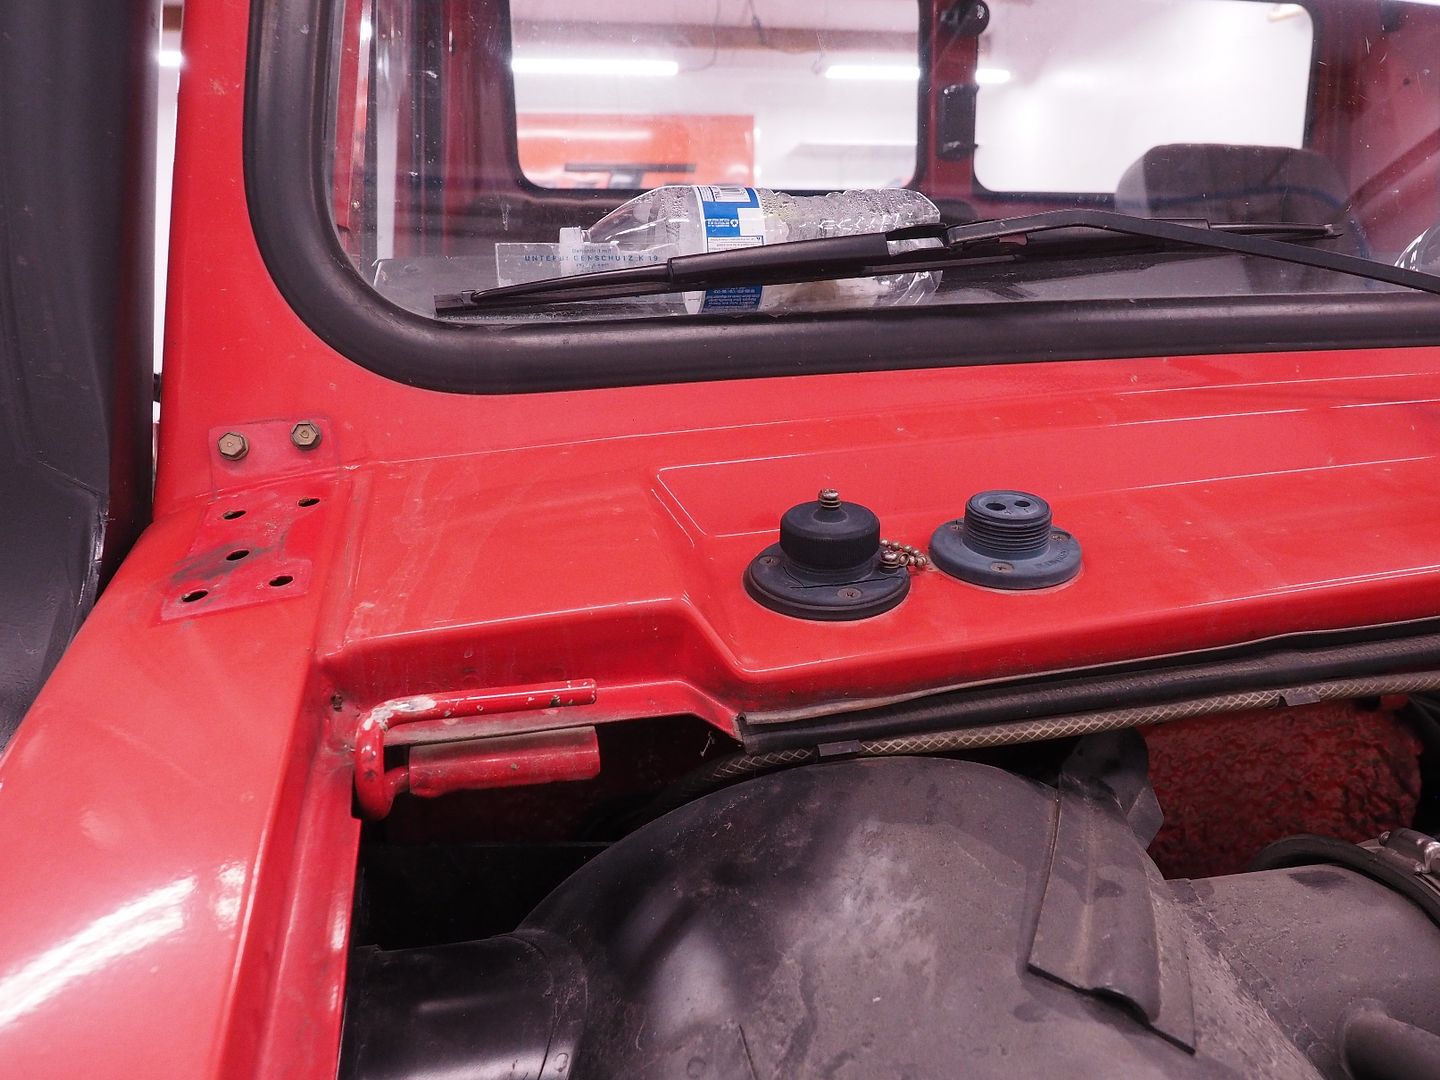
Now to remove the cannon plugs for the original search light.
Lots more holes to fill here
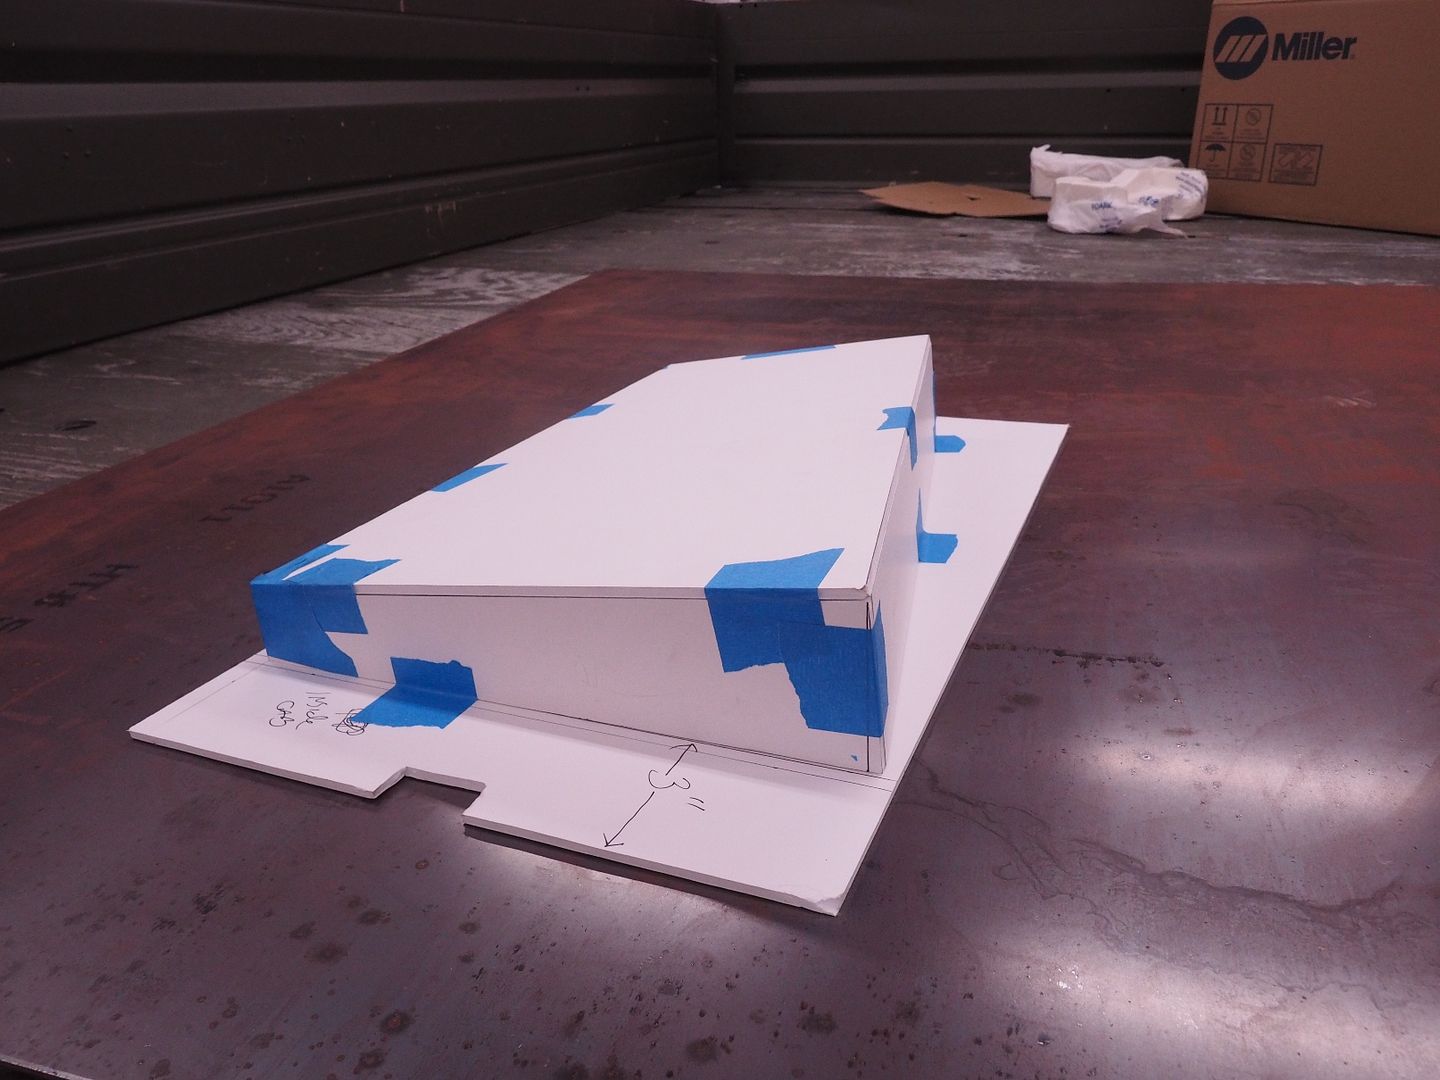
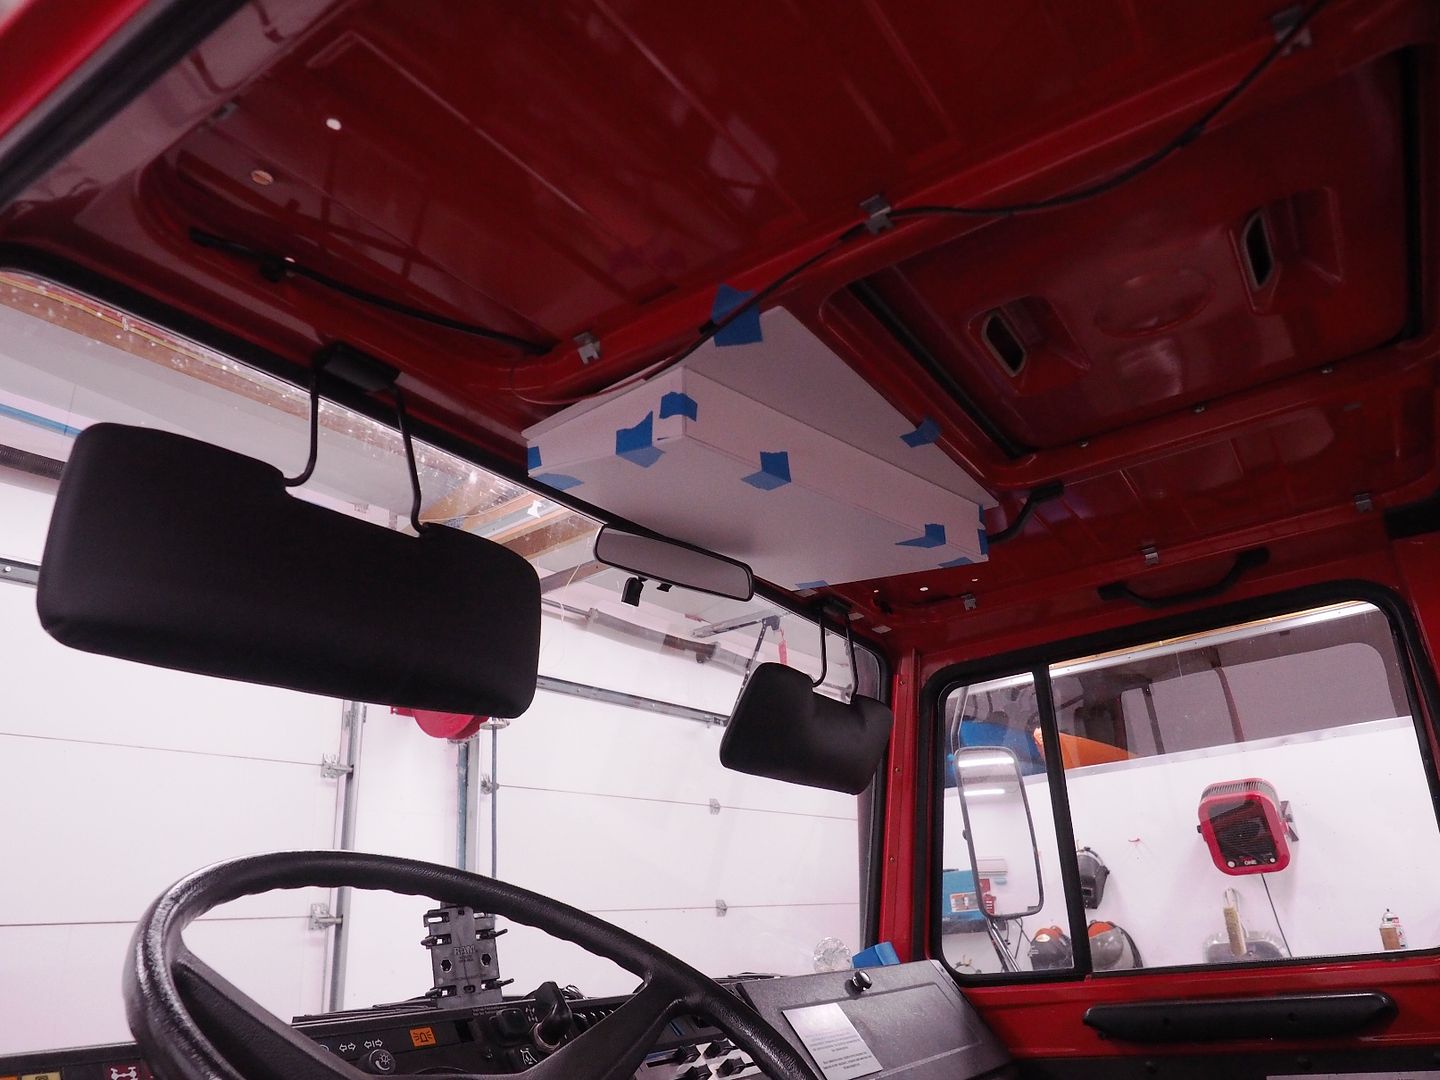
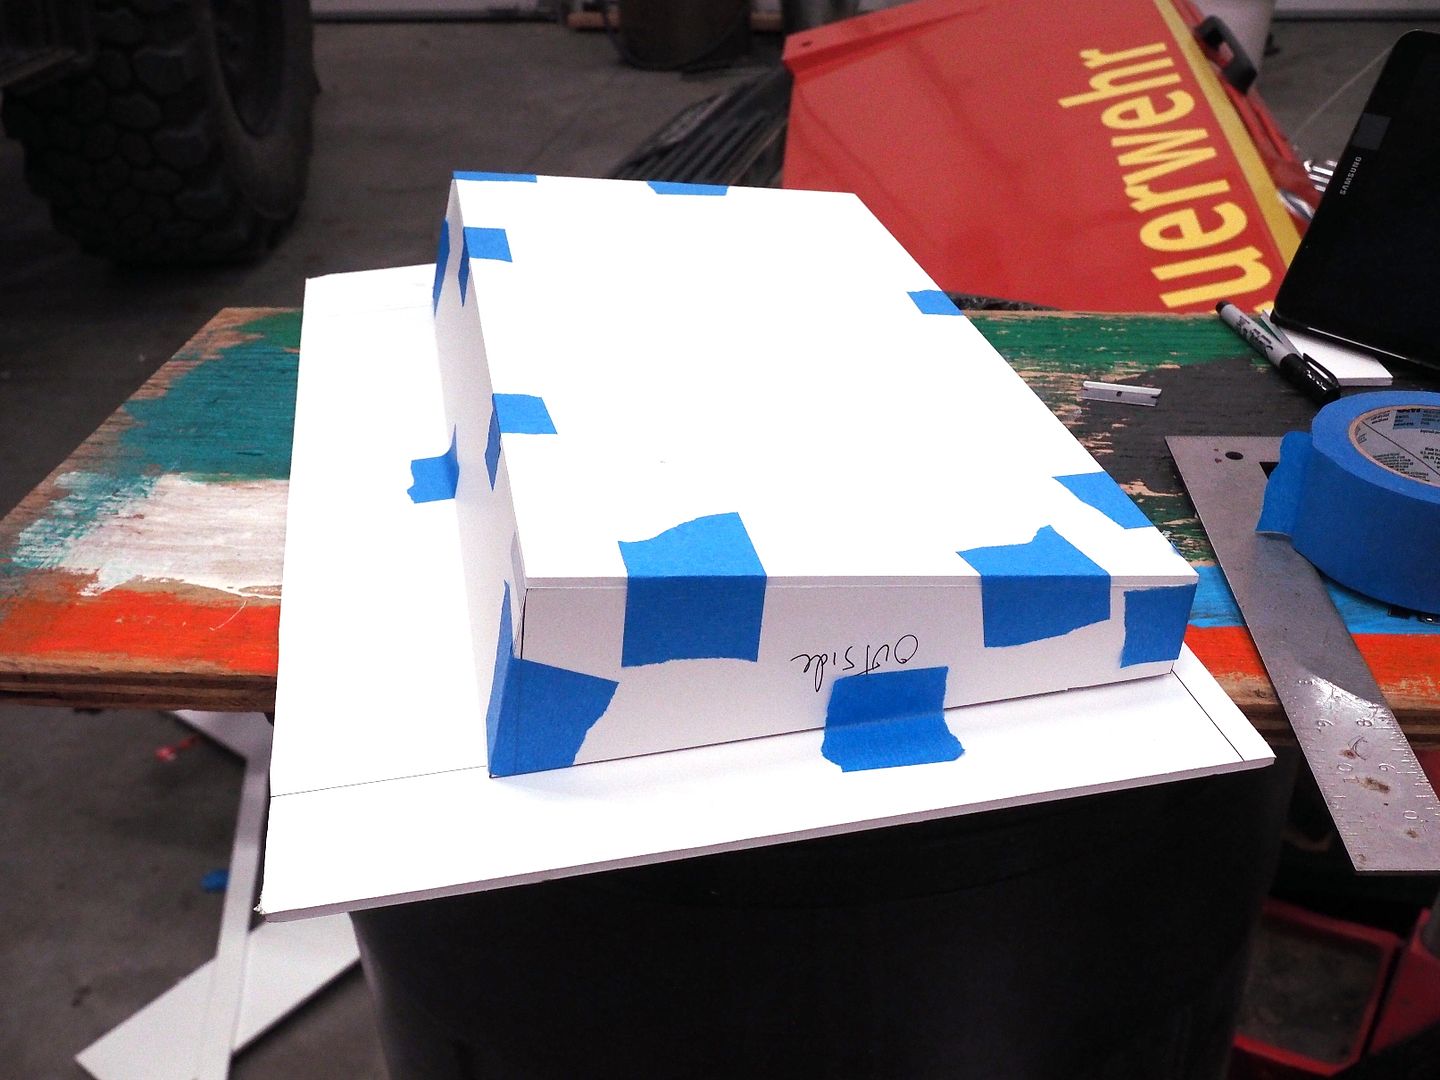
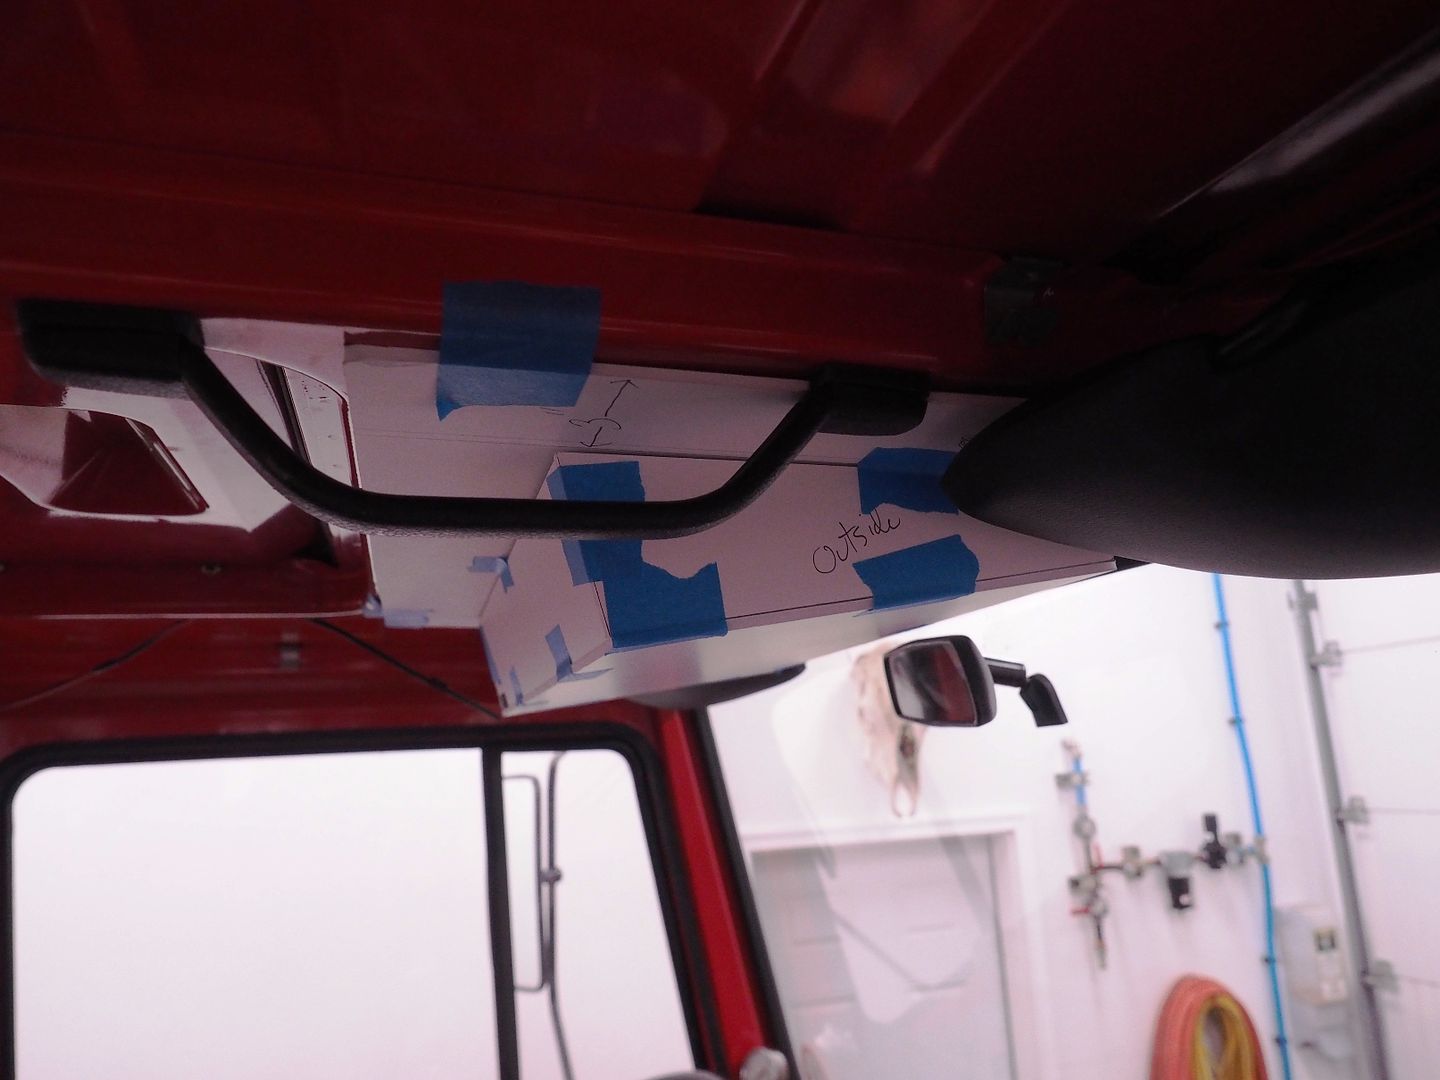
Started playing with a design for an overhead console to house a radio and light switches (rough design here), I'll also have a better dome light built in. I may build some more units for sale when I get the design nailed down if there is interest. First up playing with a angled design, I didn't like this version as the corner sticks to far out and would be a head knocker for the middle passenger.
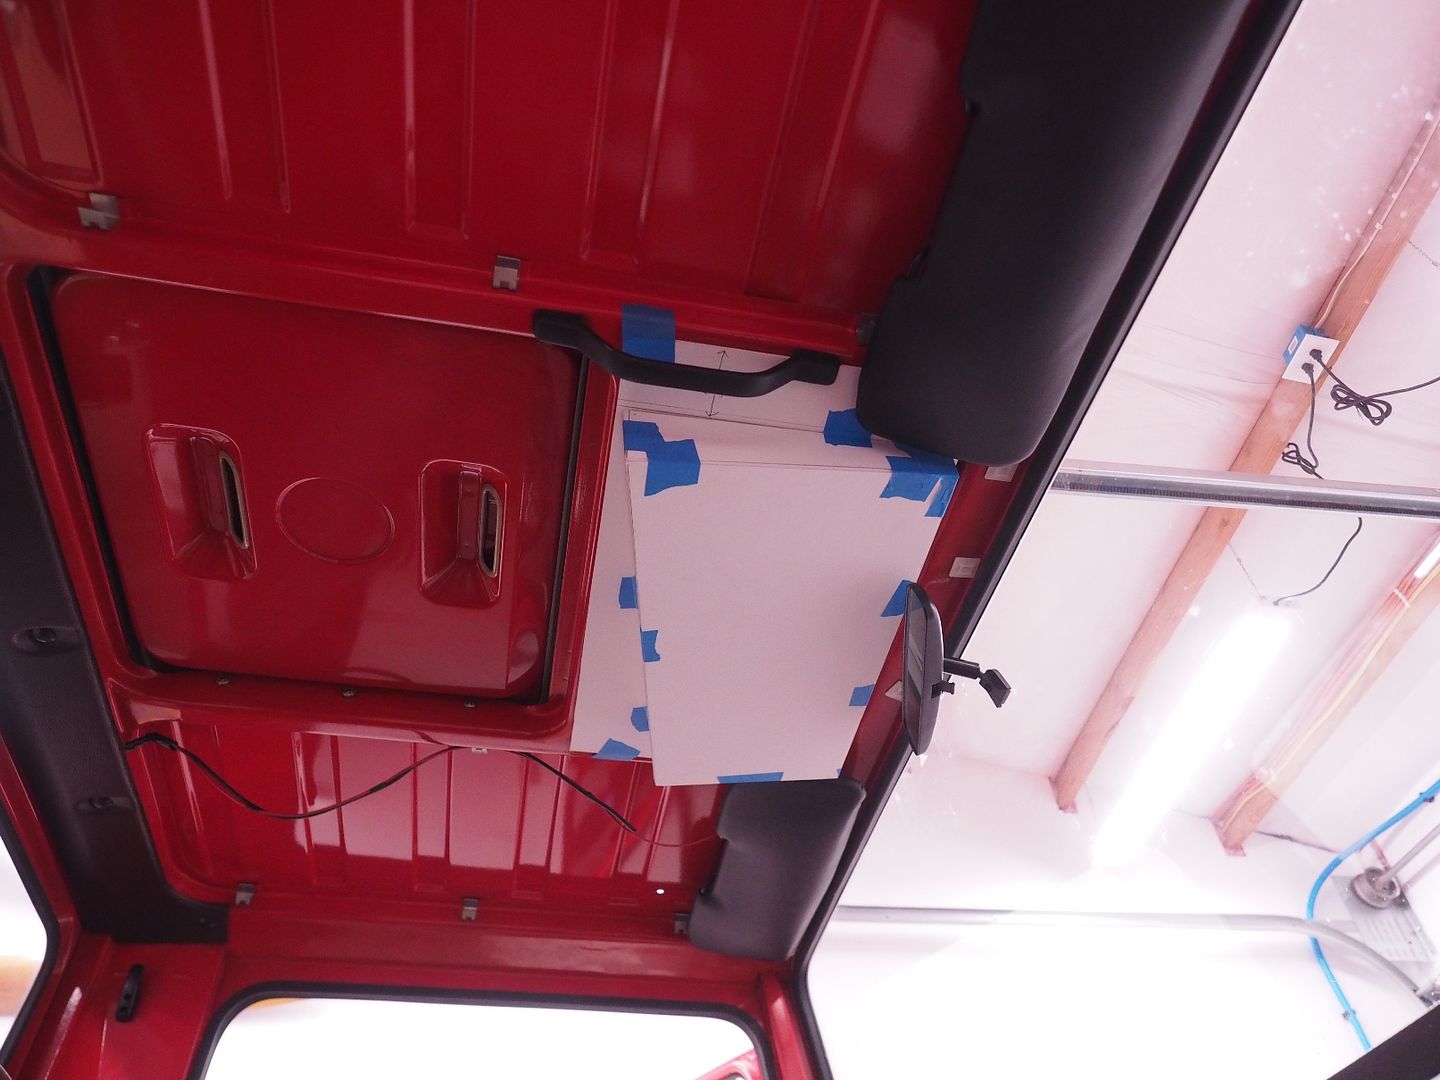
Playing with a straight cut unit with slightly angled face, this unit is also narrower to allow clearance of the visors and middle handle.
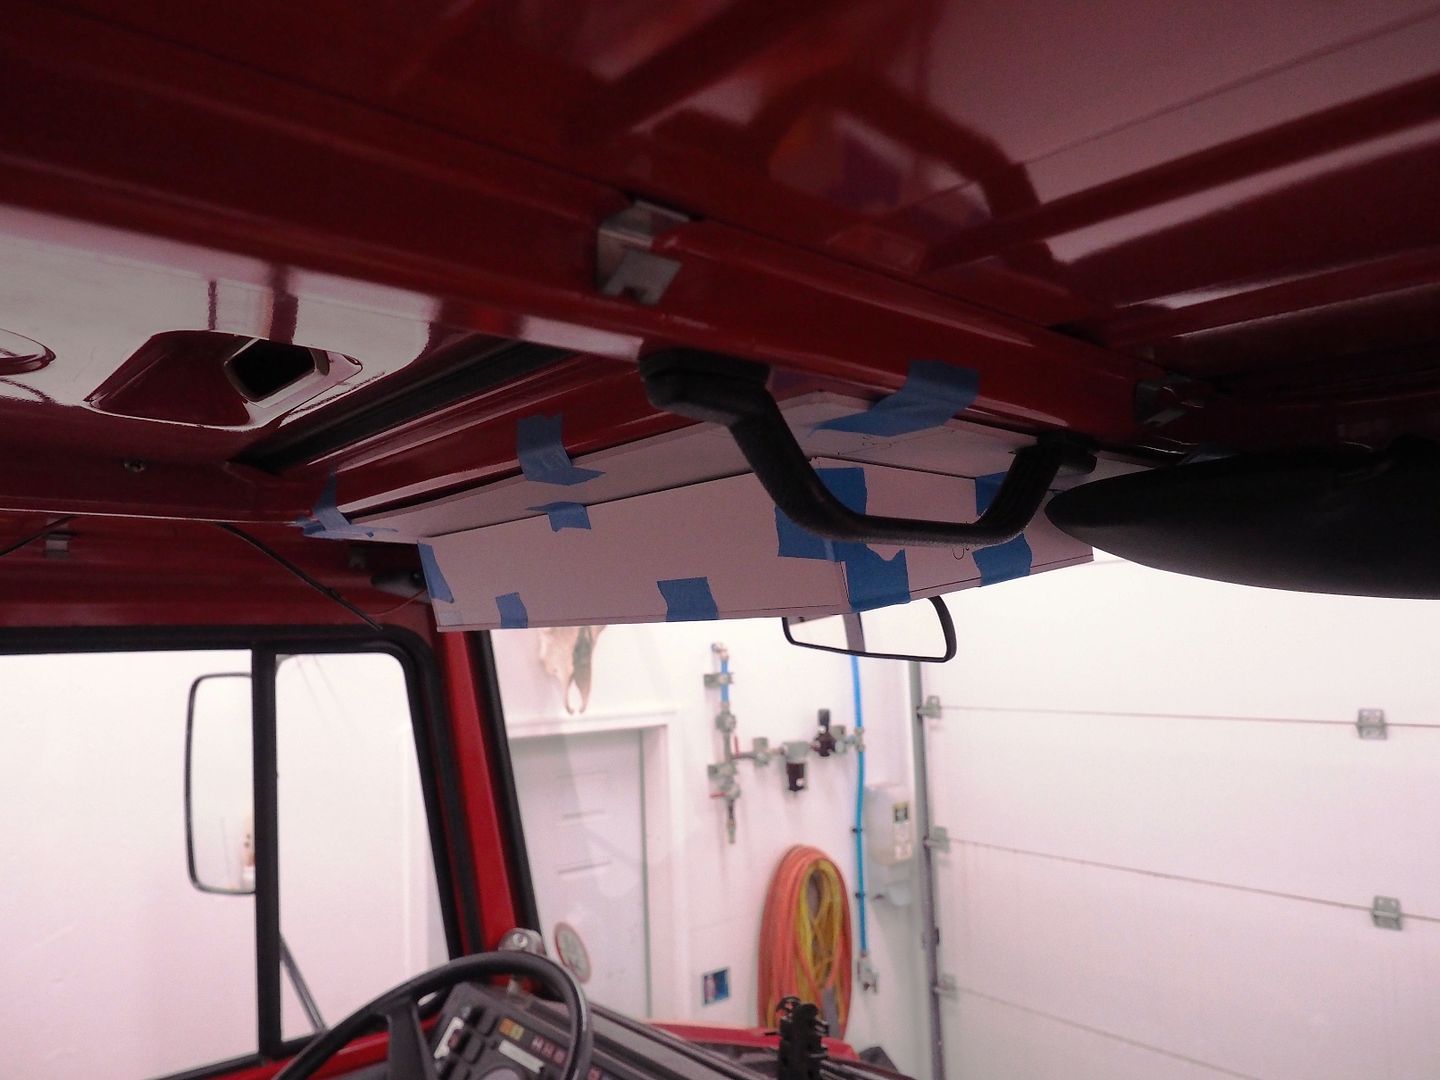
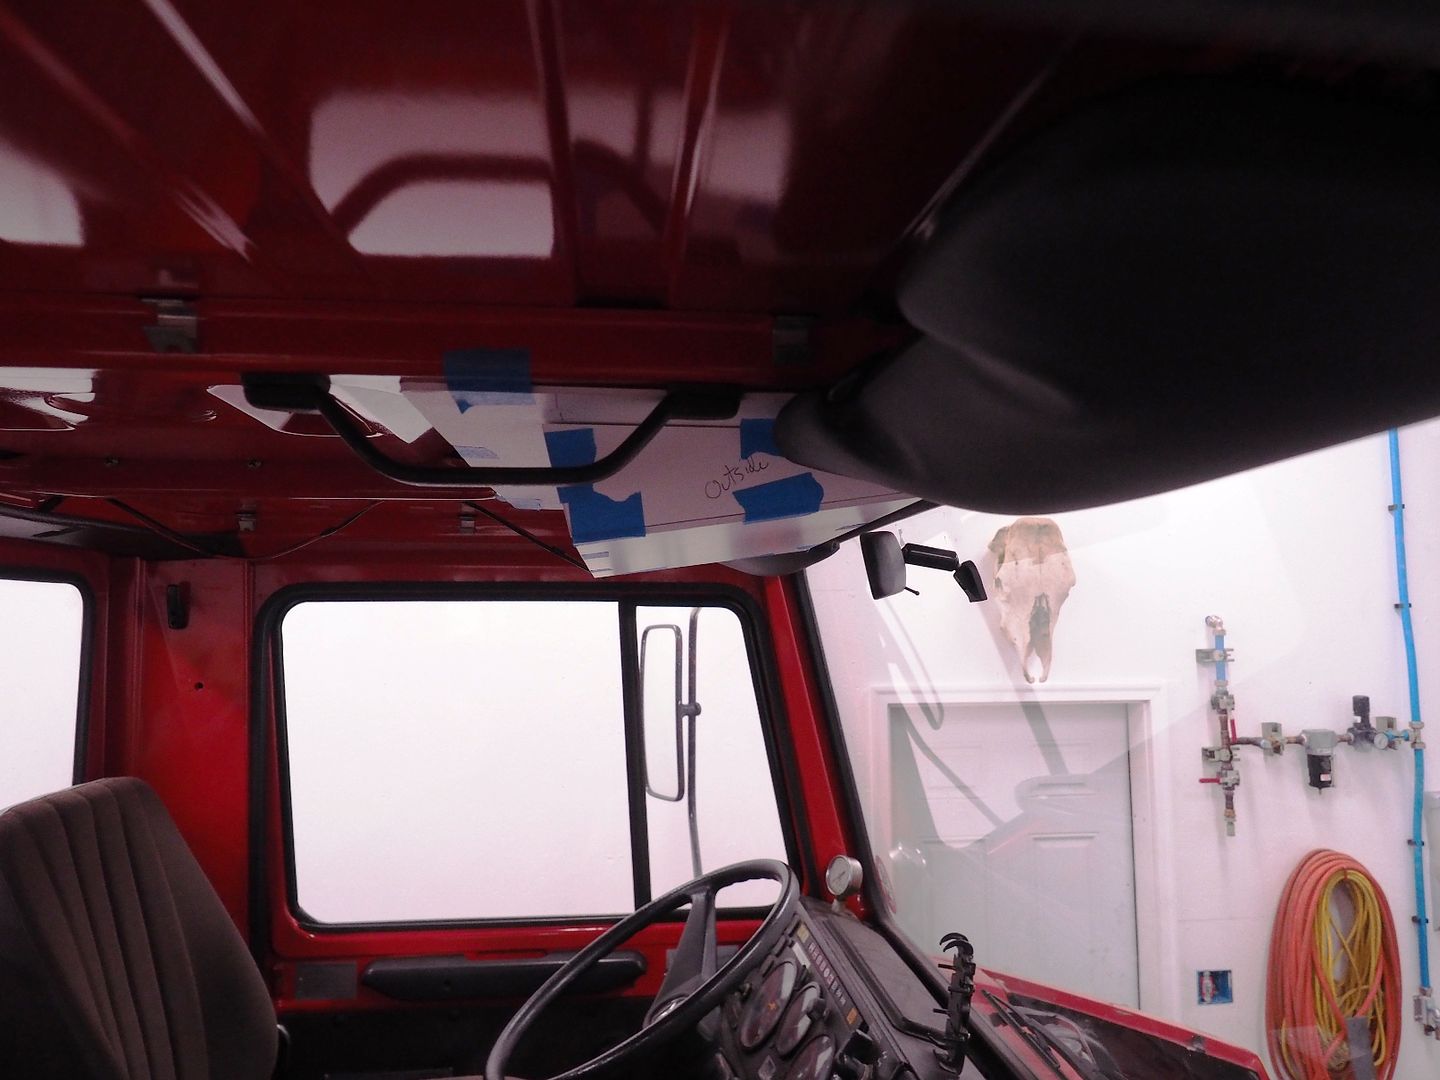
More to come....
Hodakaguy


Lots of holes to fill from old radio antennas, will be starting on that soon.

Time to remove the blue rescue lights.

Dad backing up the bolts from the top side.

And removed.


Now to remove the cannon plugs for the original search light.

Lots more holes to fill here

Started playing with a design for an overhead console to house a radio and light switches (rough design here), I'll also have a better dome light built in. I may build some more units for sale when I get the design nailed down if there is interest. First up playing with a angled design, I didn't like this version as the corner sticks to far out and would be a head knocker for the middle passenger.


Playing with a straight cut unit with slightly angled face, this unit is also narrower to allow clearance of the visors and middle handle.


More to come....
Hodakaguy
Similar threads
- Replies
- 6
- Views
- 1K
- Replies
- 0
- Views
- 232
- Replies
- 1
- Views
- 580
