Meet VANessa

I lurked around the site for awhile, getting ideas. When I couldn't take it any longer, the search for the right van began. I finally found what I was looking for in Mesa, Arizona. Not exactly around the block considering that I live in the North OC/Long Beach area of So Cal. It was a bit older than what I had originally set out looking for, but it had everything I was looking for and then some. Plus, the price was right. I drove it back without a single issue. The odometer turned 118k on the ride home.

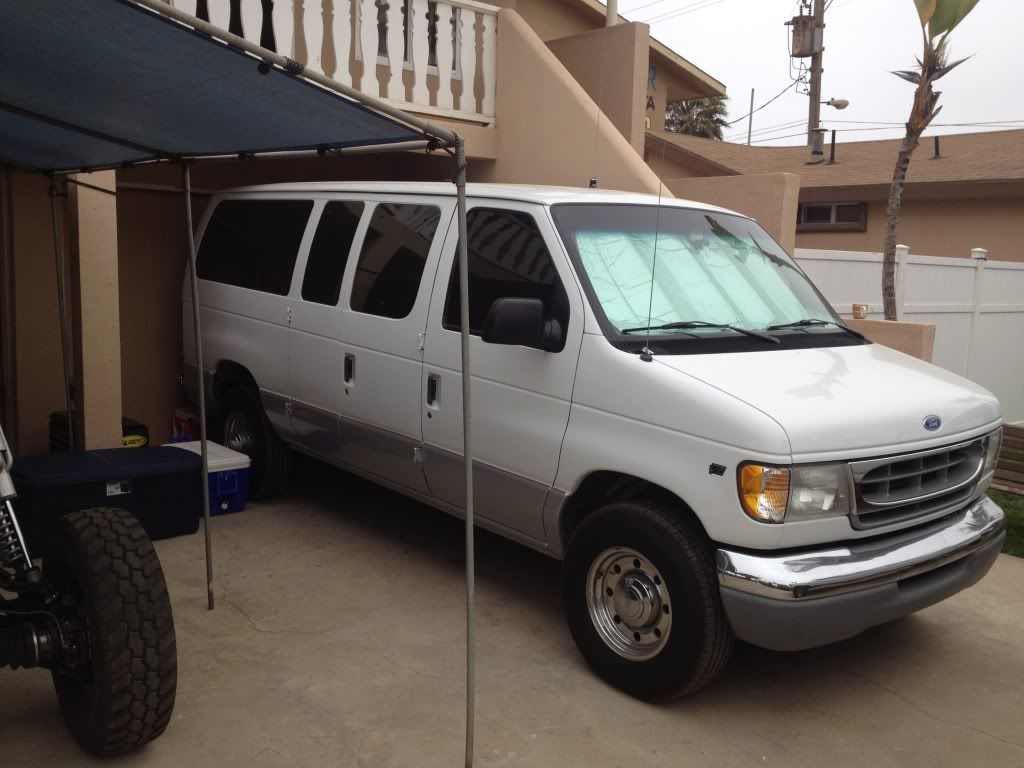
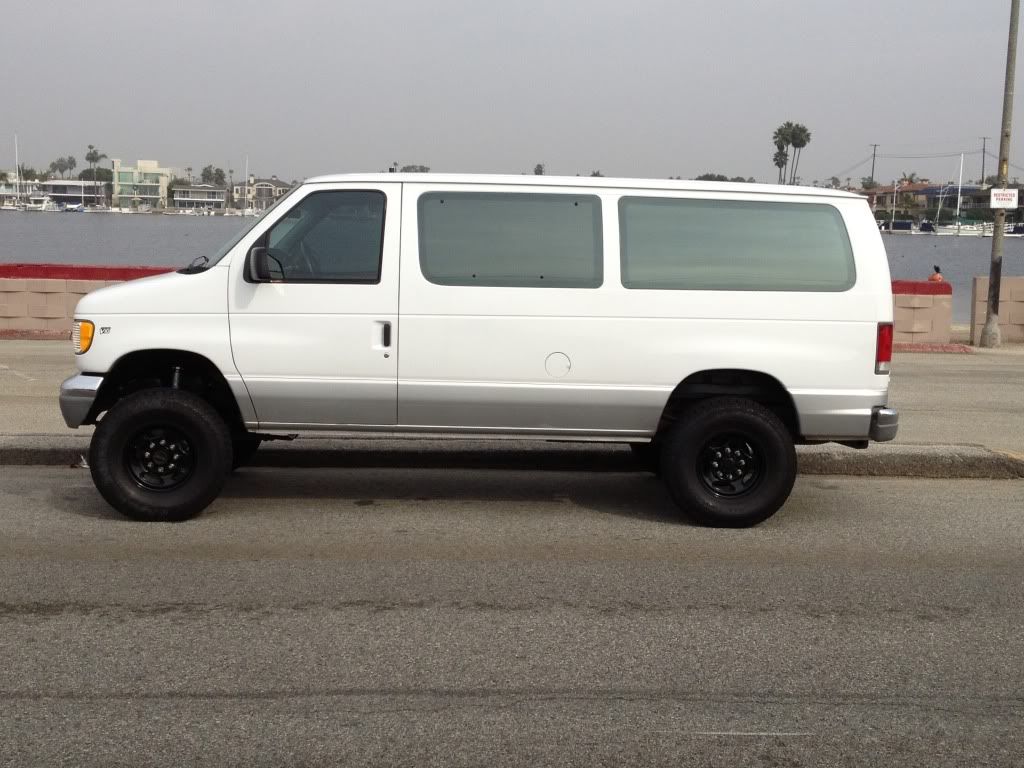
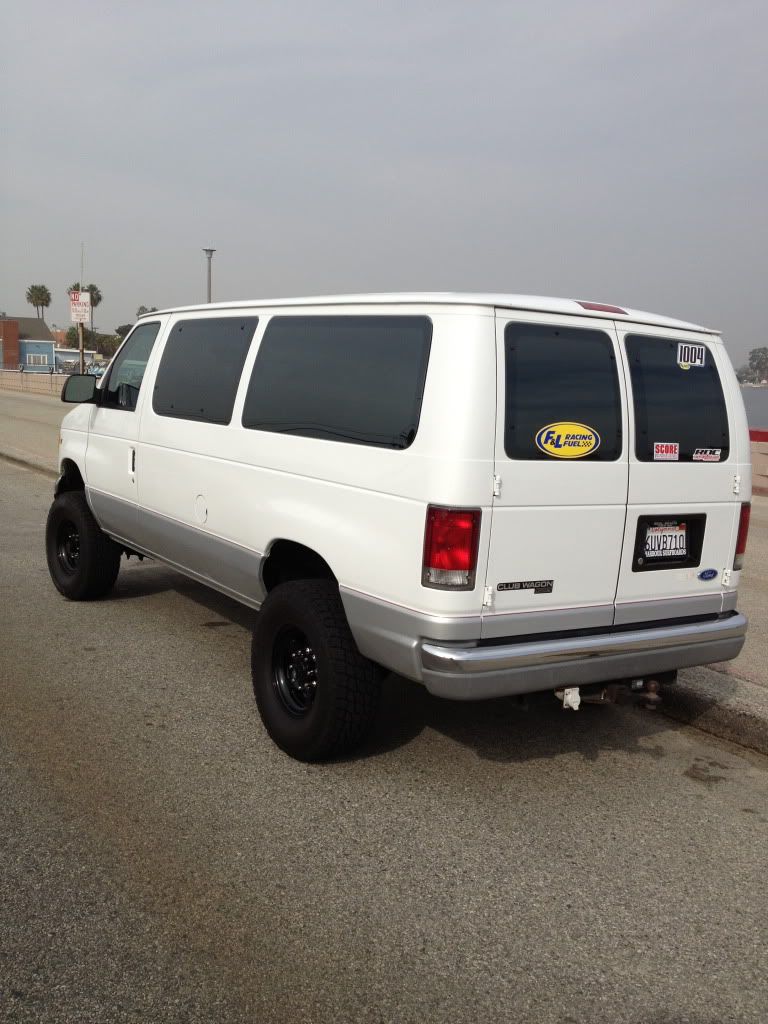
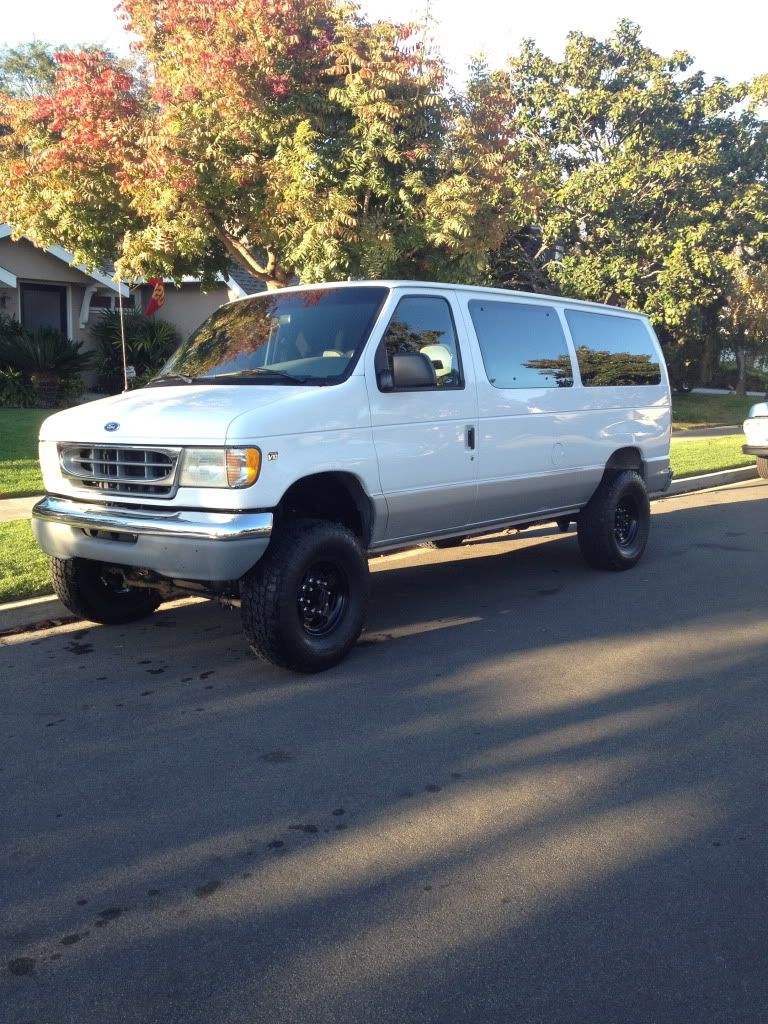
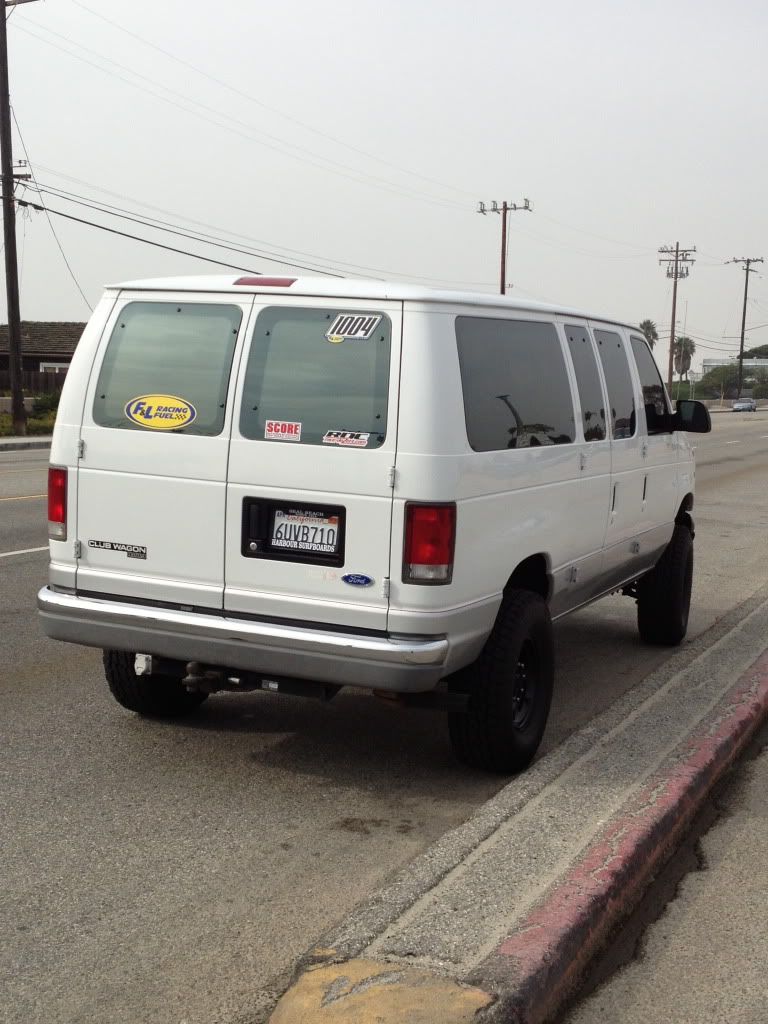
A few specs on the van, 97 E350 V10, Chateau package, 4.10 gears, barn doors.

Vanessa just happens to be my wife's name. I know you guys love a van pun, so this one became VANessa. Enough talking, meet VANessa...

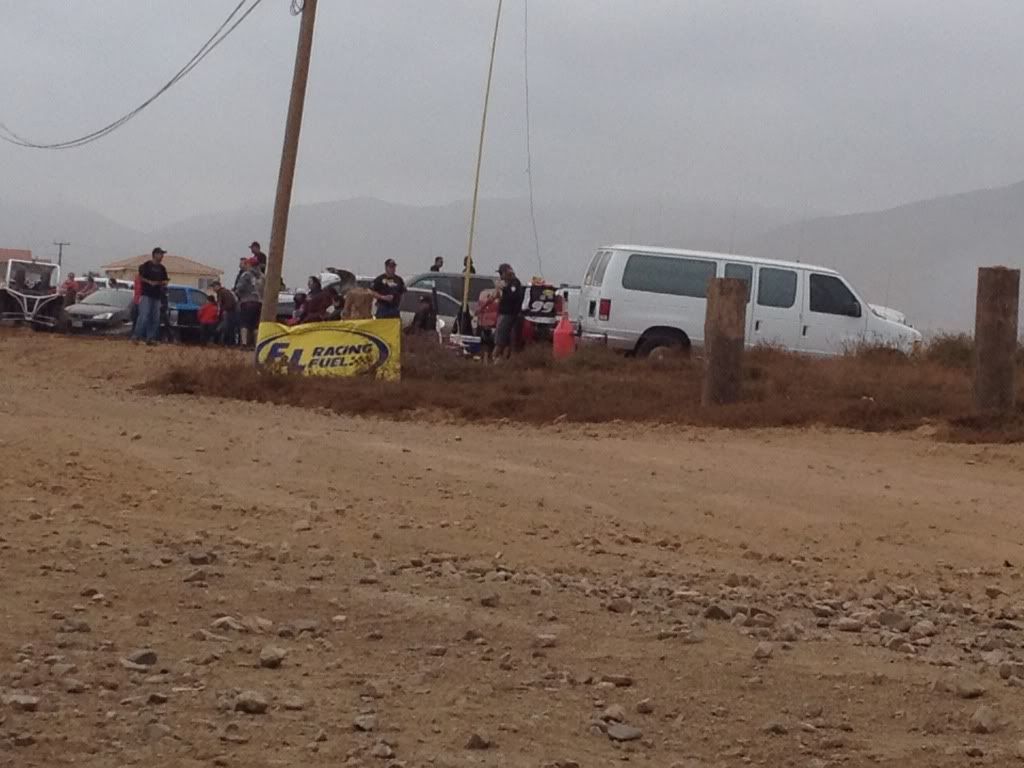
At the Baja 500 in June. Slept in it for 5 nights.
IMG_0307.jpg


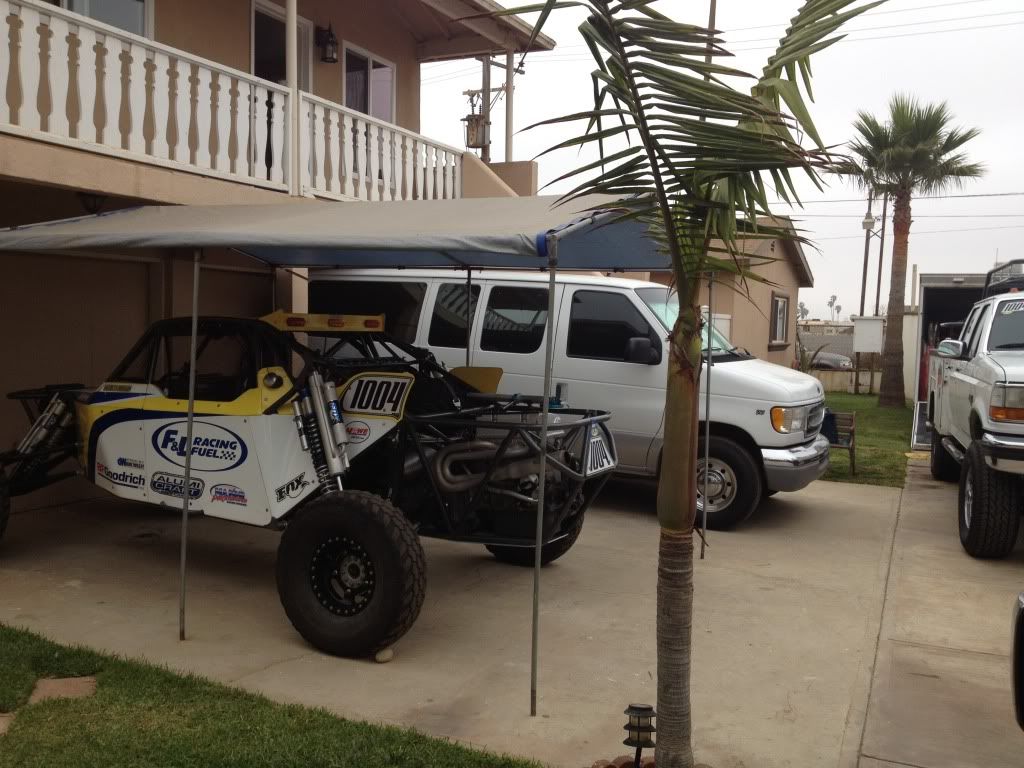
Parked next to my buddy's class 10 racecar.
IMG_0306.jpg


Pitting out near Coyote Cals on the Pacific side of the peninsula. The racecar won his class, and the van ran great.
IMG_0320.jpg
 
After the trip to Baja I had gotten to know the van a little better. I went back and forth over doing a 2wd lift or going 4wd. I was going to go to Autofab in Santee, Ca. if I went 2wd. I have a good relationship with them from working with them on other projects, but I finally decided to go all the way. Once that decision was made, I put in a call to Chris for a 4" kit and began gathering parts. I ended up finding a Dana 50 with 4.10's to match my rear end. I took it to a local 4x4 guy, had him look it over and swap the steering knuckle. When it had a clean bill of health, I drug it home. This is going to be a 2 stage build, the transfer case install will come later. Once I had everything, work began.

Started with the hanger install. Quick tip: After drilling, I would leave the drill bits through the holes to keep the brackets from moving. I clamped them as well, like Chris suggests, but the drill bits really helped keep them from moving.
IMG_0515.jpg


Once the hangers were done, the van went under the knife for real. I had the van down for a little over a week until it was drivable again. This was working on it by myself, with maybe only 2 full days and a few long evenings. The highlights:

Shackle sleeve install.
IMG_0553.jpg


Springs mounted.
IMG_0554.jpg

IMG_0555.jpg


Axle in and shocks mounted.
IMG_0576.jpg

IMG_0577.jpg
 
Now for the fun stuff.

I went with a factory wheel. I always liked these wheels, but hated the factory center caps. I had them powdercoated semi-gloss black and added chrome lug nuts. These wheels are both light and strong. Overall, I was happy with the result. The tires are Nitto Terra Grapplers, 295/75/16.
IMG_0591.jpg


How she sits. I like 'em a little lower in the back, so I just went with a 2" block.
IMG_0595.jpg


IMG_0592.jpg


IMG_0573.jpg


IMG_0594.jpg


It's far from done, but I've been driving it and enjoying it in the meantime. I'll keep chipping away at it when I get time. I still need to install the sway bar and rear shocks before I can really say that stage one is complete.

I also wanted to thank Chris, and everyone on the forum. I spent a lot of time reading and lurking on everybody's threads getting tips and advice, thanks!
 

ujoint

Supporting Sponsor
Very nice! When I saw the 1st pic I thought "hope this van is getting a conversion!"
 
Thanks, guys.

I used a hole saw on an angle drill. It was a pain in the A, but the holes came out nice and didn't require much, if any, cleanup prior to welding the sleeves in. It just takes some time and isn't a whole lot of fun. On the first day of real work, I got all the stock suspension out and those holes drilled. After that, I called it a day. It was still early, but I was too worn out to drag out the welder to keep going. It would be easier if the template just located the pilot holes for those not using a plasma.

Since I don't have a plasma, I used a cutoff wheel on the crossmember trimming. That worked out well.
 

bknudtsen

Expedition Leader
Thanks for the info. I am probably going to have to go with the hole saw route as well. It's the only part that has me a bit worried. Nice to hear that despite being a pain, it worked out well.

Brad
 

r_w

Adventurer
As long as you do not make any other comparisions between your wife and the van you should survive.... ;)


bknudtsen: check around for plasma rentals. A couple hours rental shouldn't be much more than the holes saws you destroy in the process. Even minimum charge from a portable welding co. may be worth it for the aggrevation.
 

bknudtsen

Expedition Leader
As long as you do not make any other comparisions between your wife and the van you should survive.... ;)


bknudtsen: check around for plasma rentals. A couple hours rental shouldn't be much more than the holes saws you destroy in the process. Even minimum charge from a portable welding co. may be worth it for the aggrevation.

Thanks to squirelmurphy, this is the best picture of the shackle sleeve install yet. I am actually working on a bolt on shackle mount using those stock locations and a modified OEM bracket for the 2wd suspension. The sleeve, however would be just below the frame rail. It does create some geometry issues with the front axle that I believe can be overcome with degree shims. We'll see. Just gotta keep staring at this pic and the answers will come.


Shackle sleeve install.
IMG_0553.jpg
 
For the record, I used the same hole saw for all 4 holes. If kept lubricated, they last a pretty long time. It's back in my tool box, lots of life left in it.

How I did it: I marked the frame using the U-Joint template. Like I said earlier, it would have been easier if it only marked the center, but it worked. I then drilled pilot holes on both sides of the frame. Drilled with 1.75" hole saw on an angle drill from the outside of the frame though both sides. There's not much room on the inside, but was able to go all the way through from the outside using the pilot holes to keep everything in line.

The hole saw will take more time than the plasma, but I think it came out clean. Once the holes were drilled, I spent less than a minute cleaning up the holes with a round file and slid the sleeves right through. The fit was tight, making it easy to TIG them in. That's what worked for me, hope it helps somebody out.
 

desertspeed

Adventurer
Good to see things are progressing. The wheels turned out great! Makes me wish I had done that with mine to save a little $$

Sweet 10 car- we raced class 10 for a few years in the early 2000's before switching to class 1 because of engine costs. It has always been my favorite class, even better now with the new engine options.

We will def need to hook up and do a Baja run when we get them finished.
 
Thanks. I ended up missing the 1k this year. Too many things going on and I wasn't able to prepare. I don't go to Baja unprepared, so I sat out.

That 10 car flys. This year they won SF and the 500 (18th overall!) but kicked a rod at rm900 at the mil.

I'm happy with the wheels, I couldn't buy a set of forged wheels for what I have in those, that's for sure. All told, I think I have $370 in them. Bought them from the same wrecking yard I got my axle from for $150, sandblasting $100, powdercoat $120. I need to get another one for a spare. The stock one under the van won't do much good now. That's one of those things I didn't have time to take care of before Baja...

I need to get my prerunner done, then plan a proper trip!
 

jgolden

Adventurer
Great looking van!!! I just bought a 98' V10 with quigley conversion. It was a chase van for my buddies race team. I raced 1600 the class 12, I now have 3 boys and #4 due in 2 weeks so my offroading must be kid friendly. What kind of prerunner do you have?
 

bknudtsen

Expedition Leader
For the record, I used the same hole saw for all 4 holes. If kept lubricated, they last a pretty long time. It's back in my tool box, lots of life left in it.

How I did it: I marked the frame using the U-Joint template. Like I said earlier, it would have been easier if it only marked the center, but it worked. I then drilled pilot holes on both sides of the frame. Drilled with 1.75" hole saw on an angle drill from the outside of the frame though both sides. There's not much room on the inside, but was able to go all the way through from the outside using the pilot holes to keep everything in line.

The hole saw will take more time than the plasma, but I think it came out clean. Once the holes were drilled, I spent less than a minute cleaning up the holes with a round file and slid the sleeves right through. The fit was tight, making it easy to TIG them in. That's what worked for me, hope it helps somebody out.

Excellent info! Thanks a ton!
 

Itsavanman

Adventurer
my first thought was how many hole saws did he go through... no picture of the hole saw? its the superman hole saw lol....
 

Forum statistics

Threads
188,679
Messages
2,908,927
Members
230,892
Latest member
jesus m anderson
Top